Team lead Joe Miller here to give you a snap shot of how our team has prepared themselves on an upcoming expedition with months of planning, including everything from physical training to gear considerations to choosing a medical kit. I’m going to give you a look at what questions, criteria, and rules I use to help me and my team travel safe and prepared.
8 Months of Preparation
One of the most important pieces of our preparation was building and executing our training plans, as the best thing you can do to ensure safety on the expedition is to be fit and fast. If you’re looking for a good resource on building your first training plan, I highly recommend “Training for the New Alpinism” by Steve House and Scott Johnson. In addition to the physical training, a lot of preparation has gone into choosing our gear, building our first aid kit and preparing for emergency scenarios.
Gear Preparation
Besides fitness, gear is the next piece of preparation in trip safety. I love gear. I mean I really really love gear. You should check out my truck: its gear central. From packs, to sleep systems, climbing gear, boots, layering, biking supplies, avalanche travel necessities, cooking systems, fishing supplies, first responder gear, and especially first aid and survival gear, my truck is a rolling closet of anything you could ever want on any adventure. I love to be prepared for everything.
When picking out gear I look for a few specific criteria:
- How well does the gear support your goal?
- How much effort does this gear take to use?
- How reliable is this piece of equipment?
Criterion 1: How well does the gear support your goal?
Look at everything you are bringing and determine how well it supports and/or limits your achievement of your goal. The latter is fairly easier to determine. Does it weigh a ton? How much “just in case” logic did you use to justify that in your pack? How does it directly support your goal? Your goal should be 1) whatever objective you’re gunning for, and 2) getting back out alive. As the great Ed Vestures said “Getting to the top is optional – getting down is mandatory.” However, while “what if” thinking is sometimes helpful, it shouldn’t encourage you to pack for every extreme.
Criterion 2: How much effort does this gear take to use?
“Ultra-lighters” live by this one. Ounces add up to pounds, and that weight ends up on your back (or your adventure buddy’s pack). The lighter the better, but also refer to criterion number 1. Some things are absolutely worth their weight. If you’re trekking across a glacier like we will be, a rope and other glacier gear is mandatory weight (falling in a crevasse doesn’t need to be life ending). That being said, if you can minimize weight and/or use items for multiple purposes, you can cut weight elsewhere. For instance, I know I will need some cordage for anchor building material in crevasse rescues; this can also double as tent tie downs, splint material, and gear straps.
This criterion also holds true for ability to use – simple, easy-to-use items work better for a team. For example, while some super-duper ultralight stoves can shave grams off your base weight, it can take over an hour to cook dinner. When you’re in need of some necessary food and cook time prevents you from going to bed earlier, is it really that helpful? Everyone will have different views and gear priorities, and as with anything in life, a good balance is key.
Criterion 3: How reliable is this piece of equipment?
This is really a combination of criteria 1 and 2, but it warrants its own attention. On one of my earliest trips as a leader, I remember hauling back an old stove which had definitely seen many years of abuse. 3 days into the trip the stove stopped working in spite of copious amounts of fuel. Five hungry and tired boys waited impatiently as I stressfully dismantled, fixed, and reassembled our stove in an attempt to feed us all. Emergencies don’t happen when you’re alert and ready for them; they happen when you are tired, hurt, or have already made one or many bad decisions.
When heading out on a big trip, you should already know you can rely on your gear. This is not a time for testing out new products or systems. You should know how your gear works, inside and out, and have relied on it before. This way, you will know how to use it when you’re tired, injured, or just plain hungry. I like to slowly work changes into my backcountry systems one at a time so nothing feels too foreign. If you’re going on a big trip, you better have your systems (and your teammates’ systems) figured out well in advance.
First Aid Kit Preparation
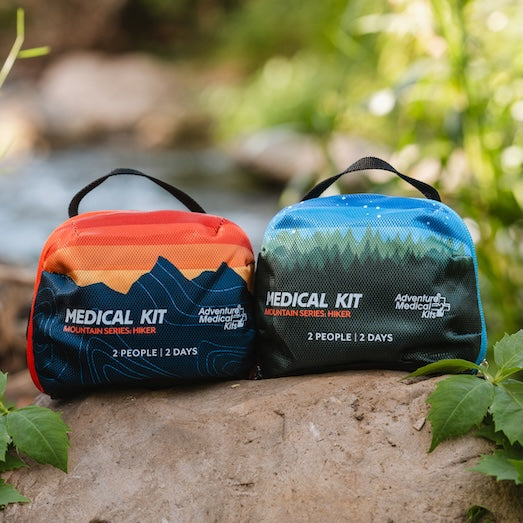
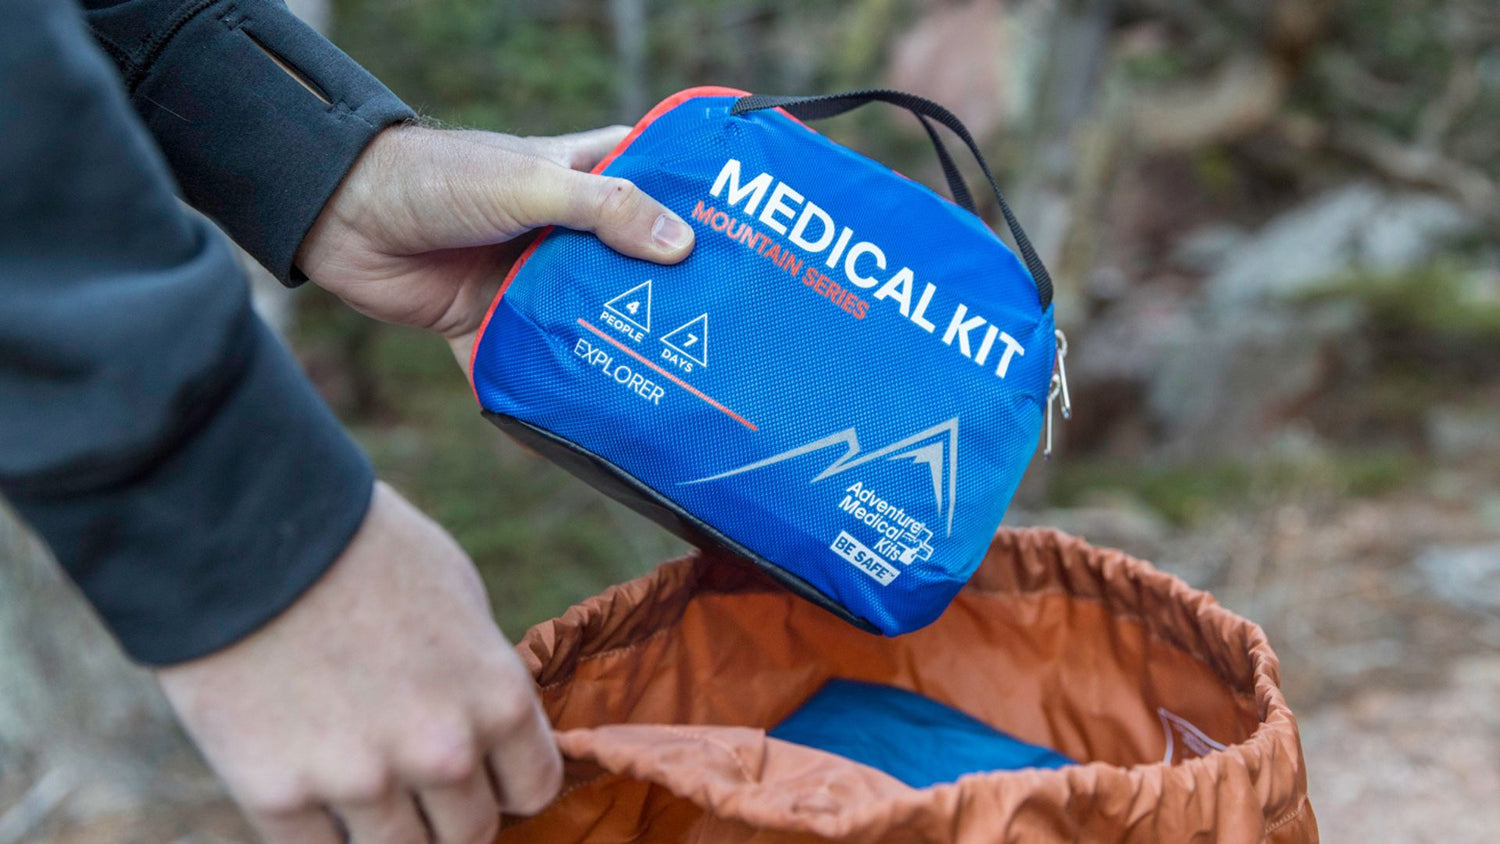
Because I want to know everything in my pack and limit my gear to the essentials, I personalize and rationalize everything I’m bringing with me – this also applies to my first aid supplies. I start with a base kit (for this trip I used the Mountain Series Explorer) and customize it out from there based upon what my team needs for a specific trip – in this case to safely climb Gannett Peak.
When building a kit, it’s essential to consider the gear criteria I detailed above, but it’s more important to remember – you have to get out of this alive. Remember:
- Your #1 goal is getting out alive
- Your medical is important enough to be heavy, but not unnecessarily so
- Your first aid supplies need to be reliable
1. Get Out Alive
In the backcountry, medical support is very limited, and your #1 goal needs to be to get out alive. You should categorize every medical situation as life threatening, long-term debilitating, or minor. The first two categories should yield an immediate decision to evacuate and get to better medical attention. During anything life threatening, the goal is to support life until front country medicine is available. For life threatening scenarios, knowing CPR and what supplies should work to combat major bleeds, circulation problems, allergies, and environmental issues is imperative. Any potential long term debilitation from an injury should be minimized. This includes spinal issues, preventing infection, and immobilizing fractures to prevent more harm. Anything minor should be addressed quickly so it doesn’t escalate into a bigger issue. I’m speaking in broad terms here, but looking at your first aid kit and analyzing whether its contents will help you get out of a bad situation alive is a useful exercise.
2. Weight vs. Contents
How heavy does a medical kit have to be? This tends to be the hardest part of building a first aid kit; it’s truly a balancing act. Often, first aid kits are too large, and used by those with little understanding of how to properly use the components of the kit.
Recently, I vetted my personal first aid kit with a combat medic. Through this, I learned that proper training allows greater resourcefulness. As with athletic training, if you have proper medical training you can do more with less. Anyone intending to spend time in the backcountry should take a Wilderness First Aid course, such as those offered by SOLO Wilderness Medicine. For those wanting to peruse further backcountry medical knowledge, the Wilderness First Responder and Wilderness EMT courses are intensive and thorough.
Regardless of what medical training you have, ensure that you know how to use the items in your kit and that you are prepared to use them to take care of potential medical issues on your trip. Basic, easy-to-use supplies are often best, as you (or your team) may be able to use them without much training and for a variety of issues. Beware of having a single, bulky item that will only help you in a very specific scenario, especially if it is easy to misuse. Building your kit is a balancing act, and only you know what will work best for you.
3. Reliable Contents
You need to rely on your first aid kit more than any other piece of gear in the back country. You need to audit and refill your kit before and after your adventures. It takes a lot of thought and practice to maintain a reliable kit to ensure that you and your team know how to respond if any life threatening or debilitating event happens. Everyone on your team should know where the first aid kit is and how to use the supplies inside. Ensuring your components are worthwhile is very important; sterility for wounds, strong bandages that hold in place, and non-expired medications are key. Having quality medical components is something Tender Corporation takes great pride in.
Building a First Aid Kit
As I said before, I took the Adventure Medical Kits Mountain Series Explorer kit and customized it for the specific risks we will encounter in the Wind River Range. I prioritized supplies that will address life-threatening issues and found ways to use those same supplies for minor issues. I also added some items for more specific scenarios because I’ve personally justified their use-to-weight ratio. Here’s some of what I’m packing for the group kit for the Wind River Range:
Emergency Plan: The first thing that goes into my first aid kit is a documented Emergency plan. I put this in a zip lock bag so it is still legible if it rains. This holds route information, evacuation routes, individual medical information, and primary insurance information. For Gannett, everyone has secondary backcountry rescue insurance as well. (If you’re an American Alpine Club member you get this with your membership!) Creating an emergency plan helps keep everyone on the same page. Leave a copy of your emergency plan with a loved one, so that they can give it to the responsible rescue parties should they need to. Having an emergency plan should stimulate a conversation with your team on any pre-existing medical conditions that might impact care on the trail. This will also help you decide on any other specific items for your kit.
Gloves: Providing medical assistance can get messy. Clearing an airways and dealing with other bodily fluids should not be done without a pair of gloves.
Diphenhydramine: Having Diphenhydramine medication is important for any allergic reactions which cause swelling to close airways. If someone is seriously allergic, they should have an epi-pen and you should know where they keep it. I also have some NSAIDs in my kit in case a patient’s personal preference is to take them. Having some form of anti-diarrhea medication is key for overnights. For longer backcountry trips, I also carry a few days’ worth of antibiotics in case something does get infected. You’ll need a prescription for these and should use under the direction of your doctor.
Dressings: Supplies to stop bleeding take up most of the space in my kit. Any major bleeding will cause issues in circulation, so it needs to be addressed immediately. I pack a few sets of rolled gauze, a couple triangle bandages with safety pins, self-adhering bandages, elastic bandages, medical tape, tincture of benzoin, moleskin, and an QuikClot Clotting Gauze. With this, I can take care of any major or minor bleeding issues. I’m not going to go deep into the intricacies of wound care, but here’s a reminder of the basics: apply direct pressure to stop bleeding, (if you need to go hands free create a pressure dressing), clean the wound to prevent infection and protect the wound from further risk of infection.
Support for Sprains and Strains: For major sprains and strains I utilize triangular bandages (remember, the ones I can also use to stop bleeding?) and straps from my pack. Beyond that, you can use your hiking poles, or sticks to splint and stabilize. I abide by the “RICE” approach for most issues that are not life threatening: Rest, Ice (or cool), Compress, and Elevate. More major issues that require immediate hospitalization are splinted, immobilized, and evacuated.
Shelter and Warmth: In case of hypothermia or for a make shift shelter, I have an SOL Emergency Blanket. I can hypo wrap a patient with this, or create some shade or protection from rain if necessary. I’ll also have some strike anywhere waterproof matches for quick fire starting. If I’m not already on a climbing trip, some p-cord makes good use for splints and traction. Other survival gear includes a compass and water purification.
