

A family leaves home after a severe storm warning, then discovers the first aid kit is buried in a closet, the vehicle has no flashlight, and nobody knows whether a child's medication is in the travel bag or at home. A minor cut becomes harder to manage when supplies, contact details, and decision roles are unclear. The same problem appears on a trail, boat, campsite, or evacuation route, where distance and changing conditions reduce access to outside help.
An effective emergency preparedness checklist isn't one oversized container. It's a layered system that moves with people across home, vehicle, travel, and backcountry settings. The system combines medical supplies, water, shelter, communication, documents, food, hazard-specific equipment, and practiced skills. FEMA and Ready.gov use a several-day supply as a foundational benchmark, while the American Red Cross recommends a portable go-kit with at least three days of supplies and a home kit with at least two weeks of supplies. American Red Cross preparedness guidance also identifies core needs such as water, a flashlight, a battery-powered radio, cash, first aid supplies, and a non-electric can opener.
The following ten checks help households and outdoor groups build readiness that travels. Quantities and equipment should be adapted to location, season, group size, trip length, mobility needs, medical conditions, and applicable public-health or land-management guidance.
Table of Contents
- 1. Assemble and Equip a Comprehensive Activity-Specific First Aid Kit and Obtain Medical Training
- 2. Create a Written Emergency Action Plan for Your Group
- 3. Stock Emergency Water and Purification Solutions
- 4. Prepare Emergency Lighting and Navigation Tools
- 5. Develop Shelter and Temperature Management Strategies
- 6. Build a Communication and Signaling System
- 7. Maintain Adequate Food and Nutritional Supplies
- 8. Create Documentation and Medical History Records
- 9. Protect Against Environmental Hazards Specific to Your Activity
- 10. Practice Regular Drills and Maintain Emergency Preparedness Skills
- 10-Item Emergency Preparedness Checklist Comparison
- Turn the Checklist Into a Tested System
1. Assemble and Equip a Comprehensive Activity-Specific First Aid Kit and Obtain Medical Training
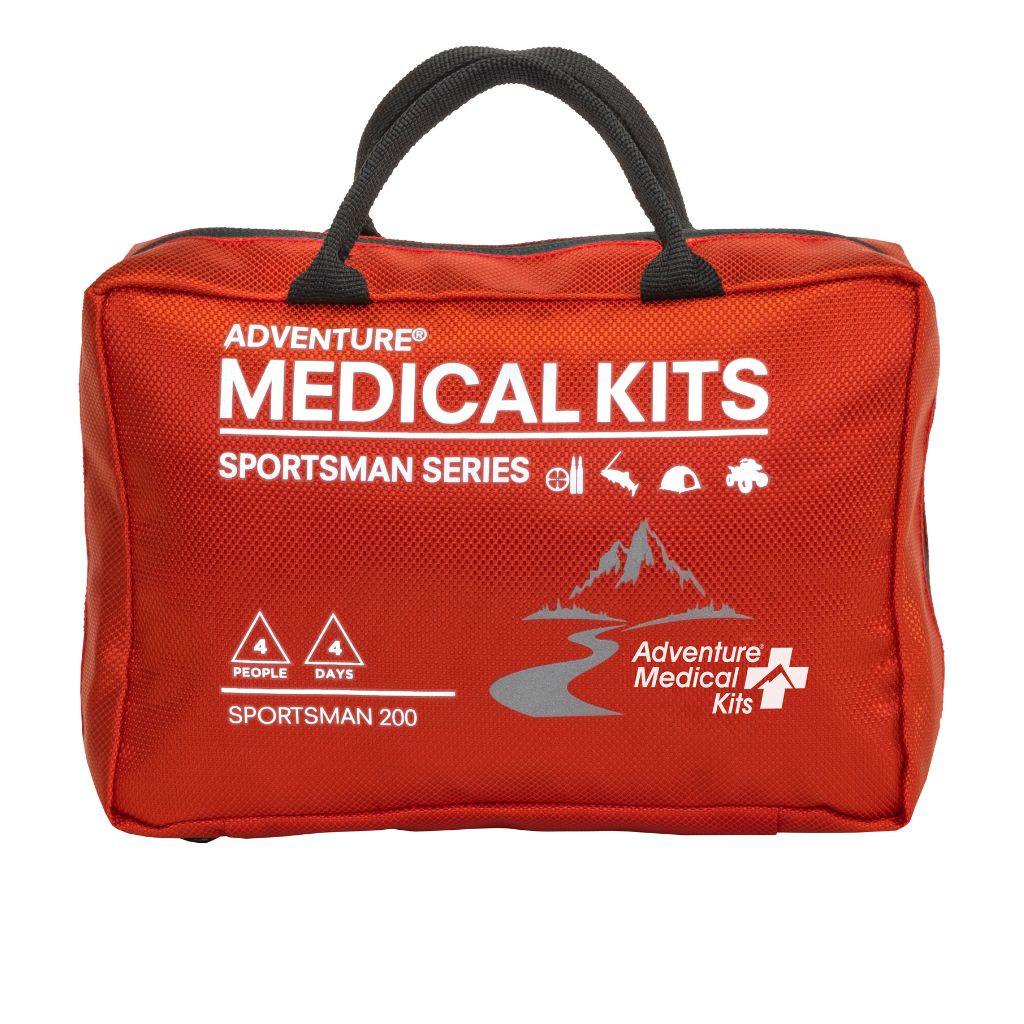
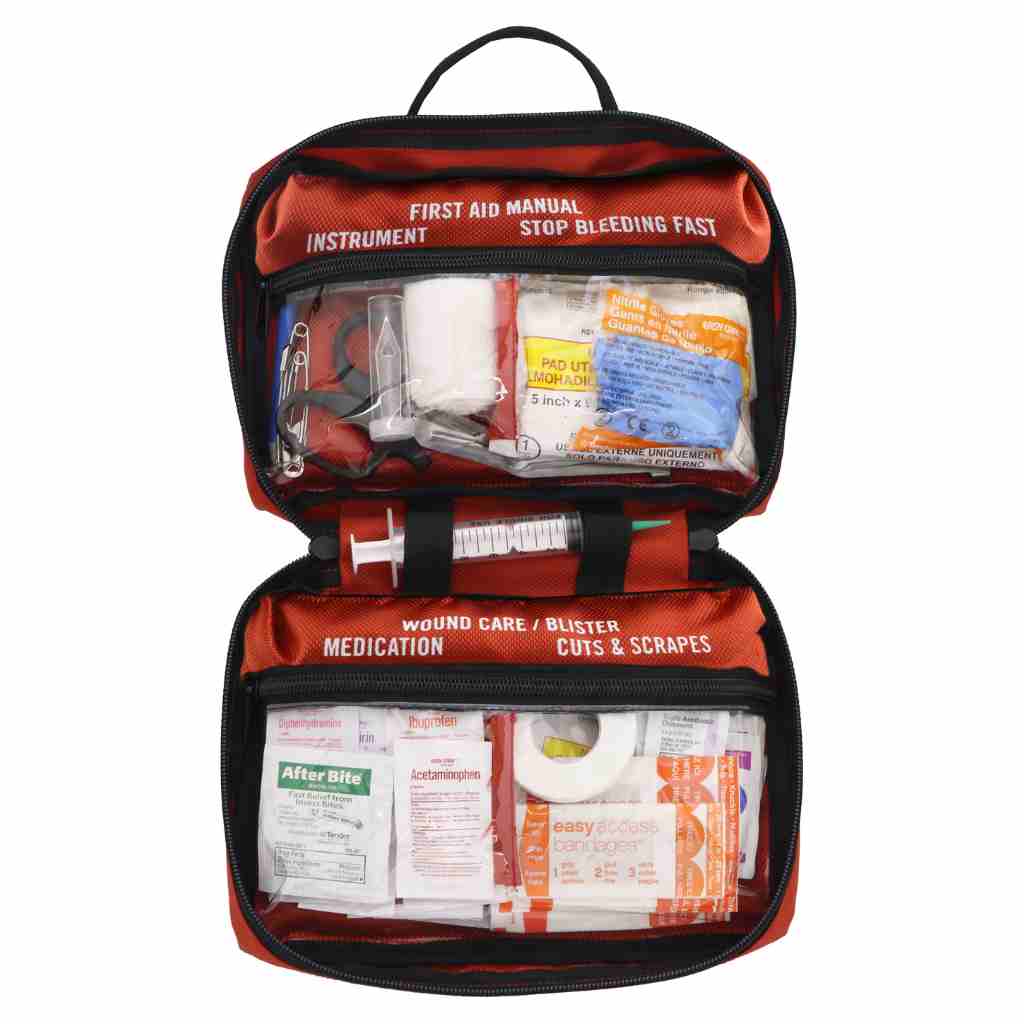
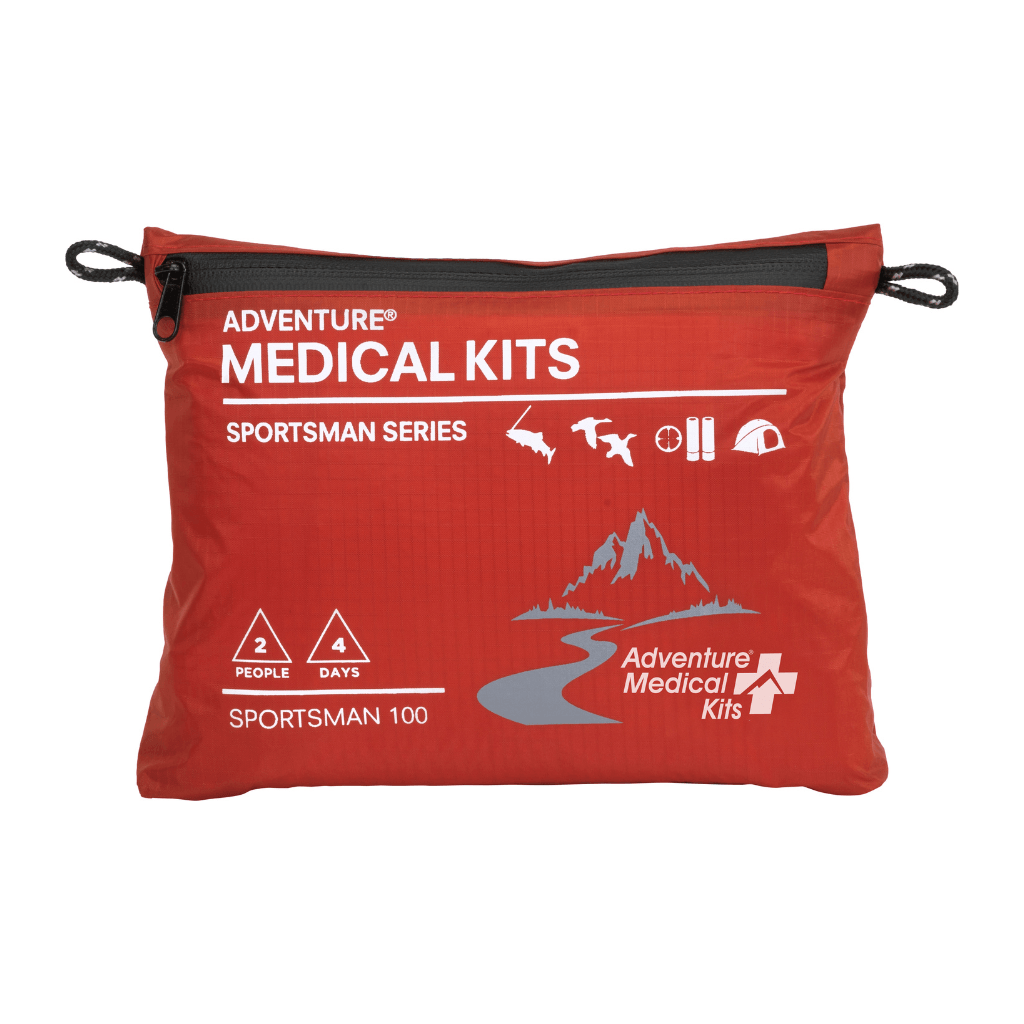
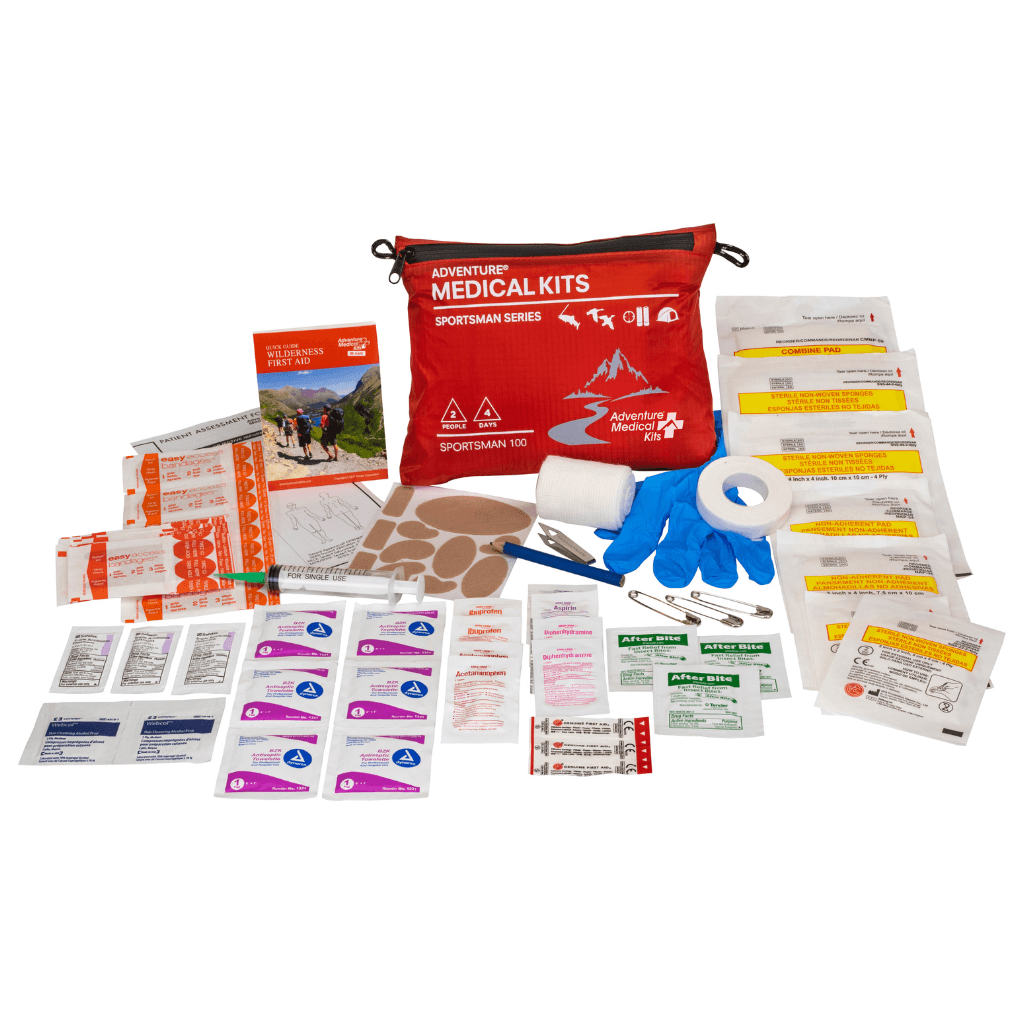
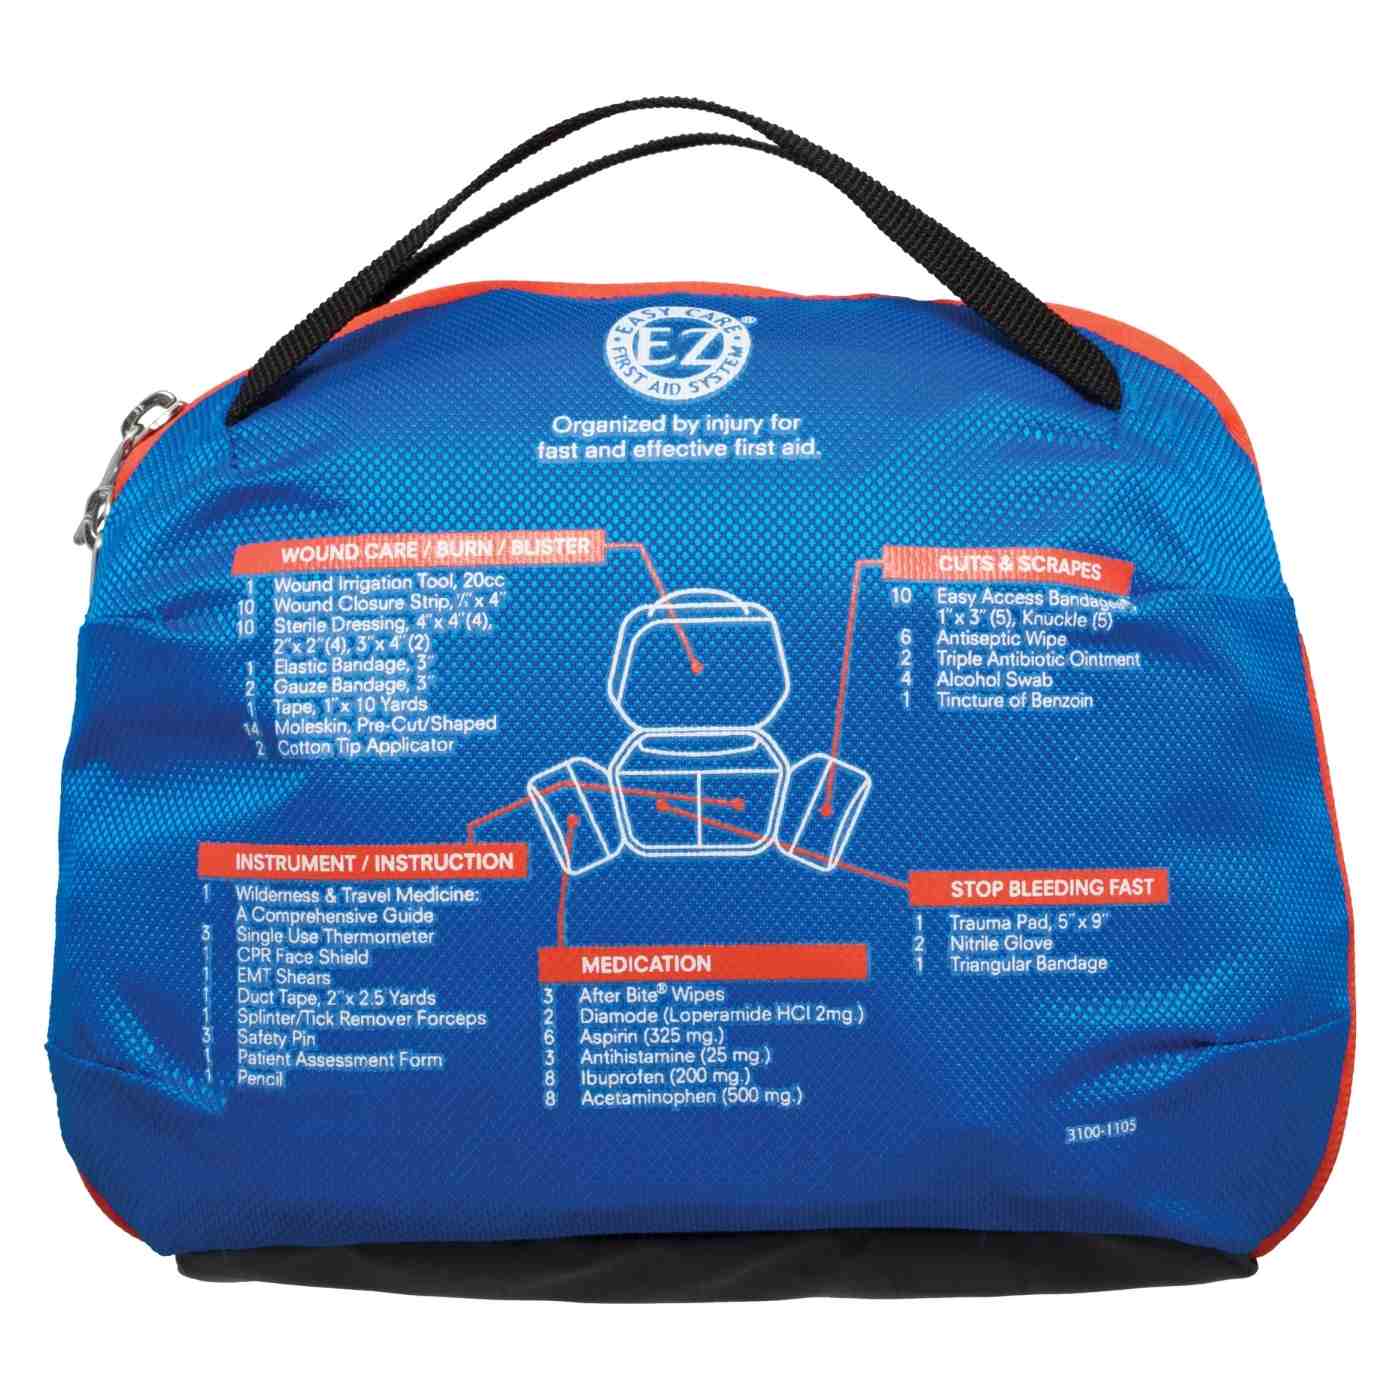
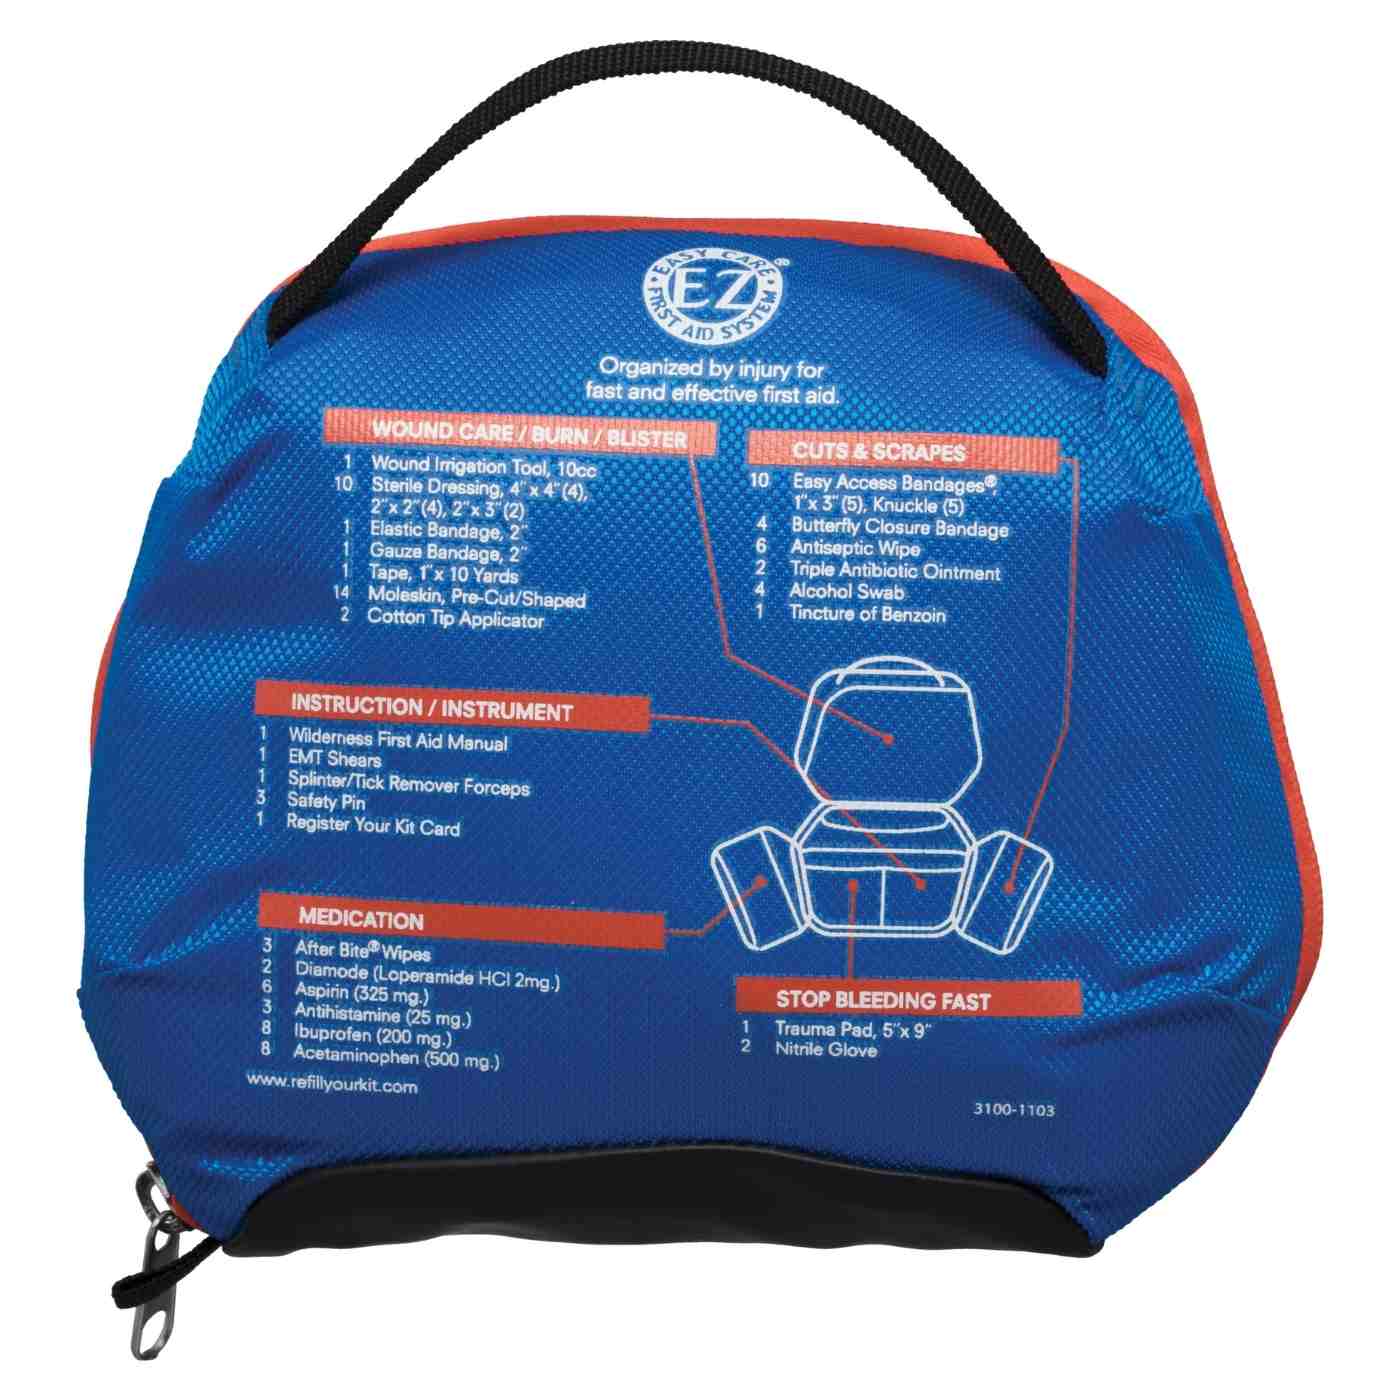
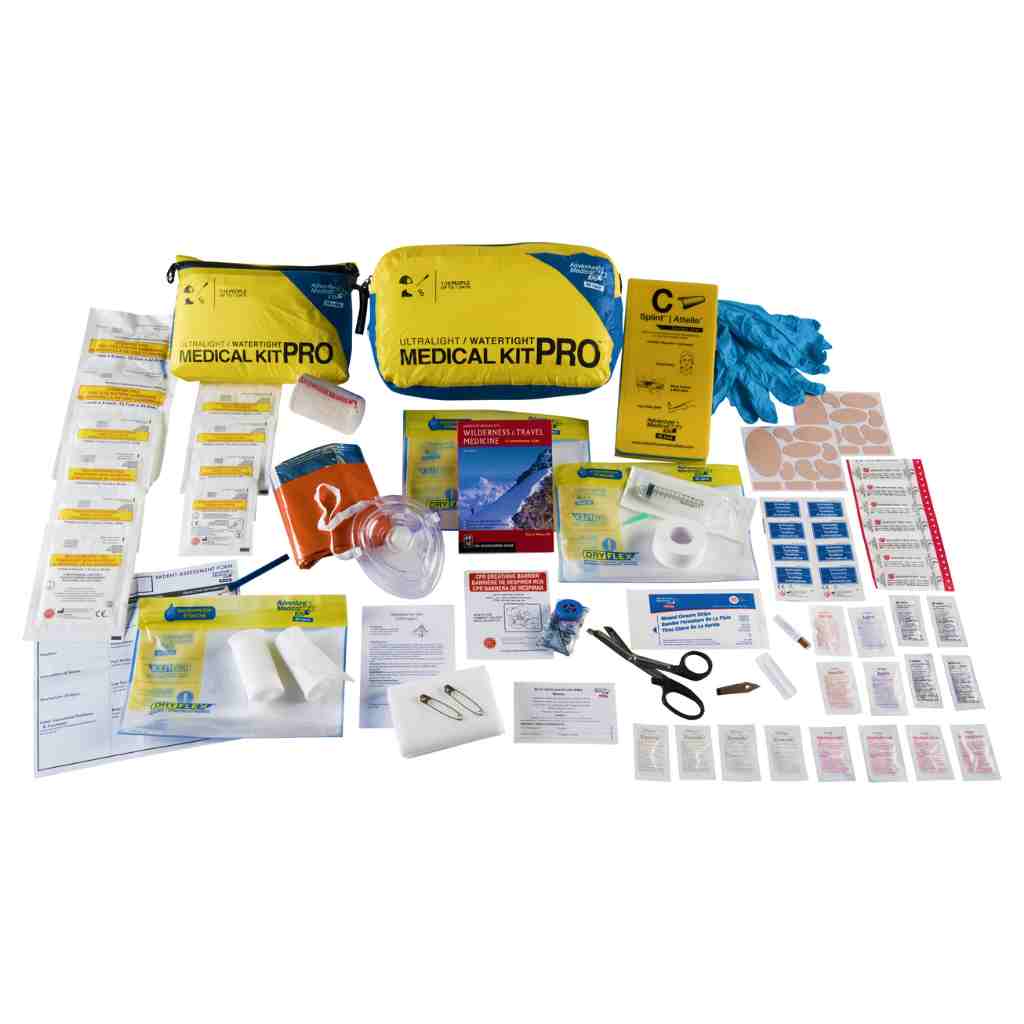
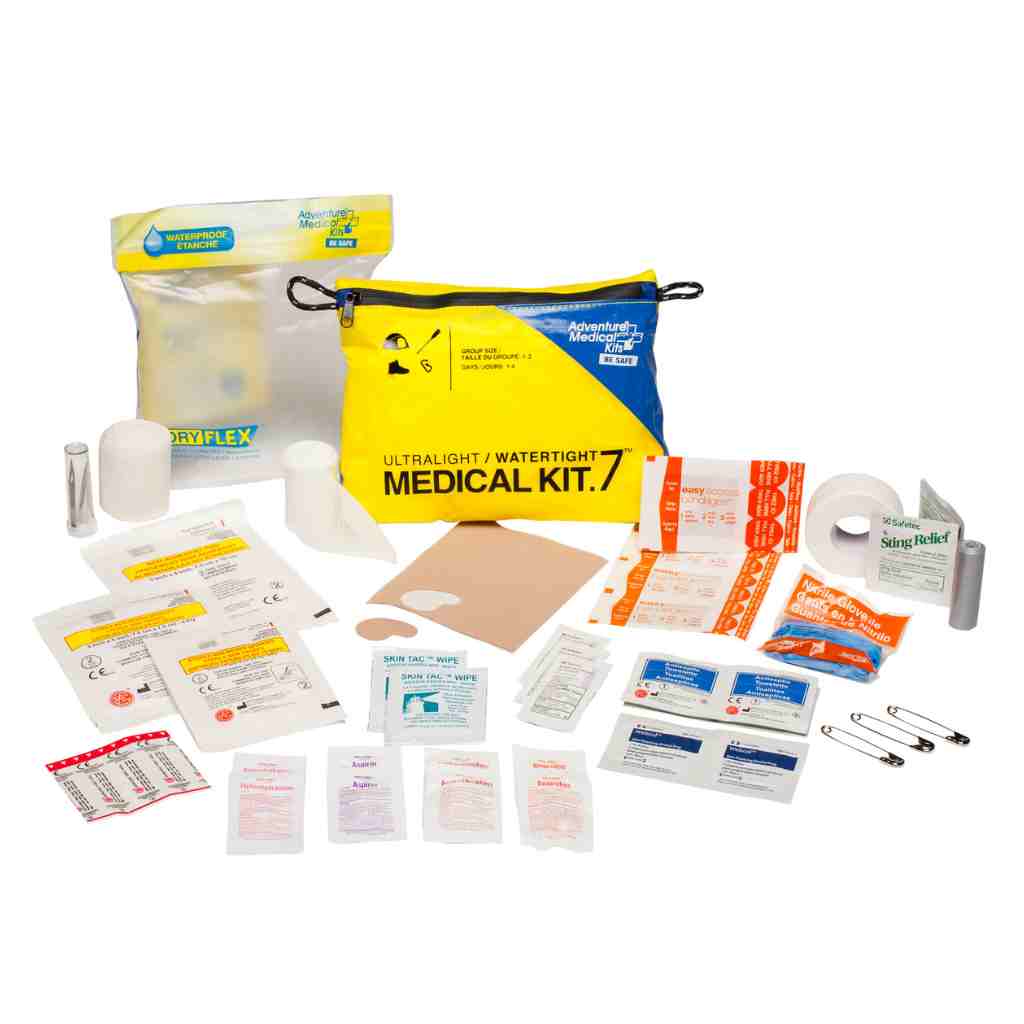
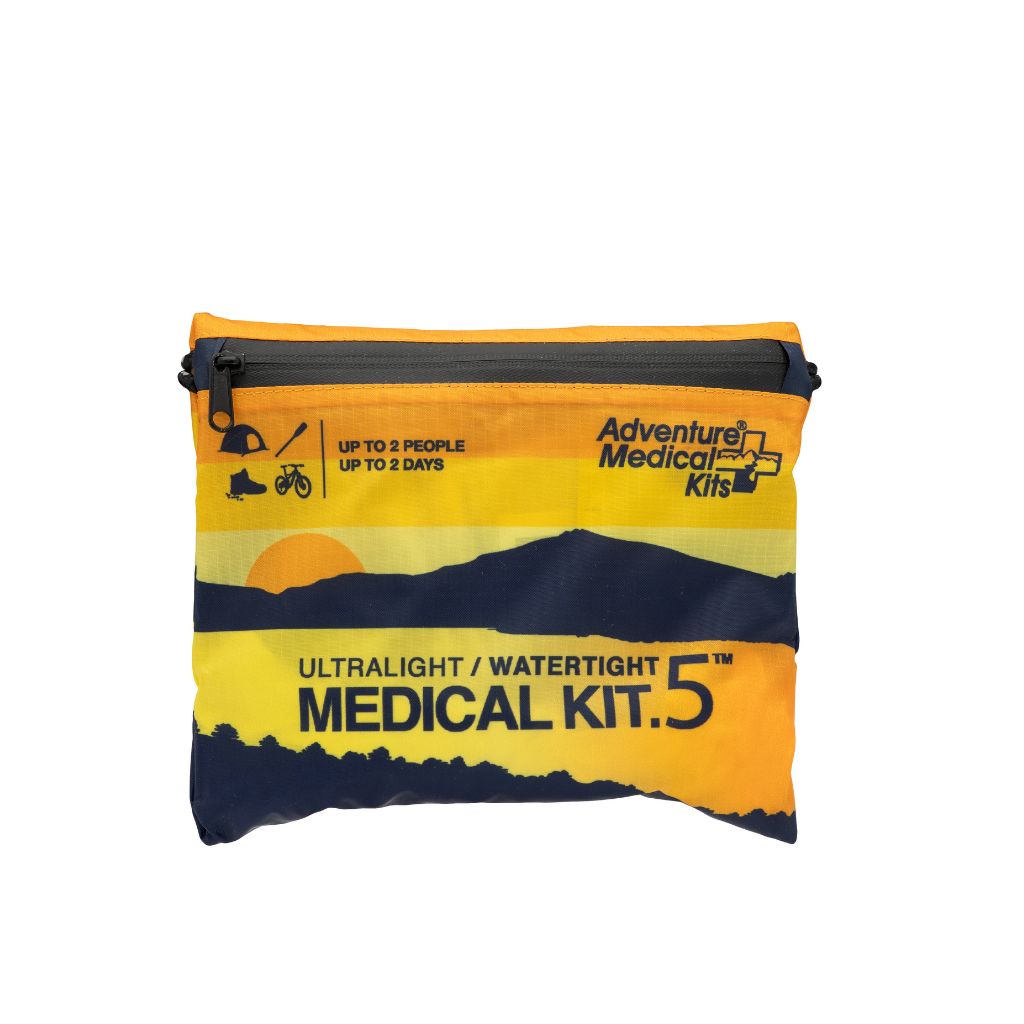
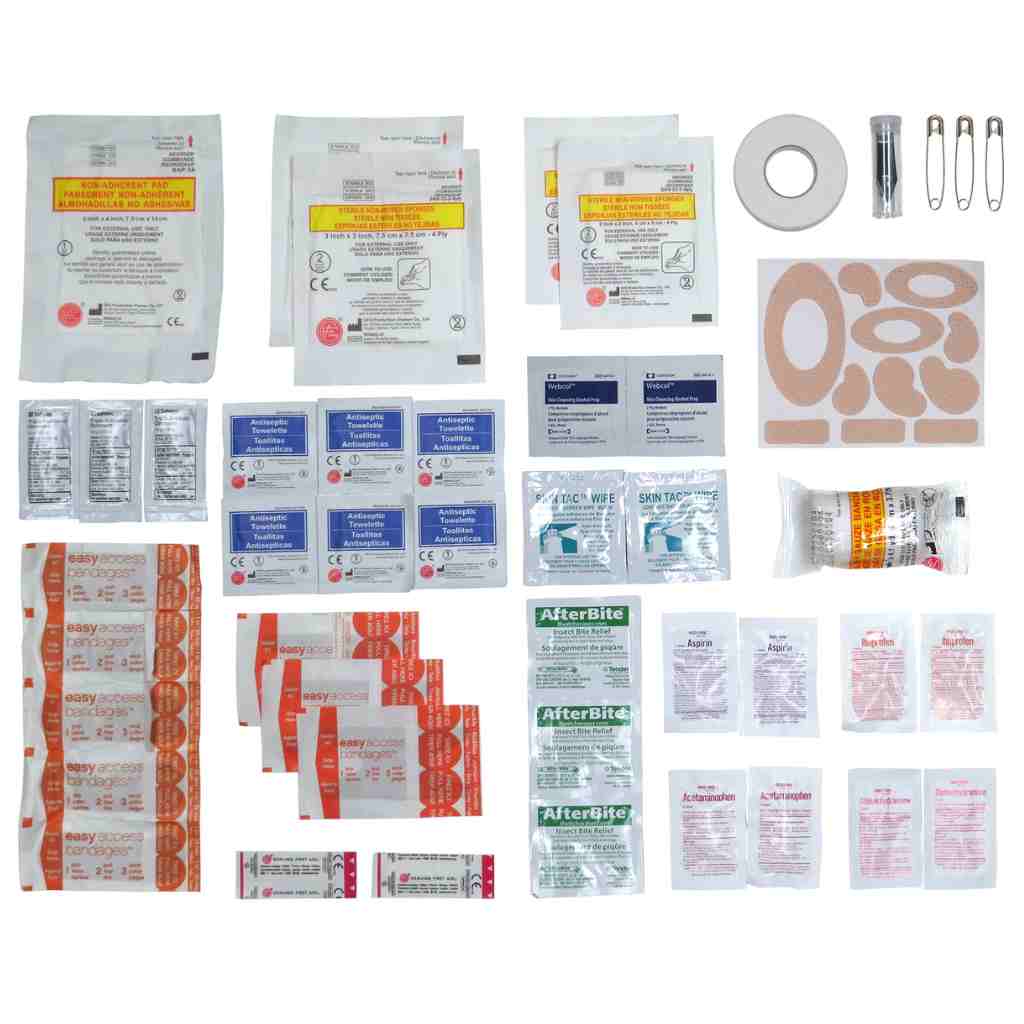
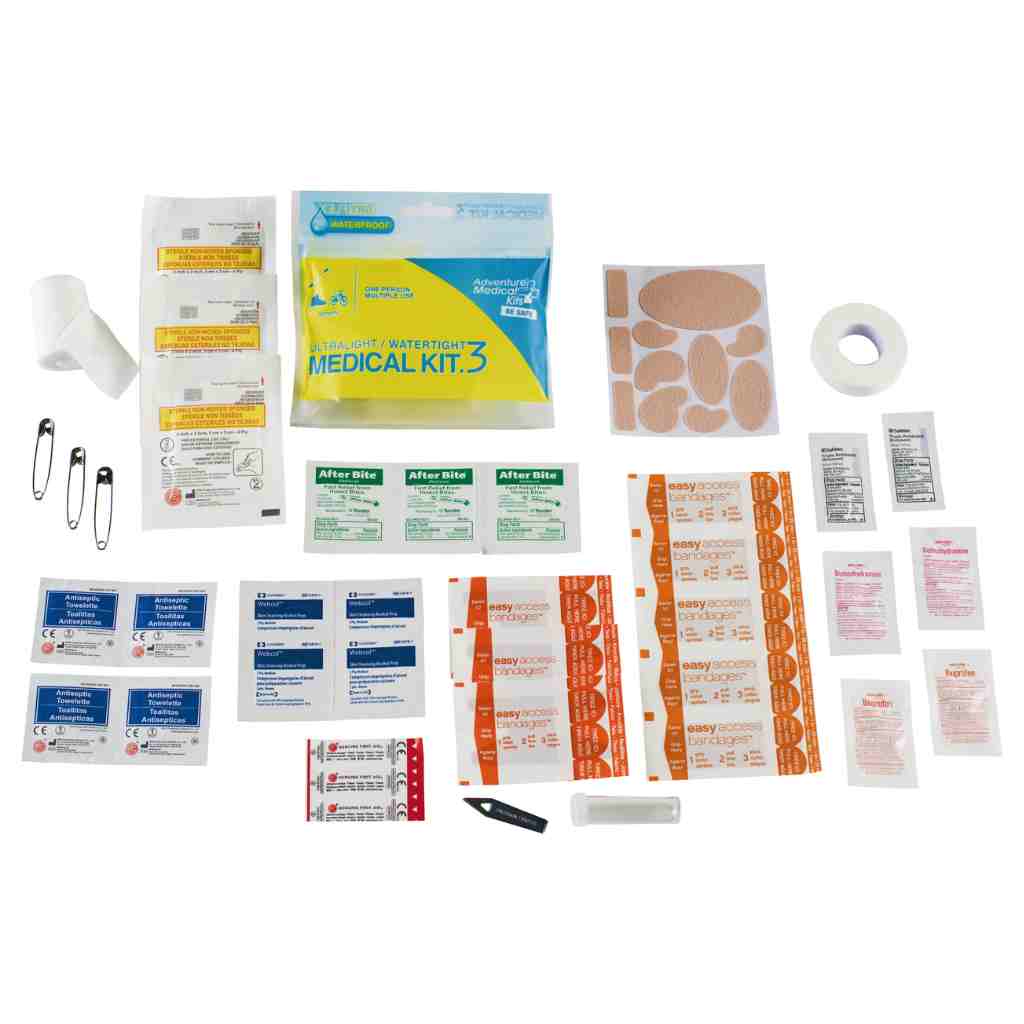
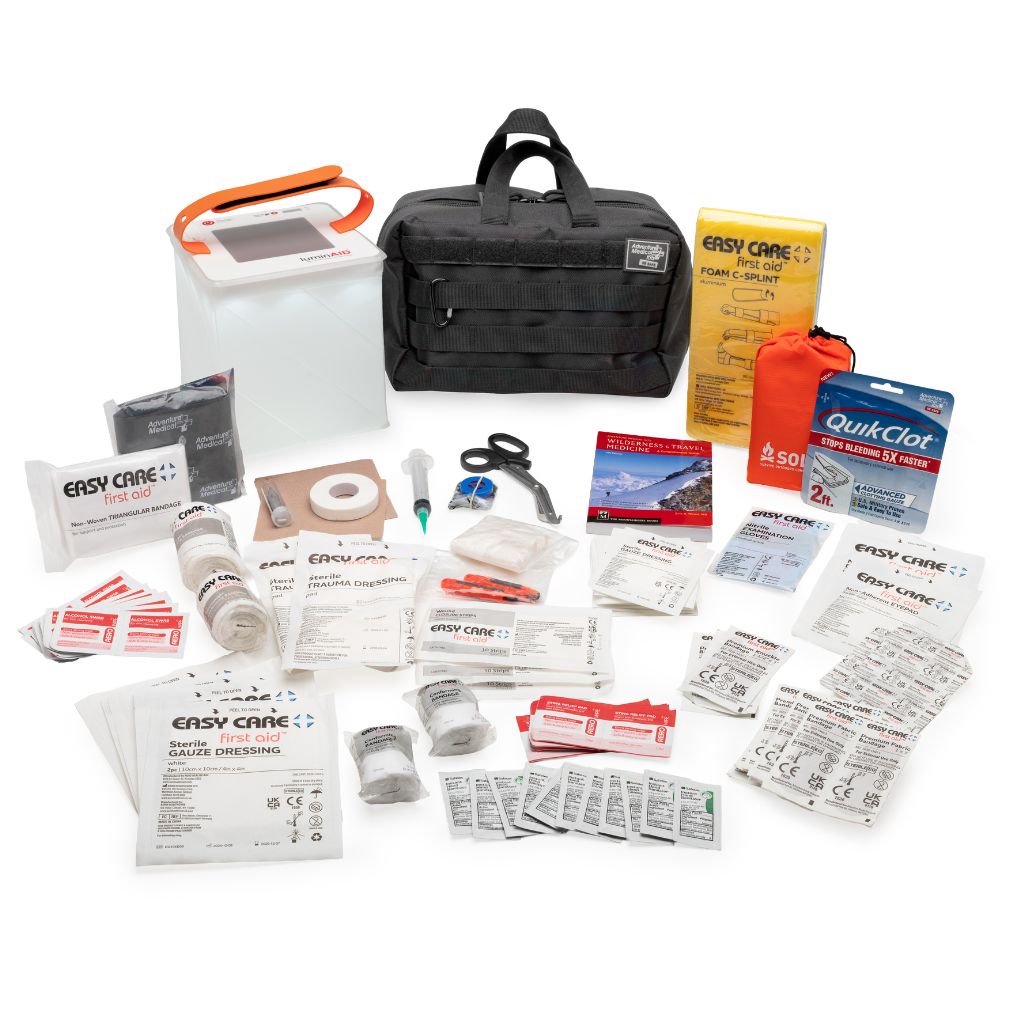
A first aid kit should match the activity, group, and distance from medical care. A day hike, a mountaineering trip, a guide operation, and an urban evacuation may share basic wound-care supplies, but they don't create the same injury or treatment demands. A useful kit combines high-quality medical supplies, clear organization, and training that helps people assess a situation before reaching for equipment.
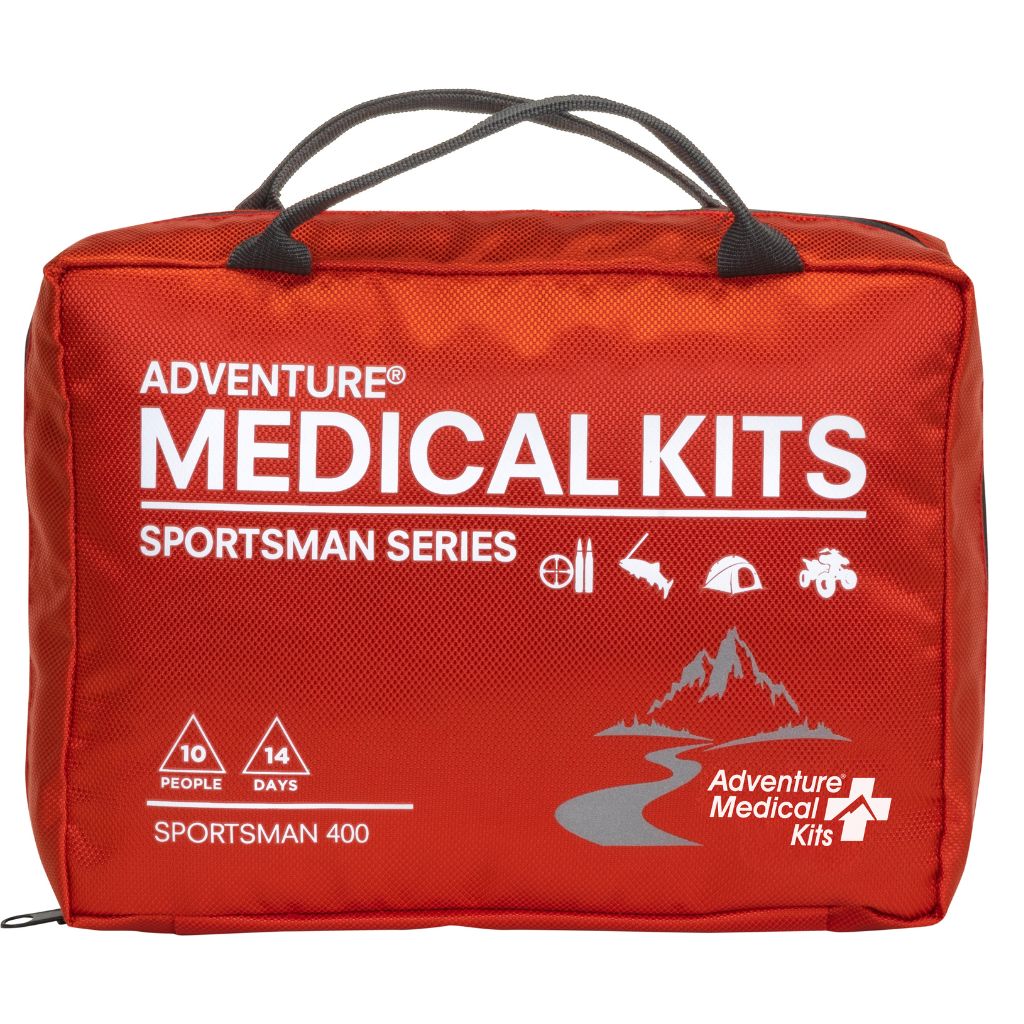
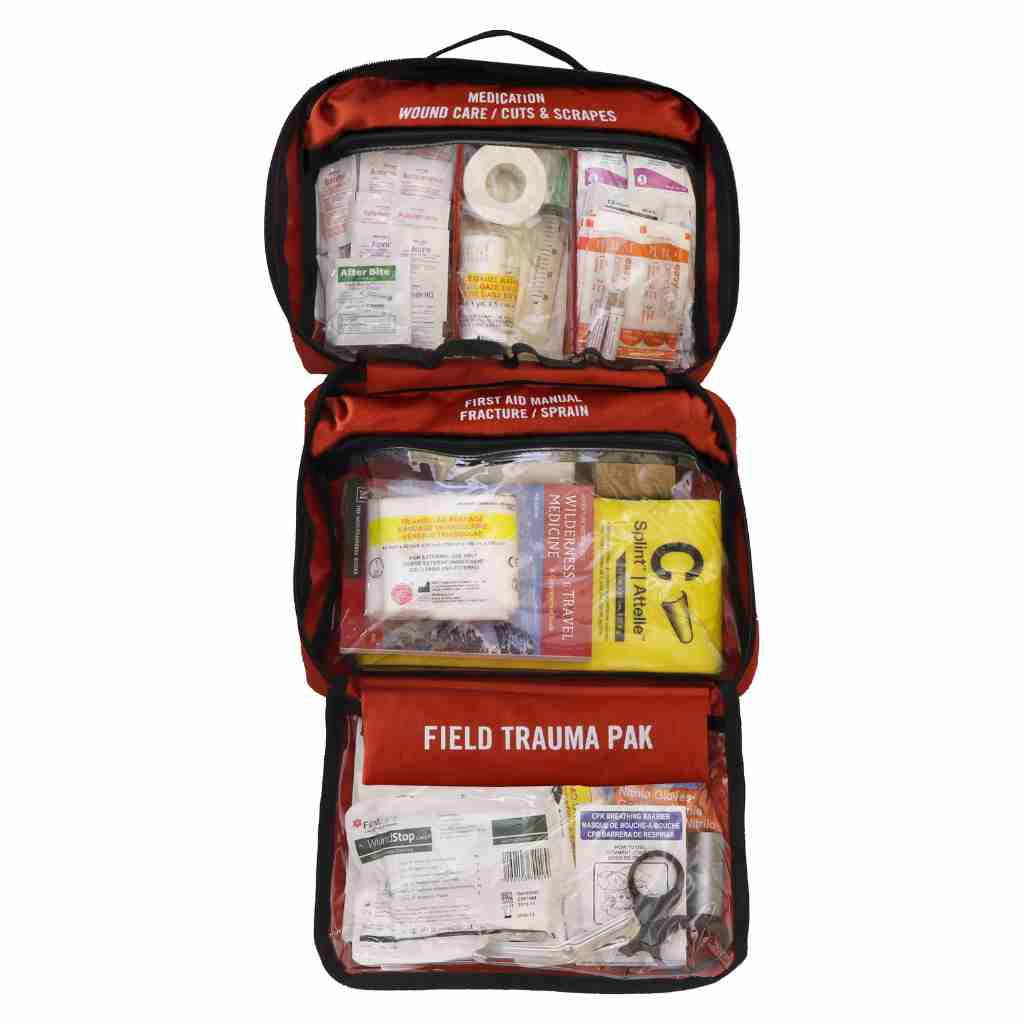
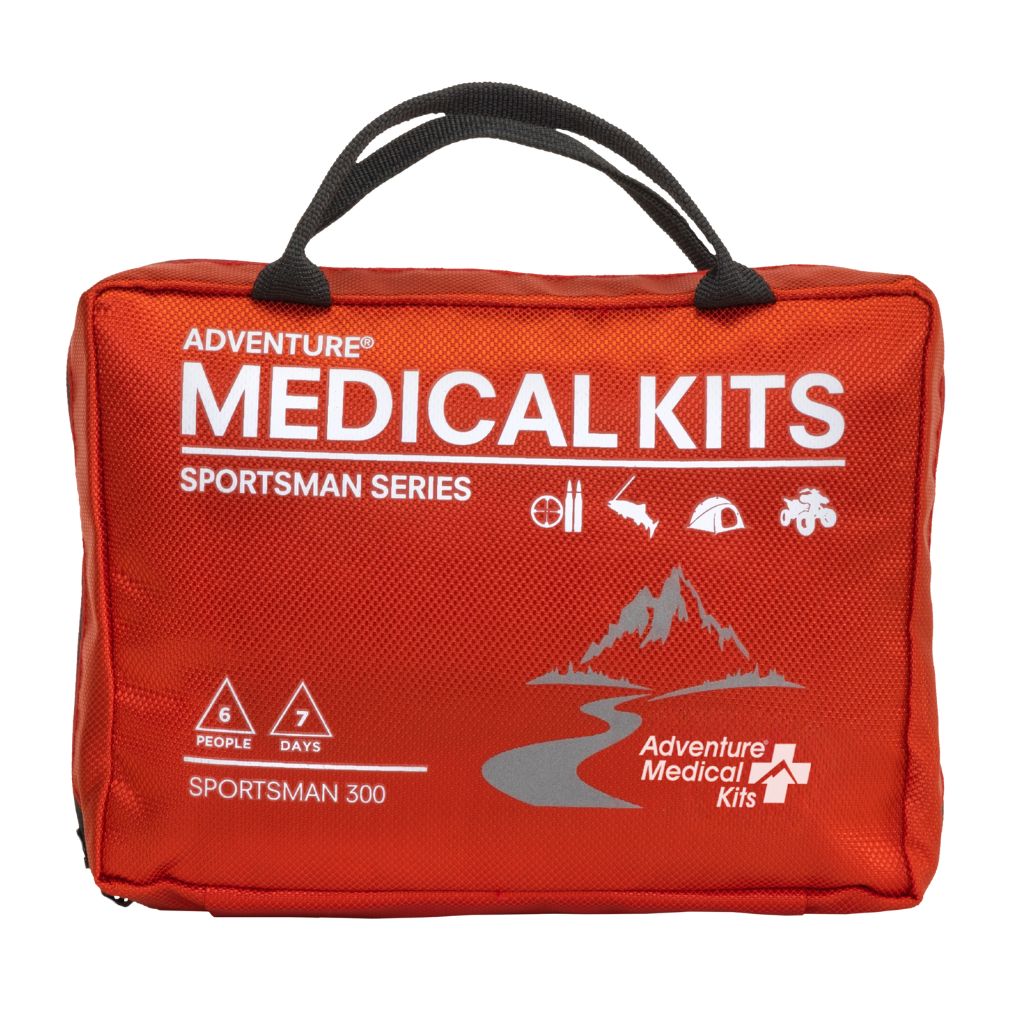
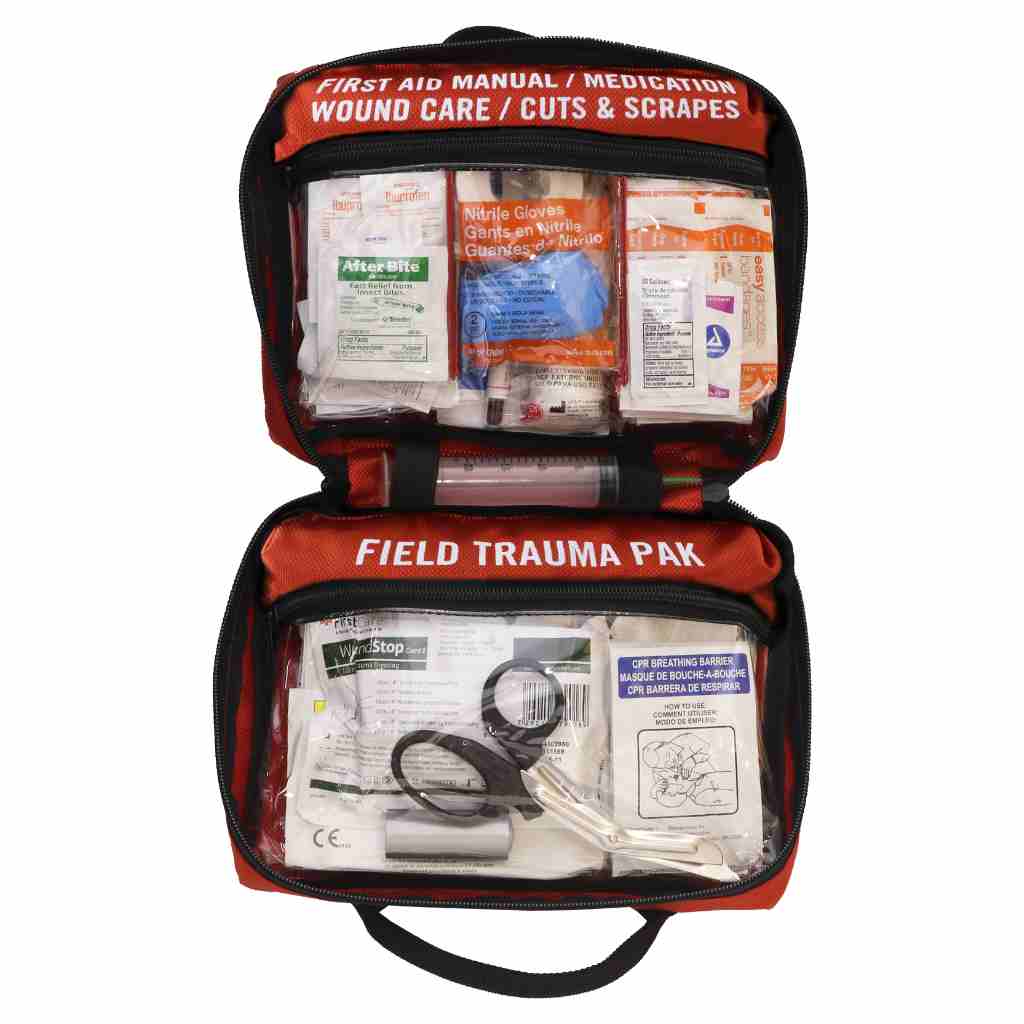
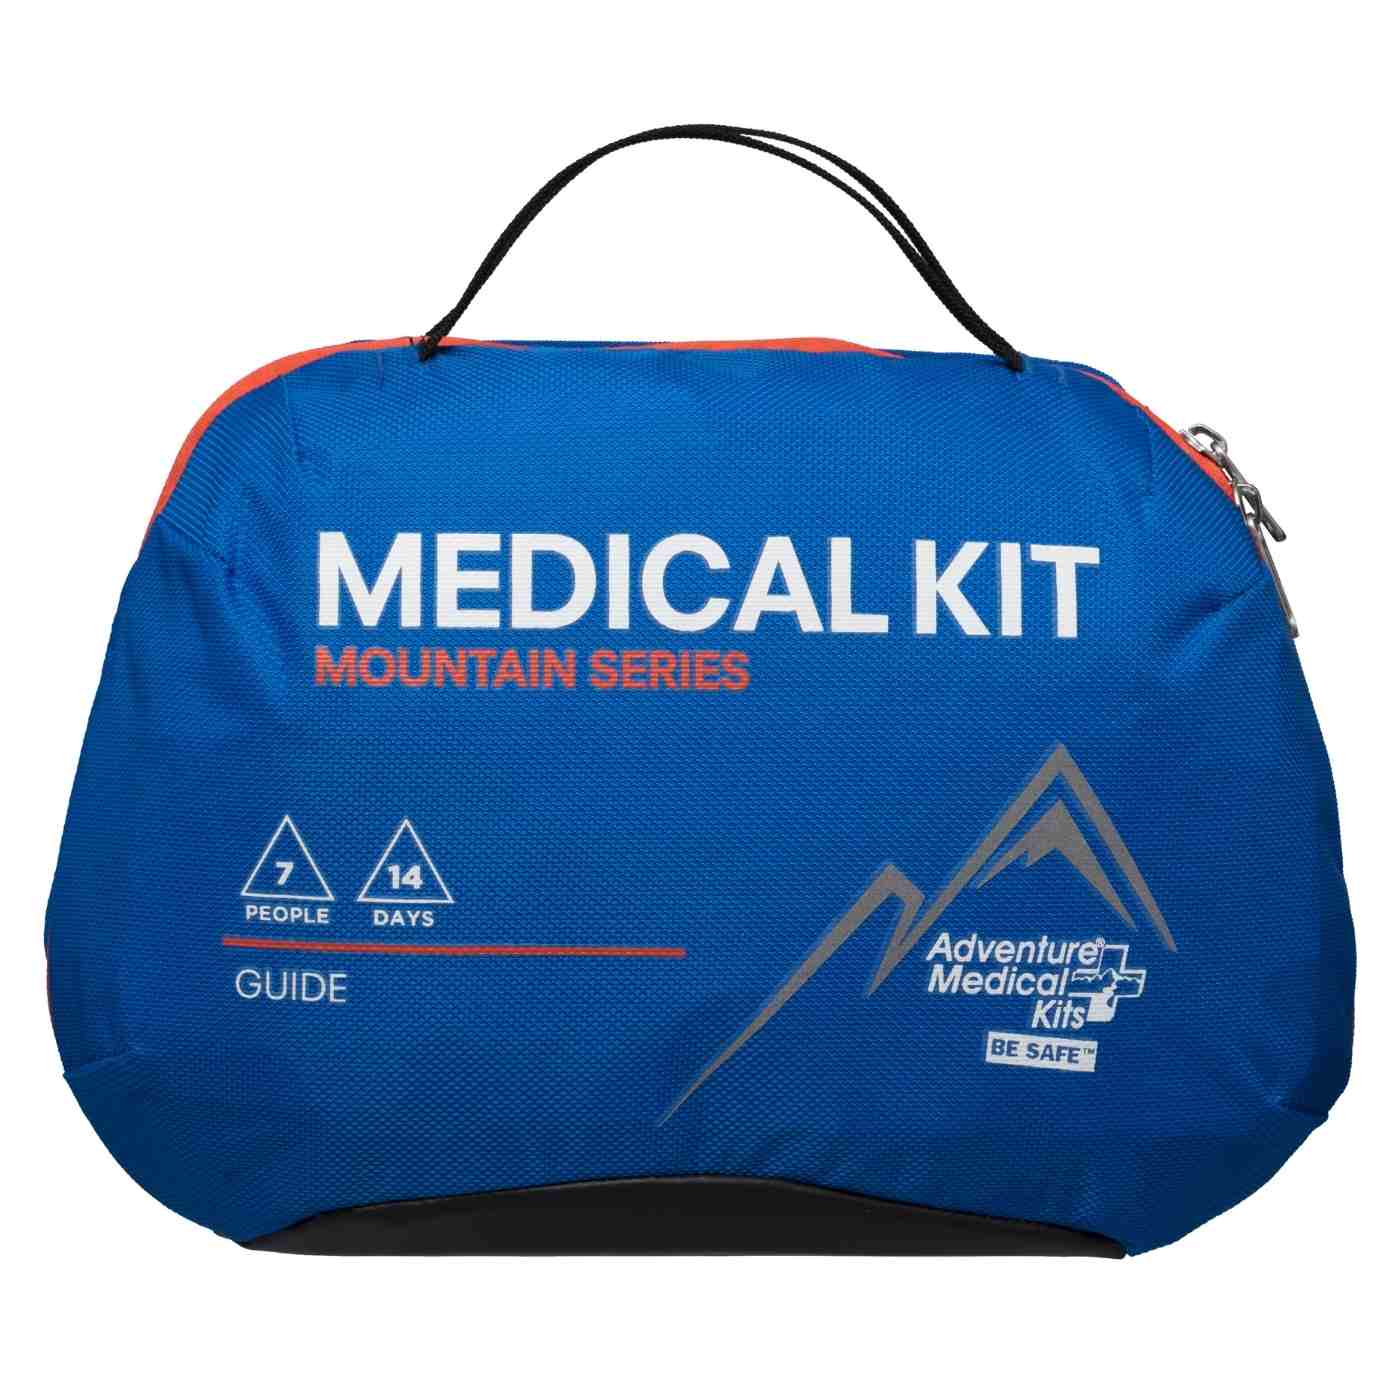
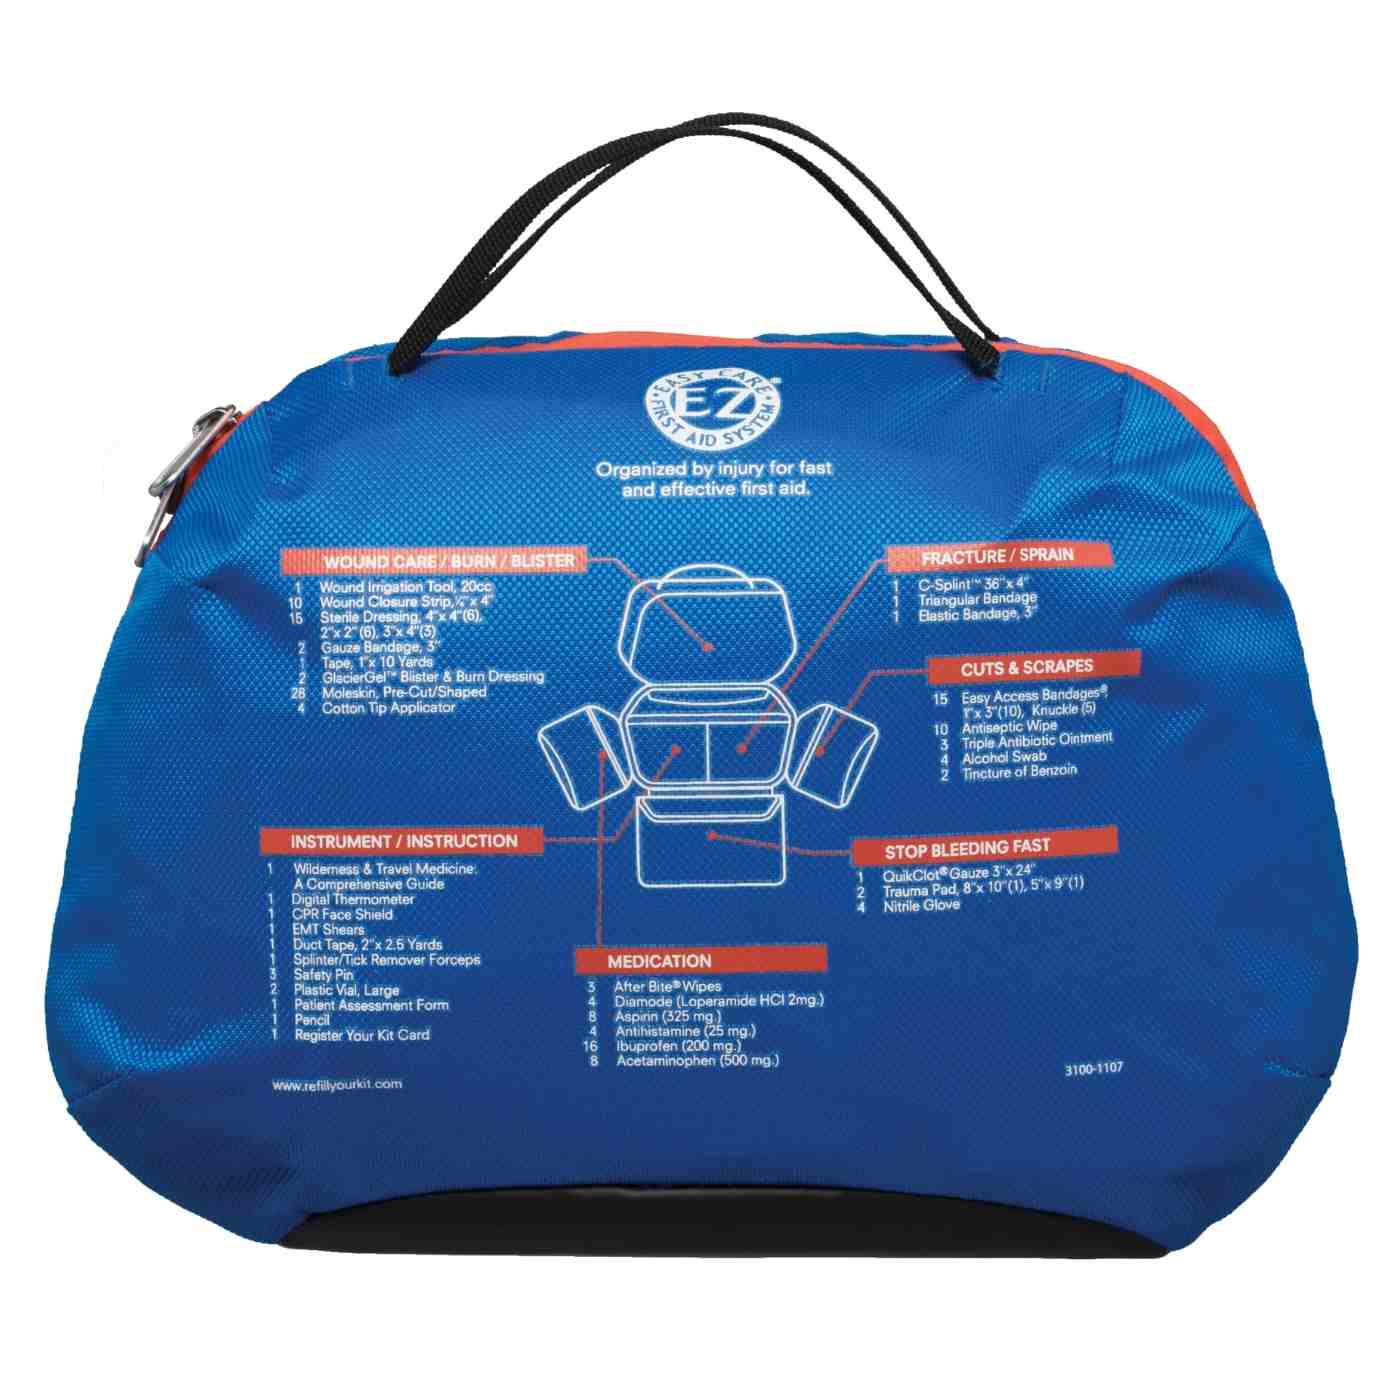
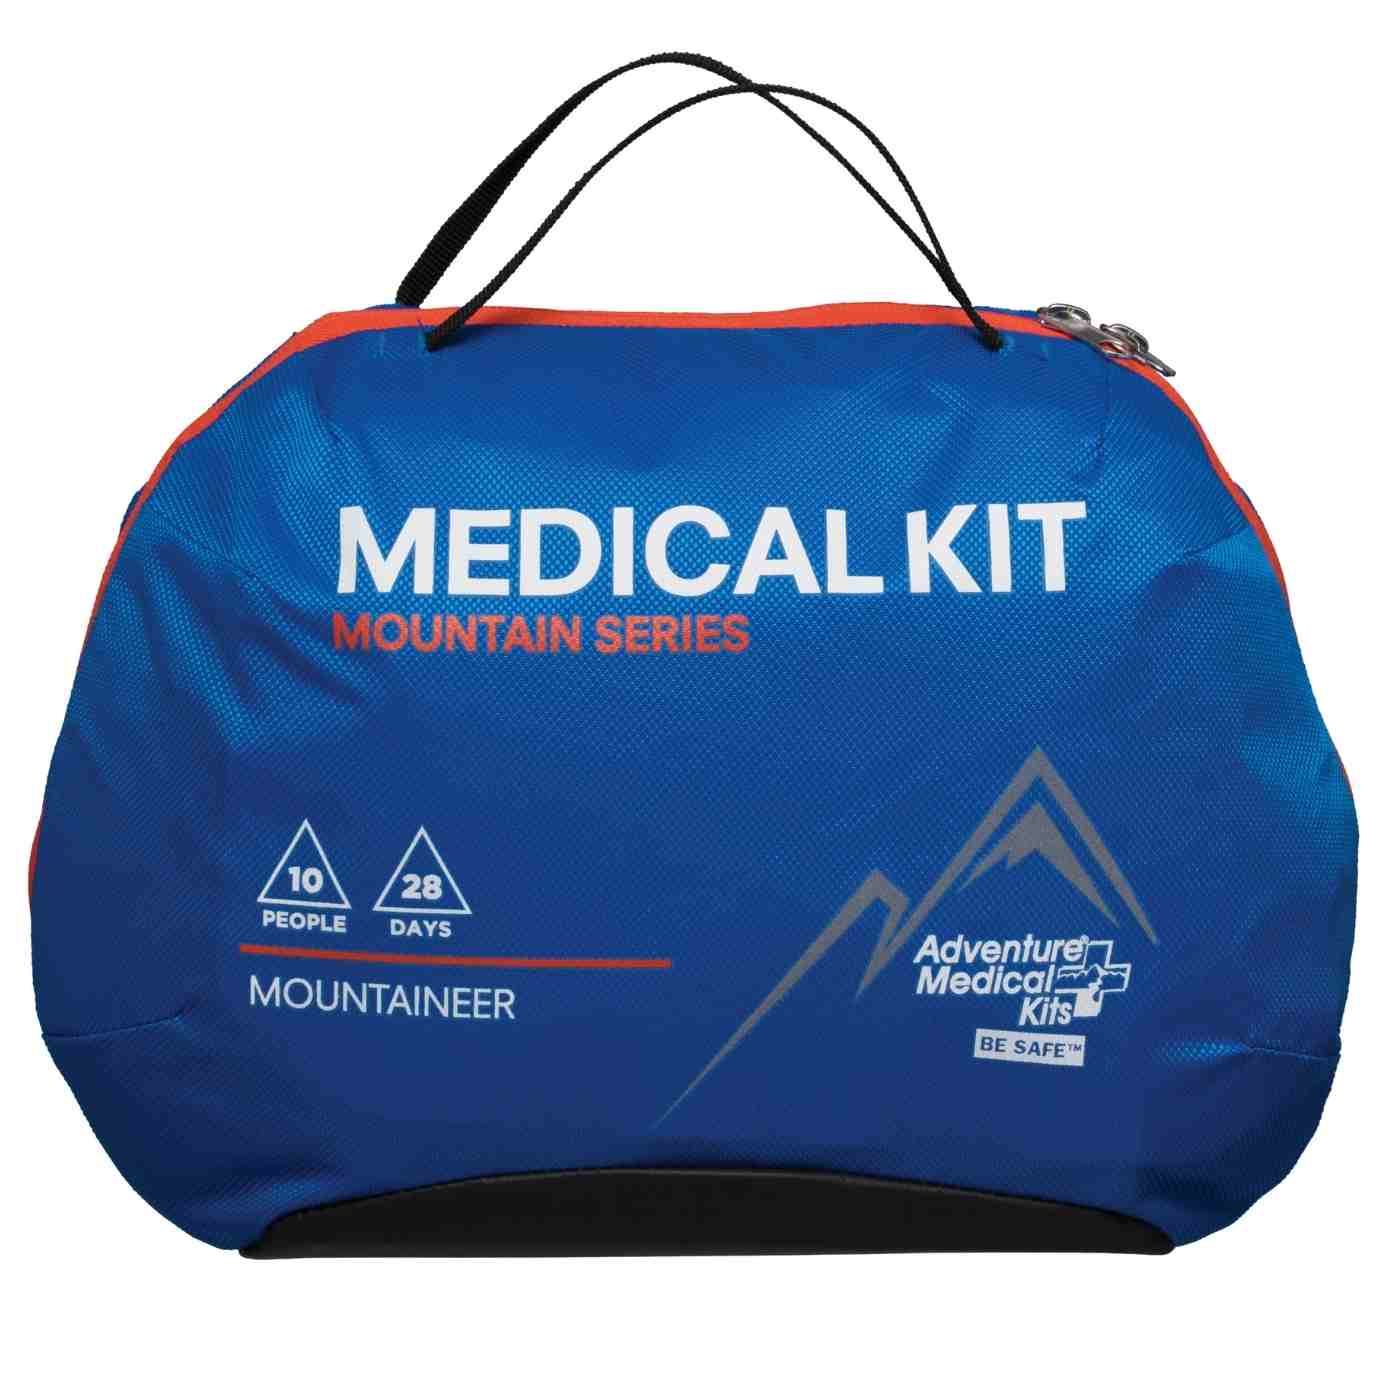
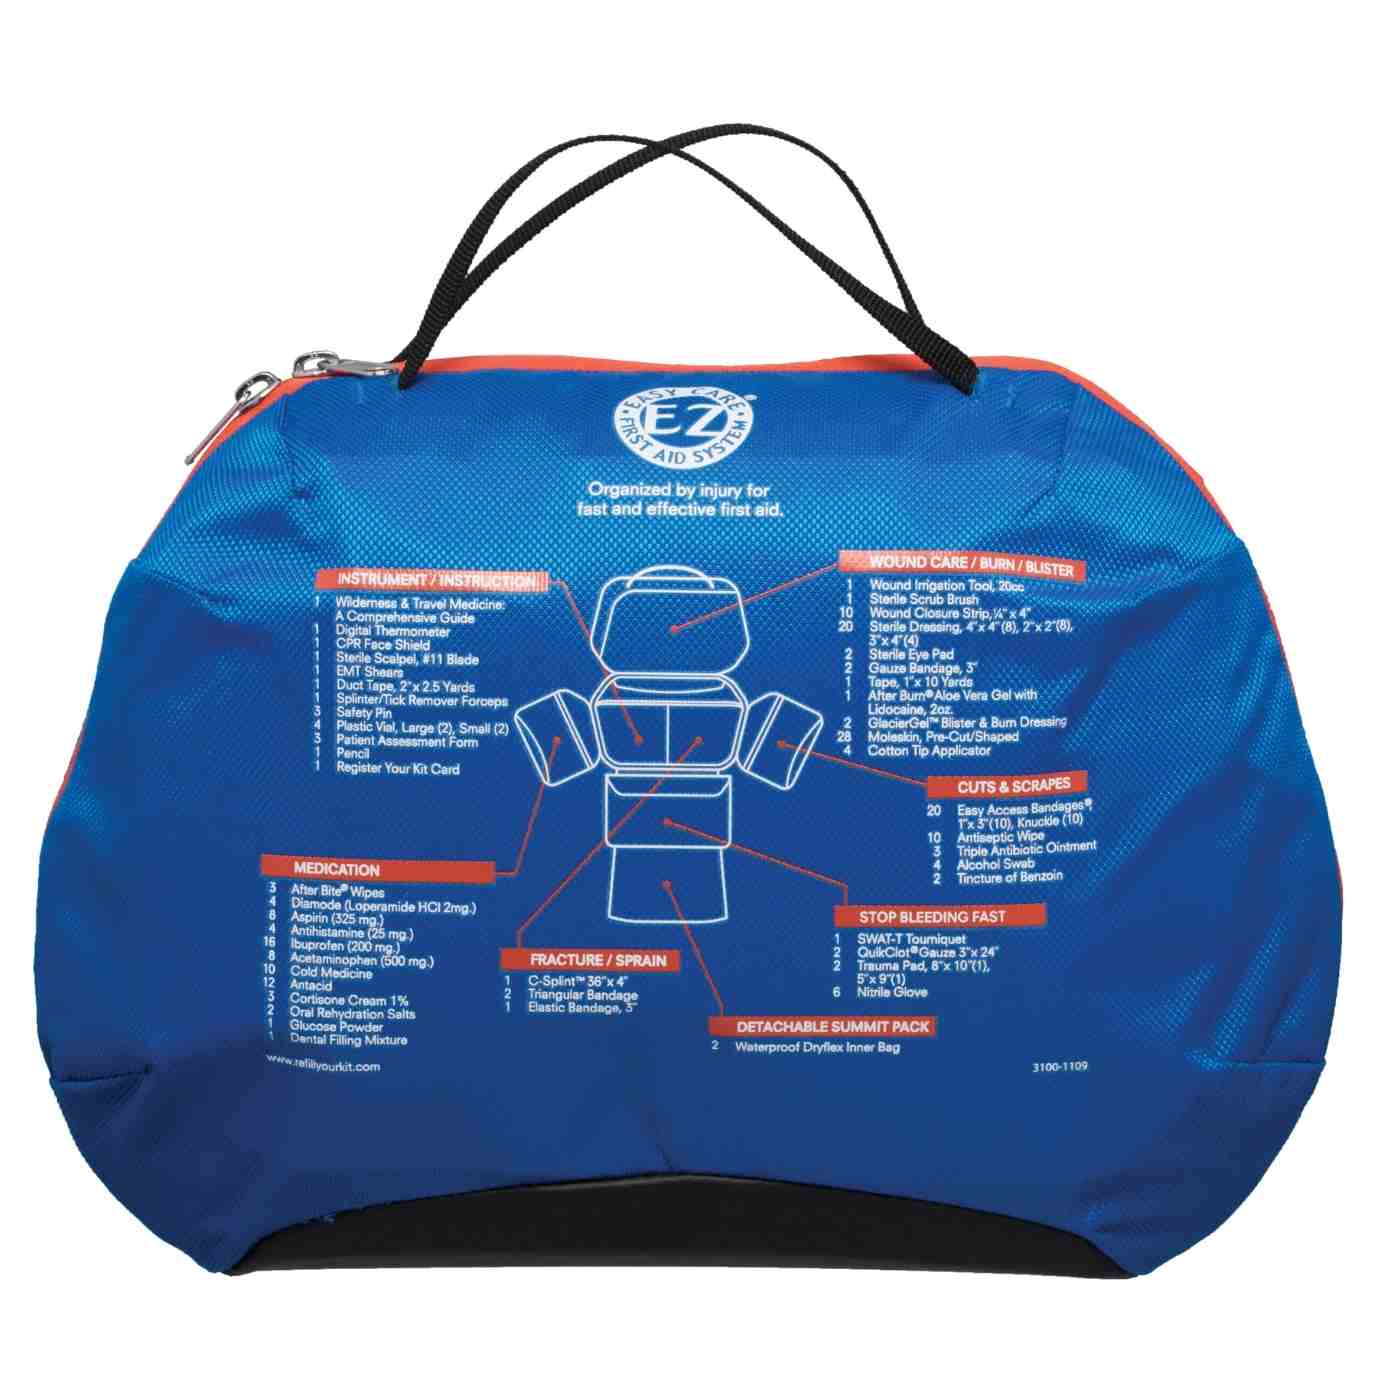
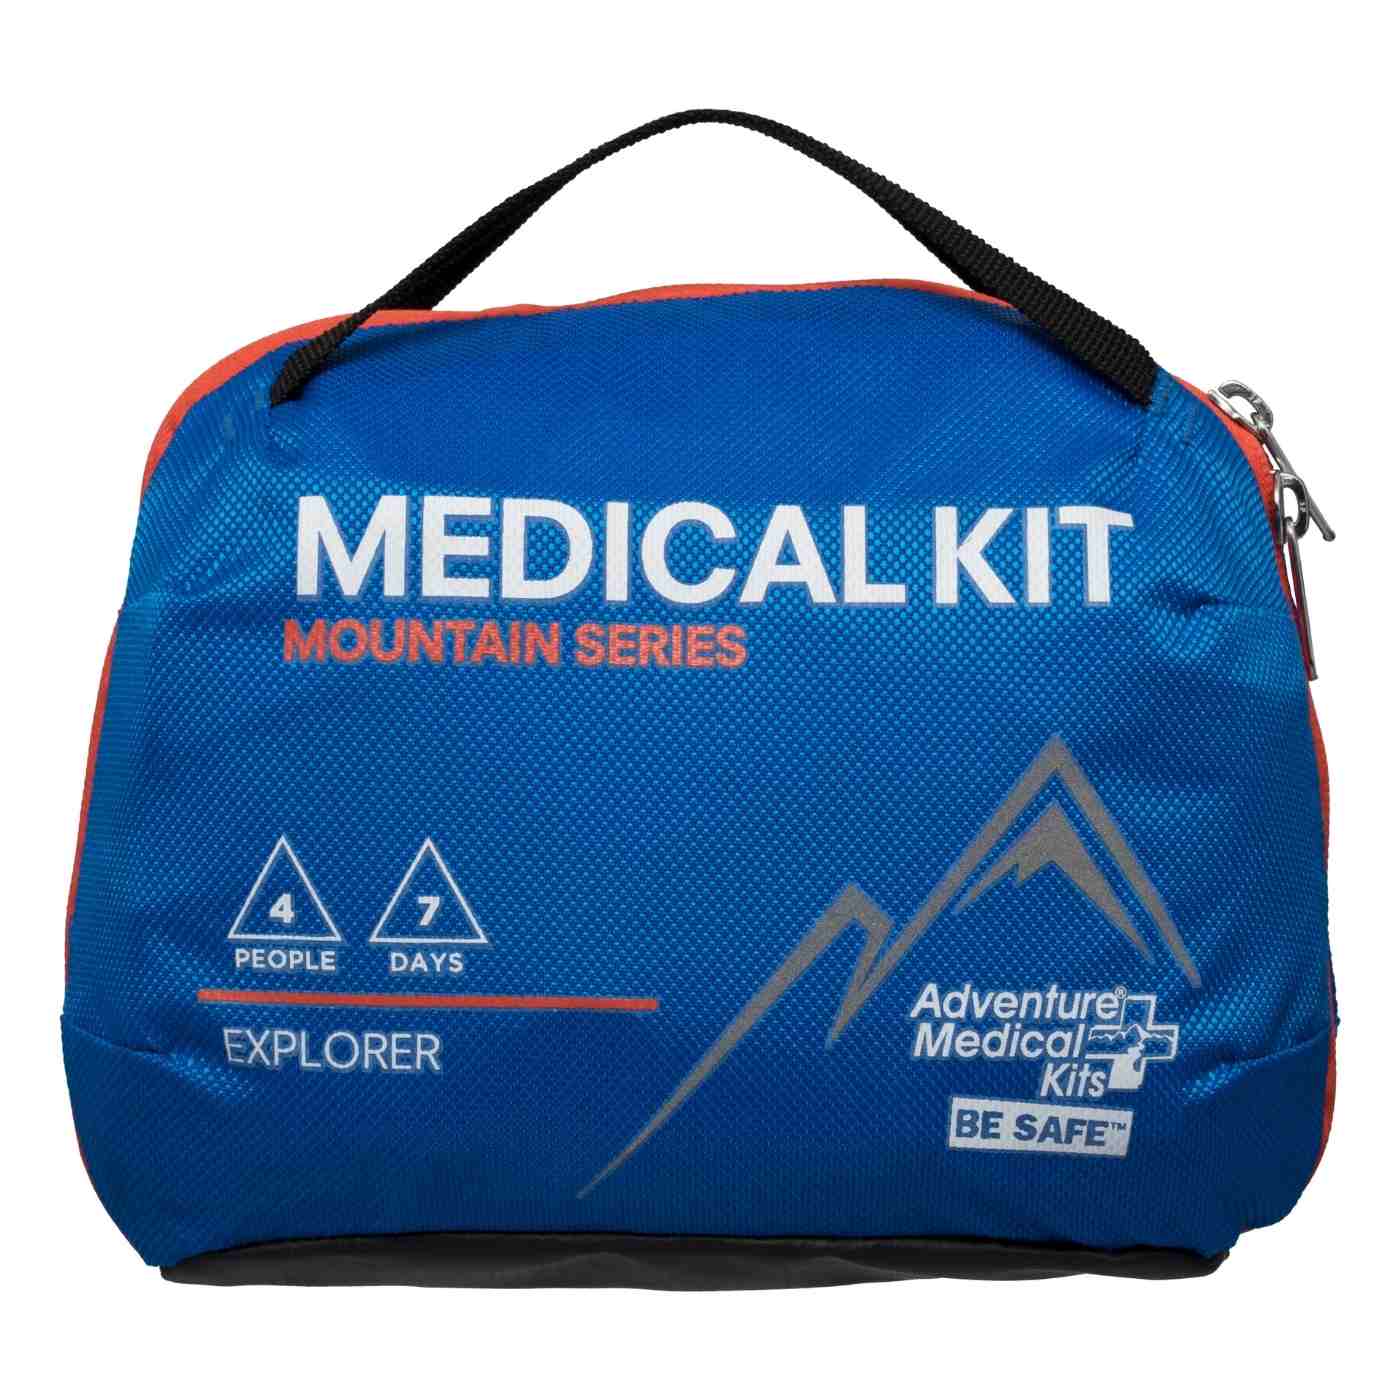
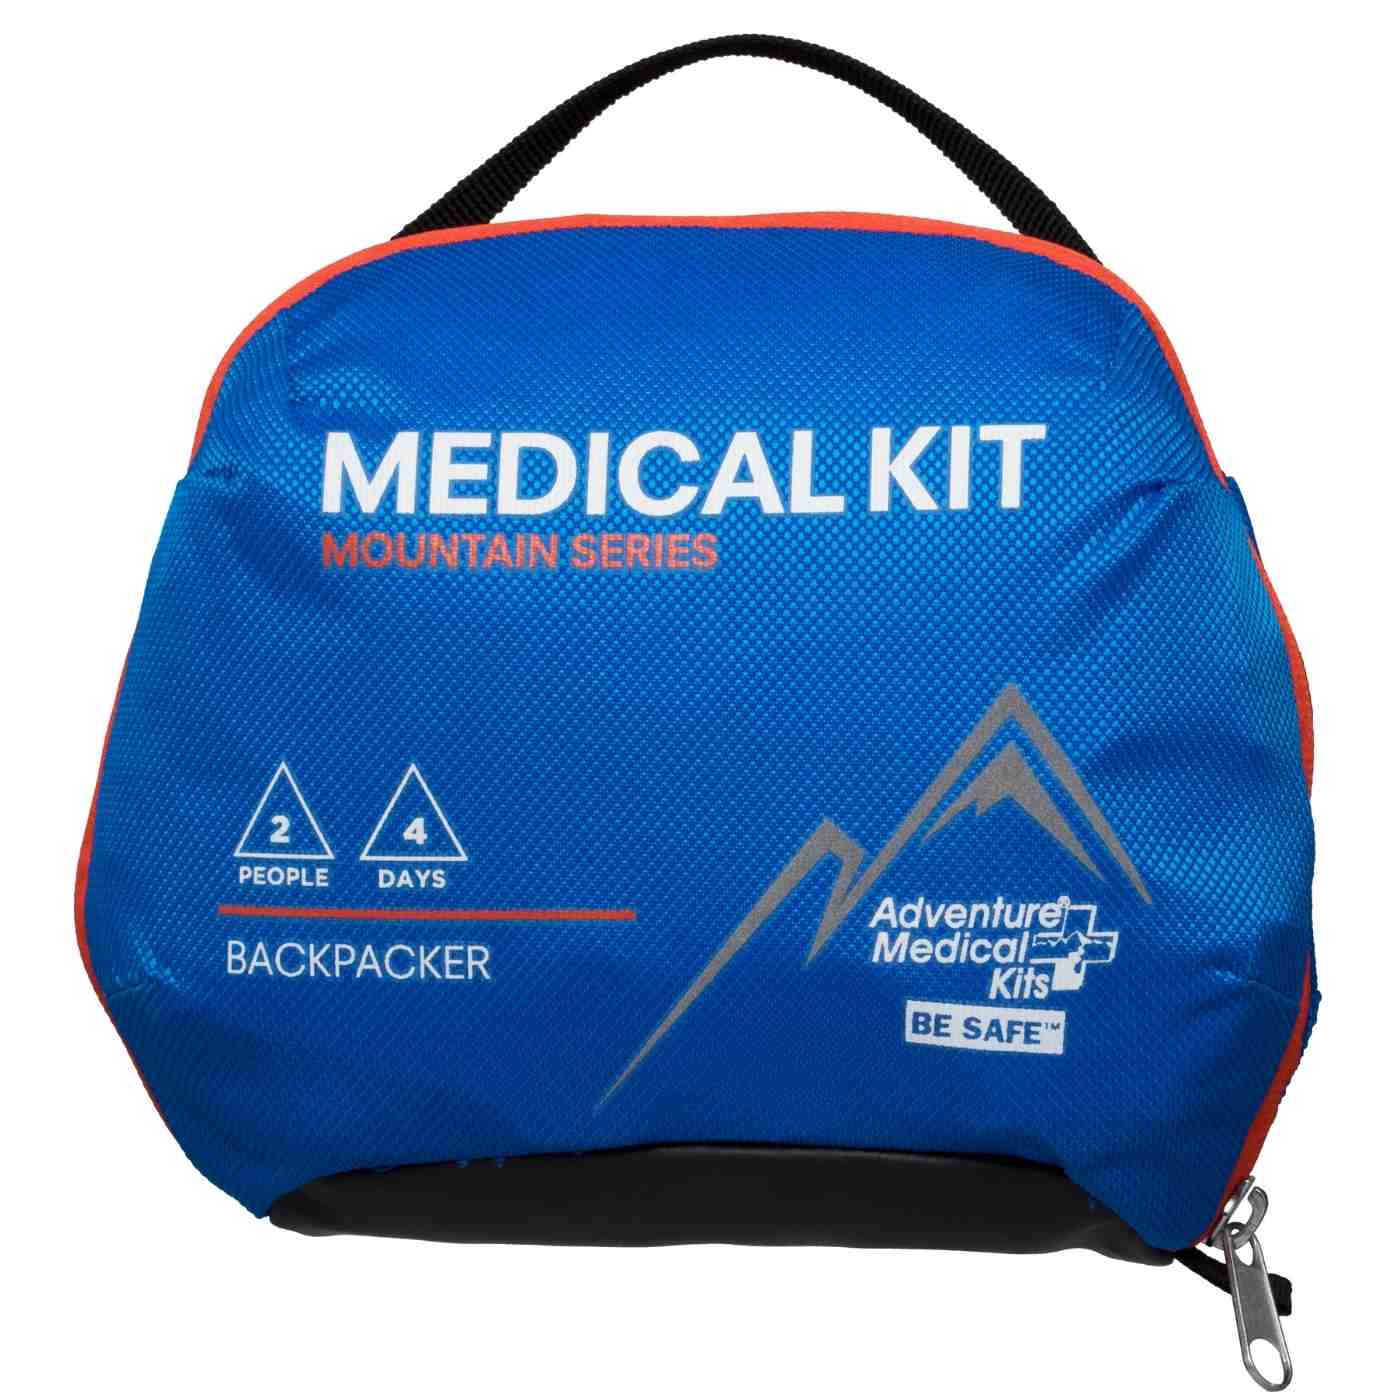
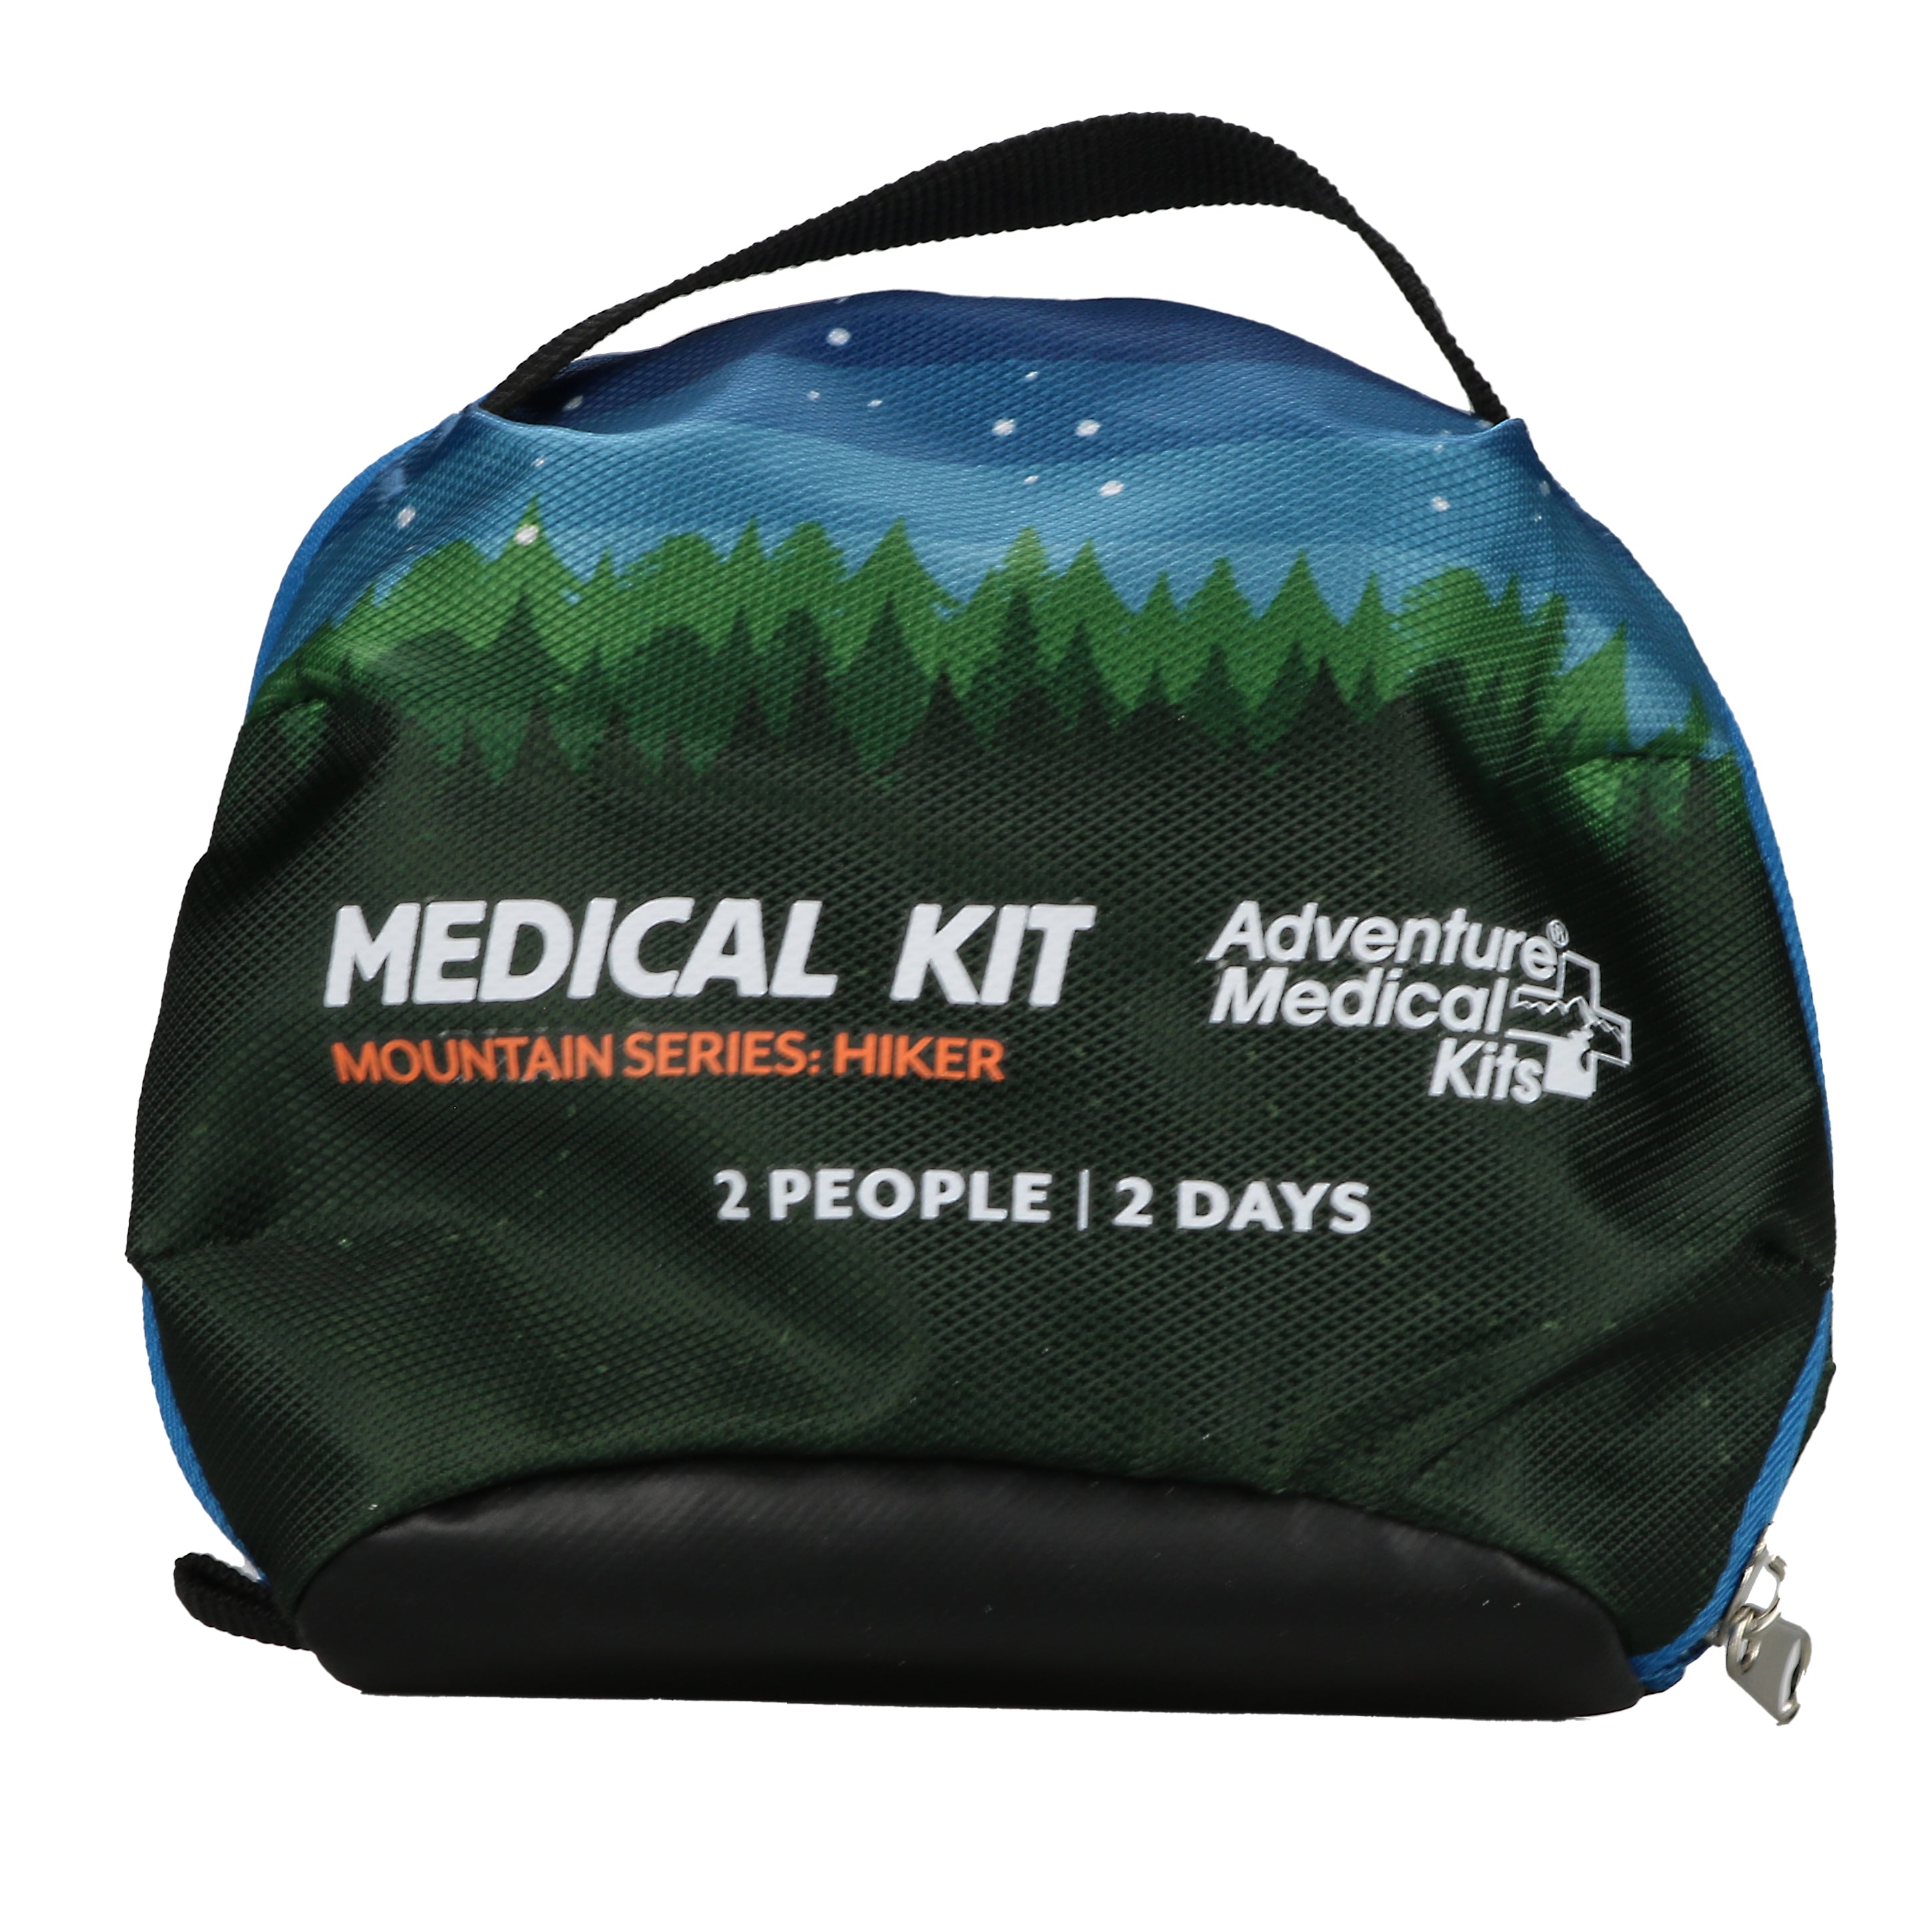
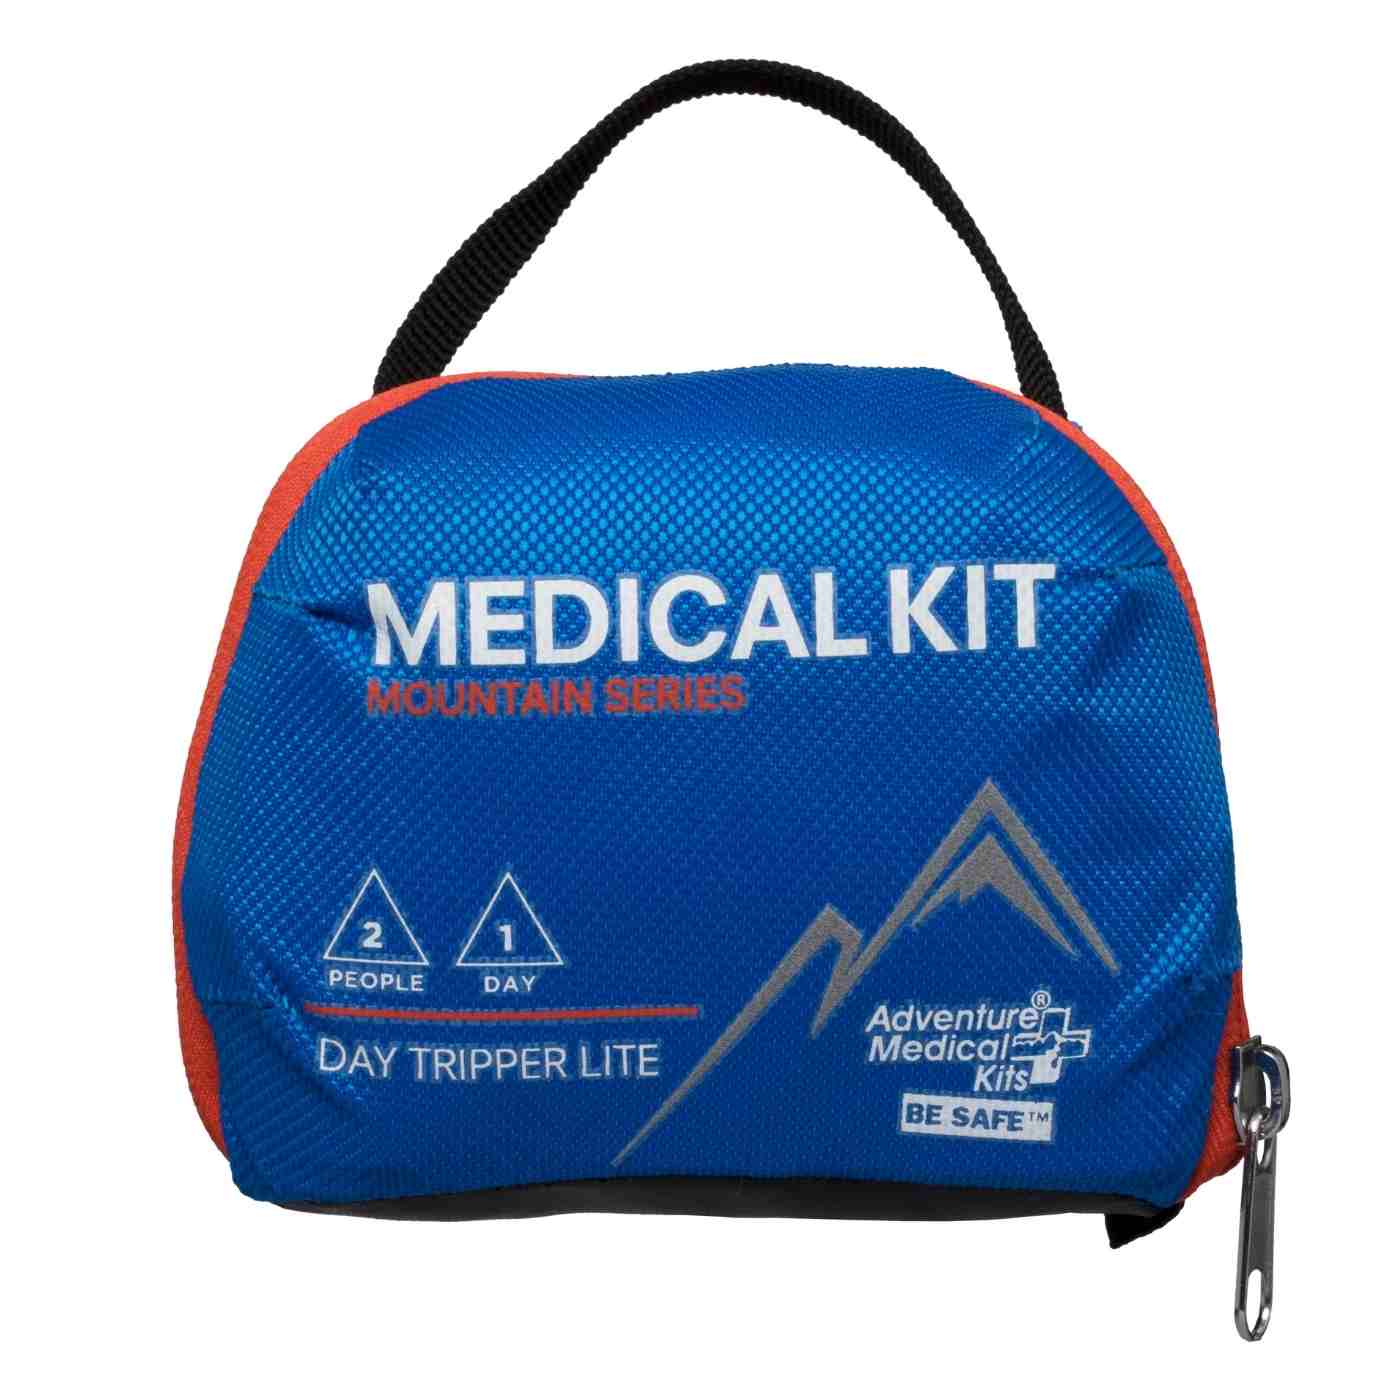
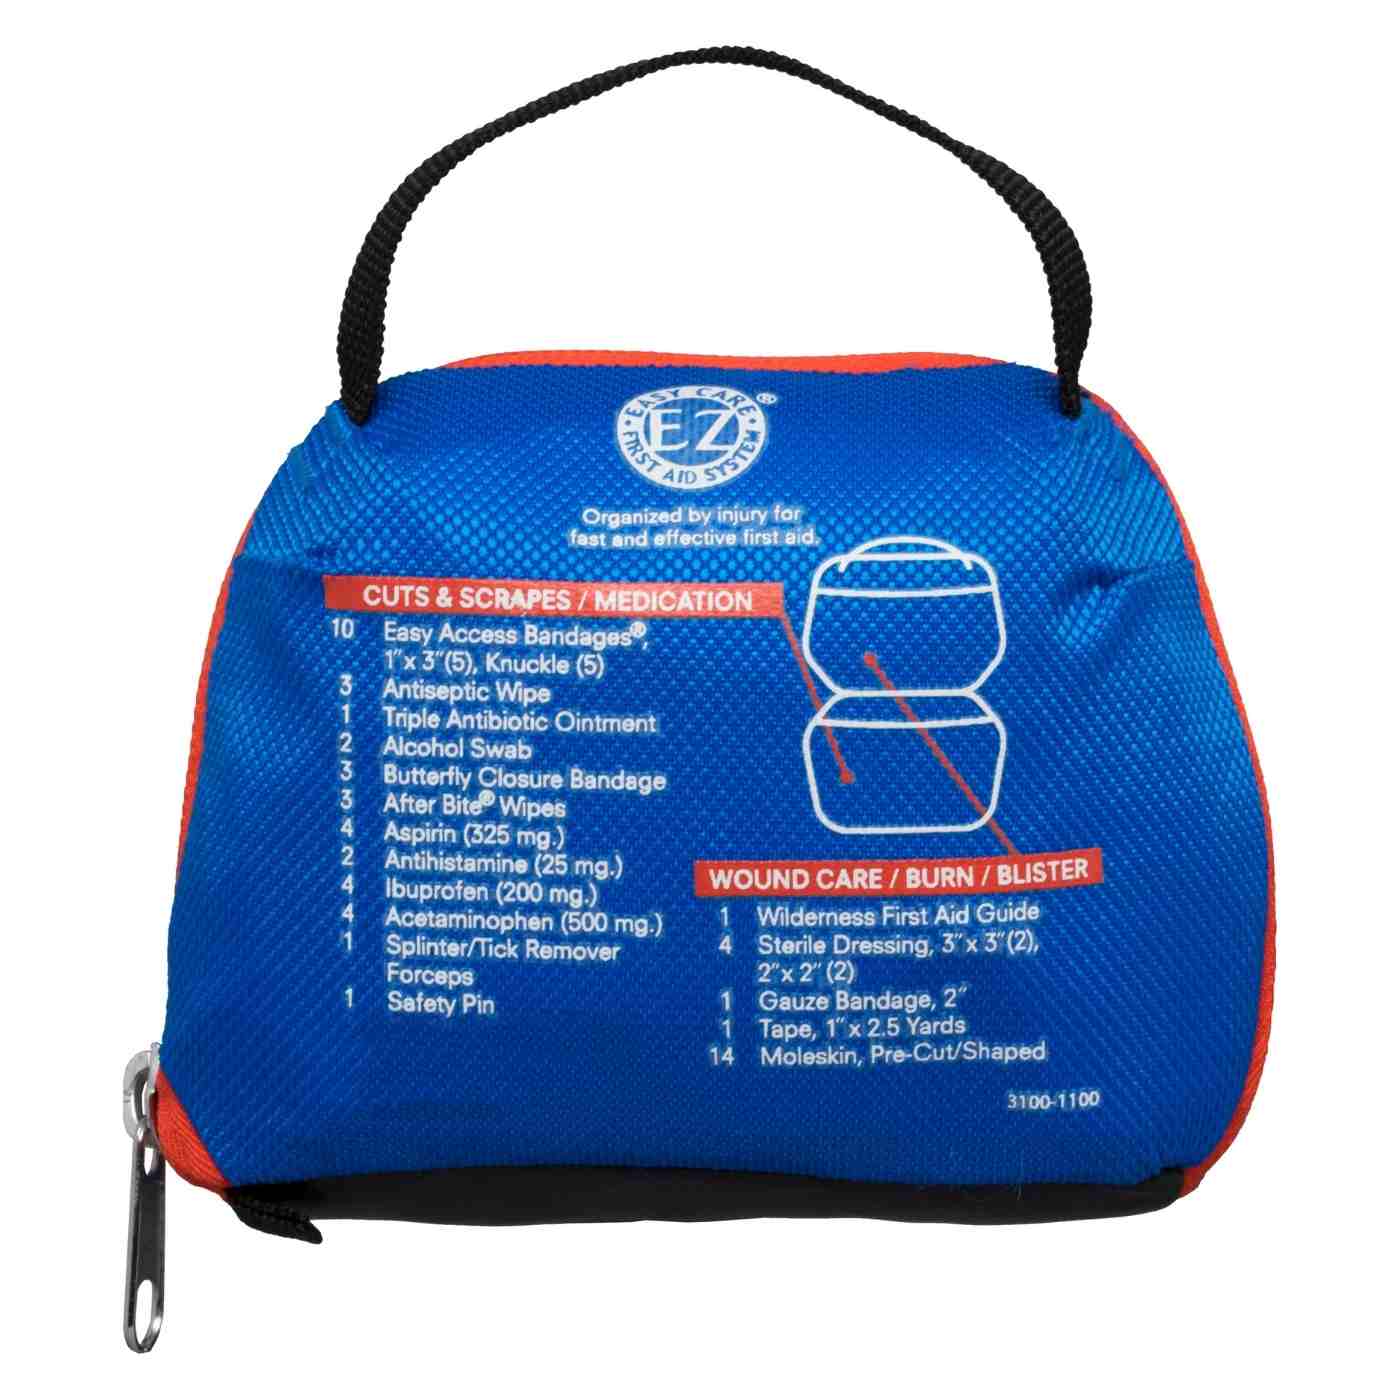
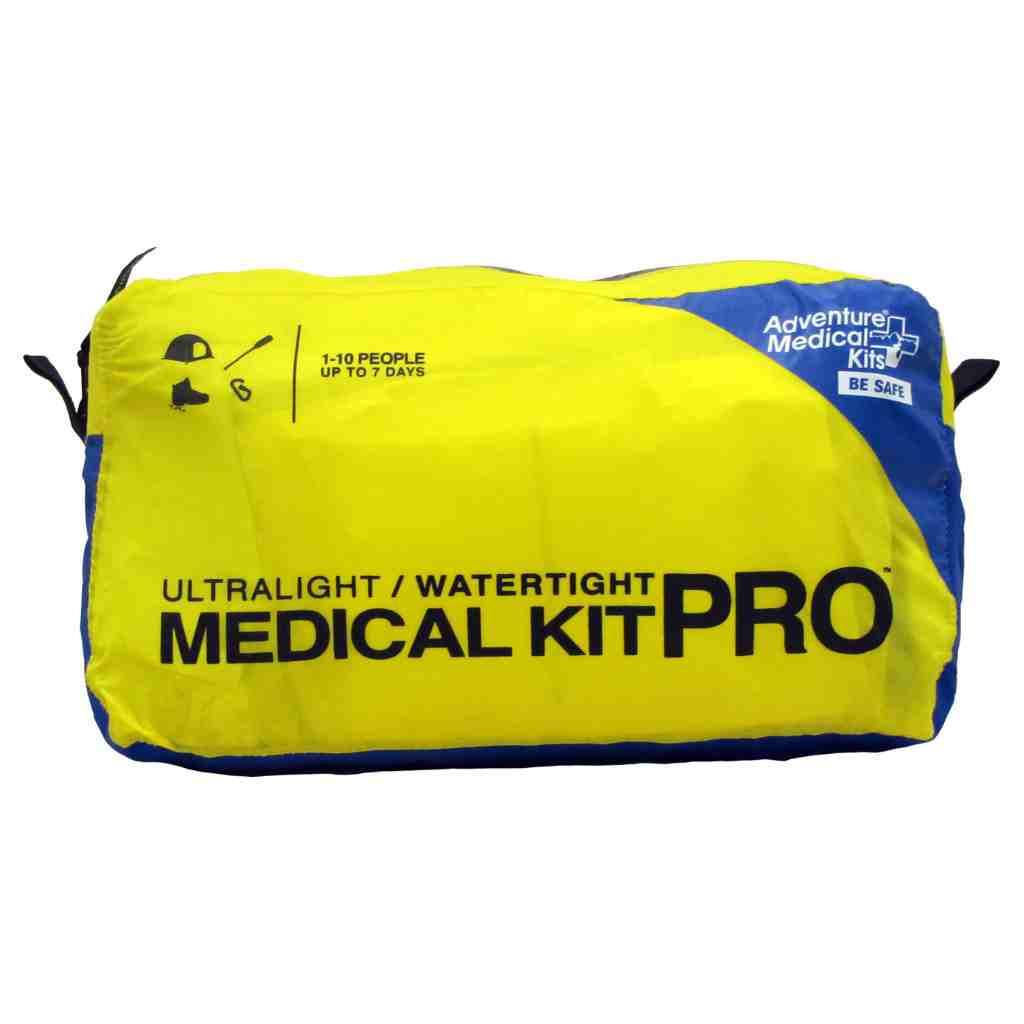
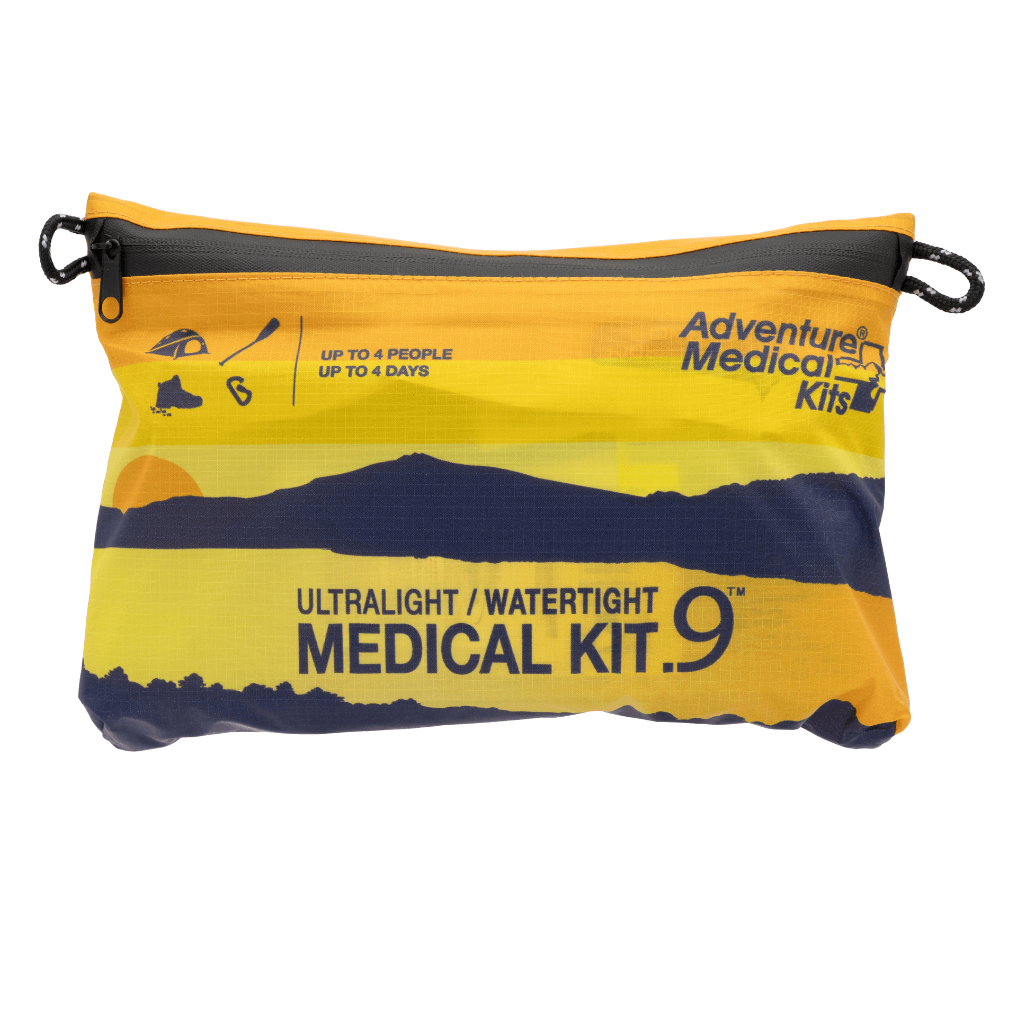
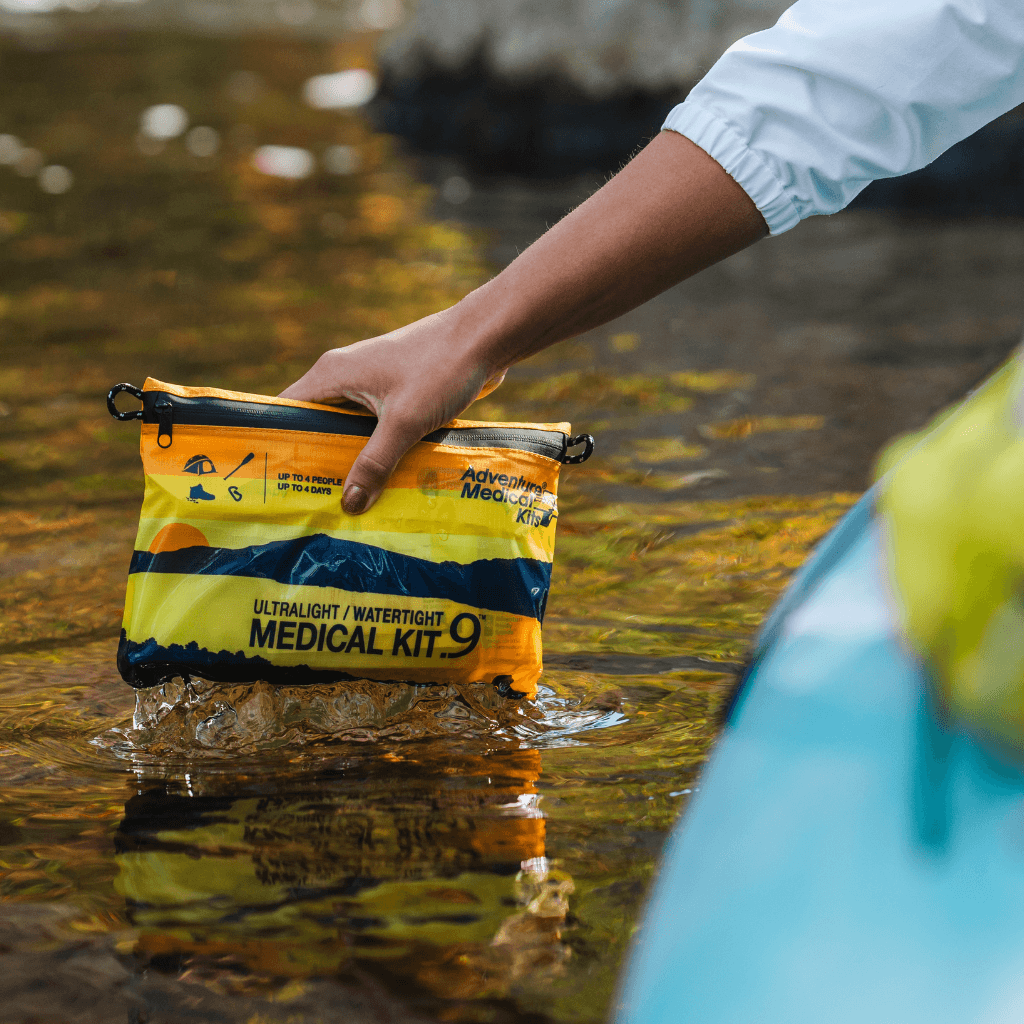
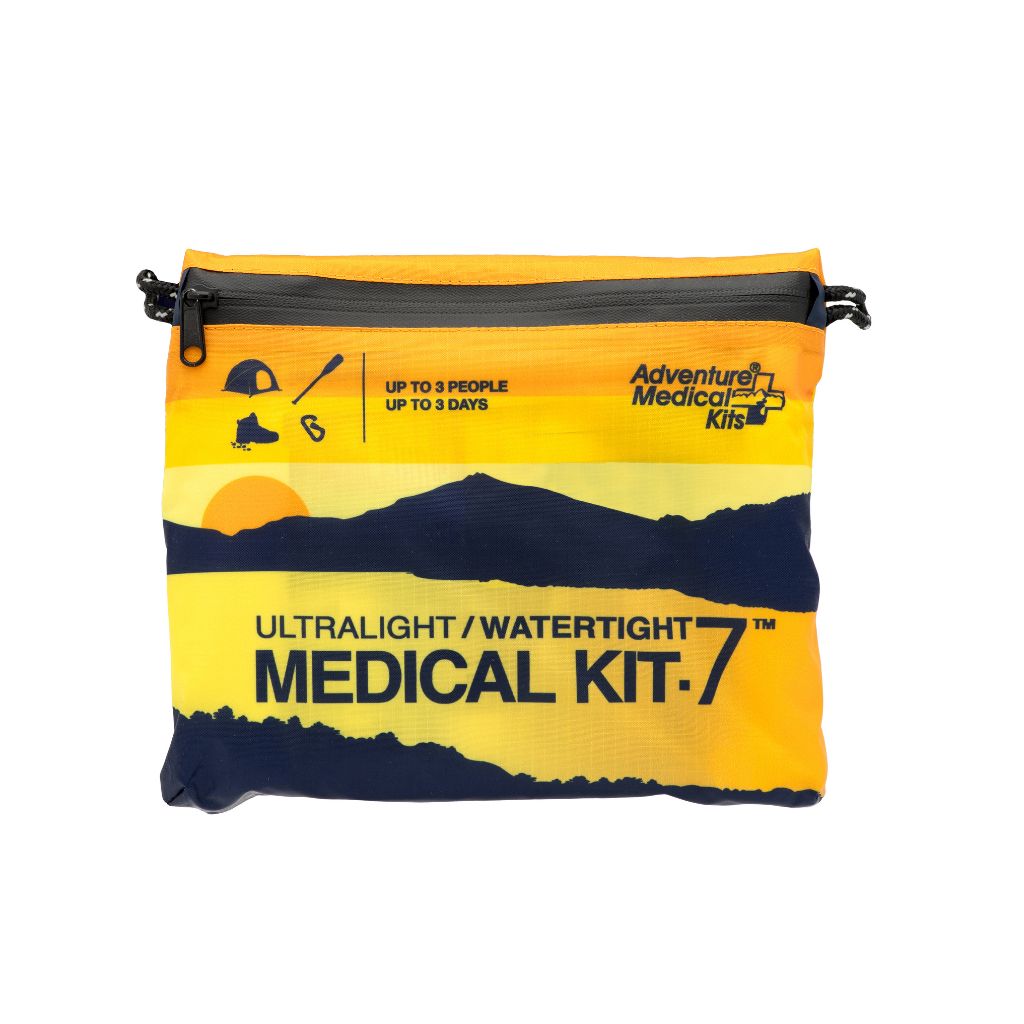
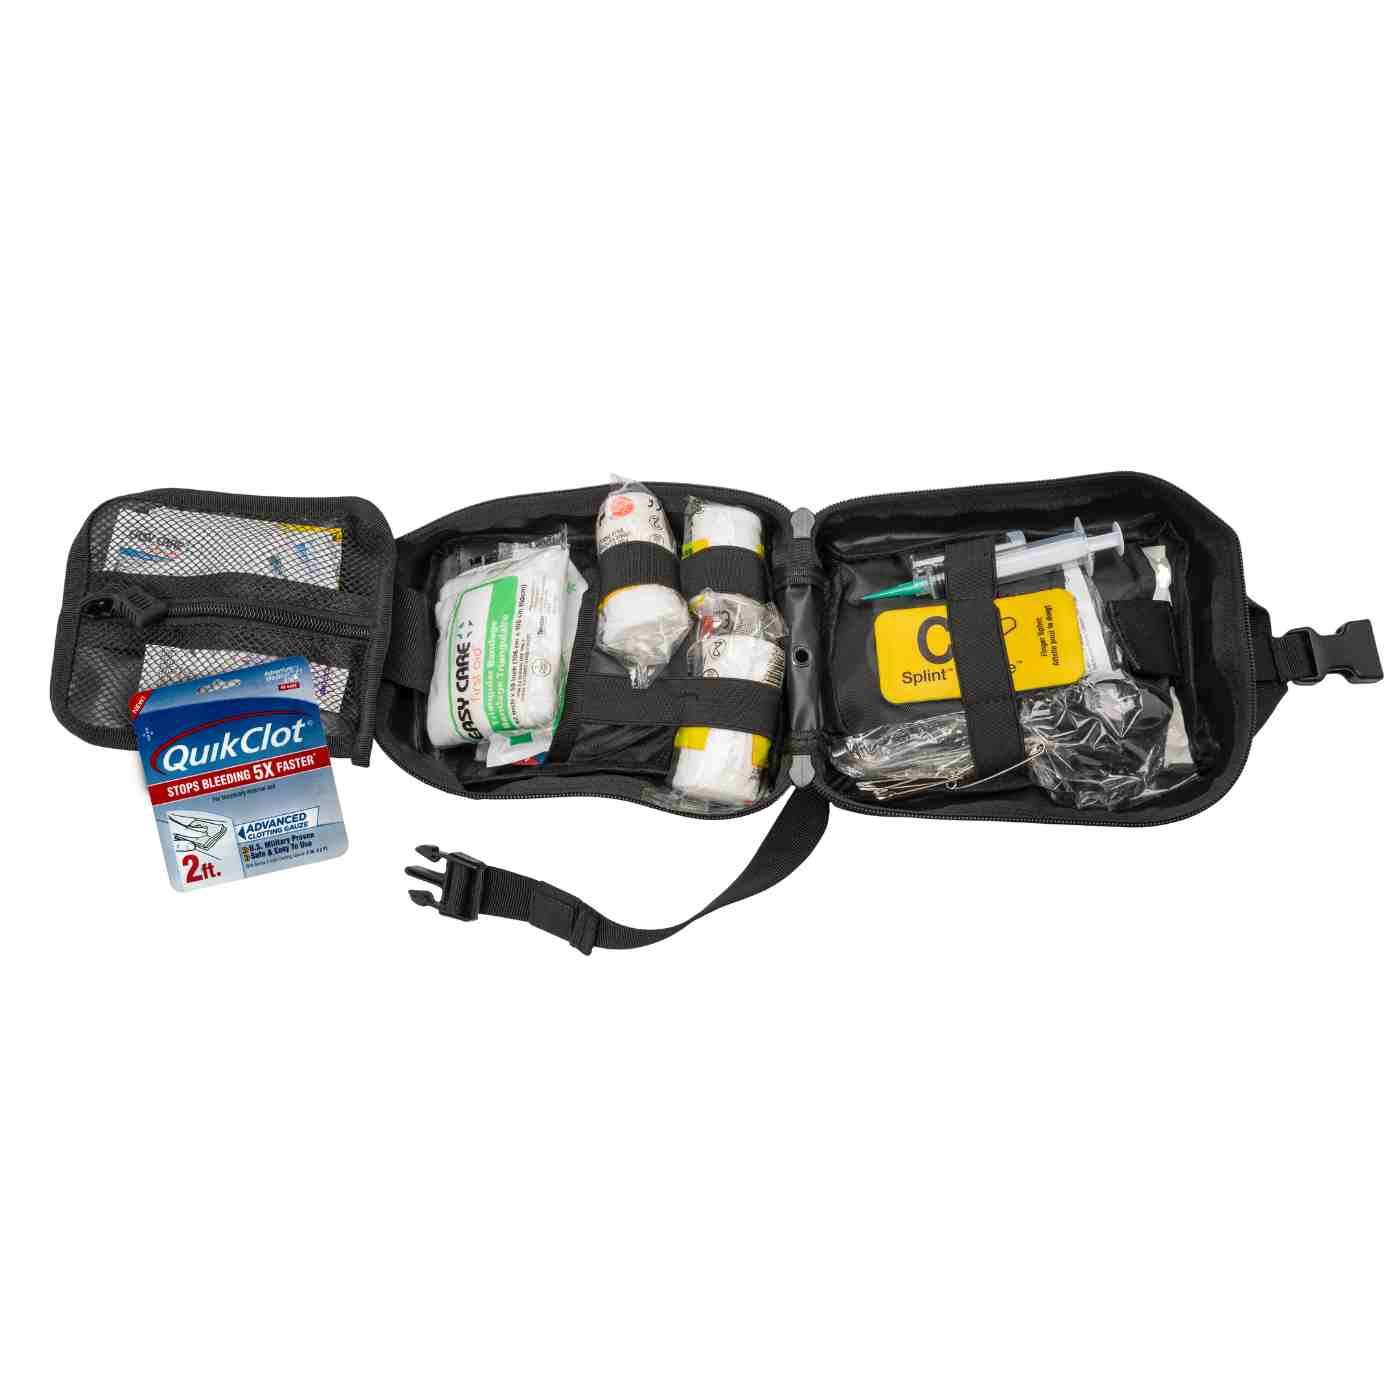
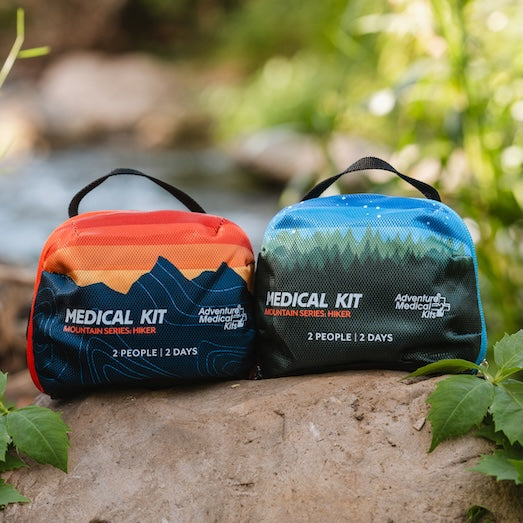
The kit should be lightweight enough to travel, durable enough for repeated use, and protected from moisture. Labeled compartments reduce searching under pressure, while an accessible supply list helps the group identify missing or depleted items. The Mountain Series Medical Kit, Mountaineer is described as a group medical kit with supplies capable of treating 10 people for up to 28 days across a broad range of injuries, and it's also suited to situations where medical care is inaccessible.
Match the kit to the risk
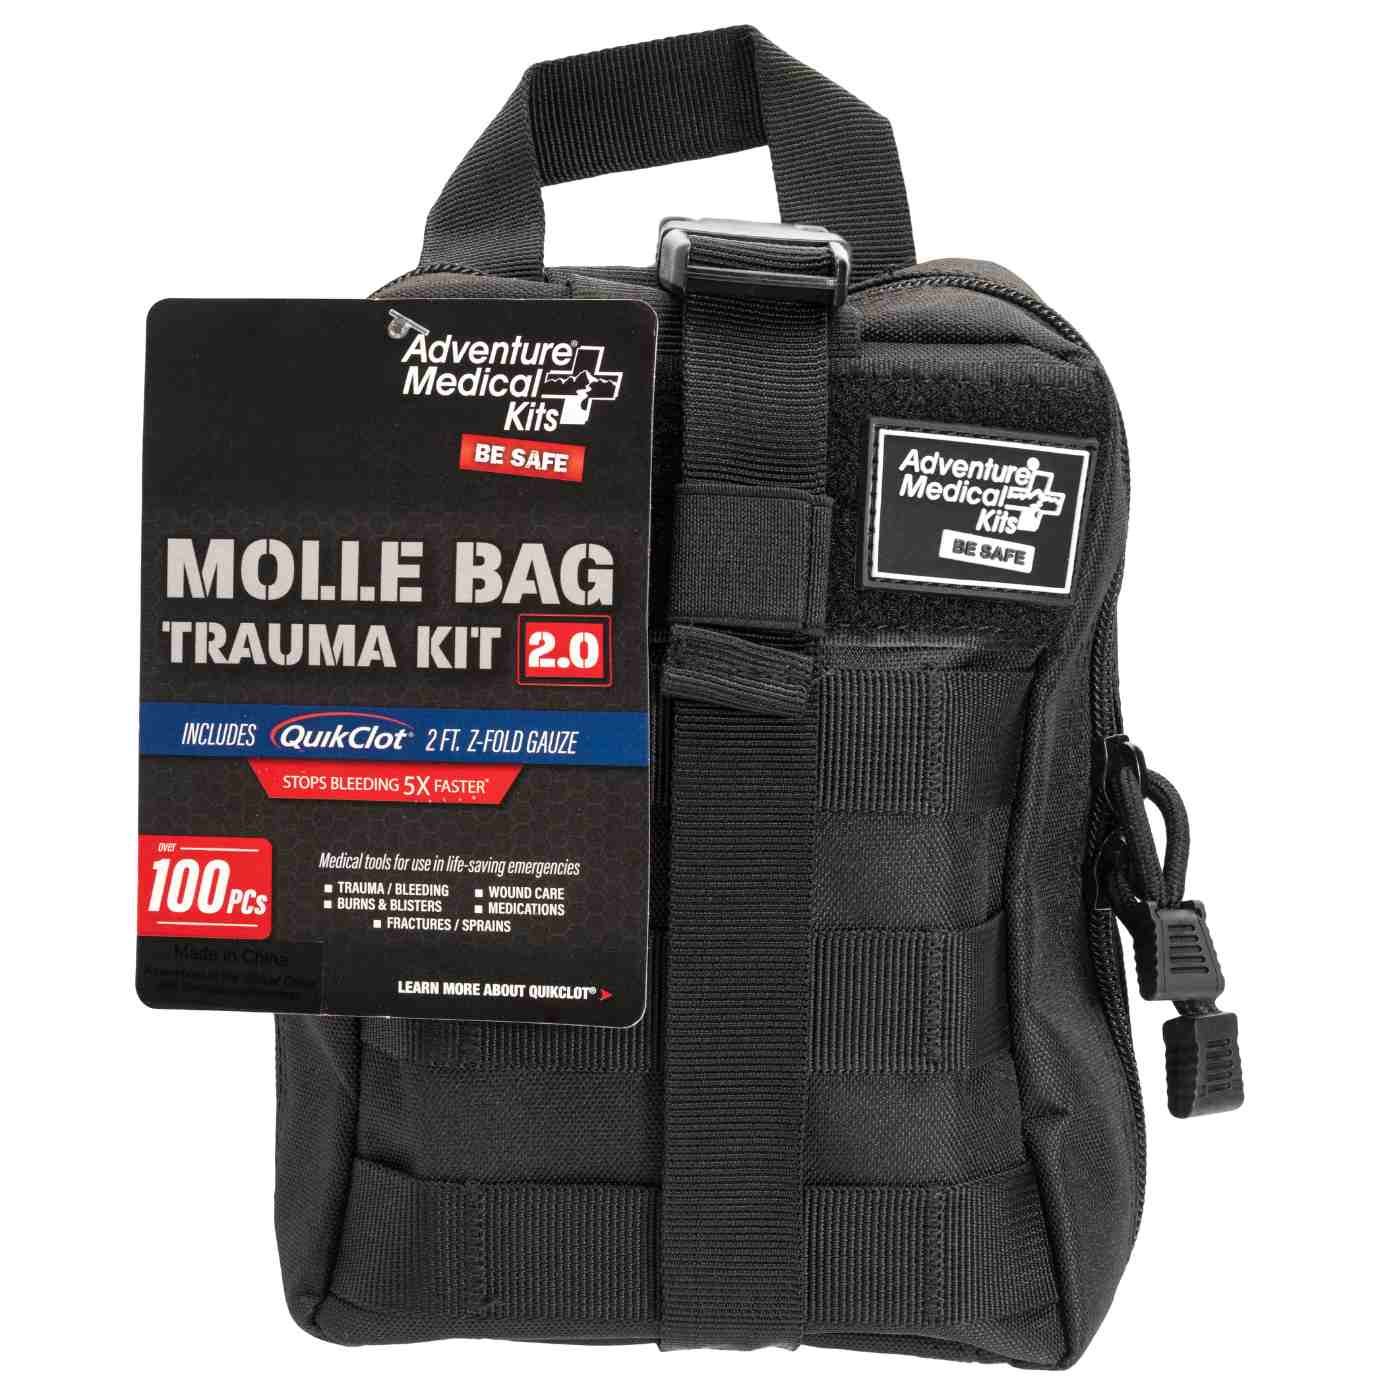
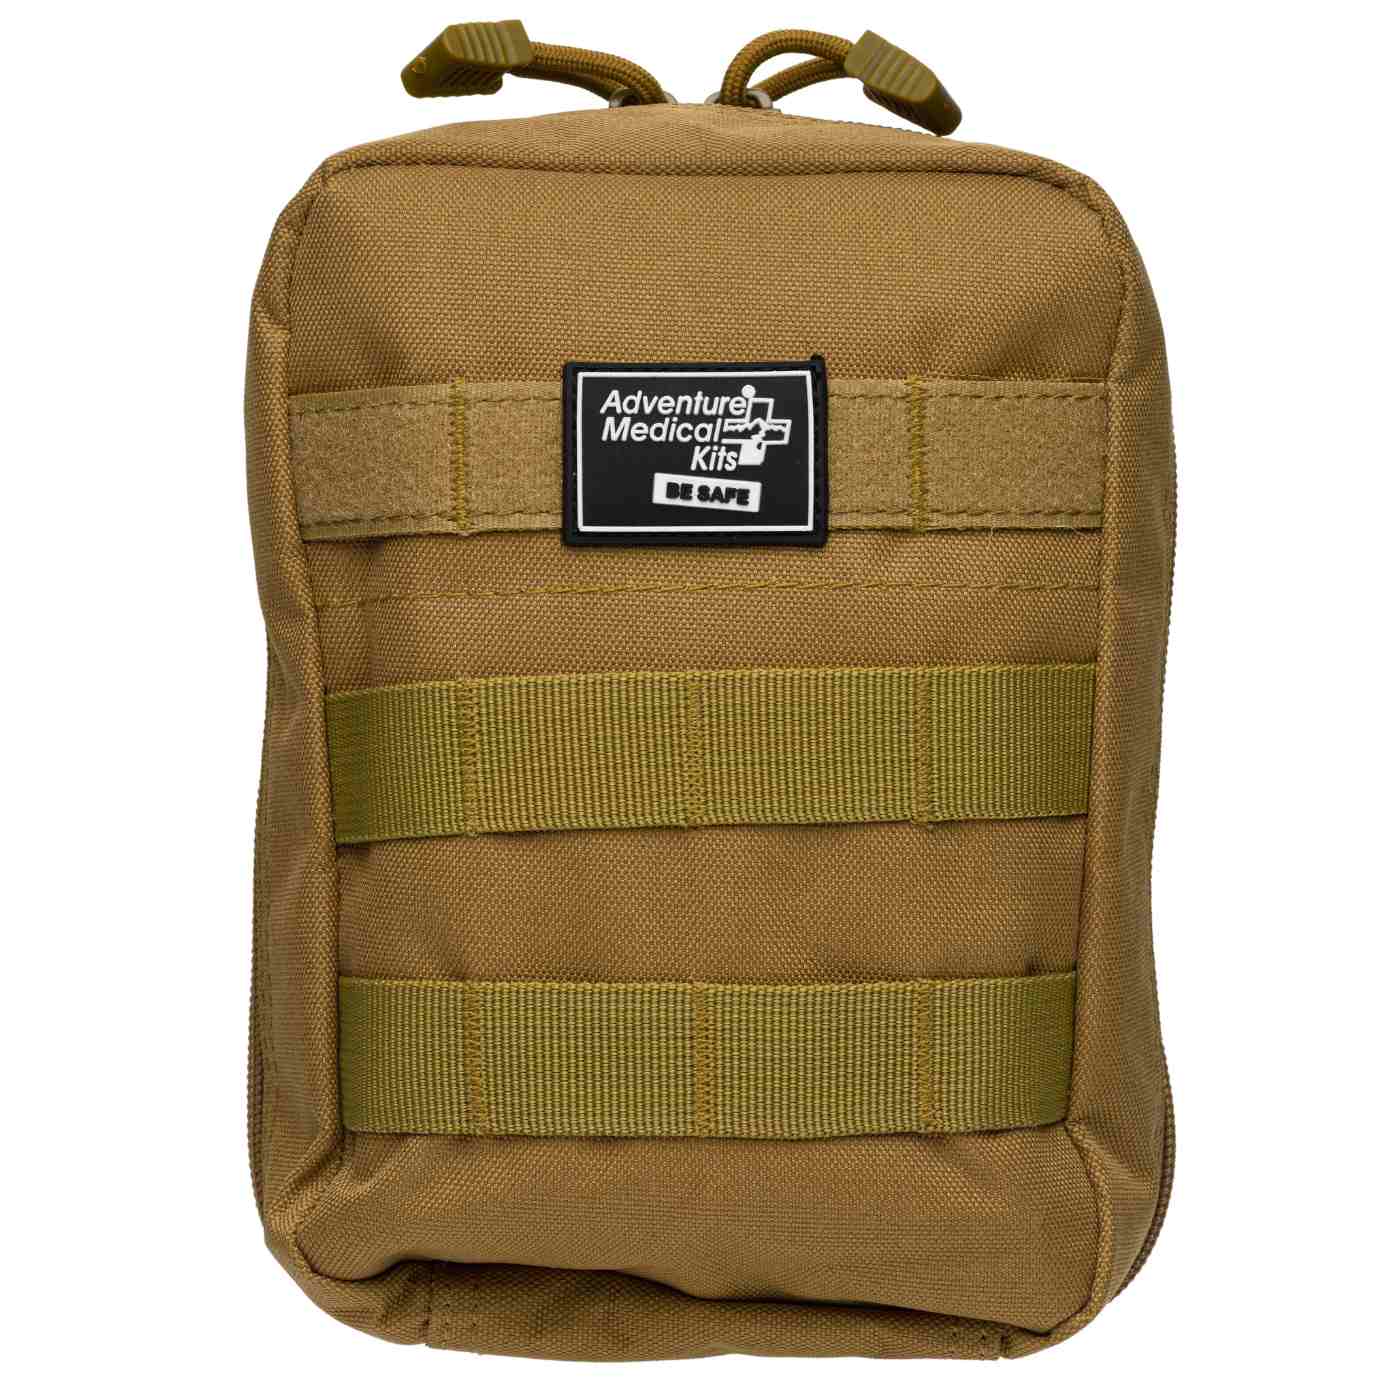
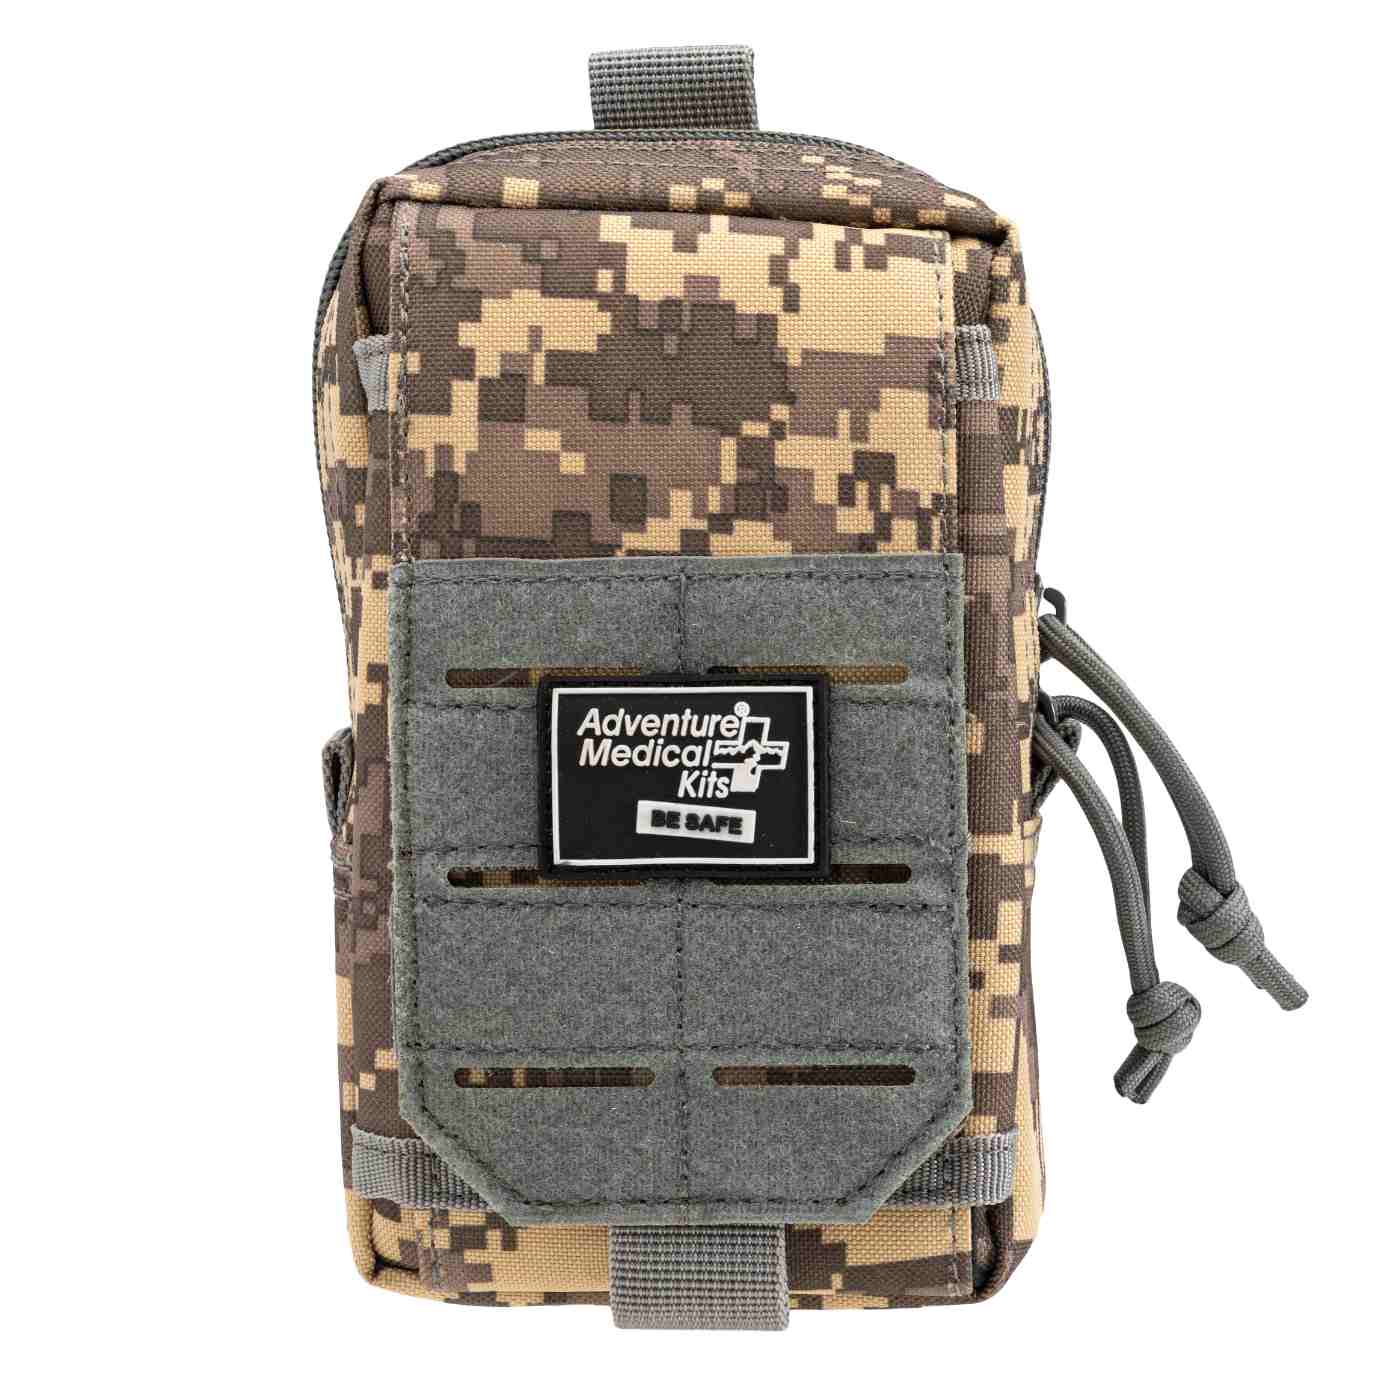
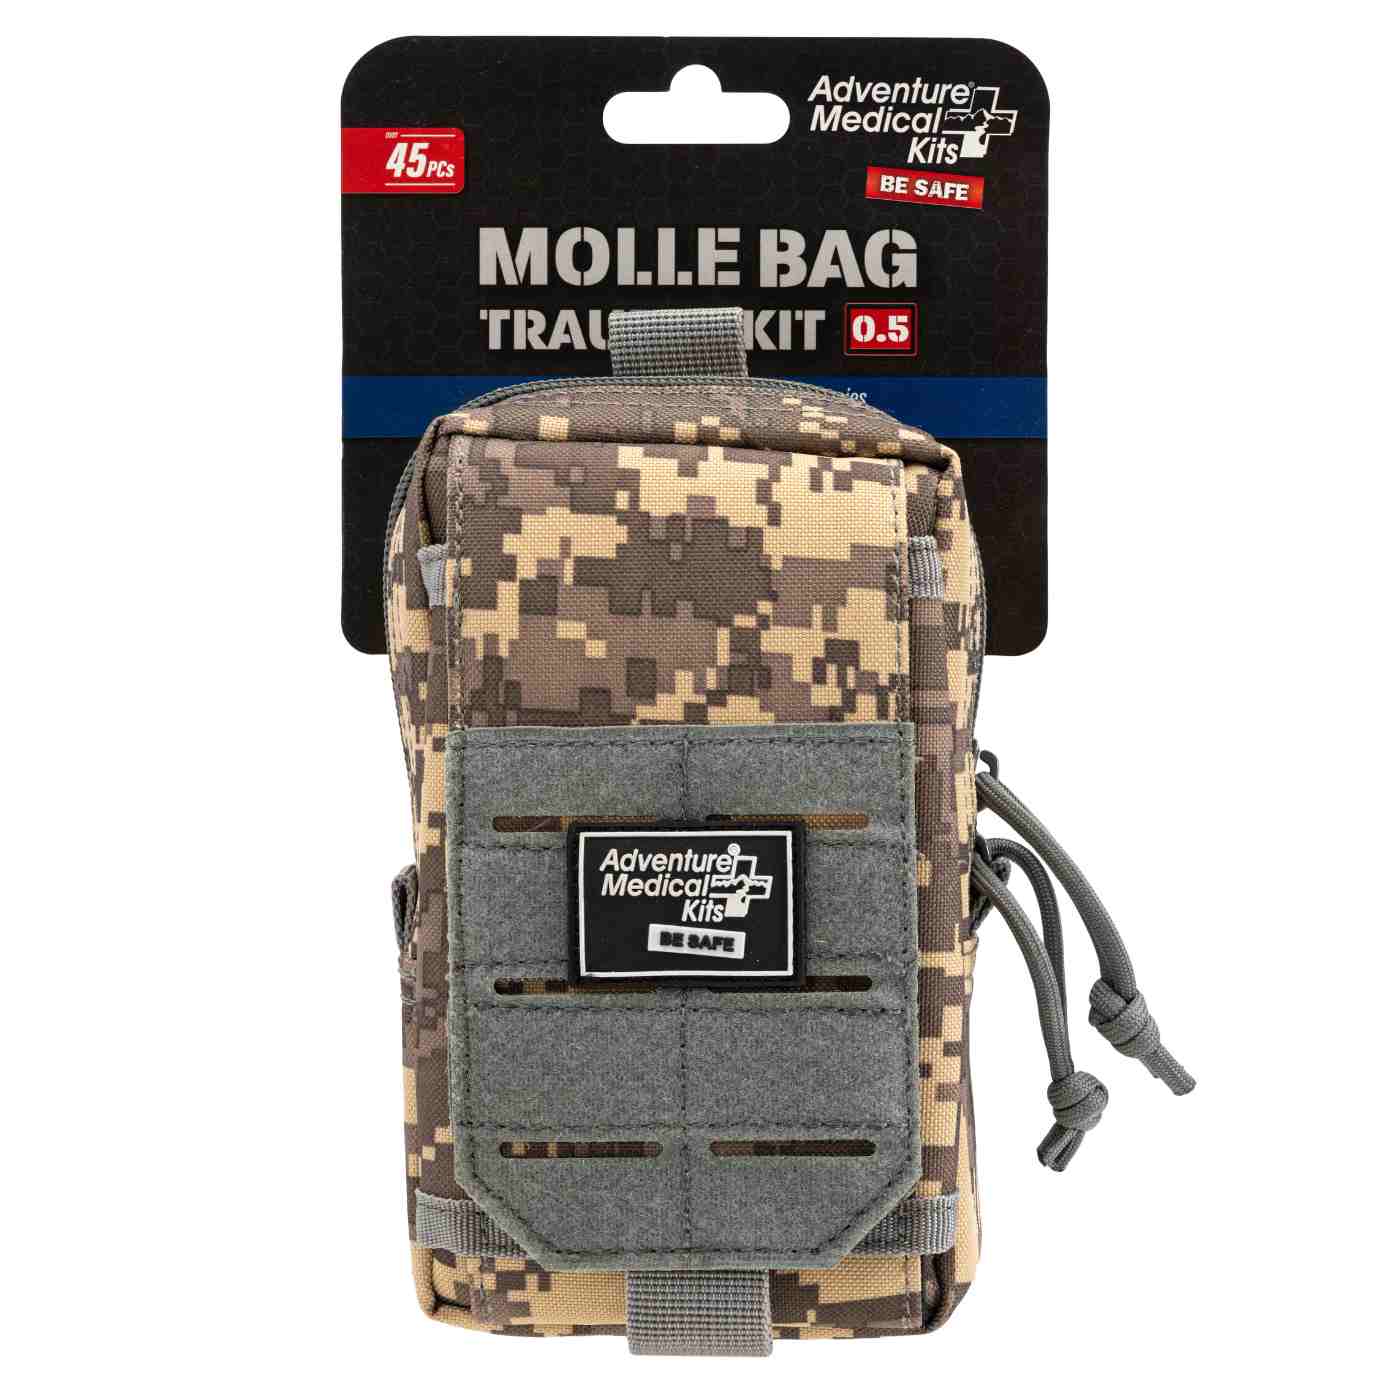
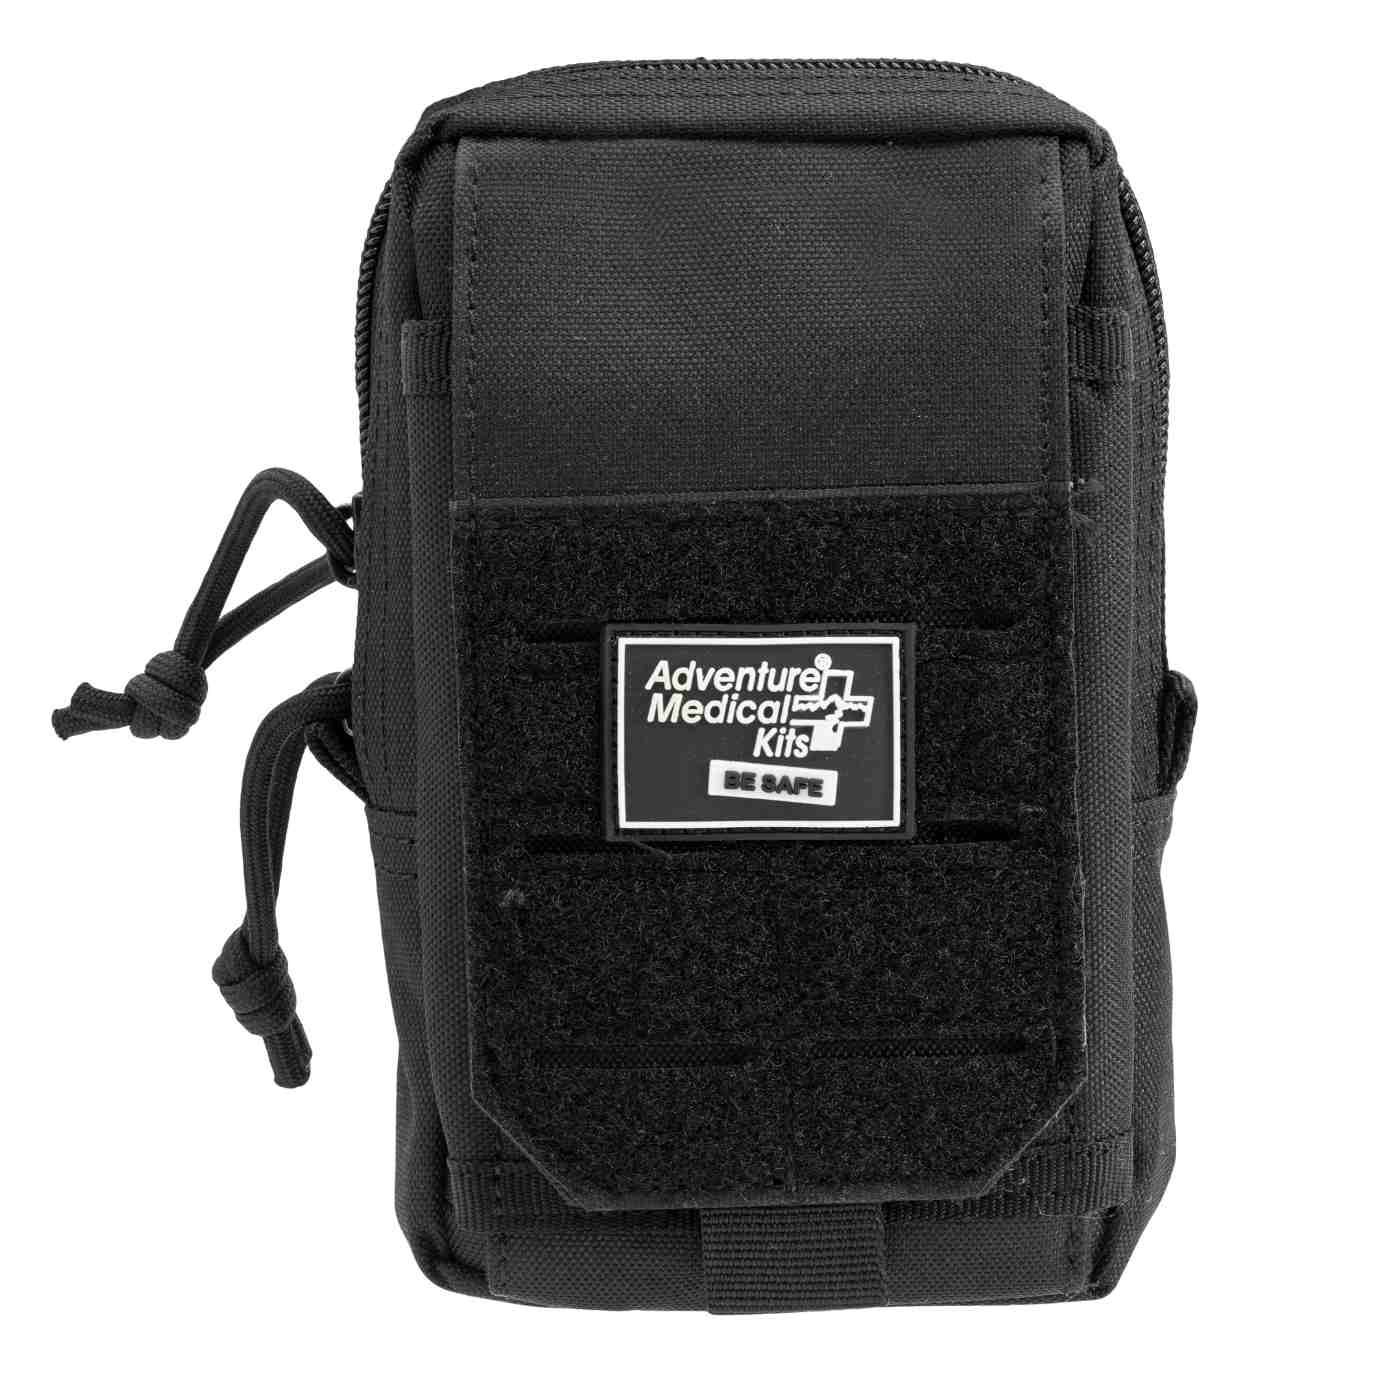
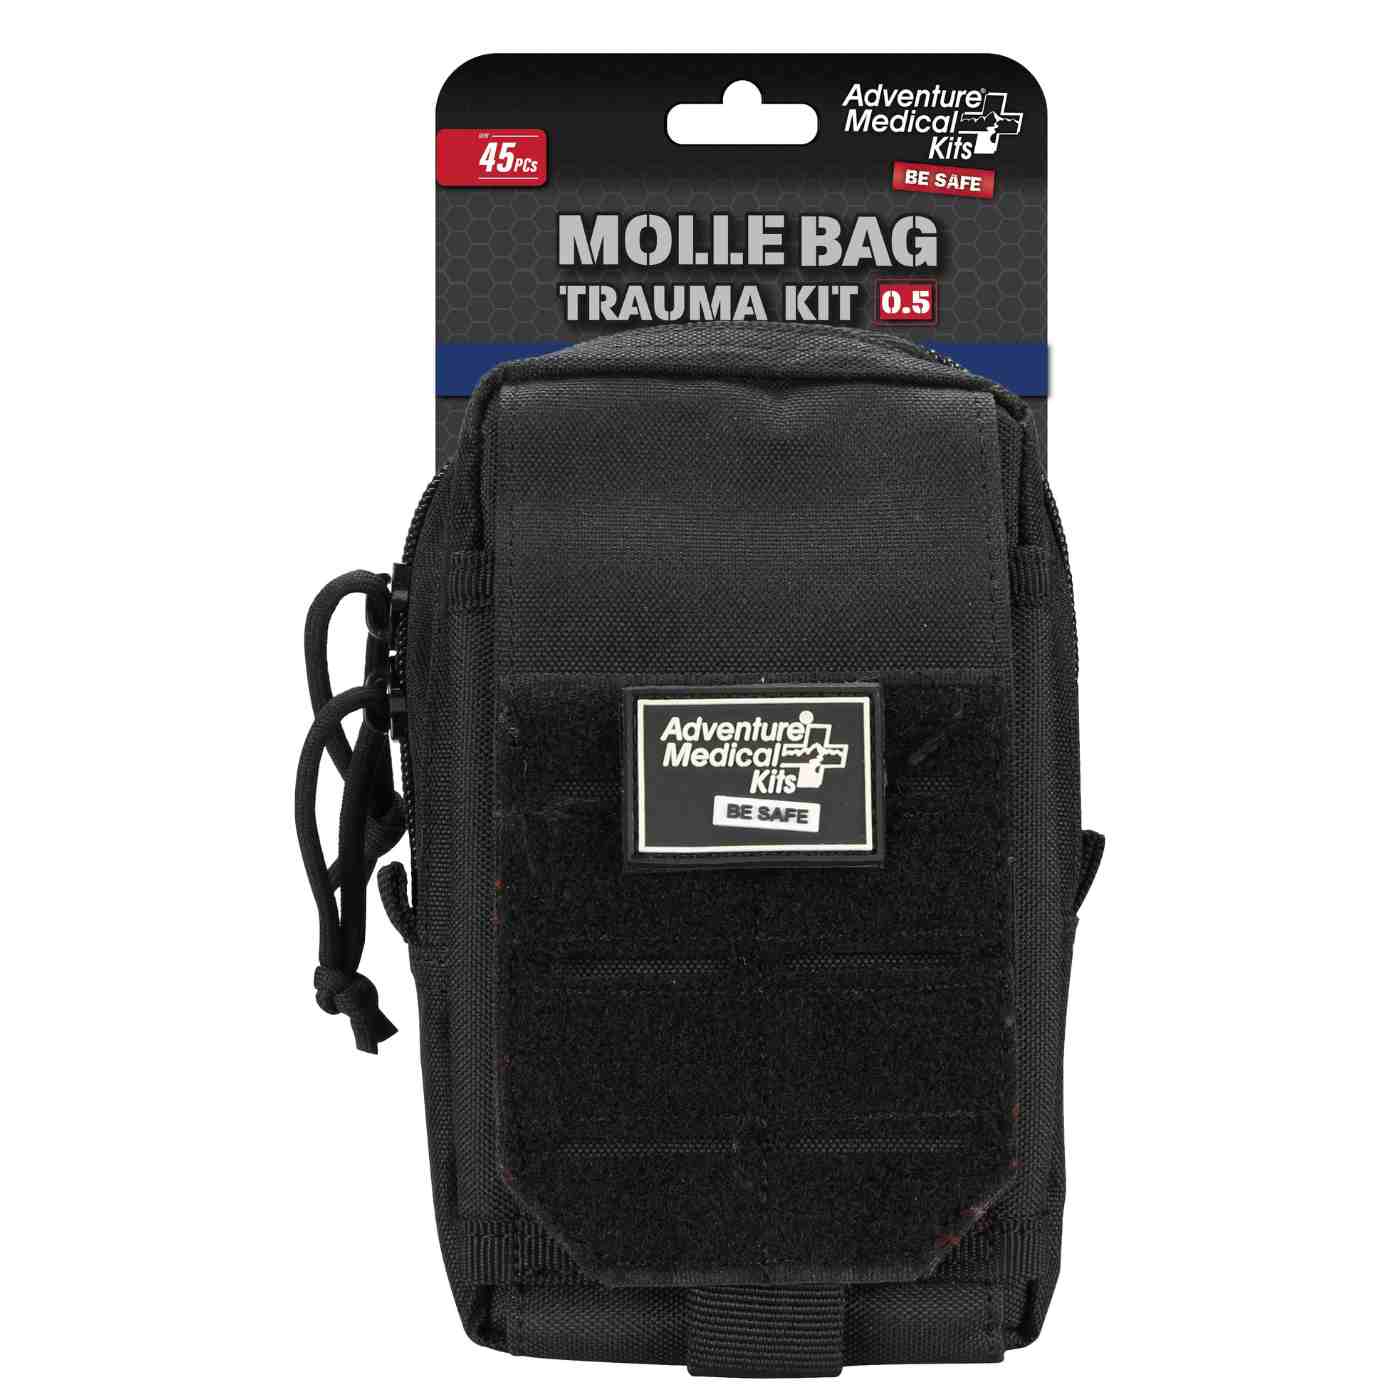
Mountain Series kits can suit hiking and mountaineering needs, including environments where cold and altitude affect decisions. MOLLE Trauma Kit Series options provide a tactical organization format that can work for outdoor professionals and guide services. A remote expedition may need more than one system, separated by activity or treatment role, rather than one heavy kit carried by a single person.
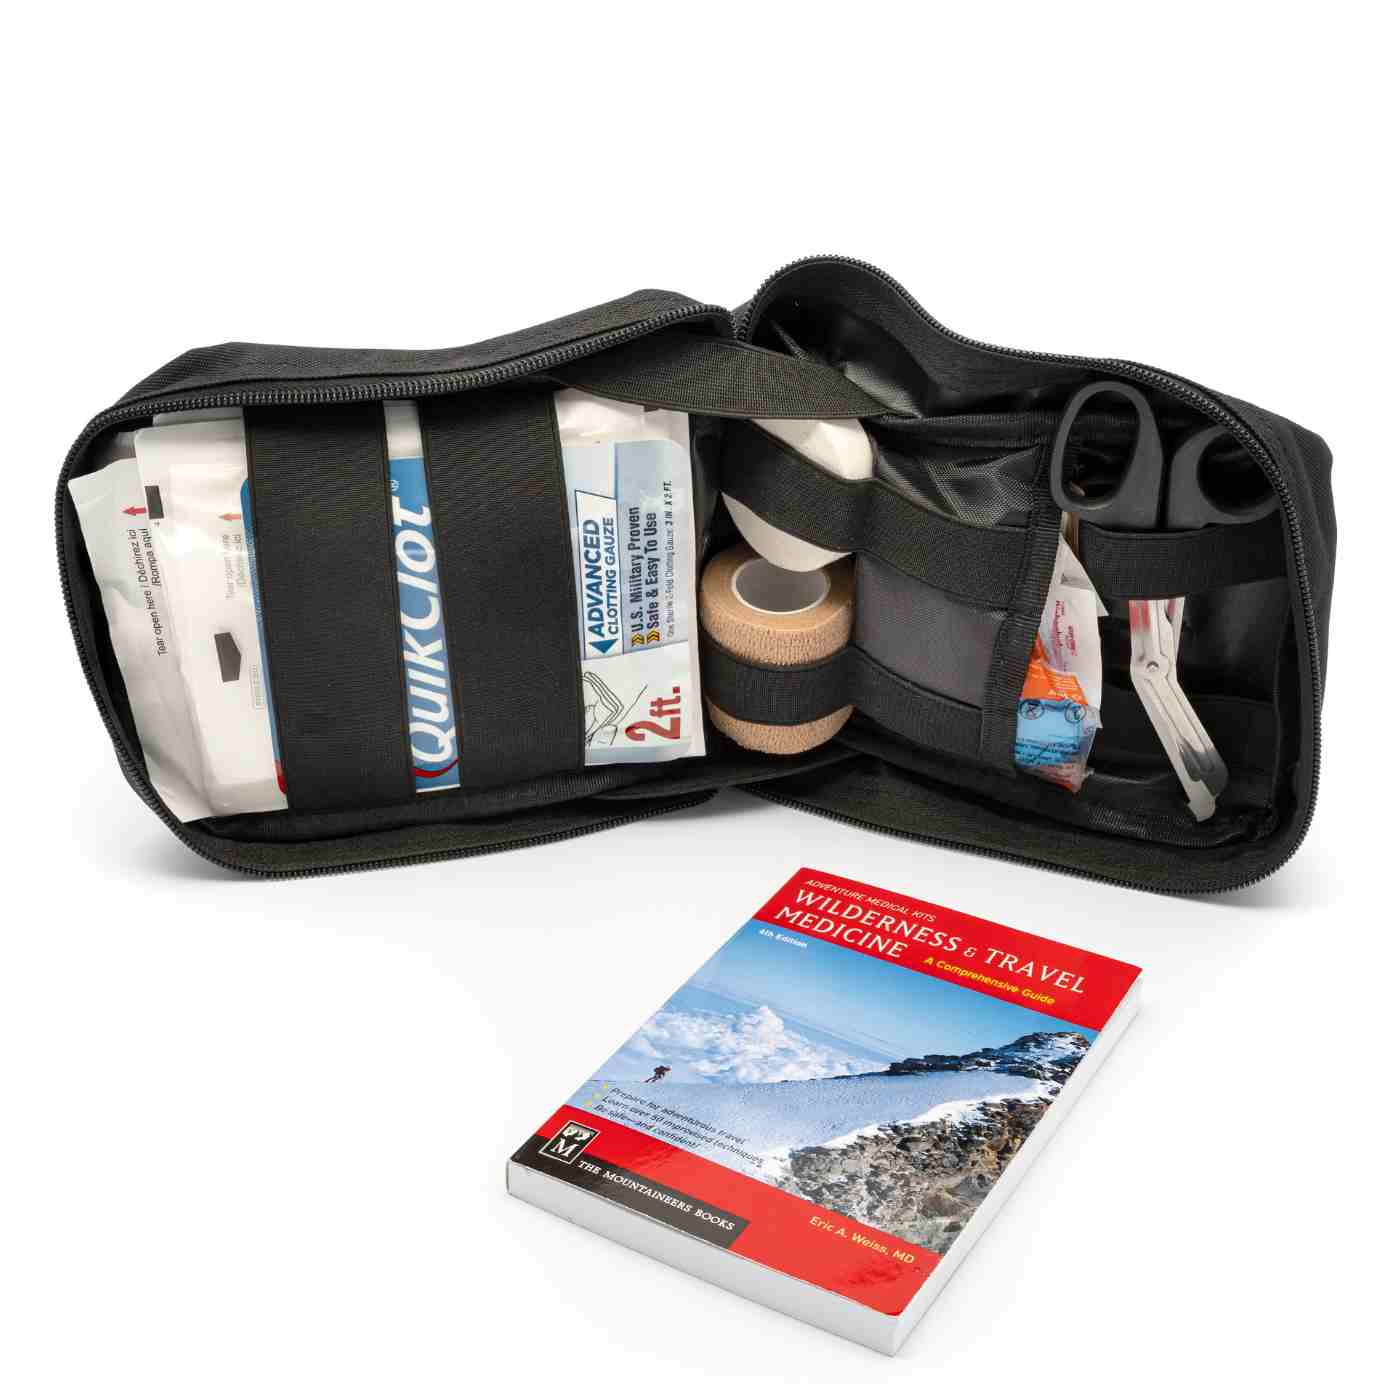
Training matters as much as contents. Wilderness first aid training resources can help participants choose instruction such as First Aid and CPR, Wilderness First Aid, or Wilderness First Responder training. Participants should also read the kit handbook before a trip and practice using key supplies, including pressure dressings, bandages, and tourniquets, within the limits of their training.

Practical rule: Every group member should know where the kit is stored, while at least one responsible adult should know how to use its key contents.
Inspect supplies after every trip. Replace used or expired items immediately, add activity-specific supplements such as blister care or insect repellent, and keep the kit where it can be reached quickly, whether that's a backpack, glove compartment, boat locker, or home exit point.
2. Create a Written Emergency Action Plan for Your Group
A written plan turns a collection of capable people into a coordinated group. Without one, participants may make different assumptions about who calls for help, who stays with an injured person, who manages children or pets, and when the group should turn back. A concise emergency action plan should be readable on paper and available offline on a phone.
Start with the route and the people. Record the date, destination, planned start and return times, vehicle details, group members, known medical needs, and the name of a trusted contact who isn't on the trip. Add trail markers, landmarks, GPS coordinates, access roads, and the nearest appropriate medical facility. A written hiking trip plan gives a group a practical structure for sharing those details before departure.
Assign decisions before stress arrives
The plan should name responsibilities, not just list phone numbers. One person can lead navigation, another can manage the first aid kit, another can communicate with the trusted contact, and another can organize the group. For a family, those roles may be simple. For a guide service or outdoor team, they should include evacuation authority, participant accountability, transportation, and documentation.
Include clear decision points:
- Route change: Identify conditions that require stopping, rerouting, or returning.
- Weather shift: Record a shelter or turnaround option before the forecast worsens.
- Medical event: State who provides care, who seeks a signal, and who meets responders.
- Missed check-in: Tell the trusted contact when to begin calling, escalating, or contacting local authorities.
Distribute the plan to every participant and the trusted contact. Update it whenever the route, date, vehicle, or group changes. A plan that describes yesterday's trip can misdirect assistance today.
3. Stock Emergency Water and Purification Solutions
Water planning needs two layers, stored water for sheltering and portable water capacity for movement. The American Red Cross recommends 1 gallon of water per person per day, with a 3-day supply for evacuation and a 2-week supply for home sheltering. Its survival kit guidance pairs that water benchmark with non-perishable food and easy preparation.
At home, use food-grade containers in a cool, dark location. Label containers with the storage date and rotate them according to applicable public-health guidance. Keep the water accessible without placing heavy containers where they could fall or block an exit. A home supply doesn't replace a way to carry water if evacuation becomes necessary.
Carry more than one treatment option outdoors
Backcountry groups should select containers based on trip duration, group size, climate, and terrain. A filter may make collected water easier to process, while chemical treatment can provide a compact backup. Boiling can serve as another method when fuel and a suitable vessel are available. Each method has limits, so participants should understand what it addresses and what it doesn't.
The distinction between filtration and purification matters. Water filters and purifiers explained can help travelers assess treatment choices rather than assuming every filter handles every contamination concern.

A treatment device that hasn't been tested before departure is an unverified piece of equipment.
Practice filling, filtering, sealing, and storing water before the trip. Desert travel, hot weather, illness, and strenuous movement can change needs, so a group should follow local guidance rather than rely on a fixed packing assumption. Keep backup treatment supplies with the group, not in a bag that could be separated from everyone else.
4. Prepare Emergency Lighting and Navigation Tools
Darkness changes a manageable problem into a navigation, medical, and communication problem. A headlamp lets an injured person keep both hands available, while a flashlight helps inspect a vehicle, shelter, or trail edge. Redundant lighting is more reliable than trusting a single device or a phone that may be needed for communication.
Navigation also needs layers. A phone with offline maps can be useful, but it depends on battery power and user familiarity. A paper topographic map and compass provide a separate method when reception, batteries, or software fail. Groups should know how to orient a map, identify terrain features, and estimate a route before an emergency forces those skills into use.
Keep signaling tools within reach
Lights and navigation tools shouldn't all be buried in the main pack. Place a whistle, signal mirror, or bright marker in a jacket pocket or another location that remains accessible if the pack is lost. Store spare batteries in a dry container, separate from devices when appropriate, and test every light before leaving.
A solar emergency light from LuminAID's emergency lighting collection can add a lighting and signaling option for home, vehicle, or travel use. The right choice depends on charging conditions, weather exposure, pack space, and whether the light must operate immediately after long storage.

Download offline maps before departure, carry a power bank, and practice with the headlamp in daylight. Navigation tools don't prevent every wrong turn. They give a trained group more ways to understand its location and choose a safer next action.
5. Develop Shelter and Temperature Management Strategies
Shelter planning starts with prevention. Clothing, insulation, shade, ventilation, and a dry place to rest can reduce exposure before an injury or delay becomes dangerous. Outdoor groups should use layers, typically a moisture-managing base layer, an insulating layer, and a protective shell. Wool and synthetic materials can retain useful insulation when damp, while cotton can become a poor choice in cold, wet conditions.
A day trip still needs an unexpected-night strategy. A compact bivy, tarp, emergency blanket, or ground insulation can reduce exposure to wind and wet terrain. The equipment should be stored where it can be reached without unpacking the entire load, especially if a participant is injured or losing body heat.
Plan for heat as carefully as cold
Heat management requires shade, hydration, pacing, and awareness of early changes in a person's condition. Groups should consider local heat-index guidance, rest locations, clothing, and the time of day. In a home emergency, temperature planning may involve a safe backup heating approach, cooling location, or evacuation destination. Fuel-burning equipment must be used according to its safety instructions and never in an unsafe enclosed space.
Boaters and paddlers face additional exposure concerns. Cold water, wind, and wet clothing can remove heat quickly, so flotation, protective clothing, and a way to shelter from wind belong in the activity plan. Winter backpackers need a strategy for an unplanned night, while mountain travelers need insulation suited to elevation and changing weather.
Field test: Set up the emergency shelter before departure. If a tired group can't deploy it in calm conditions, it won't become easier during wind, darkness, or injury.
Keep extra insulation available for an injured person or someone showing signs of shock, and learn the warning signs of hypothermia and heat illness through recognized first aid or wilderness medicine training.
6. Build a Communication and Signaling System
Communication planning shouldn't depend on a single phone network. A cell phone may work near roads or populated areas, while a satellite messenger or personal locator beacon can provide different capabilities in remote terrain. A whistle, signal mirror, bright marker, or flashlight gives a group a way to attract attention when electronic devices fail or cannot be used.
Before departure, a trusted contact should receive the itinerary, route, vehicle information, group details, and expected return time. The group should also establish how and when it will check in. Written emergency numbers on waterproof paper remain useful when a phone battery is dead, damaged, or being conserved.
Match the device to the environment
A satellite messenger can support two-way communication where service and sky visibility permit. A personal locator beacon may be appropriate for a group that travels beyond dependable communication coverage. Boaters should follow maritime guidance for emergency signaling equipment, while hikers should understand the capabilities and limitations of local emergency services.
Every device needs a pre-trip test. Check charging, subscriptions where applicable, contact settings, antenna or sky access, and the procedure for sending a non-emergency test message. Participants should understand that an SOS function is not a substitute for route planning, weather judgment, or immediate first aid.
- Write the itinerary: Include trail names, landmarks, access points, and coordinates where available.
- Set the trigger: Define when the trusted contact should act after a missed check-in.
- Carry analog signals: Keep a whistle and other visible signaling tools accessible.
- Explain distress signals: Teach the group the local convention for repeated signals, including the widely recognized pattern of three.

7. Maintain Adequate Food and Nutritional Supplies
Food supports movement, concentration, recovery, and morale during an evacuation or delay. Home supplies should focus on shelf-stable foods that household members will eat, while vehicle and backcountry kits should favor compact, energy-dense options that require little preparation. The American Red Cross survival kit guidance recommends non-perishable food alongside its water guidance for evacuation and home sheltering.
A practical food layer includes familiar items, dietary alternatives, and a way to open or prepare them without grid power. Families should account for infants, allergies, chronic conditions, pets, and people who cannot tolerate certain textures or ingredients. A supply that remains untouched because nobody can eat it isn't a functional supply.
Build rotation into the storage system
Mark food with purchase or storage dates and rotate it into normal household use before quality declines. Keep quick-access snacks in the vehicle and activity pack, not only in a basement bin. Outdoor groups should test emergency foods before relying on them, including any stove, fuel, cup, or preparation method.
The trade-off is simple. Ready-to-eat food costs space and may offer less variety, while ingredients that require cooking can be more flexible but demand water, fuel, time, and equipment. For a short evacuation, convenience may matter most. For home sheltering, variety and dietary fit can help people sustain the plan.
A realistic food plan includes foods that people will choose under stress, not only foods that look efficient on a spreadsheet.
Keep water needs in mind when selecting salty foods. Comfort foods can support morale, but they should complement, not replace, dependable nutrition. Review the food layer whenever household members, seasons, trip length, or medical needs change.
8. Create Documentation and Medical History Records
Medical information becomes harder to retrieve when a household is moving, a phone is inaccessible, or a person can't communicate. Each person should have a portable record containing current medications, allergies, medical conditions, emergency contacts, relevant treatment instructions, insurance information, and any applicable advance-care documents.
Use a waterproof format that can be read quickly. A digital copy can provide backup, but it shouldn't be the only copy. Store one version with everyday travel items, another in the vehicle, and another with the home emergency supplies. Trusted family members should know where the records are kept and when they were last updated.
Design records for a responder
The first page should make urgent information easy to find. Use plain language, readable medication names, dosage instructions supplied by the prescribing clinician, allergies, and the person's preferred emergency contacts. Include an alternate contact if the primary contact is unavailable.
Review the record whenever a prescription, diagnosis, physician, phone number, or insurance detail changes. A calendar reminder can prevent a document from becoming outdated. People with serious conditions may also consider a medical alert bracelet or other identification that remains available if a bag is separated from its owner.
- Home copy: Store it with emergency supplies in a protected container.
- Vehicle copy: Place it in a clearly marked glove compartment folder.
- Travel copy: Keep it with passports, identification, and the first aid kit.
- Group copy: Guides should collect only the information needed for safe planning and protect participant privacy.
Medical records don't replace professional care. They give responders and caregivers clearer information when time, memory, and communication are limited.
9. Protect Against Environmental Hazards Specific to Your Activity
Generic checklists miss the hazards that define a particular route. A mountain trip may require avalanche awareness, cold-weather planning, and lightning decisions. A river trip raises concerns about water temperature, currents, flotation, and access. A desert outing demands heat management and water planning, while insect and wildlife risks can change by location and season.
Begin with local information. Rangers, land managers, guide services, public-health departments, and reputable outdoor organizations can identify hazards that a generic list won't capture. Then pair each hazard with prevention, equipment, and a response skill. The strongest plan doesn't just add gear. It changes behavior before exposure occurs.
Add targeted protection without overloading the pack
For insect exposure, clothing, repellents, and post-trip monitoring may matter as much as treatment supplies. Natrapel's outdoor insect-repellent resources can help travelers review repellent options for their activity. People should follow product directions and local public-health advice, particularly in regions where insect-borne illness is a concern.
Bear-country travelers need food storage, distance, and bear-behavior knowledge. A product such as Counter Assault bear spray belongs only in a broader wildlife-safety plan that includes legal requirements, carry access, and practice with the device. It isn't a guarantee of safety and should never replace avoidance and proper food storage.
- Research the route: Check seasonal hazards and access restrictions before departure.
- Select the response: Carry equipment that addresses a recognized risk.
- Train for the event: Take relevant avalanche, water, wildlife, or weather training.
- Reassess conditions: Change the plan when forecasts, water levels, smoke, heat, or visibility change.
A first aid kit can support treatment after an incident, but prevention remains the lighter and more reliable layer.
10. Practice Regular Drills and Maintain Emergency Preparedness Skills
Preparedness fails when equipment sits untouched and skills fade. A family may own a radio without knowing how to tune it, or a group may carry a map without agreeing on who guides the route. Drills expose those gaps while conditions are controlled.
A maintenance calendar should assign responsibility. Quarterly equipment checks can cover batteries, first aid contents, water containers, shelter materials, food, chargers, and communication devices. Stored water should be rotated according to the chosen storage guidance, and food should be refreshed as part of normal household use. A full-kit exercise should involve the people expected to use the supplies.
Test decisions, not just equipment
A useful drill creates a scenario. A family might practice leaving during a power outage, locating documents, caring for a person with a medical need, and communicating with an out-of-area contact. A hiking group might find their way to a known landmark using a paper map, establish a shelter, simulate a bandage response, and explain the evacuation plan.
Document what happened. Note which supplies were missing, which instructions were unclear, how long setup took, and whether every participant knew the plan. Training organizations and professional outdoor teams often use exercises and reviews to turn observations into changes. Households can use the same principle at a smaller scale.
- Schedule checks: Put recurring inspections on the calendar.
- Replace immediately: Restock used or damaged supplies after every trip.
- Refresh skills: Revisit first aid, CPR, navigation, and hazard training.
- Include everyone: Children, older adults, visitors, and outdoor partners should know the basic response.
A drill doesn't prove that an emergency will be safe. It shows whether the system is understandable, reachable, and functional before conditions become more difficult.
10-Item Emergency Preparedness Checklist Comparison
| Item | Implementation complexity | Resource requirements | Expected outcomes | Ideal use cases | Key advantages |
|---|---|---|---|---|---|
| Assemble and Equip a Comprehensive Activity-Specific First Aid Kit and Obtain Medical Training | Medium, requires equipment selection + formal training | Purchase of hospital-grade supplies, waterproof pack, training courses | Faster, more effective on-scene medical care; reduced complications | Backcountry trips, professional guides, remote expeditions | Activity-tailored supplies; organized access; trained responders |
| Create a Written Emergency Action Plan for Your Group | Low–Medium, drafting and periodic updates | Time to draft, distribute, and review with group; templates | Clear roles and procedures; reduced decision delay and confusion | Guided trips, group outings, corporate/team events | Consistent response; improved coordination; useful to rescuers |
| Stock Emergency Water and Purification Solutions | Low, straightforward procurement and rotation | Stored water containers, filters, chemicals, fuel for boiling | Reliable hydration; reduced waterborne illness risk | Home emergencies, hiking, boating, extended outages | Redundancy in purification; portable options for field use |
| Prepare Emergency Lighting and Navigation Tools | Low–Medium, select and maintain devices | Headlamps/flashlights, spare batteries, maps, compass, GPS | Maintain situational awareness; enable night care and signaling | Night operations, navigation without cell service, rescues | Redundant illumination and non-electronic navigation options |
| Develop Shelter and Temperature Management Strategies | Medium, knowledge + some bulky items | Layered clothing, bivy/tarp, insulation, backup heating | Prevent/treat hypothermia or heat illness; improve survival | Cold alpine, water exposure, unexpected overnight stays | Prevention-focused; lightweight emergency shelters; thermal control |
| Build a Communication and Signaling System | Medium, device selection and pre-trip procedures | Cell/satellite device or PLB, whistles, mirrors, written contacts | Faster rescue initiation; maintain group contact | Remote expeditions, marine activities, solo trips | Multiple redundancy methods; works where cell fails |
| Maintain Adequate Food and Nutritional Supplies | Low–Medium, stock and rotate supplies regularly | Shelf-stable foods, high-calorie items, storage space | Sustained energy, prevents hypoglycemia, morale support | Home disasters, multi-day outings, evacuation scenarios | Calorie-dense, long-shelf options; supports prolonged incidents |
| Create Documentation and Medical History Records | Low, compile and update records | Waterproof forms, copies for contacts, secure storage | Informed medical decisions; reduced medication/allergy errors | Participants with chronic conditions, evacuations, group trips | Rapid access to critical health data; continuity of care |
| Protect Against Environmental Hazards Specific to Your Activity | Medium–High, research and specialized gear/training | Specialized protective gear, training, hazard-specific supplies | Reduced incidence of environment-specific emergencies | Avalanche zones, bear country, tropical travel, cold-water areas | Targeted protection; lighter and more effective than generic kits |
| Practice Regular Drills and Maintain Emergency Preparedness Skills | Medium, scheduling and participant commitment | Time for drills, refresher courses, inventory checks, replacements | Sustained readiness, fewer equipment failures, improved response | Families, schools, guide services, organized groups | Keeps skills current; identifies gaps; prevents silent failures |
Turn the Checklist Into a Tested System
A dependable emergency preparedness checklist becomes useful when it is divided into layers rather than stored as one large, forgotten collection. The home supply base should support sheltering and everyday household needs. It can hold stored water, food, lighting, documents, hygiene supplies, temperature-management equipment, and larger medical resources. Keep it in a known, accessible location, and make sure the container can be reached without moving hazardous or heavy objects.
The second layer is an accessible vehicle or travel kit. It should be easier to grab than a basement supply bin and should reflect the way the household moves. A vehicle kit can include water, food, lighting, navigation, communication backups, shelter materials, documents, and first aid supplies. A travel kit may need to be lighter, easier to carry through transport hubs, and adapted to destination rules, climate, language, and medical needs.
The third layer is a lightweight, activity-specific pack. A hiker, paddler, hunter, guide, camper, or international traveler faces different hazards and access constraints. That pack should carry the medical, water, shelter, navigation, signaling, and environmental protection equipment that fits the route and group. It shouldn't duplicate every item in the home kit, but it must remain functional if the group becomes separated from the vehicle or home.
Preparedness also has a capability layer. The 2023 FEMA National Household Survey summary reported that 48% of Americans had a three-day emergency supply of food and water, 39% had a household emergency plan known and practiced by all family members, and 5% had every item on the official emergency kit checklist. The American Red Cross preparedness checklist supports the practical baseline with details such as water, a battery-powered radio, a flashlight, extra batteries, cash, first aid supplies, and a non-electric can opener. These figures and recommendations point to the same lesson, ownership alone isn't readiness unless people can find, use, and maintain what they have.
Each household or group member should complete a short final test. Locate the medical kit, identify the written plan, confirm the medical information record, and practice one response skill. A child may learn where to find the flashlight and how to give an emergency contact's name. An adult may practice map reading, shelter setup, or using the communication device according to its instructions.
Adventure Medical Kits Mountain Series and MOLLE Trauma Kit Series can support the medical layer when their activity-specific organization, portability, waterproof storage, instructions, and accessible supply lists fit the trip. The Mountain Series collection is relevant for outdoor groups that need medical organization aligned with mountain and wilderness activities, while the MOLLE Trauma Kit Series collection offers a format suited to users who prefer MOLLE-based organization. The appropriate choice depends on the activity, group size, treatment distance, training, and space available.
Readiness is not finished when the supplies arrive. Inspect the layers on a recurring schedule, replace used or expired contents, rotate food and water, update contacts and medical records, and retrain when the group or activity changes. A tested system gives people clearer choices when the situation is confusing, but it doesn't promise protection or eliminate the need for professional emergency assistance.
Adventure Medical Kits offers activity-specific medical kits designed for portable use, organized access, durable storage, and outdoor-focused preparation. Visit Adventure Medical Kits to choose a medical layer that fits the household, vehicle, travel, or backcountry system being built.