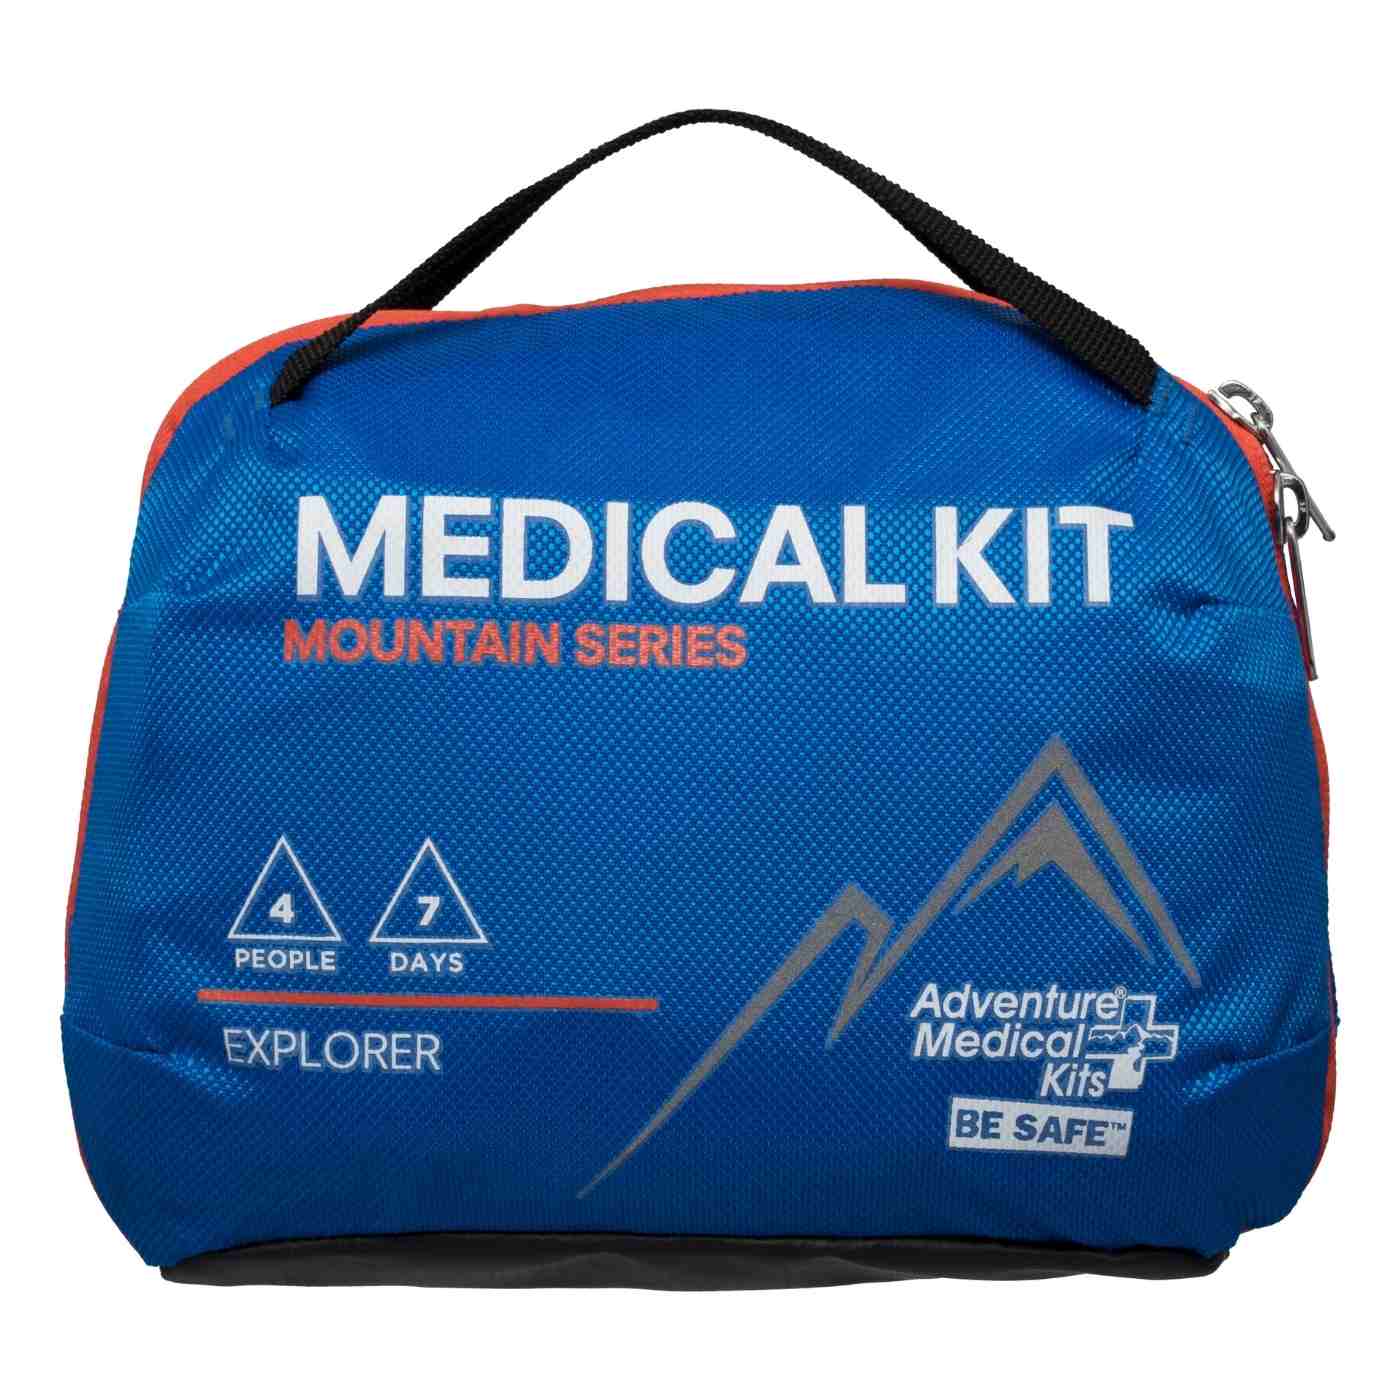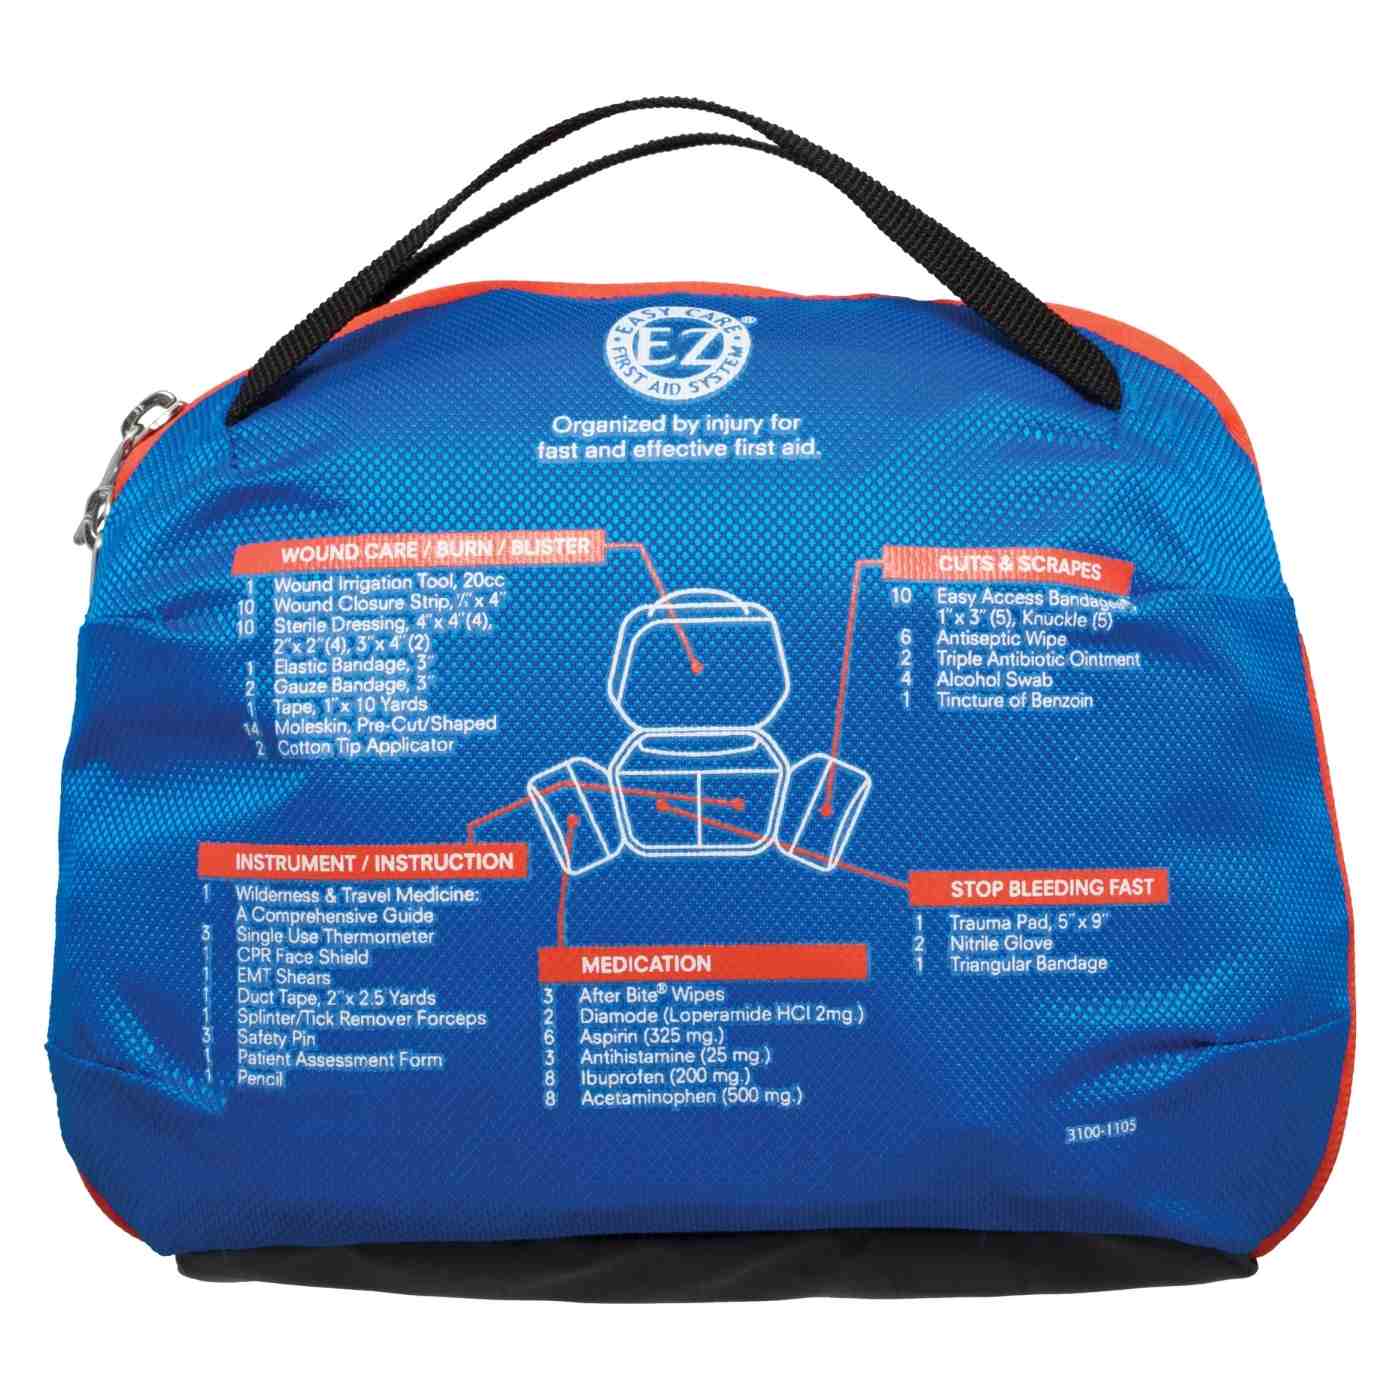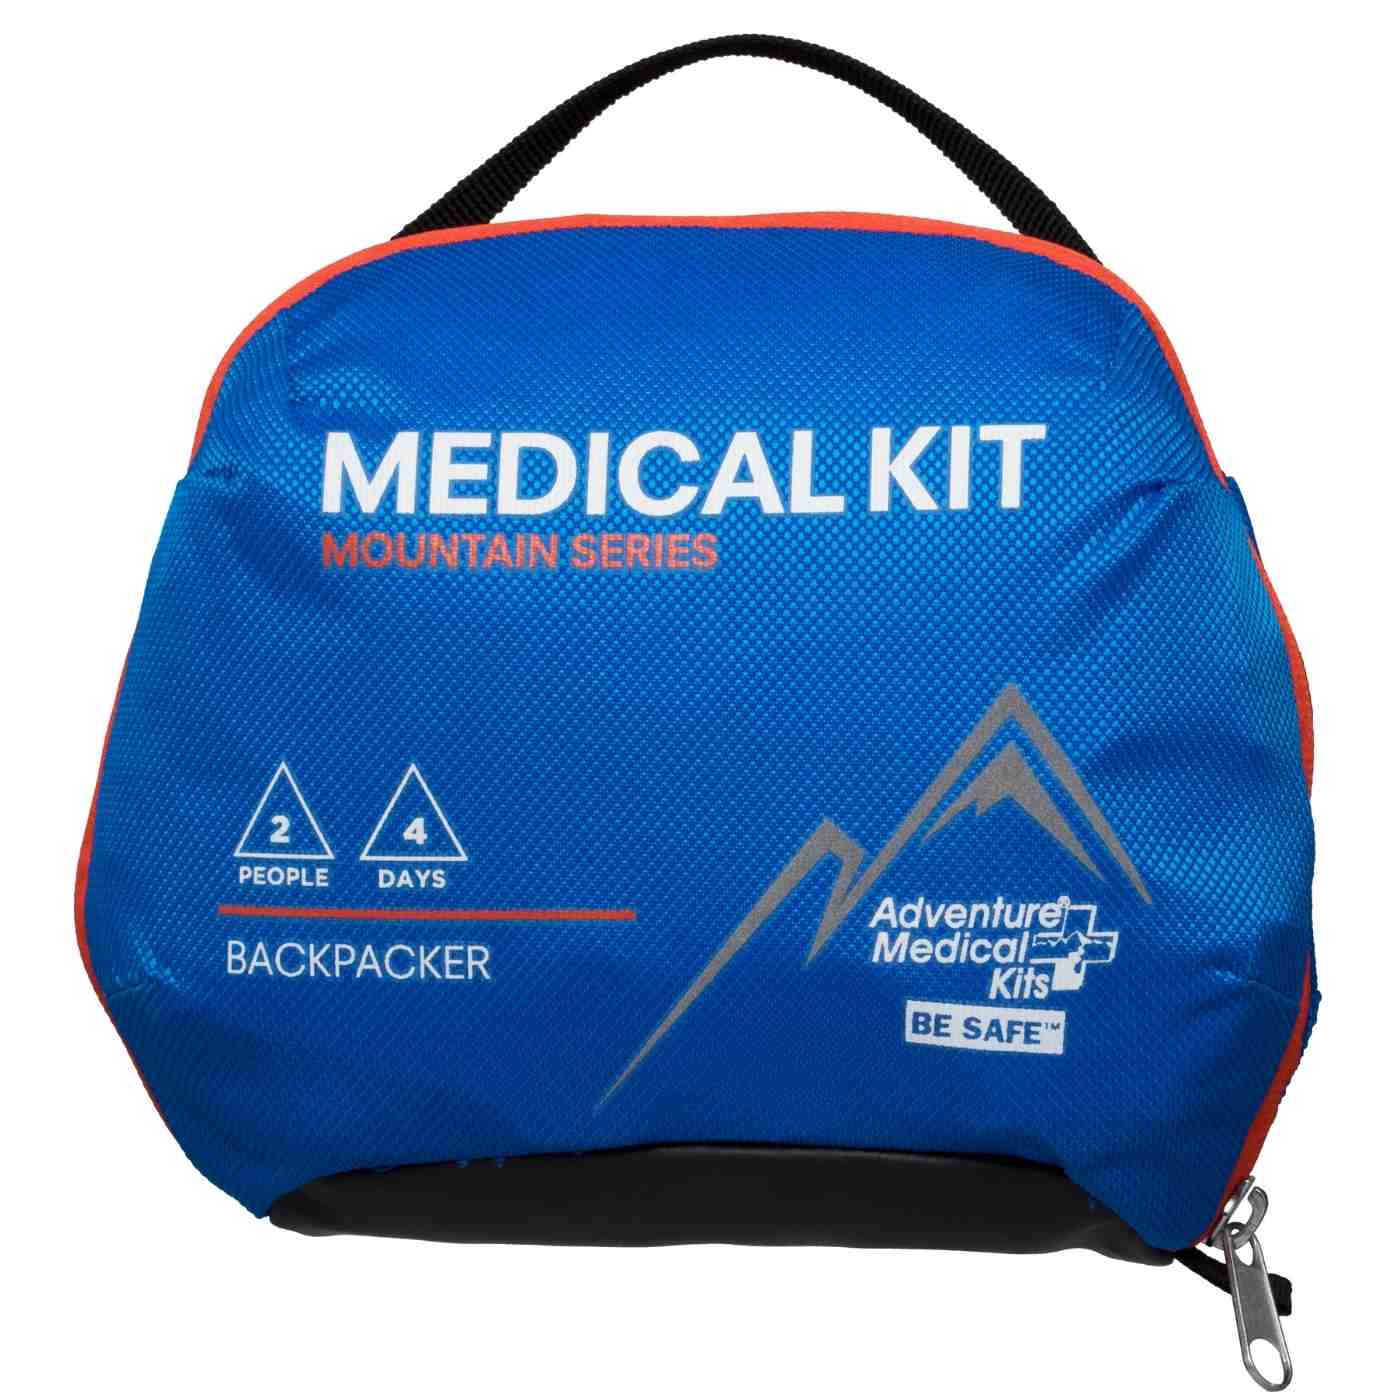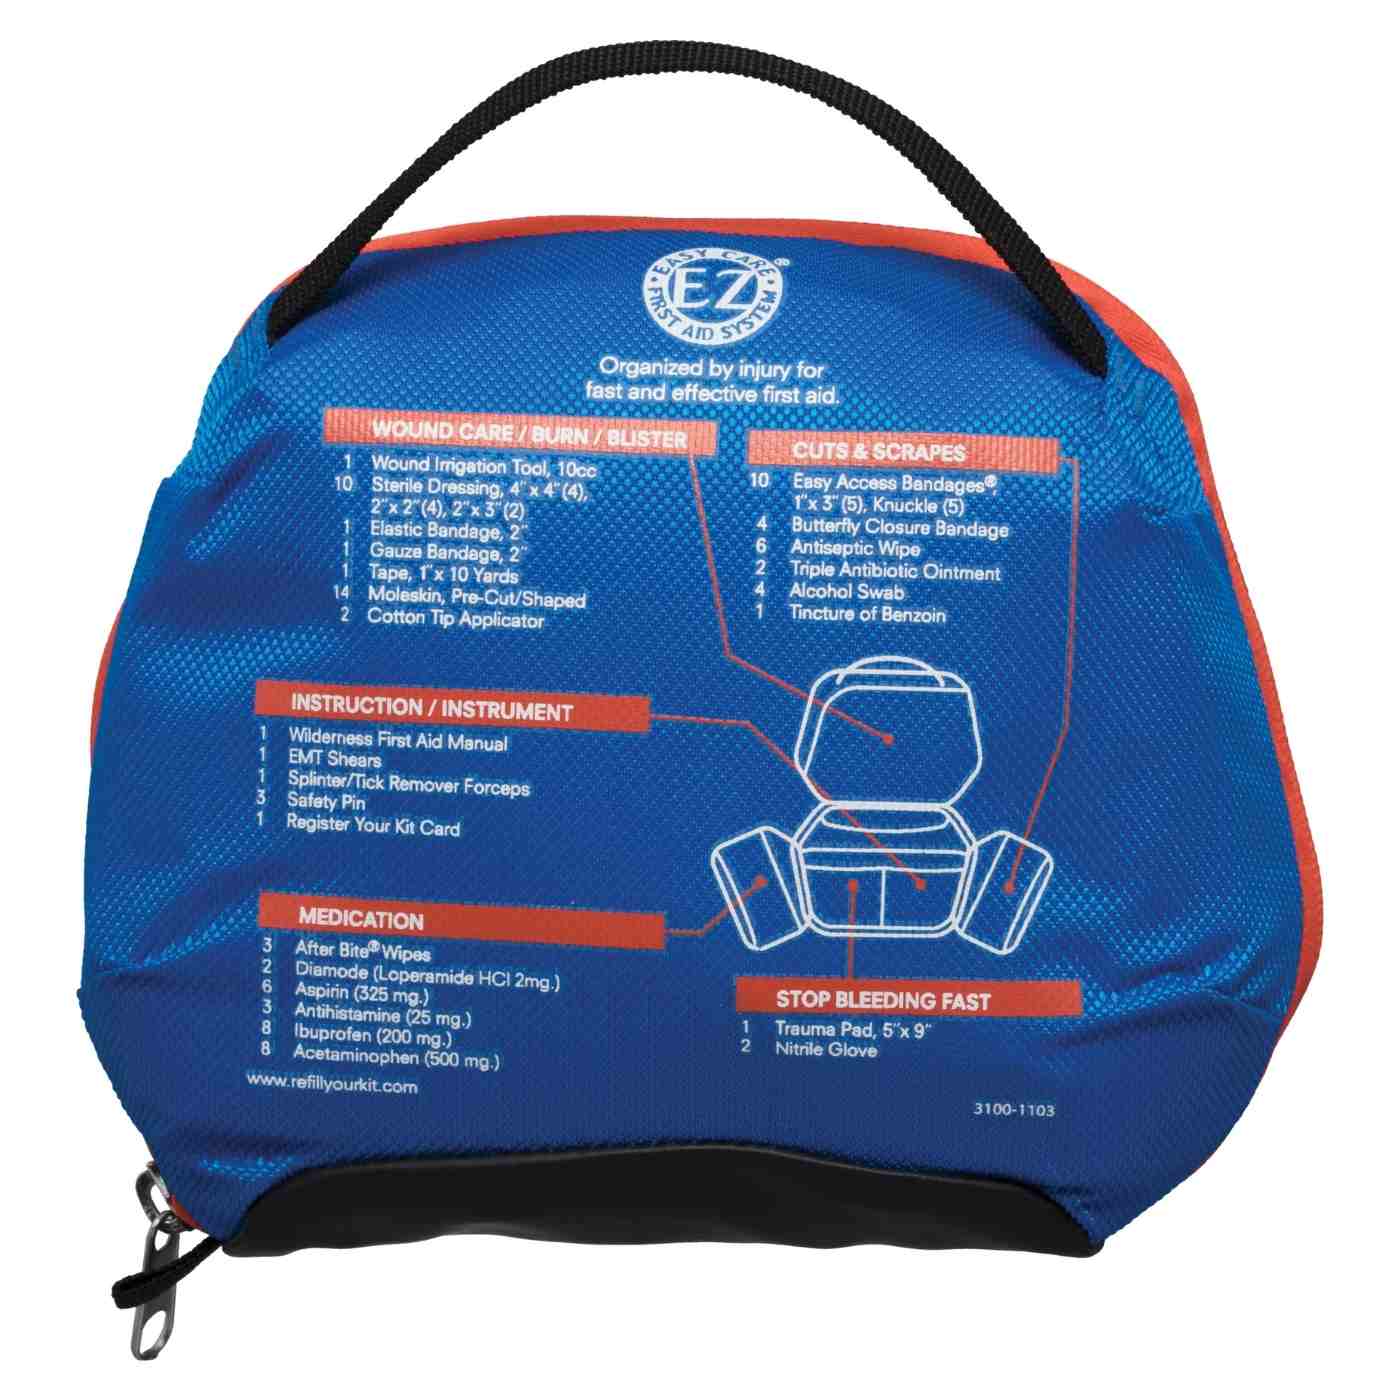


The trail is quiet until it isn't. A dog lands wrong on loose rock, yelps, and starts holding up a paw. Or a nose dives into brush and comes back swollen from a sting. The difference between a stressful delay and a controlled response usually comes down to one thing. The handler has a real first aid kit for dogs, and knows how to use it.
A human kit isn't enough. Dogs need some of the same basics, but they also need supplies sized for fur, paws, movement, and the hard reality that even a gentle dog may bite when scared or hurt. The goal isn't to turn any owner into a veterinarian. The goal is to stabilize the dog, prevent the problem from getting worse, and get off the trail with a plan.
Table of Contents
Why Every Dog Owner Needs a First Aid Kit
Dogs get hurt in ordinary ways and fast. Sharp shale slices pads. Sticks puncture skin. A bee sting turns into facial swelling. A dog that never snaps at home may whip around when someone touches a painful leg. That's why a dog kit isn't just a nice extra for road trips and hikes. It's part of responsible handling.
The American Veterinary Medical Association says every household should keep a dedicated pet first aid kit, and it specifically recommends items that many people leave out of a human kit, including a muzzle, digital thermometer, self-adhering nonstick tape, and a copy of medical records in the kit. It also notes that 3% hydrogen peroxide should only be used to induce vomiting under direct veterinary instruction in its pet first aid guidance from the AVMA.
That advice matters because dog emergencies don't fail for lack of good intentions. They fail because the wrong supply gets used, or the right supply is buried in the bottom of a pack.
Preparation changes the decision-making
A prepared handler can do three useful things right away:
- Control the scene: leash the dog, prevent another injury, and keep the dog from bolting.
- Stabilize the problem: stop bleeding, protect a wound, limit movement, or begin cooling.
- Make a cleaner evacuation: carry better, transport faster, and hand off clearer information to a veterinarian.
Practical rule: Trail first aid is a bridge to veterinary care, not a substitute for it.
A dog-specific kit also reduces bad improvisation. Human adhesive bandages don't stay put in fur. Tight wraps slip and bunch. Loose gauze falls off the first time the dog shakes. A proper kit gives the handler materials that work on a moving animal outdoors.
Confidence comes from the why
A checklist alone doesn't build confidence. Knowing why an item is there does. A muzzle protects the handler during painful treatment. A thermometer helps sort a dog that's just stressed from one that may be dangerously overheated or chilled. Non-stick dressings protect tissue instead of ripping at it during changes.
That's the difference between carrying supplies and being ready to use them.
Assembling Your Canine First Aid Essentials
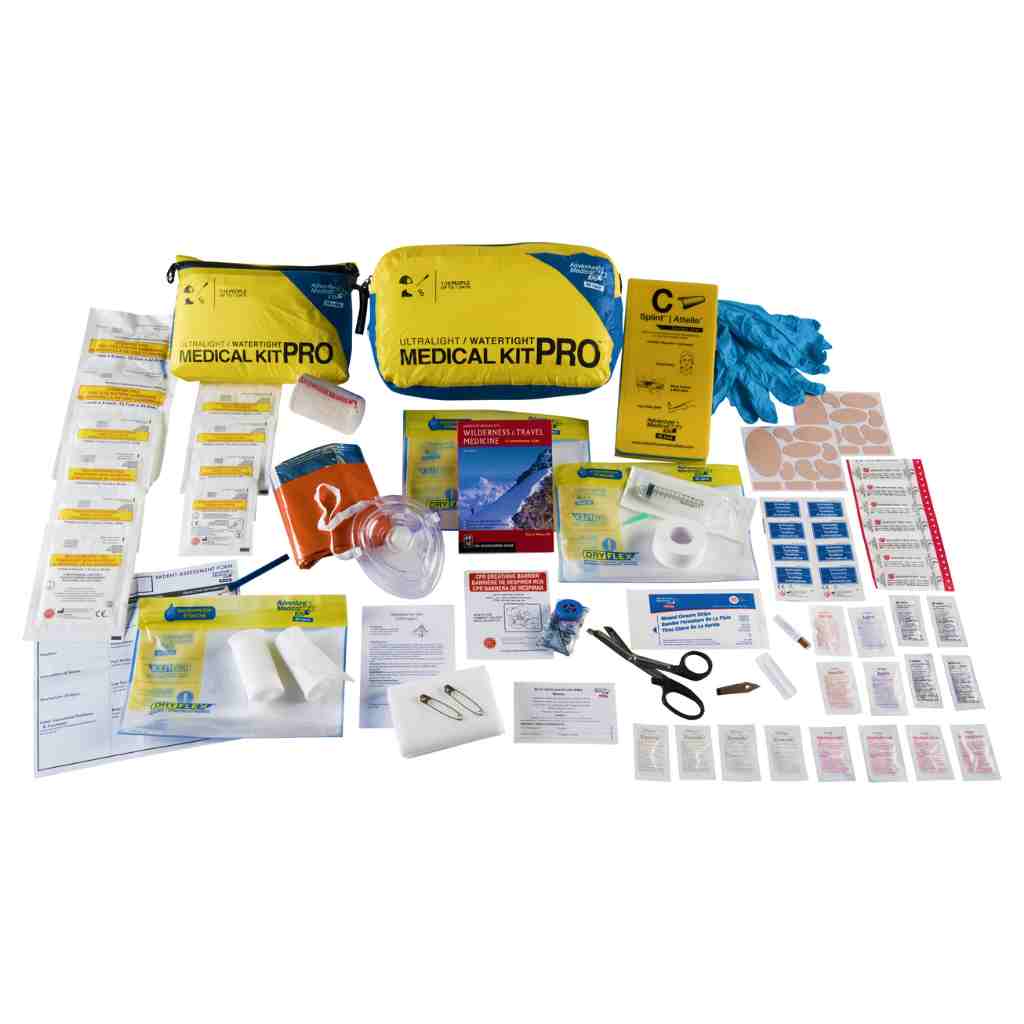
You are kneeling in dirt beside a dog with a torn paw pad, and the dog is pulling away every time you reach for the wound. In that moment, a useful kit is not the one with the most items. It is the one organized well enough that you can get gloves, gauze, wrap, and restraint fast, then use them without digging through loose supplies.
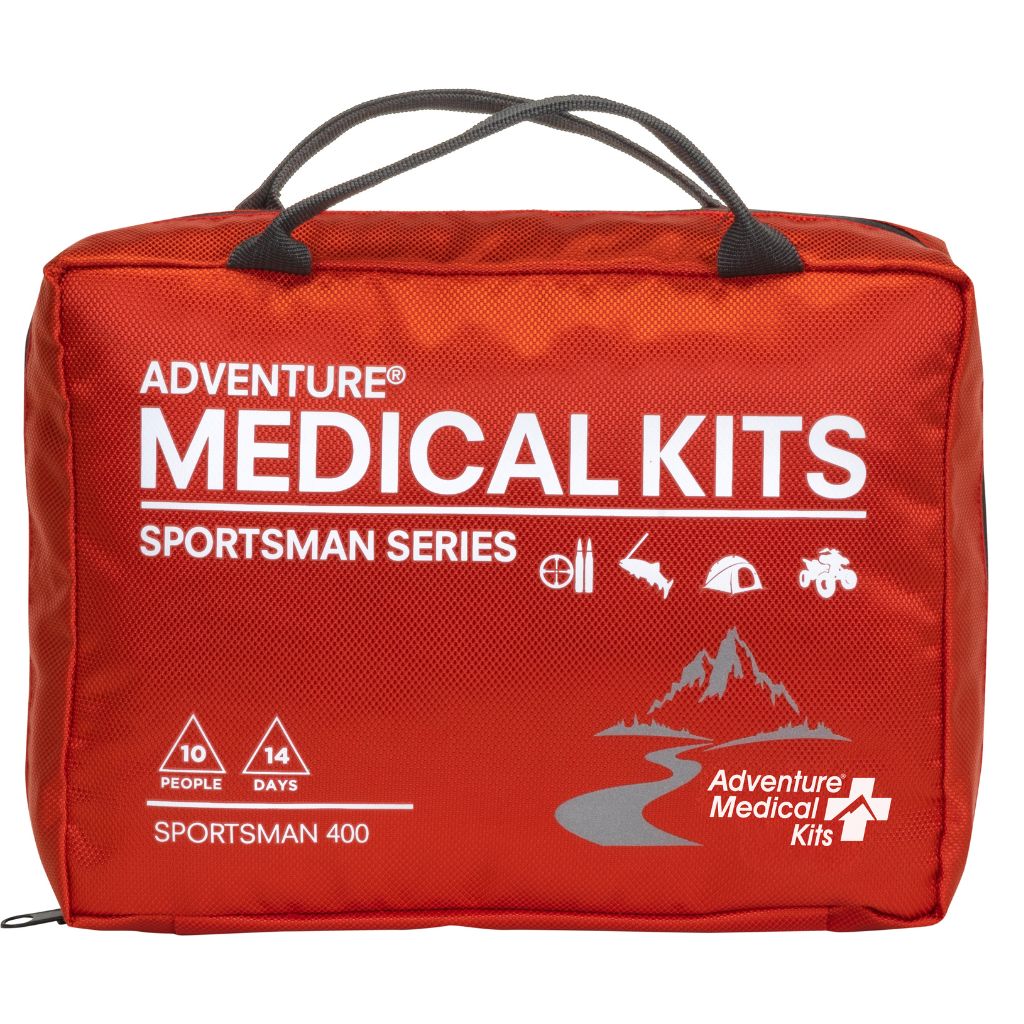
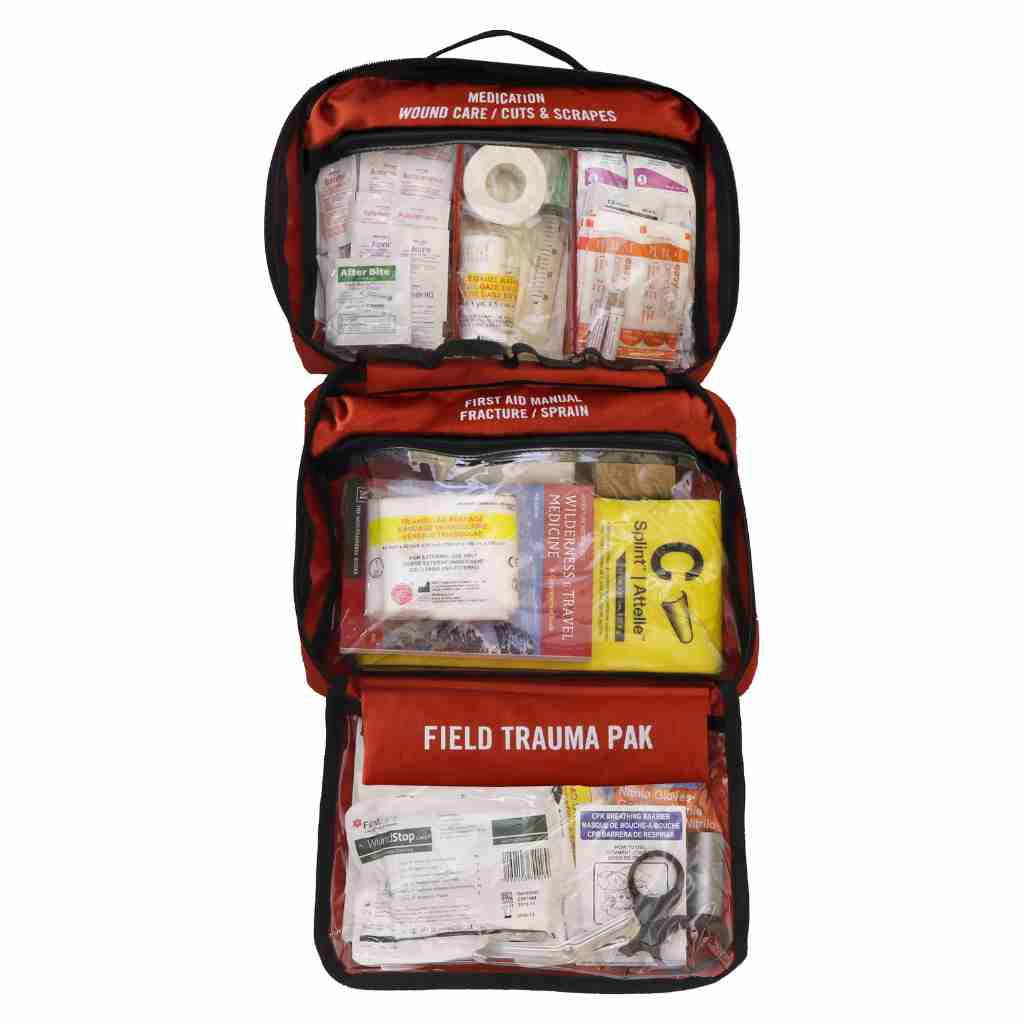
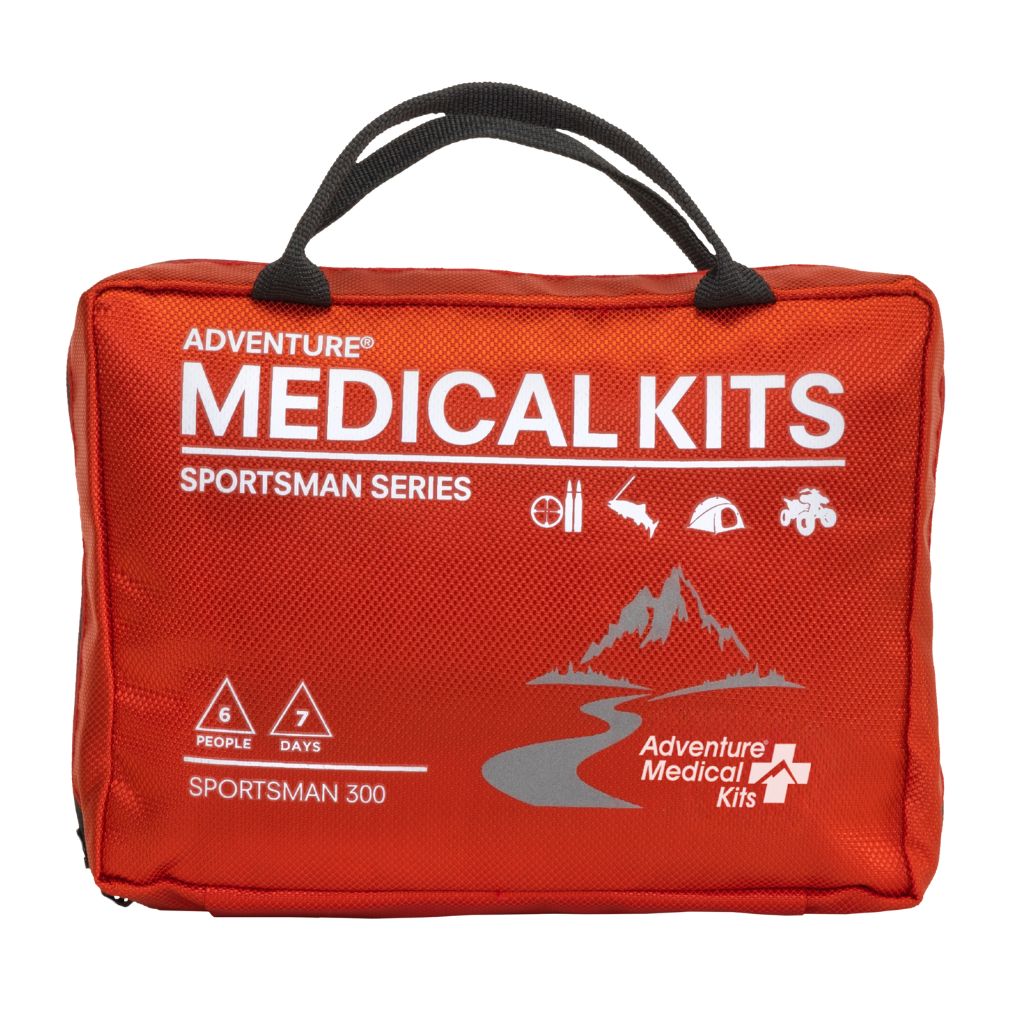
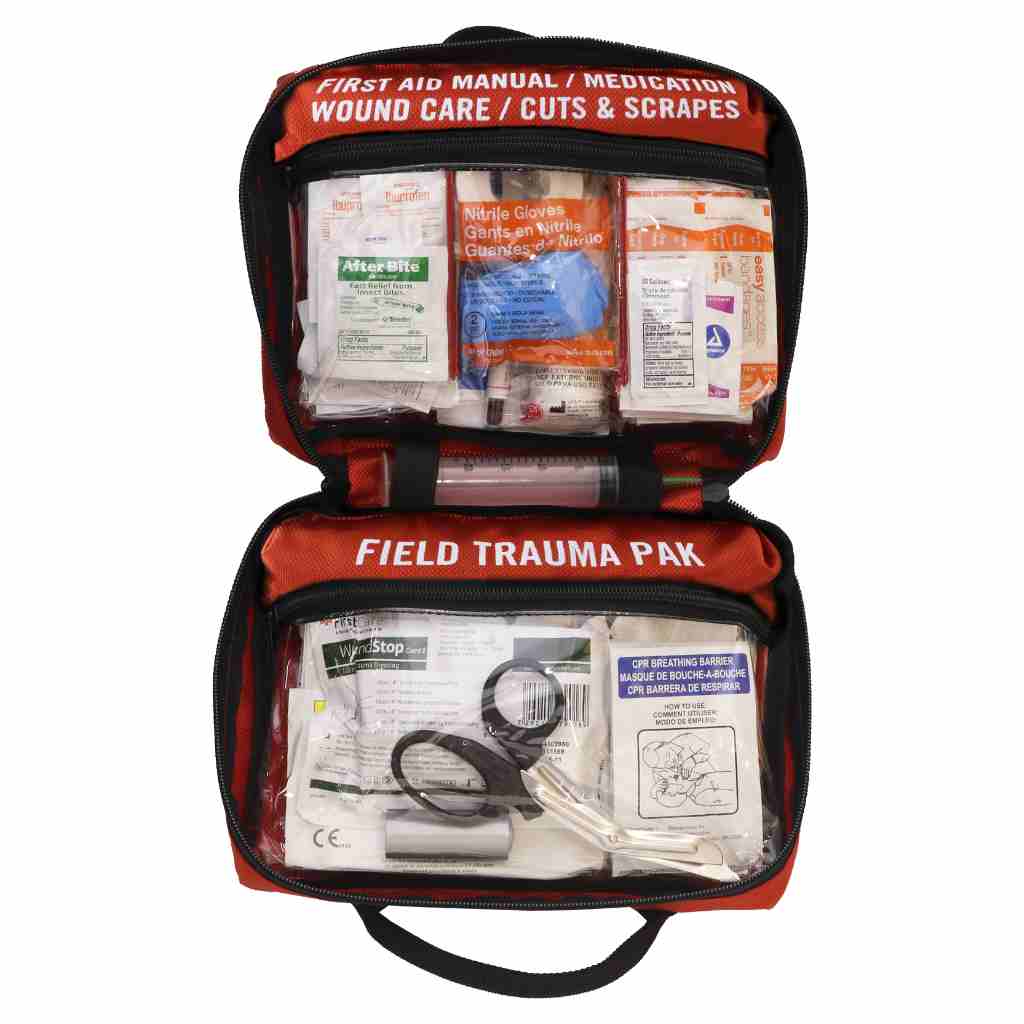
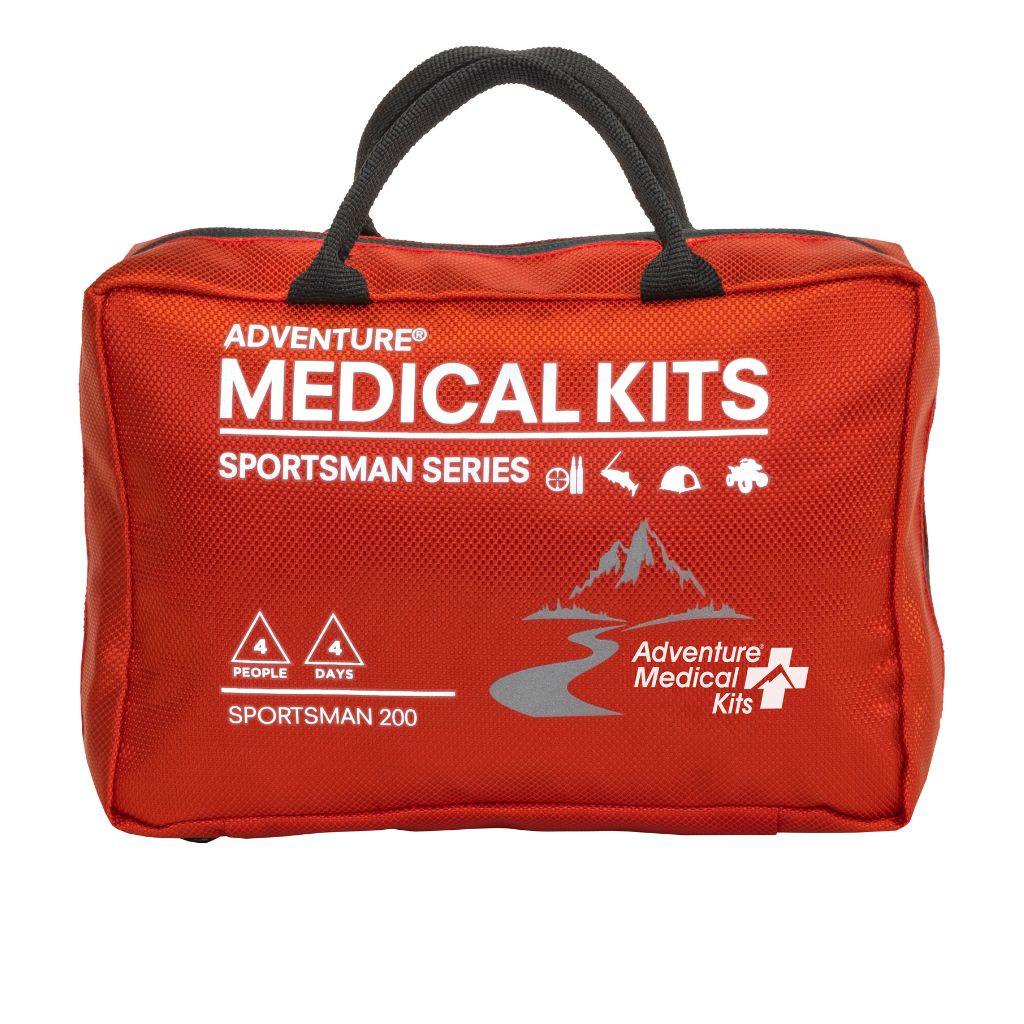
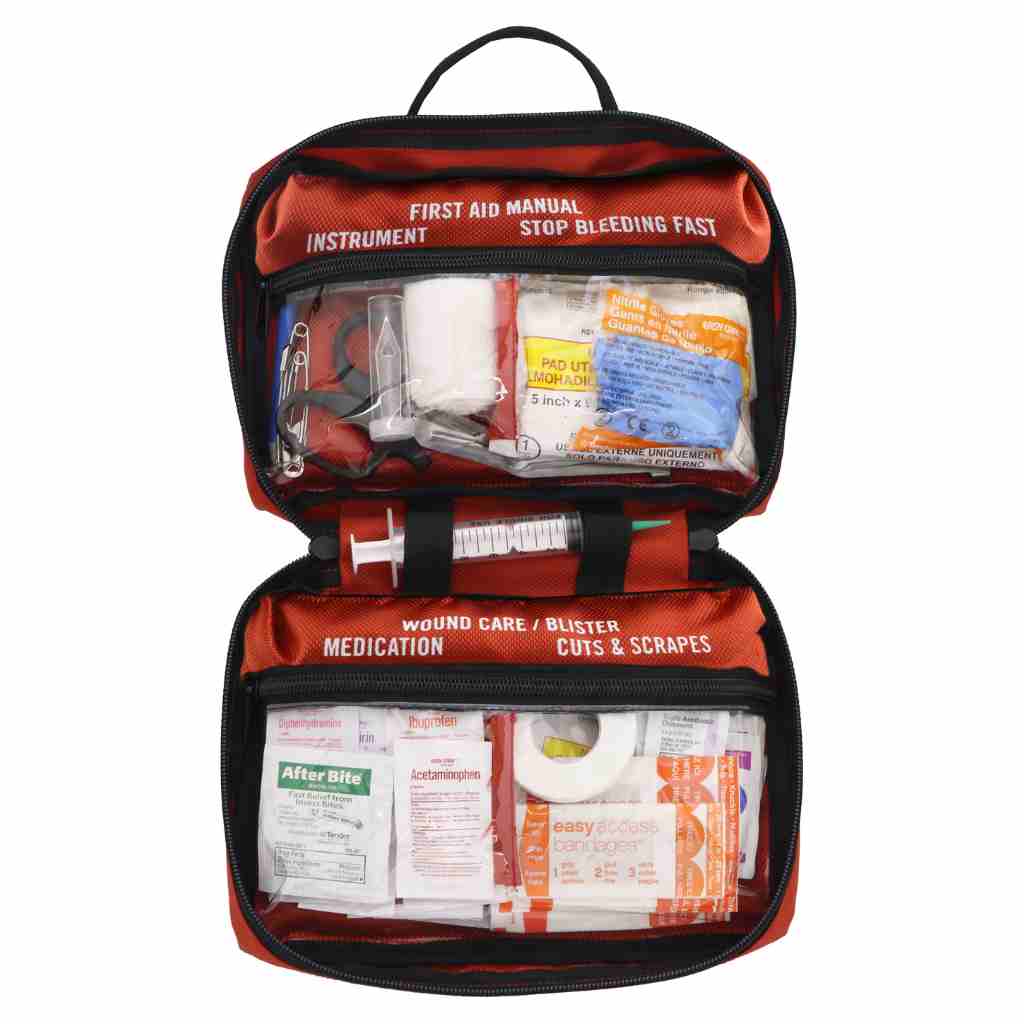
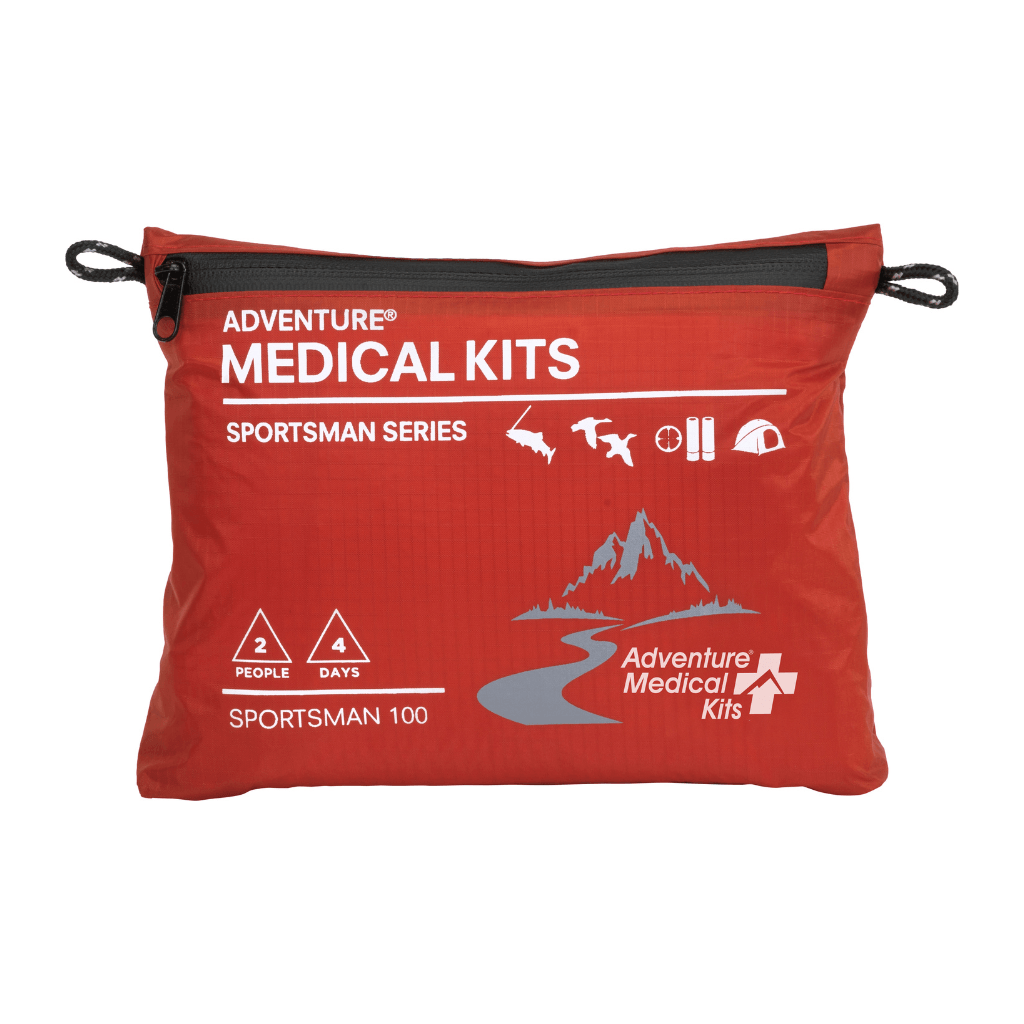
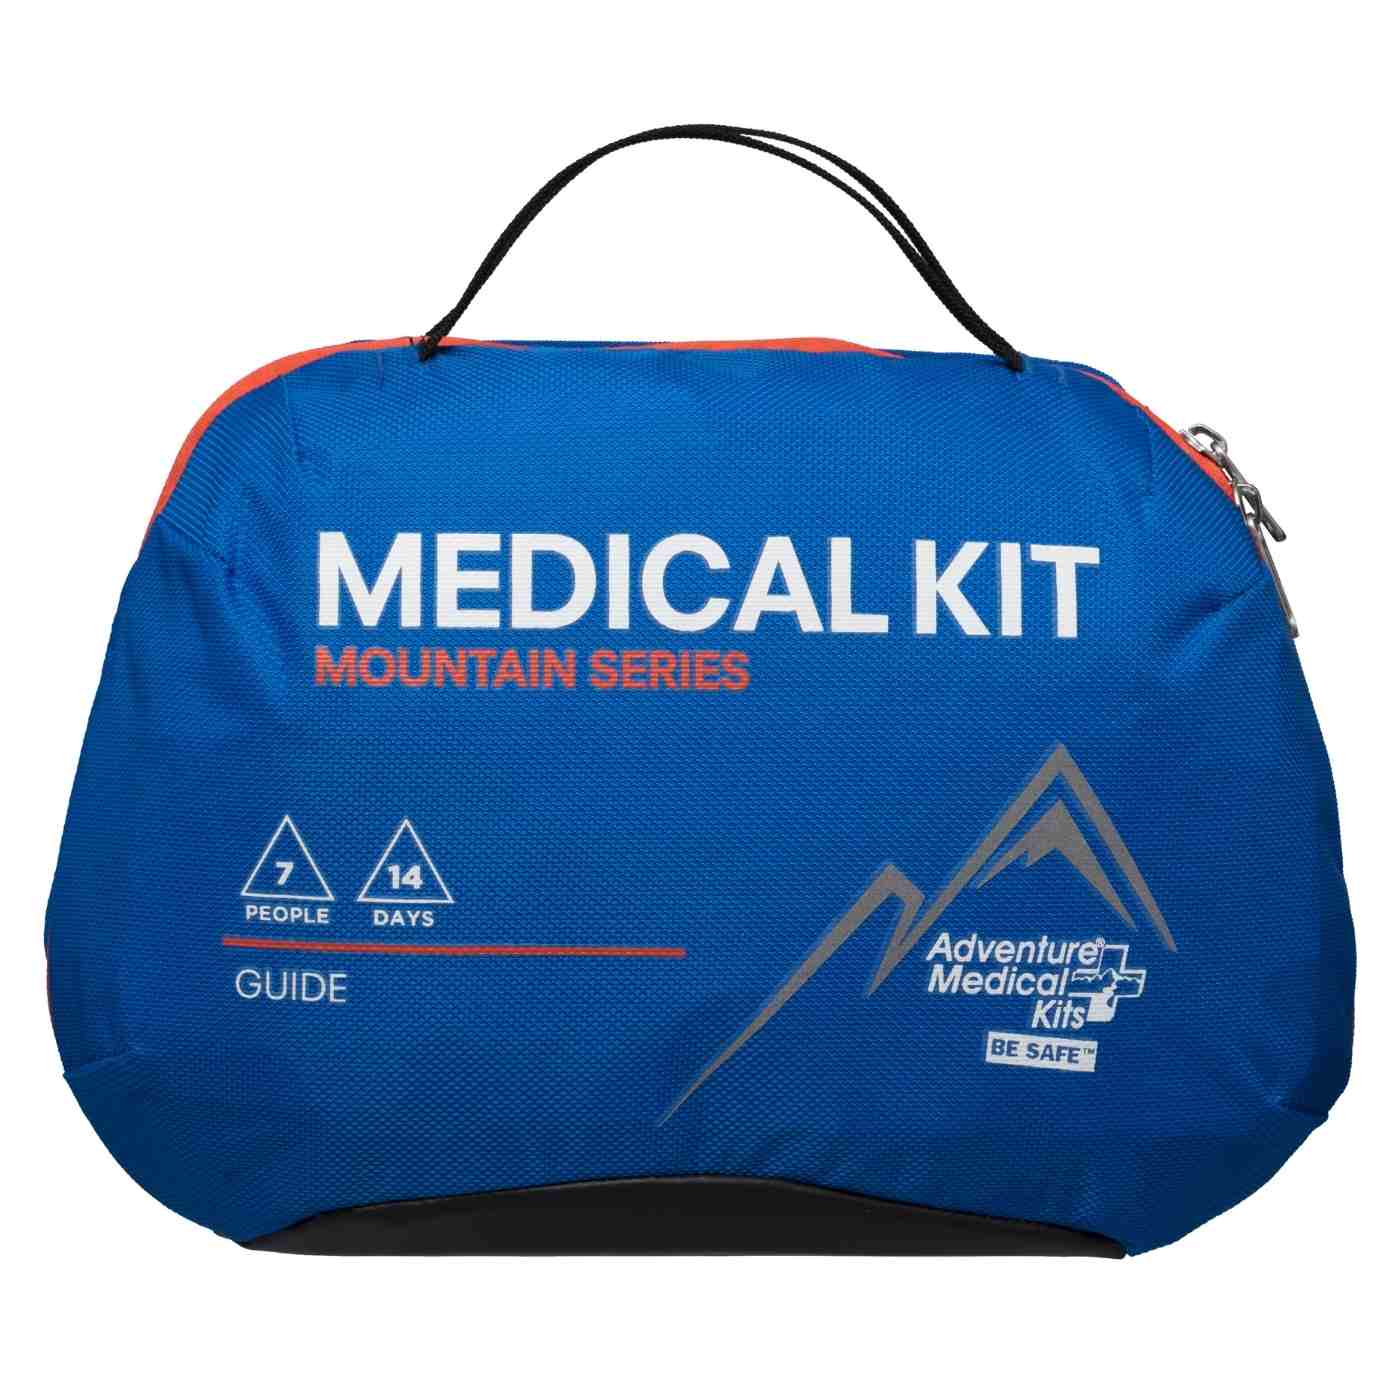
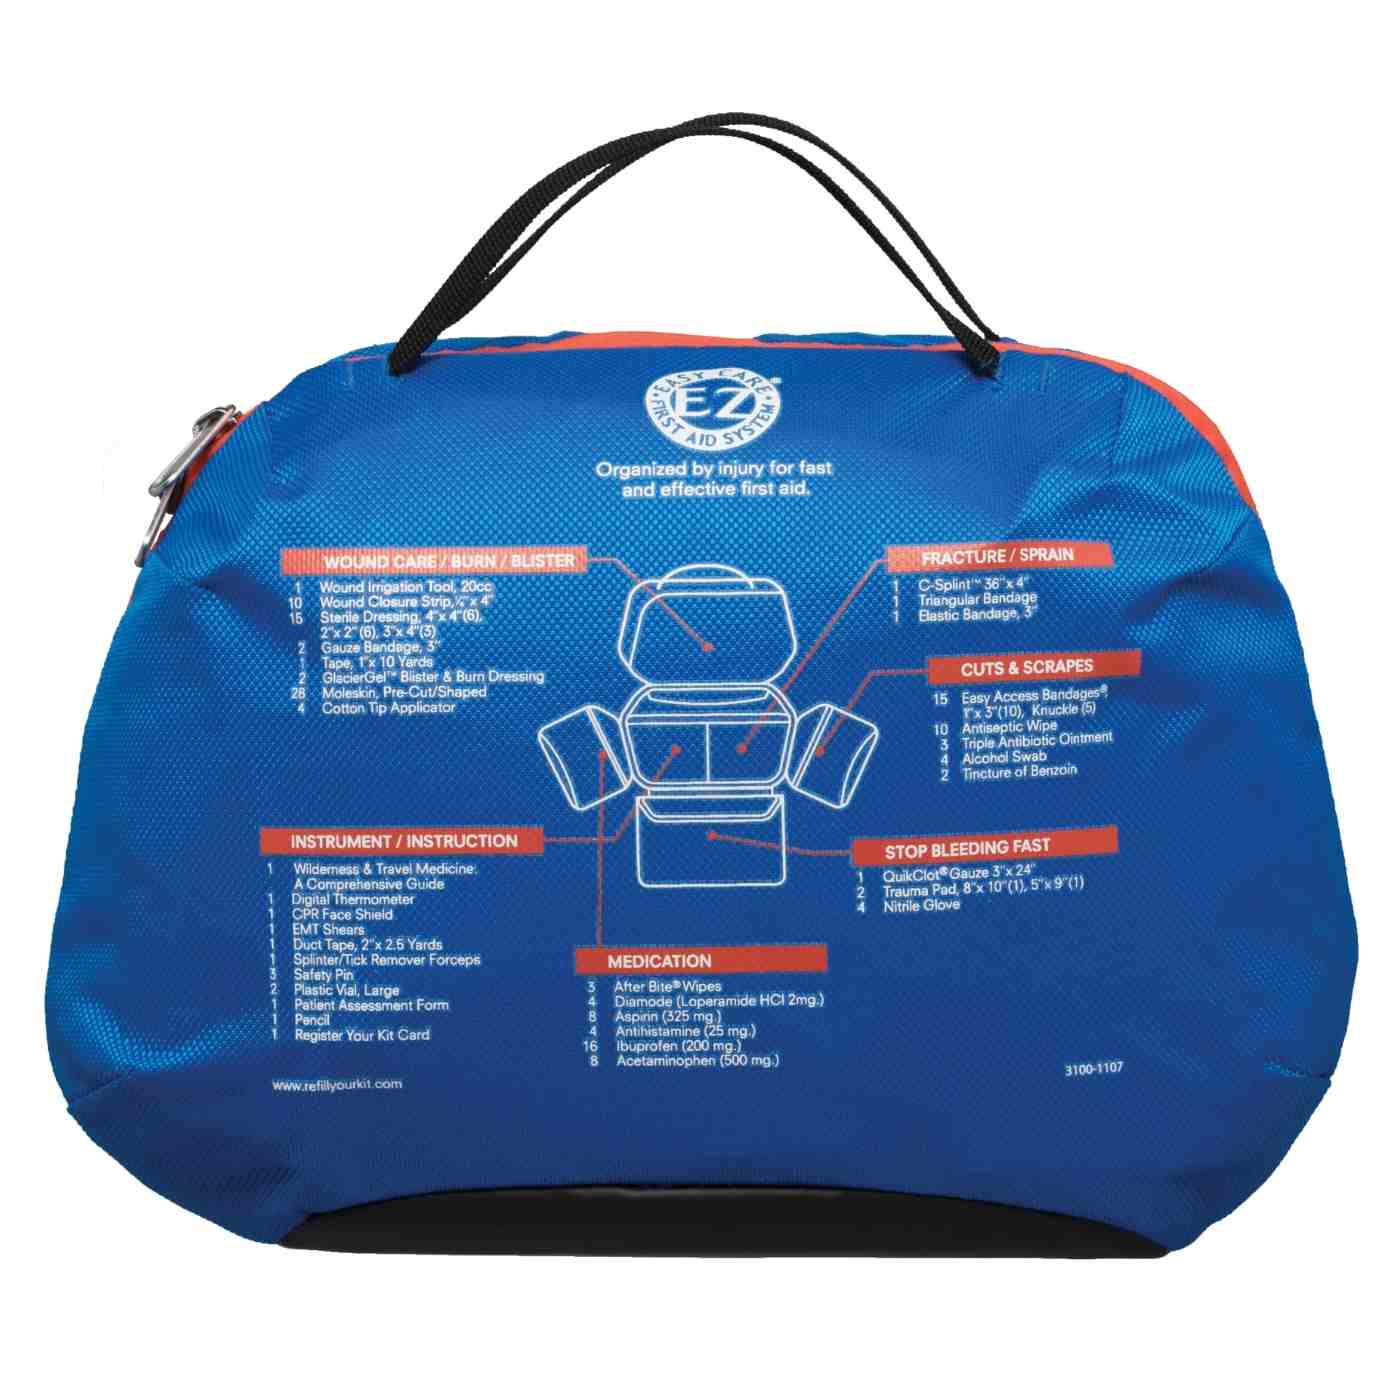
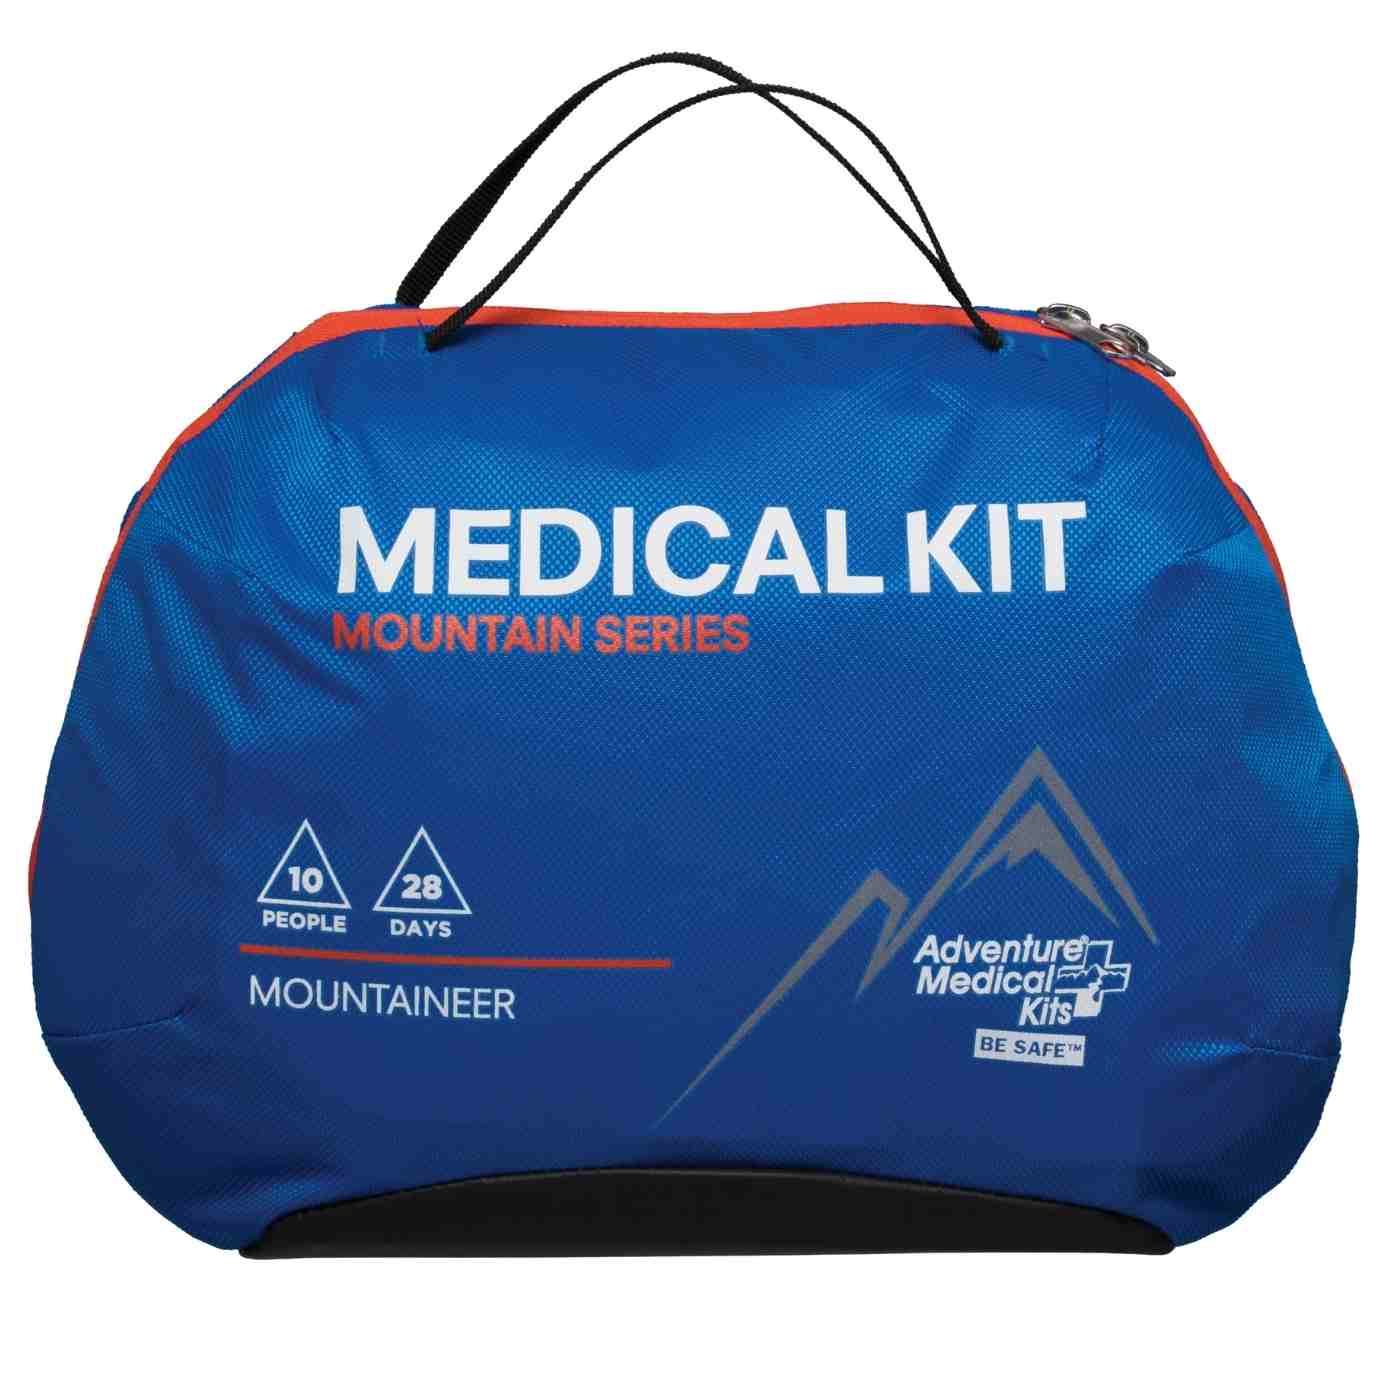
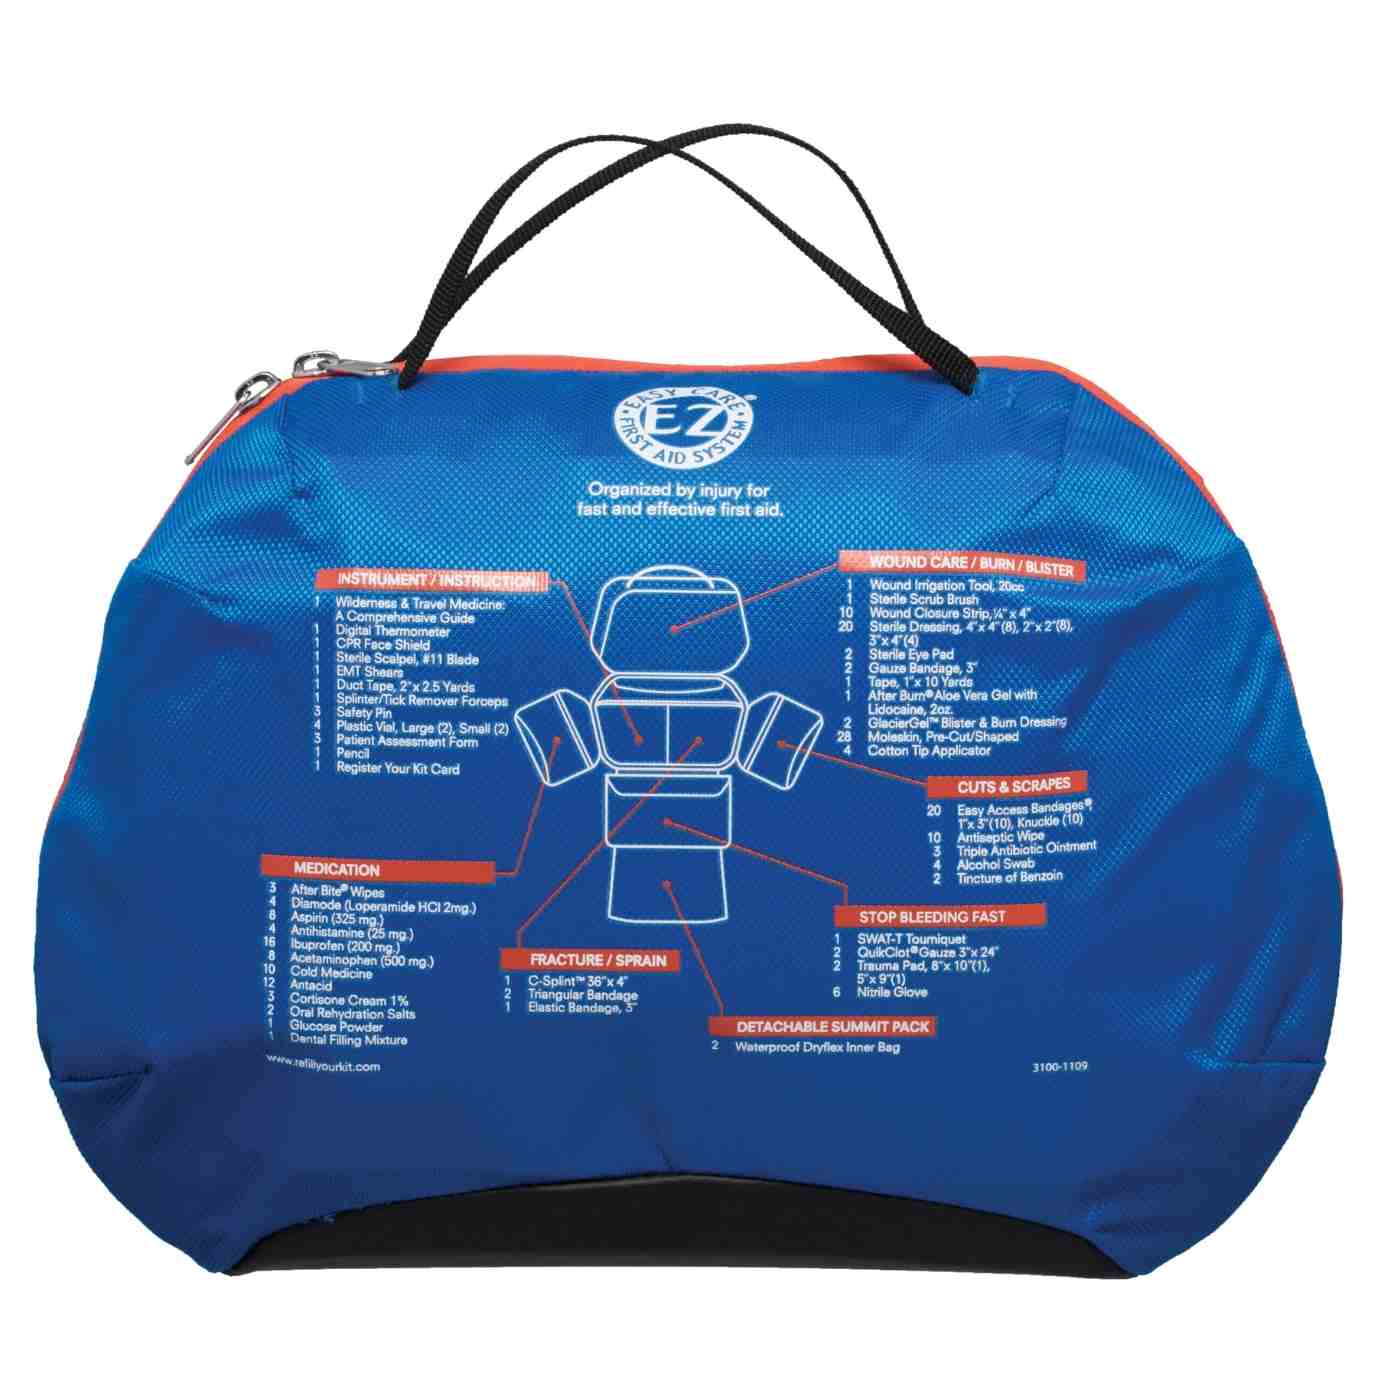
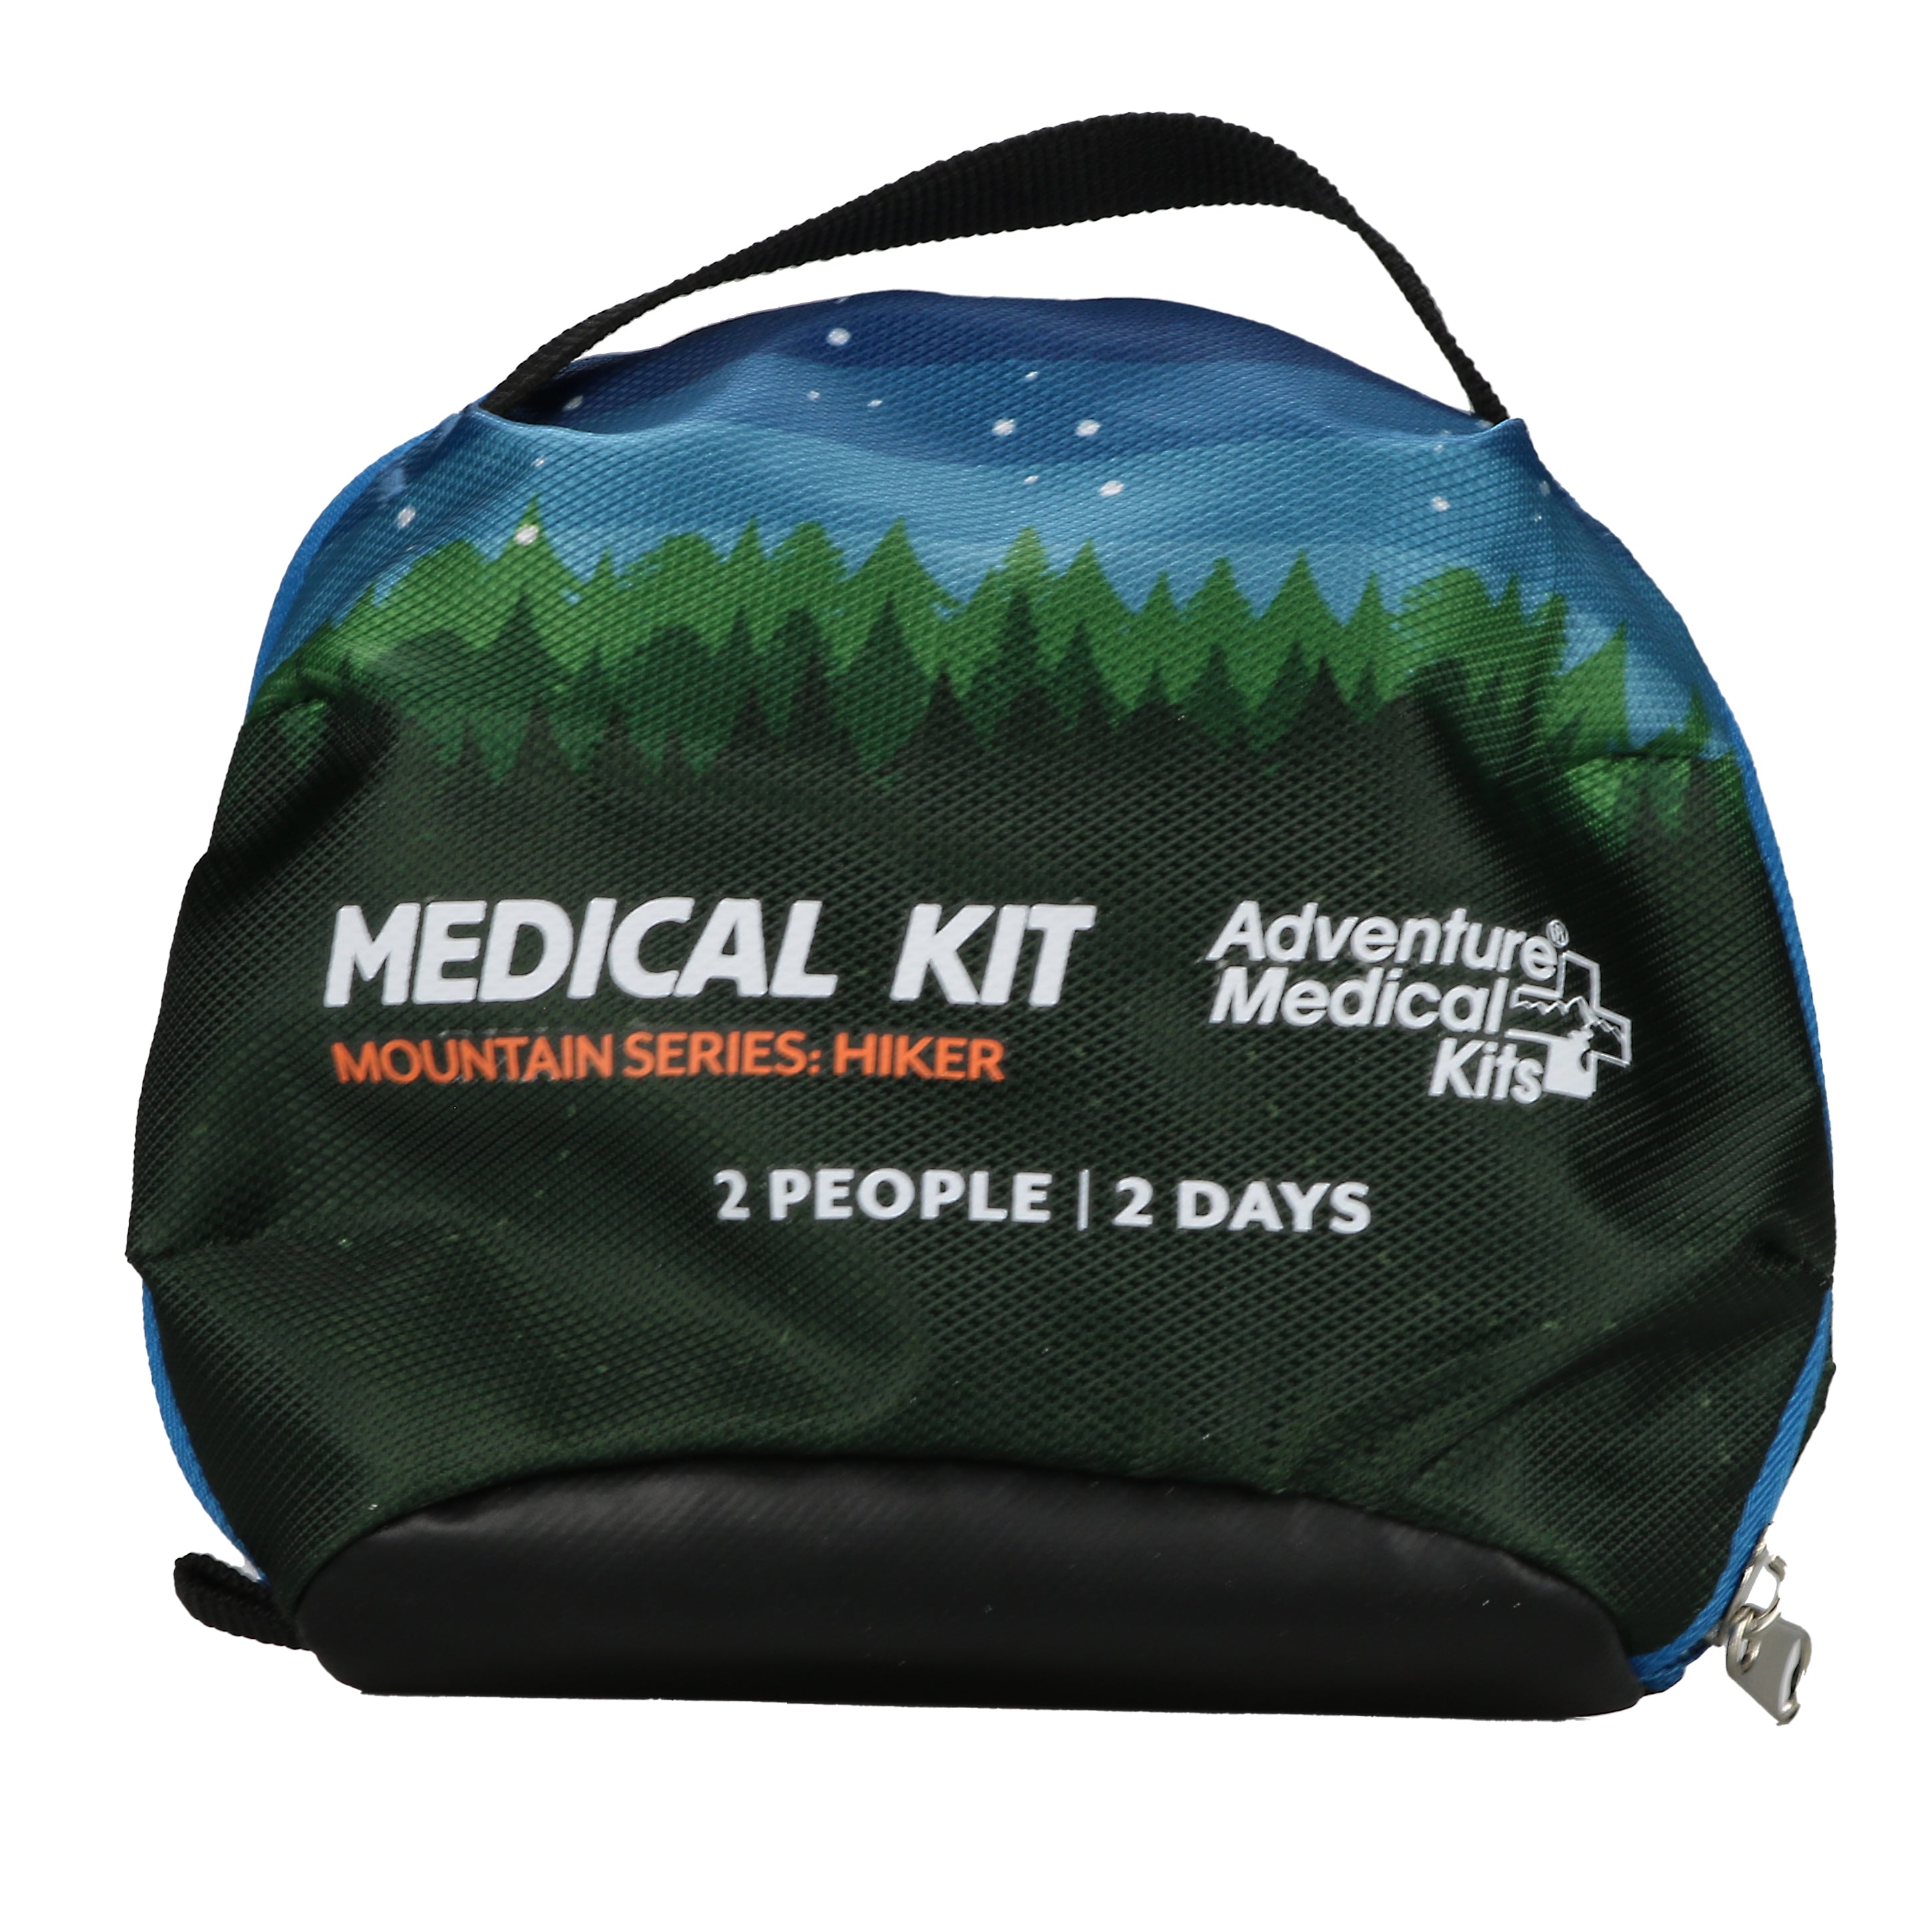
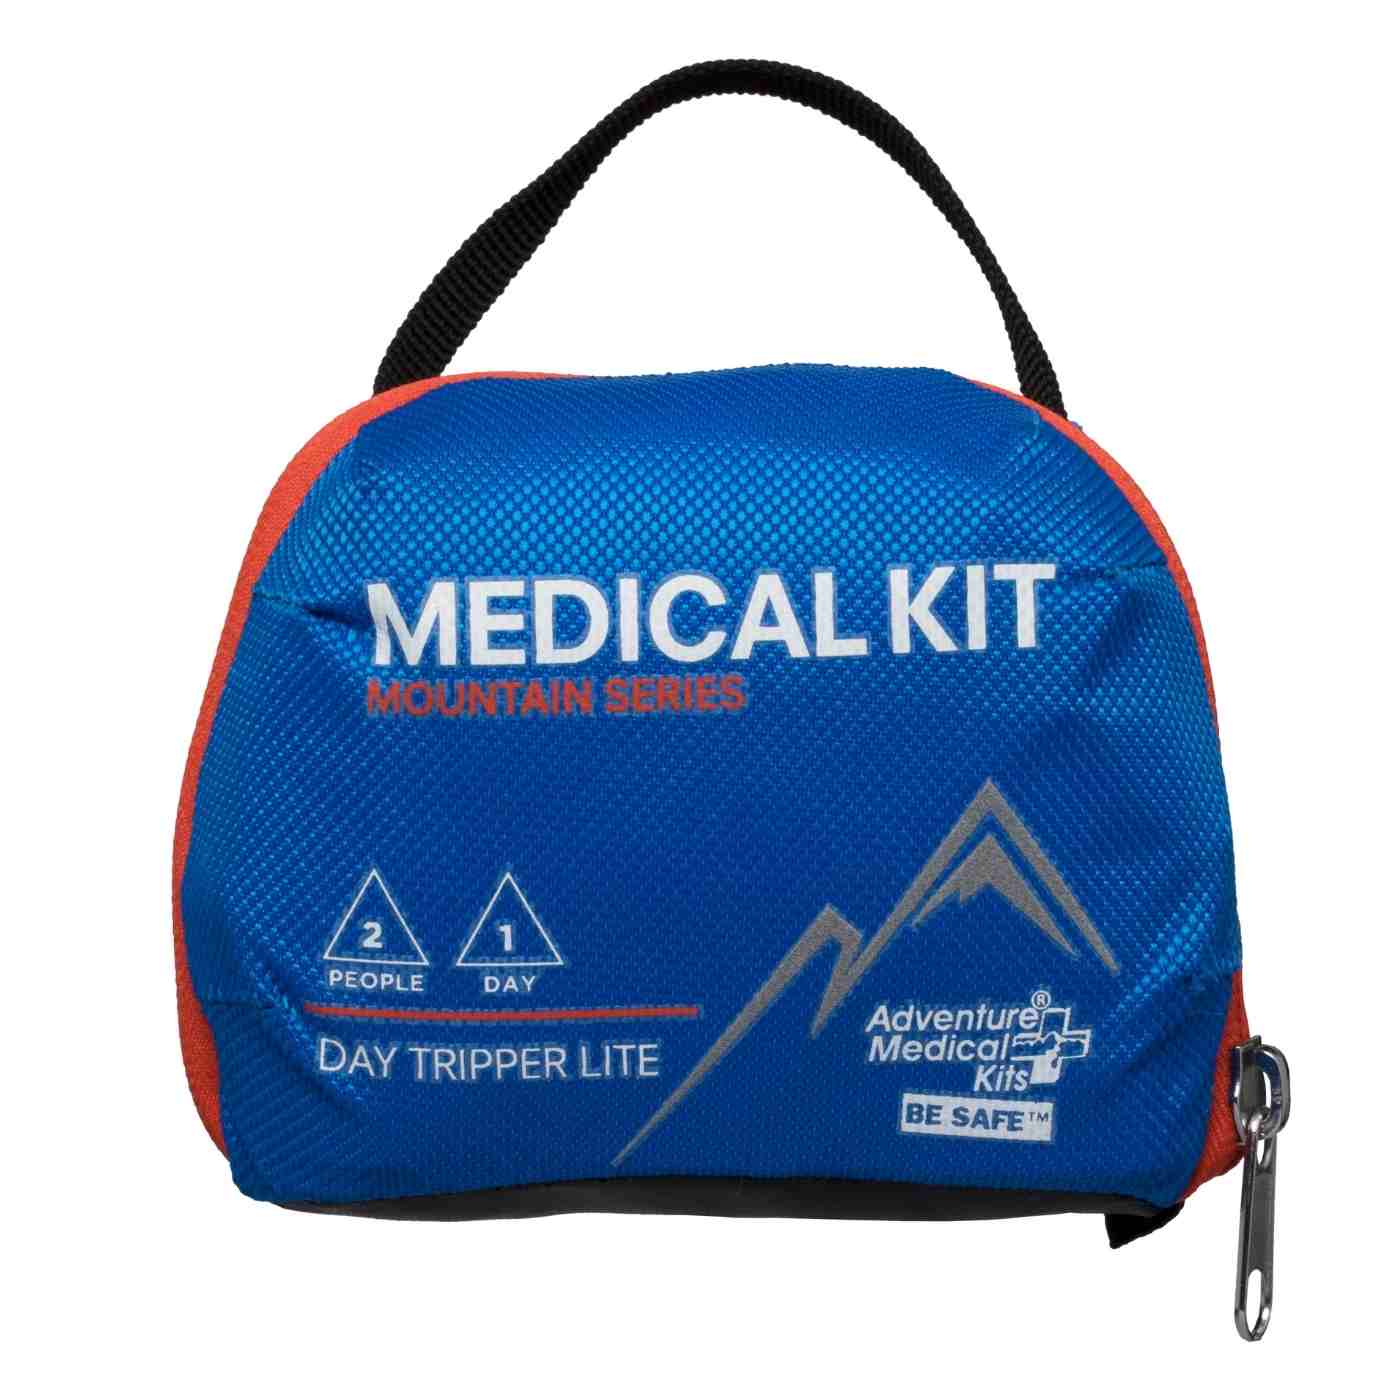
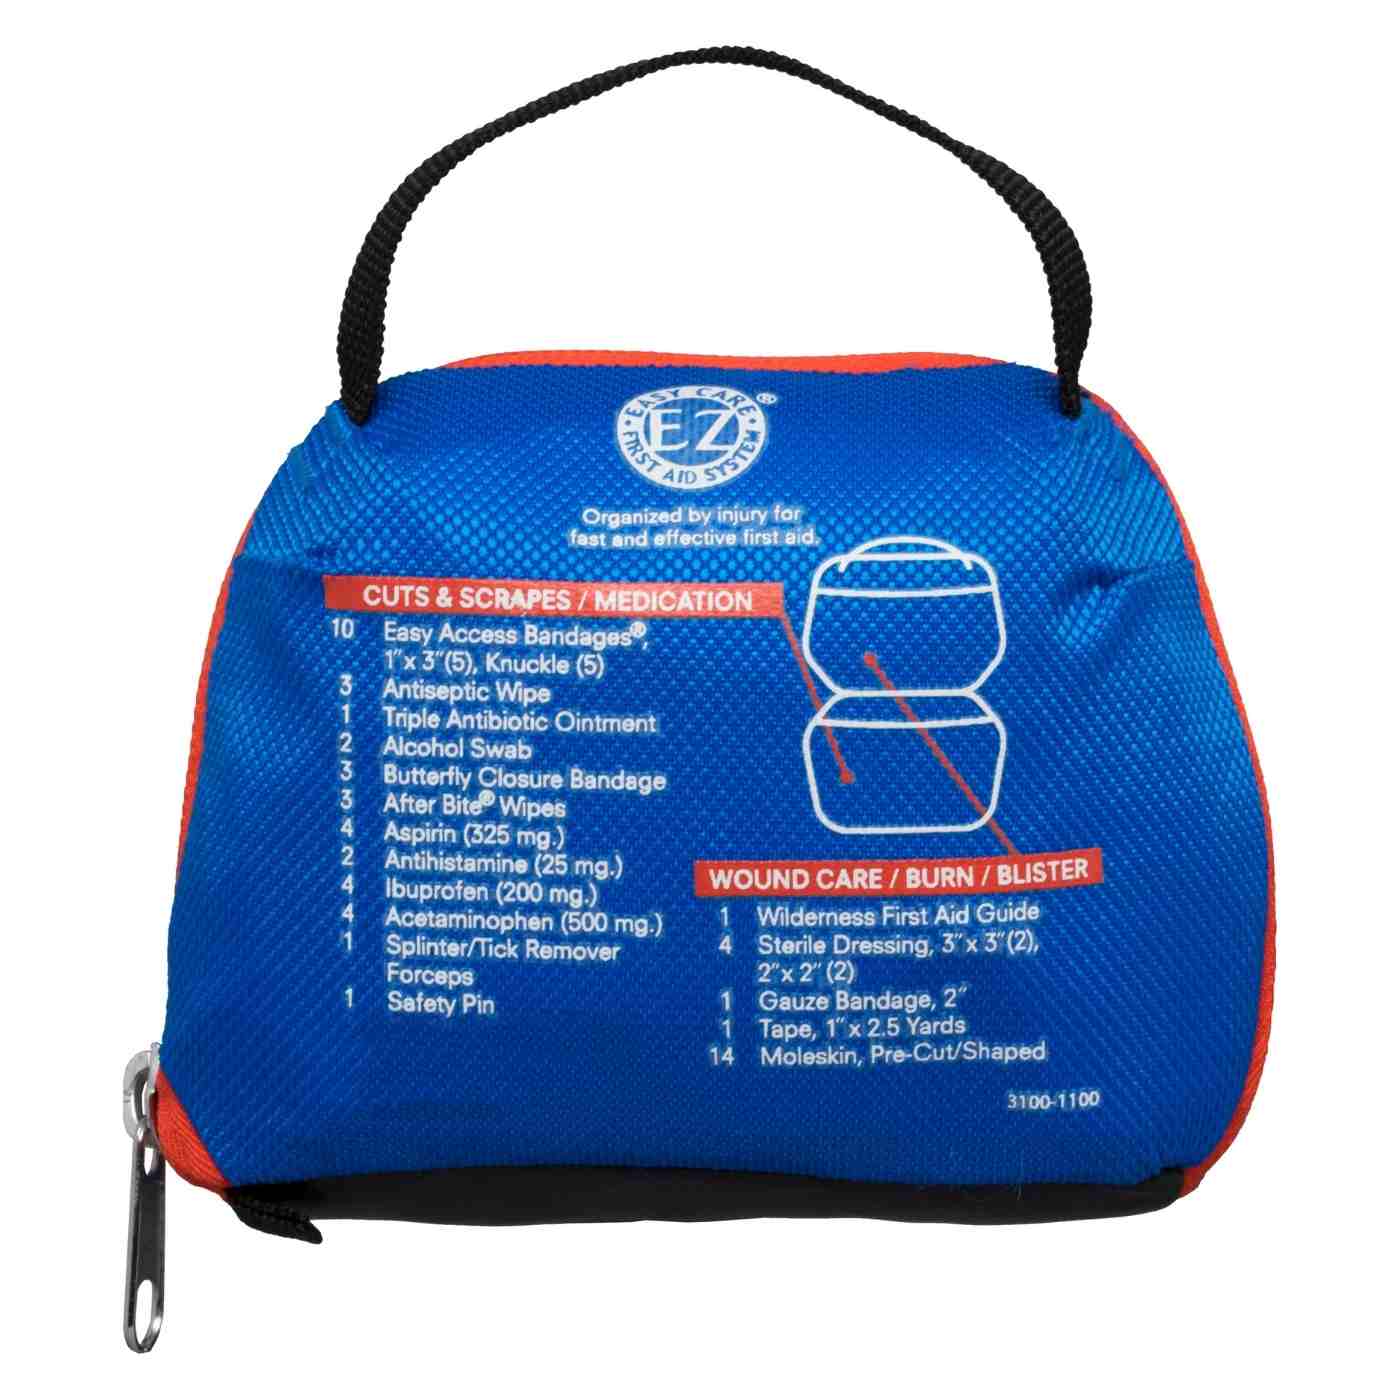
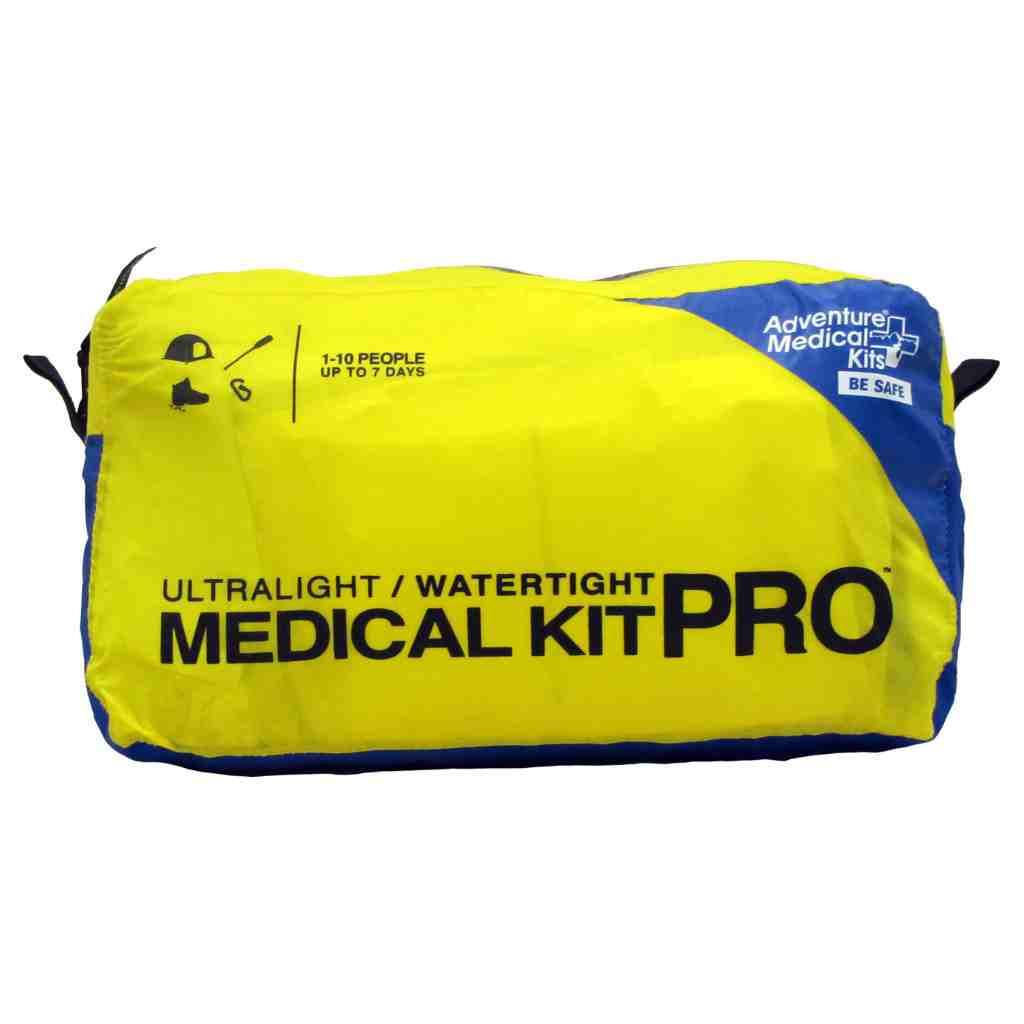
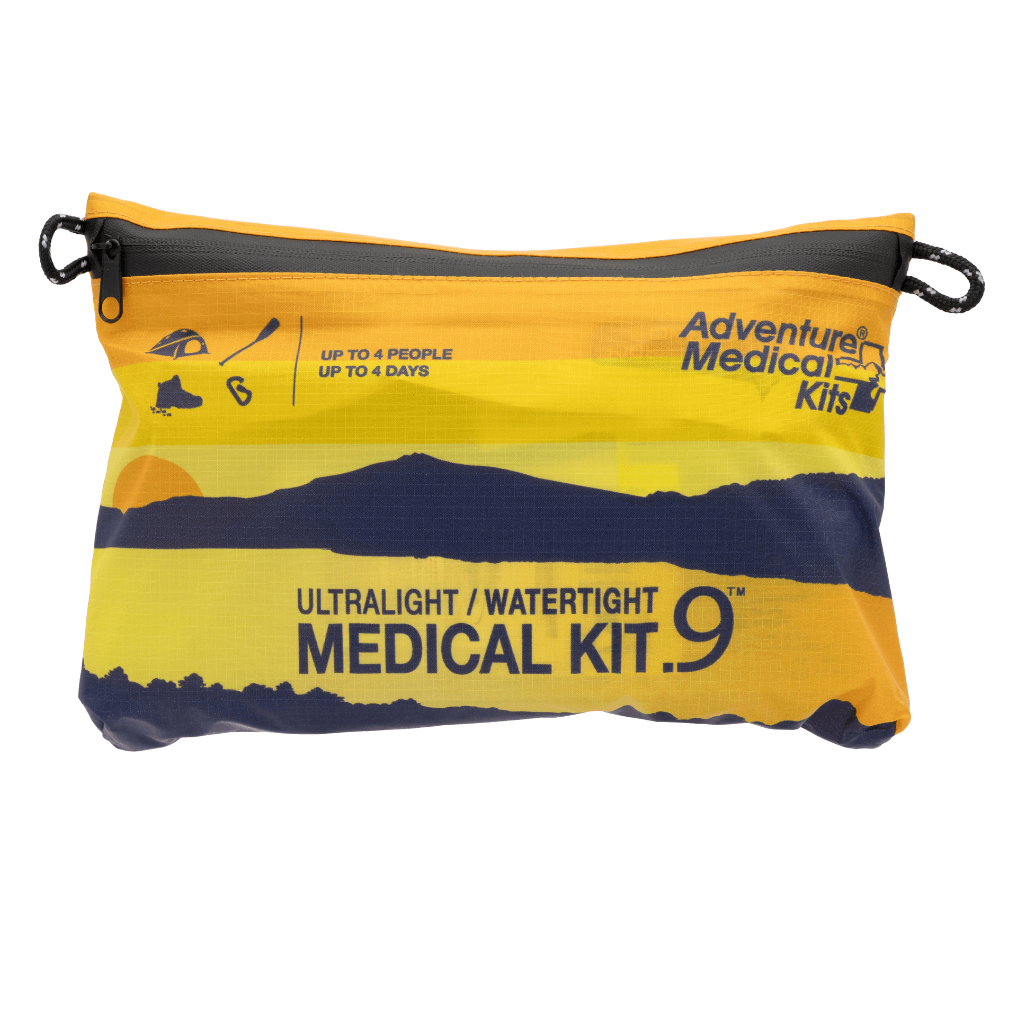
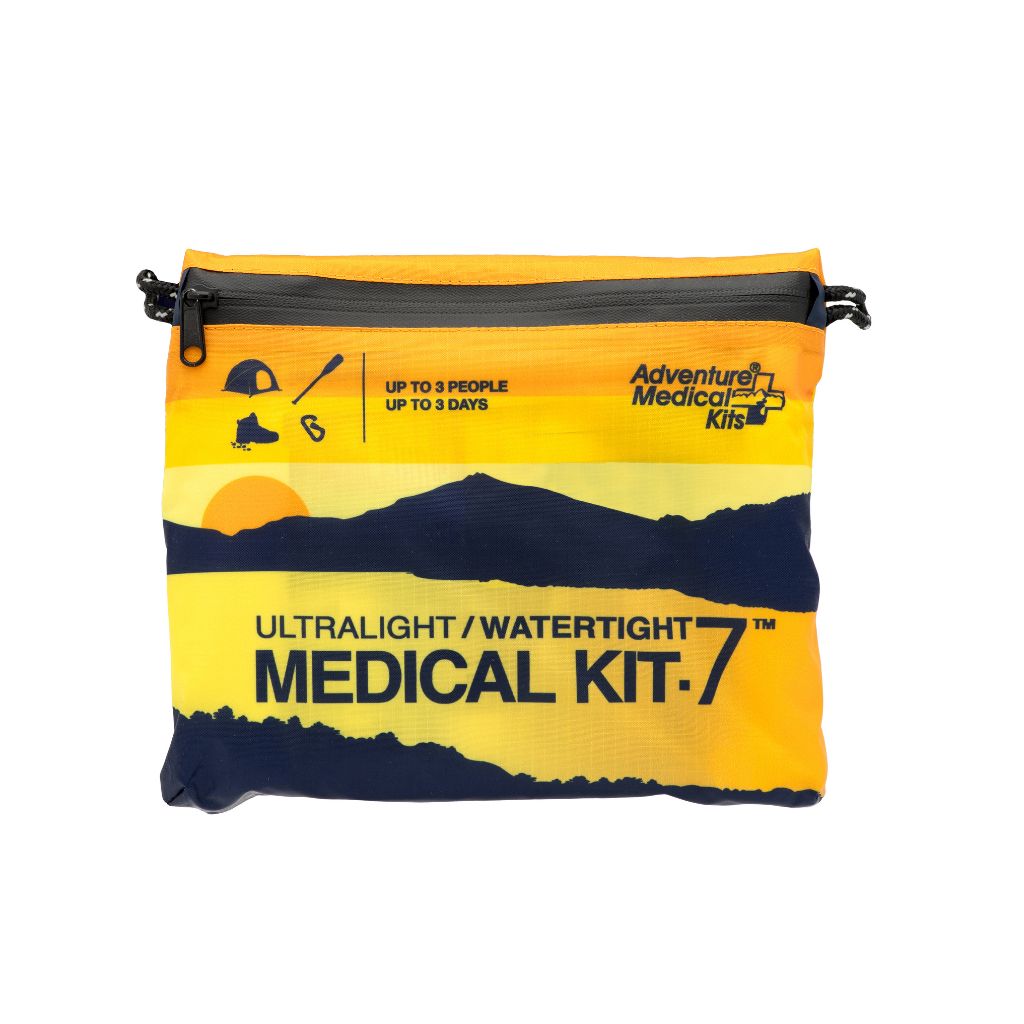
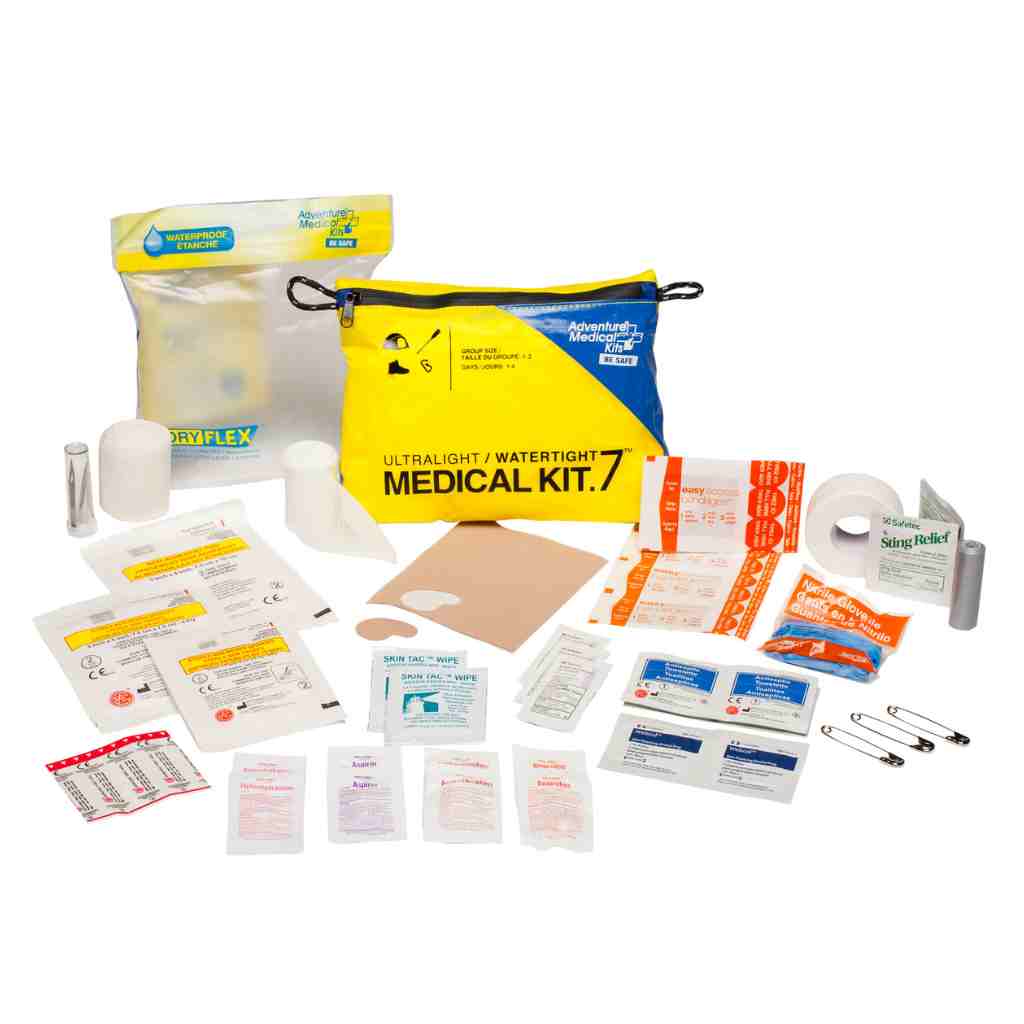
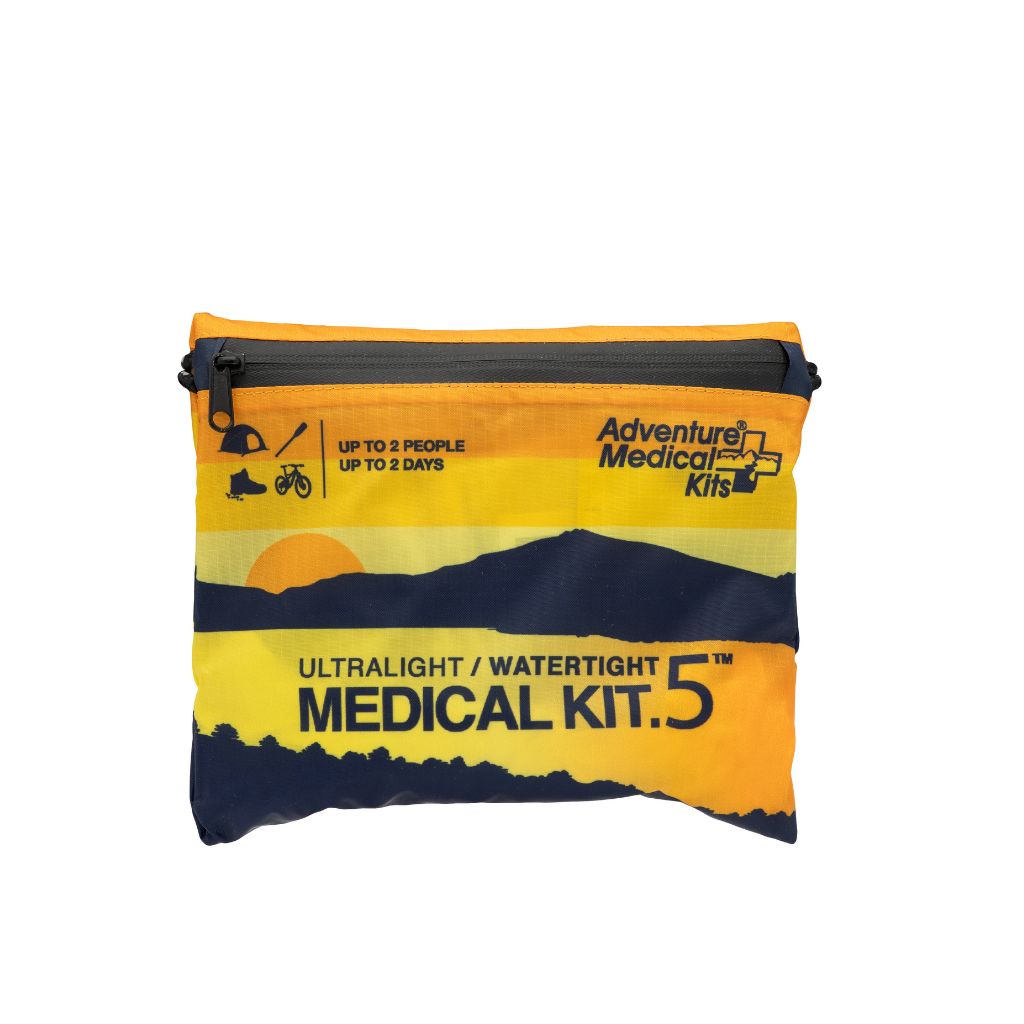
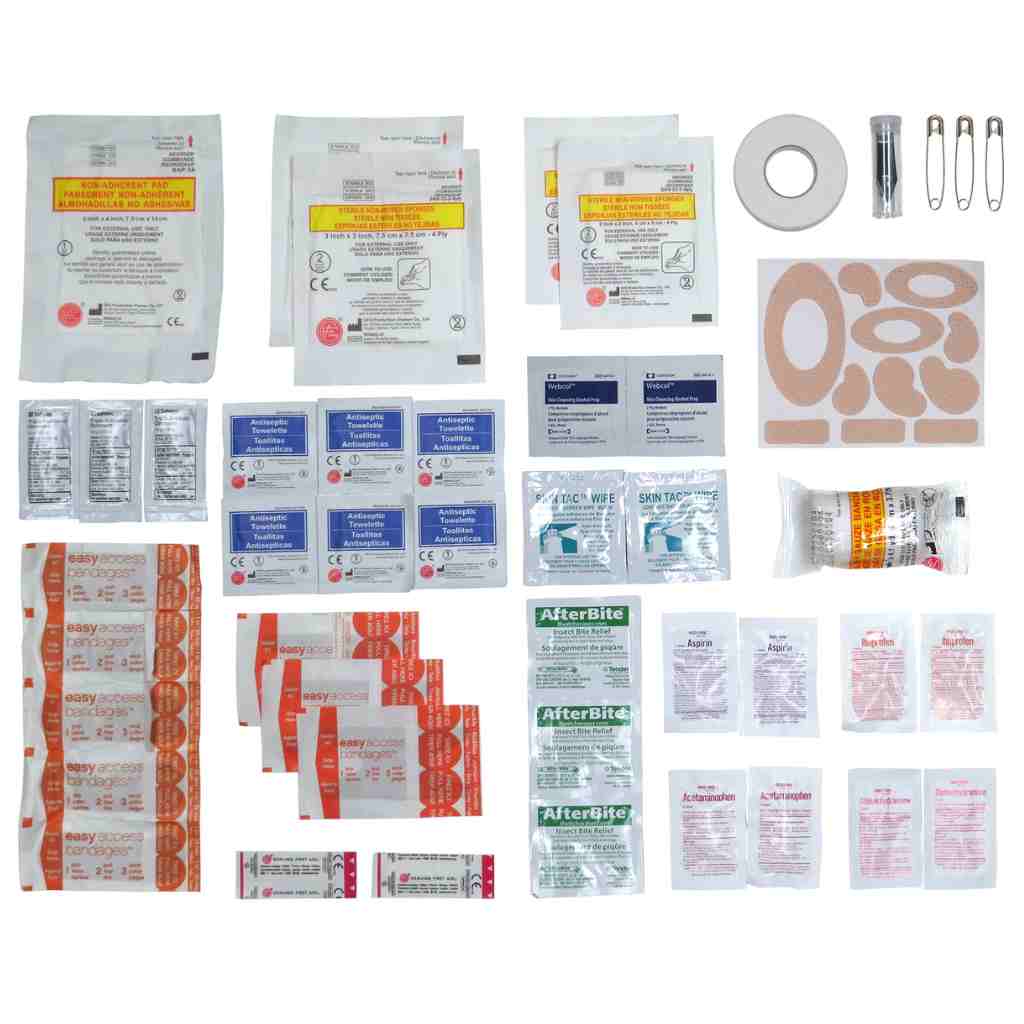
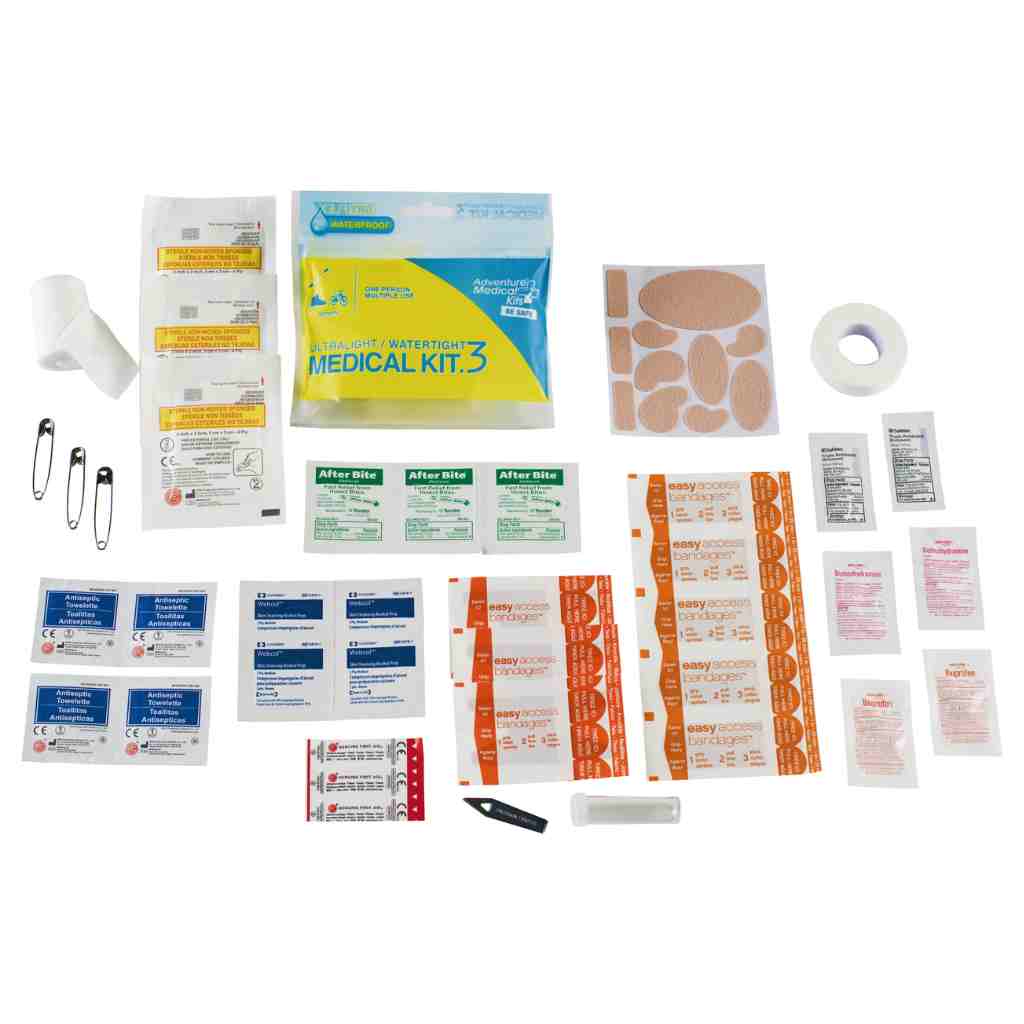
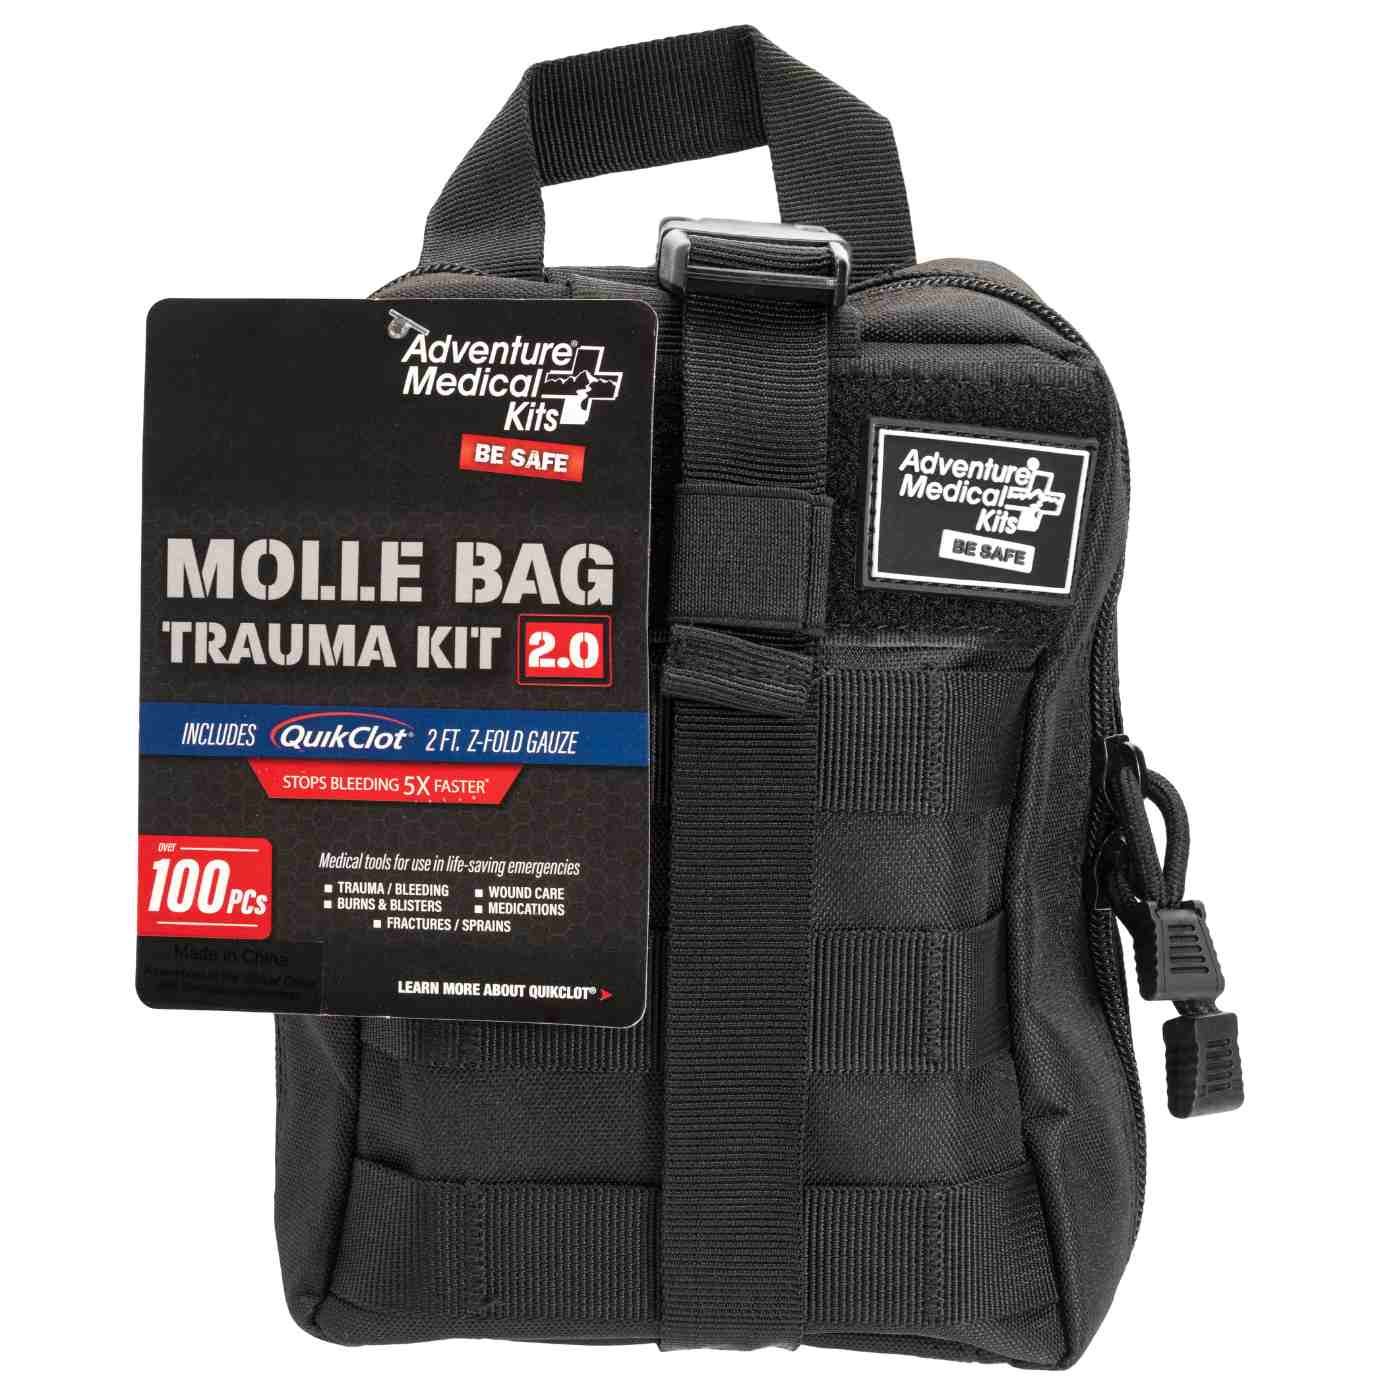
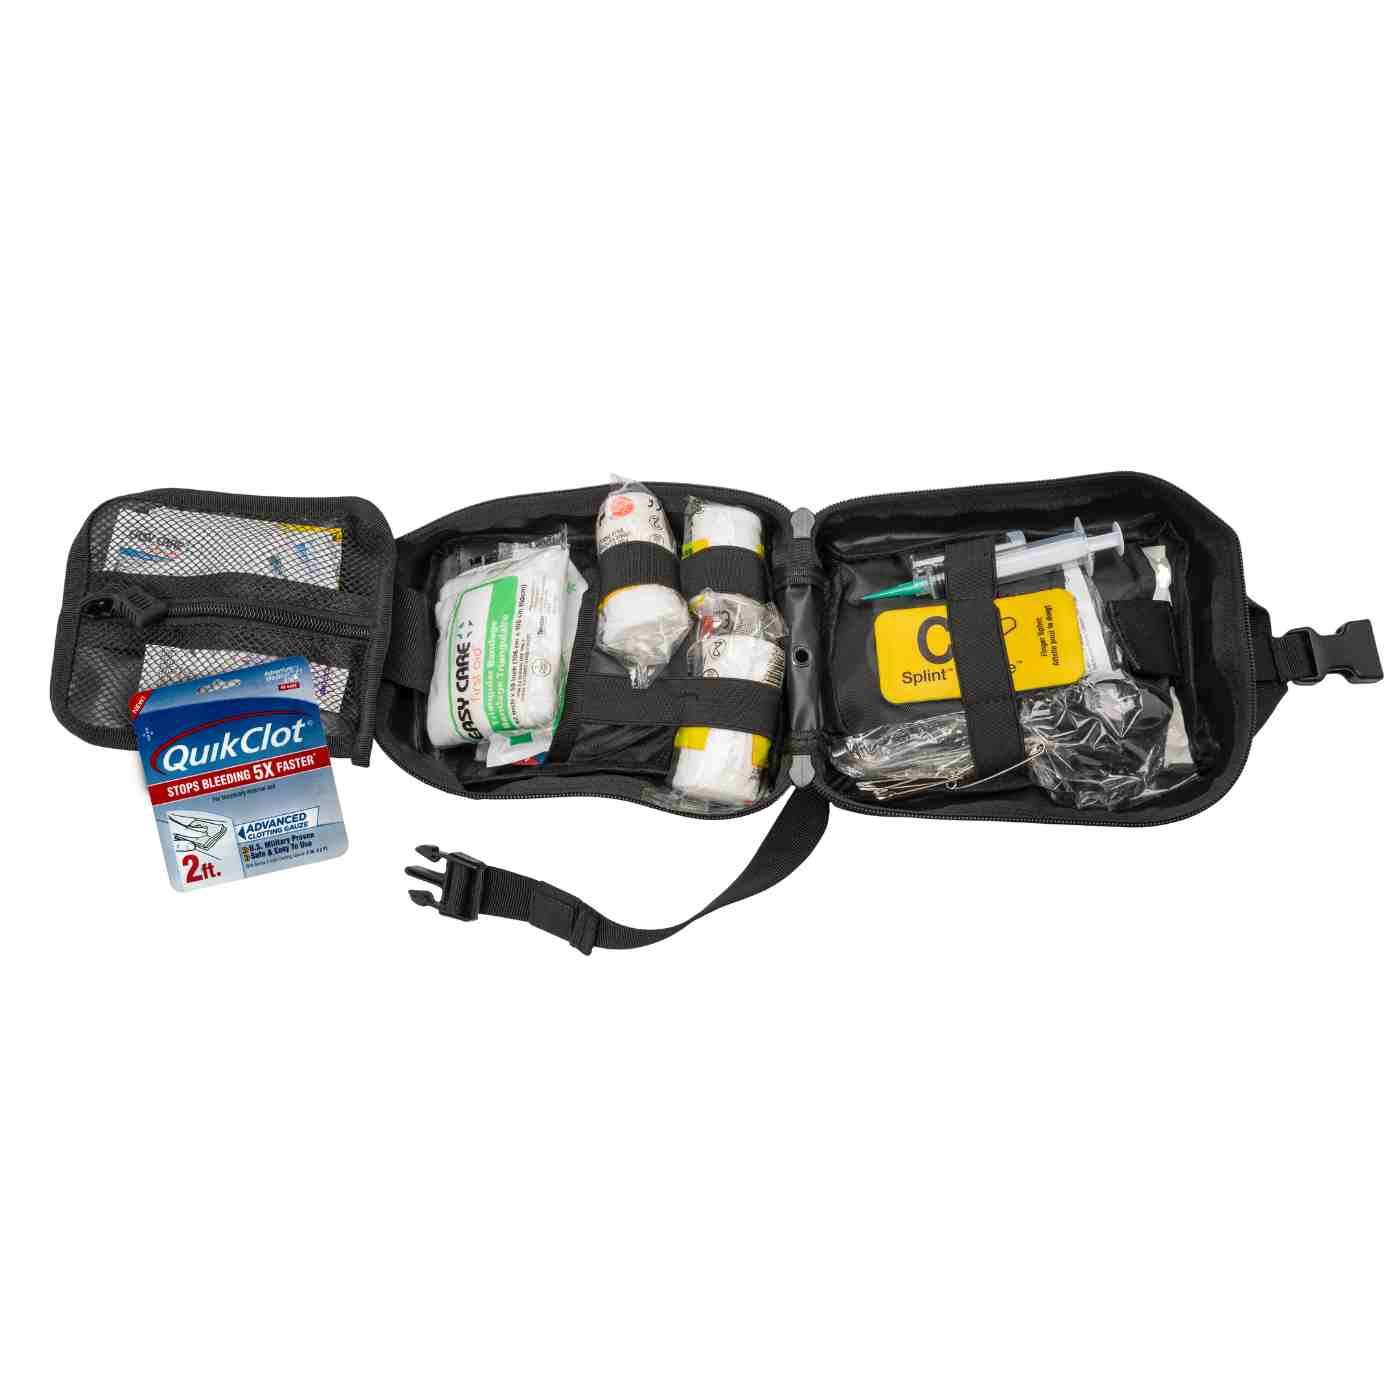
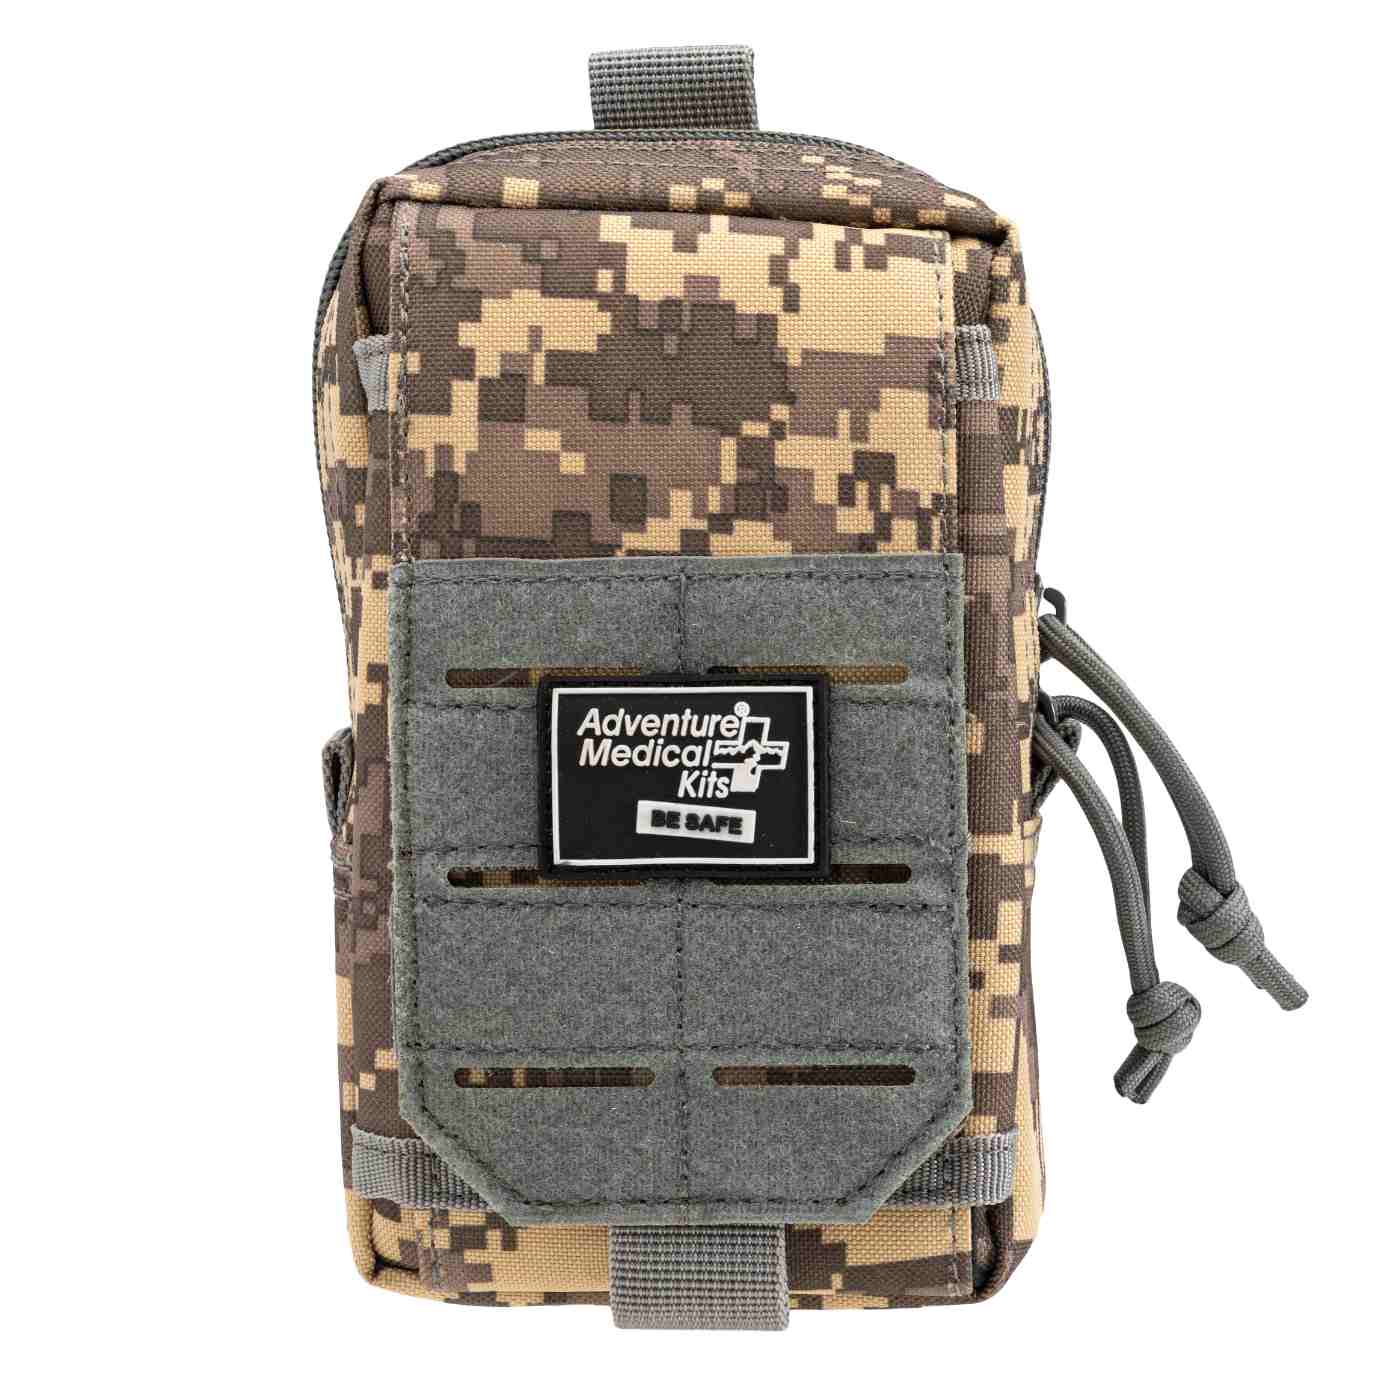
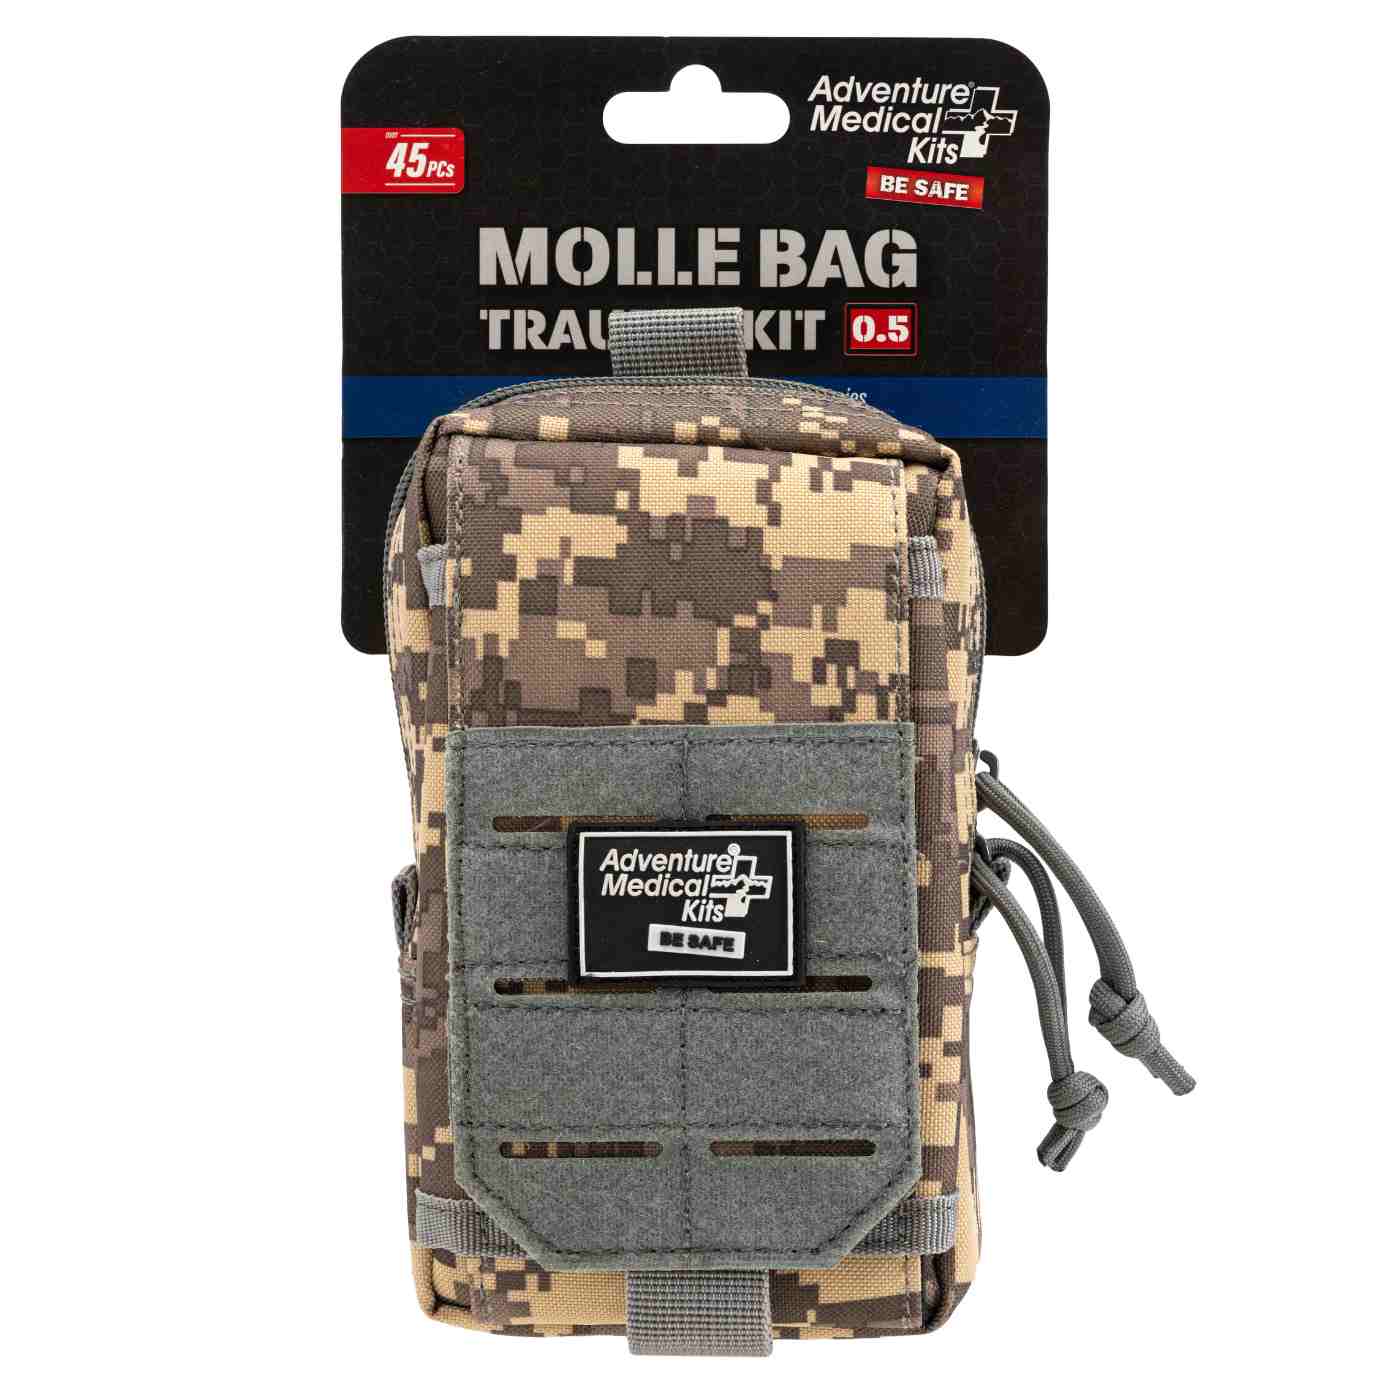
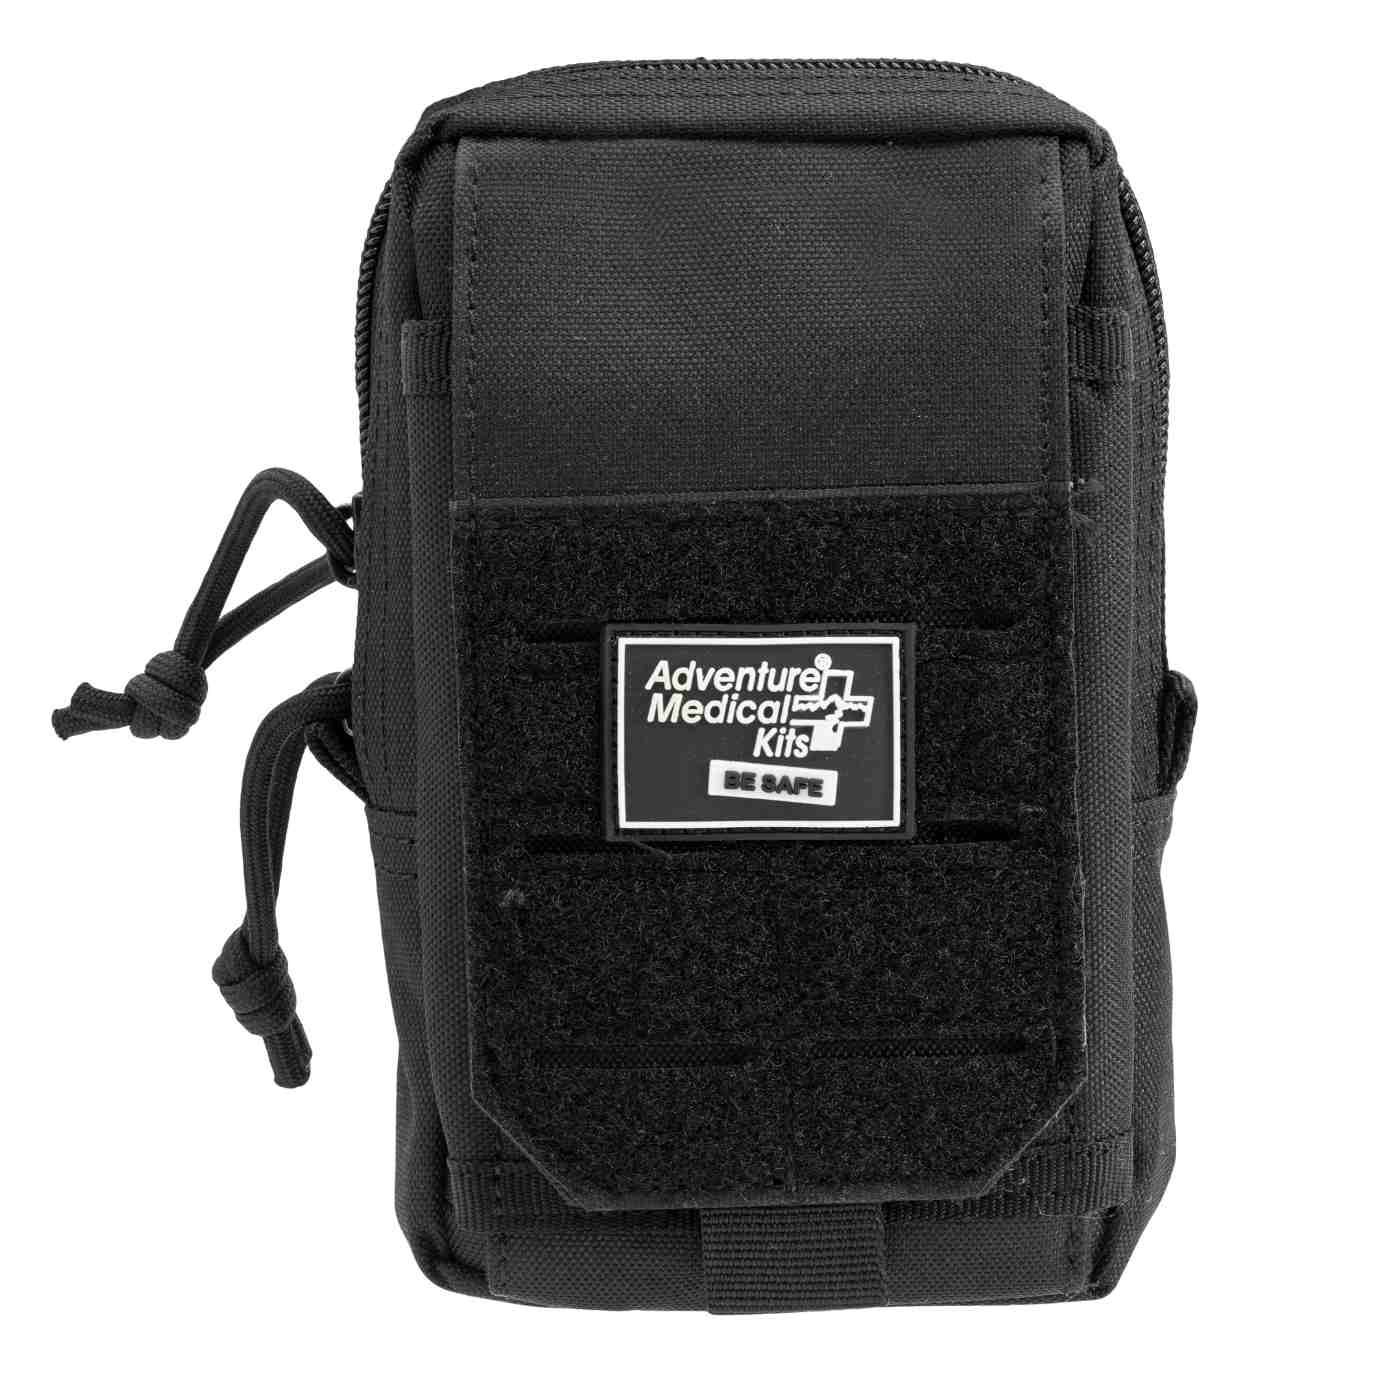
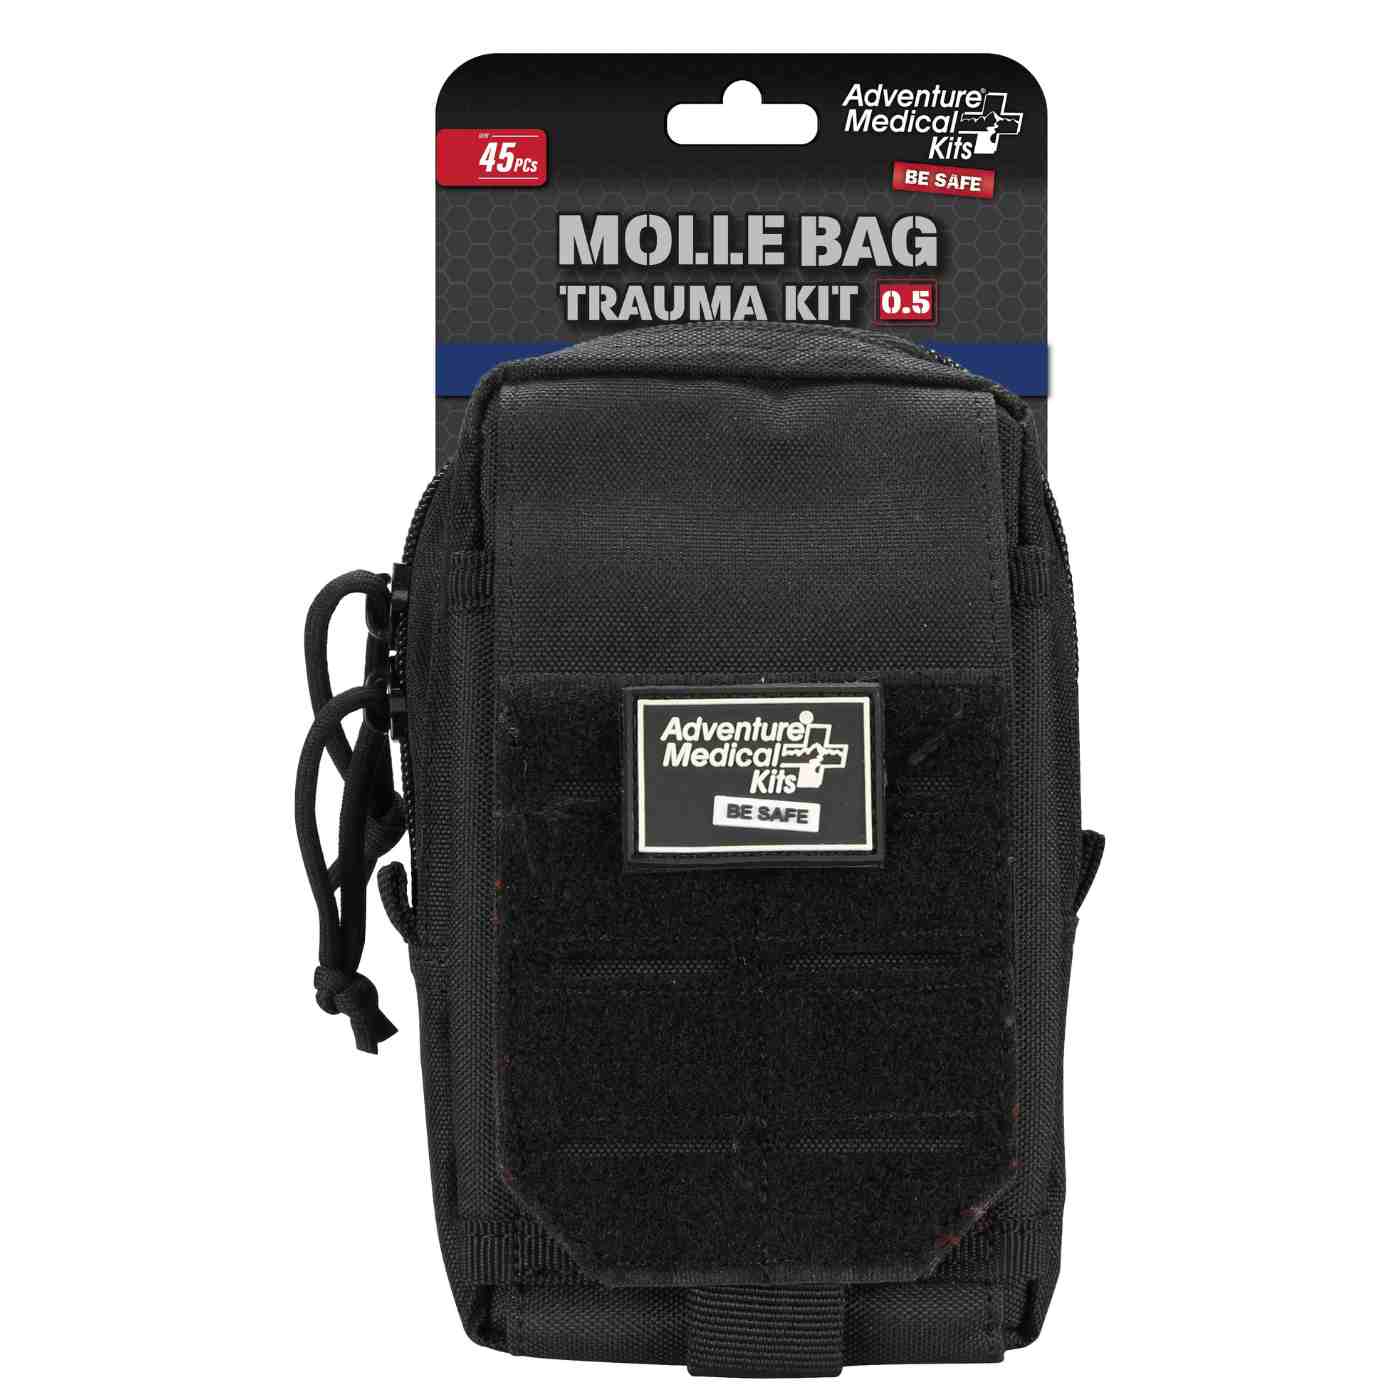
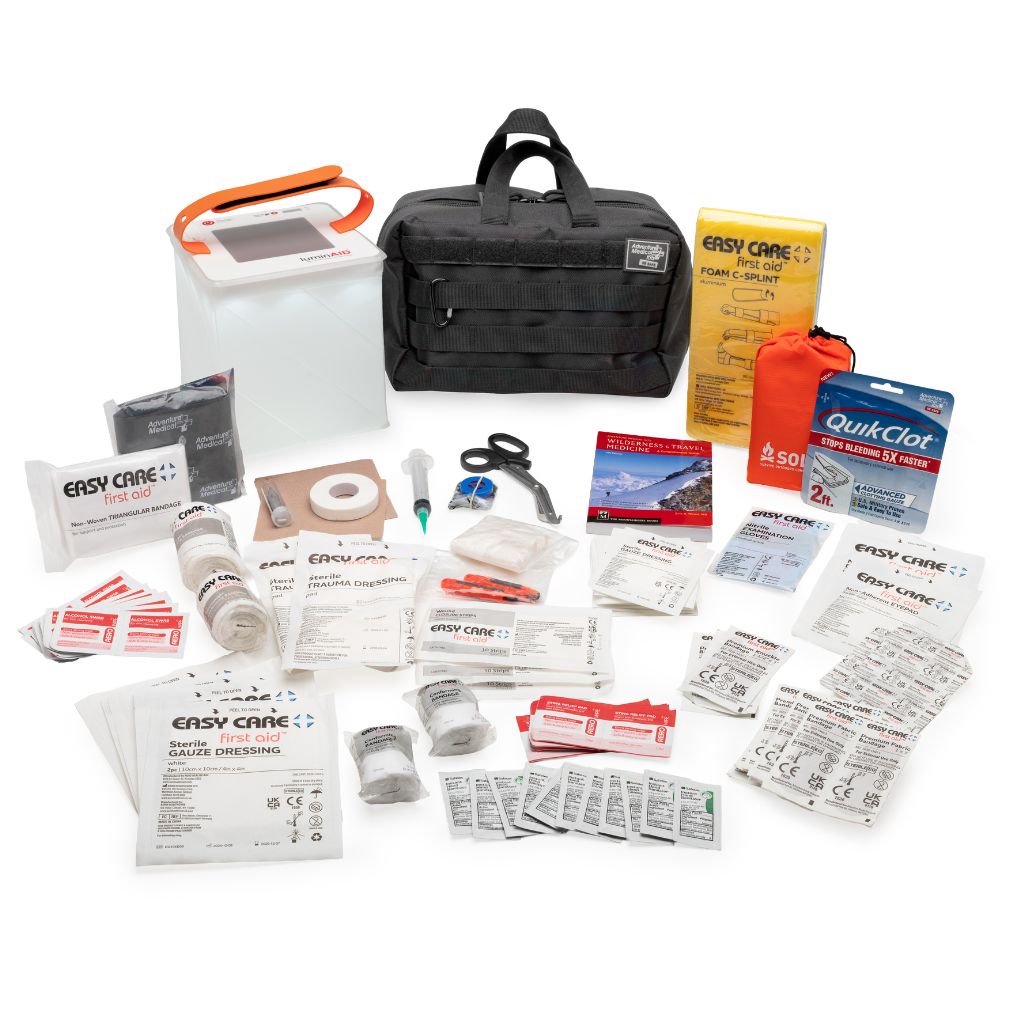
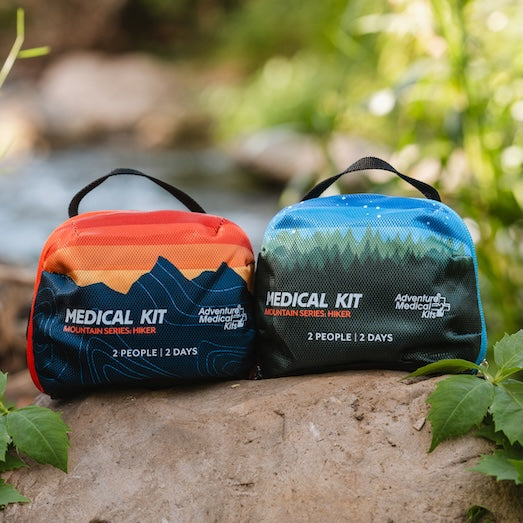
Start with a field-ready base, then tailor it to the dog and the trip. A prebuilt trail kit saves time and reduces packing mistakes because the supplies are grouped for real use outside, not tossed into a drawer. The Adventure Dog Series medical kits are built for that role, with options designed around common canine trail injuries and portable organization that makes sense in the field.

Even a good base kit needs a personal layer. Add prescribed medications, a copy of the dog's records, and trip-specific items. A leashed park walk, a rocky mountain trail, and a weekend hunt create different injury risks, so the kit should reflect that. The benefit of starting with the Adventure Dog line is that it gives owners a more dog-specific foundation before they add those personal extras.
For readers building from scratch, this list of must-have pet emergency supplies is a useful secondary reference for catching common omissions like paperwork, transport items, and backup restraint.
What belongs in the kit
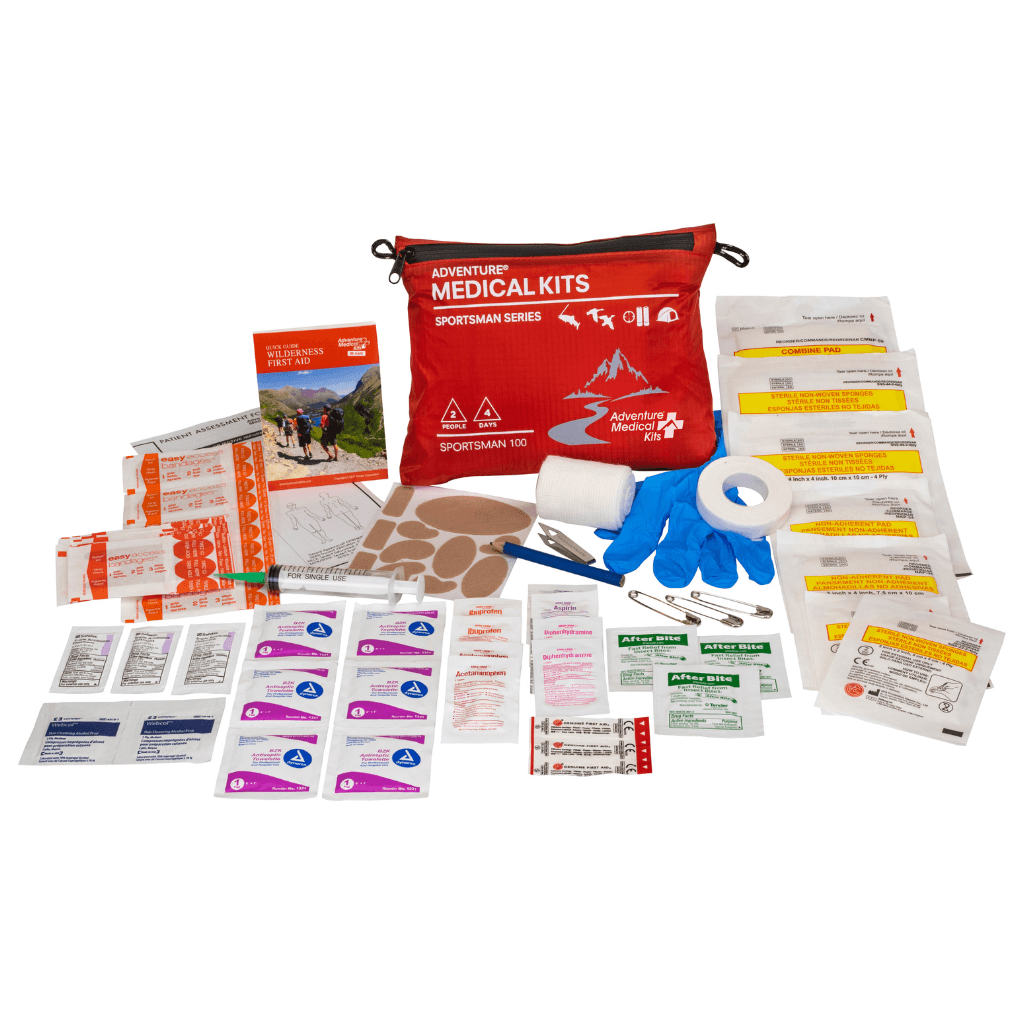
A practical dog kit covers five jobs: restraint, wound care, flushing and cleaning, basic assessment, and safe transport. That framework matters more than chasing a long shopping list.
| Dog First Aid Kit Checklist | |
|---|---|
| Core Supplies | Useful Add-Ons |
| Non-stick sterile gauze pads | Compact emergency blanket |
| Self-adhering bandage wrap | Collapsible water bowl |
| Adhesive tape suitable for securing dressings | Small flashlight or headlamp |
| Sterile saline or chlorhexidine solution | Tick remover tool if not already included |
| Blunt-tipped scissors | Styptic powder for nail bleeding |
| Disposable gloves | Needleless syringe for flushing wounds or eyes |
| Muzzle | Elastic cling bandage |
| Digital thermometer | Backup leash |
| Tweezers | Glucose paste if a veterinarian recommends it |
| Medical records and emergency contact numbers | Diphenhydramine only after veterinary guidance |
A few items deserve explanation because they get misused all the time.
- Muzzle: A painful dog may bite even if it has never shown aggression before. Carry one that fits, and know when not to use it. Do not muzzle a dog that is vomiting, choking, or struggling to breathe.
- Digital thermometer: It gives you a real reading when heat illness, shock, or exposure is on the table. Ears, gums, and nose temperature checks are guesswork.
- Self-adhering wrap: It holds dressings in place without sticking to fur. The trade-off is that it is easy to apply too tightly, especially on lower limbs. Wrap snugly, then check toes for swelling and warmth.
- Non-stick gauze: It protects open tissue and lifts off with less trauma during bandage changes. Plain cotton pads tend to stick once blood dries.
- Saline or chlorhexidine: Use these to flush dirt and debris from wounds. Chlorhexidine must be properly diluted if you are using a concentrate, so read the label before the trip, not on the trail.
- Records and contact numbers: Include your regular veterinarian, the nearest emergency clinic near your route, and poison control contact information. Cell service is unreliable in the places dogs get hurt.
Pack the kit in layers. Put gloves, gauze, wrap, and the muzzle where your hand lands first. Items used less often, like records or a spare leash, can ride deeper in the pouch.
Good kits are built around the first five minutes. That is when organization matters, and it is why understanding what each item does gives you more confidence than any checklist alone.
Trail-Ready Your Kit for Outdoor Adventures
A home kit has value. It doesn't have trail value unless it travels. If the kit stays in a closet, it won't help when the dog tears a pad two miles from the truck.
A closet kit won't help on the trail
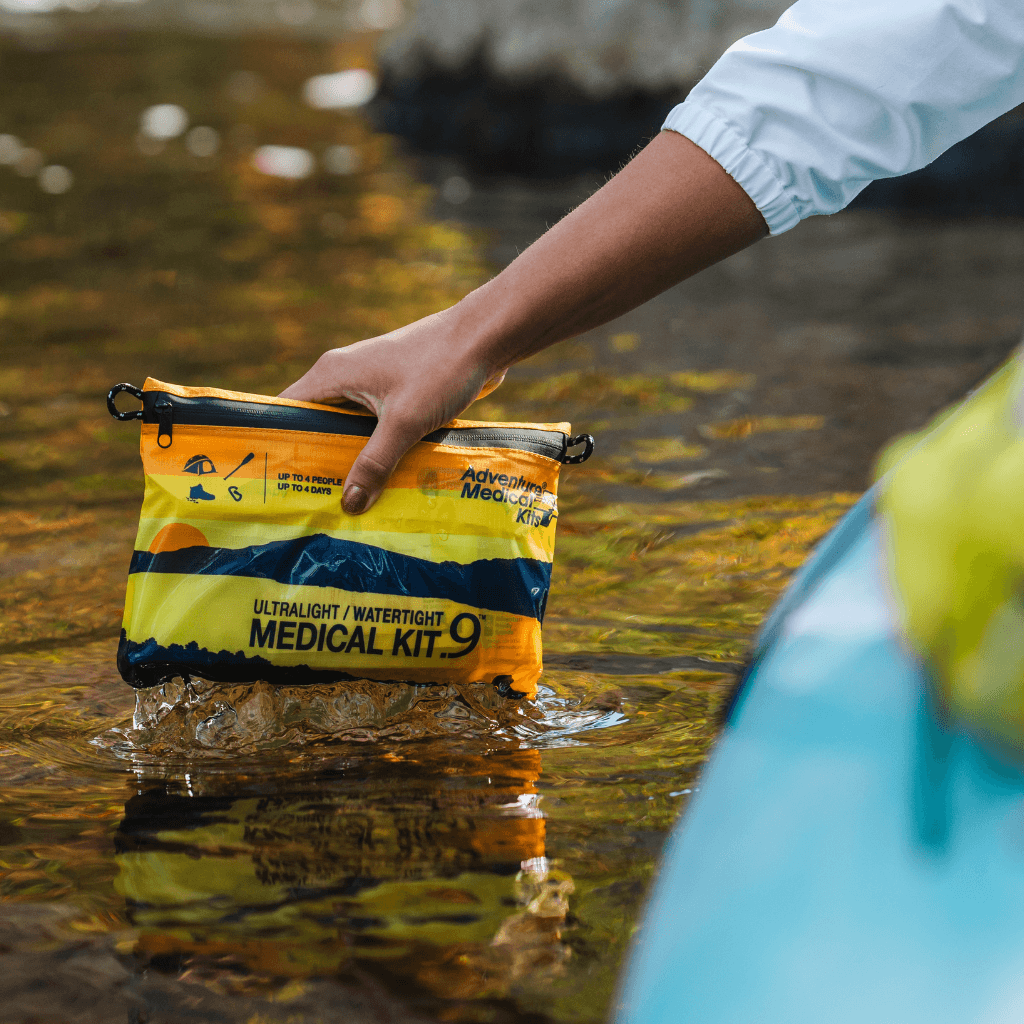
Outdoor dog care has a different set of demands. Supplies need to stay dry, stay organized, and survive being packed, dropped, or shoved into a side pocket. A field kit also has to be light enough that someone won't leave it behind to save weight.
That's where activity-specific outdoor kits make sense. Adventure Medical Kits built its reputation around medical kits meant to go into the field rather than stay at home, and the Adventure Dog Series medical kits bring that same trail-ready approach to canine care. The practical advantage is simple. These kits are designed to be packable, organized, and easier to deploy when a dog needs attention fast.
For dog owners who want a dedicated canine setup instead of adapting a general outdoor kit, the Adventure Dog collection is the cleaner fit. It keeps dog-specific supplies together and makes it easier to avoid cross-use mistakes when stress is high.
What to pack with it
A dog first aid kit works better when a few supporting items ride next to it.
- Emergency warmth: A compact blanket helps with shock, wind exposure, and post-incident transport. A trail-ready option from SOL emergency blankets and shelters fits that role well.
- Reliable light: Low light makes wound cleaning and tick checks harder. A small inflatable lantern from LuminAID can help around camp or at the trailhead after dark.
- Personal insect protection: Keeping mosquitoes and biting insects off the handler matters too, especially during stops for treatment. Products from Ben's 30 insect repellent are worth considering before warm-weather trips.
The packing rule is access first. The kit should ride near the top of the pack, in an exterior pocket, or clipped where it can be reached without unpacking half the load. If someone has to dig for ten minutes, the kit is packed wrong.
Waterproofing doesn't have to be fancy. Resealable inner bags, a durable outer pouch, and smart placement inside the pack do most of the job.
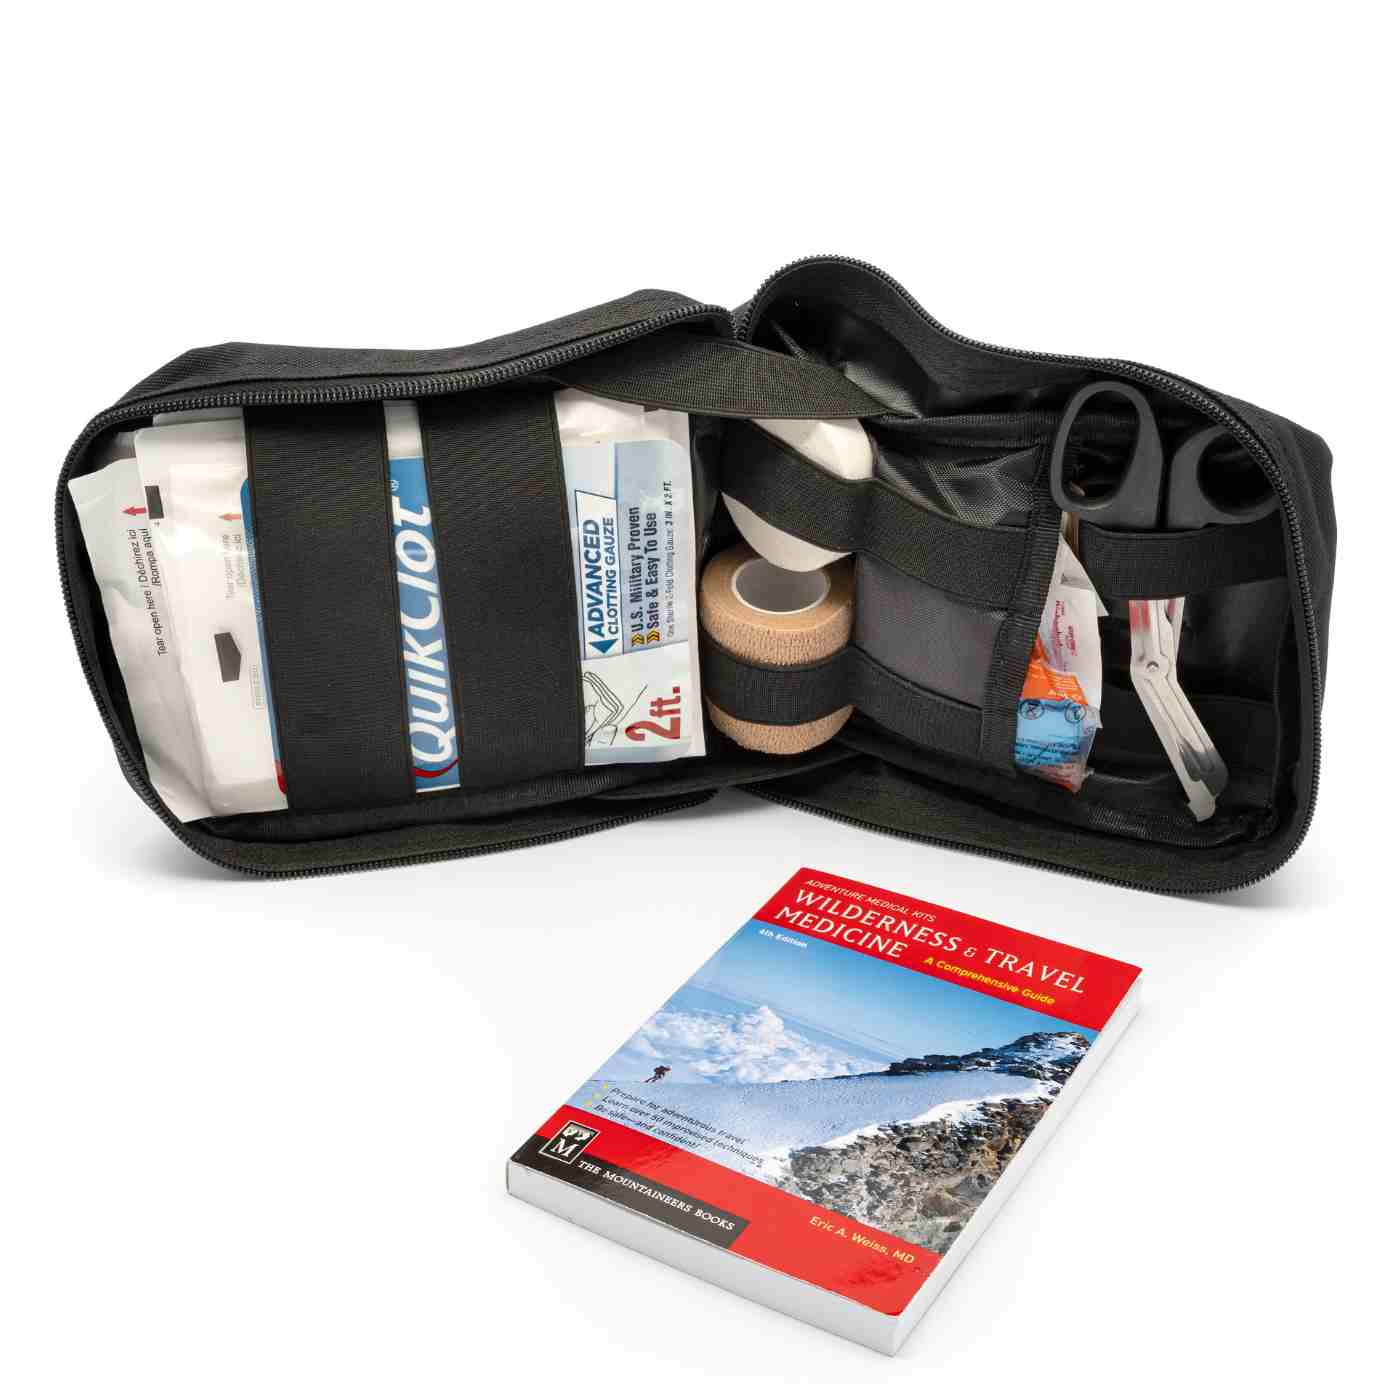
A trail-ready kit should also carry instructions. In a stressful moment, clear steps matter more than memory.
Field Guide to Wounds Ticks and Limb Injuries
The most common trail problems aren't dramatic. They're messy, painful, and easy to mishandle. A bleeding paw, a tick buried near the ear, or a leg that suddenly won't bear weight can all get worse if the first response is rushed.
Cuts and torn paw pads
A dog cuts a pad on rock or a sharp stick. Blood shows up fast, the dog starts limping, and dirt is already working into the wound.
The correct wound-care sequence is specific. Flush with sterile saline or chlorhexidine solution, not hydrogen peroxide, because peroxide can damage tissue. Then gently dry the area, place a non-stick sterile gauze pad over it, and secure it with self-adhering bandage material that isn't tight enough to restrict circulation. Dressings should stay dry and be changed daily, according to this dog first aid kit checklist from Invisible Fence.
- Restrain first: Leash the dog and use a muzzle if needed for safe handling, but not if breathing is compromised.
- Inspect quickly: Look for glass, thorn fragments, deep punctures, or heavy bleeding.
- Flush the wound: Use saline or chlorhexidine to remove dirt and grit.
- Dry around the area: Don't grind debris deeper by scrubbing hard.
- Cover and wrap: Use non-stick gauze, then self-adhering wrap.
- Check the toes after wrapping: If they swell, cool down, or the wrap slides, redo it.
A field bandage should protect the wound and buy time. It shouldn't become a tight cast.

Ticks and skin-level problems
Ticks are common, especially in brush, tall grass, and shoulder-season woods. The goal is steady removal without crushing the tick into the skin.
Use fine-tipped tweezers or a tick-removal tool. Grasp as close to the skin as possible and pull upward with steady pressure. Don't twist, burn, or coat the tick with random substances. After removal, clean the site and monitor the dog in the following days.
For owners who spend time in tick country, this article on Lyme disease and outdoor exposure is worth reading before the season gets busy.
Suspected sprains and fractures
A dog jumps off a log, stumbles in a rock garden, or yelps after a hard landing and won't put weight on a leg. The field priority isn't diagnosis. It's limiting movement and getting out safely.
Use this sequence:
- Stop the hike: Don't “walk it off.”
- Look before touching: Check for deformity, dangling limb position, or swelling.
- Control the dog: Keep the dog lying or standing still, whichever causes less distress.
- Pad and support: If the dog allows handling and the limb is unstable, place soft padding around it and use a temporary splint only if it can be done without forcing the leg straighter.
- Transport carefully: Carry the dog, improvise a sling for support, or create the shortest safe exit.
What doesn't work is forcing a crooked limb straight in the field, wrapping so tightly that circulation drops, or continuing the hike because the dog still wants to move. Many dogs will keep trying long after they should stop.
Responding to Choking Heatstroke and Poisoning
Systemic emergencies move faster than cuts and scrapes. A dog that can't breathe, can't cool down, or has eaten something toxic can deteriorate in minutes. The first response has to be calm and specific.

Choking
A choking dog often shows obvious distress. Pawing at the mouth, panic, gagging without producing anything, and breathing trouble all demand immediate attention.
The AKC notes that if a dog is unconscious, visible oral obstructions should be removed before moving to the Heimlich maneuver and rescue breathing, and its canine CPR guidance also stresses checking for a femoral pulse before starting CPR. When CPR is required, compressions should be done at 100 to 120 per minute with chest compression depth of 30 to 50% of the chest width, with rescue breaths after every 30 compressions, according to the AKC guide to first aid and CPR for dogs.
Immediate actions:
- Open the mouth only if it's safe to do so.
- Remove any clearly visible object.
- If the object can't be reached and the dog can't breathe, use a dog-appropriate Heimlich technique.
- Head for veterinary care immediately, even if the object comes out.
A refresher video helps because choking care is hard to picture from text alone.
Heatstroke
Heat problems often start subtly. The dog slows down, pants harder than expected, looks glassy, or becomes reluctant to keep moving. If the day is hot, humid, or exposed, don't wait for collapse before acting.
Move the dog into shade right away. Offer small amounts of water if the dog is conscious and able to drink. Use active cooling with cooler water and airflow, especially around less insulated areas of the body. Then evacuate. Heat-injured dogs can worsen even after they seem to perk up.
For a practical owner-facing refresher on signs, this guide to understanding heat stroke symptoms is helpful, and the broader field principles in heat exhaustion and dehydration prevention apply on dog-friendly trips too.
Poisoning and severe reactions
Poisoning scares people into doing too much too fast. That's where mistakes happen.
Many guides still suggest hydrogen peroxide as a standard response to toxin ingestion. That's not safe as a blanket rule.
Veterinary guidance warns that hydrogen peroxide is only appropriate for specific substances and can cause fatal complications if used incorrectly. Owners should contact the ASPCA Poison Control Center at 1-800-426-4435 or a veterinarian before giving any treatment, as outlined in this pet first aid preparedness resource from the Oregon Veterinary Medical Association.
If poisoning is suspected:
- Remove access: Take away the substance or move the dog from the area.
- Save evidence: Keep packaging, bait, plant material, or a photo.
- Call before giving anything: Don't induce vomiting on guesswork.
- Watch the airway: Vomiting, drooling, tremors, collapse, or breathing difficulty all raise urgency.
A severe allergic reaction can look similar in the early stage, especially with swelling, vomiting, or sudden weakness. That's another reason to call and move.
Kit Maintenance and Knowing Your Limits
A first aid kit for dogs only works if it's stocked, current, and packed where someone can grab it fast. A good maintenance routine is simple.
Keep the kit ready
Check the kit on a schedule that's easy to remember, such as before a trip or at regular seasonal gear checks.
- Replace used items: One gauze pad left after the last outing isn't a real kit.
- Inspect medications and solutions: Expired products and dried-out wipes don't help much.
- Update records: Phone numbers, vaccine records, and medication lists need to match reality.
- Repack for access: Put high-use items on top after every check.
The most dependable kits are the ones people can scan quickly. Organized compartments, clear supply lists, and included instructions reduce fumbling when stress goes up. For many owners, starting with the Adventure Dog Series medical kits makes that process simpler because the kit is already built with canine first aid in mind.
Know when trail care ends
First aid should stop at stabilization. Veterinary care should start when the dog has trouble breathing, uncontrolled bleeding, repeated vomiting, suspected poisoning, collapse, severe pain, a possible fracture, a wound that's deep or heavily contaminated, or a condition that keeps getting worse despite basic care.
That boundary matters more than any single tool in the bag.
Adventure Medical Kits gives outdoor dog owners a practical base for that kind of preparedness, especially for people who want gear built to travel, not sit at home. The Adventure Dog line fits that use well because it starts with canine-specific needs instead of asking owners to build around a general-purpose kit.
A well-packed kit earns its place long before a true emergency. It makes short trips less stressful, long trips more realistic, and trail decisions clearer when a dog gets hurt. For outdoor-ready options built for dogs and the people who take them outside, browse the Adventure Dog Series medical kits.