

A headlamp fails at the end of a late hike. A storm knocks out power while a family is moving through a dark basement. In both situations, the safest response isn't to improvise with a phone, a candle, or a vehicle battery. Emergency glow sticks provide a visible, hands-free marker without electricity, an open flame, or a charged battery, which makes them a useful layer in outdoor and household preparedness.
They aren't miniature flashlights, and treating them that way leads to poor gear decisions. Their value comes from a different role: marking a person or route, preserving battery power, and providing temporary ambient light when a primary light is unavailable.
Table of Contents
- Why Emergency Glow Sticks Matter in Outdoor Safety
- How Emergency Glow Sticks Work
- Choosing the Right Glow Sticks for Your Needs
- Emergency Glow Sticks in Your Outdoor and Home Kit
- Storing and Maintaining Glow Sticks for Reliability
- Safety and Disposal Guidelines
- When to Use Glow Sticks and When to Choose Alternatives
- Building Your Glow Stick Emergency Strategy
Why Emergency Glow Sticks Matter in Outdoor Safety
A hiker who loses a headlamp on a wooded trail needs more than brightness. The group needs to stay together, identify the tent or trail junction, and remain visible while someone retrieves a spare light. A glow stick can hang from a pack, mark a campsite, or help another person locate the group without creating a flame or consuming batteries.
The same logic applies at home. During a blackout, a family can activate a stick near basement stairs or an evacuation route. The light won't illuminate every step like a headlamp, but it can make a fixed hazard or doorway easier to identify while preserving a flashlight for movement.

A military signaling tool with civilian value
Emergency glow sticks grew from U.S. military research into “cold light,” illumination that produces no flame, little heat, and requires no electricity. The U.S. government funded chemical-light research from 1963 through 1984, awarding American Cyanamid 15 separate contracts for practical lighting systems, as documented by Chemical & Engineering News.
In 1971, Michael M. Rauhut and Laszlo J. Bollyky developed the phenyl-oxalate chemistry later trademarked as Cyalume. A U.S. Navy patent followed in 1973, helping move the technology from laboratory development into operational signaling equipment. Military applications included man-overboard signaling, emergency illumination, target marking, landing-zone marking, and parachute marking.
The civilian lesson is straightforward. A disposable light source doesn't need to compete with a headlamp to be useful. It only needs to perform reliably in the narrow task assigned to it.
Field rule: Use the glow stick to mark, signal, or preserve battery power. Use the headlamp to navigate.
How Emergency Glow Sticks Work
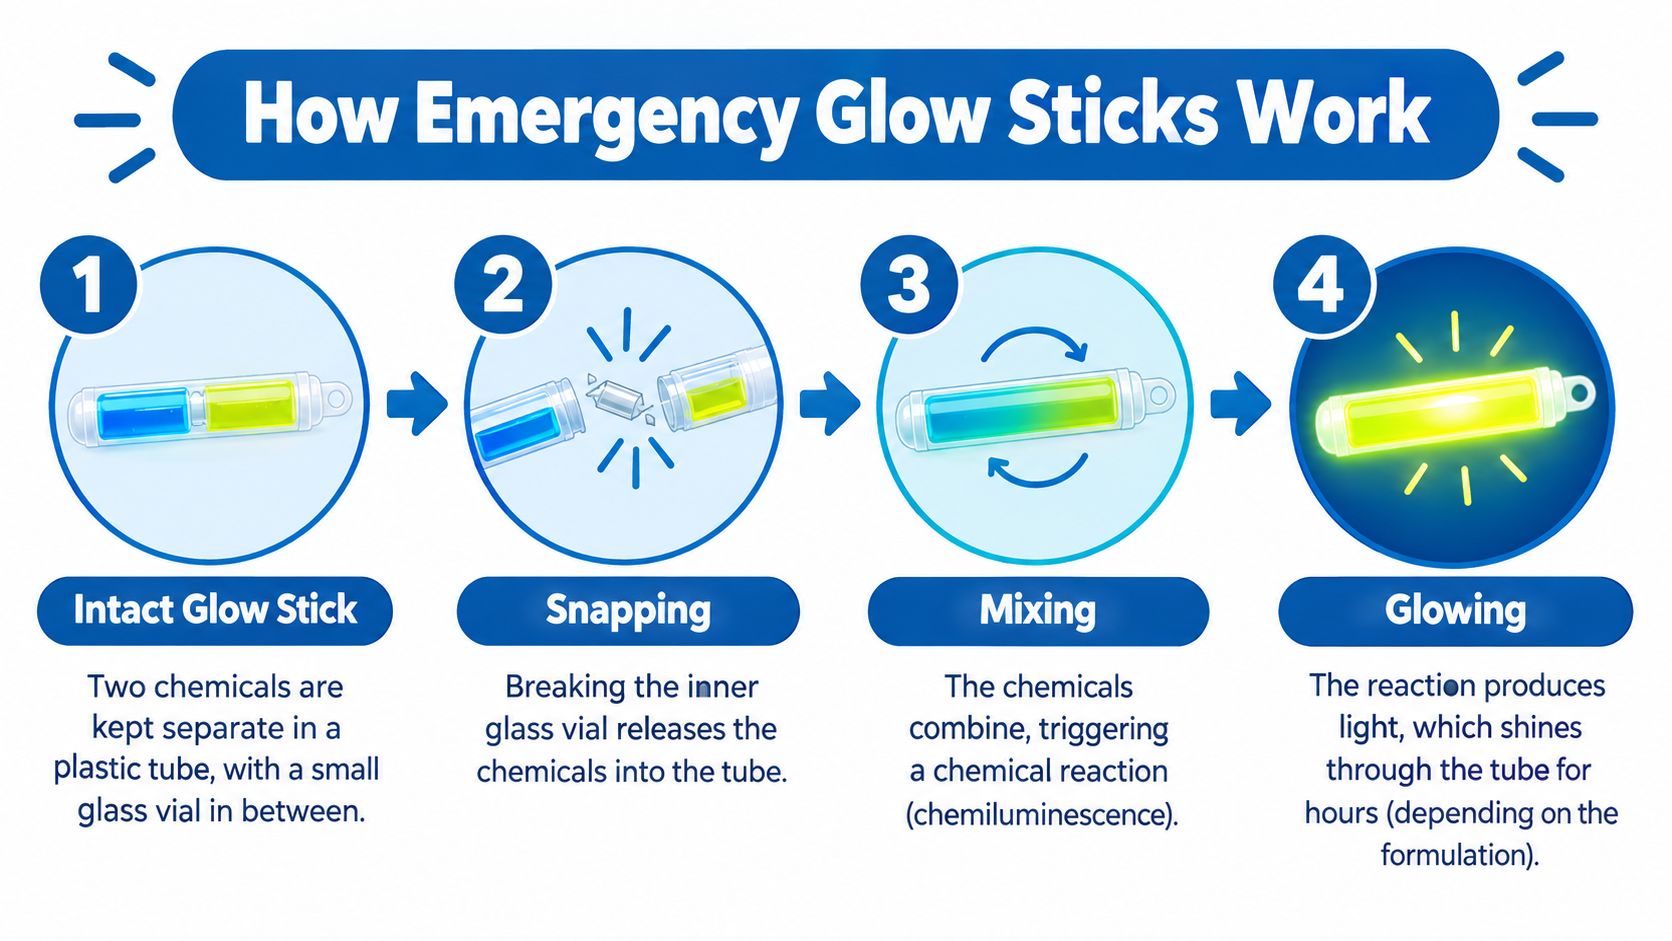
An emergency glow stick produces light through chemiluminescence, a chemical reaction that converts stored chemical energy into visible light. The plastic tube holds separated components until activation.
The process has four practical steps:
- The stick remains intact while the reactive chemicals stay apart.
- Bending the tube breaks a small internal glass ampoule.
- Hydrogen peroxide mixes with an oxalate ester and a fluorescent dye.
- The reaction transfers energy to the dye, which emits visible light.
Poison Control describes glow-stick contents as hydrogen peroxide and either diphenyl oxalate or a related phthalate solvent. The reaction doesn't need a battery or an external flame, which explains why the device works as a passive marker after activation. More detail on the chemistry and exposure concerns appears in Poison Control's glow-stick guidance.
Temperature changes the mission profile
Temperature controls the reaction rate. Cold conditions slow the reaction, producing weaker illumination while extending usable duration. Heat accelerates the reaction, increasing initial brightness but shortening total operating life. Manufacturer testing commonly establishes nominal duration at approximately 22 °C, so advertised runtimes shouldn't be treated as fixed in winter or desert conditions, according to Cyalume's technical FAQ.
A stick stored in a hot vehicle may not perform like one kept in a cool gear cabinet. In cold weather, insulating spare sticks inside clothing or a pack can help preserve their expected performance. The chemical reaction is irreversible, so activation is a one-time decision.
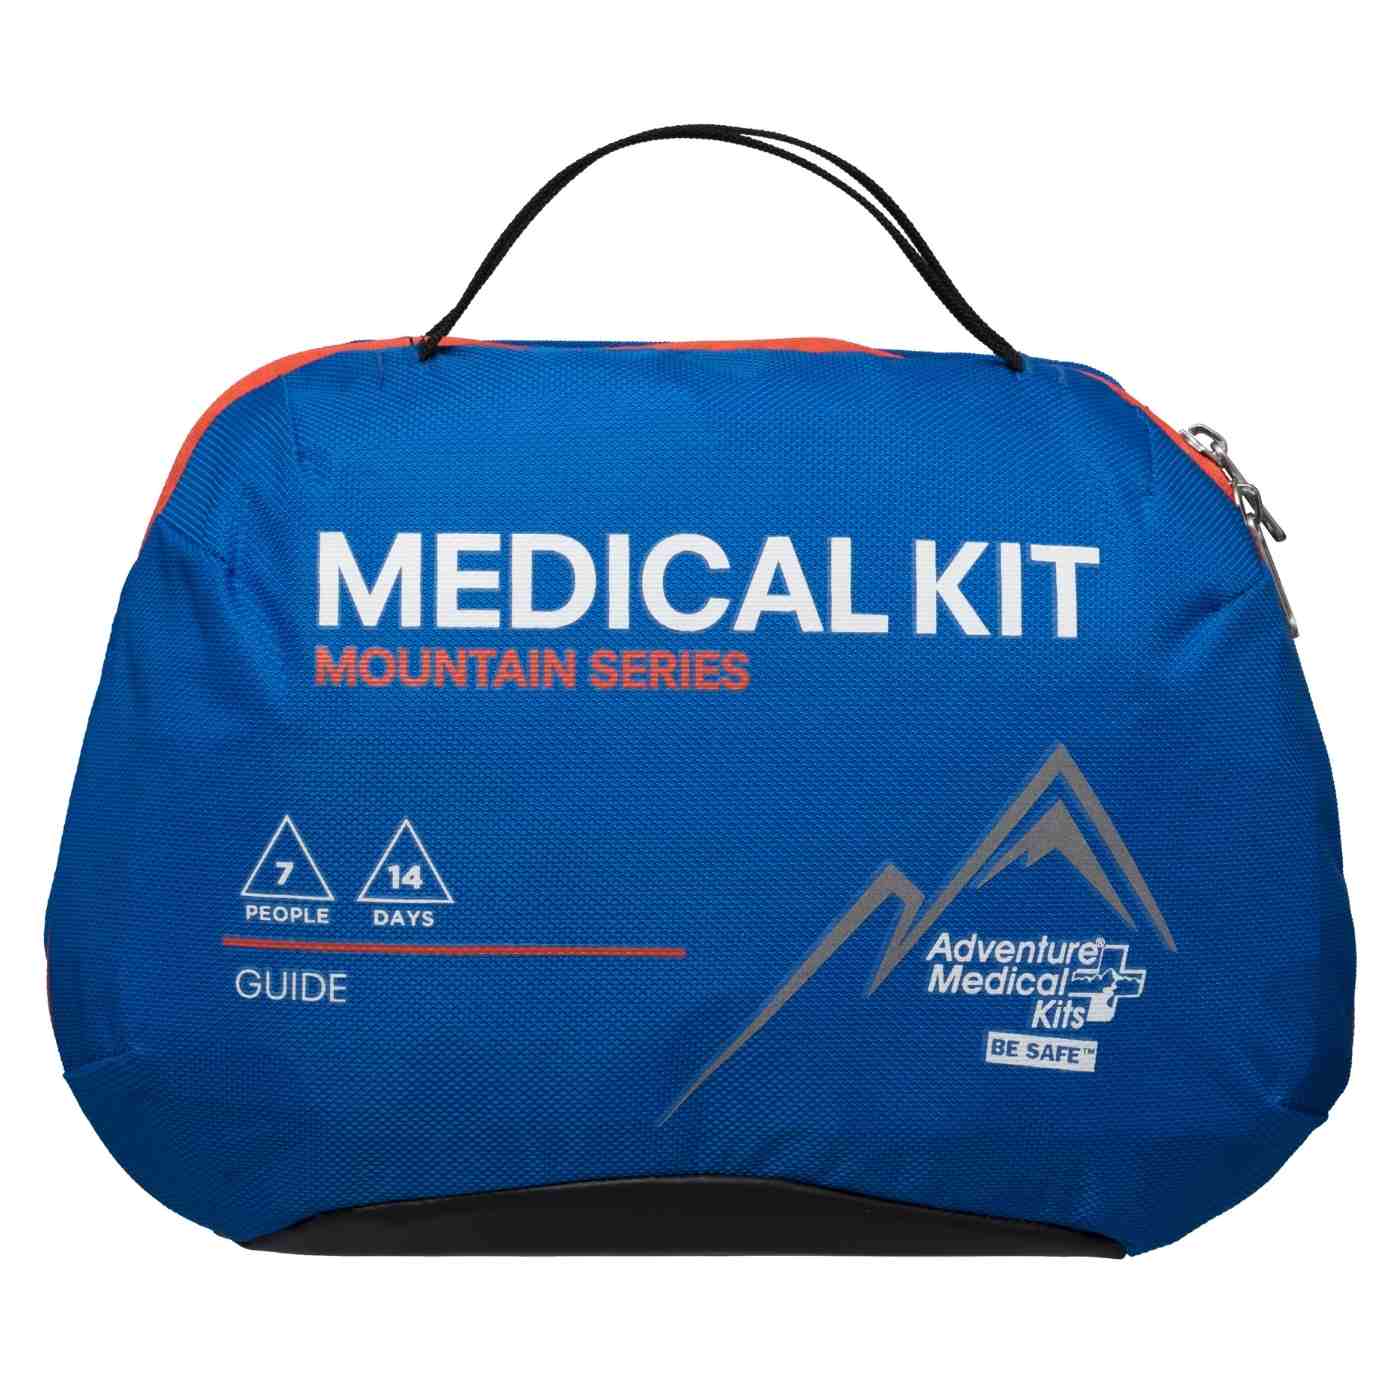
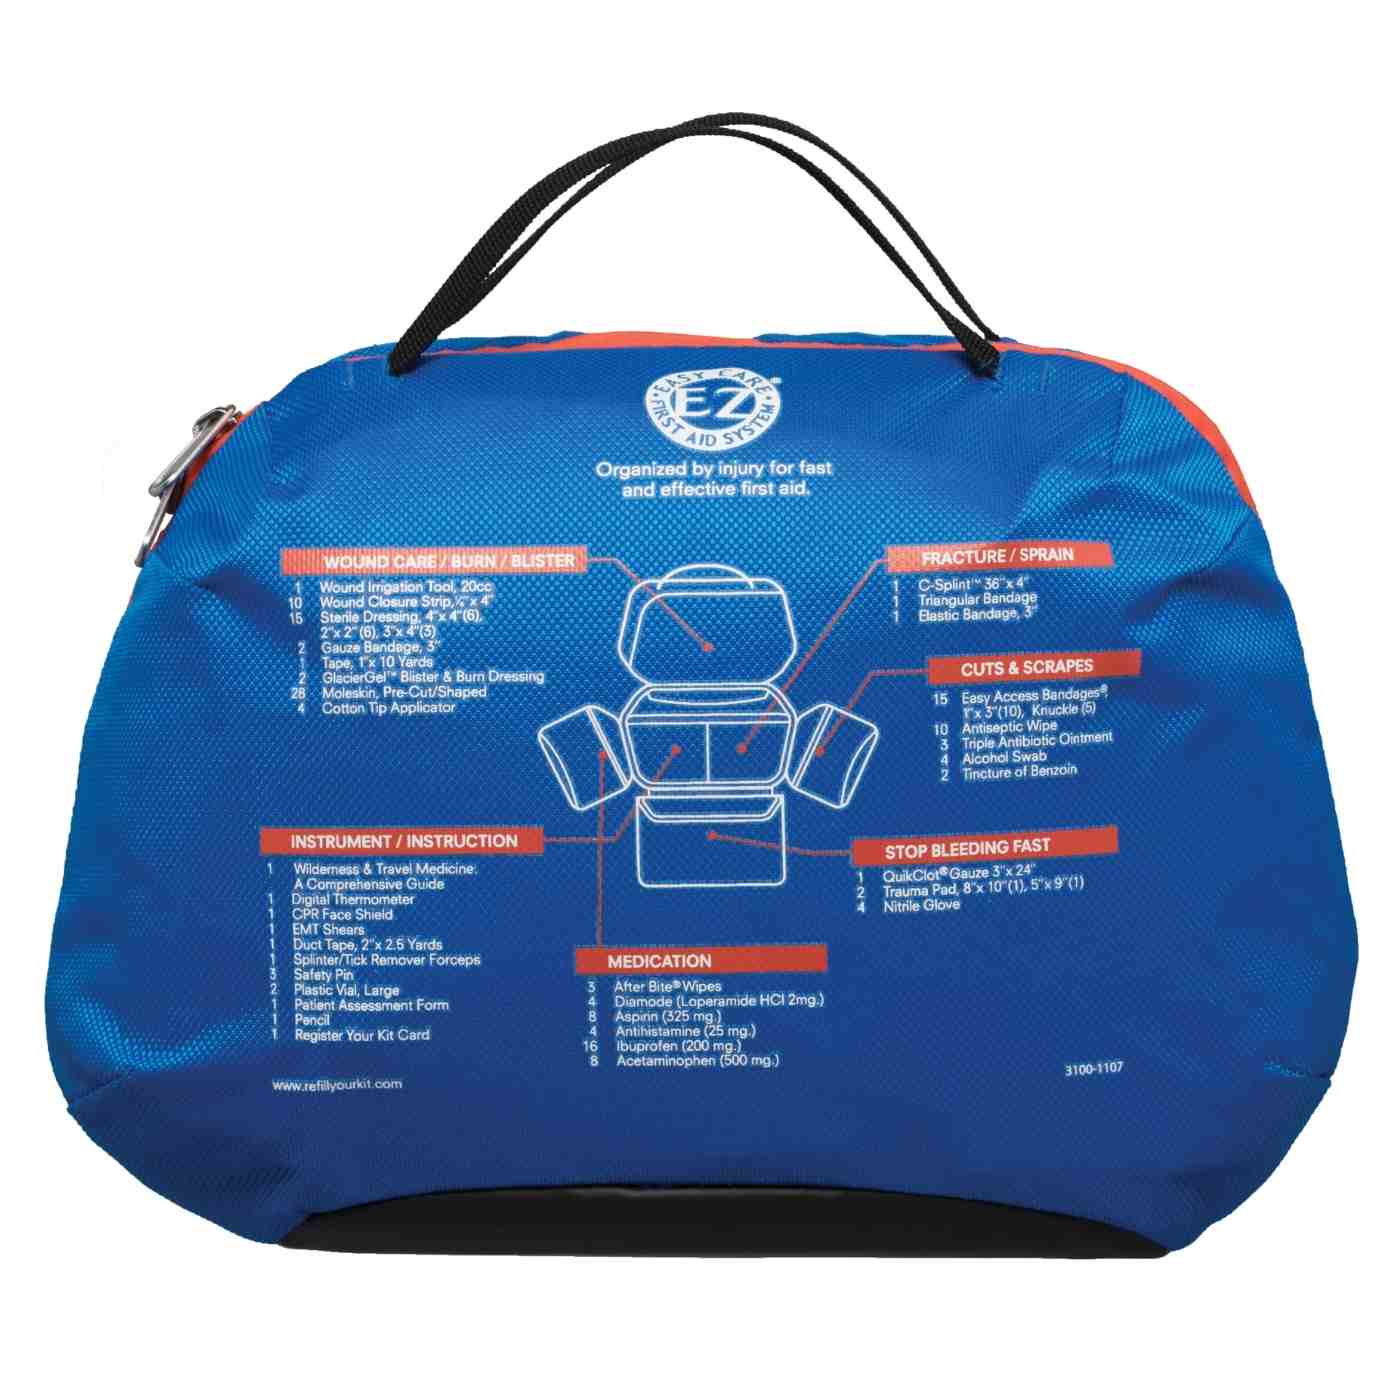
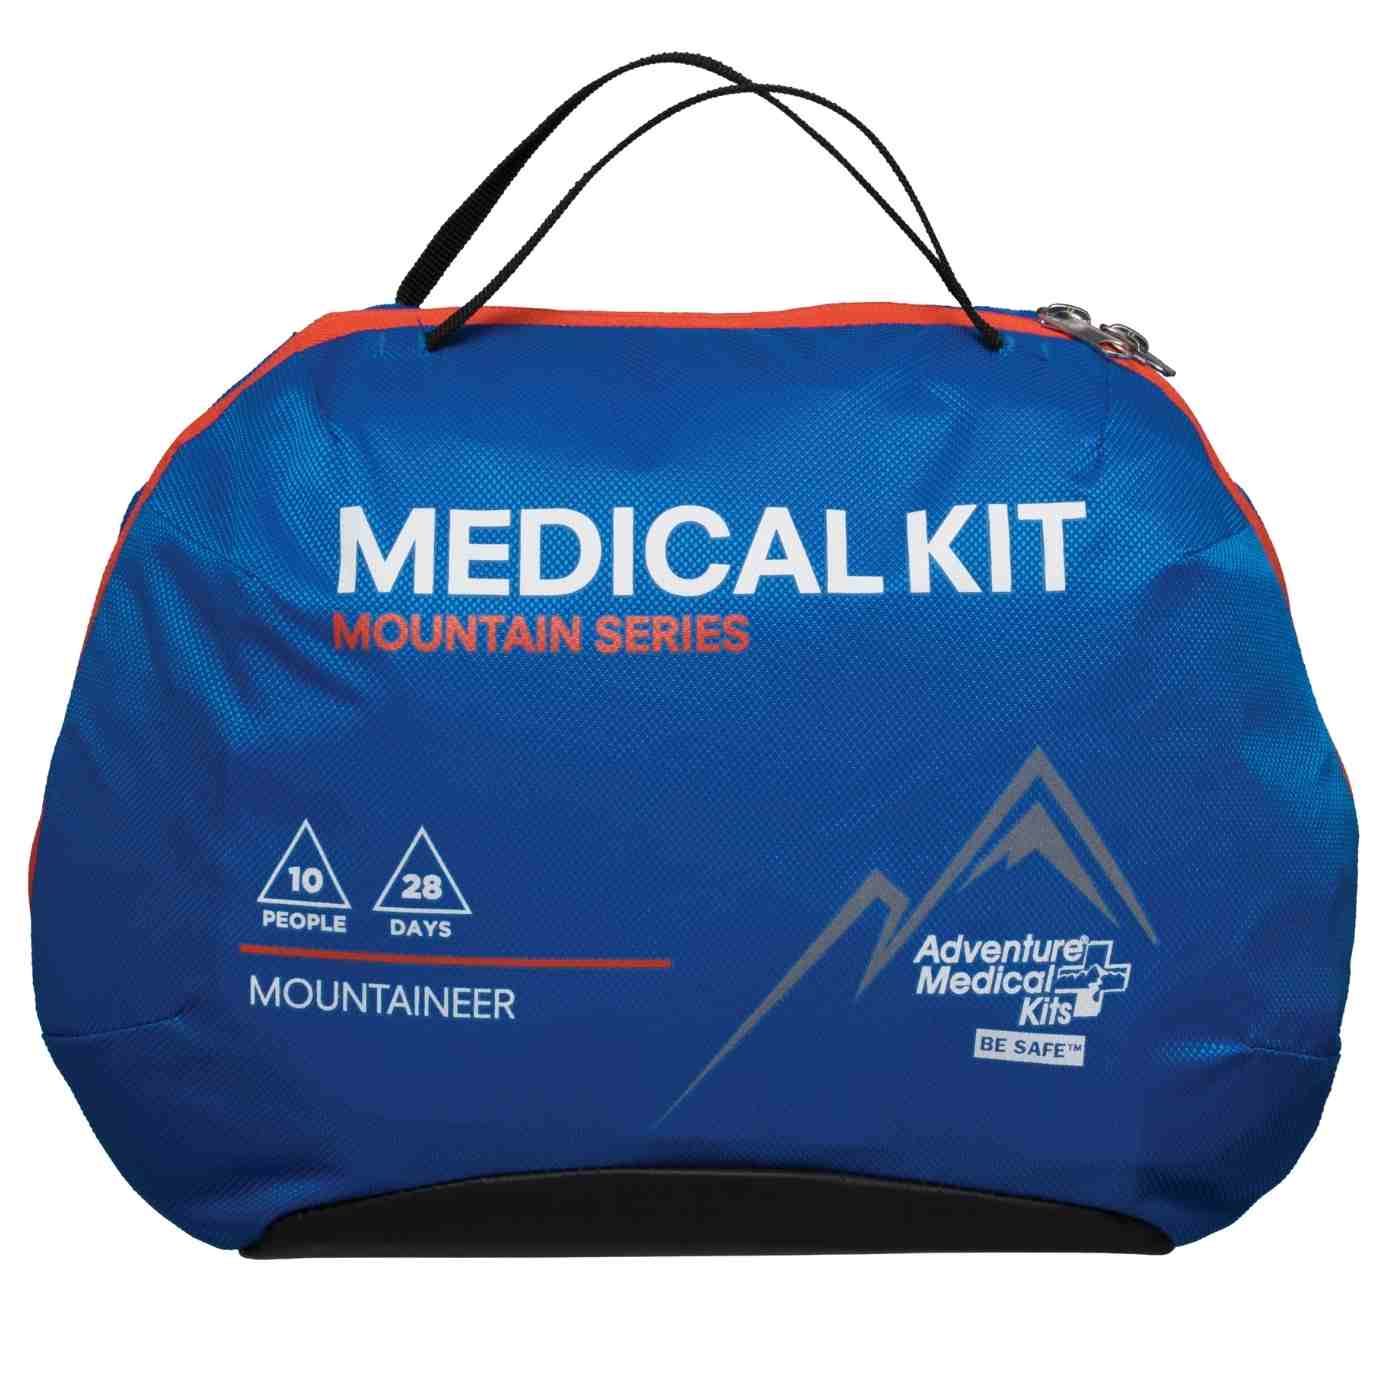
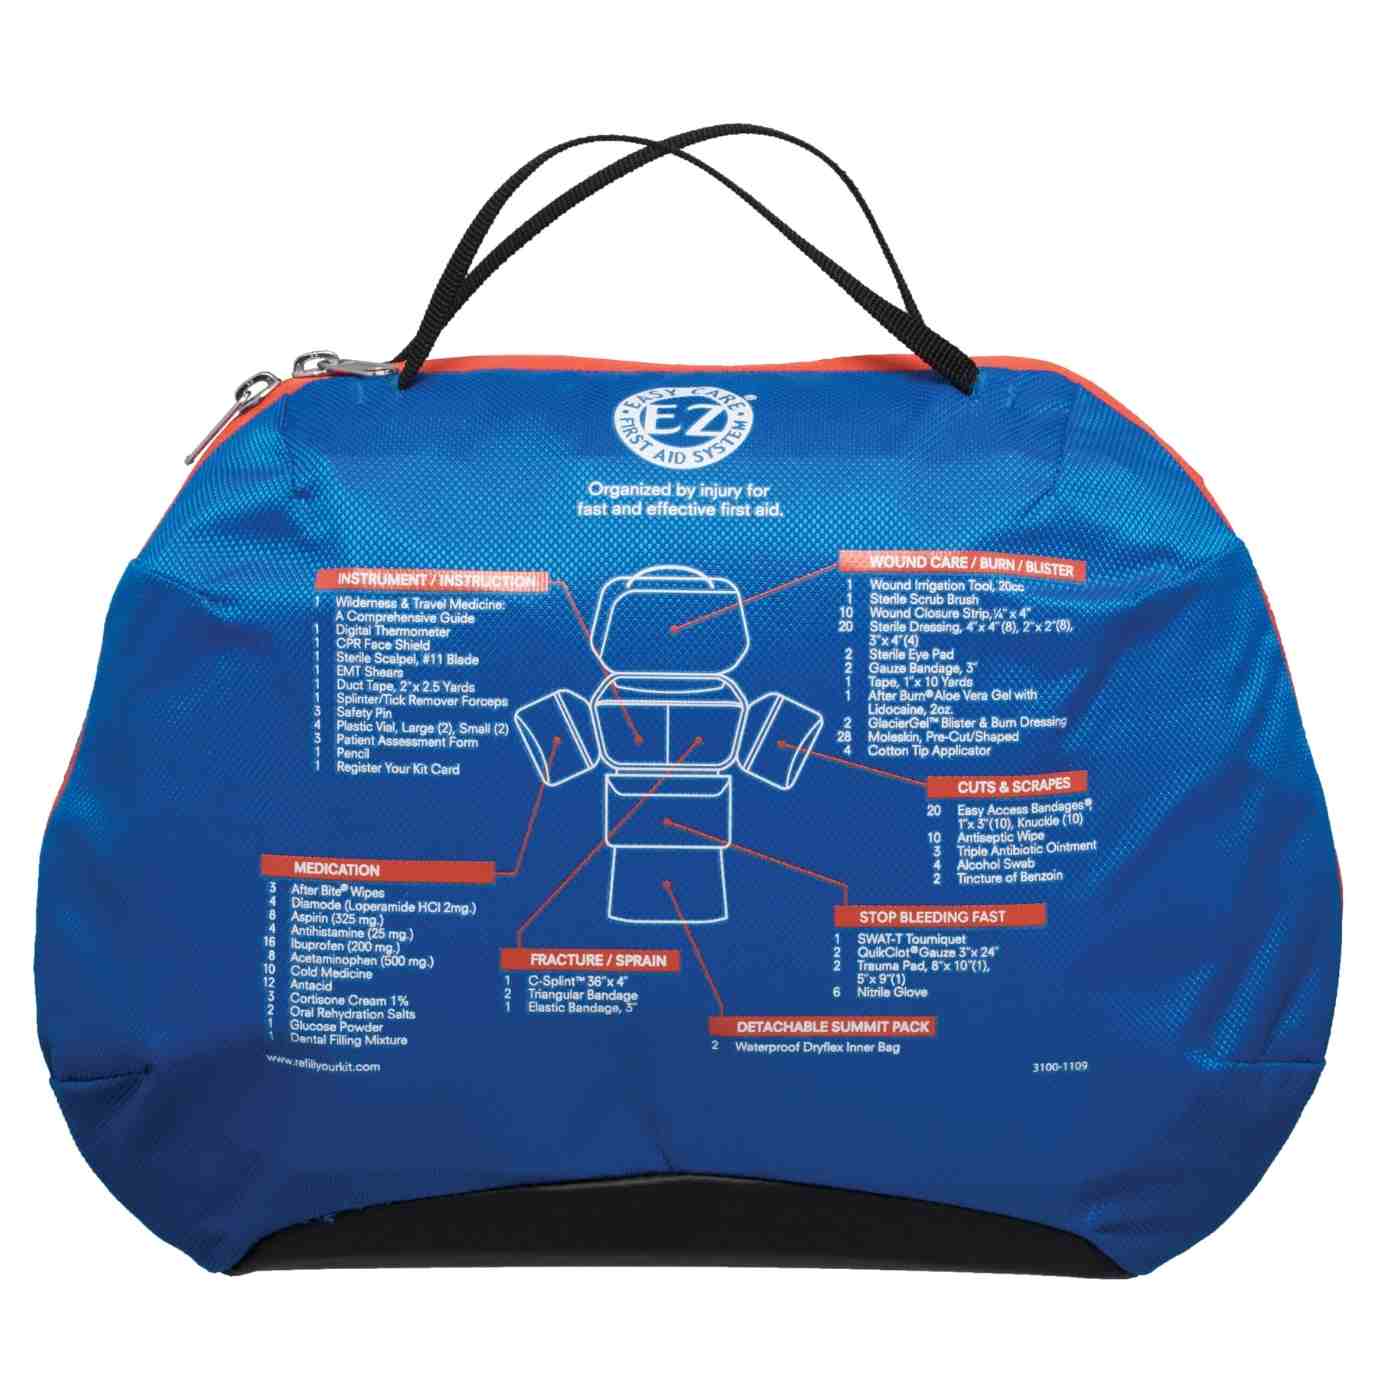
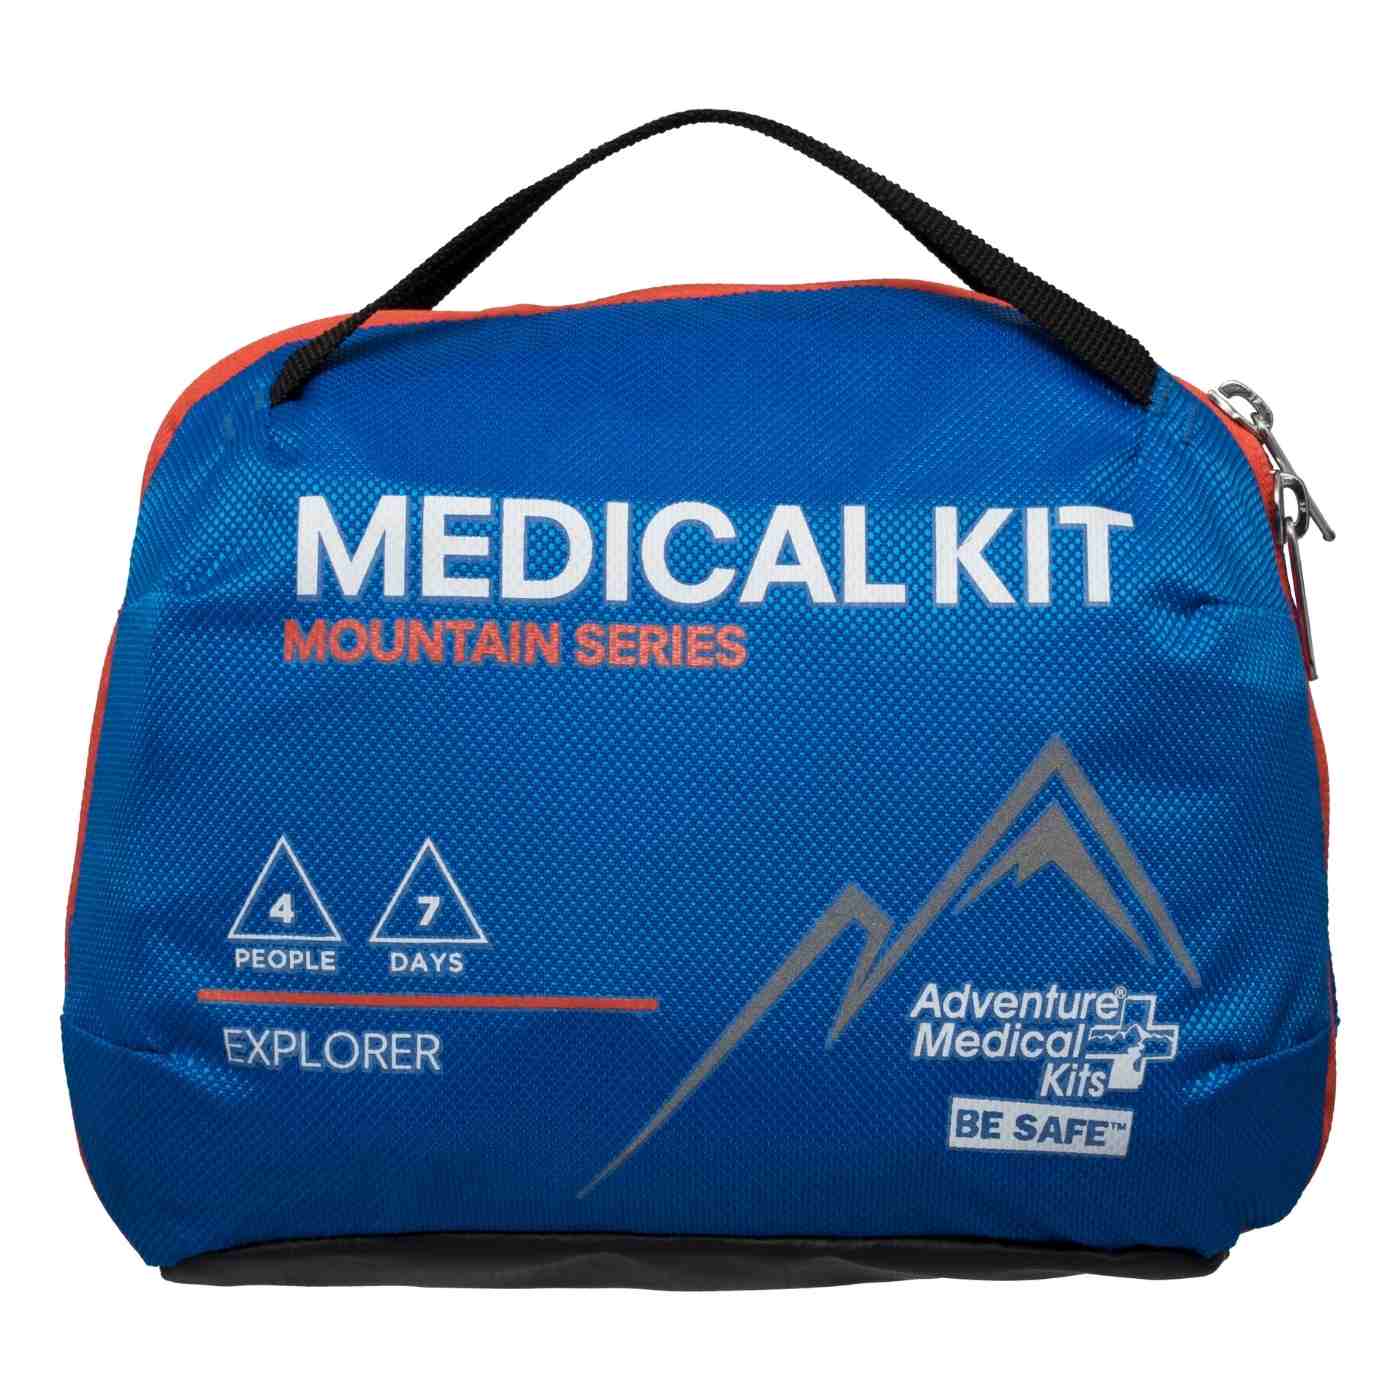
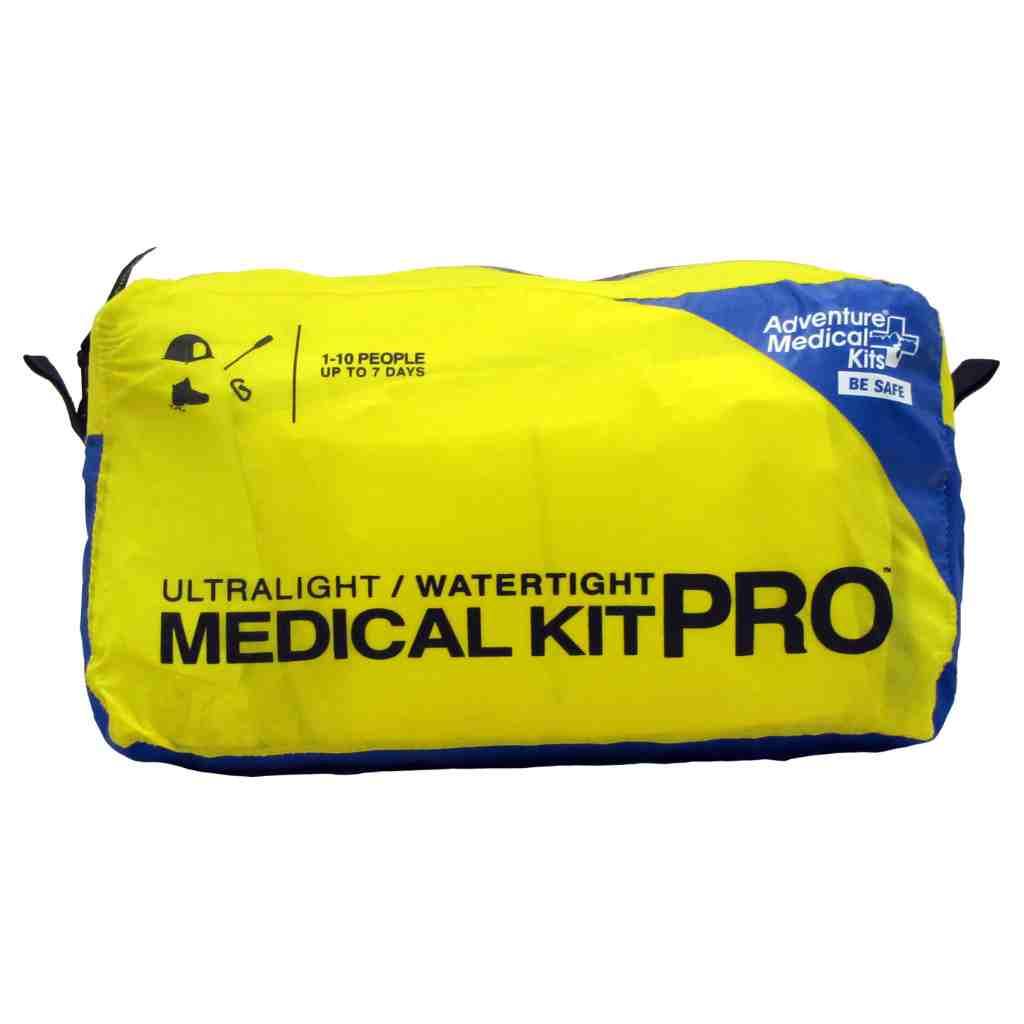
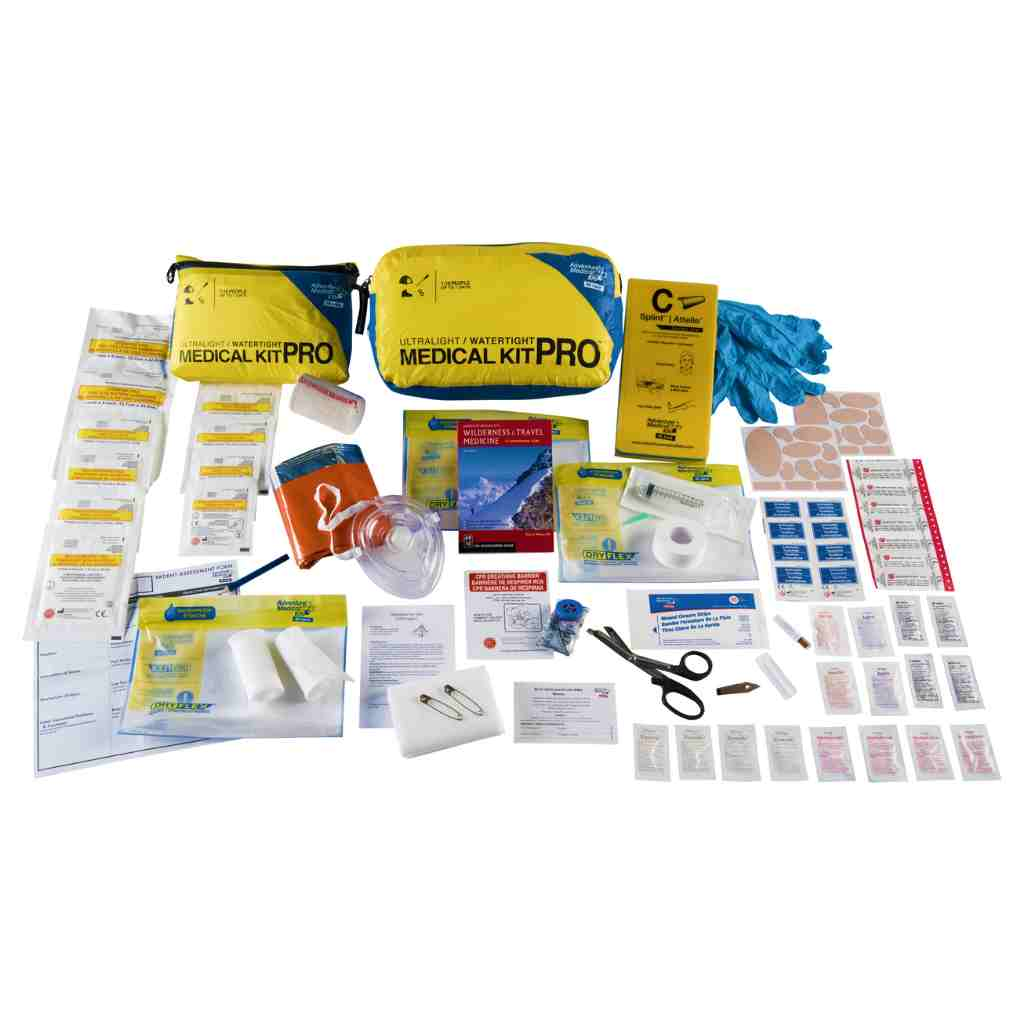
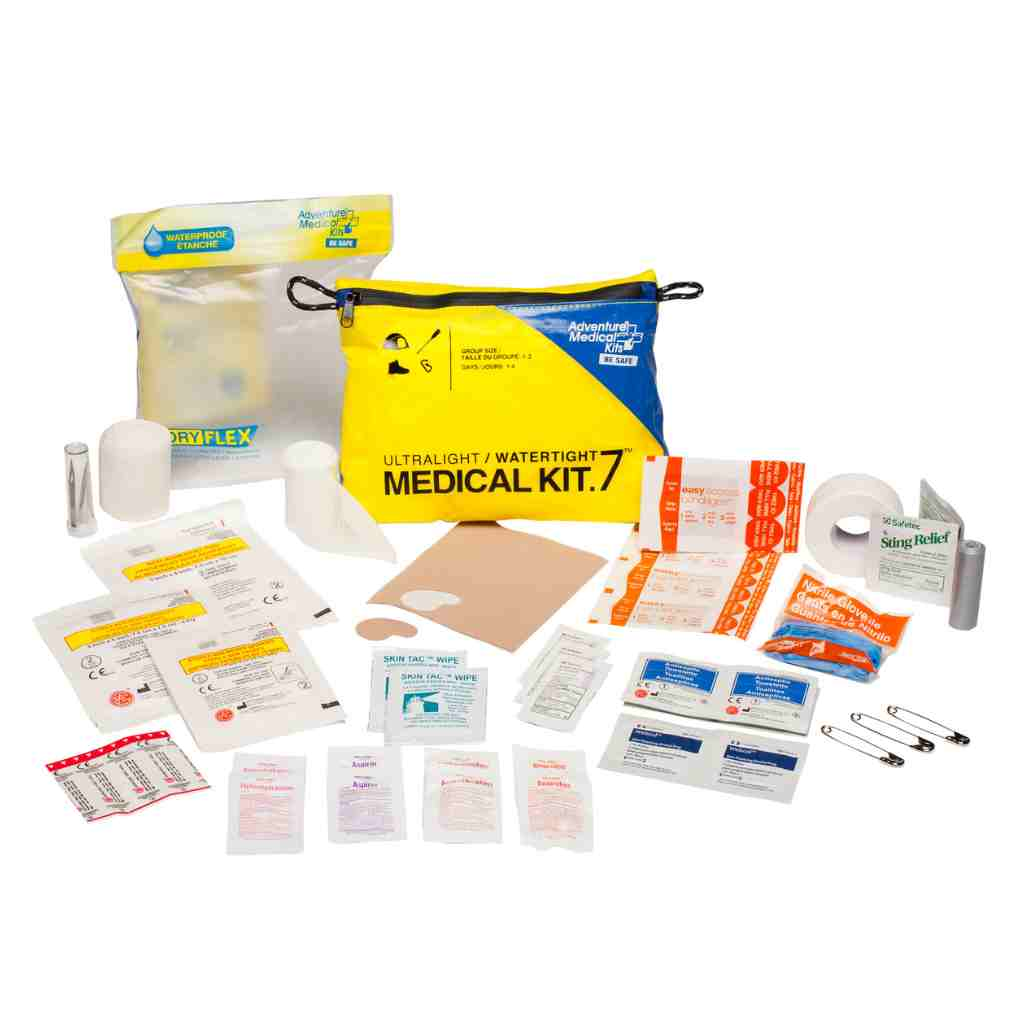
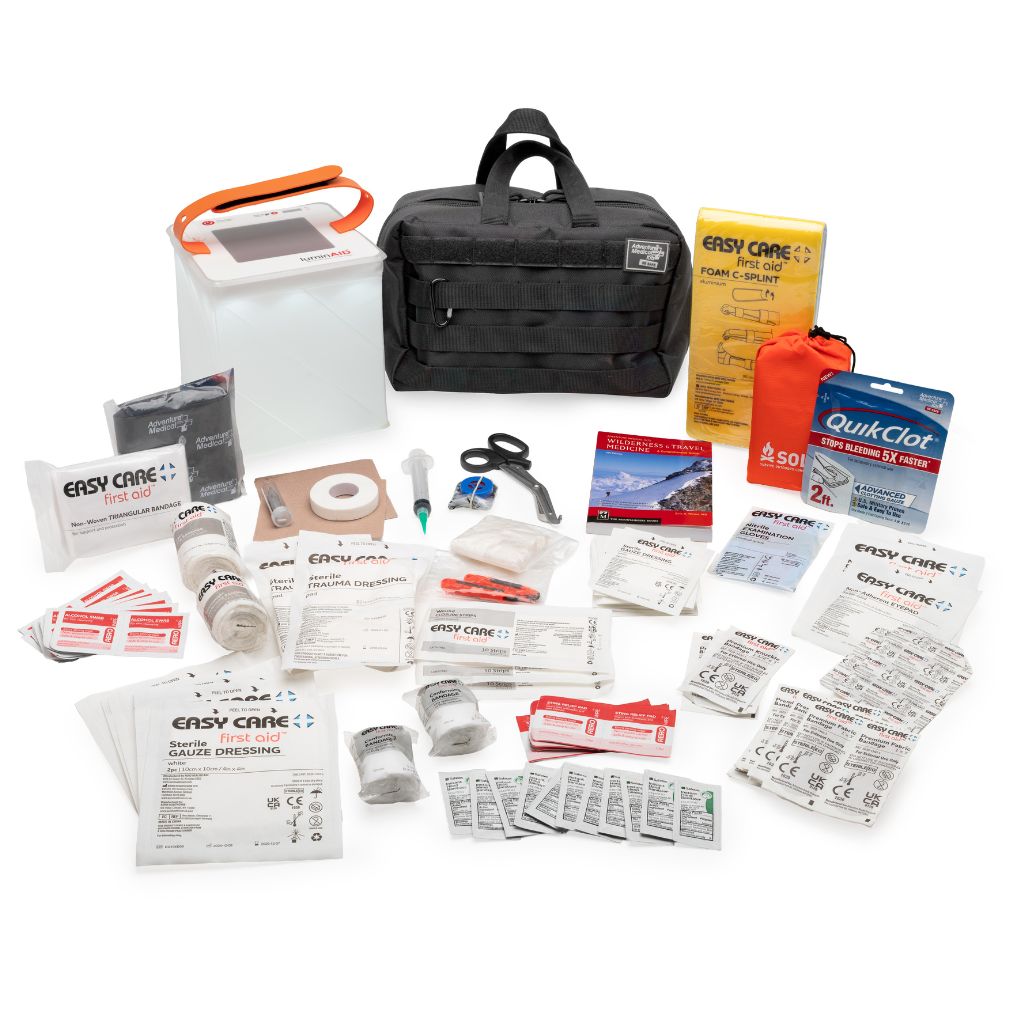
A field team that needs medical supplies alongside lightweight signaling equipment may pair this approach with the Ultralight/Watertight Medical Kit - Pro, which is designed for an outfitter, guide, trip leader, or mountaineer traveling light and watertight, and is intended for up to 10 people for up to 7 days.
Choosing the Right Glow Sticks for Your Needs
Selection should follow the duration, intensity, color, and mission required in the field. A long-duration marker can define a campsite or route for hours. A high-intensity stick can draw attention when a person must be located quickly. Choosing the brightest package claim alone often produces the wrong tool for the task.
Standard green, yellow, red, and orange products are commonly rated around 12 hours. Blue, white, and some infrared versions may be rated around 8 hours. High-intensity variants can deliver much brighter output but may last only about 5 to 30 minutes. That short window suits immediate signaling, not overnight marking.
Glow Stick Duration and Intensity Guide
| Type | Duration | Intensity | Best Use Case |
|---|---|---|---|
| Standard green, yellow, red, or orange | Around 12 hours | General-purpose visibility | Campsites, trail hazards, equipment, and overnight route marking |
| Blue, white, or some infrared versions | Around 8 hours | Varies by formulation | Specialized marking or visibility requirements |
| High-intensity variant | About 5 to 30 minutes | Very bright | Immediate signaling, locating people, or drawing attention |
Match the chemistry to the job
For an overnight camp, choose a long-duration green or orange stick rather than a short-lived high-intensity model. During a search, the brighter option may be justified because distance and rapid recognition matter more than sustained operation. This is the same operational logic behind military-style signaling equipment, adapted for civilian evacuation, outdoor travel, and home preparedness.
Color can support simple team organization. Assign one color to the main route, another to a medical point, and another to equipment. The system works only when everyone understands those assignments before an emergency.
Glow sticks do not replace a flashlight for reading maps, checking injuries, or moving over complex terrain. They provide a passive visual marker without requiring batteries or continued handling. Because activation cannot be reversed, carry both long-duration and high-intensity types when the mission requires sustained marking and rapid attention. Activate the brighter stick only when its short operating window serves a defined purpose.
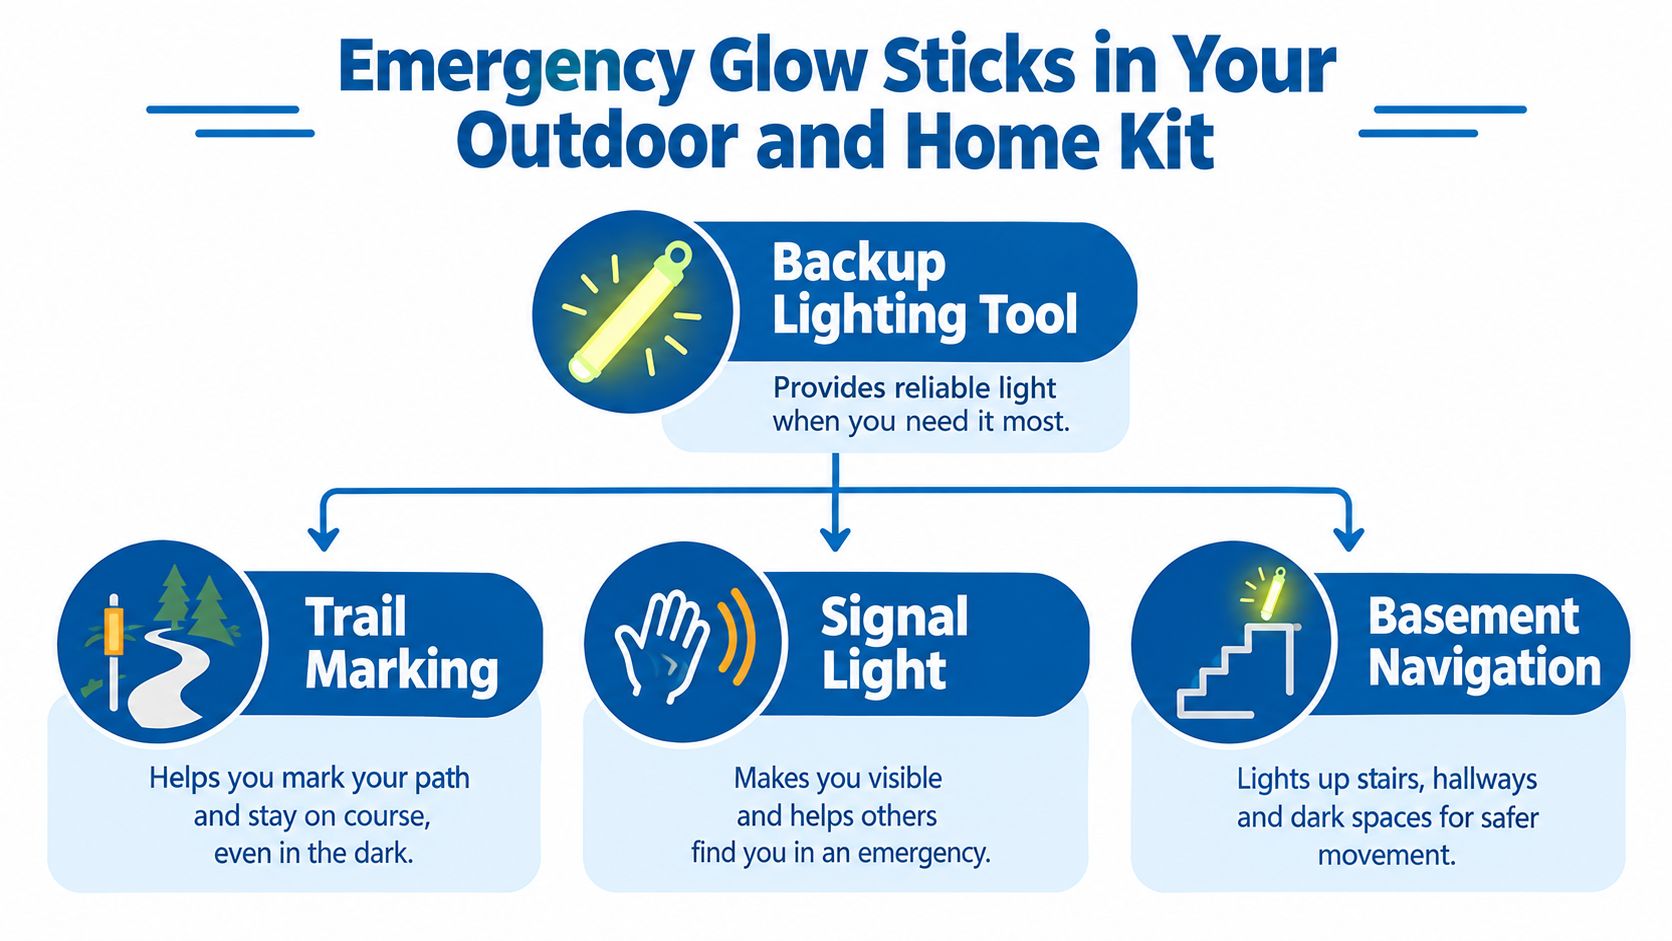
Emergency Glow Sticks in Your Outdoor and Home Kit
Glow sticks belong in the backup layer, not at the center of the lighting system. The National Park Service treats lighting as essential outdoor equipment and recommends flashlights, lanterns, and headlamps. Its Ten Essentials guidance favors headlamps because they leave both hands free and can help people find their way or signal for help, as explained in National Park Service hiking-safety guidance.
A headlamp provides a focused beam for route finding, map reading, and inspecting hazards. A glow stick provides persistent visibility without draining that headlamp. This distinction matters during a long evacuation, when batteries may be needed later for communication or navigation.
Build layers instead of substitutions
A trail kit can place a primary headlamp, spare batteries, a glow stick, first aid supplies, and a communication plan in separate but accessible locations. A home kit can keep sticks near stairs, exits, and emergency supplies rather than buried in a storage bin.
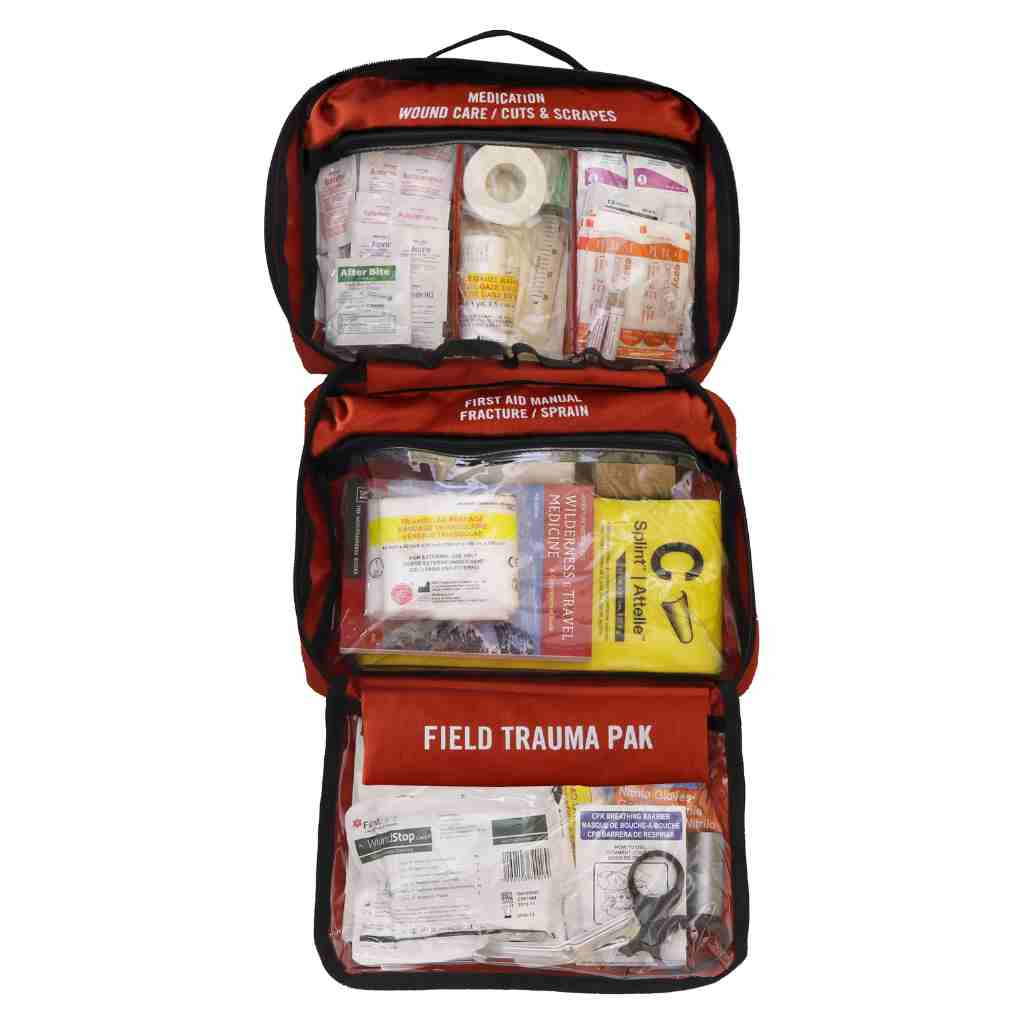
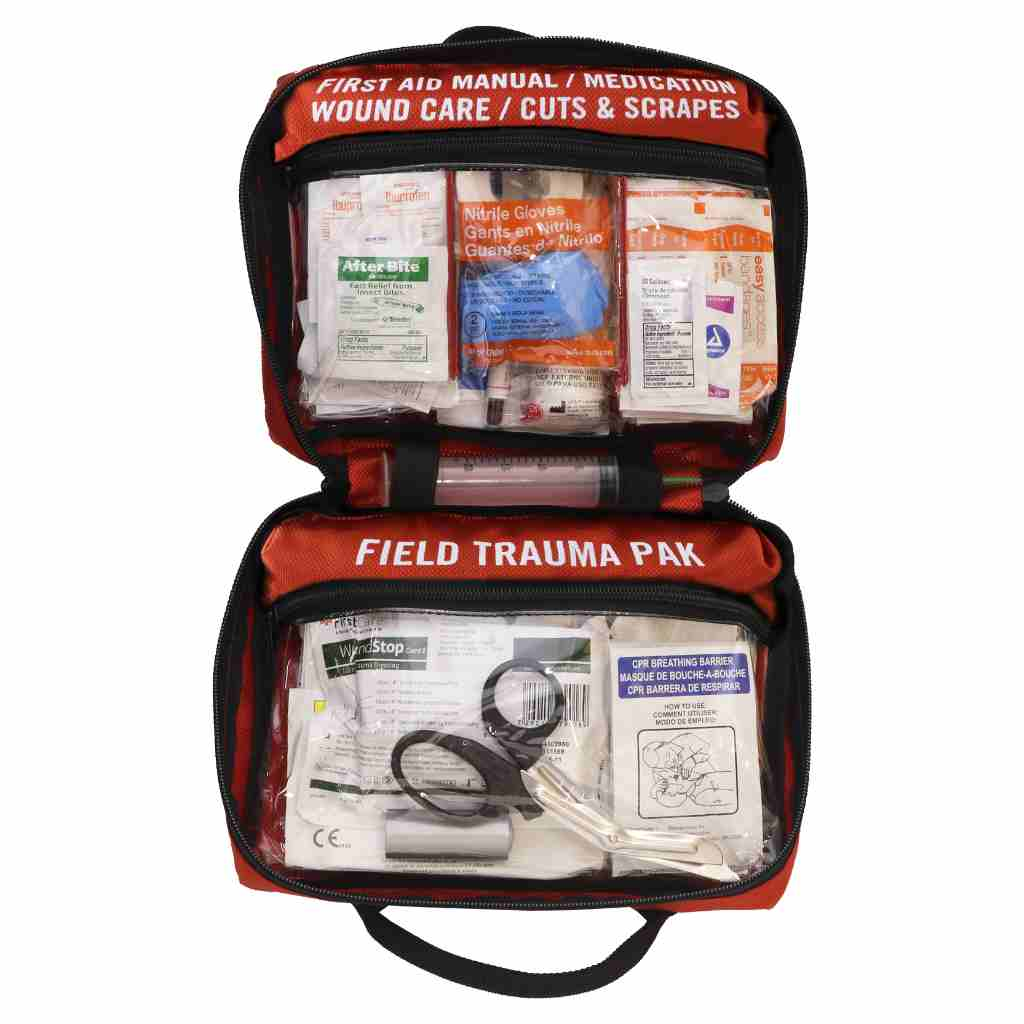
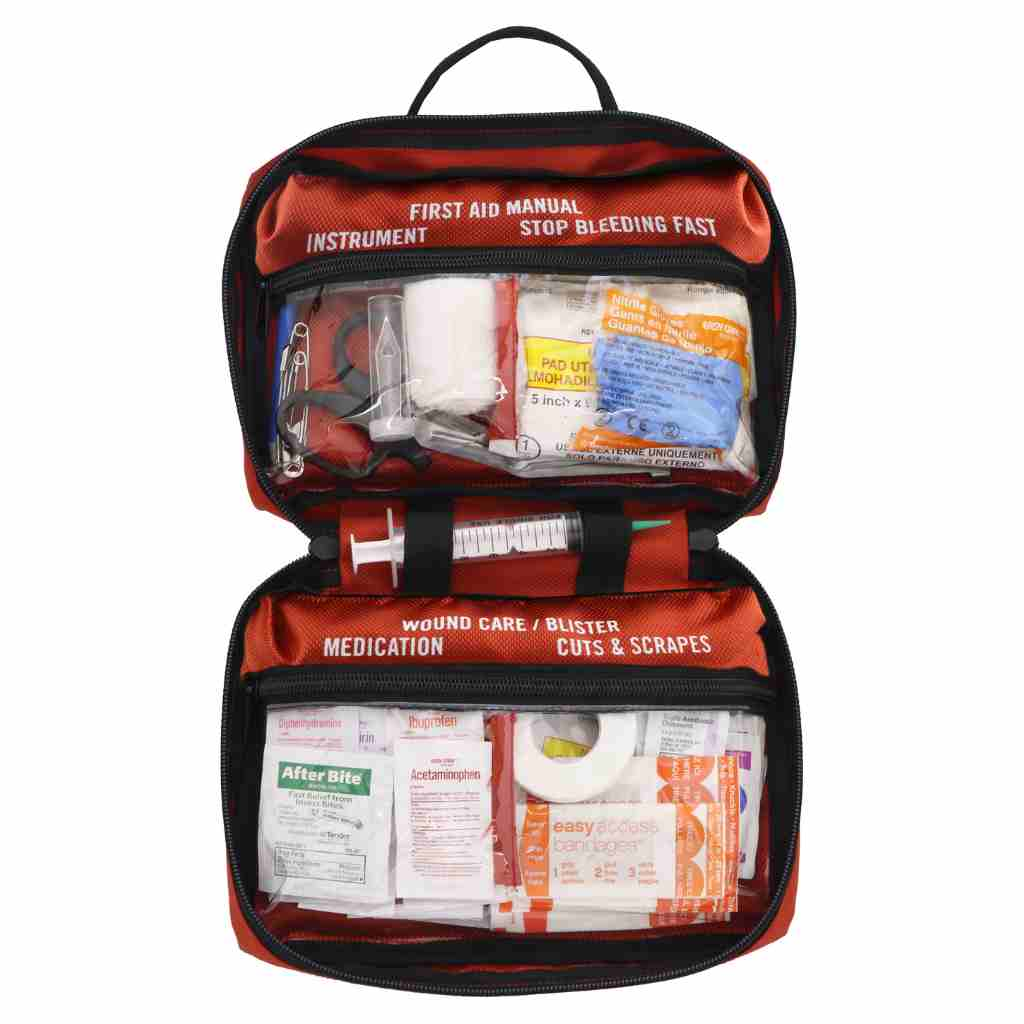
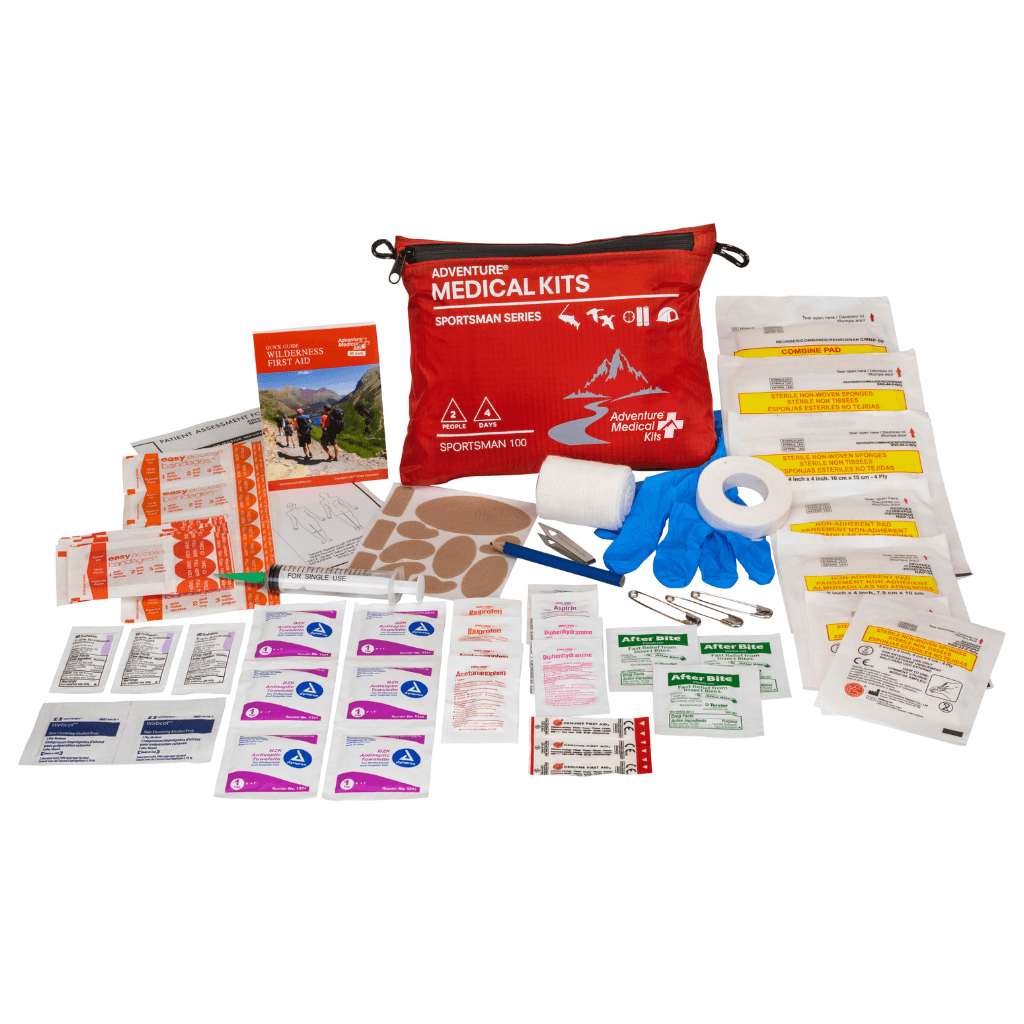
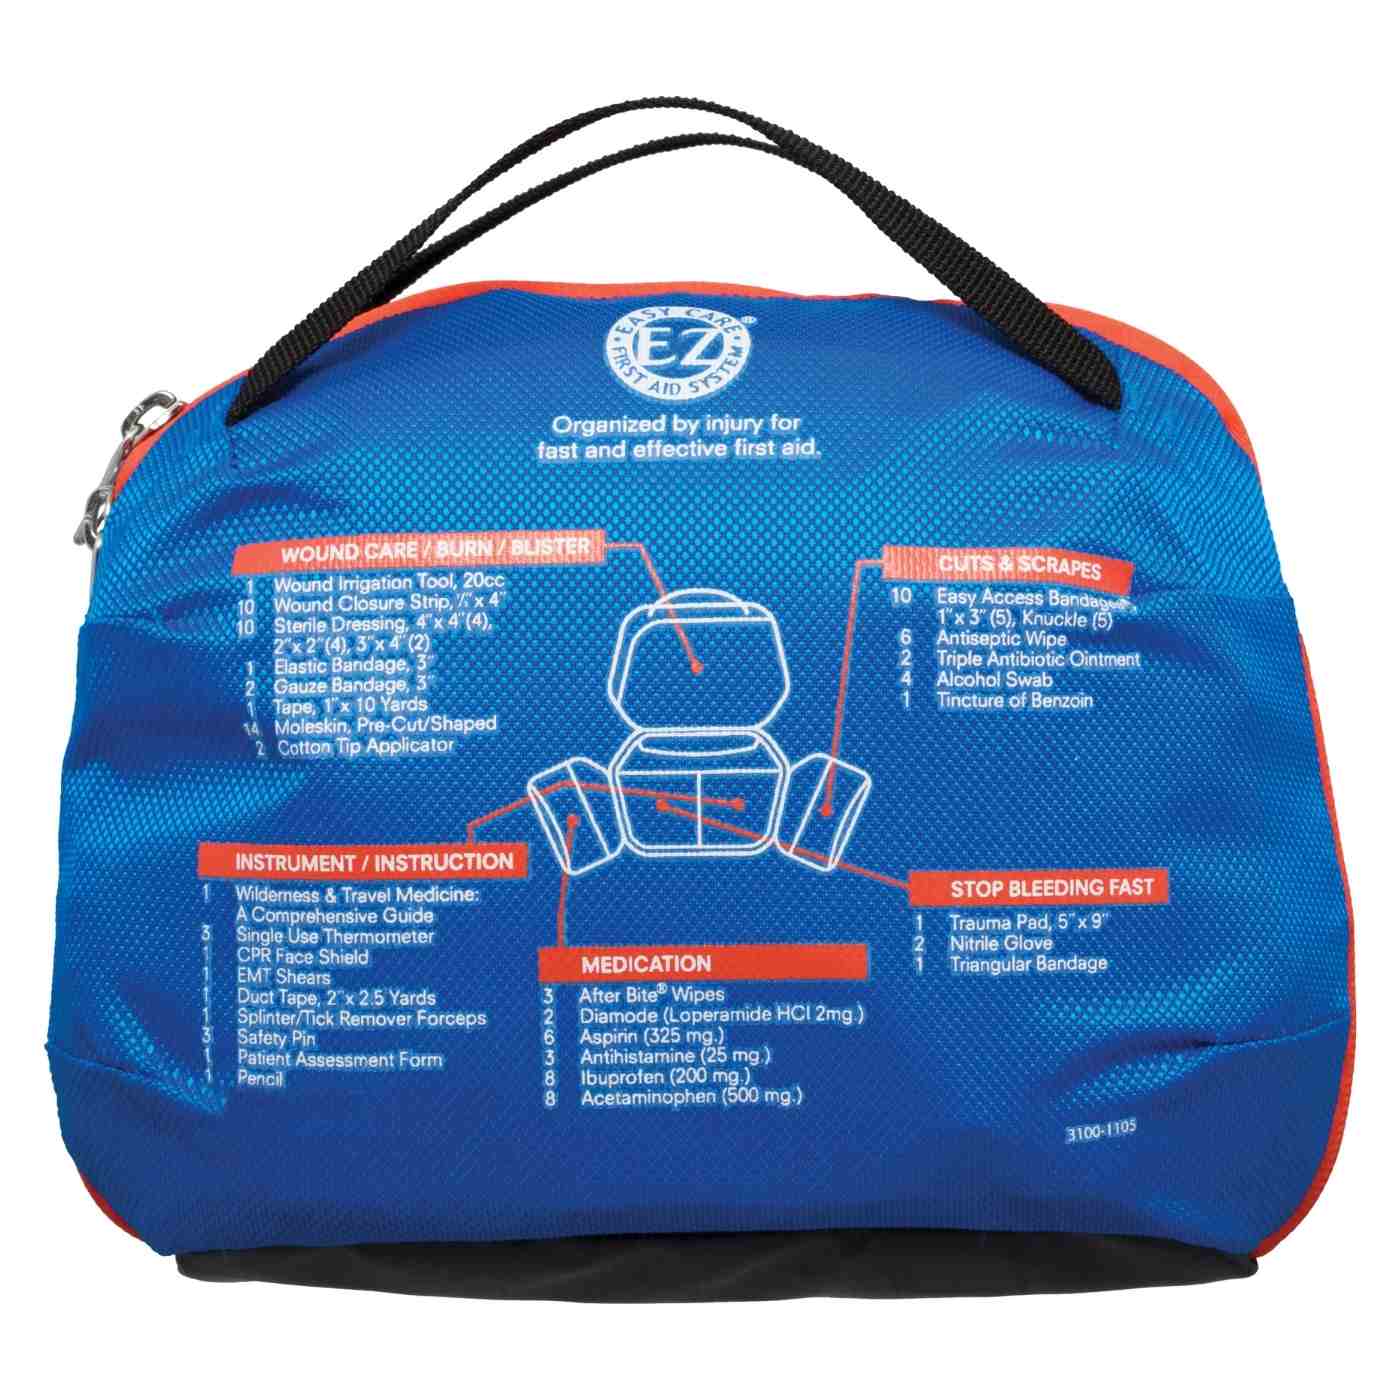
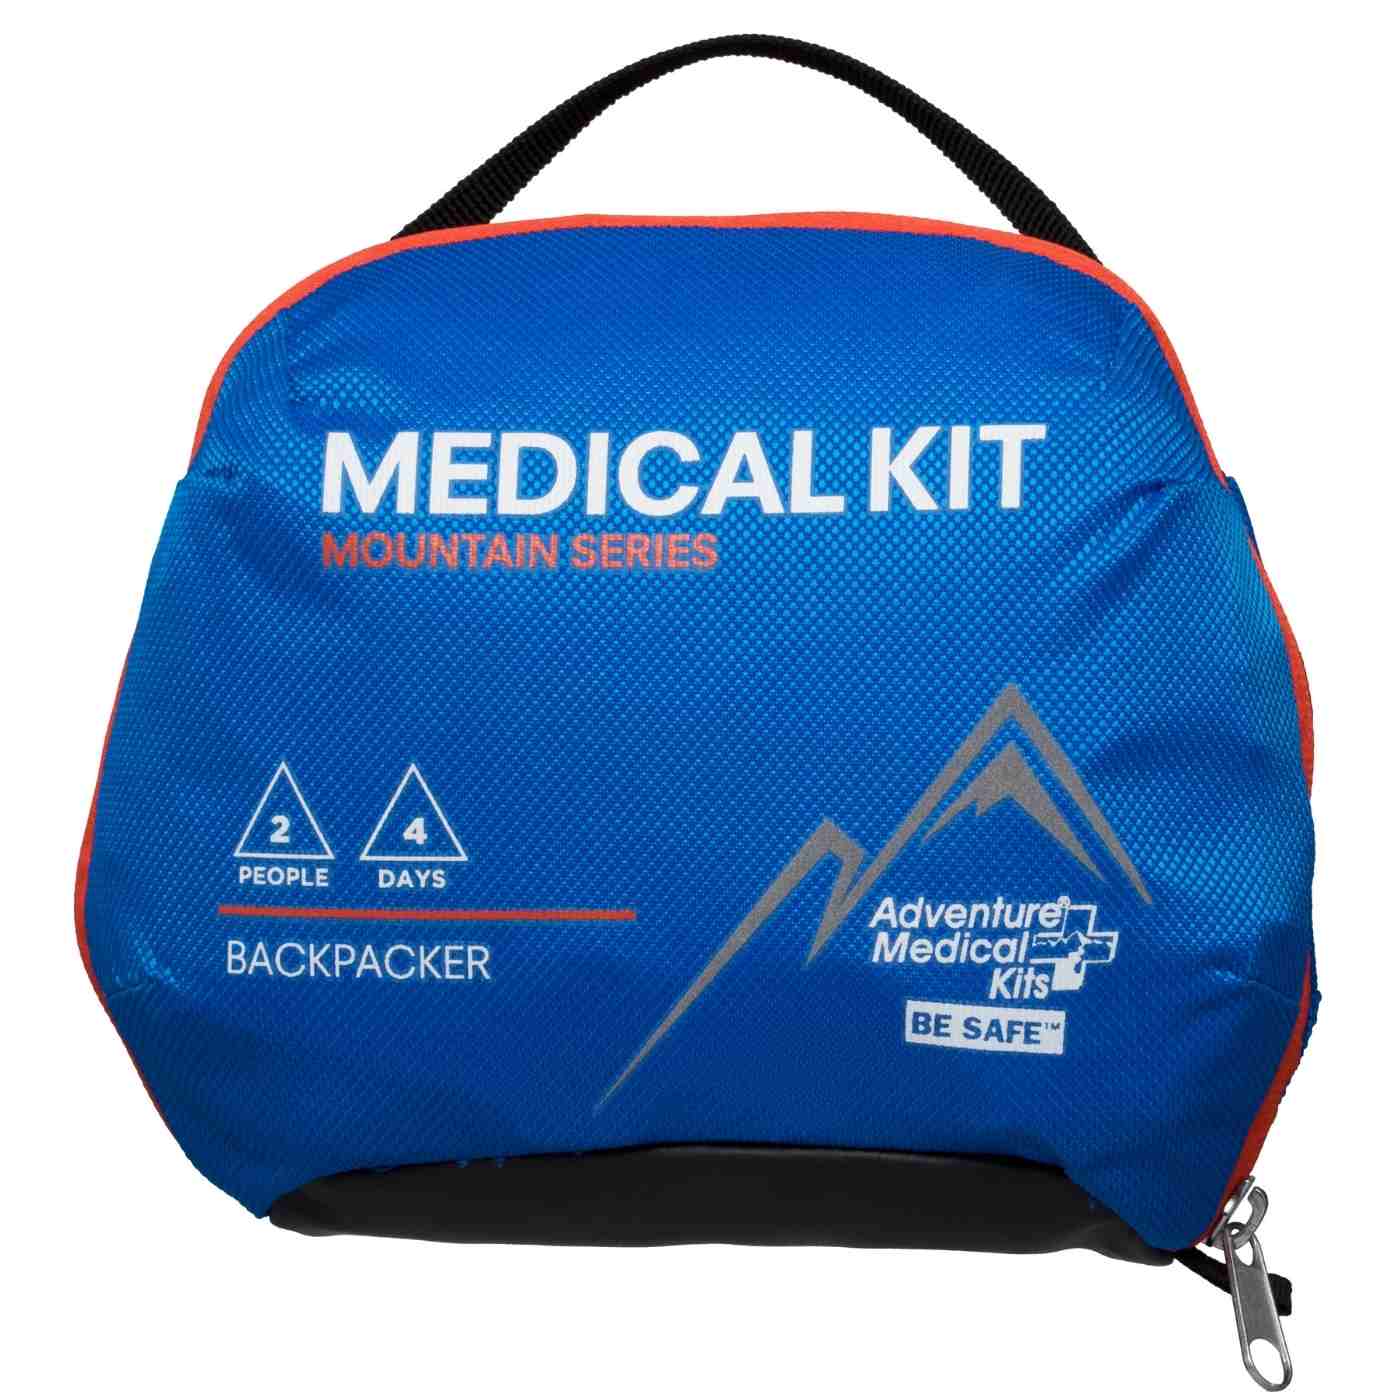
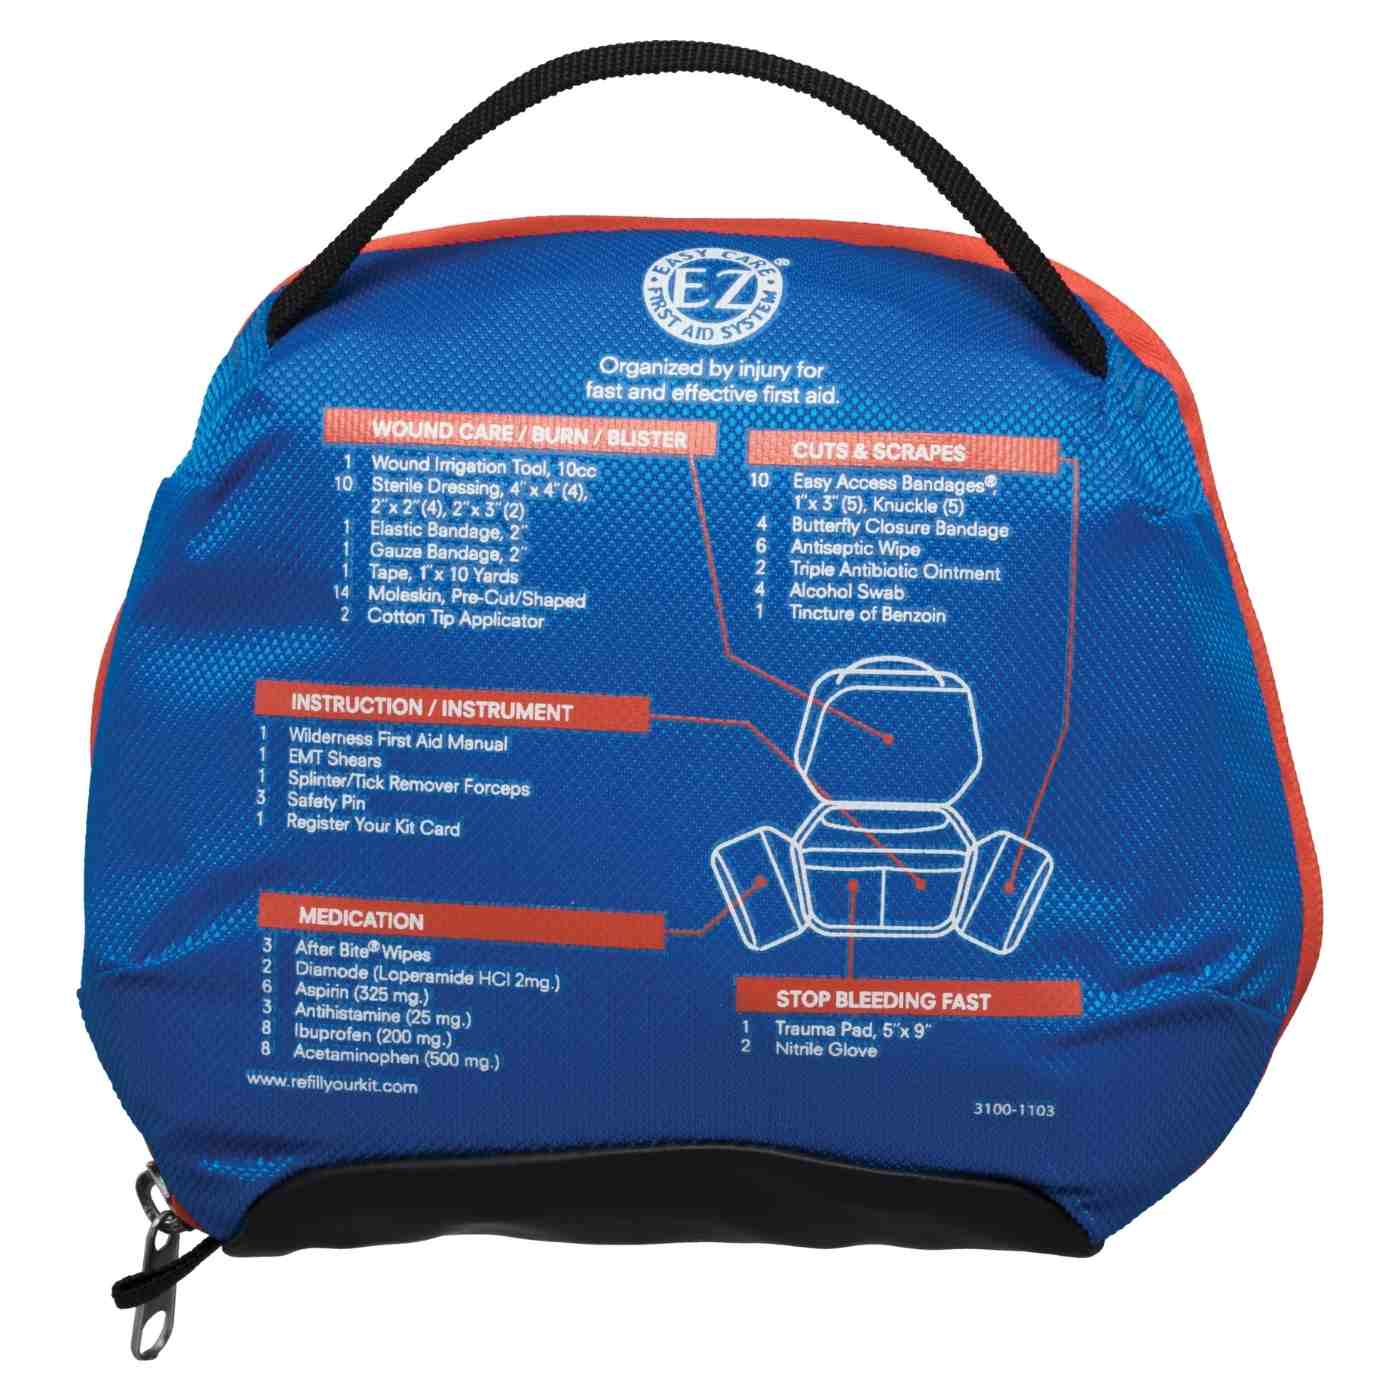
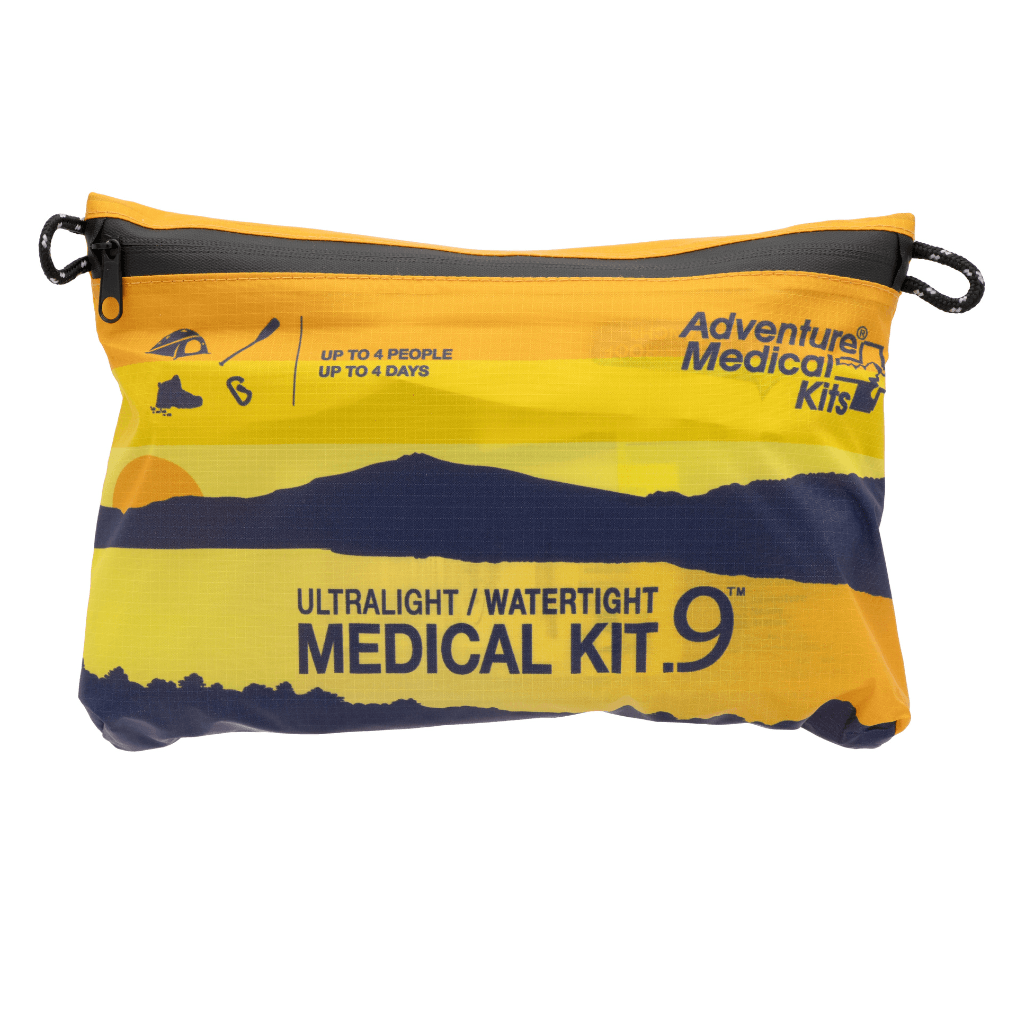
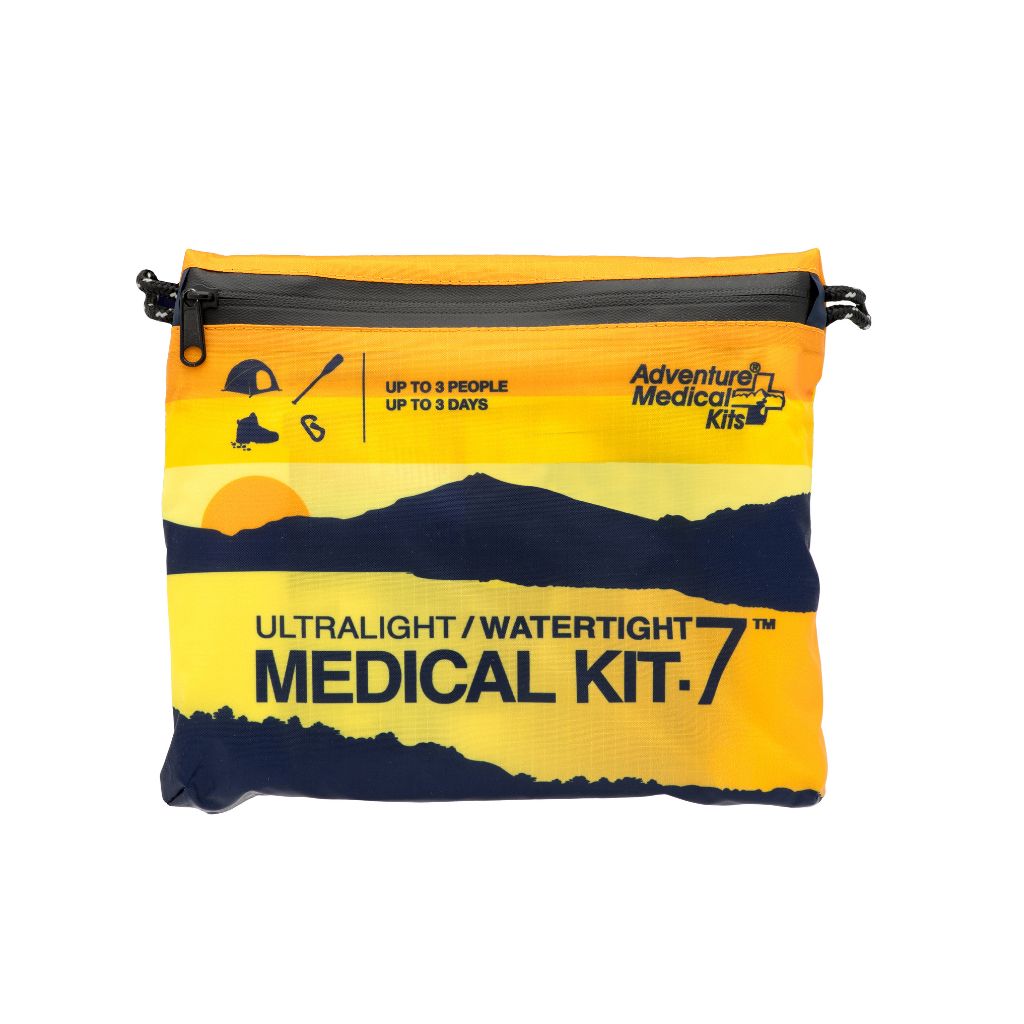
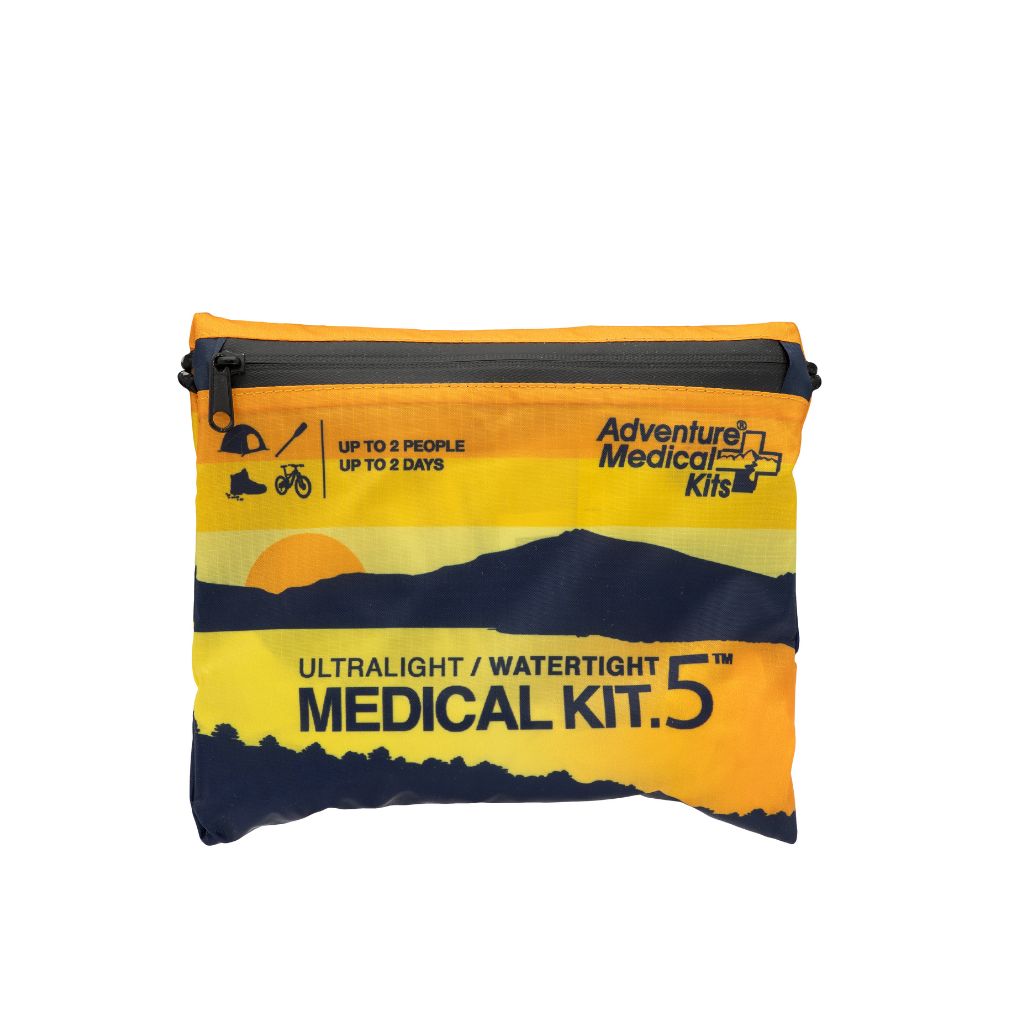
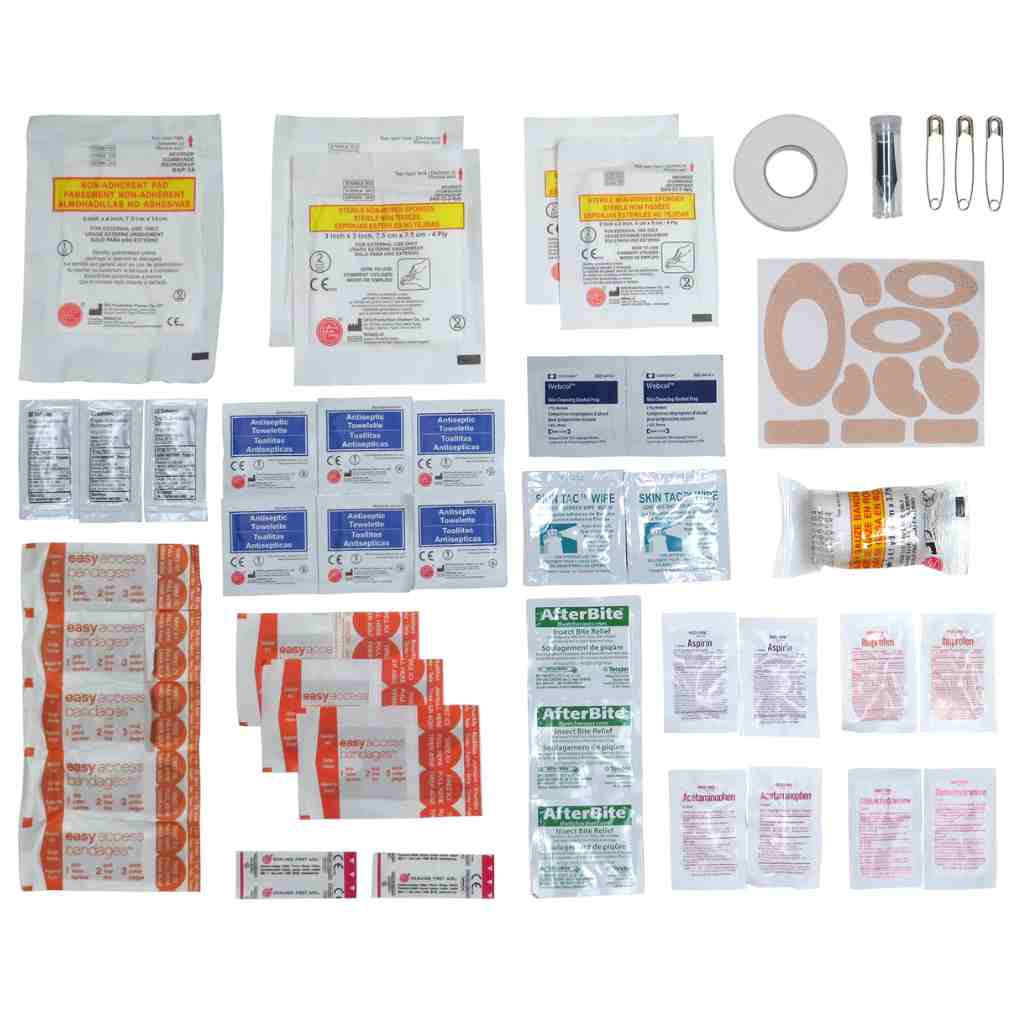
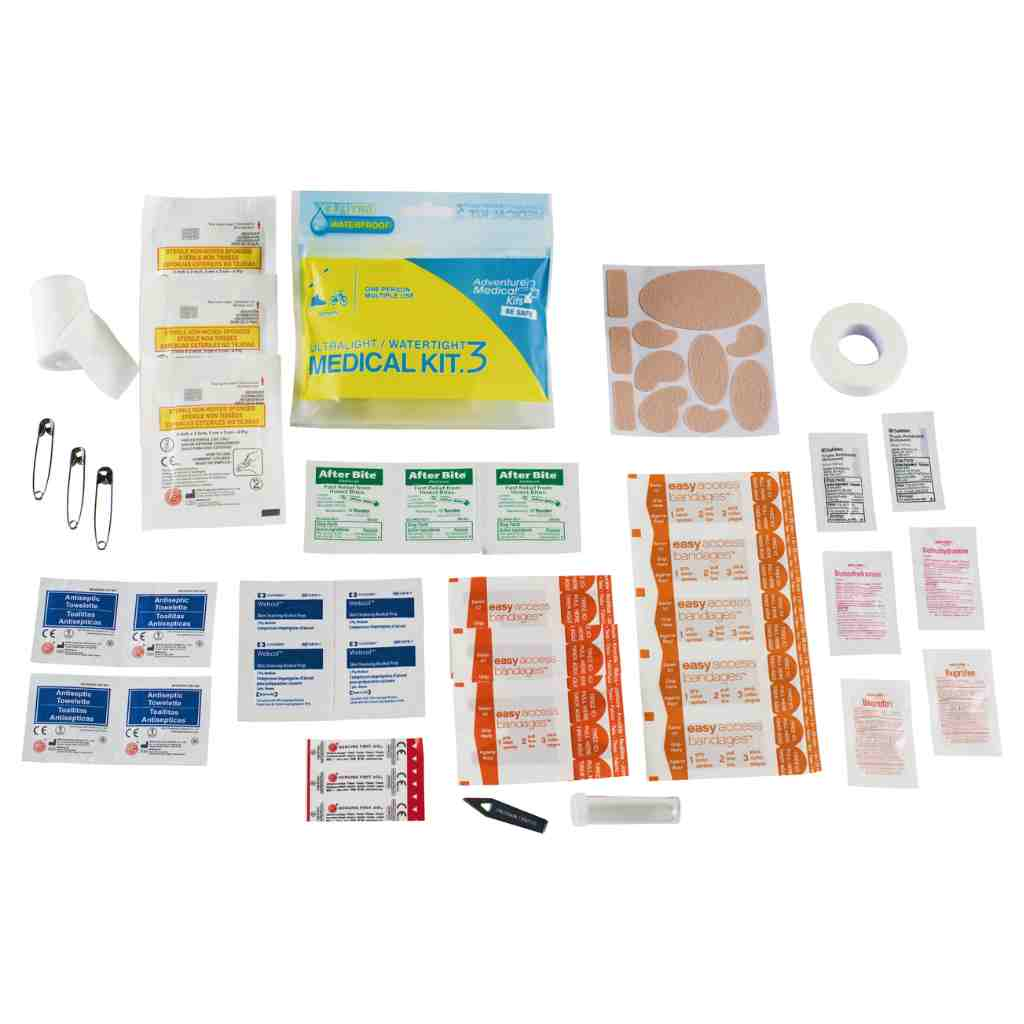
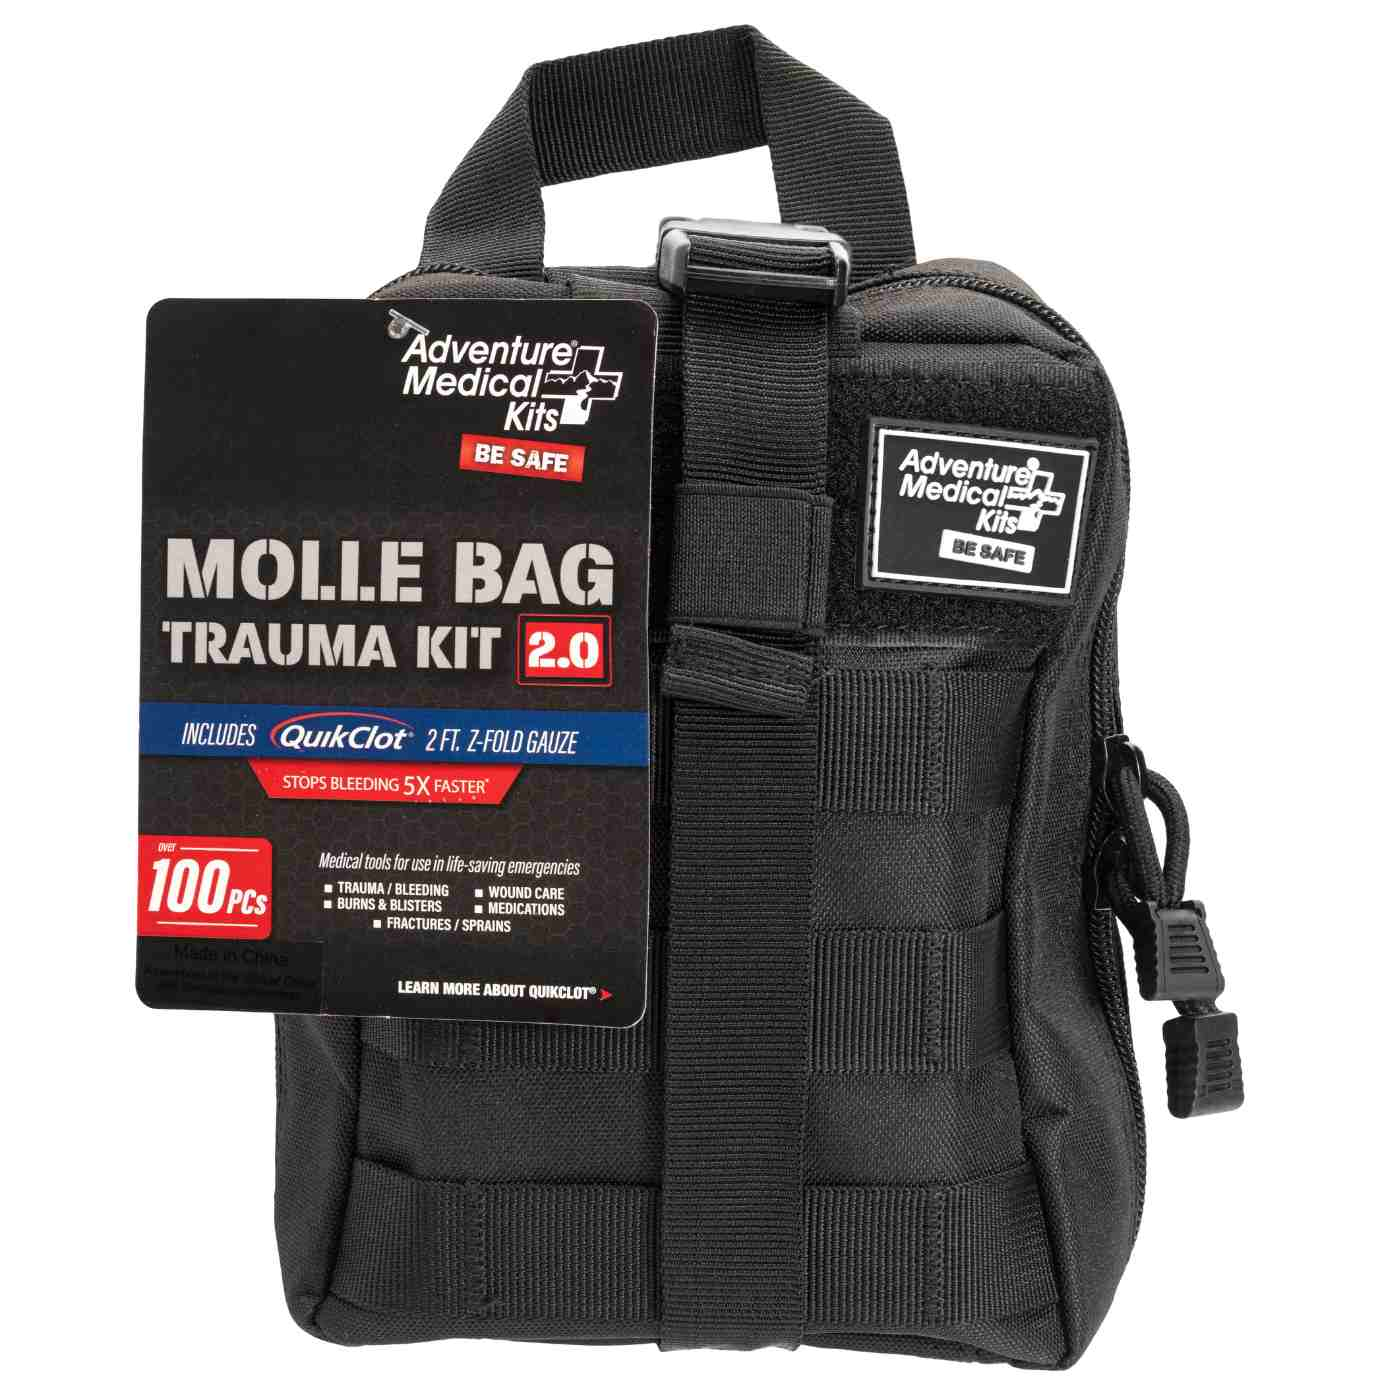
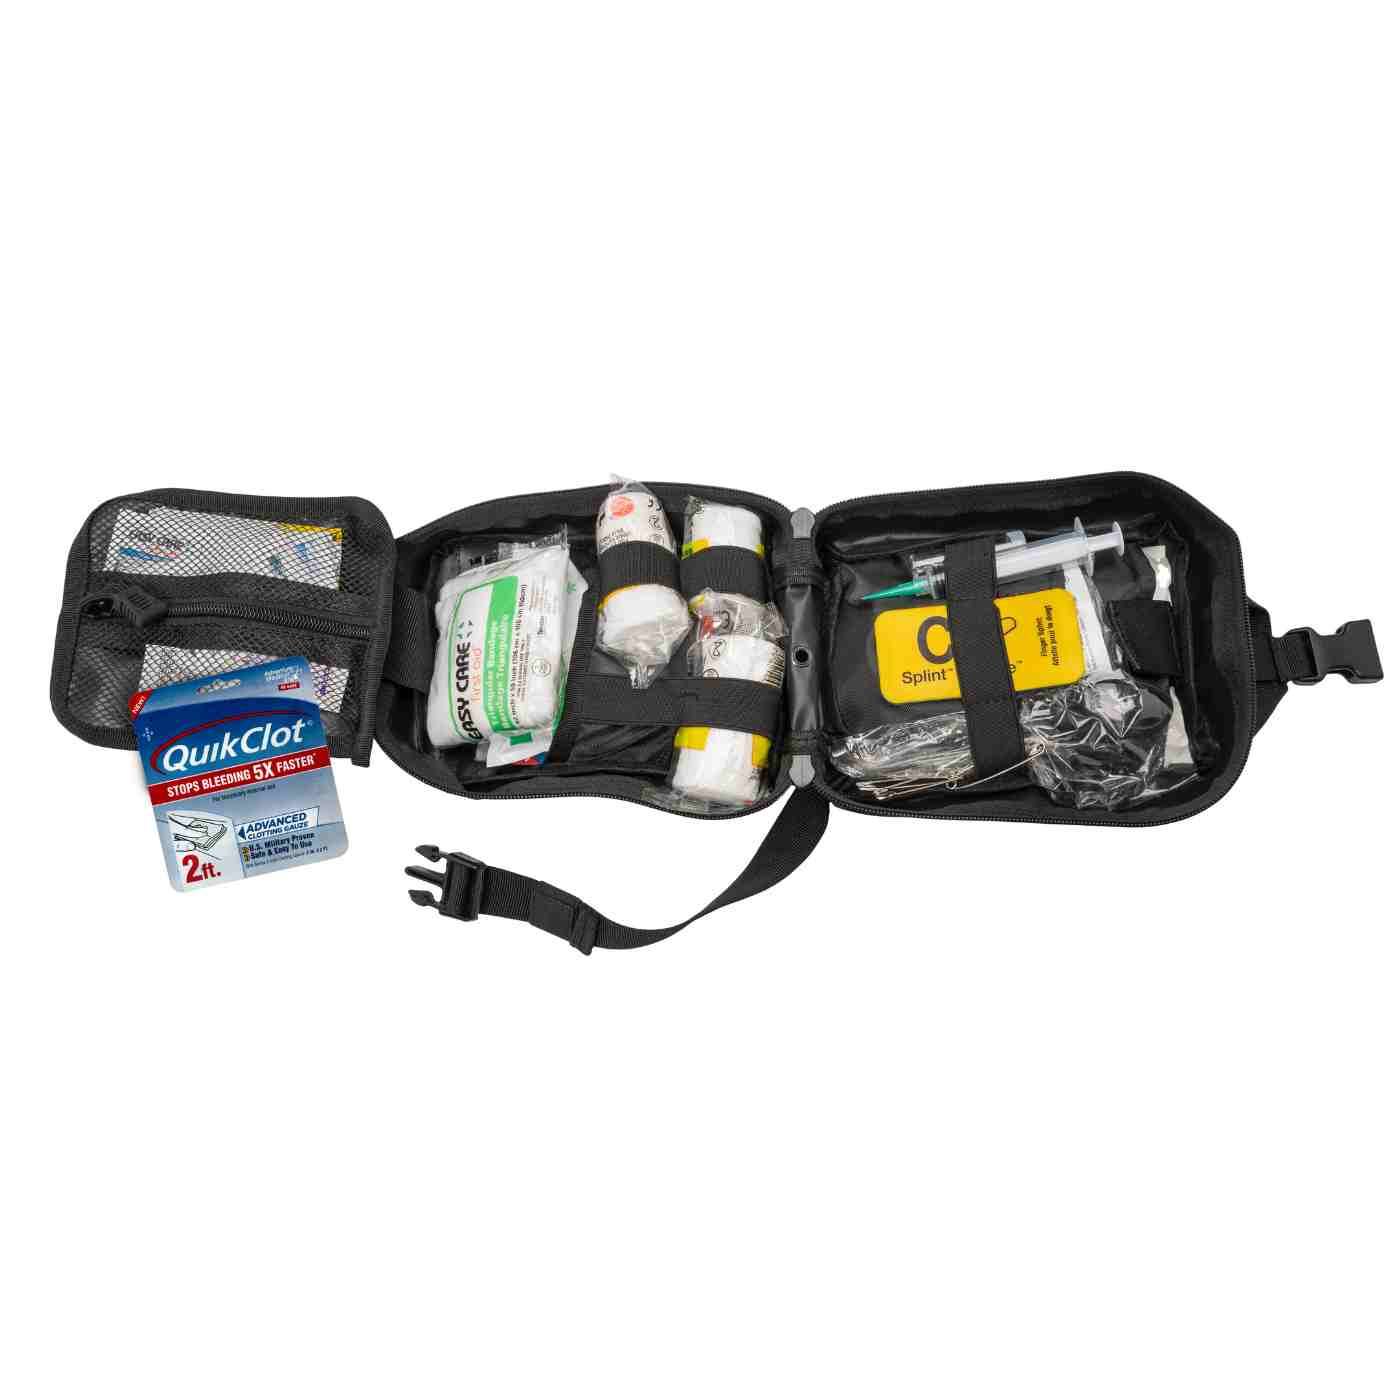
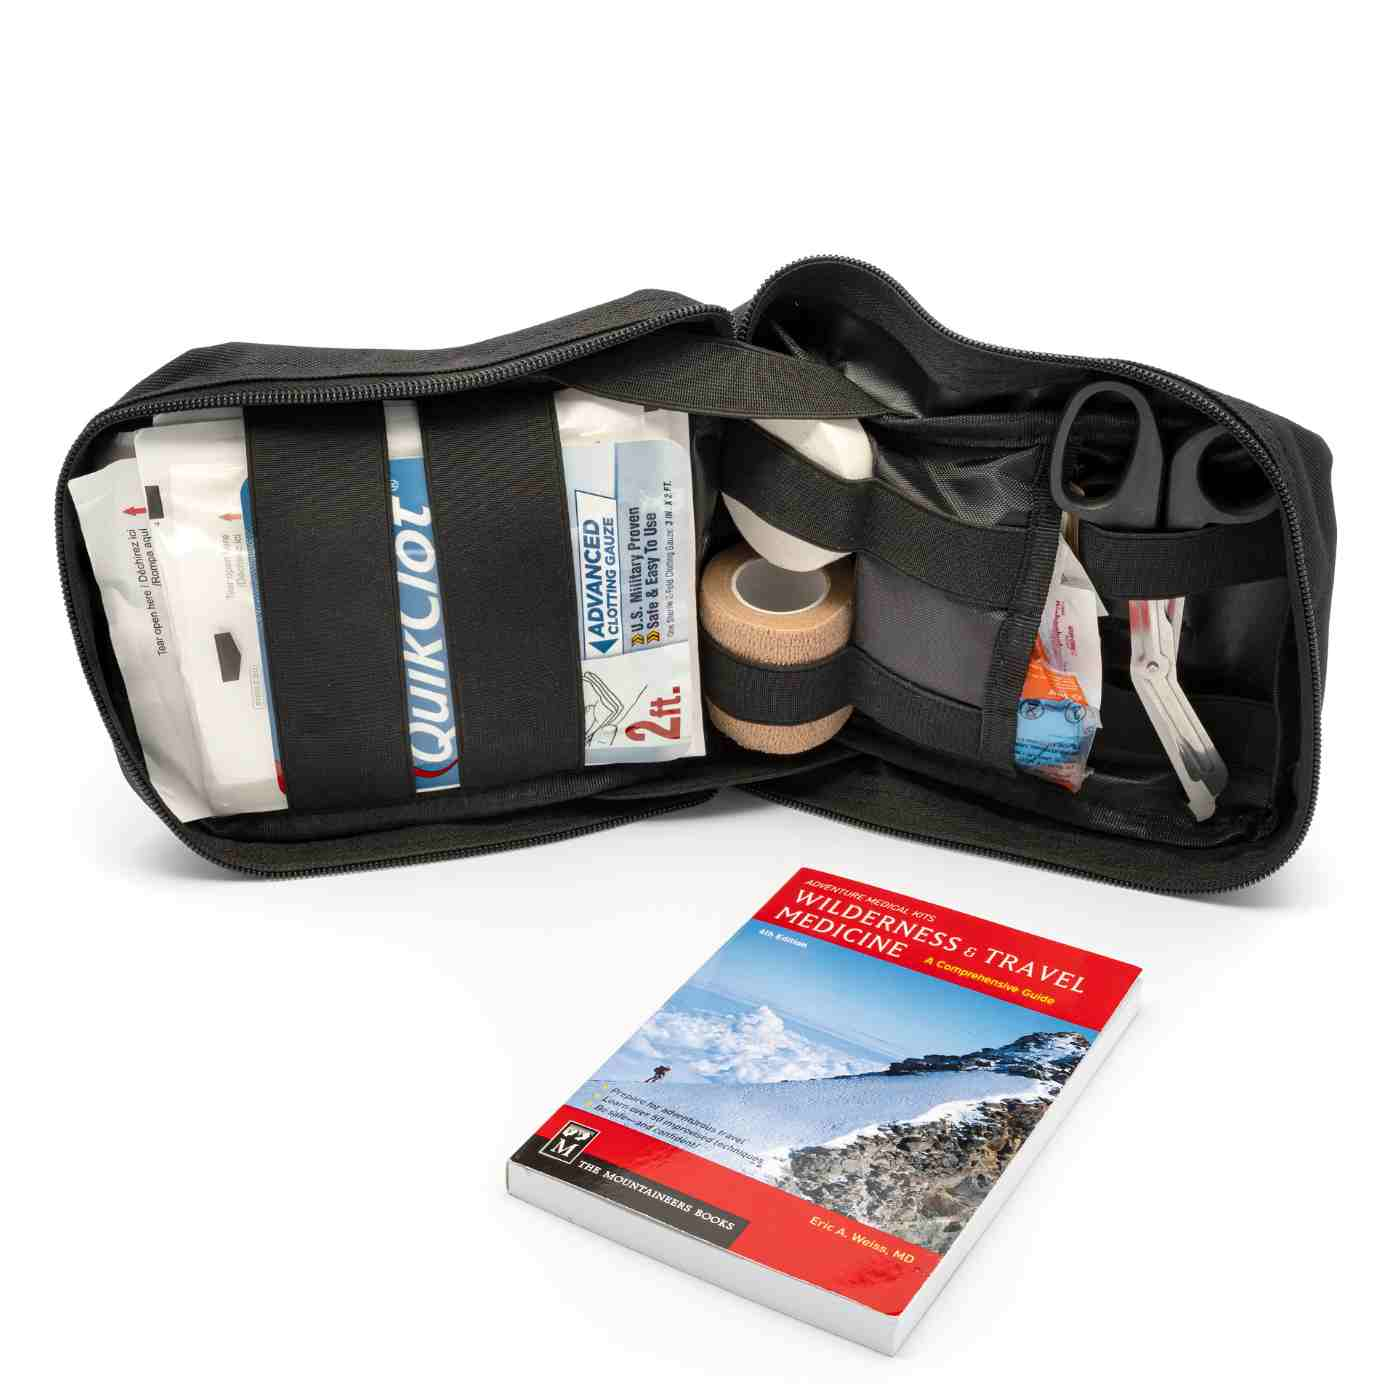
The emergency kit for camping should be treated as a system. Lighting helps people move and signal, while first aid supplies address injuries that may occur during a fall, evacuation, or outdoor incident. Organization matters because a glowing marker is of little value if the injured person's medical supplies can't be found quickly.
Glow sticks also work well for fixed reference points. A group can mark a tent entrance, a gear cache, or a safe meeting location, then keep the primary light available for tasks requiring precision.
Storing and Maintaining Glow Sticks for Reliability
Chemical light sticks are disposable, but they still need maintenance. Storage conditions affect both the casing and the reaction, so a kit that sits in a hot vehicle or damp shed deserves more attention than one kept in a cool indoor cabinet.
A practical storage routine
- Choose a cool location: Keep spare sticks away from direct sunlight and extreme heat. Avoid leaving them permanently in vehicles, where temperatures can rise sharply.
- Protect the casing: Store them away from knives, tools, crampons, fishing hooks, and other objects that could puncture the plastic.
- Inspect before departure: Check packaging and tubes for cracks, leaks, clouding, or other visible damage.
- Test each batch: Activate one stick from a new batch before a long trip or preparedness check. The test confirms that the product produces the expected type of light.
- Track purchase dates: Record when supplies entered the kit so older products don't disappear unnoticed at the bottom of a storage box.
Don't bend a stick merely to check whether it still works. Since activation is irreversible, testing consumes the item. A single sample from a batch provides useful operational information without wasting every spare.
Labeling also improves speed. A small note can identify which color is reserved for route marking, medical locations, group members, or home exits. The system should remain simple enough to use in darkness and stress.
Safety and Disposal Guidelines
Intact glow sticks generally present little risk when used as directed, but a punctured casing changes the situation. Non-flammable doesn't mean harmless after a chemical release. Children and pets may bite or puncture sticks, and damaged gear can crack them inside a pack.
If liquid leaks, keep it away from the eyes and avoid unnecessary contact. Wash exposed skin with soap and water. Eye exposure requires prolonged rinsing, while ingestion calls for prompt contact with local poison-control or medical services. Gloves are appropriate for cleanup, particularly when the source of the leak is unknown, according to the safety data sheet for lightsticks.
Cleanup and disposal decisions
- Skin contact: Wash with soap and water and change contaminated clothing if needed.
- Eye contact: Rinse thoroughly for an extended period and seek medical guidance if irritation persists.
- Ingestion: Contact local poison-control or medical services rather than relying on assumptions about the product.
- A damaged stick: Contain the material with absorbent supplies and prevent it from entering drains, waterways, or soil.
- Used or leaking products: Follow local-authority disposal requirements. Rules vary by jurisdiction.
Glow sticks have a clear advantage over fuel lanterns because they don't create an open flame, but LEDs remain superior for adjustable, reusable light. Chemical sticks also create waste after activation. Good preparedness accounts for both the operational benefit and the disposal responsibility.
When to Use Glow Sticks and When to Choose Alternatives
A night hike, power outage, or evacuation quickly exposes the difference between finding your way and making yourself visible. Select the light for the job, not only for its brightness.
Choose an emergency glow stick for continuous visibility, passive marking, or battery conservation. It can identify a tent entrance, mark a route, distinguish a group member, or provide a reference point beside basement stairs. Its hands-free, low-maintenance output reflects military signaling practice, adapted for civilian kits where reliable location marking may matter more than illumination.
Use a headlamp or flashlight for any focused task. Navigation, map reading, injury assessment, footing checks, and equipment inspection require a controllable beam. A glow stick cannot aim light, adjust brightness, or switch off once activated. For headlamp-first practices after dark, see this hiking safety guidance for avoiding getting stuck in the dark.
A flashlight also gives rescuers a recognizable signal. The National Park Service describes an SOS pattern of three quick flashes, three slower flashes, then three quick flashes in its emergency planning guidance. A glow stick cannot produce that pattern, but it can mark your position while the flashlight remains available for signaling.
A practical setup pairs a headlamp with spare power and glow sticks for marking. Families comparing other backup-light categories can review LuminAID's emergency lighting options. Choose based on the task: focused work, persistent marking, or battery-free visibility.
Building Your Glow Stick Emergency Strategy
A workable strategy starts with assignments, not shopping. Each stick should have a job before it enters the pack or household kit.
| Kit role | Suitable approach | Operational check |
|---|---|---|
| Navigation backup | Primary headlamp plus spare power | The headlamp must remain available for focused tasks |
| Route or campsite marking | Long-duration standard stick | Color and location should be understood by the group |
| Immediate rescue signaling | High-intensity stick and flashlight | Activate the bright stick only when rapid visibility matters |
| Home outage support | Fixed markers near exits and hazards | Store them where family members can reach them in darkness |
A weekend hiker may need a small combination of standard markers and one rapid-signaling option. A guide or larger group needs a clearer color system, accessible storage, and medical supplies that remain protected from weather. Families preparing for hurricanes, earthquakes, wildfires, or tornadoes should place glow sticks with the home emergency kit, not in a remote gear closet.
Preparedness also includes communication. A written trip plan should identify the route, expected return, emergency contacts, and meeting points. Guidance on helping yourself get found by writing a hiking trip plan reinforces the value of making rescue information available before departure. Families traveling farther from home can also review emergency help for family trips as part of broader travel planning.
Quick check: Inspect the casing, confirm the color code, verify the primary light, and place the glow stick where it can be reached without unpacking the entire kit.
Rotation should follow the same logic as inspection. Record purchase dates, check storage conditions, test one item from each batch, and replace damaged products. For broader outdoor preparedness resources, Adventure Ready Outdoor offers another place to review trip-planning and emergency-readiness considerations.
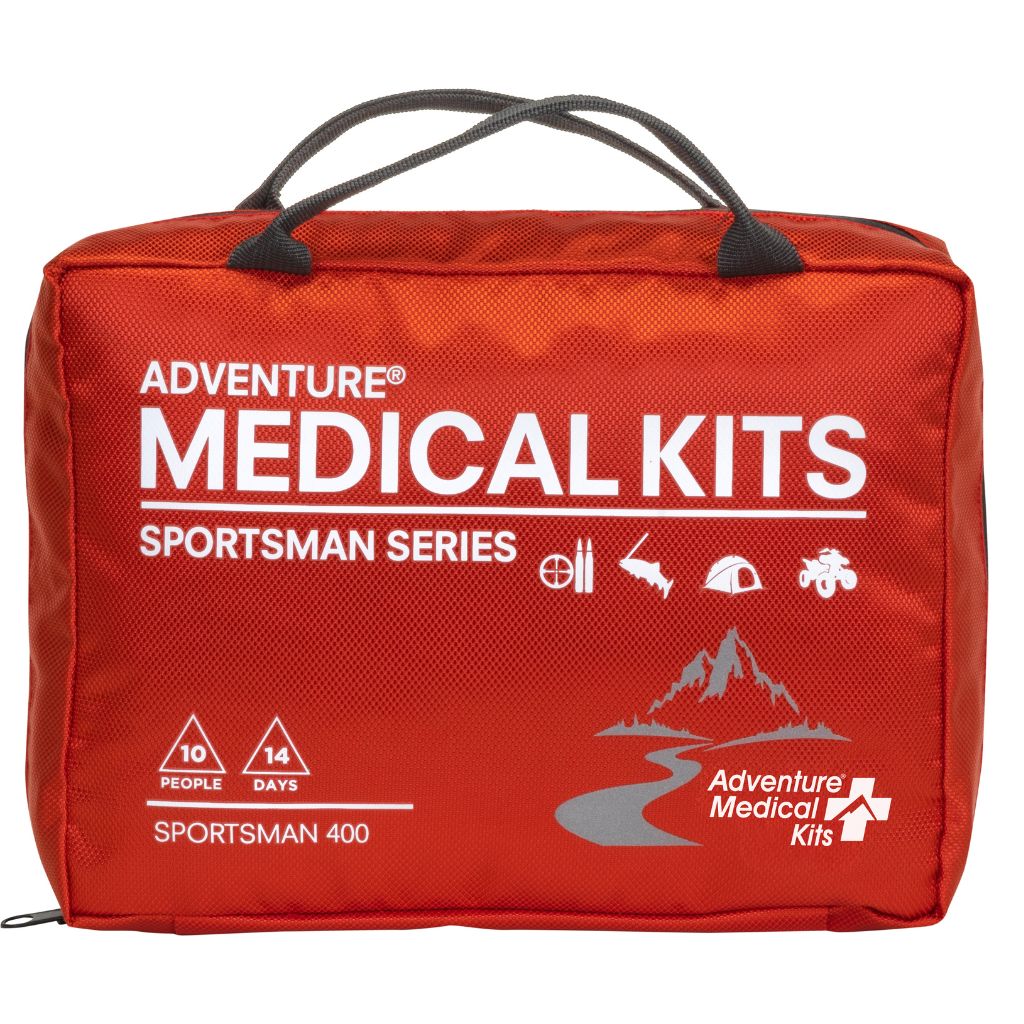
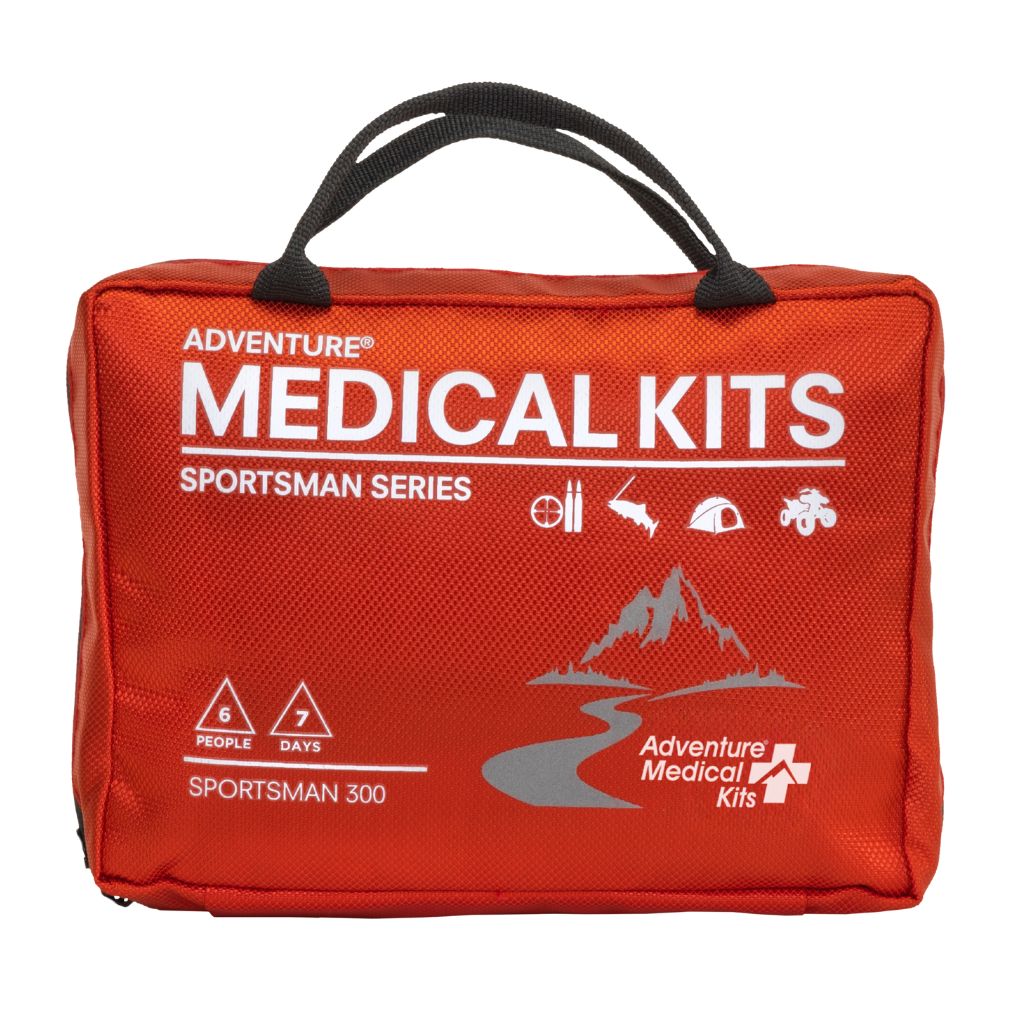
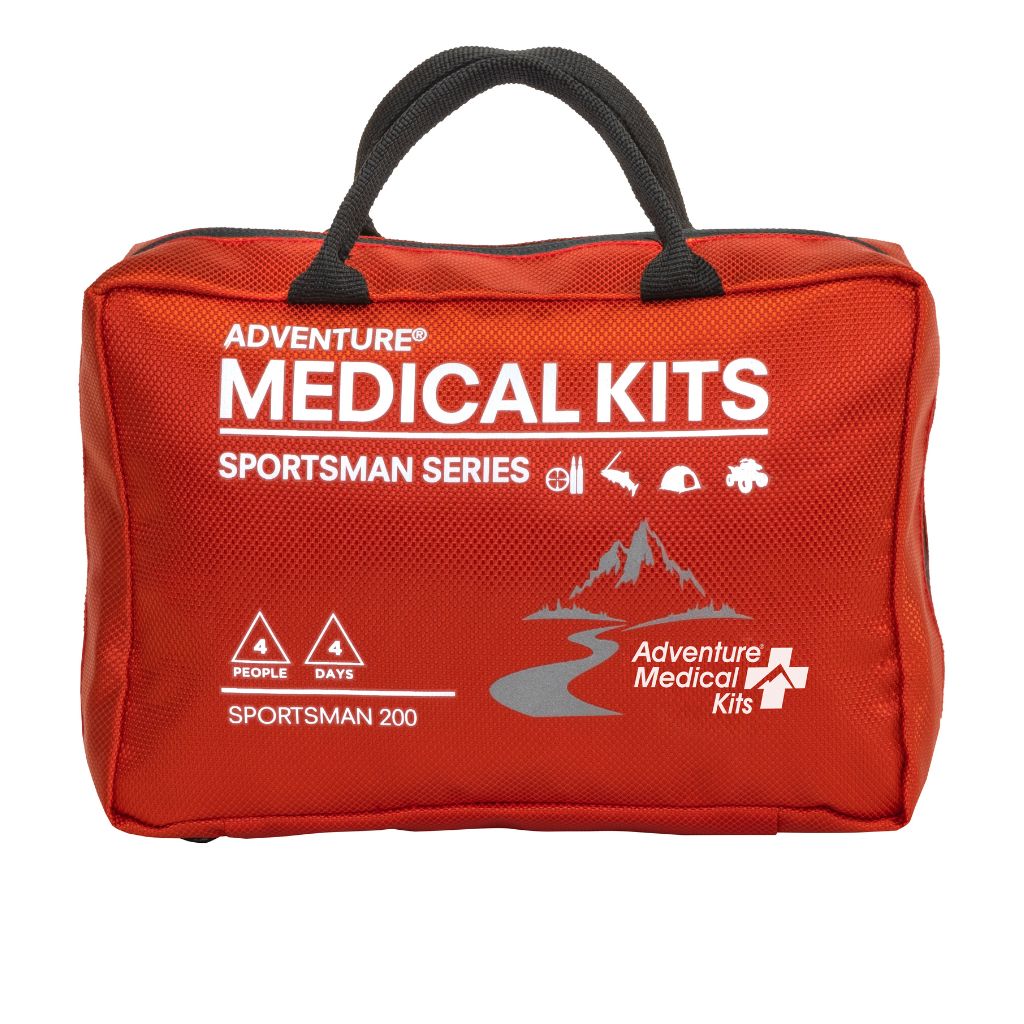
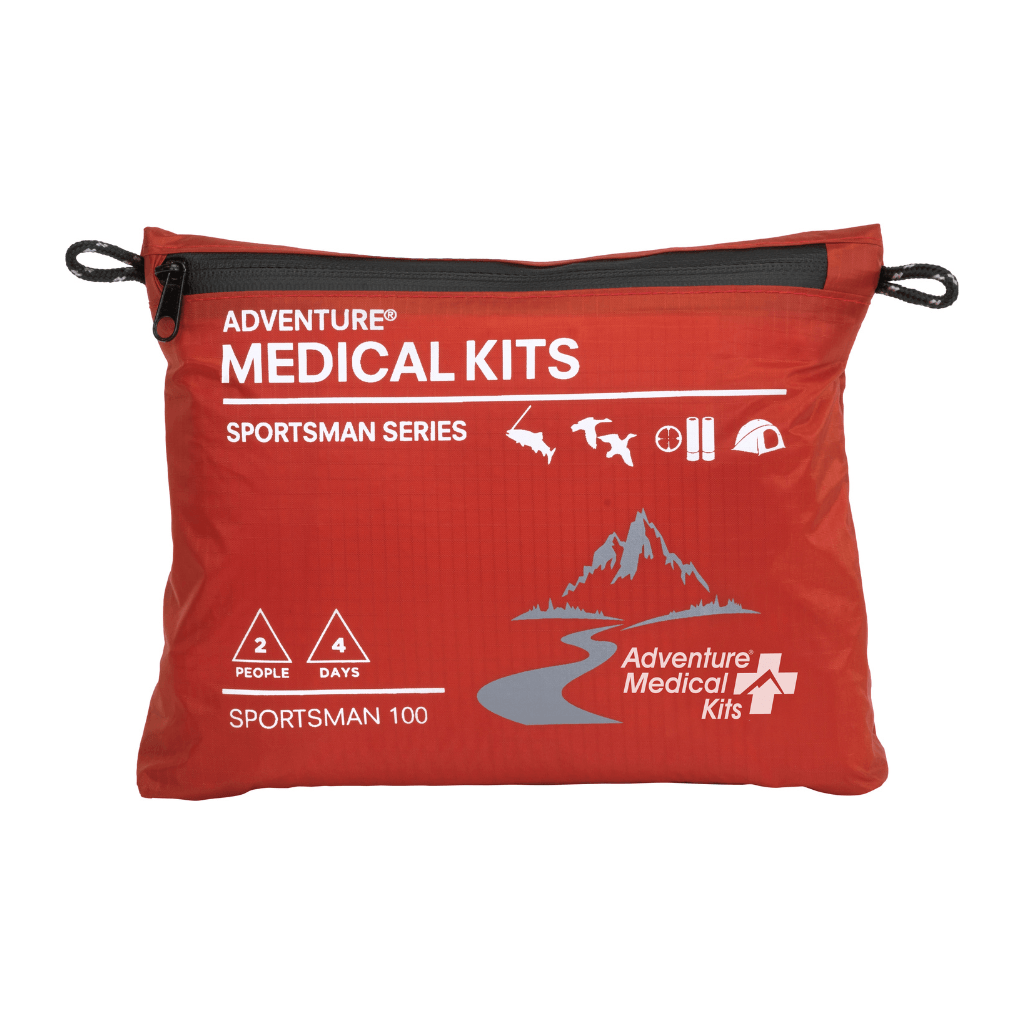
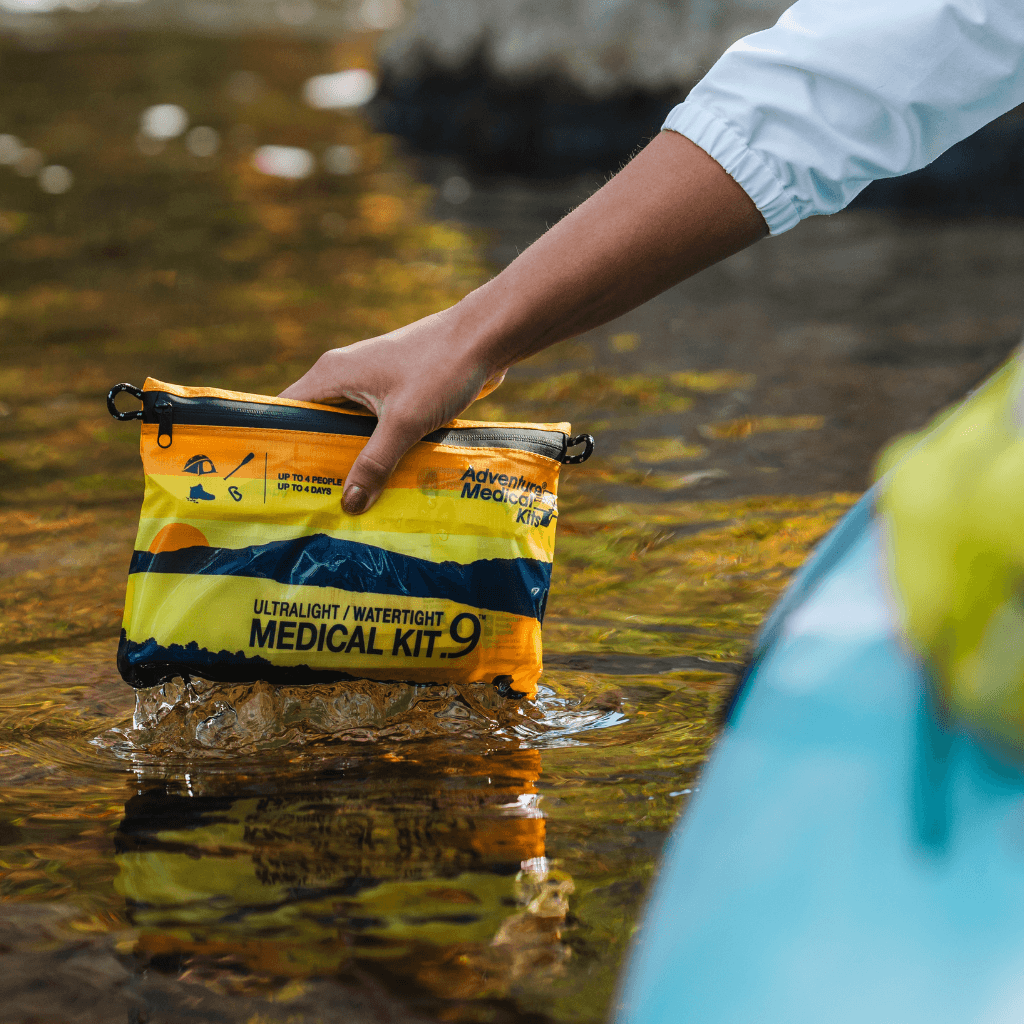
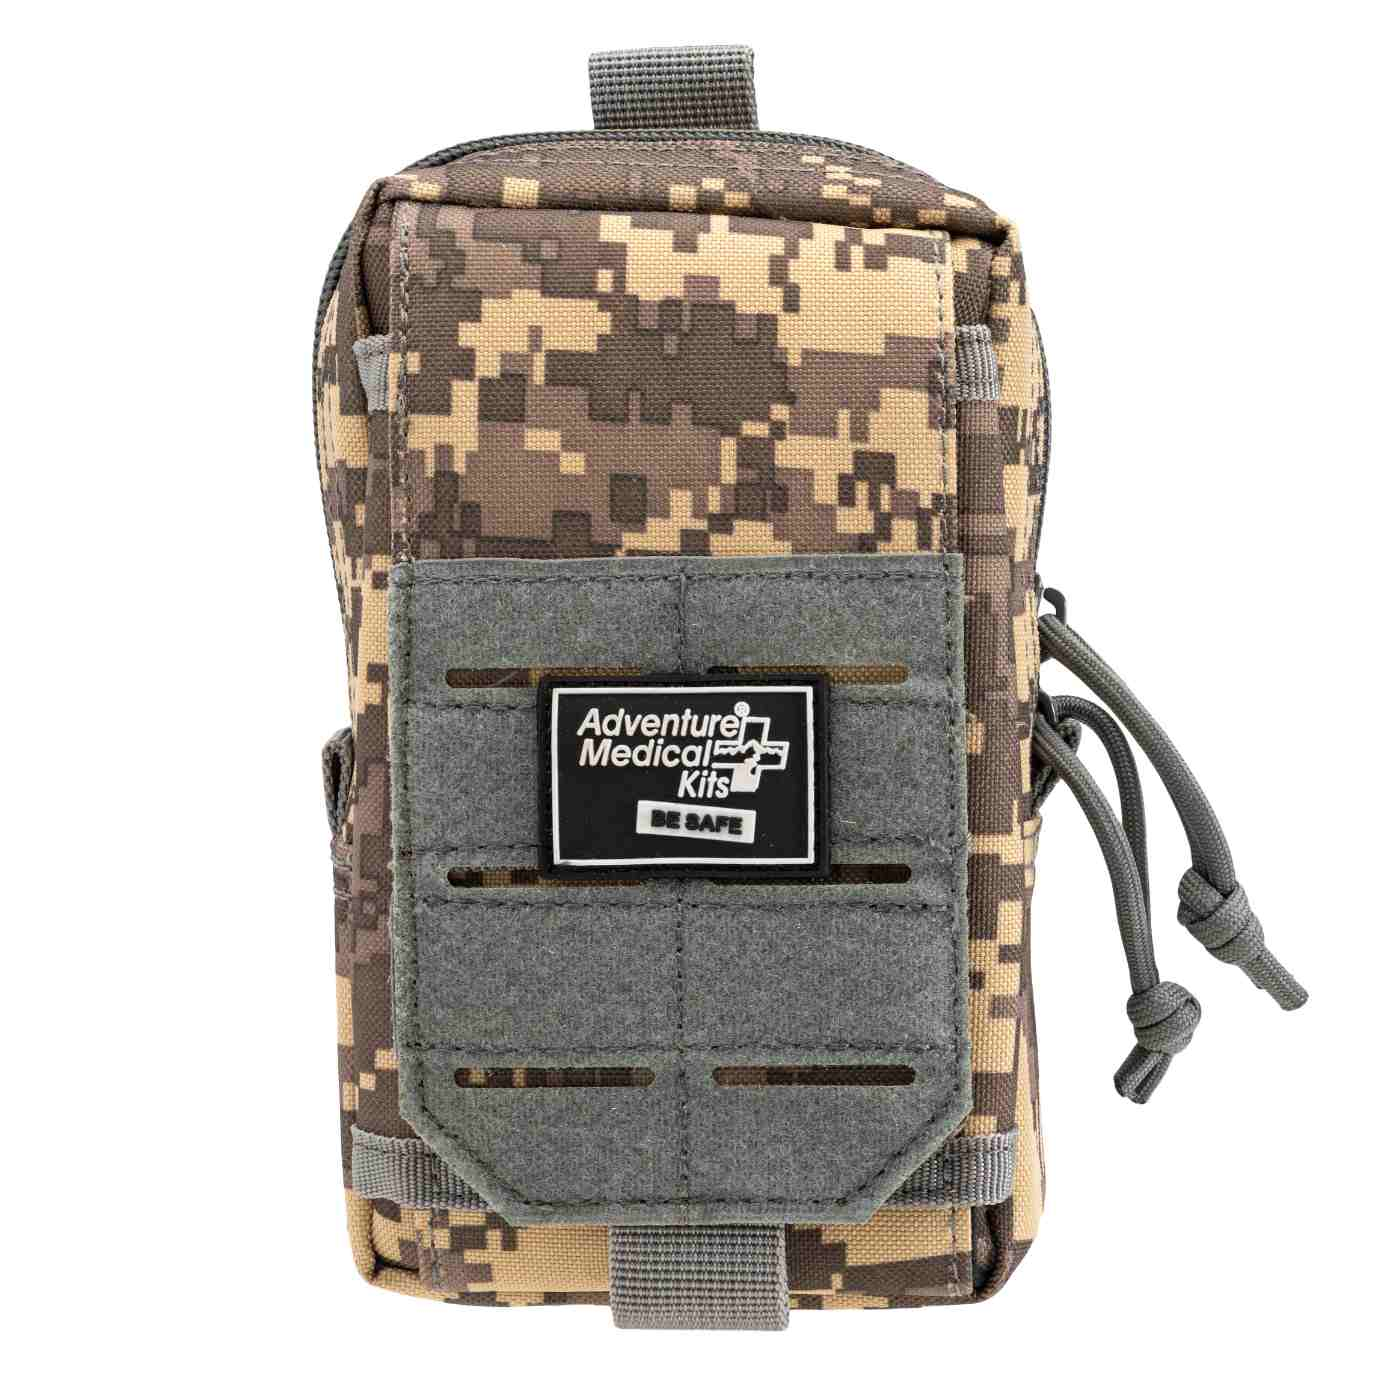
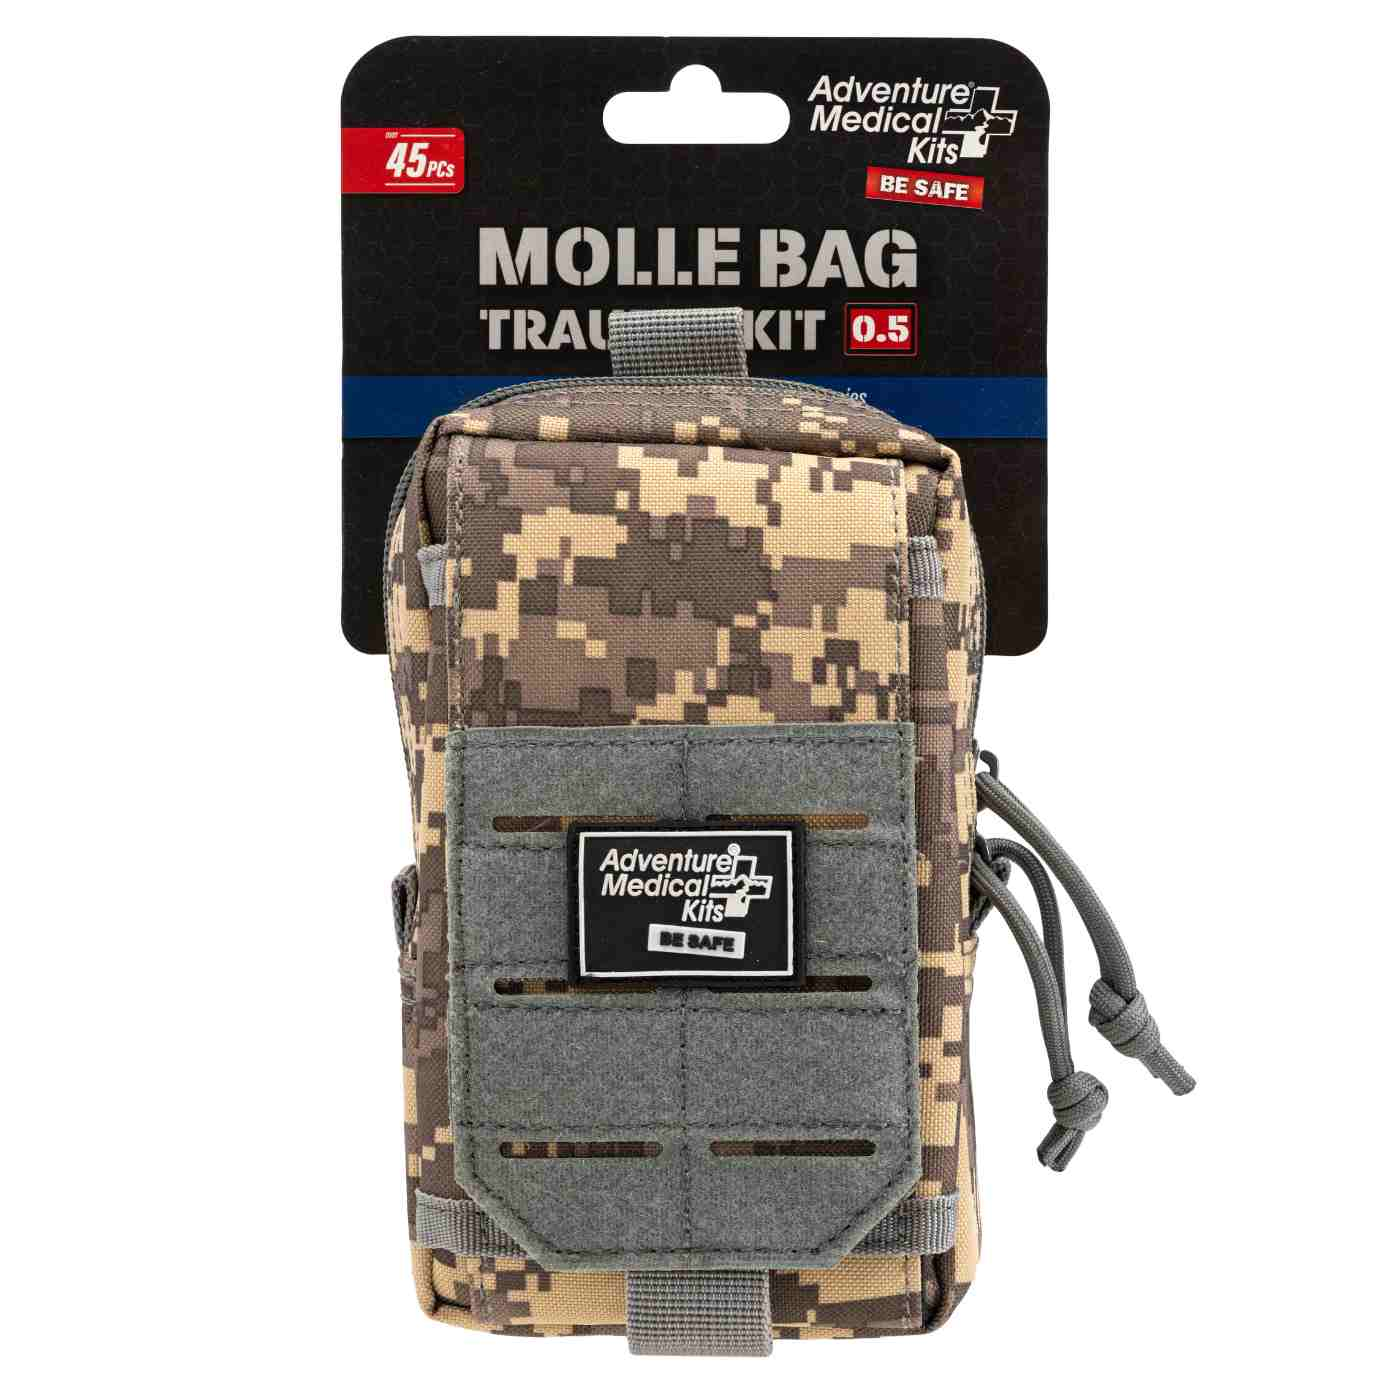
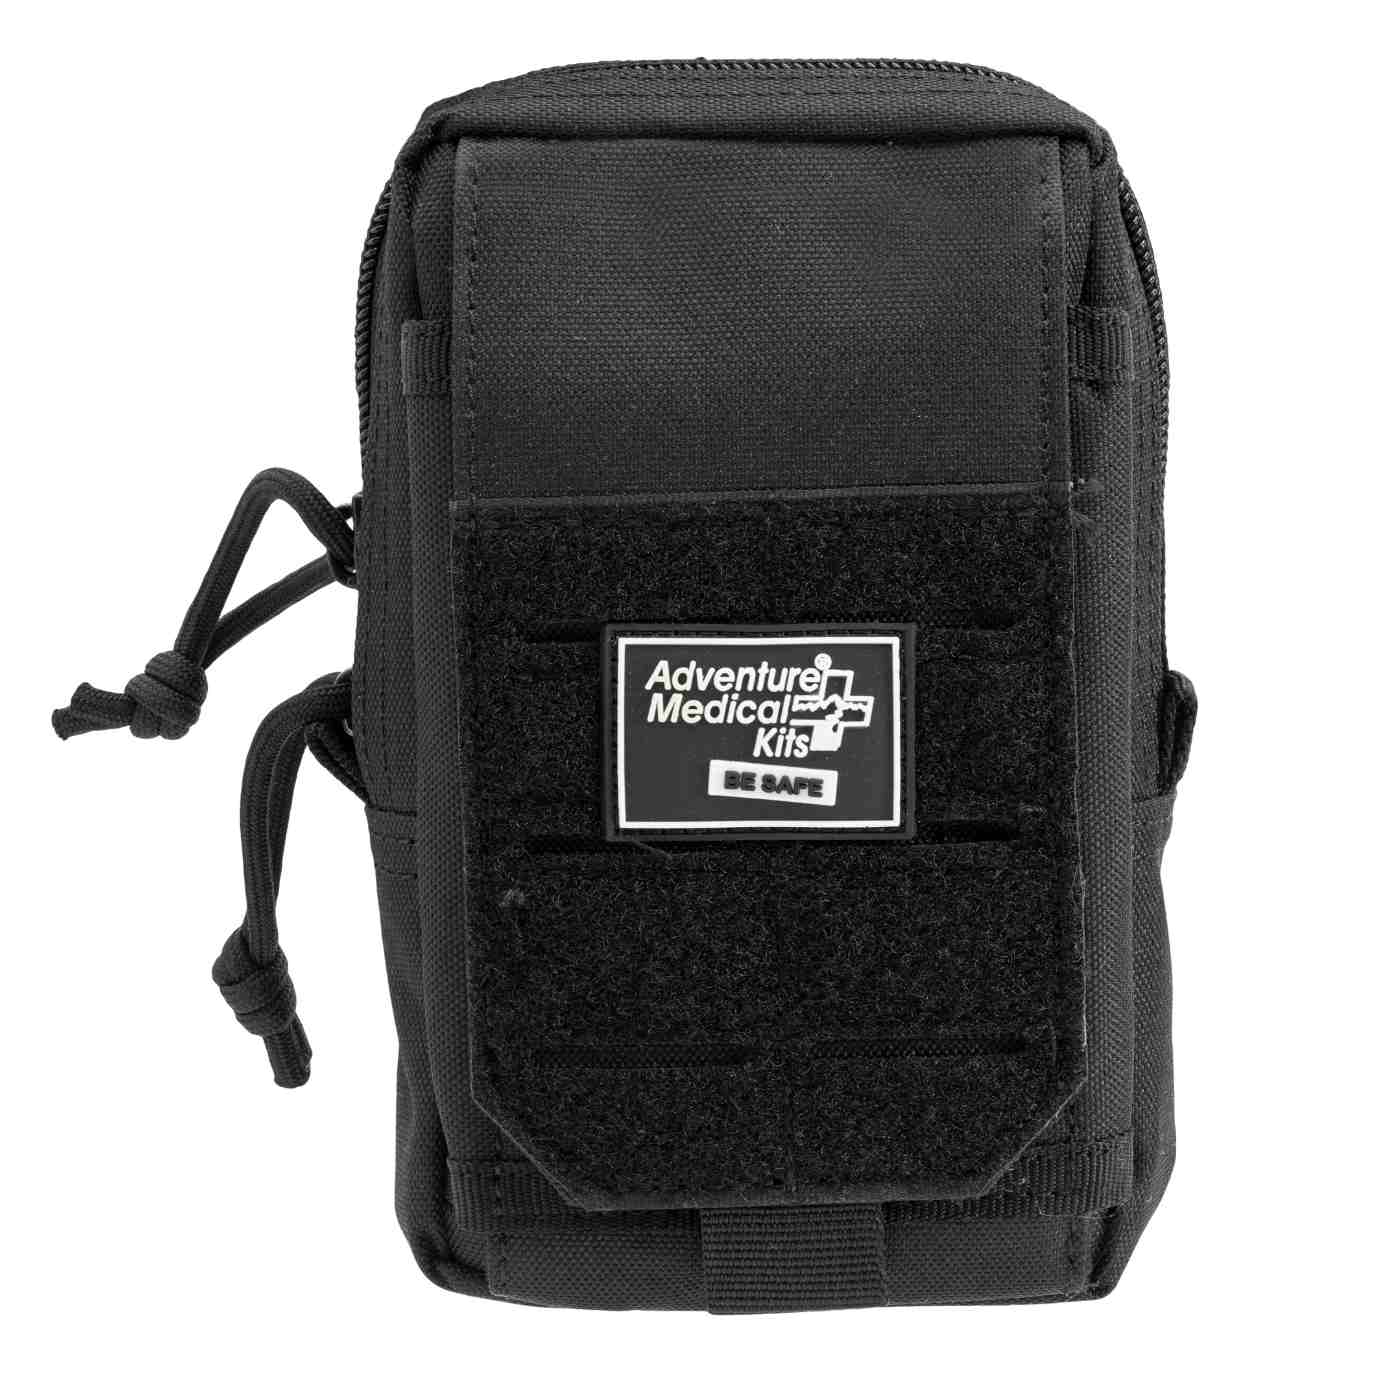
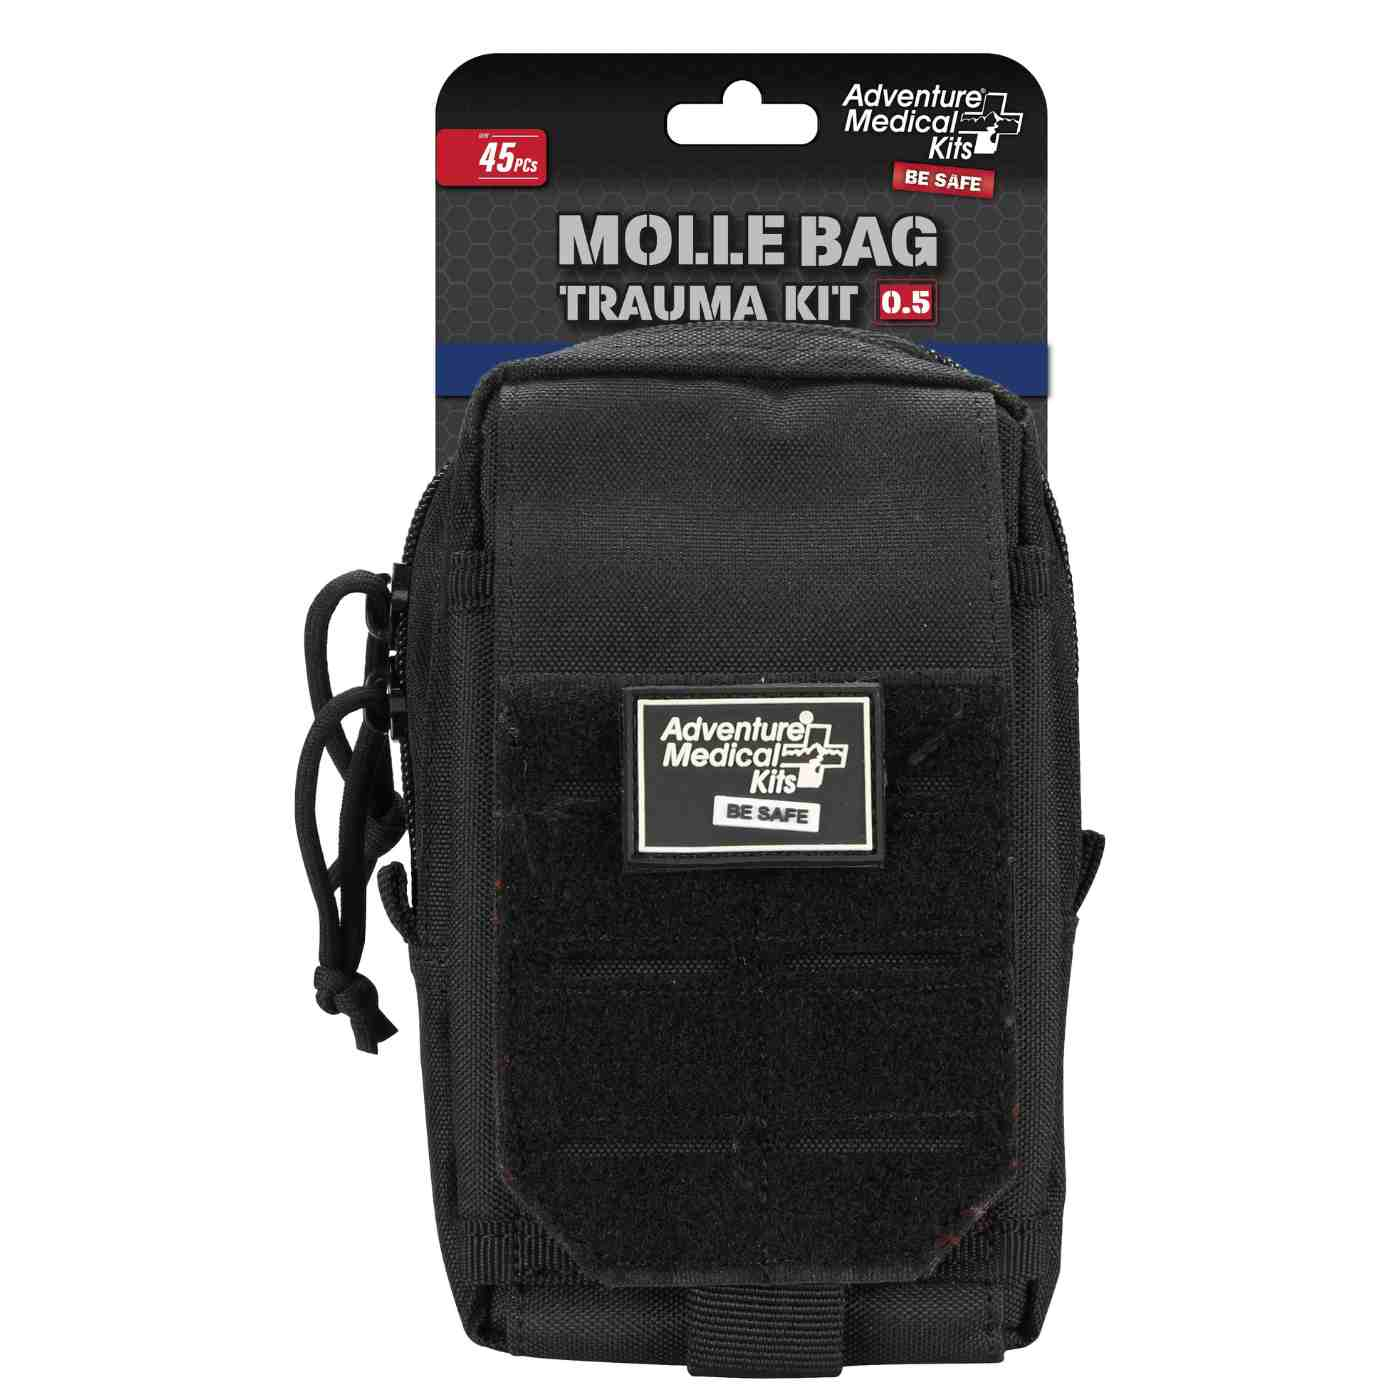
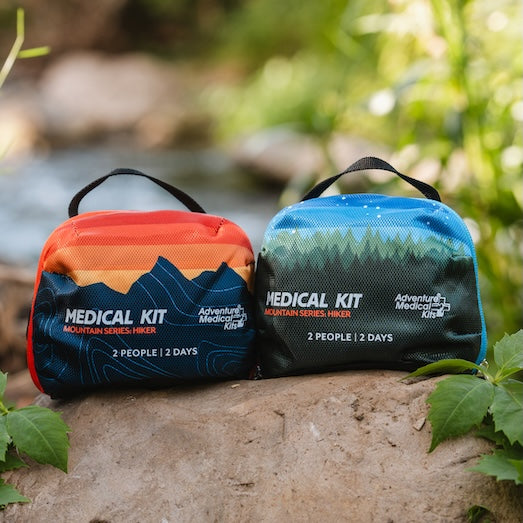
Adventure Medical Kits offers organized, activity-specific medical kits that are lightweight, packable, and designed for outdoor use, with labelled access and medical instructions included in most kits. Visit Adventure Medical Kits to choose a medical layer that complements emergency glow sticks, headlamps, and a practical outdoor safety plan.