
Pocket masks and face shields are the two main cpr barrier devices, and major guidelines treat them as optional protective aids that should never delay chest compressions. A pocket mask generally delivers more effective breaths than a face shield, while either device can reduce direct contact during rescue breathing.
A pack strap cuts into a shoulder as a hiking group moves along a remote ridge. Then one hiker drops, and the group's priorities change instantly: check responsiveness, call for help, begin CPR, and locate the nearest AED if one can be brought in. Someone may also ask whether rescue breaths should be given without direct mouth-to-mouth contact.
That hesitation is understandable. A barrier device can make rescue breathing feel more manageable, but it can't replace rapid recognition, emergency communication, chest compressions, or training. For outdoor travelers, the practical question isn't whether a small piece of plastic guarantees safety. It's whether the device is accessible, suitable for the situation, and simple enough to use without interrupting the first critical actions.
Table of Contents
- The Moment You Realize You Need a Barrier Device
- Understanding What CPR Barrier Devices Are
- Pocket Masks vs Face Shields for Outdoor Use
- Key Features That Matter in the Field
- How to Use a CPR Barrier Device Correctly
- Choosing the Right Barrier Device for Your Adventure Kit
- Maintaining and Storing Barrier Devices for the Trail
The Moment You Realize You Need a Barrier Device
A collapsed hiker creates a problem that no trail map solves. The group may have gloves, gauze, an emergency blanket, and a phone with limited signal, yet still lack confidence about placing their mouth over a stranger's. A compact CPR barrier device addresses that specific hesitation by creating a physical layer between rescuer and victim during rescue breathing.
What matters before the gear comes out
The first response still comes before the device. A rescuer should assess responsiveness, summon emergency help, and start chest compressions when indicated. The American Heart Association's Adult Basic Life Support guidance describes barrier devices as aids for rescue breathing, not prerequisites for starting CPR.
That distinction matters in the backcountry. A barrier device buried under clothing or sealed inside a pack may take too long to reach. Chest compressions shouldn't wait while a rescuer searches for a mask, unfolds a shield, or tries to understand unfamiliar packaging.
Practical rule: Carry protection where the rescuer can reach it quickly, but never let the search for it delay compressions or the call for emergency help.
A pocket mask suits a vehicle kit, guide pack, or larger medical bag where space and organization permit. A flat face shield can fit in a small personal kit and may be easier to keep immediately available. Neither one changes the need for a clear emergency plan.
Is carrying one worthwhile?
For hikers, paddlers, hunters, and guides who are willing to provide rescue breaths, a barrier device is a sensible addition to broader first-aid equipment. Its value rises when several people share responsibility for emergency response, when the group travels far from professional care, or when a workplace policy requires ventilation equipment.
It should still be viewed as one component in a layered setup. Gloves, communication equipment, an AED plan where available, training, and a well-organized first-aid kit all influence the quality of a response. The device helps remove one obstacle, but preparation determines whether anyone finds and uses it in time.
Understanding What CPR Barrier Devices Are
On a wet trail, a rescuer may have cold hands, limited space, and no clean surface for equipment. A CPR barrier device reduces direct contact during rescue breathing, but its design affects how quickly it can be positioned and how well it seals. The category includes flat face shields, pocket masks, and bag-valve-mask systems. They differ in pack size, handling, training demands, and ventilation performance.
The main types
Face shields are thin, flexible barriers that suit small personal kits. Many have a one-way valve or filter over the mouth opening. Their low profile helps with carrying, though the loose sheet can shift in wind or on uneven ground, making a seal over the mouth and nose harder to maintain.
Pocket masks have a shaped cup that covers both the victim's mouth and nose. A head strap can hold the mask while the rim supports a steadier seal, useful when the rescuer must work on rough ground. The American Heart Association recommends a mask with a one-way valve that directs exhaled gas away from the rescuer. Some models include an oxygen port for trained users.
Bag-valve-mask systems pair a face mask with a manually operated ventilation bag. They provide a different level of equipment and handling complexity, so they generally fit trained teams, clinical settings, or organized response programs better than a solo day hiker's kit.
The Red Cross places barrier devices within a wider infection-control approach that includes hand hygiene and personal protective equipment. A barrier reduces direct contact during ventilation, but it does not replace gloves, eye protection, or other controls required by the situation.
Why the guidelines call them optional
Resuscitation guidance has changed in emphasis. The American Heart Association's 2005 Adult Basic Life Support guidance described face shields and face masks, presenting a face shield as an alternative to mouth-to-mouth breathing. By 2010, the guidance stated that disease transmission through mouth-to-mouth ventilation is very low and that rescue breathing may begin with or without a barrier, as long as chest compressions are not delayed during setup. The historical AHA guidance explains why these devices support CPR without being a condition for starting it.
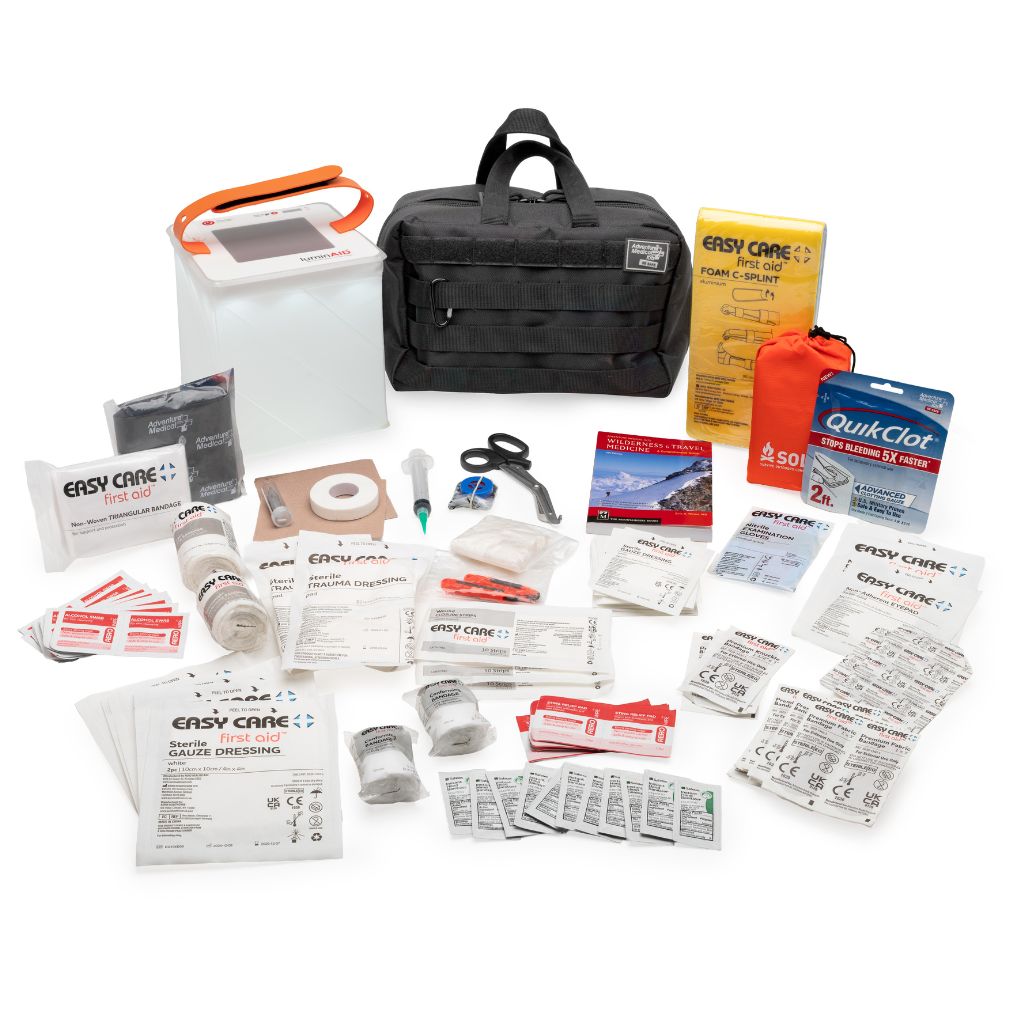
For a home or vehicle kit covering several first-aid needs, the Easy Care First Aid Kit lists a CPR breathing barrier, emergency blanket, burn treatment, common medications, and a Red Cross First Aid Guide. Its compact design measures 9.5” x 7” x 3”, making organization and quick access easier when space is limited.
Pocket Masks vs Face Shields for Outdoor Use
Outdoor conditions expose the differences between these devices quickly. Wind, rain, cold hands, uneven ground, facial hair, and a victim's position can all make a seal harder to create. The choice therefore affects both protection and the ability to deliver usable breaths.
Major resuscitation guidance states that mouth-to-pocket-mask ventilation delivers more effective breaths than mouth-to-face-shield ventilation for rescuers who are willing to provide breaths. The pocket mask's shaped body gives the rescuer a better chance of covering both the mouth and nose, maintaining a seal, and observing chest movement.
A practical comparison
| Feature | Pocket Mask | Face Shield |
|---|---|---|
| Ventilation | More effective breaths when the rescuer can maintain a good seal, according to AHA adult basic life support guidance | Less reliable seal can make breaths less effective |
| Packability | Compact, but takes more room than a flat shield | Very small and easy to carry in a personal kit |
| Fit | Shaped to cover the mouth and nose, often with a head strap | Flexible sheet that requires careful positioning and hand pressure |
| Exposure control | Commonly uses a one-way valve and may include a filter | May include a one-way valve or filter, depending on design |
| Field handling | Easier to use as a primary device when staged near gloves | Useful as an immediately available backup or everyday-carry option |
| Training demand | Requires practice with positioning, seal, and ventilation | Simple to deploy, but seal limitations require realistic expectations |
What works on a wet trail
A pocket mask is the stronger primary choice for a guide pack, vehicle kit, group medical bag, or basecamp. Its larger sealing surface and more stable shape make it more practical when the rescuer has decided to provide breaths and can spend a moment positioning the device correctly.
A face shield earns its place through accessibility. It can stay in a small daypack pocket or personal emergency pouch when a larger mask isn't practical. It may also serve as an interim option while another responder retrieves a pocket mask.
Neither device should become an excuse to postpone compressions. The European Resuscitation Council review found limited direct human evidence on the safety, effectiveness, and feasibility of barrier devices, while controlled laboratory studies showed reduced bacterial transmission. That evidence supports a risk-reduction role, not a promise of complete protection. The guideline evidence review also notes documented infection transmission case reports in which gloves or a rescue-breathing barrier were generally not used.
Key Features That Matter in the Field
A trail-ready barrier device should be judged by how it behaves under pressure, not by how small it looks in its packaging. The important details are the airflow path, the seal, the valve, the filter, and the condition of the packaging after being carried through heat, moisture, and abrasion.
One-way airflow
A one-way valve should allow air to move from rescuer to victim while directing exhaled gas away from the rescuer. It also helps reduce the chance that fluids travel backward through the breathing path. The valve needs to be securely attached and clearly integrated into the mask or shield, not loose inside the package.
A proper seal matters just as much. FDA-cleared device summaries describe CPR masks as physical barriers that eliminate direct lip-to-lip contact while supporting an airtight seal over the mouth and nose. Common design elements include an oxygen port, one-way valve, disposable filter, and elastic head strap.
Filtration without excessive resistance
Filters create a trade-off. More resistance can make ventilation harder, especially during a stressful rescue sequence, while insufficient filtration may provide less protection. Independent testing reported by Laerdal found 1.8% penetration at 0.6 µm NaCl unloaded for a Technostat T-150(+) filter and 99.99% filtration for aerosol particles larger than 2.7 µm in viral and bacterial filtration efficiency tests. The manufacturer's technical product information provides those figures and illustrates why airflow resistance and filtration should be assessed together.
Those results describe a tested filter, not every product on the market. Buyers should look for clearly stated valve and filter specifications rather than assuming that a transparent sheet offers the same performance as a shaped mask with a tested filter.
Field-friendly construction
A good outdoor device should have a clear breathing window, a durable body, and packaging that remains sealed until use. The mask shouldn't crack when compressed in a pack, and the valve shouldn't detach when the device is unfolded with cold or wet hands.
The broader infection-prevention supplies guide can help place a barrier device within a wider kit rather than treating it as a standalone solution. In practice, the best design is the one that combines a dependable seal, controlled airflow, compact storage, and quick identification.
How to Use a CPR Barrier Device Correctly
A barrier device works only when it covers the right area and maintains an effective seal. The rescuer should follow dispatcher instructions and current CPR training, while keeping the sequence simple enough to perform on uneven ground.
- Position the victim and device. Place the victim on the back on a firm surface when possible. Center the mask over the mouth and nose, or position the shield so its valve sits over the mouth.
- Create the seal. Press the mask edges firmly against the face. With a pocket mask, use the hands to maintain the seal while keeping the airway open. A face shield needs careful placement because its flexible edges can shift.
- Open the airway. Use the head-tilt and chin-lift technique when appropriate, unless the situation calls for a different response under current training or dispatcher guidance.
- Give breaths if prepared to do so. Seal over the valve and deliver breaths while watching for visible chest movement. If the chest doesn't rise, reassess the seal and airway rather than repeatedly forcing air.
- Continue CPR. Alternate compressions and breaths according to current training and the emergency dispatcher's instructions. If the barrier is difficult to deploy, return attention to compressions rather than losing time.
A short practice session can reveal problems that aren't obvious in a packet. Rescuers can learn whether the mask fits their hands, whether the valve is easy to identify, and whether the device remains accessible in the pack. Divers and other outdoor professionals who want more structured emergency training can explore how to become a PADI rescue diver through a course focused on recognizing and managing emergencies.
This hands-only CPR guidance for hikers is also useful for understanding why compressions must remain the priority when a rescuer isn't trained or doesn't have a barrier immediately available.
Choosing the Right Barrier Device for Your Adventure Kit
The right choice depends on the role of the kit. A solo day hiker has different constraints from a river guide, a hunting party, or an outdoor program responsible for a group. Size matters, but access, seal quality, and familiarity matter more than shaving a small amount of bulk.
Match the device to the kit
A face shield makes sense for a minimal personal kit where immediate access is the main objective. A pocket mask is more suitable for a group kit, vehicle, basecamp, or professional pack where the rescuer can carry a little more equipment in exchange for better ventilation potential.
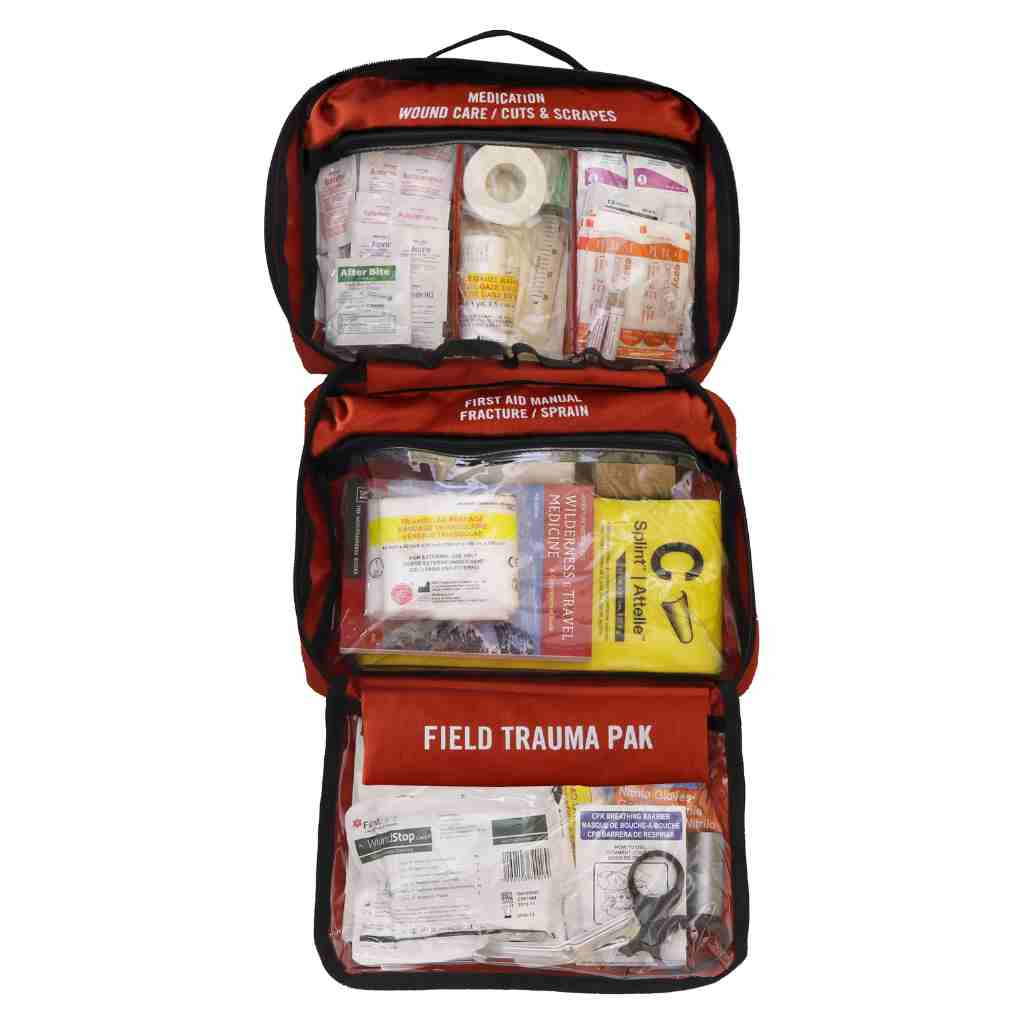
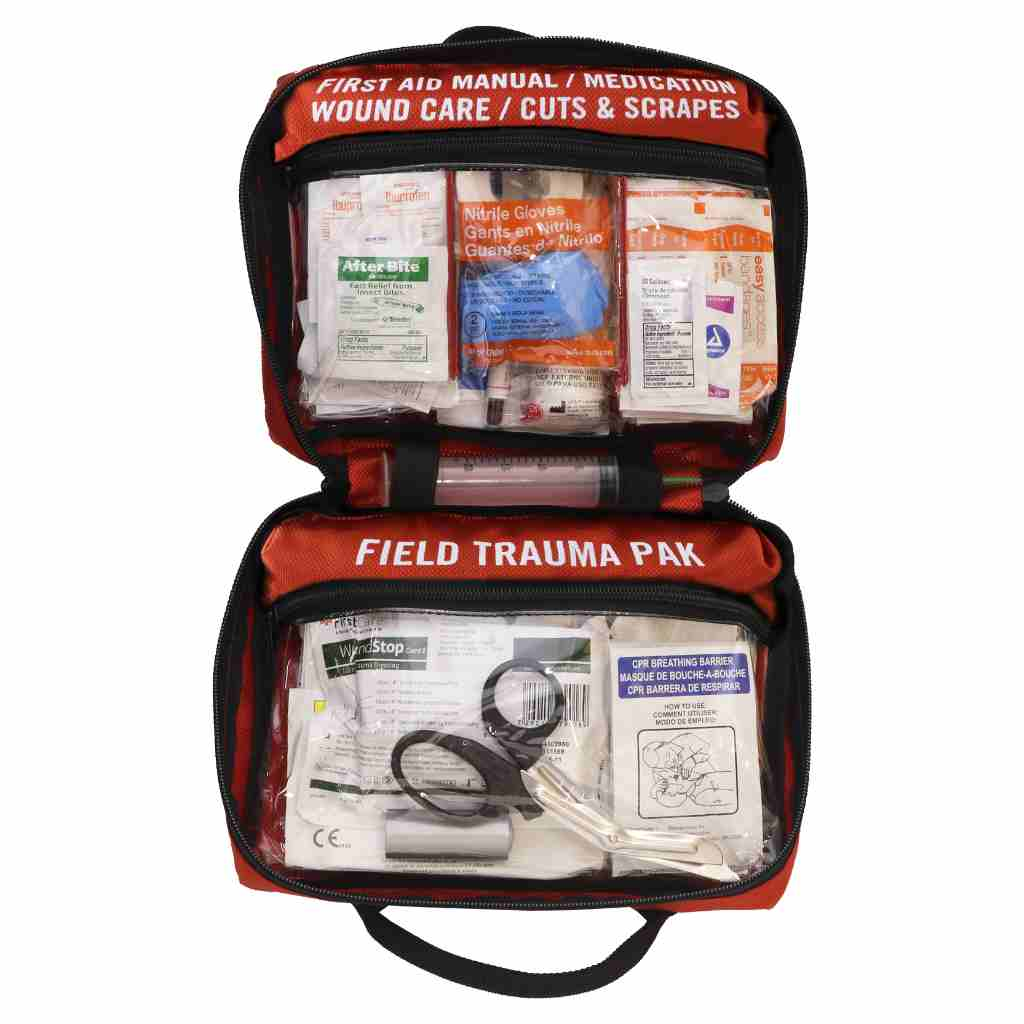
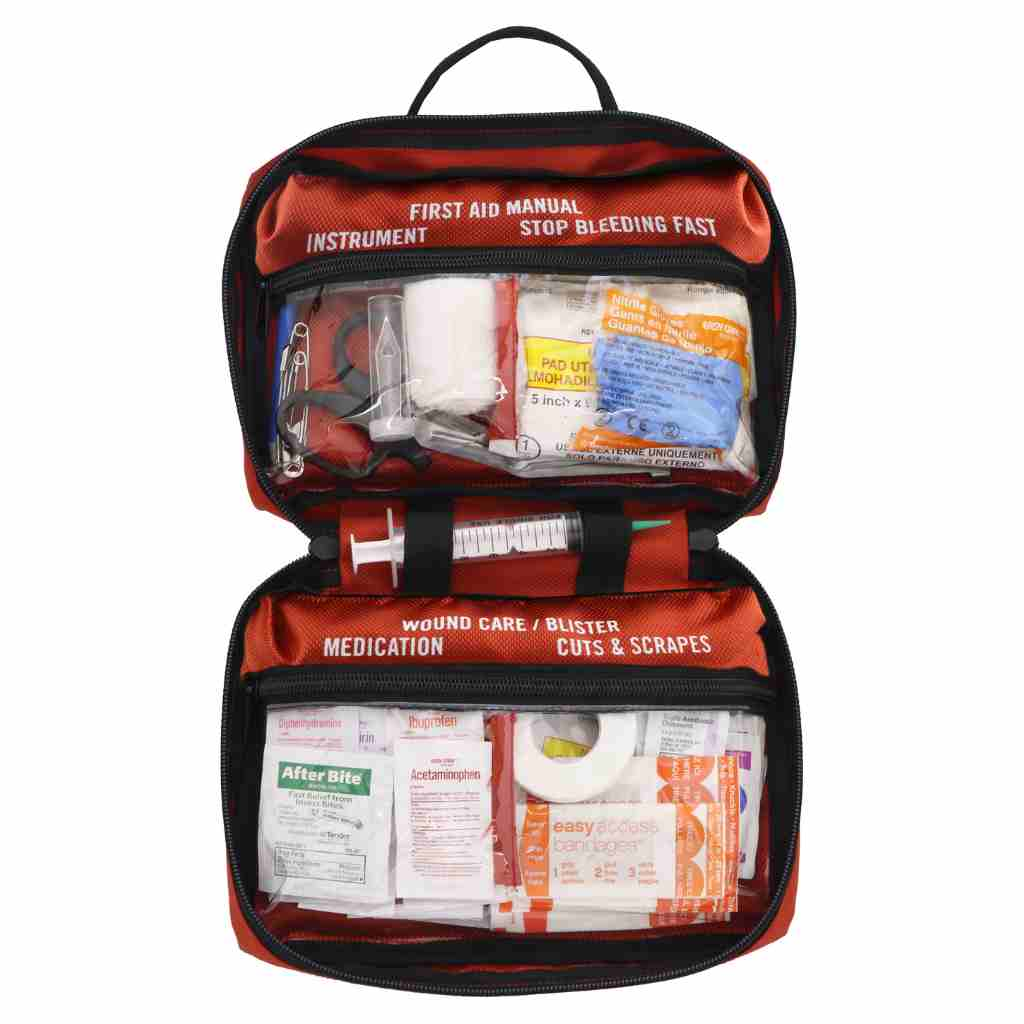
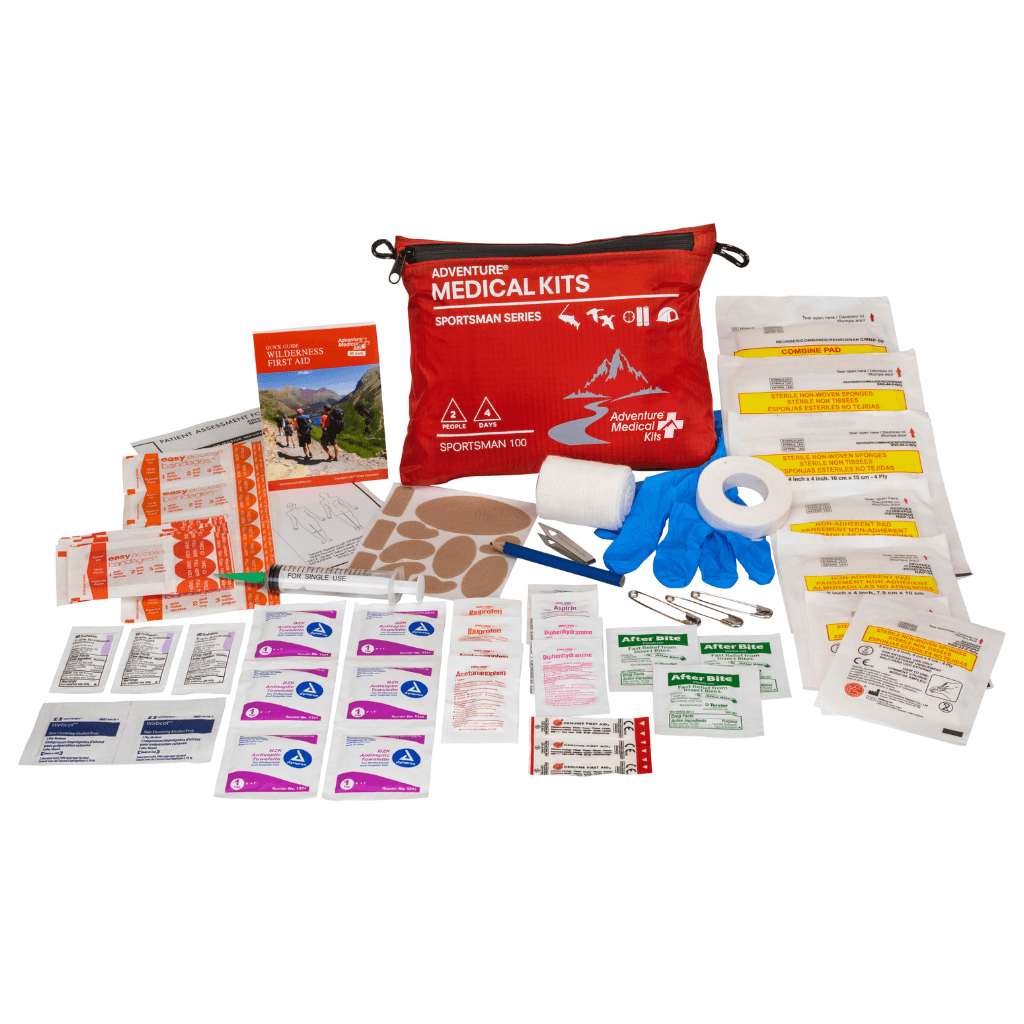
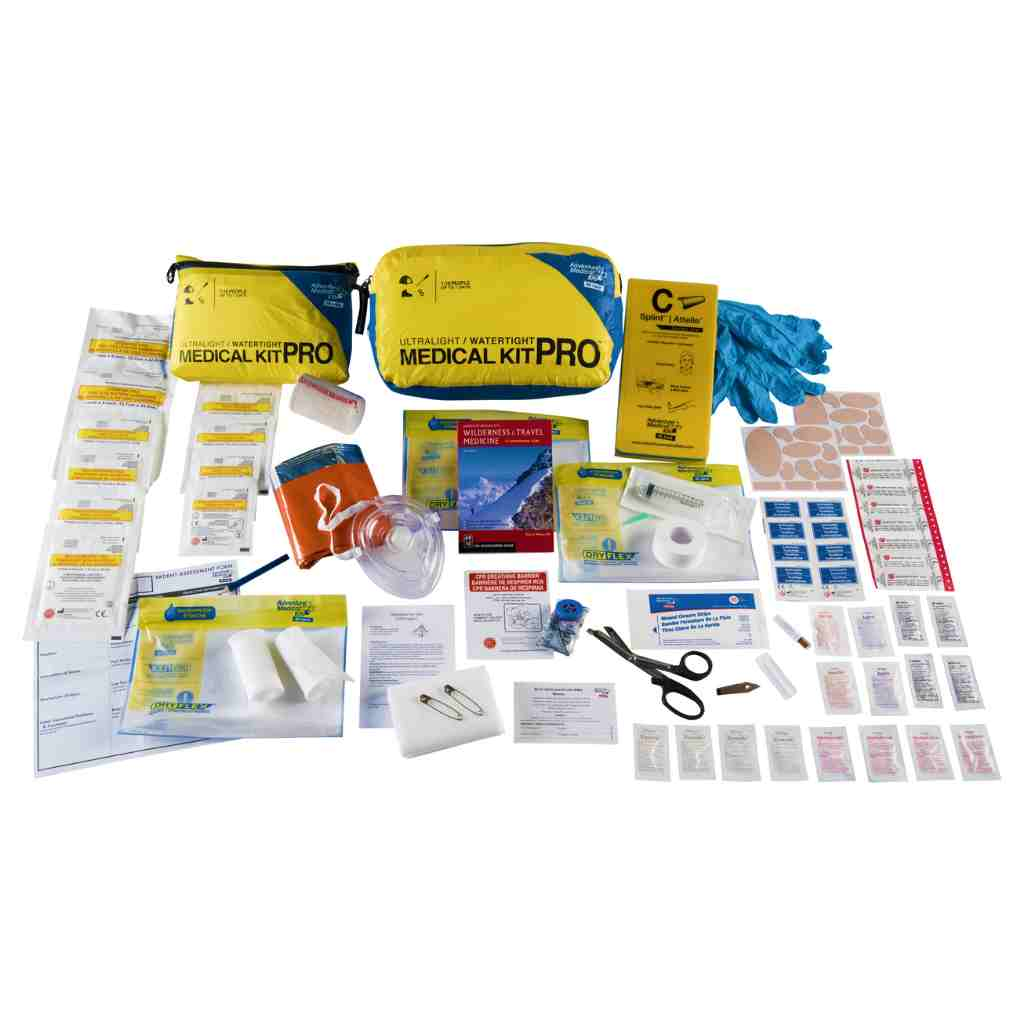
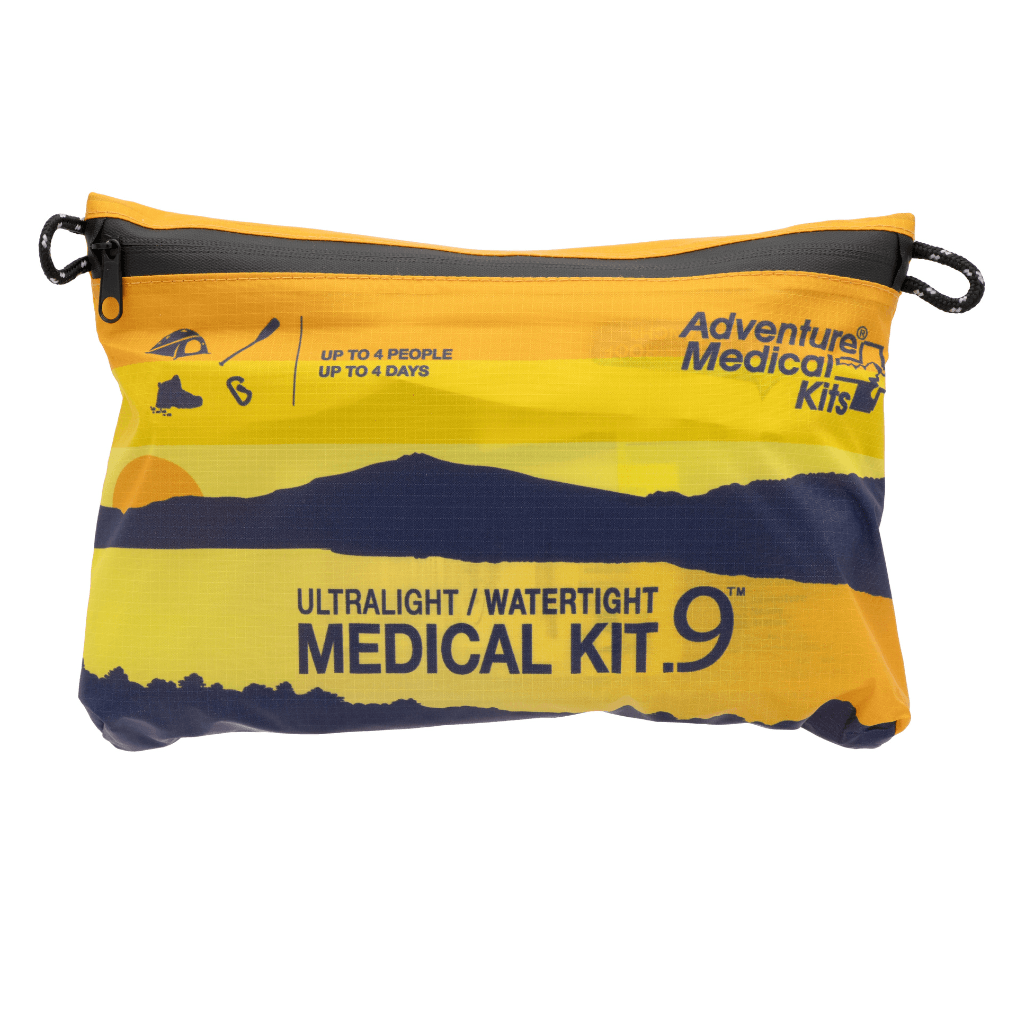
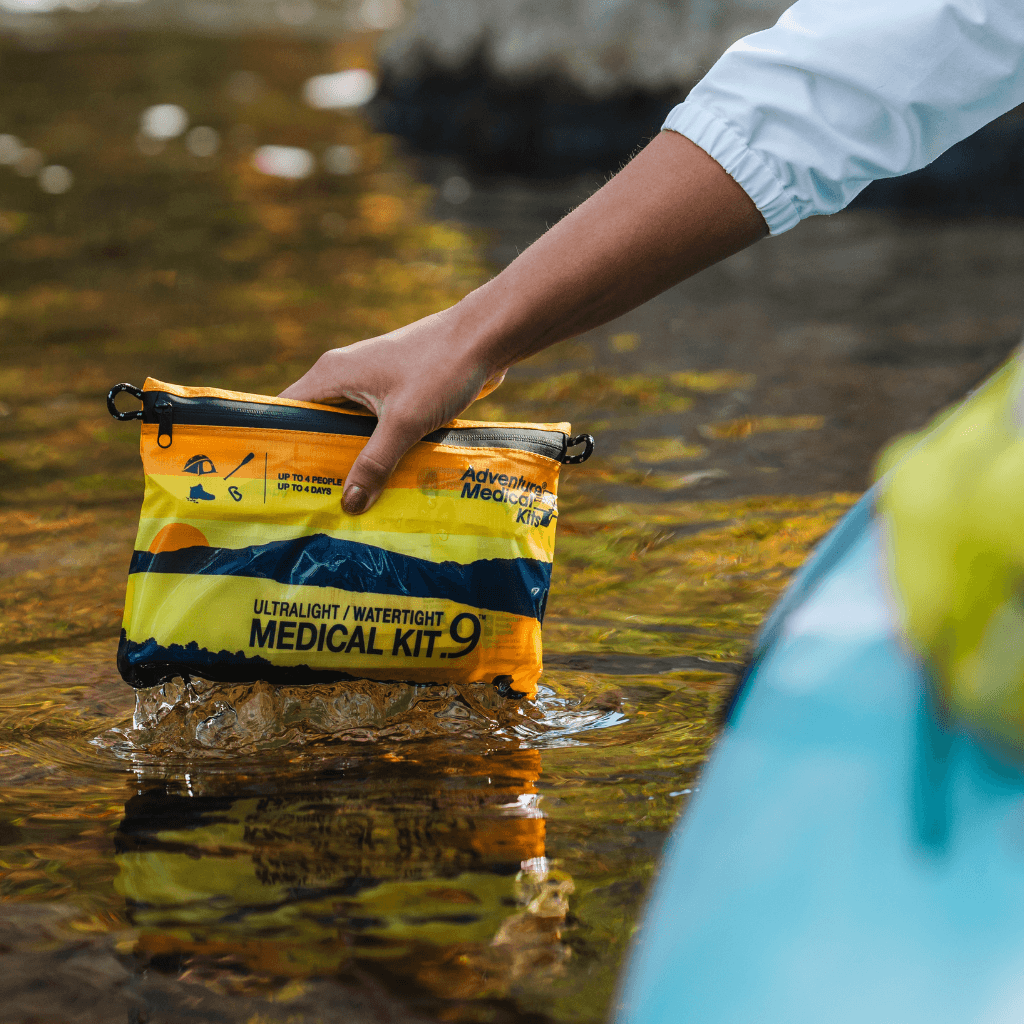
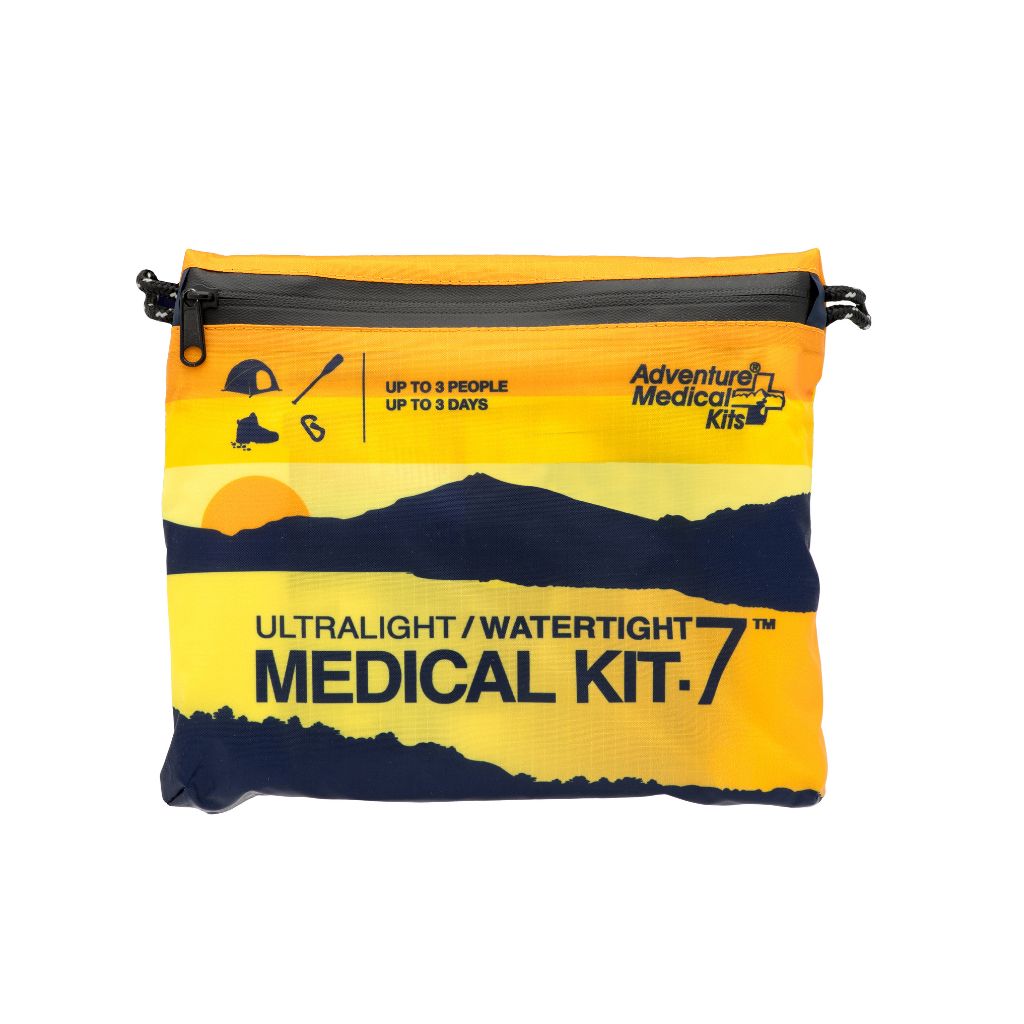
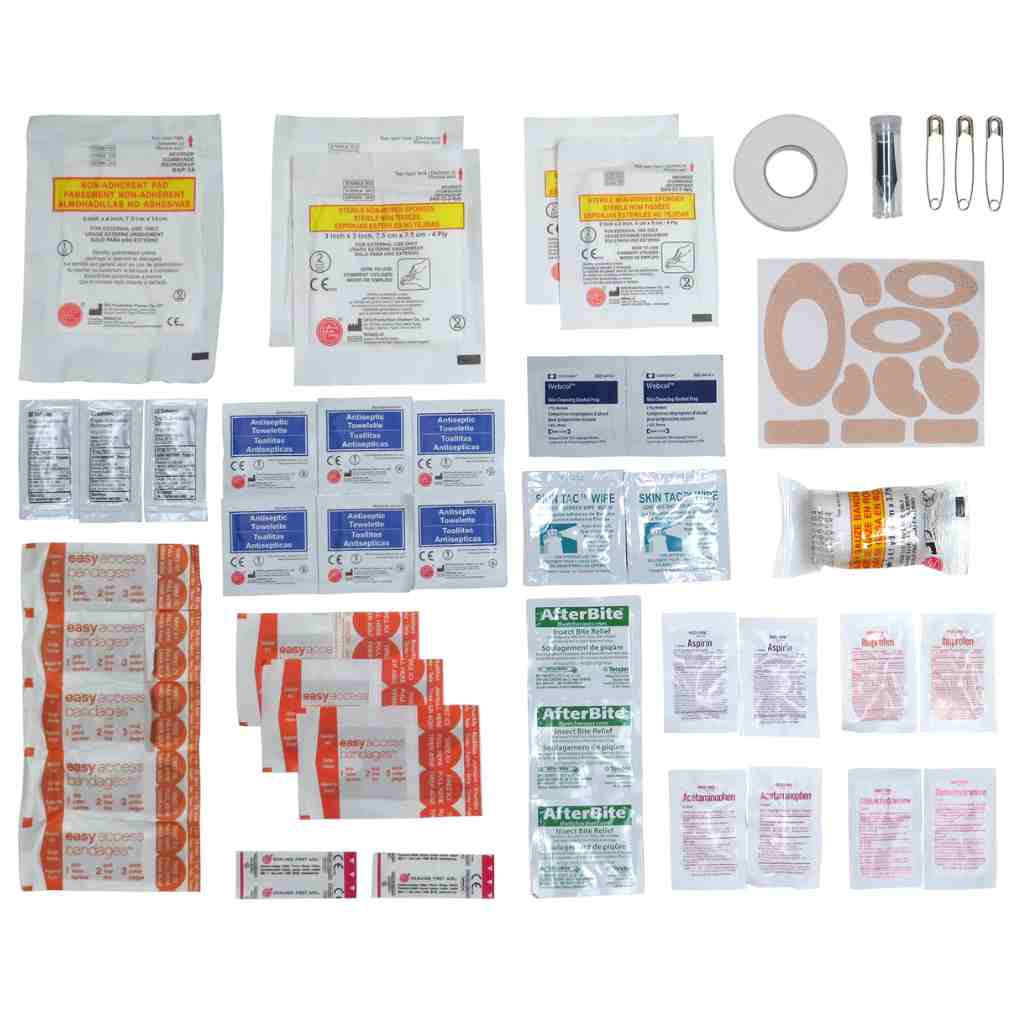
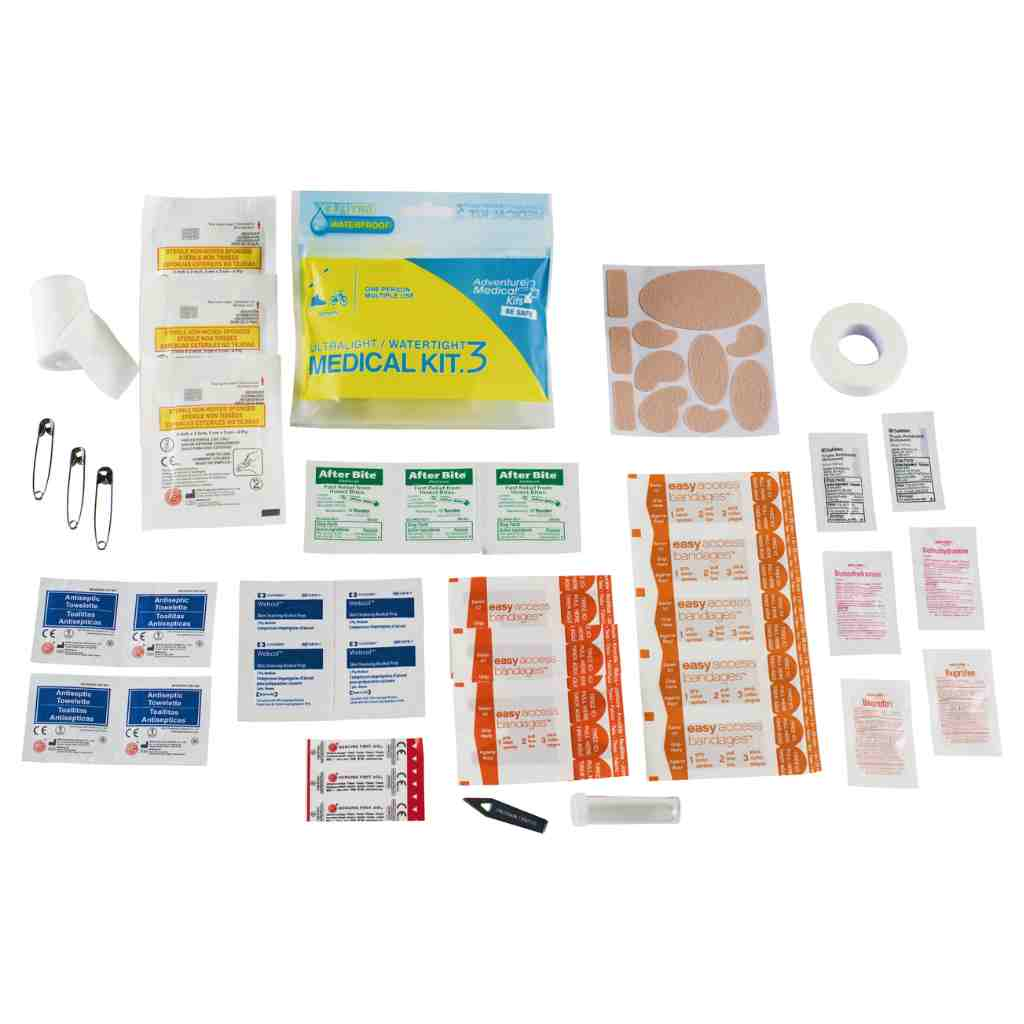
Organized storage is a practical safety feature. A labeled compartment lets a responder find the barrier without emptying the entire pack, while a waterproof bag helps protect sterile or packaged supplies from rain and river spray. A visible supply list can also help the group identify what the kit contains before an emergency occurs.
The best hiking first-aid kit guidance can support a broader decision about activity, group size, remoteness, and the supplies that should sit alongside a barrier device.
Build around the responder
Training should influence procurement. A device that looks advanced but hasn't been opened or practiced with may slow a response. Rescuers should know where the valve sits, how the mask seals, and how to retrieve the device while wearing gloves.
A barrier device earns its place in a pack when the responder can find it, recognize it, and use it without a long pause.
For teams, guides, and employers, the decision may also involve policy. Independent guidance notes that employers with reasonably anticipated exposure during resuscitation duties may need ventilation devices such as pocket masks under OSHA's Bloodborne Pathogens Standard. That makes the device part of workplace planning, inspection, and procurement rather than a personal preference.
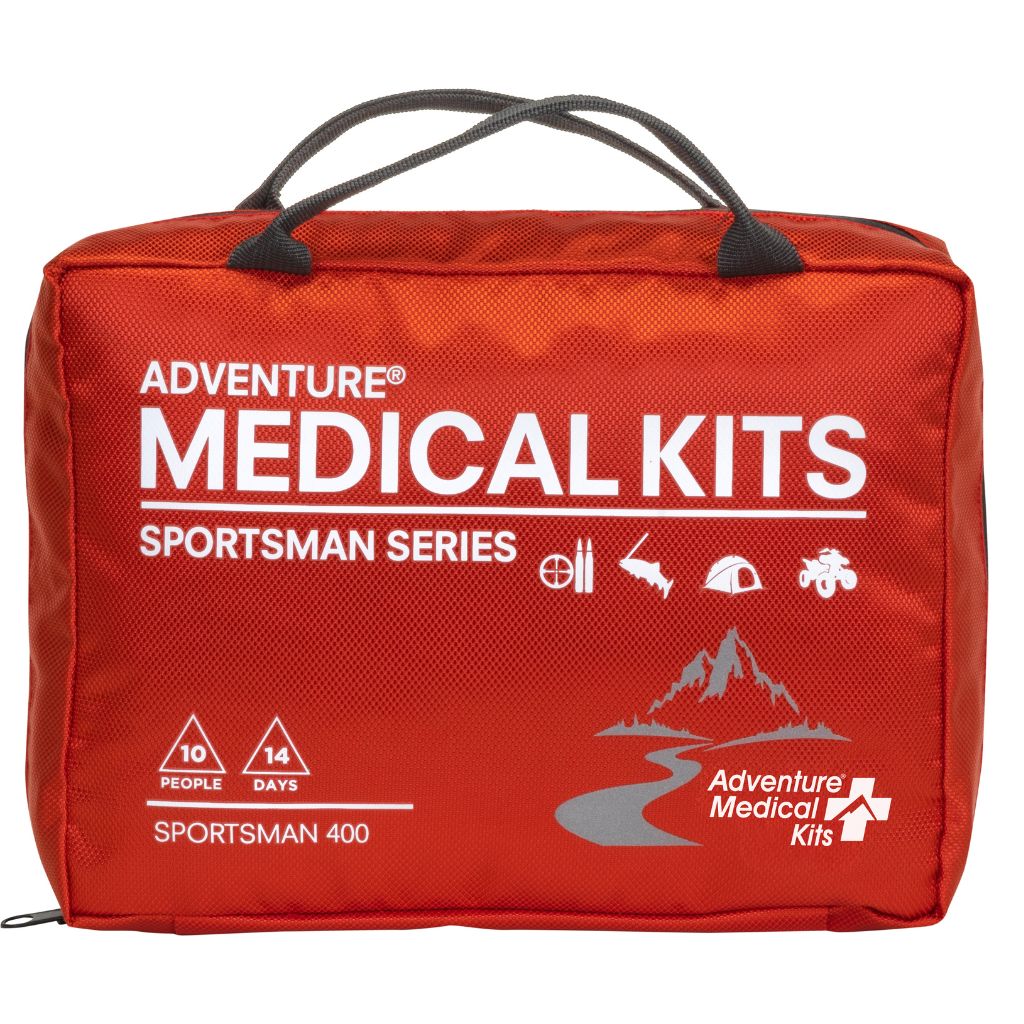
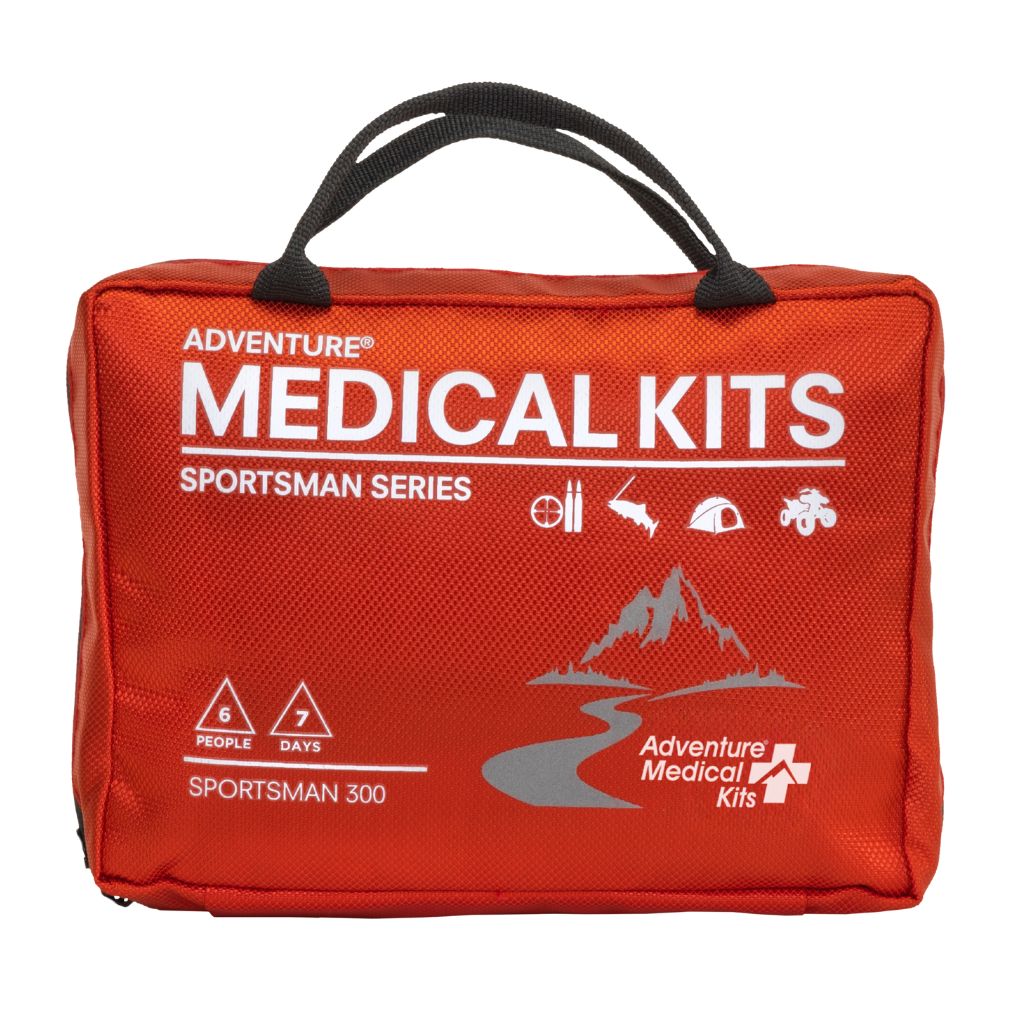
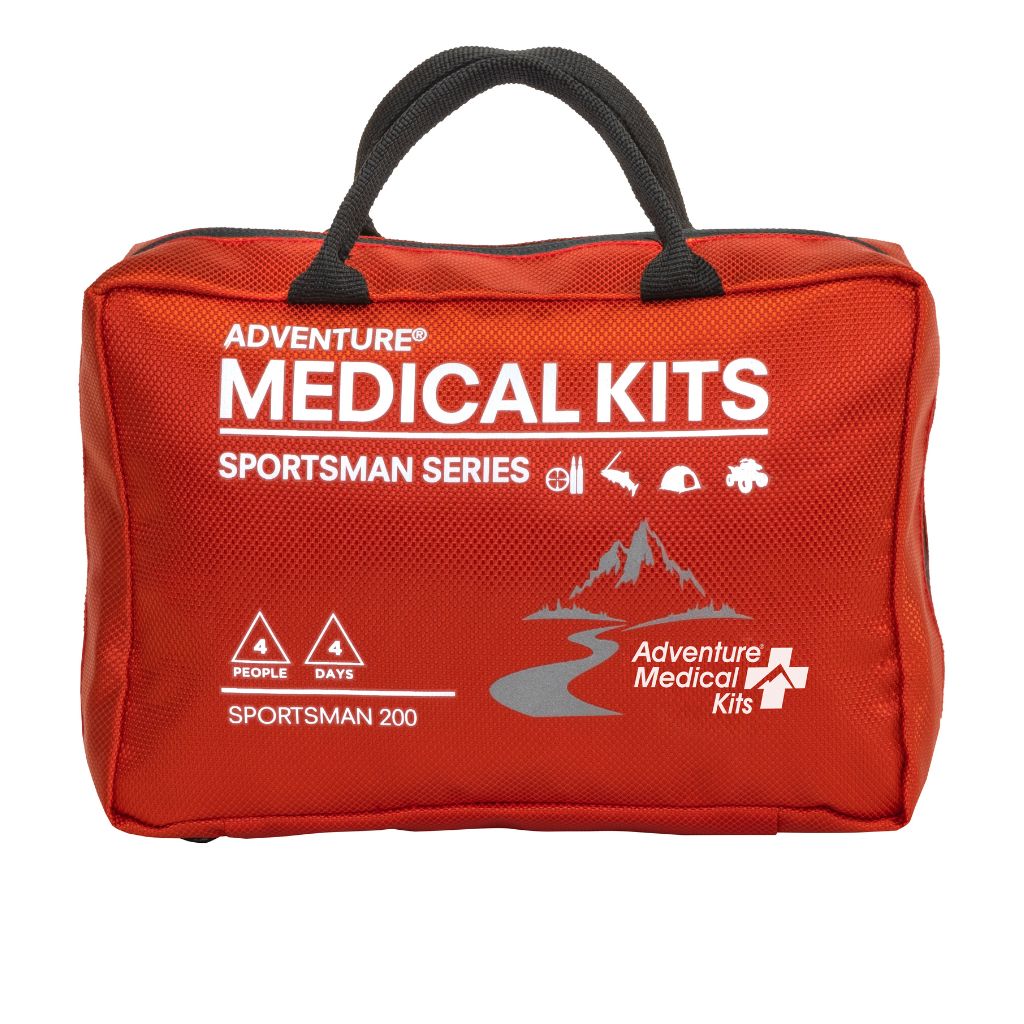
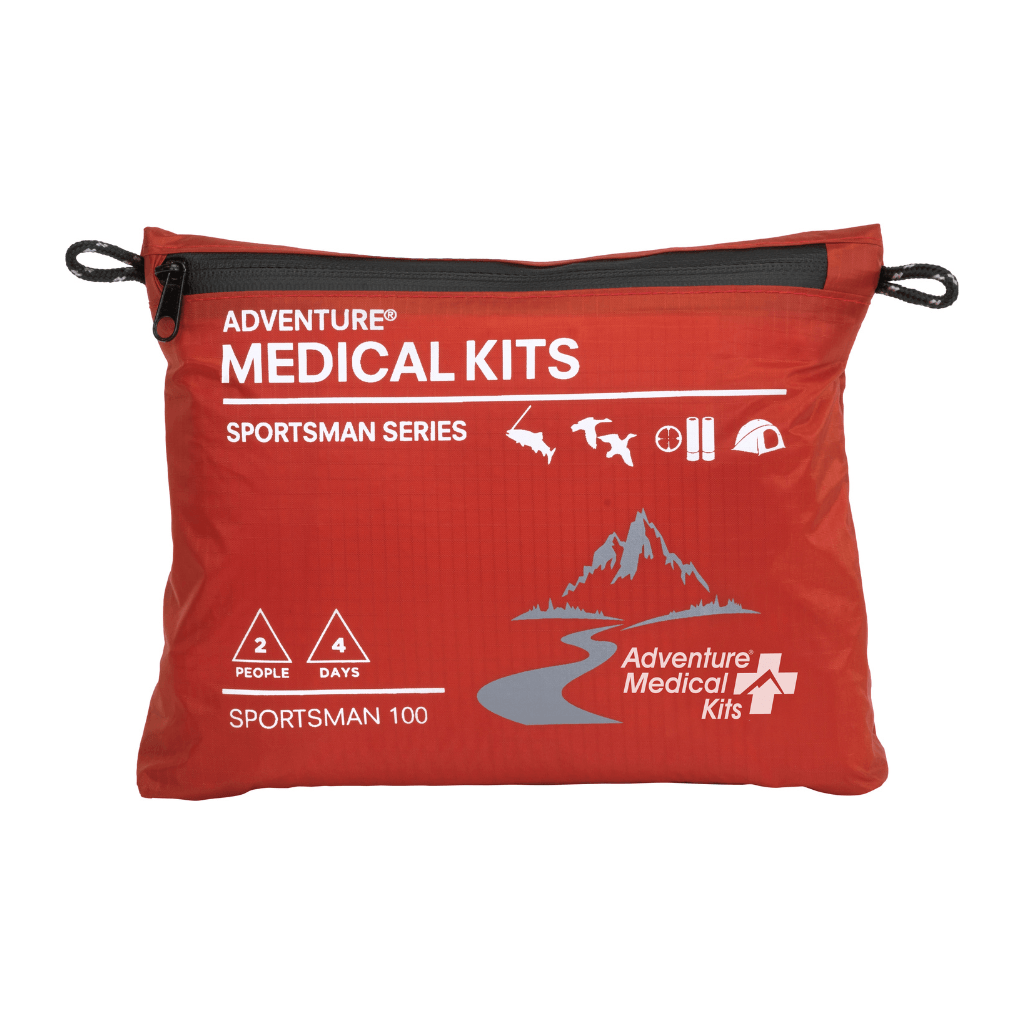
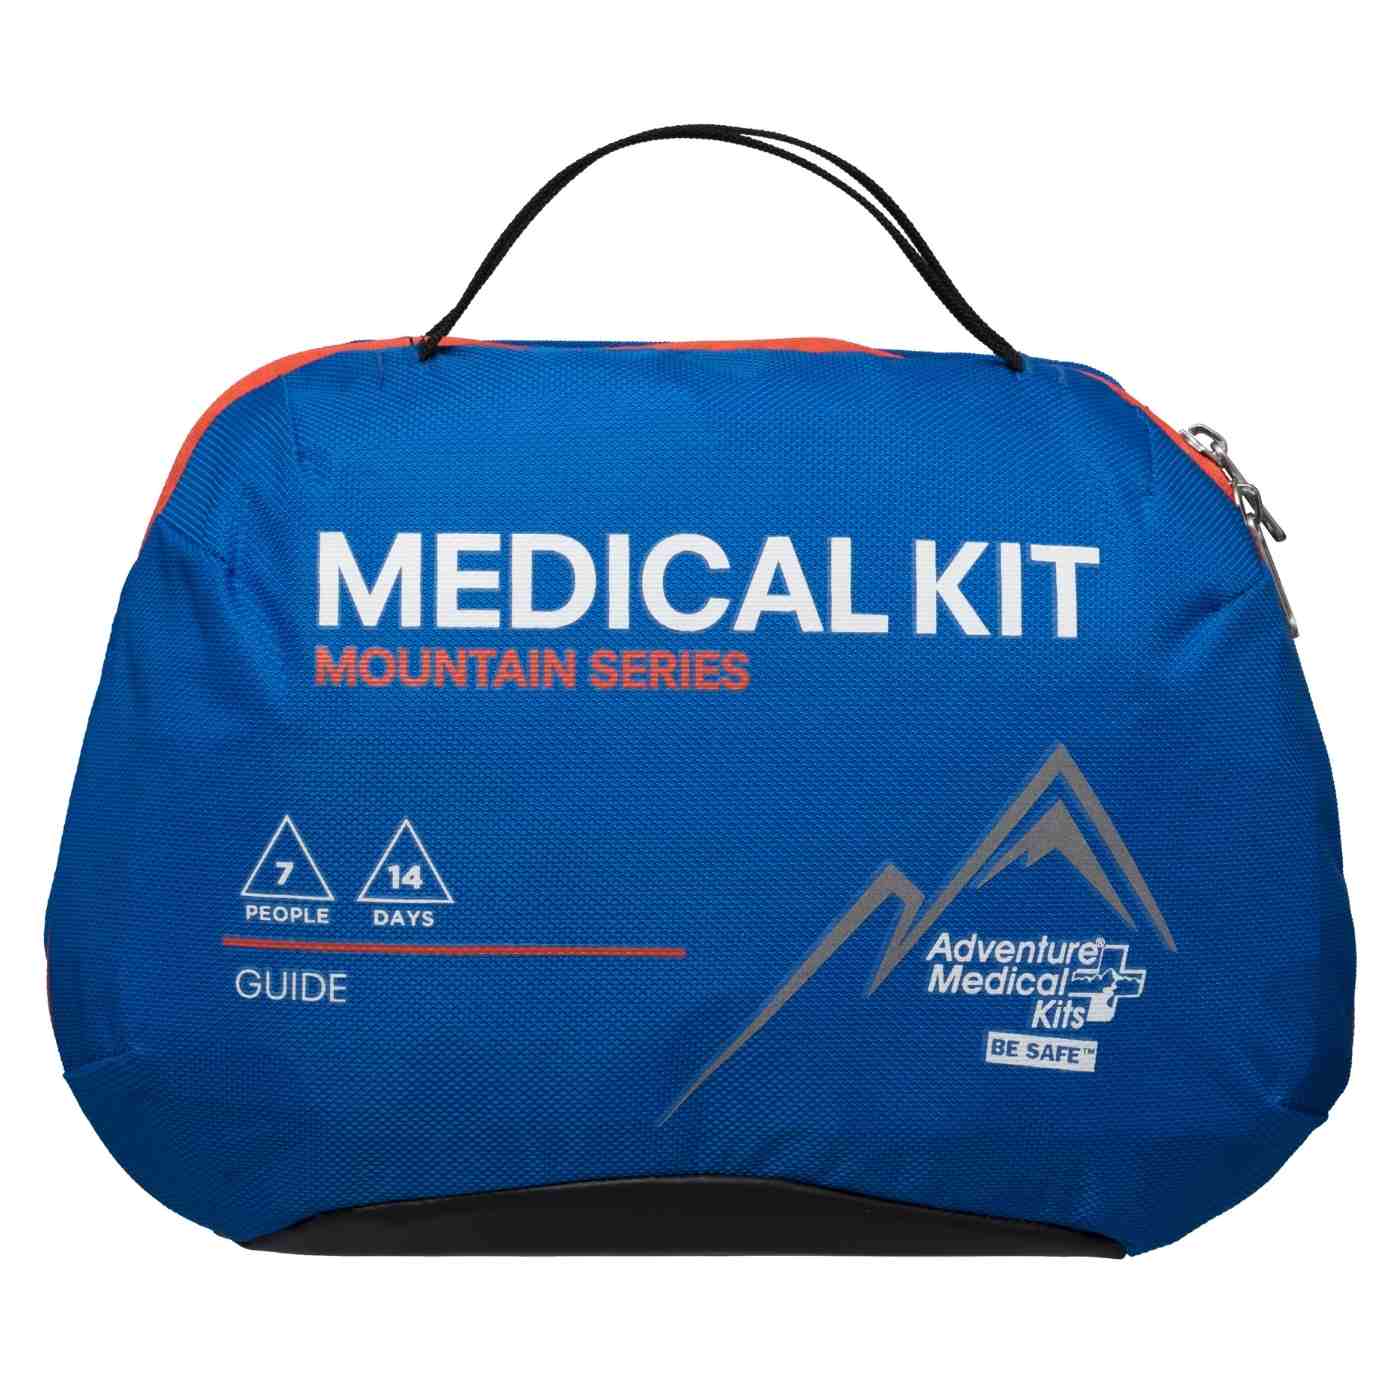
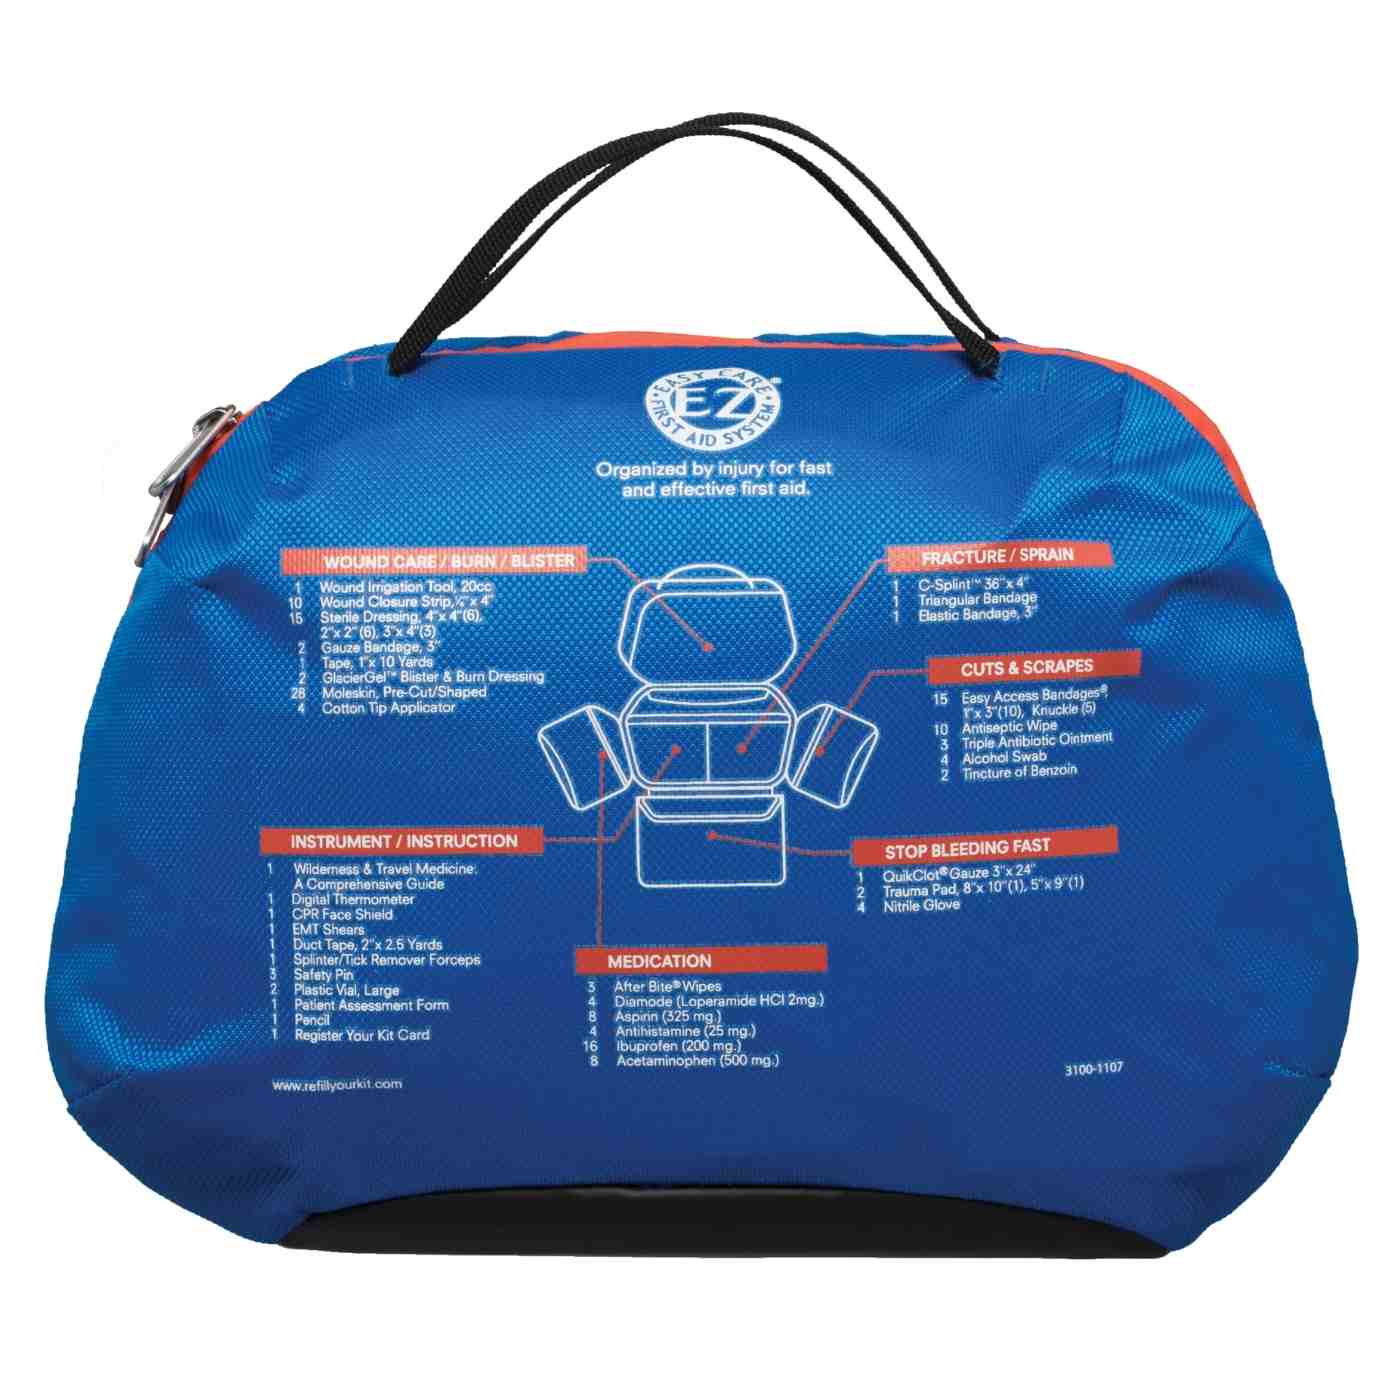
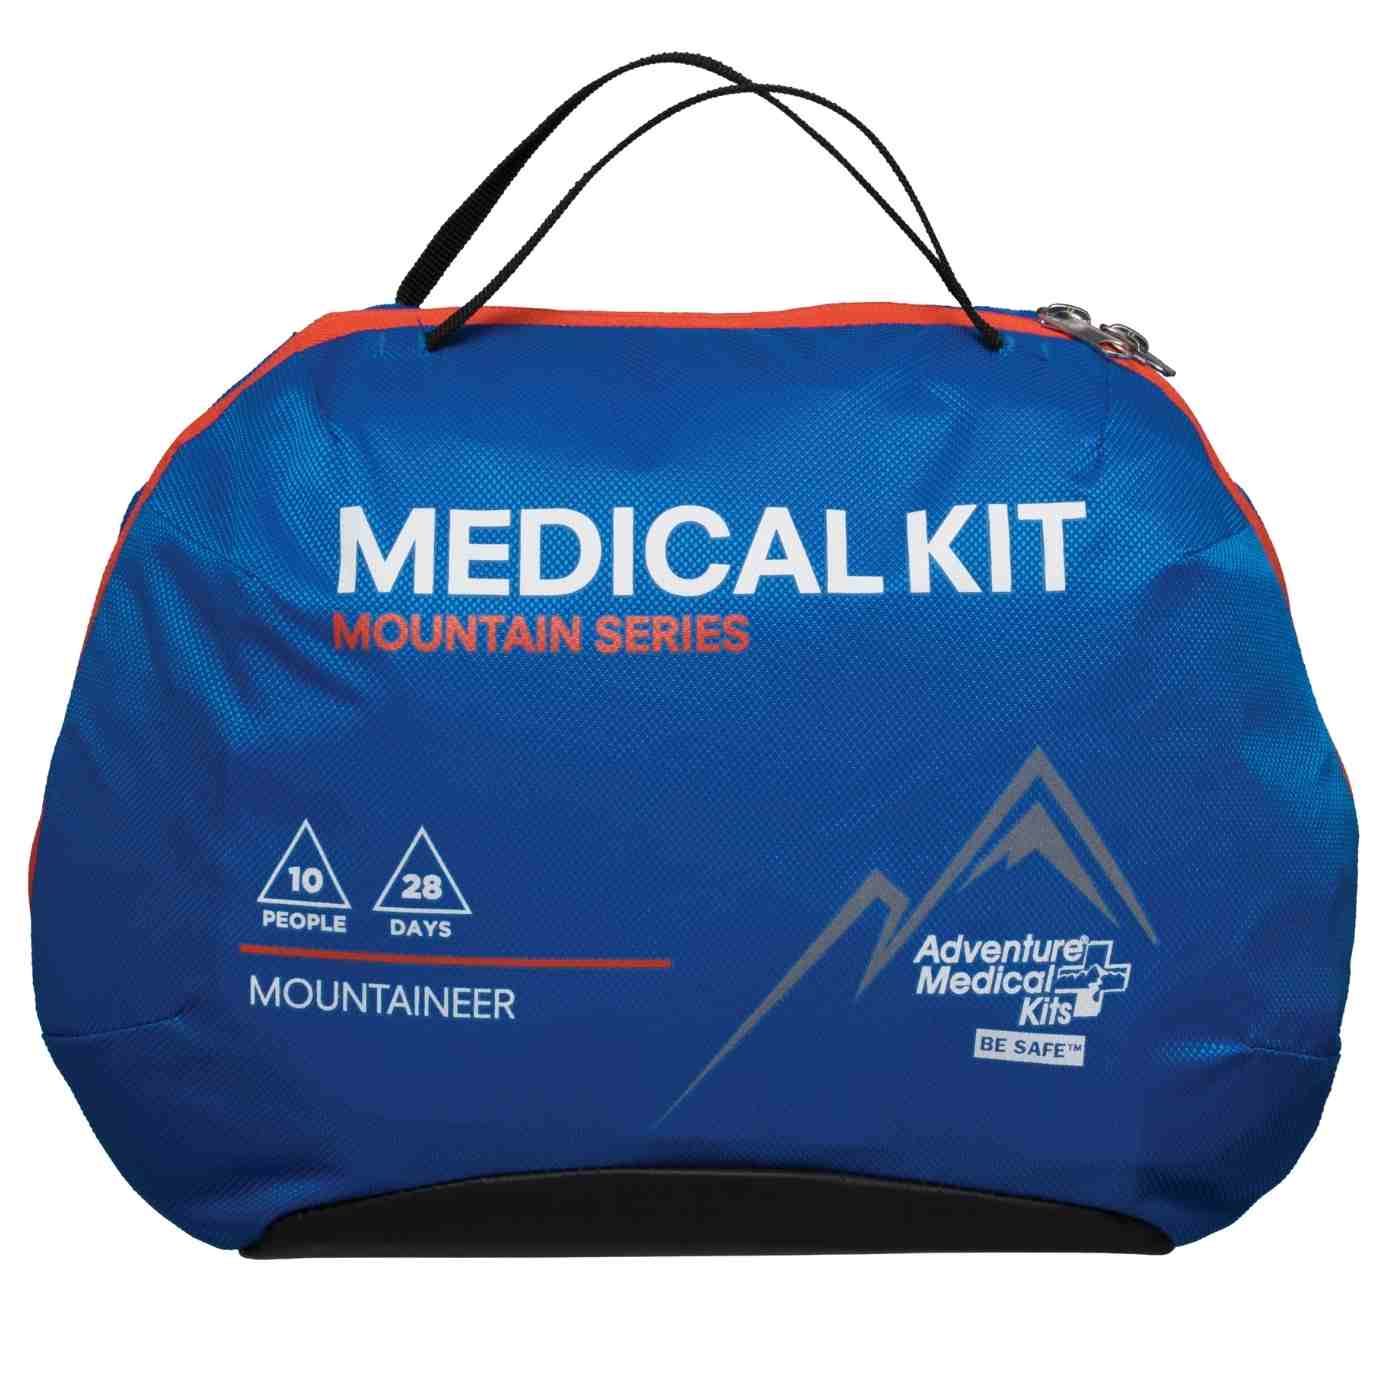
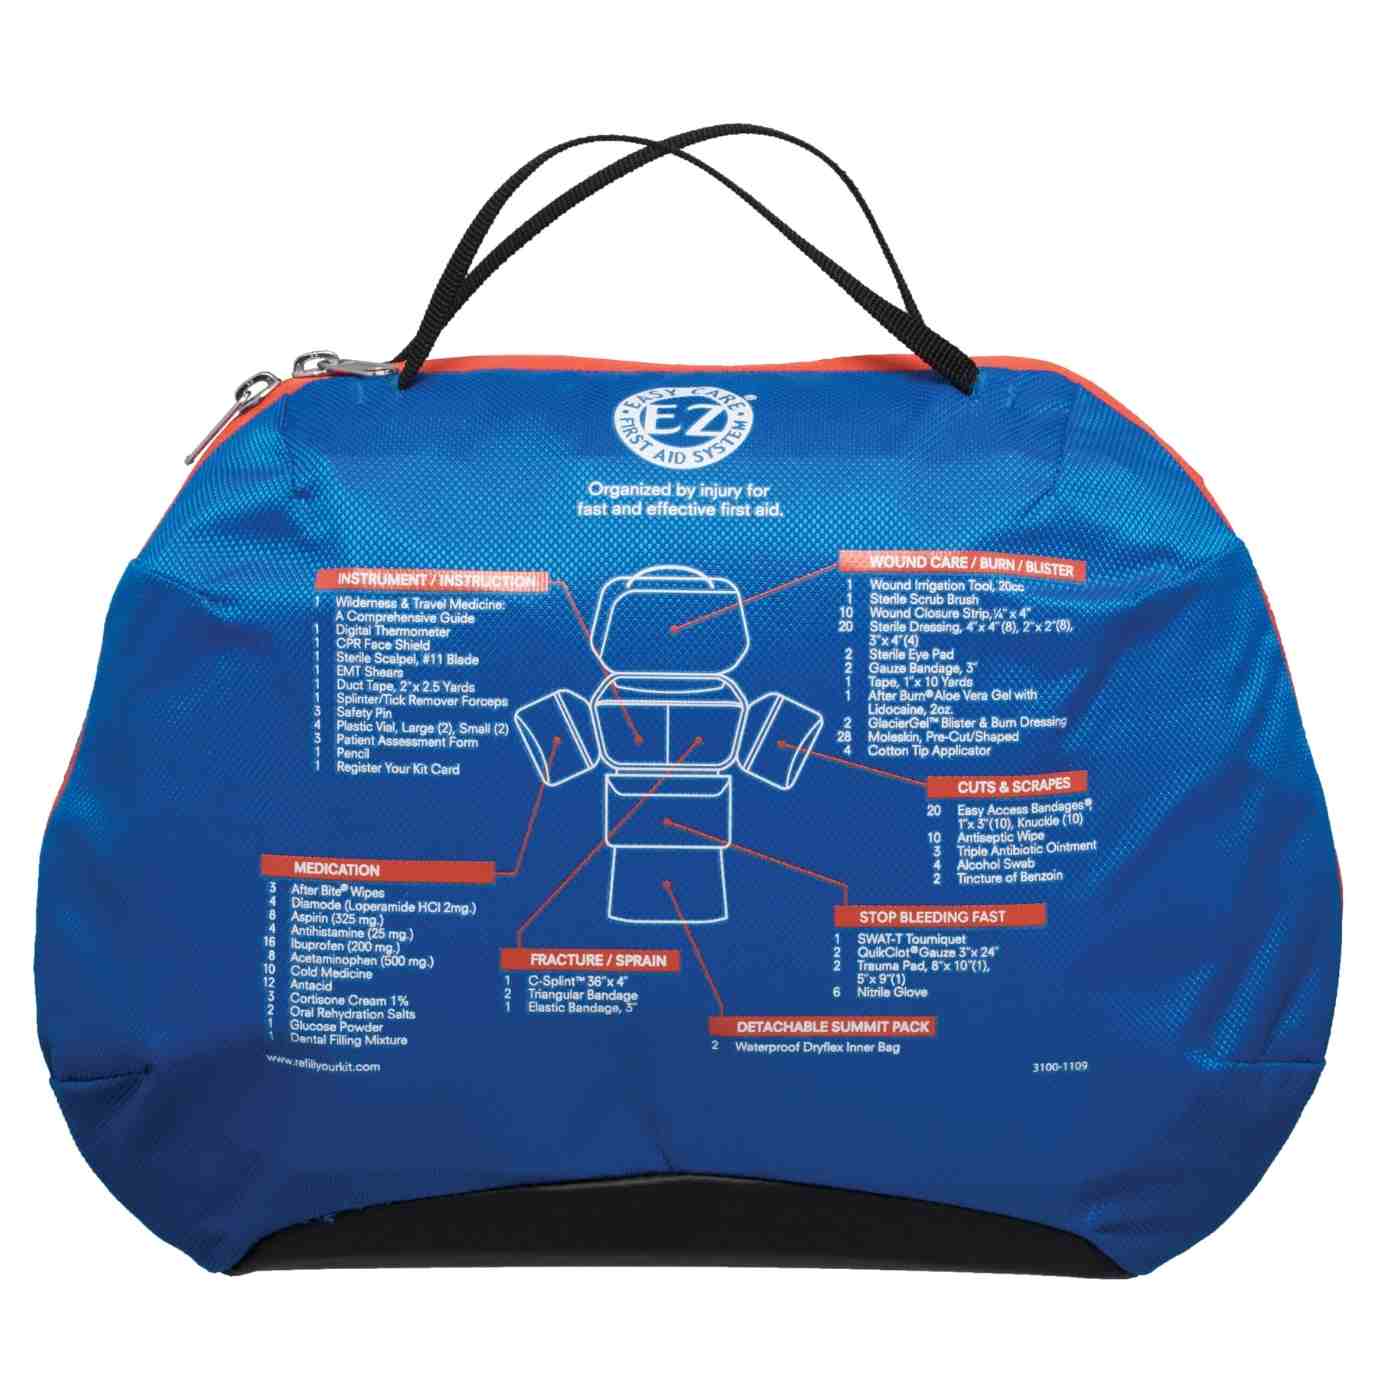
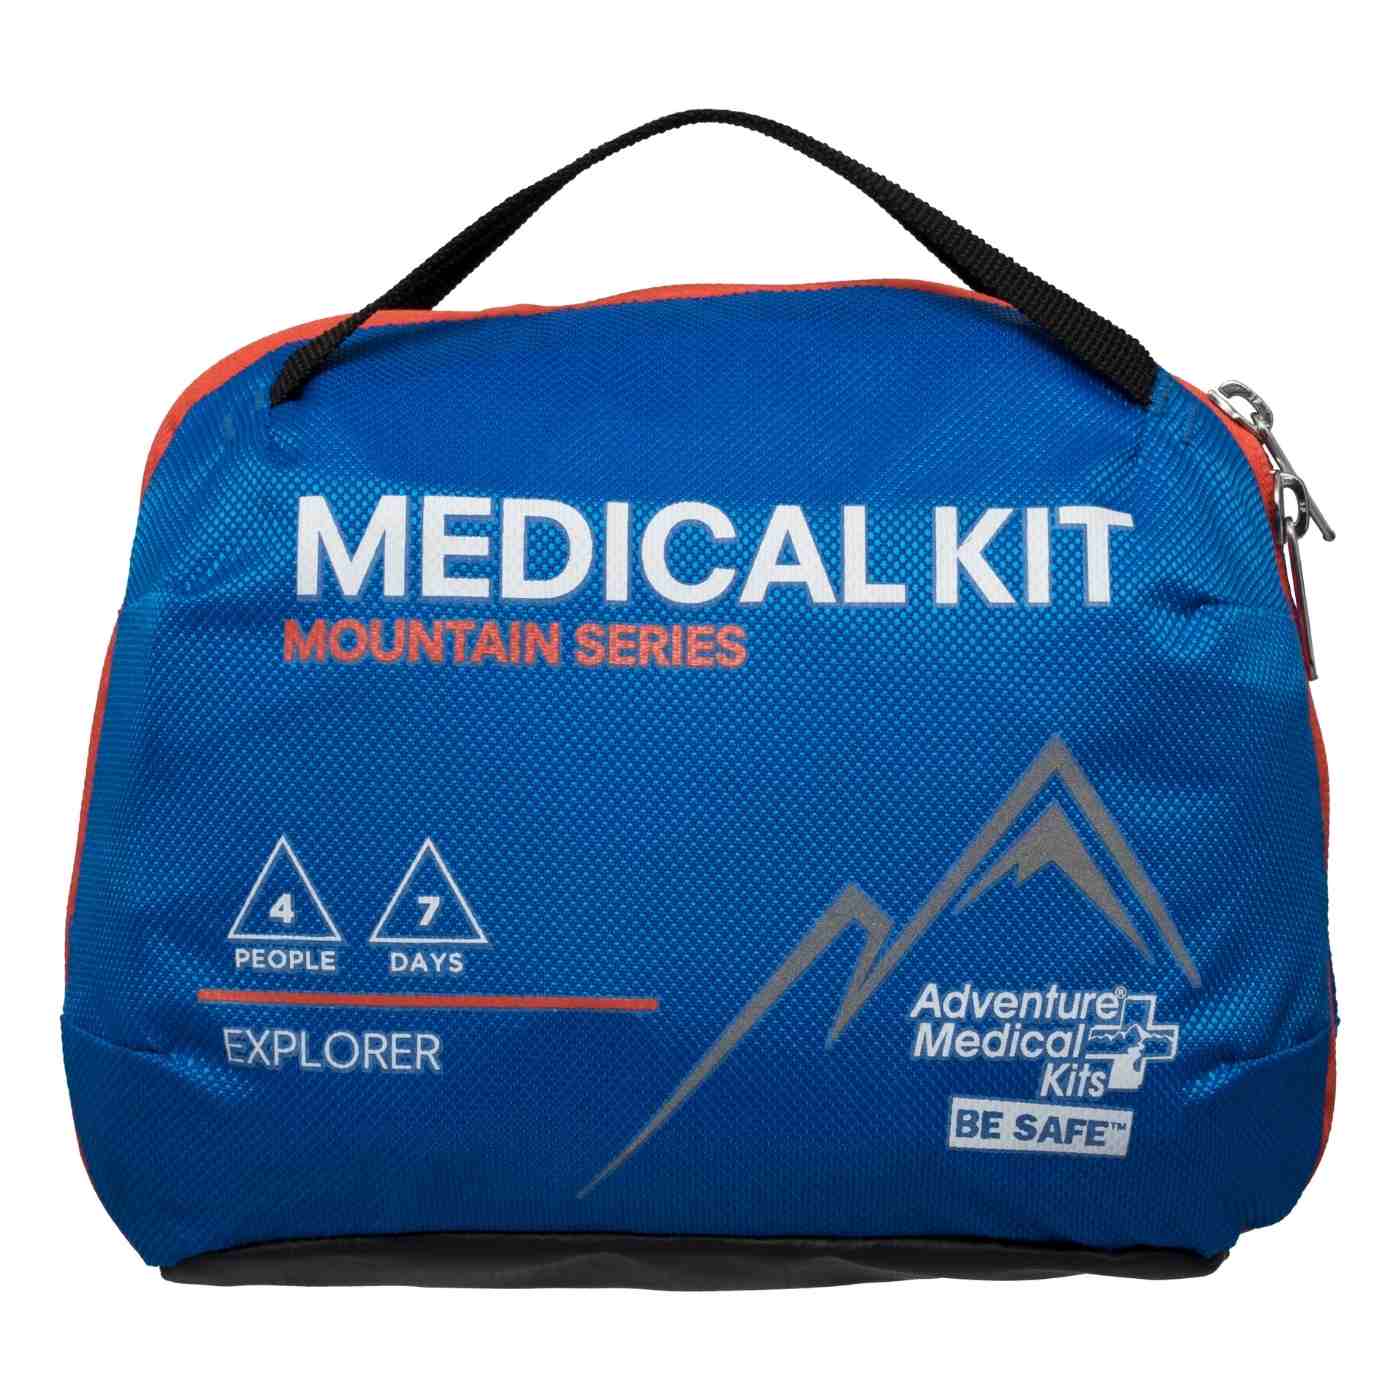
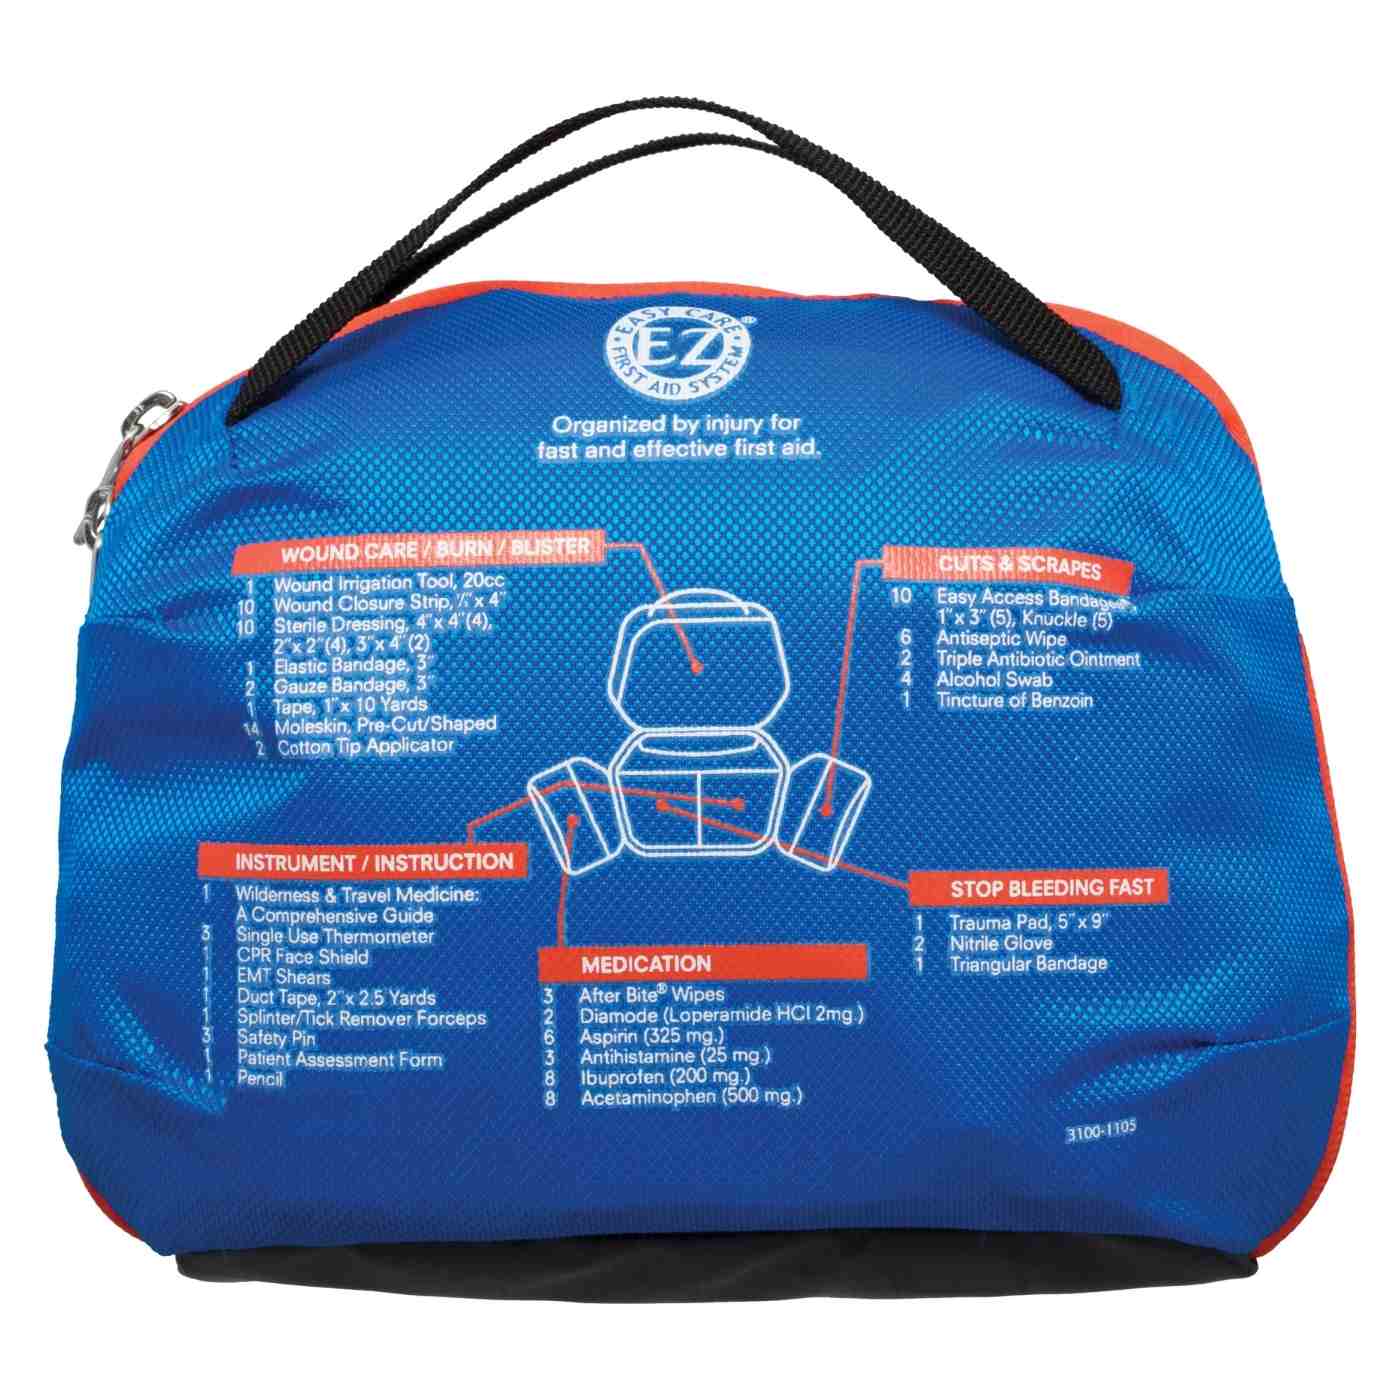
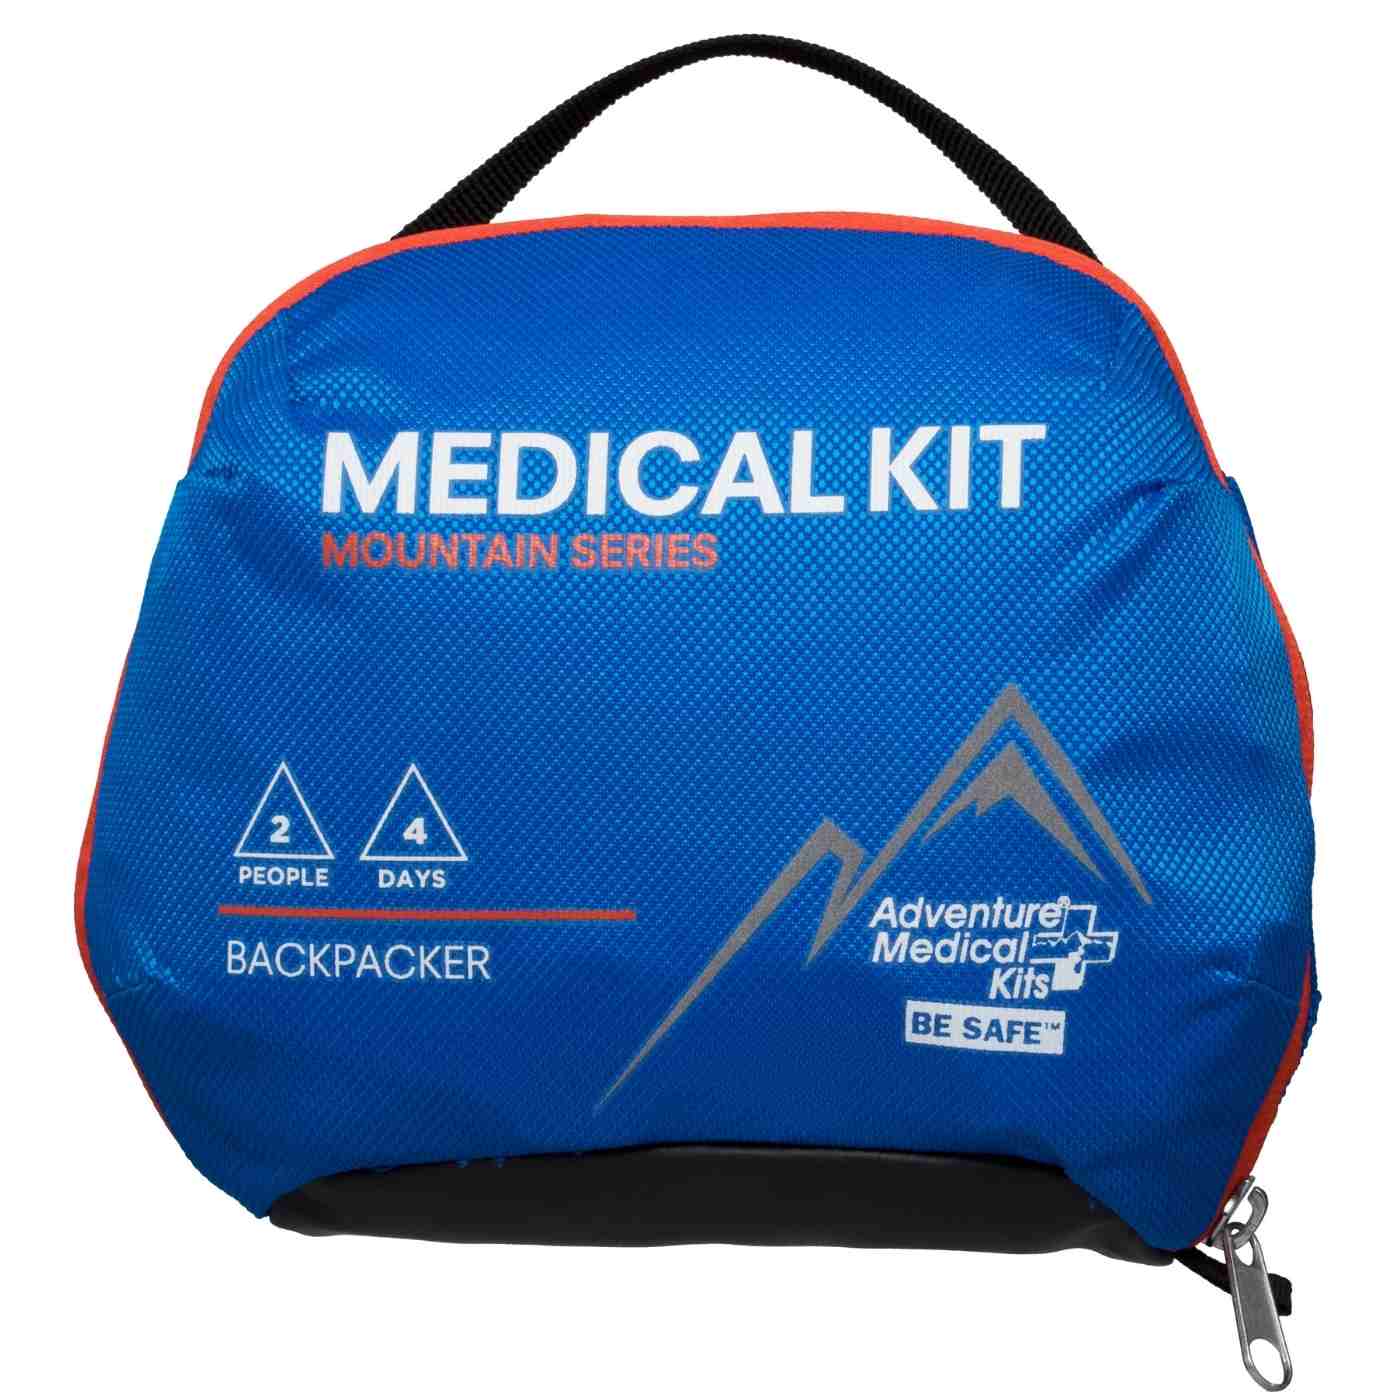
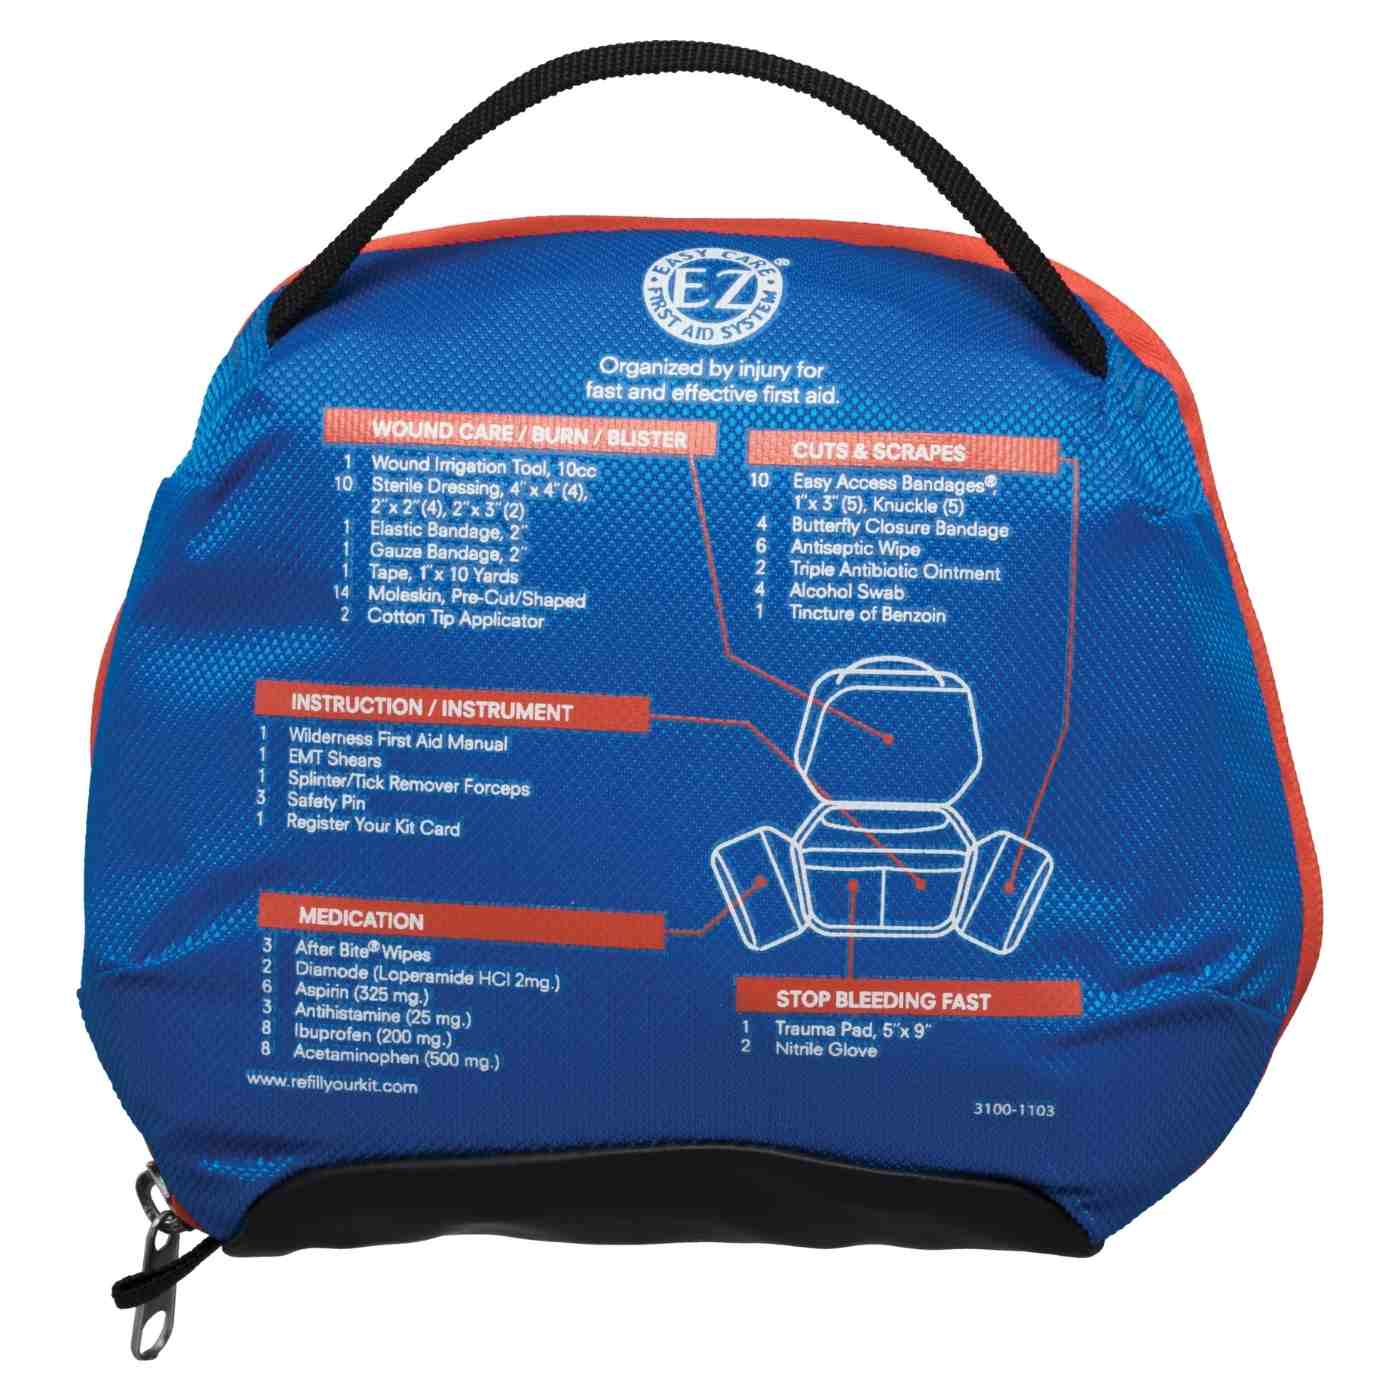
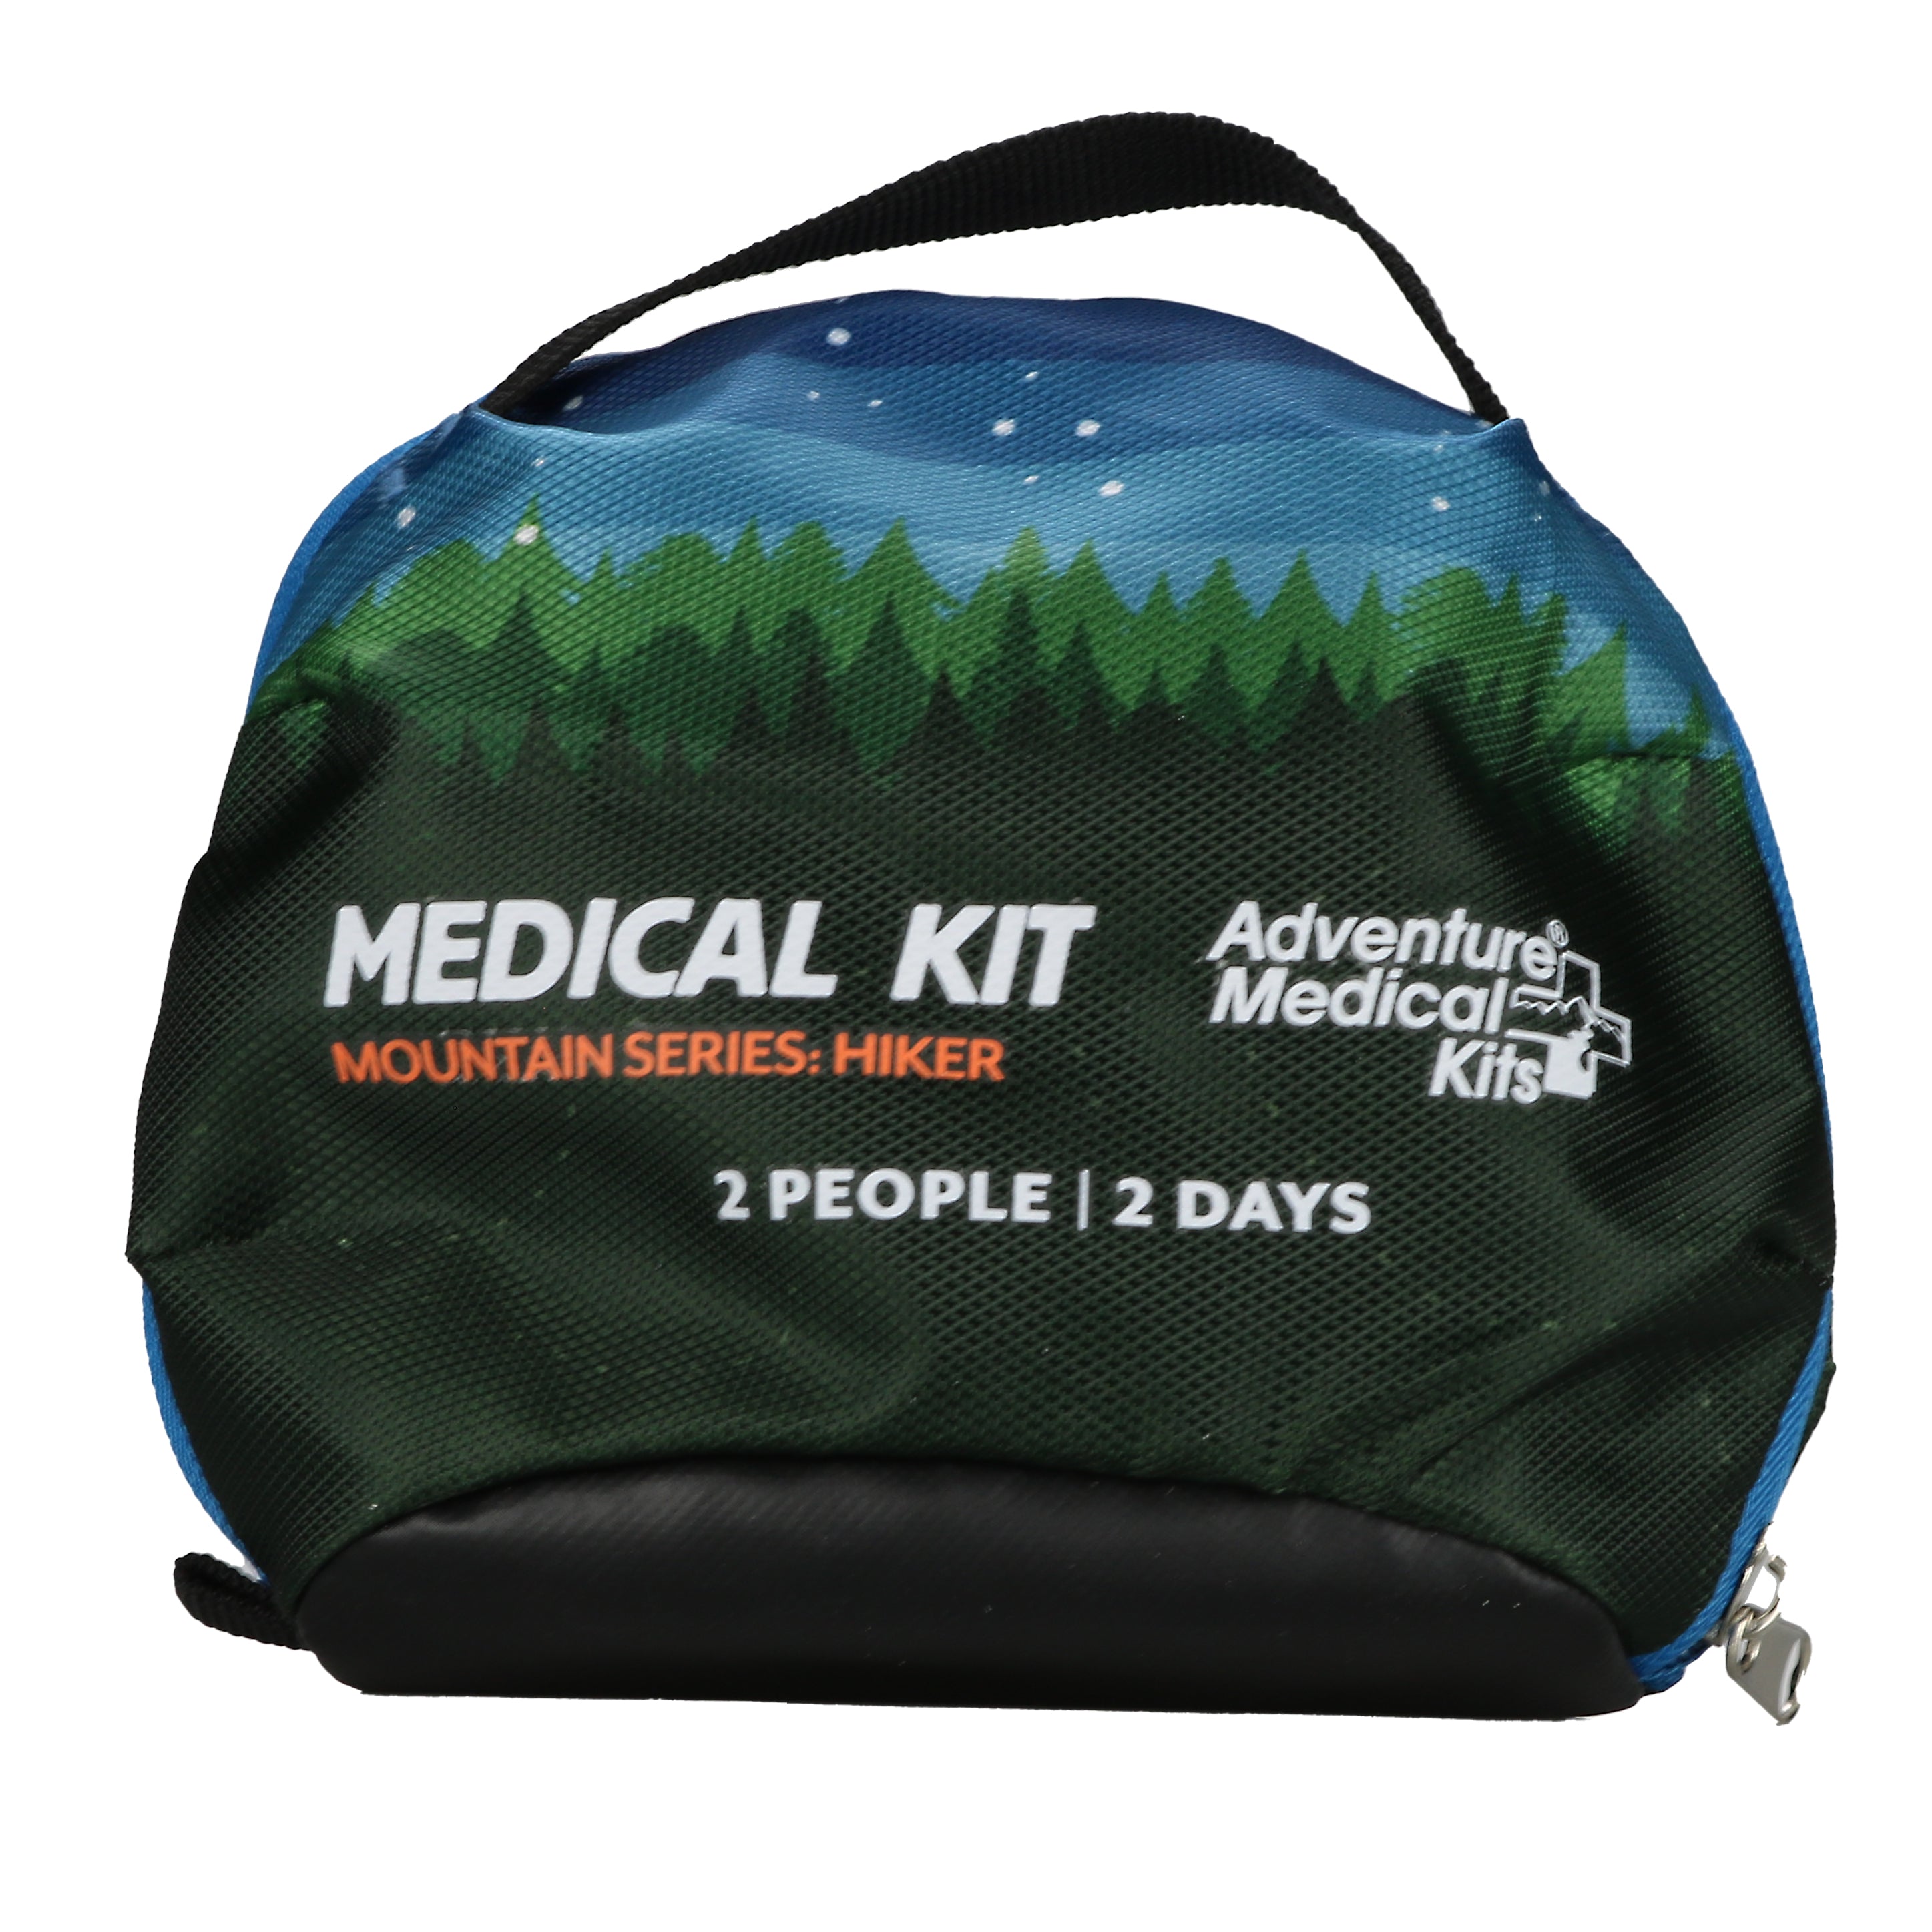
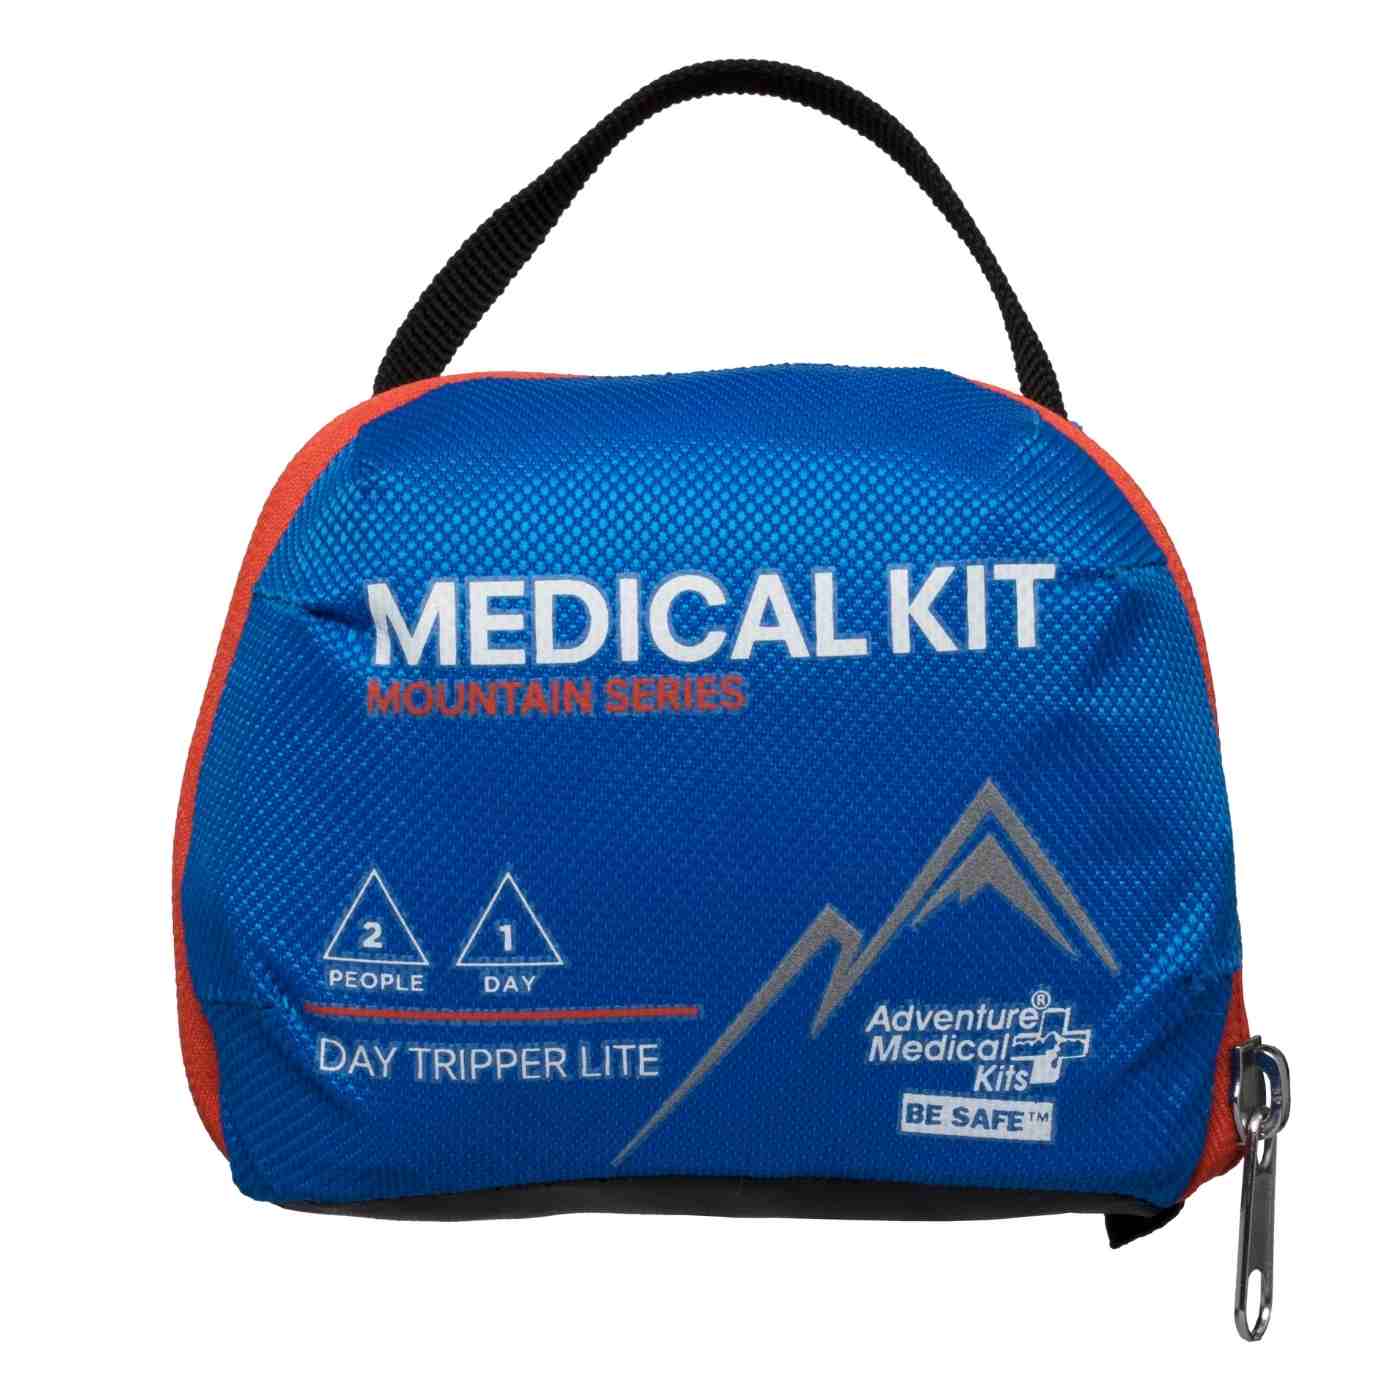
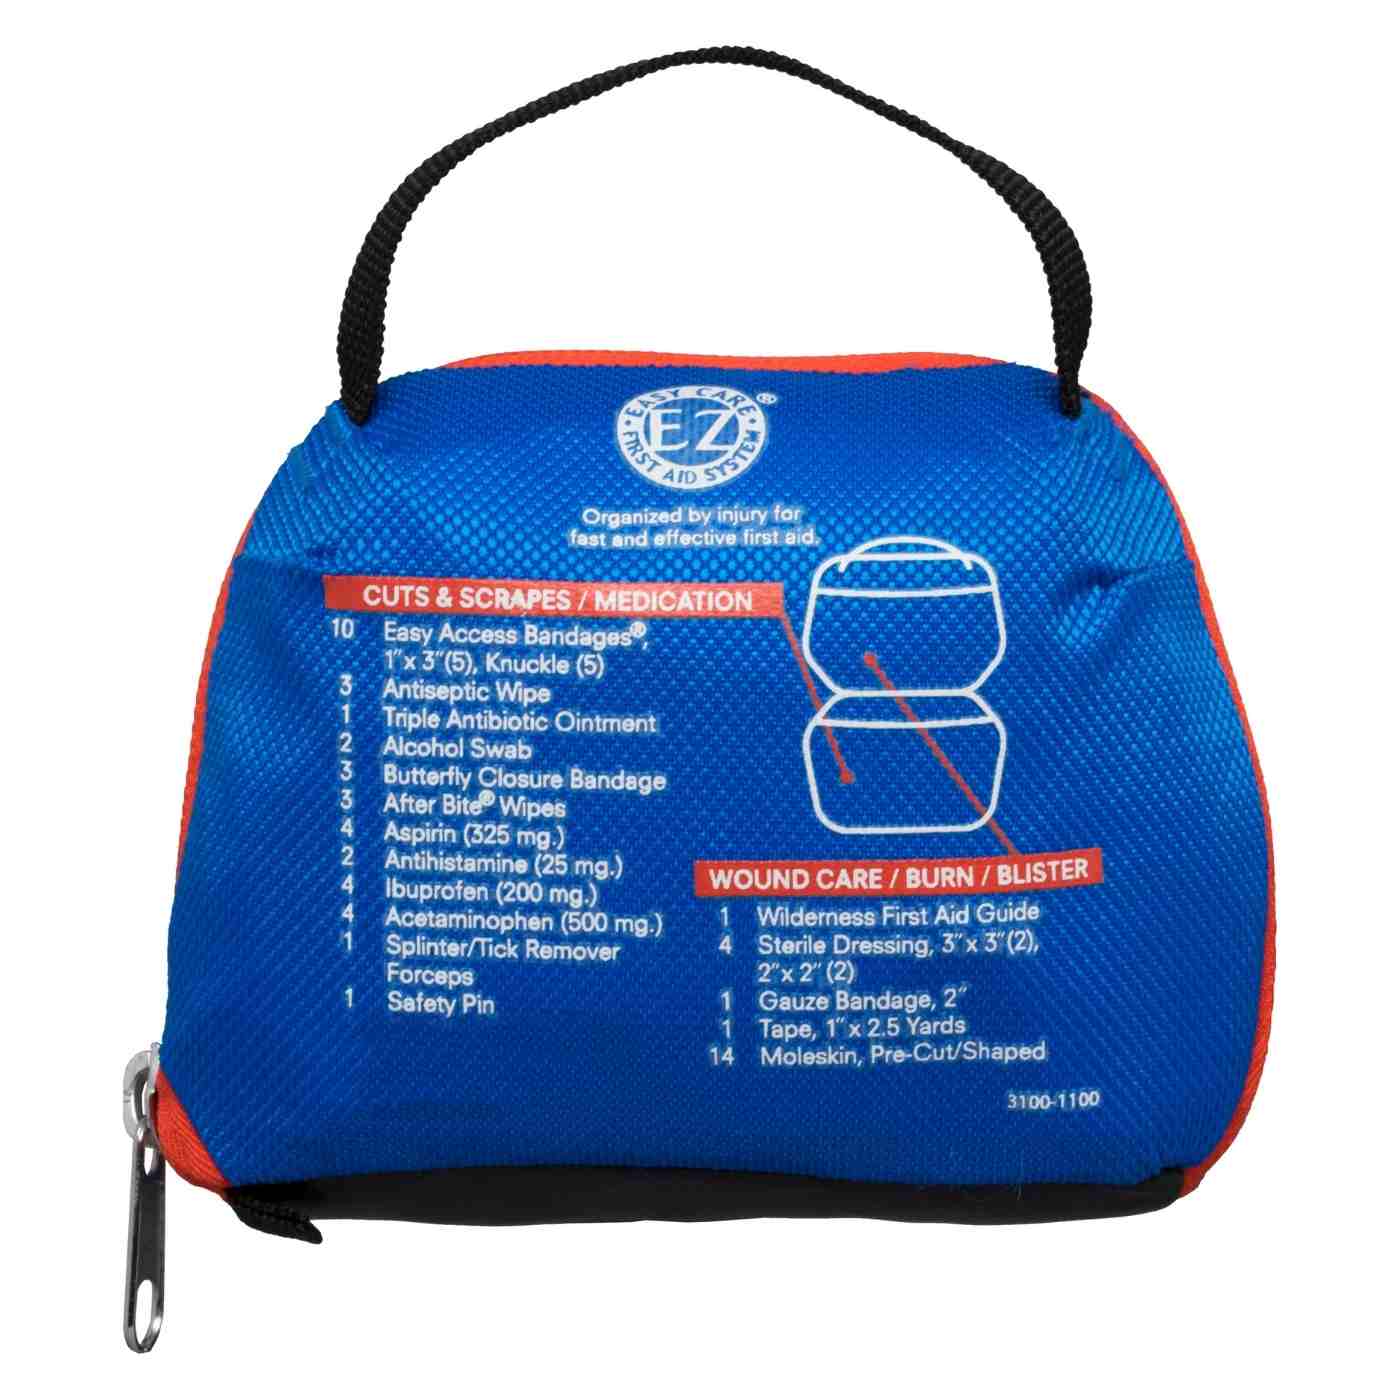
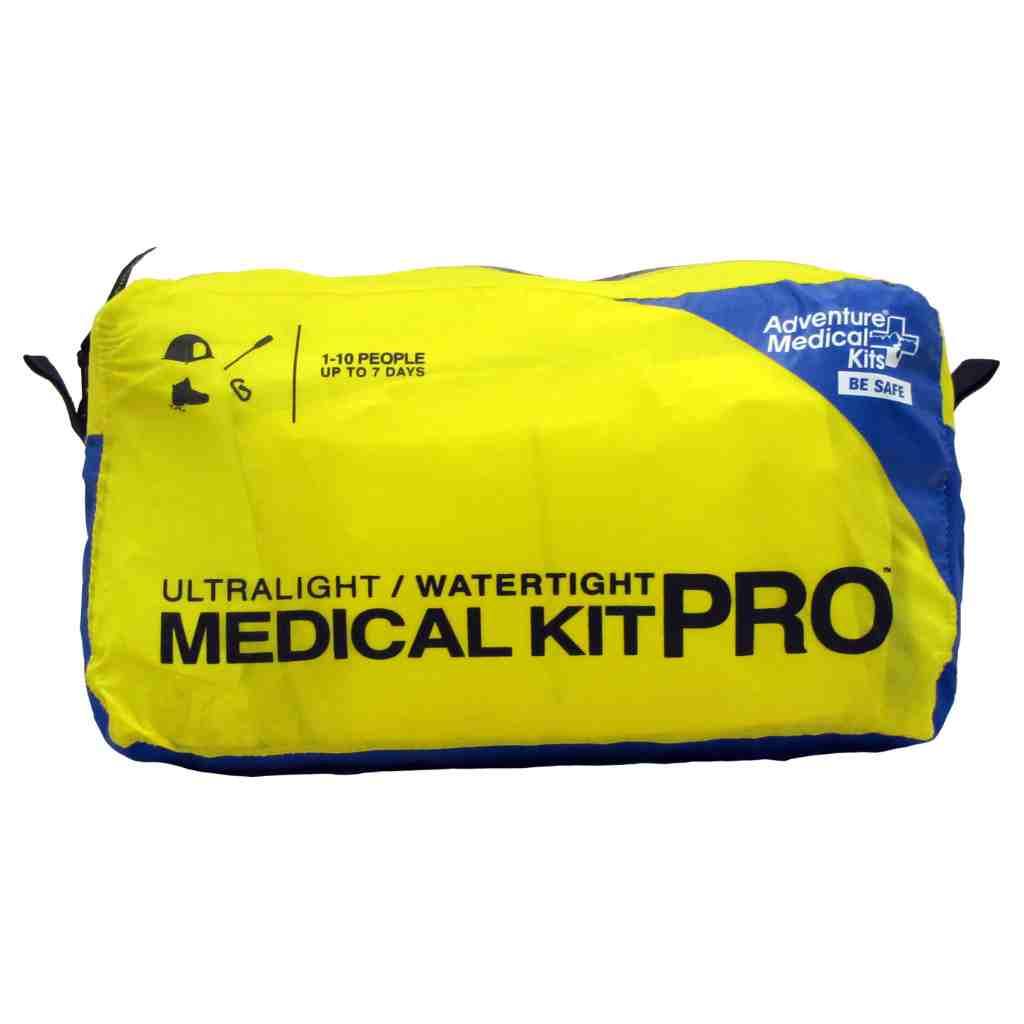
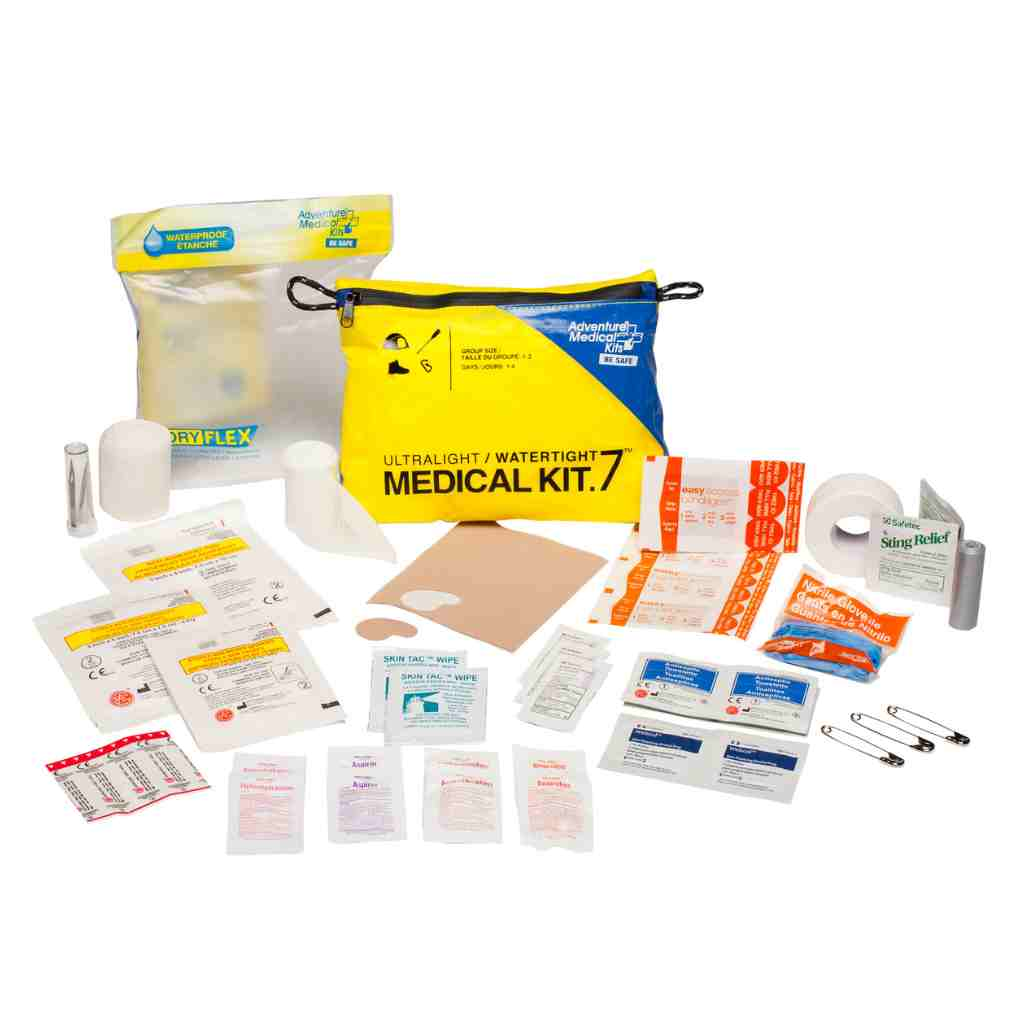
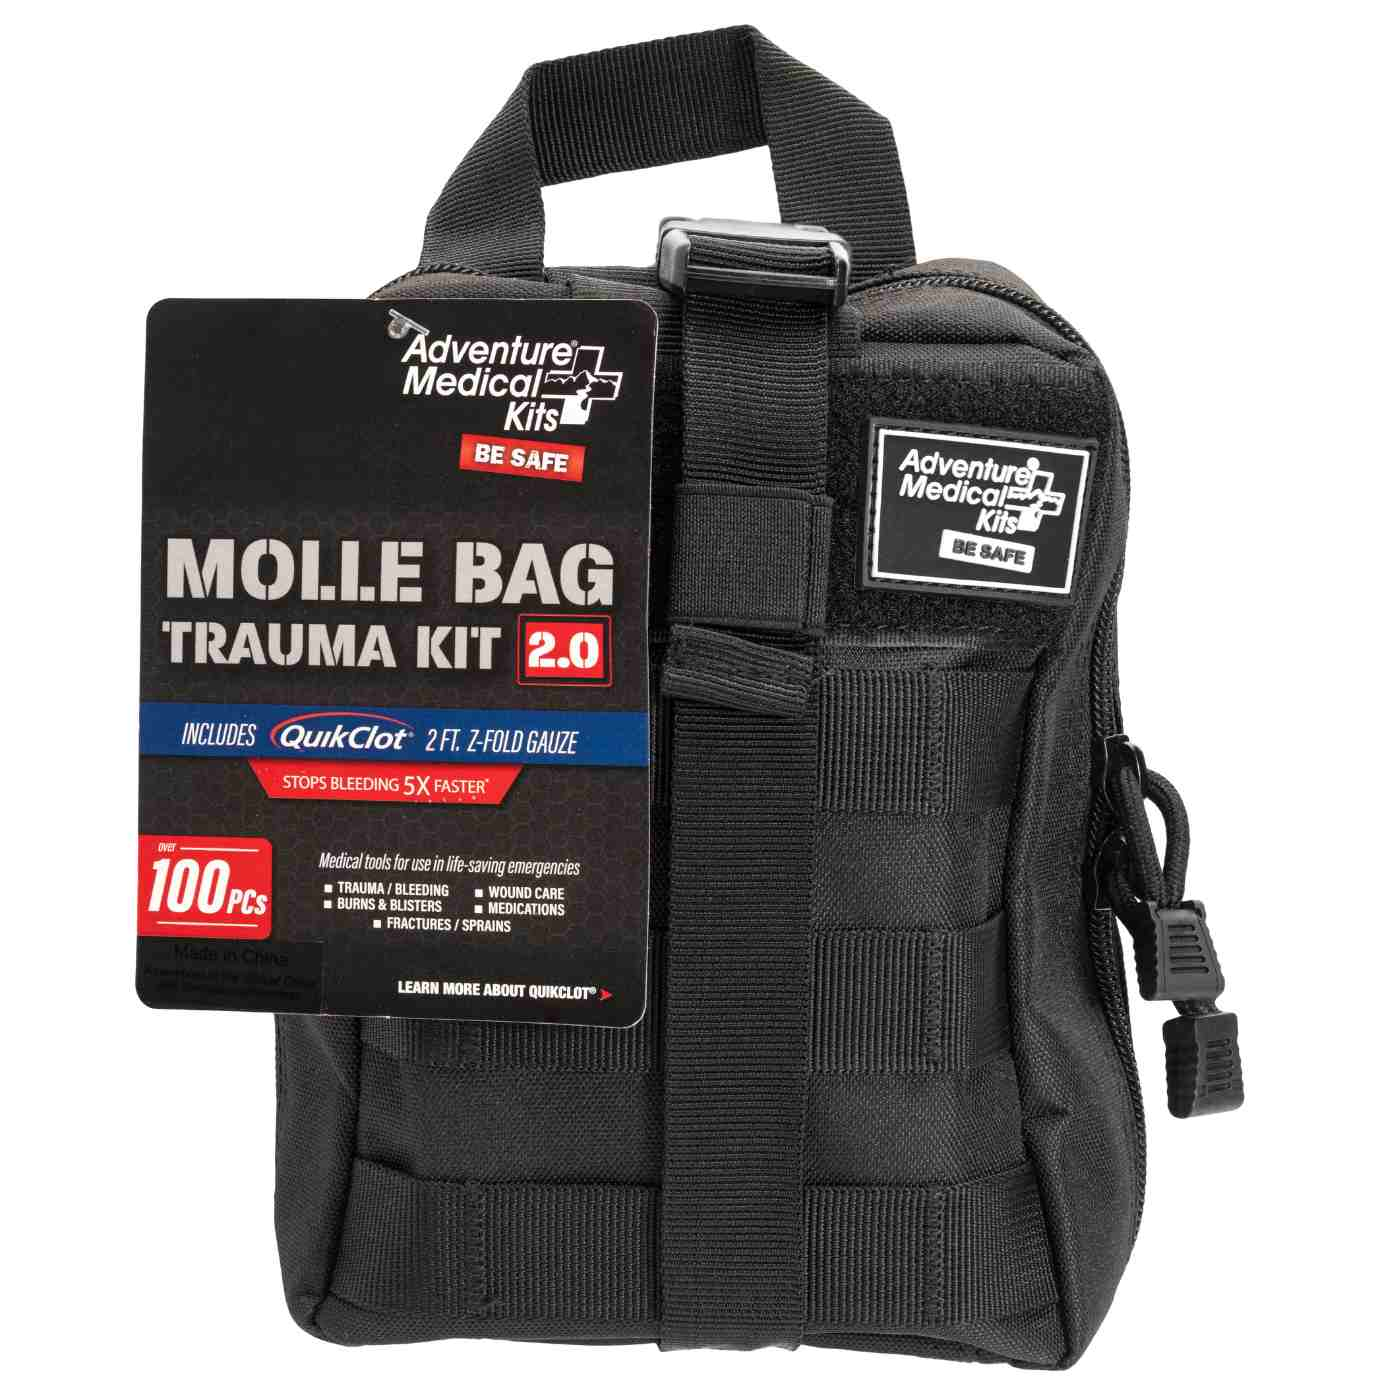
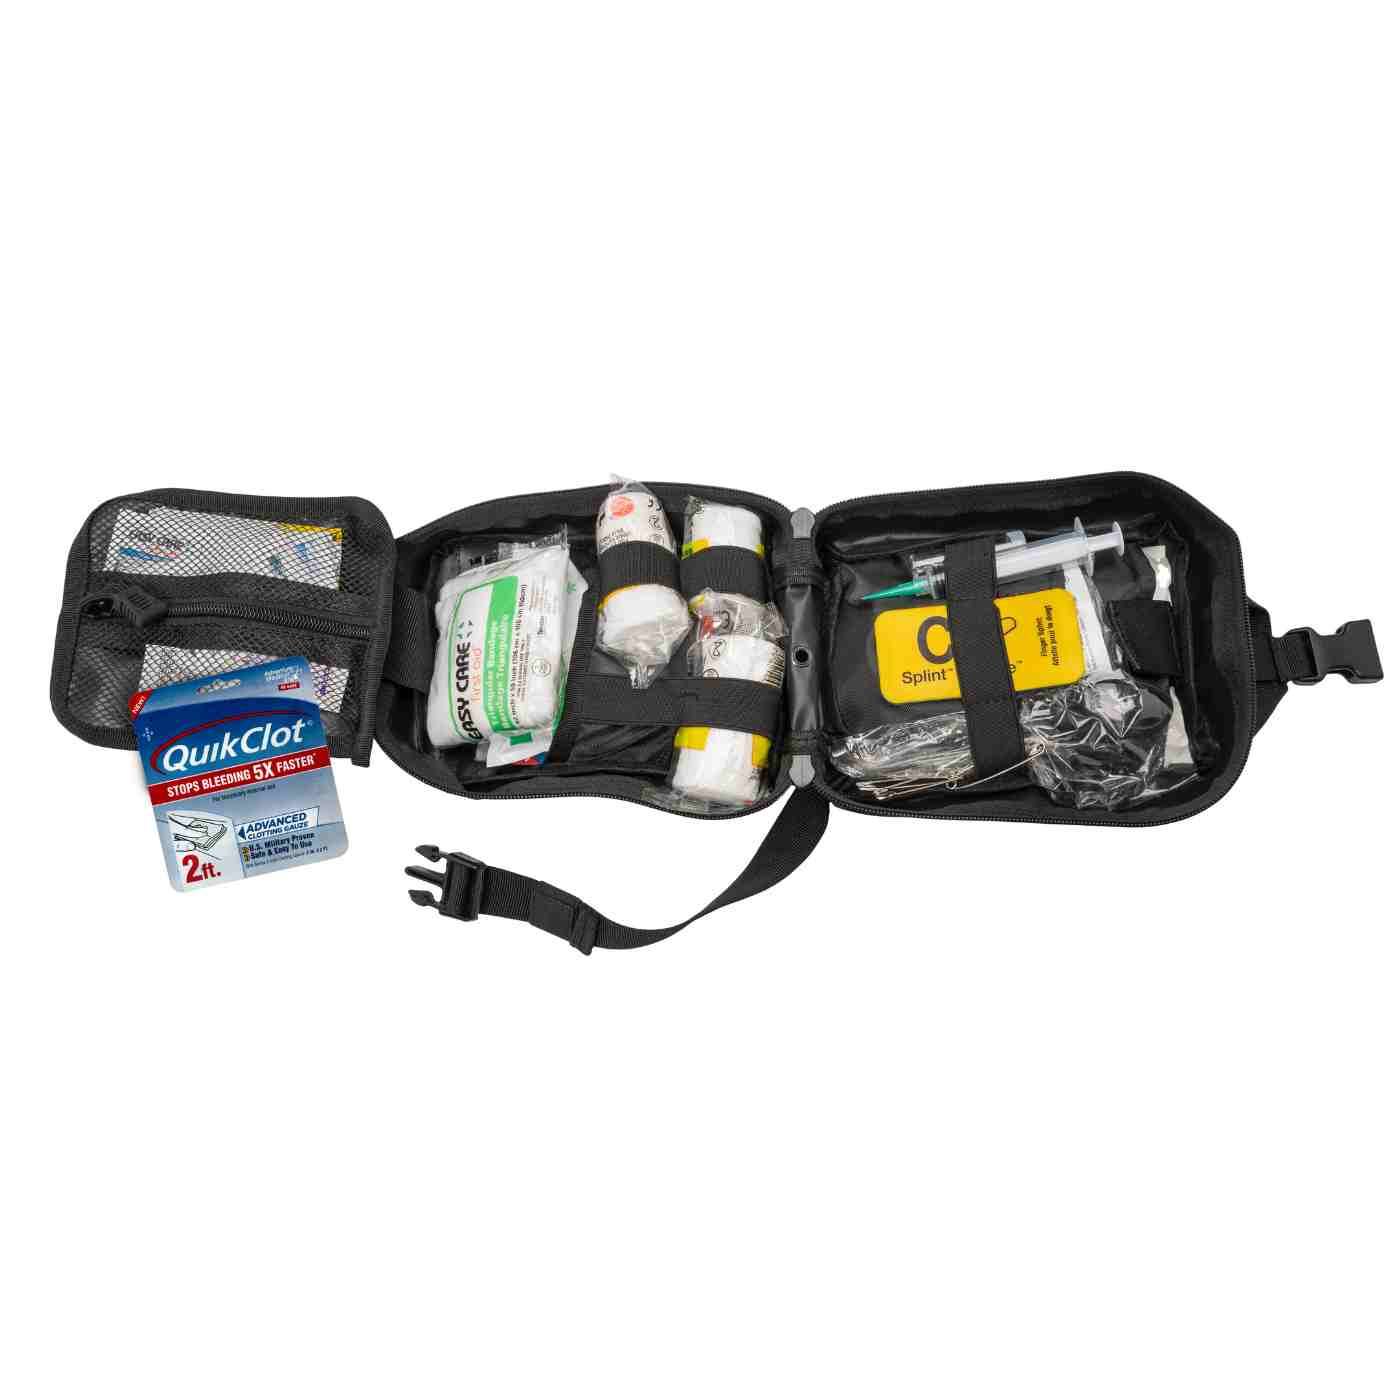
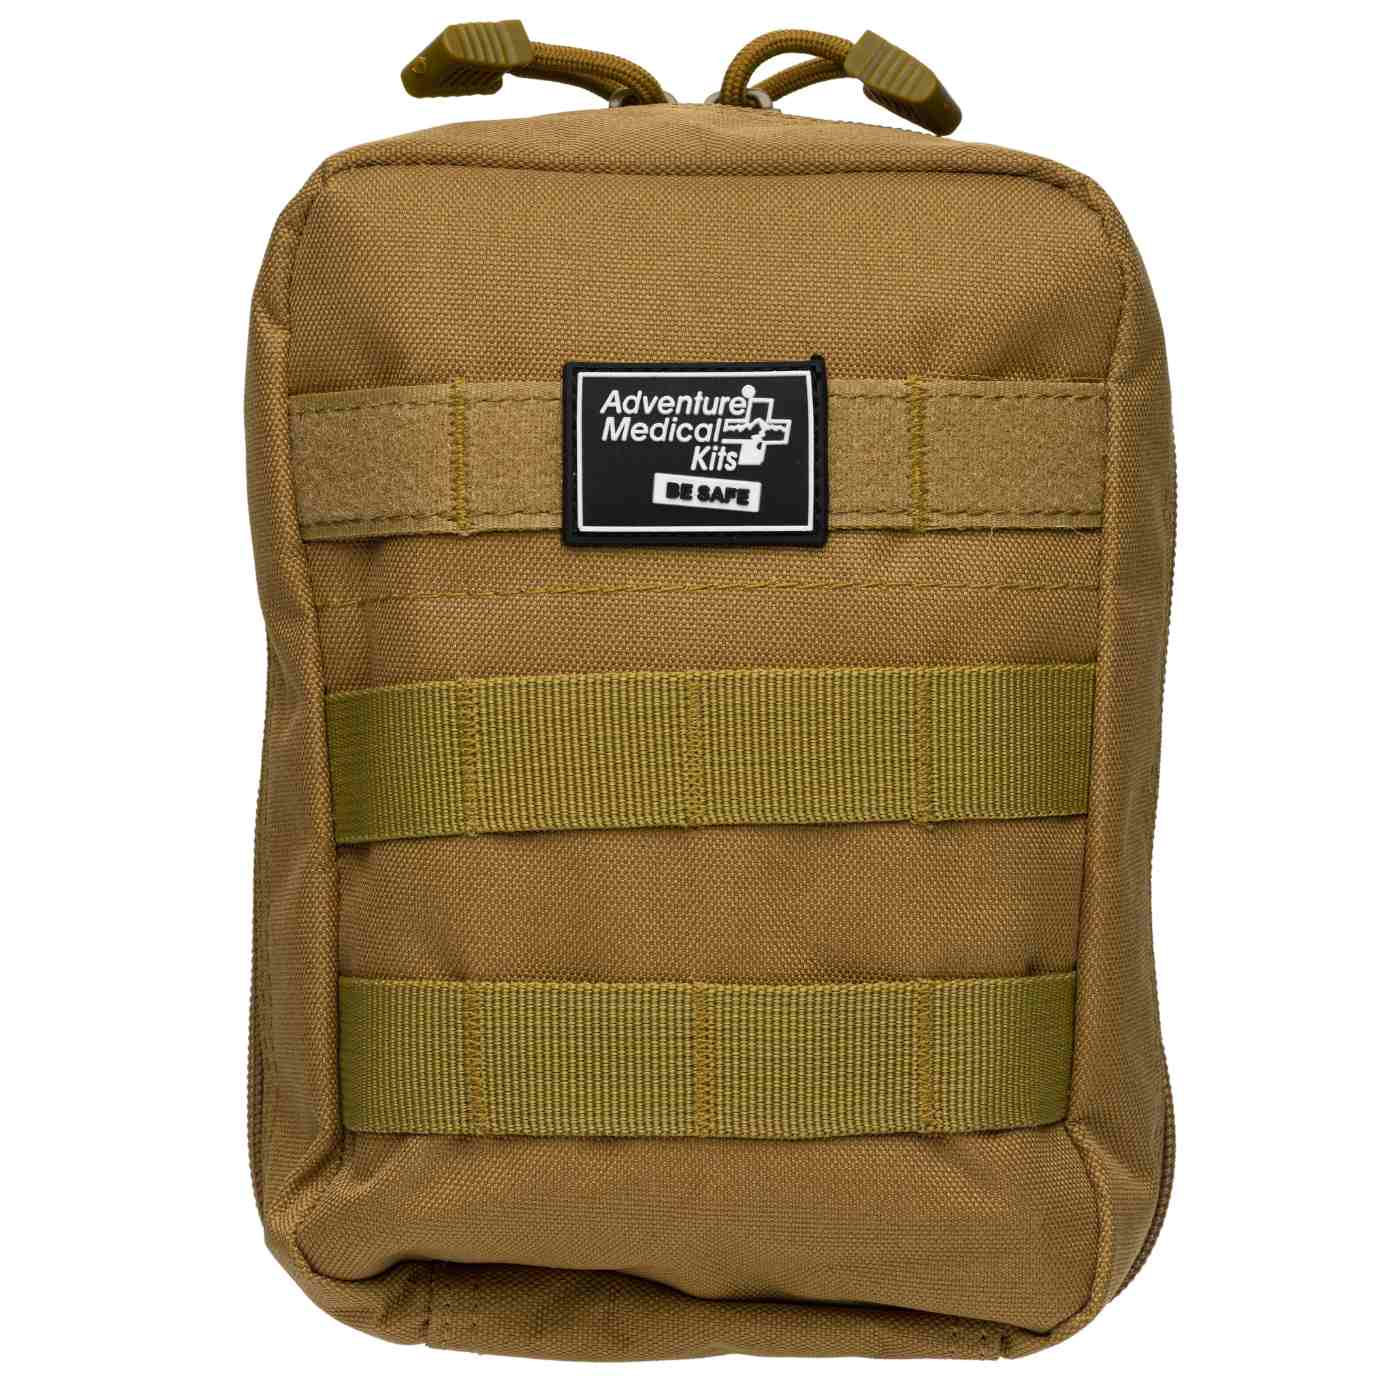
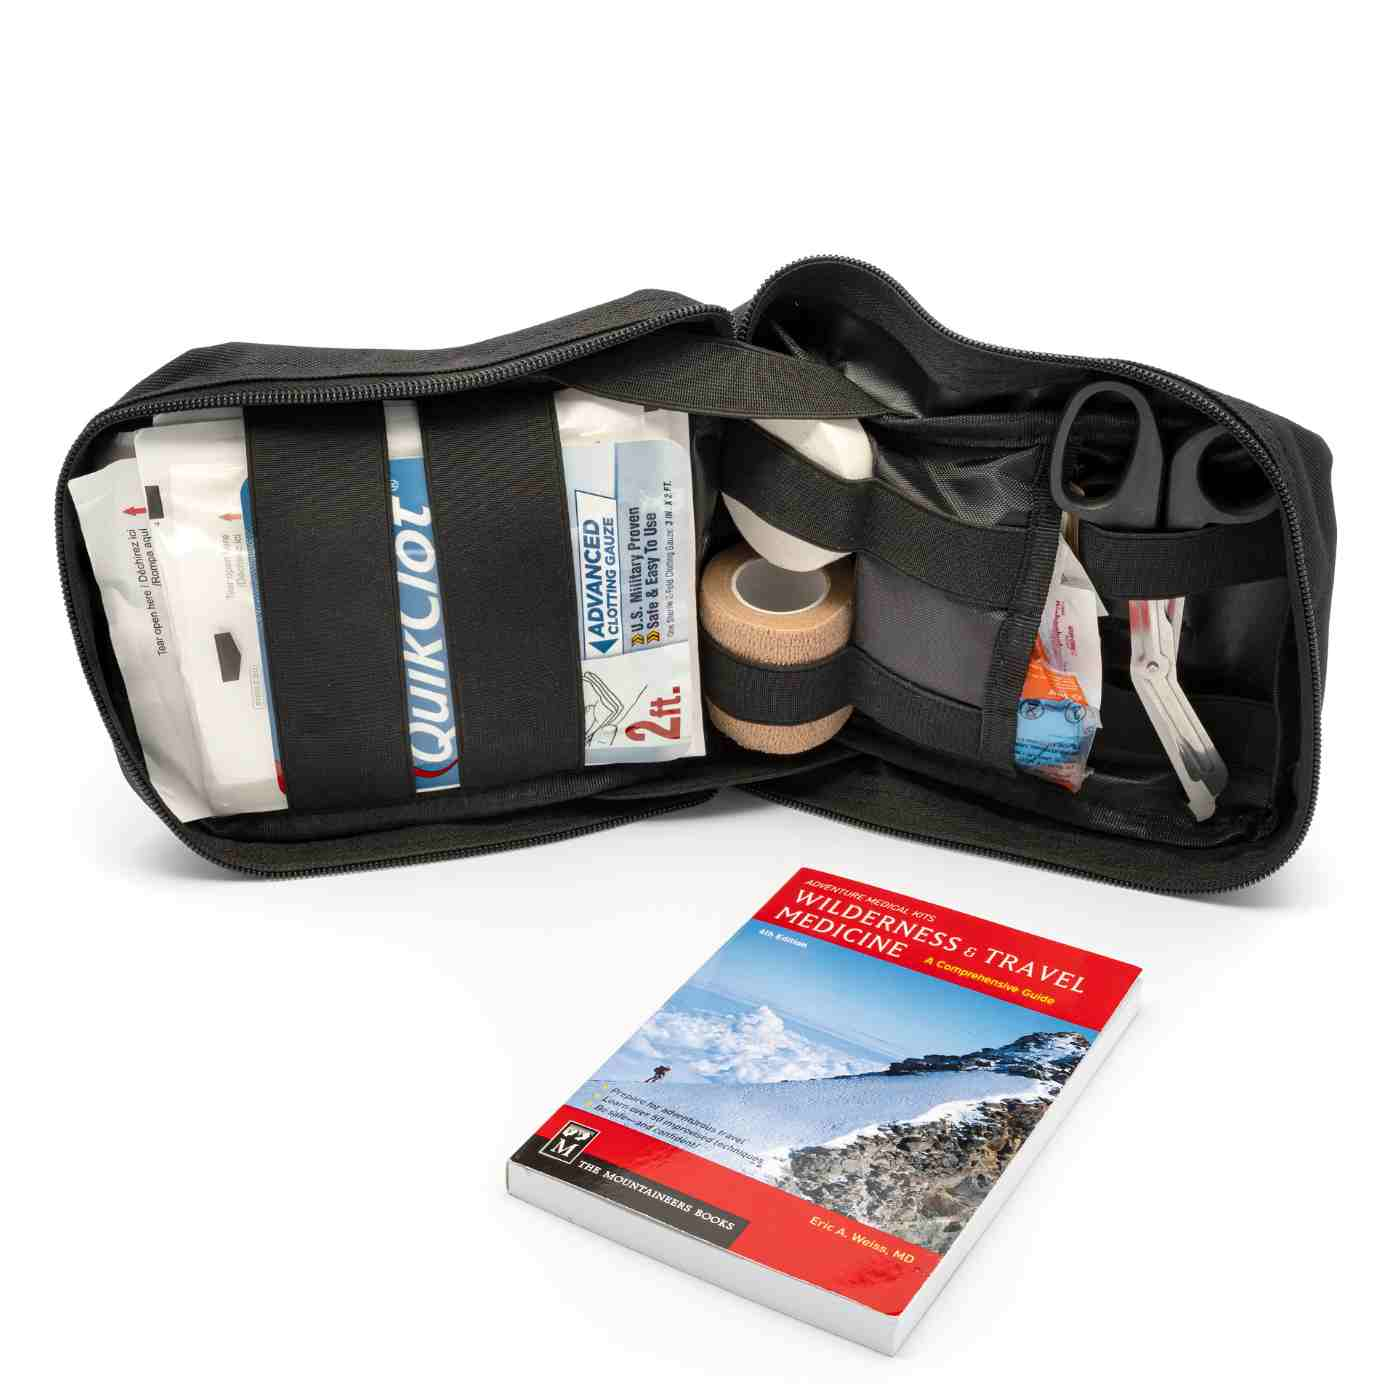
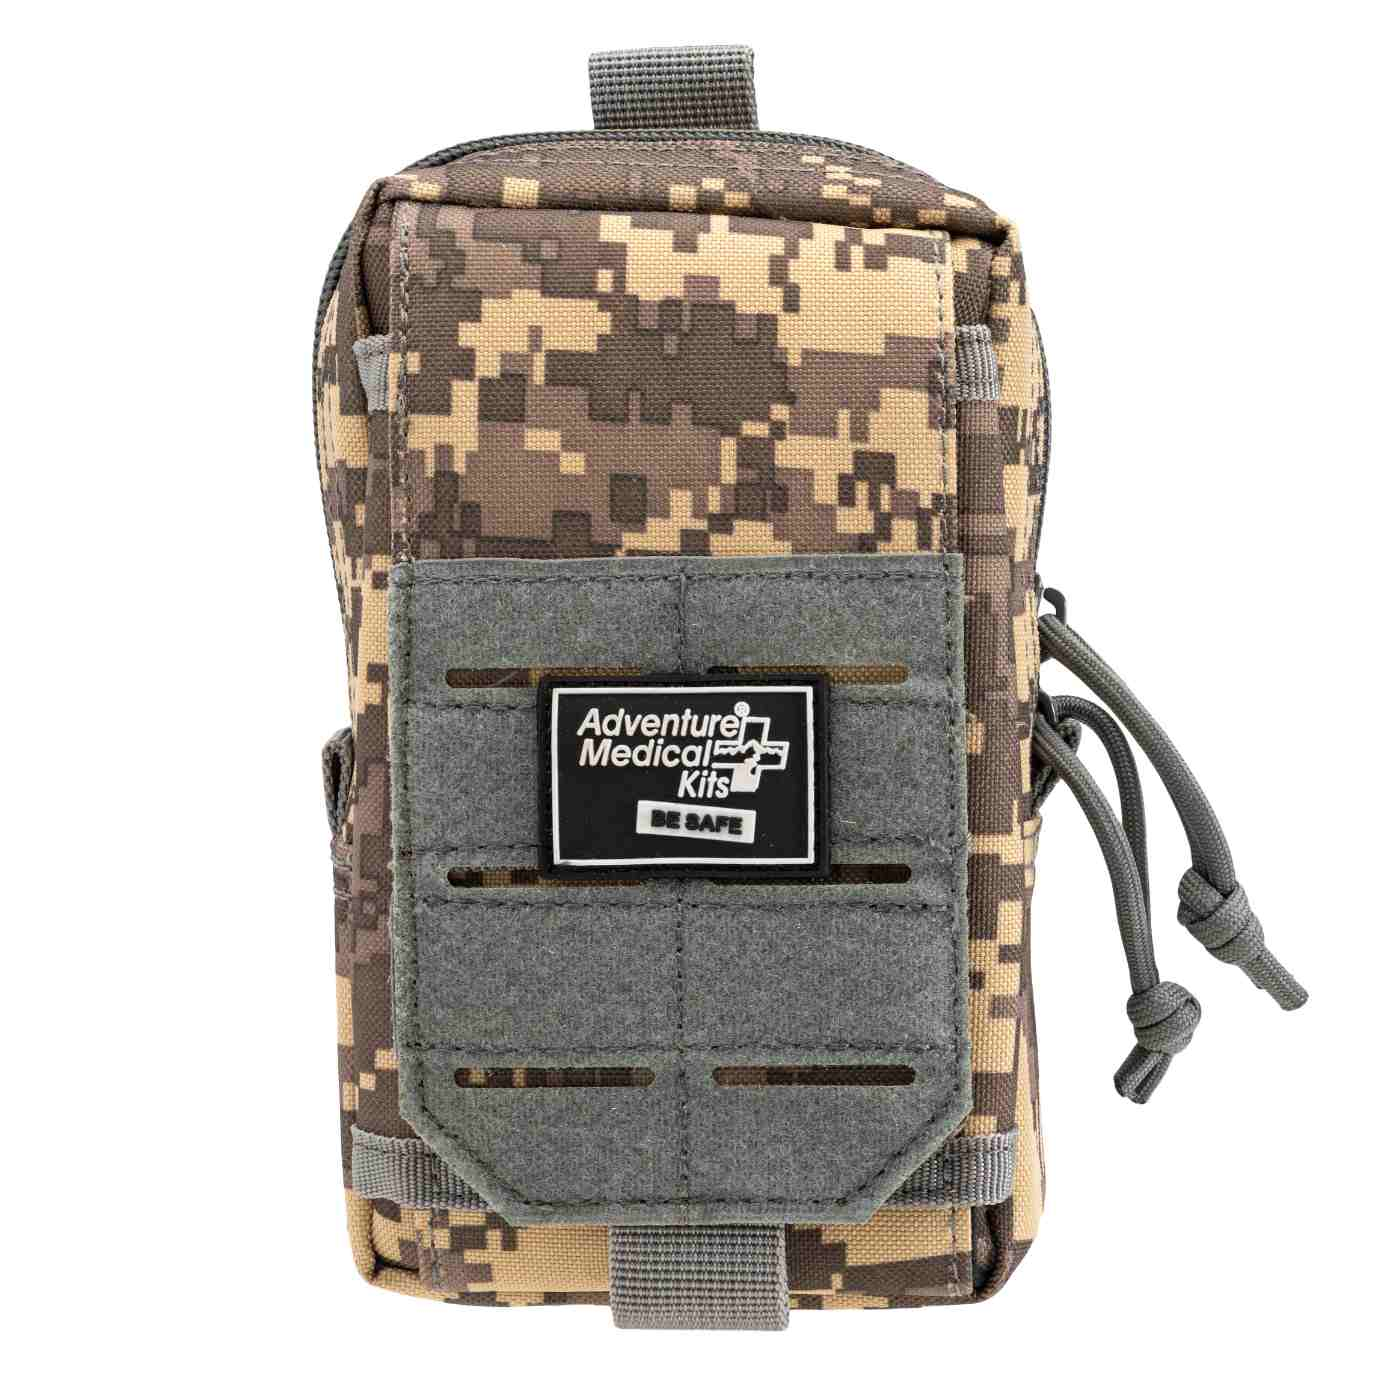
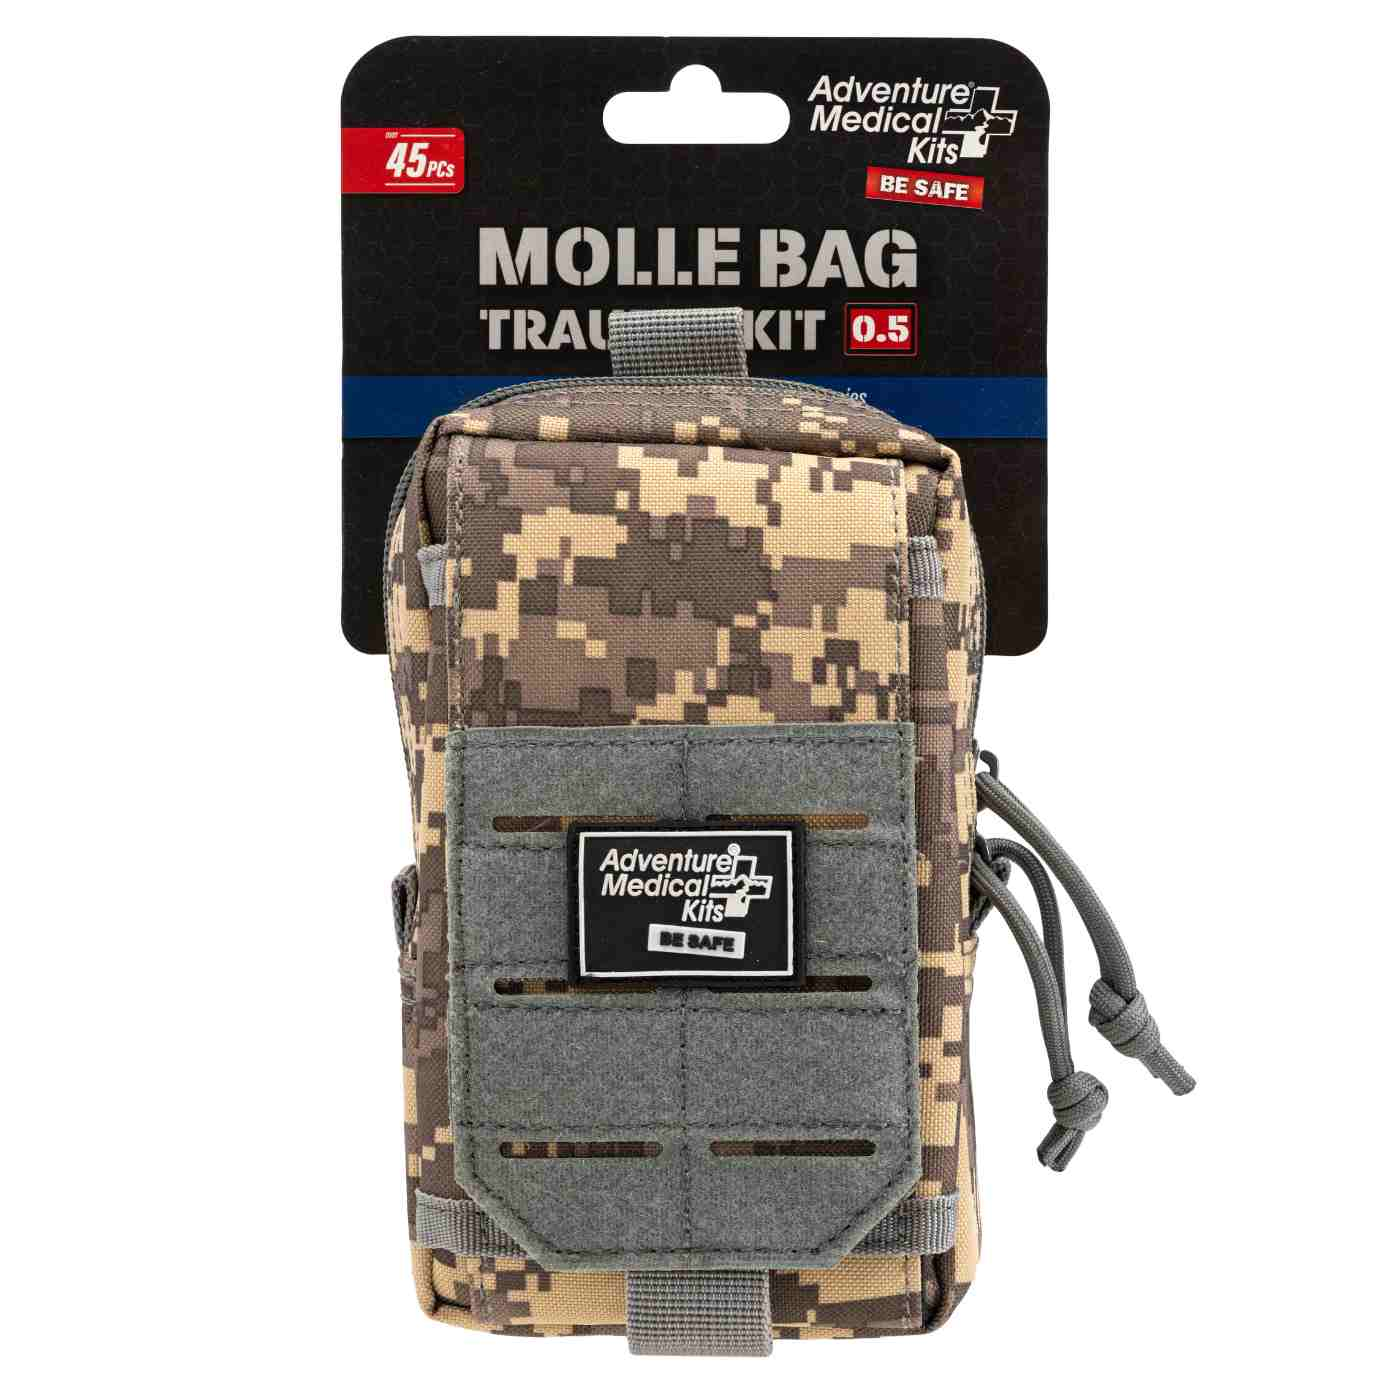
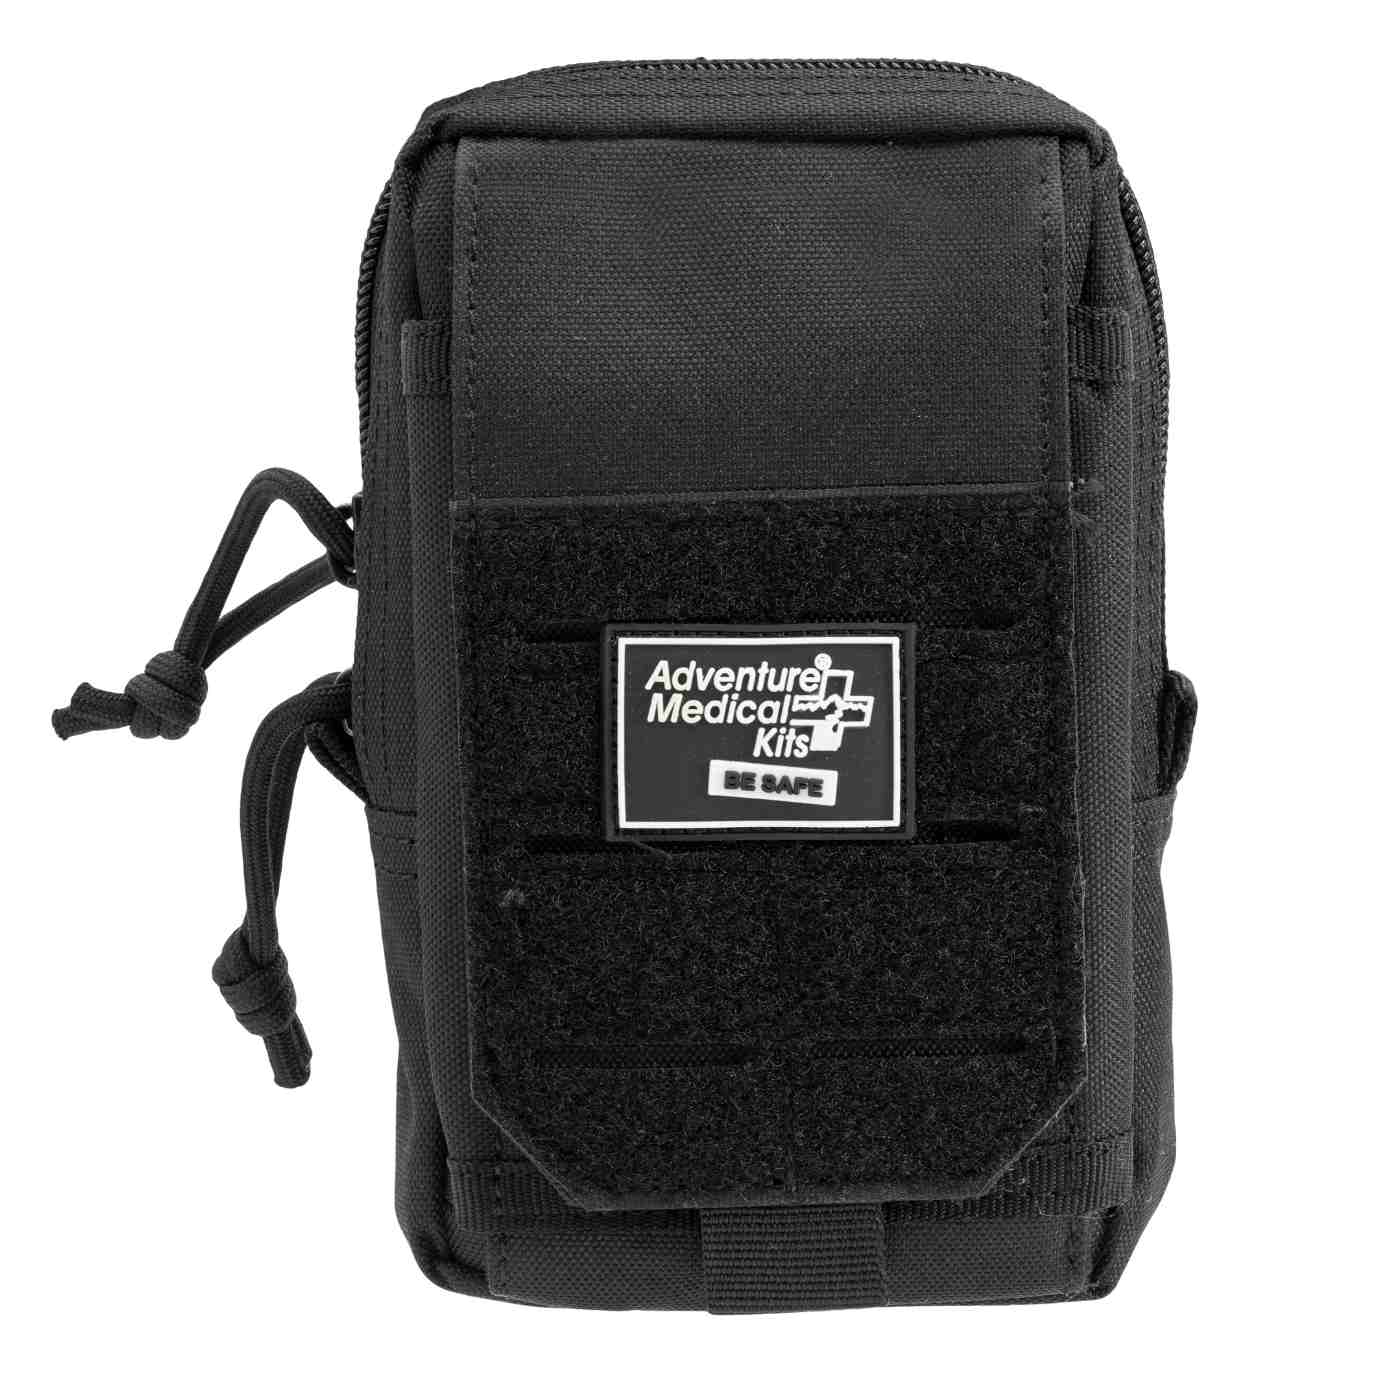
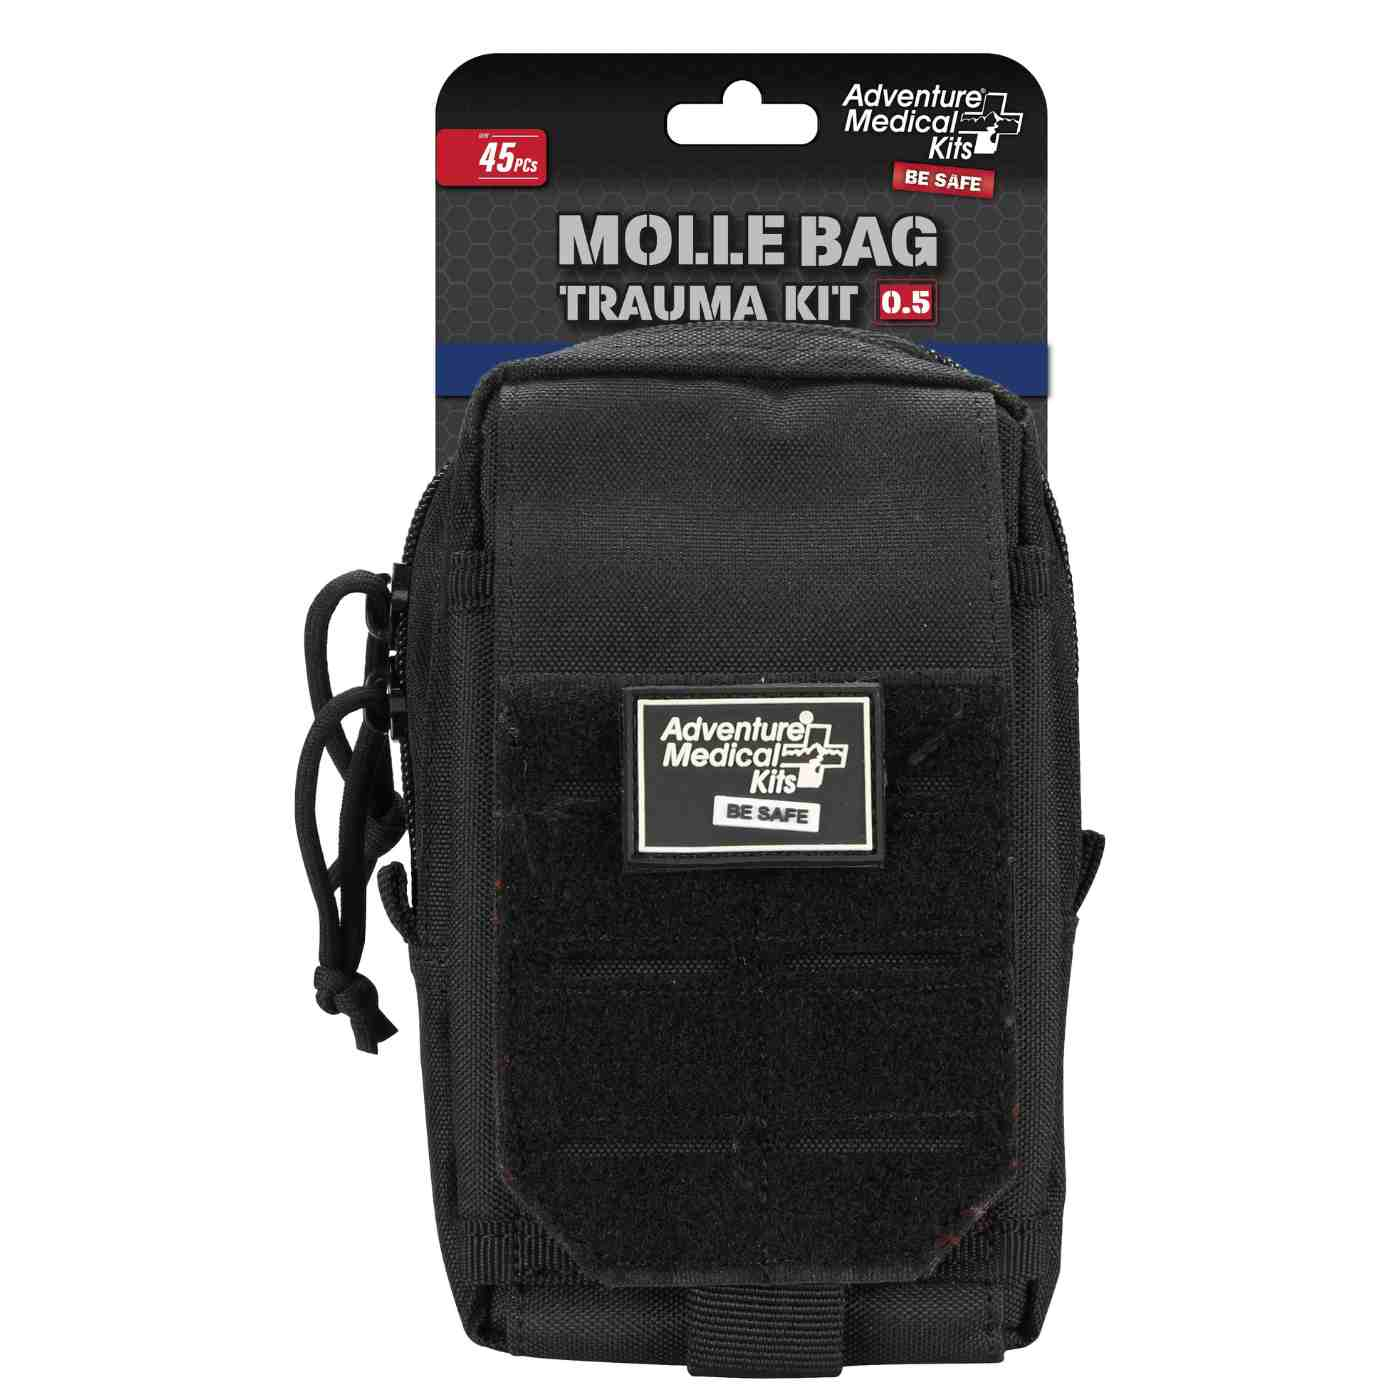
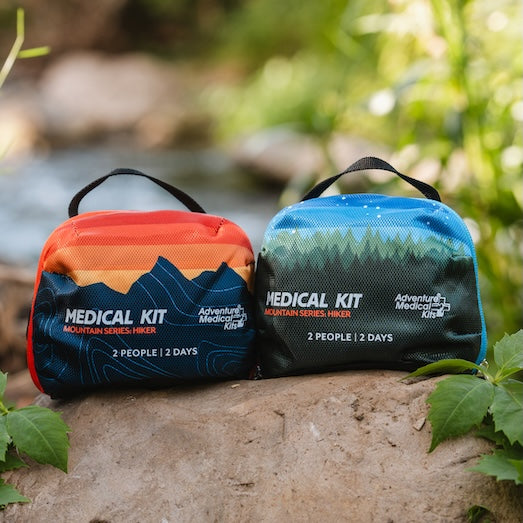
Adventure Medical Kits offers activity-specific kits with labeled organization, medical instructions, portable formats, and durable packaging options. Its Mountain Series and MOLLE series are relevant starting points for outdoor users who want a broader medical setup around their barrier device, while the final choice should reflect the activity, responder training, and local requirements.
Maintaining and Storing Barrier Devices for the Trail
A barrier device can fail before an emergency if its packaging is damaged or its parts have degraded. Outdoor kits endure heat in vehicles, cold in packs, moisture near water, and repeated compression under clothing and food bags.
A simple inspection routine keeps problems visible:
- Inspect the package: Replace any device with torn, open, wet, or heavily abraded packaging.
- Check the valve: Confirm that the one-way valve remains attached and free from visible damage.
- Examine the mask: Look for cracks, clouding, distorted edges, or a damaged head strap.
- Review dates and instructions: Follow the manufacturer's storage and replacement guidance, and replace items that are past their stated service period.
- Stage the device: Keep it in a labeled, reachable compartment rather than at the bottom of the pack.
- Practice access: During a kit check, remove and identify the device without deploying it unnecessarily.
Single-use components should be replaced after use. A spare face shield can provide useful backup, but it shouldn't substitute for a pocket mask when a team's response plan depends on reliable rescue ventilation.
Outdoor readiness improves when the entire kit is reviewed together. Gloves, communication tools, emergency blankets, wound supplies, and the CPR barrier should be easy to locate, protected from moisture, and matched to the people expected to use them.
Adventure Medical Kits offers portable, activity-specific medical kits with organized compartments, accessible supply lists, medical instructions, and supplies selected for outdoor emergencies. Visit Adventure Medical Kits to compare the Mountain Series and MOLLE series, then choose a kit that gives the CPR barrier device a clear place in a broader trail-response plan.