

A sharp edge catches a fingertip on a wet rock, or a cooking knife slips at camp, and suddenly a small cut controls the rest of the day. The immediate temptation is to cover it quickly with a finger wrap bandage and keep moving. That can work for a properly cleaned minor wound, but a wrap that hides bleeding, traps contamination, or restricts circulation creates a second problem.
A useful field dressing must do more than cover skin. It should protect the wound, preserve finger movement, stay inspectable, and help the injured person decide whether continuing is reasonable. The right choice depends on whether the injury is a cut, a puncture, a joint injury, or a possible fracture.
Table of Contents
- Why Finger Injuries Matter on the Trail
- Choosing the Right Finger Wrap Bandage for Your Activity
- How to Clean and Wrap a Finger Wound
- Buddy Taping for Sprains and Fractures
- When a Finger Wrap Is Not Enough
- Packing Finger Wraps in Your Outdoor Kit
Why Finger Injuries Matter on the Trail
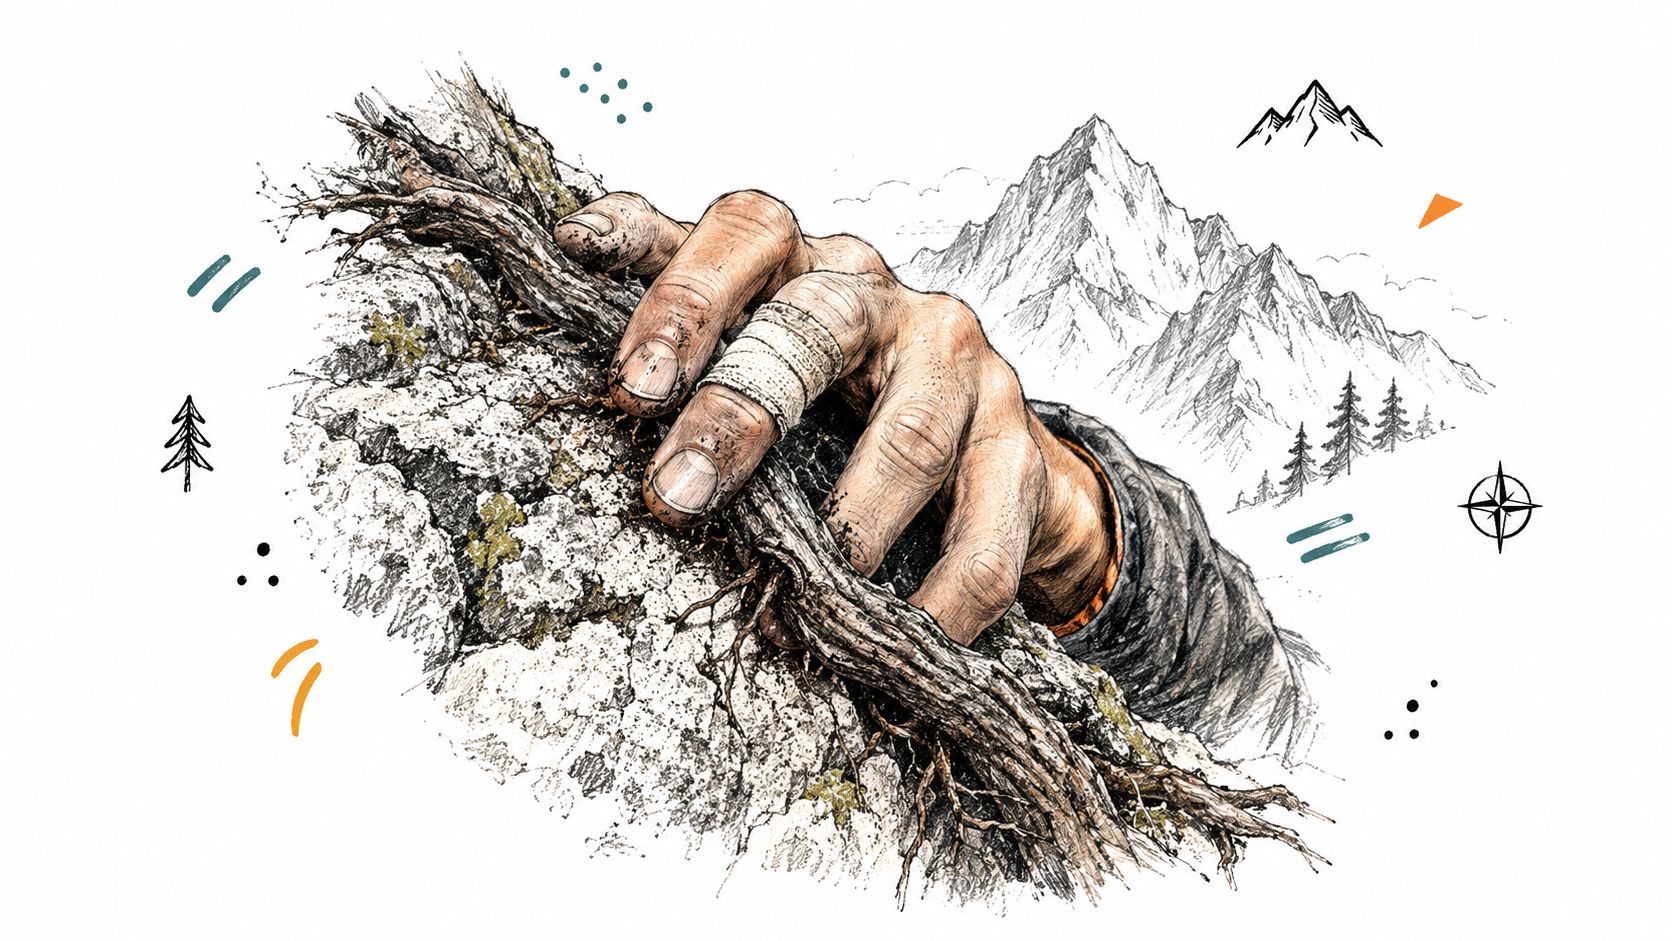
A hiker slips while scrambling and catches a root with one hand. The fingertip gets a shallow slice, bleeding slows, and a strip goes around the finger before the group starts climbing again. Several hours later, the dressing is wet from sweat and rain, the finger has swollen, and the adhesive has covered the wound so completely that nobody can tell whether the cut is still clean.
That sequence is common because fingers work constantly outdoors. They grip trekking poles, pull zippers, steady a body on rock, handle fishing gear, and prepare food. A small injury can become functionally important when every movement bends the wound or rubs the dressing against equipment.
Why outdoor conditions change the decision
Soil, plant material, dirty tools, standing water, saliva from bites, and repeated hand contact can contaminate an open cut. The CDC's wound-care guidance distinguishes clean minor wounds from punctures, bites, burns, crush injuries, frostbite, and wounds contaminated with soil, feces, saliva, or devitalized tissue. Those categories matter for tetanus assessment and medical follow-up.
A wrap protects a wound only after the wound has been assessed and cleaned. It shouldn't seal a contaminated puncture or bite against the skin, and it shouldn't delay evacuation when bleeding can't be controlled or deeper damage is possible.
Field rule: Cover a minor wound after cleaning and bleeding control. Don't use the wrap to avoid deciding what the injury actually is.
Fingers also have a narrow margin for tight wrapping. Swelling can increase during activity, while adhesive and cohesive materials can gradually compress the digit. The dressing must protect the cut without sacrificing color, warmth, sensation, or movement.
Choosing the Right Finger Wrap Bandage for Your Activity
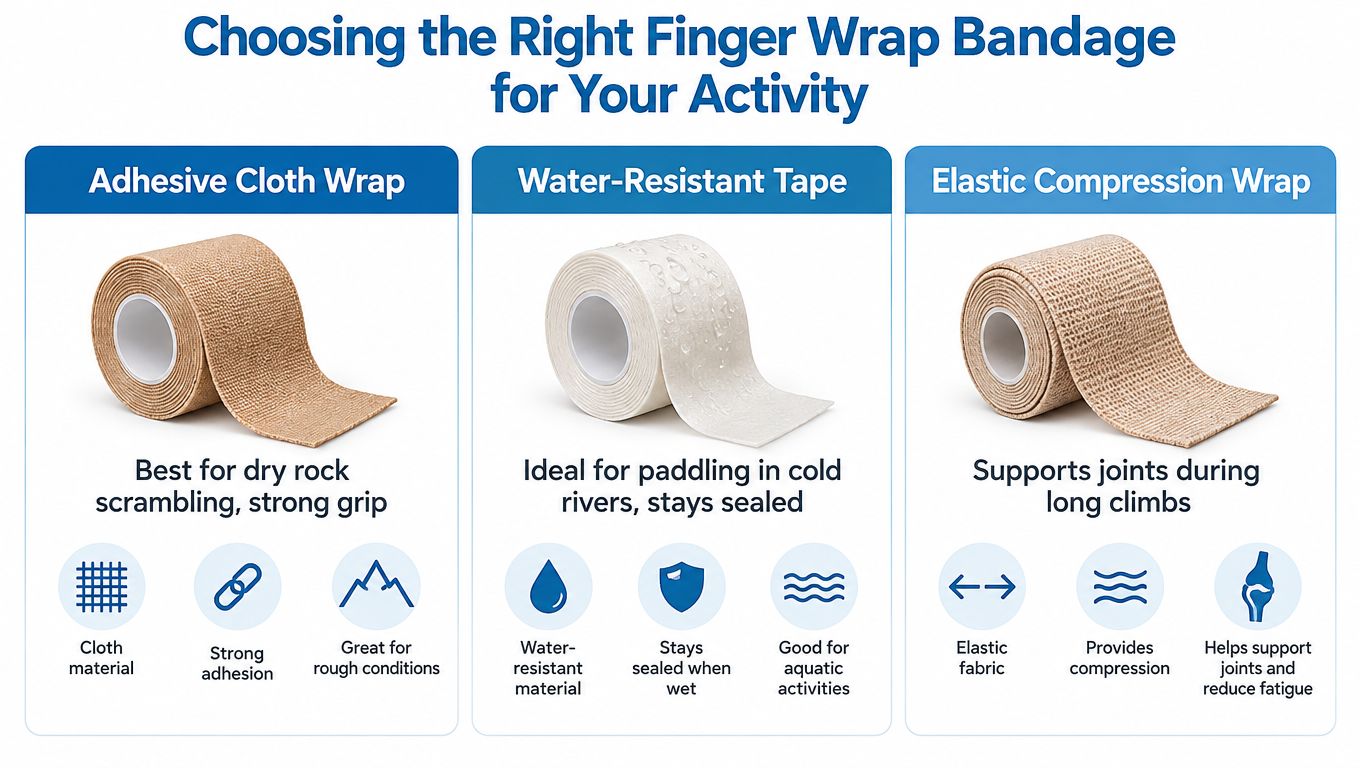
The material should match the environment and the job. A flexible adhesive strip may protect a dry superficial cut, but it isn't the same tool as a cohesive wrap for securing a pad or a buddy-taping setup for joint support.
| Type | Useful when | Main limitation |
|---|---|---|
| Adhesive cloth strip | Dry scrambling, camp cuts, and light grip work | Adhesive can loosen with sweat, rain, or repeated bending |
| Water-resistant covering | Short exposure to rain or splashes | Sealing a dirty wound can trap contamination |
| Cohesive wrap | Securing a non-adherent pad or adding light support | It sticks to itself, not skin, and can become too tight |
| Elastic support wrap | Stabilizing a dressing or supporting a strained area | It isn't a substitute for assessment of a fracture or tendon injury |
For a cut, the central feature matters more than the label. A sterile non-adherent pad should sit over the wound, while the outer material holds it in place. Adhesive wings are convenient for a small, dry injury, but they can pull on fragile skin and make inspection difficult.
Water resistance is useful, not automatically better. A waterproof outer layer can reduce exposure during rain or a brief splash, but the wound still needs inspection after immersion, sweating, or glove use. If the covering becomes wet or dirty, replace it rather than layering another strip over it. Mayo Clinic's cut-care guidance recommends changing a covering at least daily and whenever it becomes wet or dirty.
Climbers sometimes use tape to protect a skin flap or support an injured structure, but tape can't establish whether a finger is safe to load. A compact kit can also address unrelated trail problems, such as the Dental Medic emergency kit, which contains tools for dental pain, injuries, and toothaches when a dentist isn't available. It shouldn't be confused with wound-care equipment.
For pack selection, the guidance on an ultralight first aid kit for backpacking is useful because weight matters, but accessibility matters more when a fingertip is actively bleeding.
How to Clean and Wrap a Finger Wound
A finger wrap bandage goes on after bleeding control, not before. A dressing placed over active bleeding can conceal the problem and may need to be removed, wasting time and disturbing the clot.
Five practical steps
- Wash hands. Use clean water and soap when available. If hand cleaning isn't possible, use the cleanest practical method before touching the wound or dressing.
- Control bleeding. Apply firm, continuous direct pressure with a clean cloth or dressing. For a hand or arm injury, elevation can help slow bleeding. If bleeding persists after 10 minutes of firm pressure, seek medical evaluation through the appropriate local service, as advised by MedlinePlus wound-care guidance.
- Rinse the cut. Irrigate it with clean running water and remove visible debris with a clean tool. Clean the surrounding skin with soap, keeping soap out of the wound. Hydrogen peroxide and iodine can irritate tissue and aren't recommended for routine cleaning. A thin layer of suitable ointment may be used when appropriate, but ointment doesn't replace irrigation or assessment.
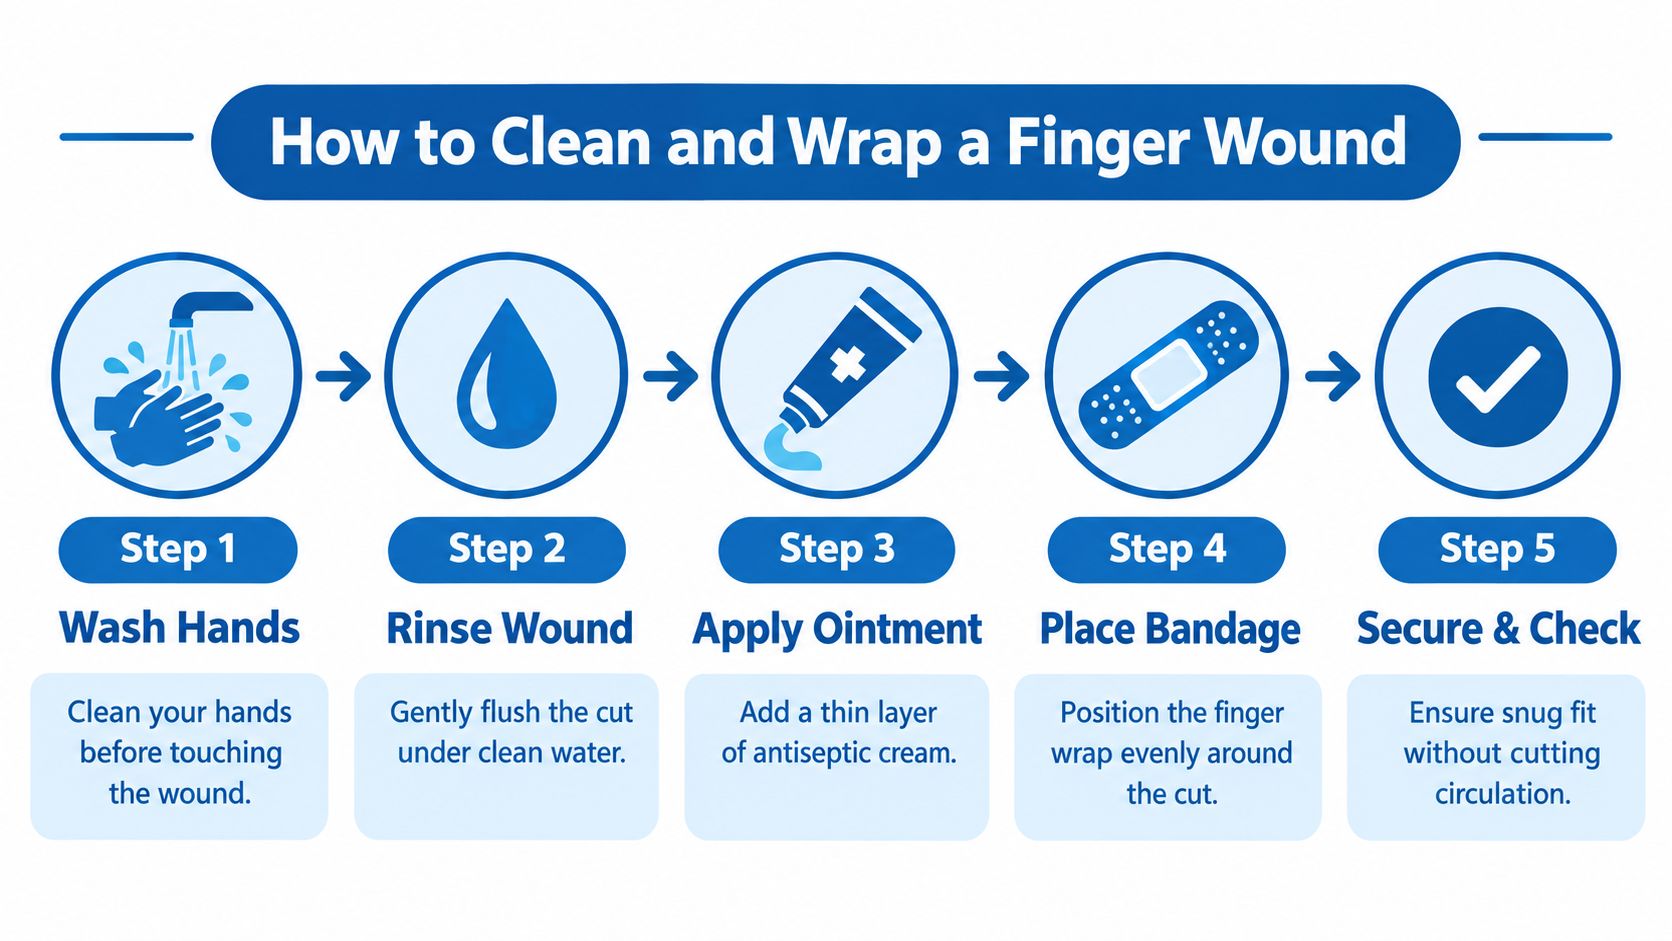
- Cover the wound. Place a sterile non-adherent pad directly over the cut. Secure it with cohesive wrap or medical tape using overlapping turns. The wrap should hold the pad steady while allowing the finger to flex.
- Check the digit. Compare the injured fingertip with the other hand. It should remain warm and normally colored, with normal sensation and movement. Loosen or replace the wrap immediately if the finger becomes pale, blue, cold, numb, increasingly painful, or newly tingly.
The alcohol prep pad resource can help explain where prep materials fit in a kit, but alcohol isn't a substitute for rinsing dirt from an open wound. The dressing also needs maintenance. Change it at least daily and whenever it becomes wet or dirty.
For readers who want deeper background on wounds that don't settle normally, Premiere Education wound management provides context on evidence-based management of non-healing wounds.
The following video can reinforce the mechanics of basic wound care:
Buddy Taping for Sprains and Fractures
A standard adhesive strip protects skin. It doesn't stabilize a finger after a fall, twist, pop, or crack. Buddy taping uses the neighboring finger as a support, but it belongs only in situations where the alignment is normal and the injury appears stable.
Remove rings before swelling increases. Place soft padding between the injured finger and its neighbor, keeping the interface dry. Without padding, moisture and friction can cause maceration and skin breakdown.
Position matters more than tightness
Use two narrow tape bands rather than wrapping the entire digits continuously:
- Upper band: Place one band near the proximal phalanx, away from the joint crease.
- Lower band: Place the second near the middle phalanx, also avoiding direct compression over the joints.
- Movement check: The fingers should remain aligned side by side while still allowing safe flexion and extension.
- Circulation check: Inspect color, warmth, sensation, swelling, and pain before and after taping.
The MSD Manual's buddy-taping guidance describes this two-band configuration and notes that appropriate stable finger fractures may be buddy taped continuously for the first 2–3 weeks, then mainly during activities with catch risk as pain and swelling settle. That timeline isn't a permission to self-diagnose a fracture. Clinical advice should determine whether the injury is stable and whether movement is appropriate.
Don't buddy tape an abnormally bent or crossed finger, a severely swollen digit, an open wound, numbness, suspected tendon injury, or a potentially unstable or displaced fracture. A rigid splint may be needed, but improvised stabilization shouldn't delay evaluation when alignment or function is clearly abnormal.
When a Finger Wrap Is Not Enough
The most important question isn't whether a finger wrap bandage can be applied. It's whether wrapping is the right action at all.
A deep cut near a joint or along the palm side of a finger may involve a tendon, nerve, or blood vessel. Loss of sensation, inability to bend or straighten normally, visible deeper tissue, wound separation, deformity, exposed bone, major tissue loss, or uncontrolled pain requires medical evaluation. A wrap can protect the area during transport, but it can't repair those structures.
Contamination changes the plan
Punctures, bites, crush injuries, burns, frostbite, and wounds containing soil, feces, saliva, or dead tissue carry different infection and tetanus considerations from a clean shallow cut. The CDC tetanus guidance says every wound should be cleaned and foreign material removed. For dirty or major wounds, a tetanus vaccine is generally not indicated when the primary series is complete and the last dose was less than 5 years ago, but it is indicated at 5 years or more. Vaccination is also indicated when the history is unknown, the person is unvaccinated, or the primary series is incomplete.
That decision depends on wound type and vaccination history, not on whether the dressing says sterile or whether antibiotic ointment was applied. A contaminated puncture shouldn't be sealed and forgotten.
Do not push through: Persistent bleeding, new sensory loss, deformity, suspected tendon or bone injury, or an abnormal finger position deserves evaluation rather than a tighter wrap.
Infection warning signs include increasing pain, warmth, swelling, drainage, pus, fever, or redness that spreads away from the wound. A dressing that becomes painful, wet, dirty, or foul-smelling should be changed while the wound is reassessed. If symptoms worsen instead of settling, professional care is the safer choice.
Packing Finger Wraps in Your Outdoor Kit
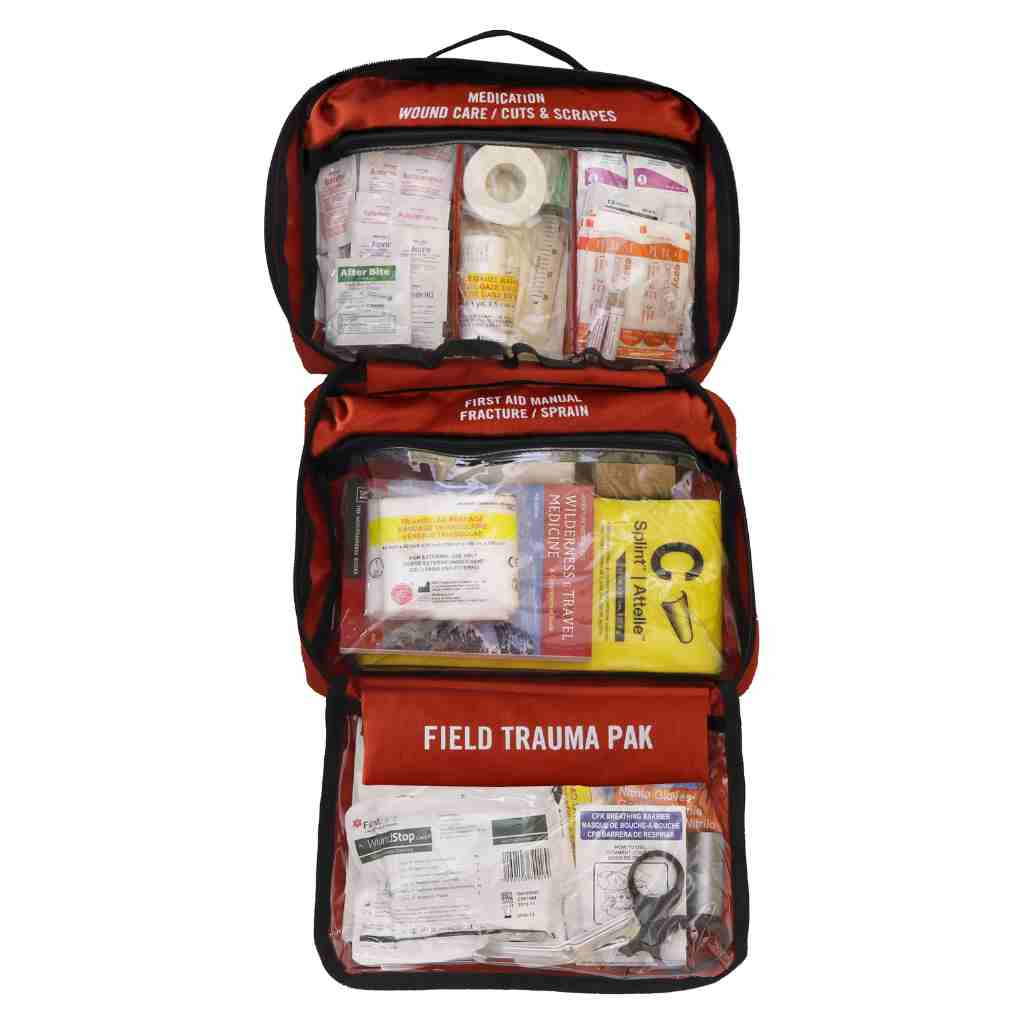
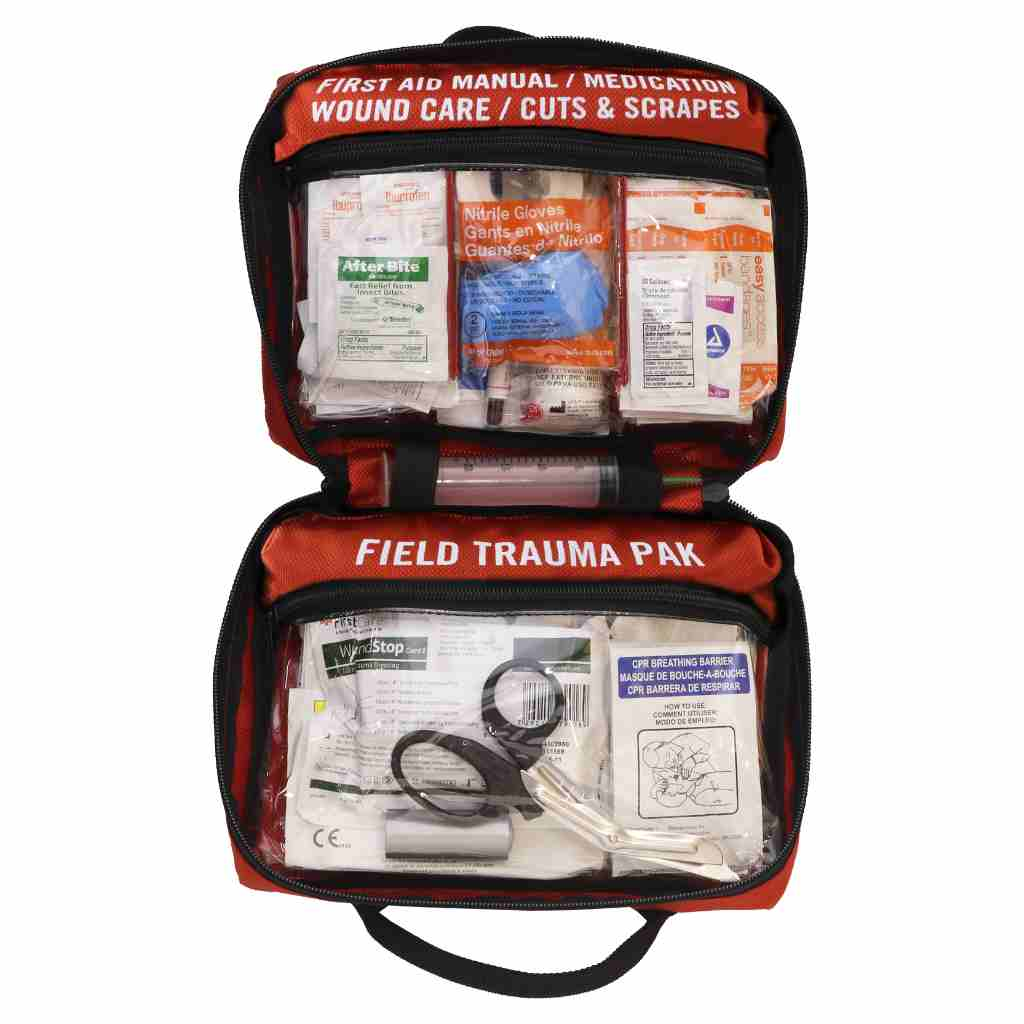
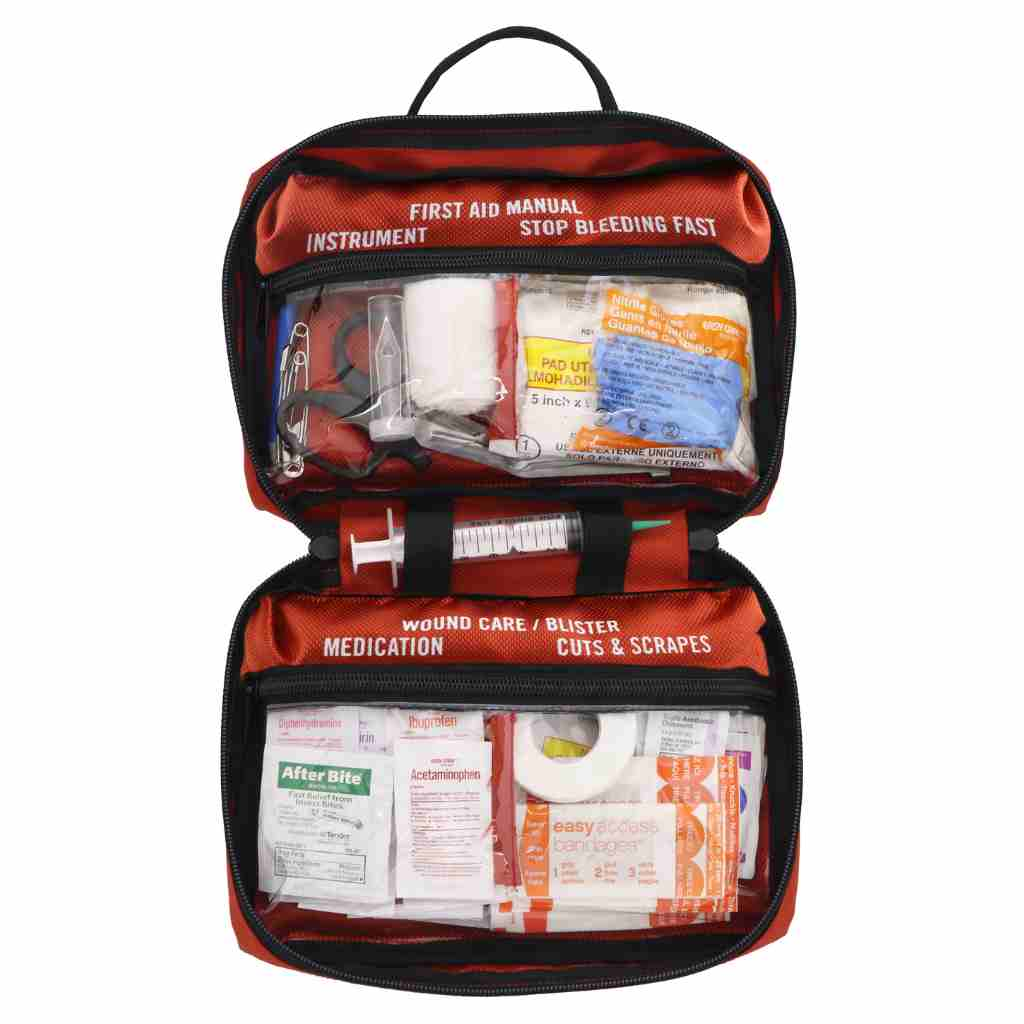
A bandage hidden beneath cookware is not an accessible bandage. Finger injuries often happen while hands are dirty, cold, or occupied, so the kit should place wound-care supplies where they can be reached without unpacking everything.
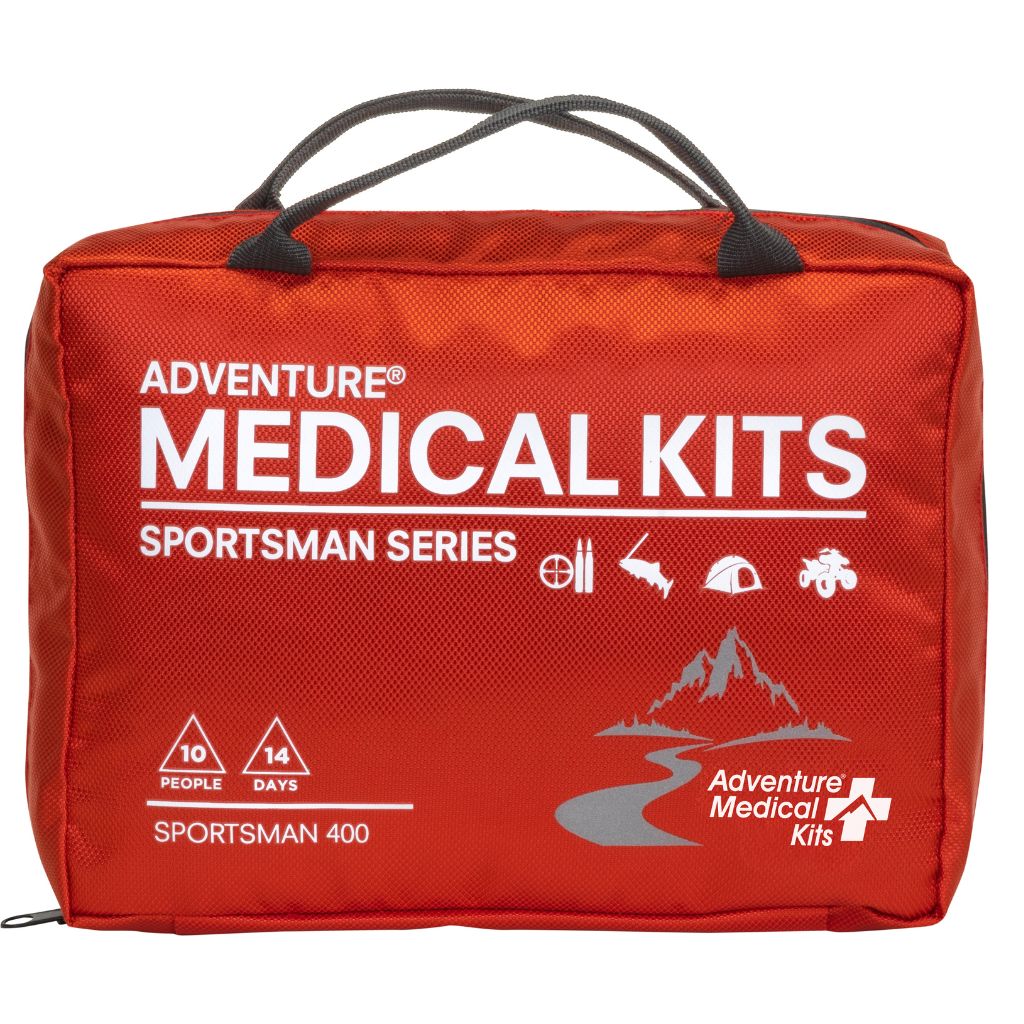
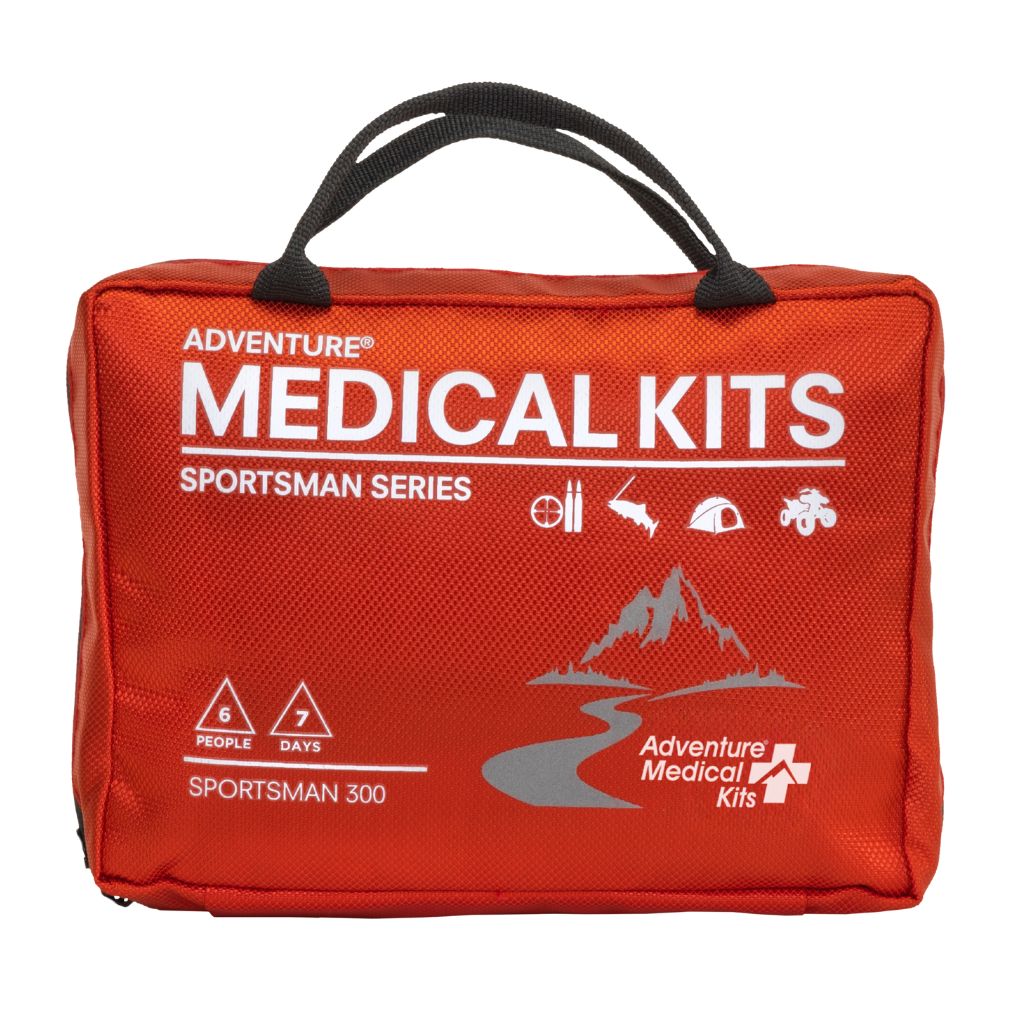
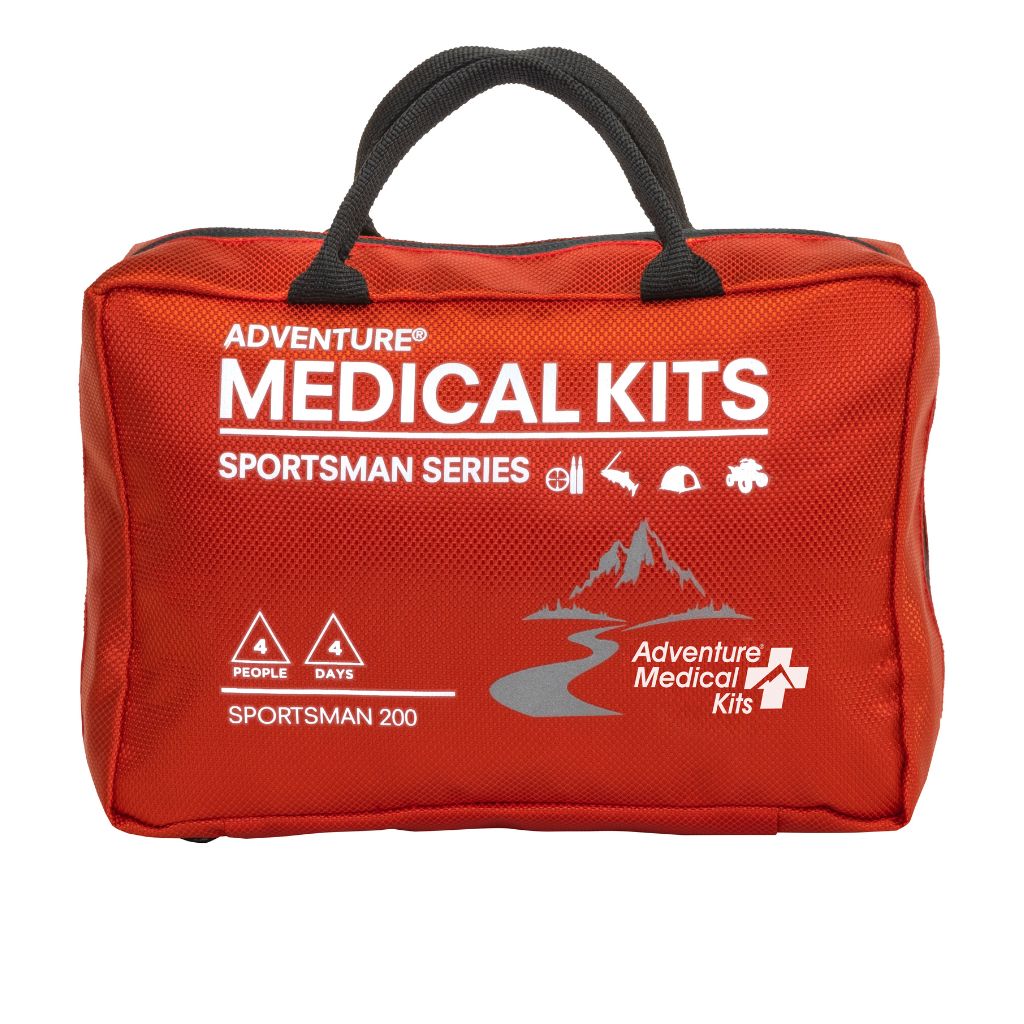
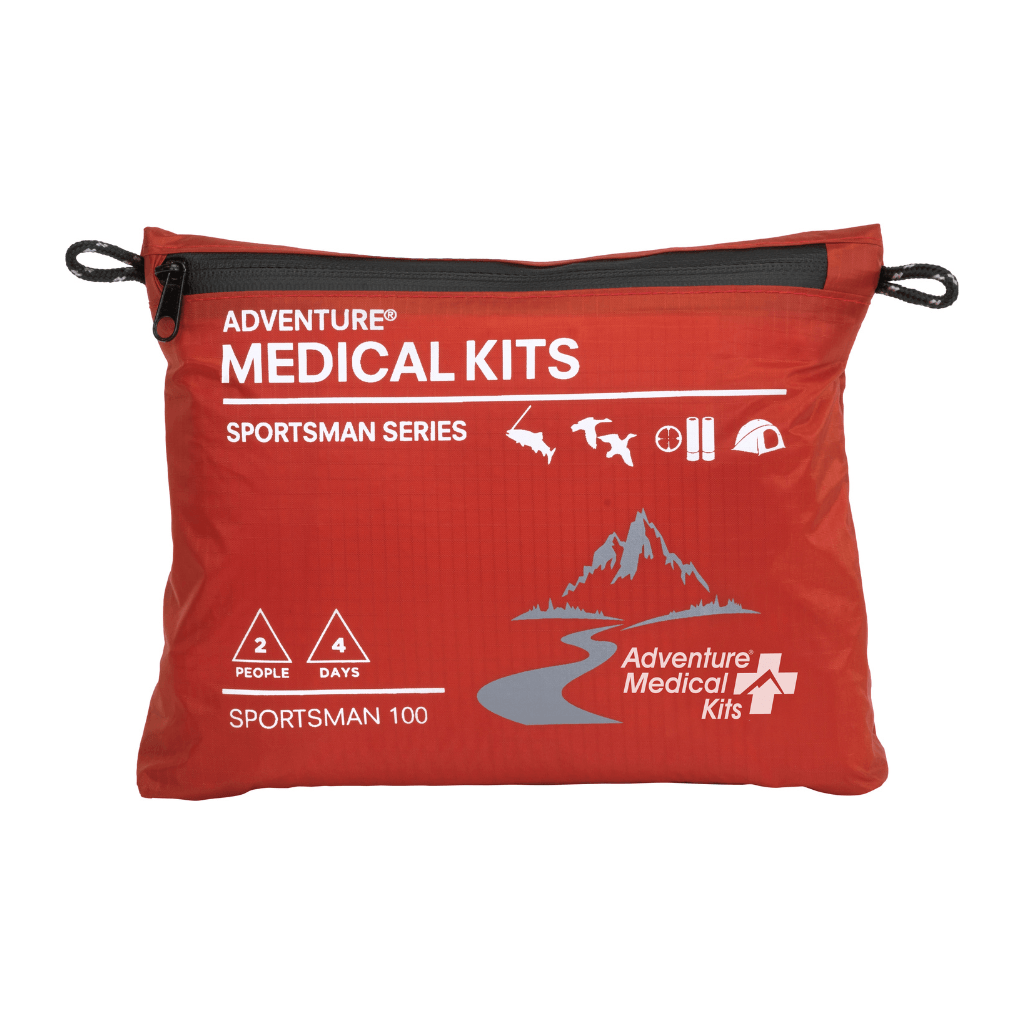
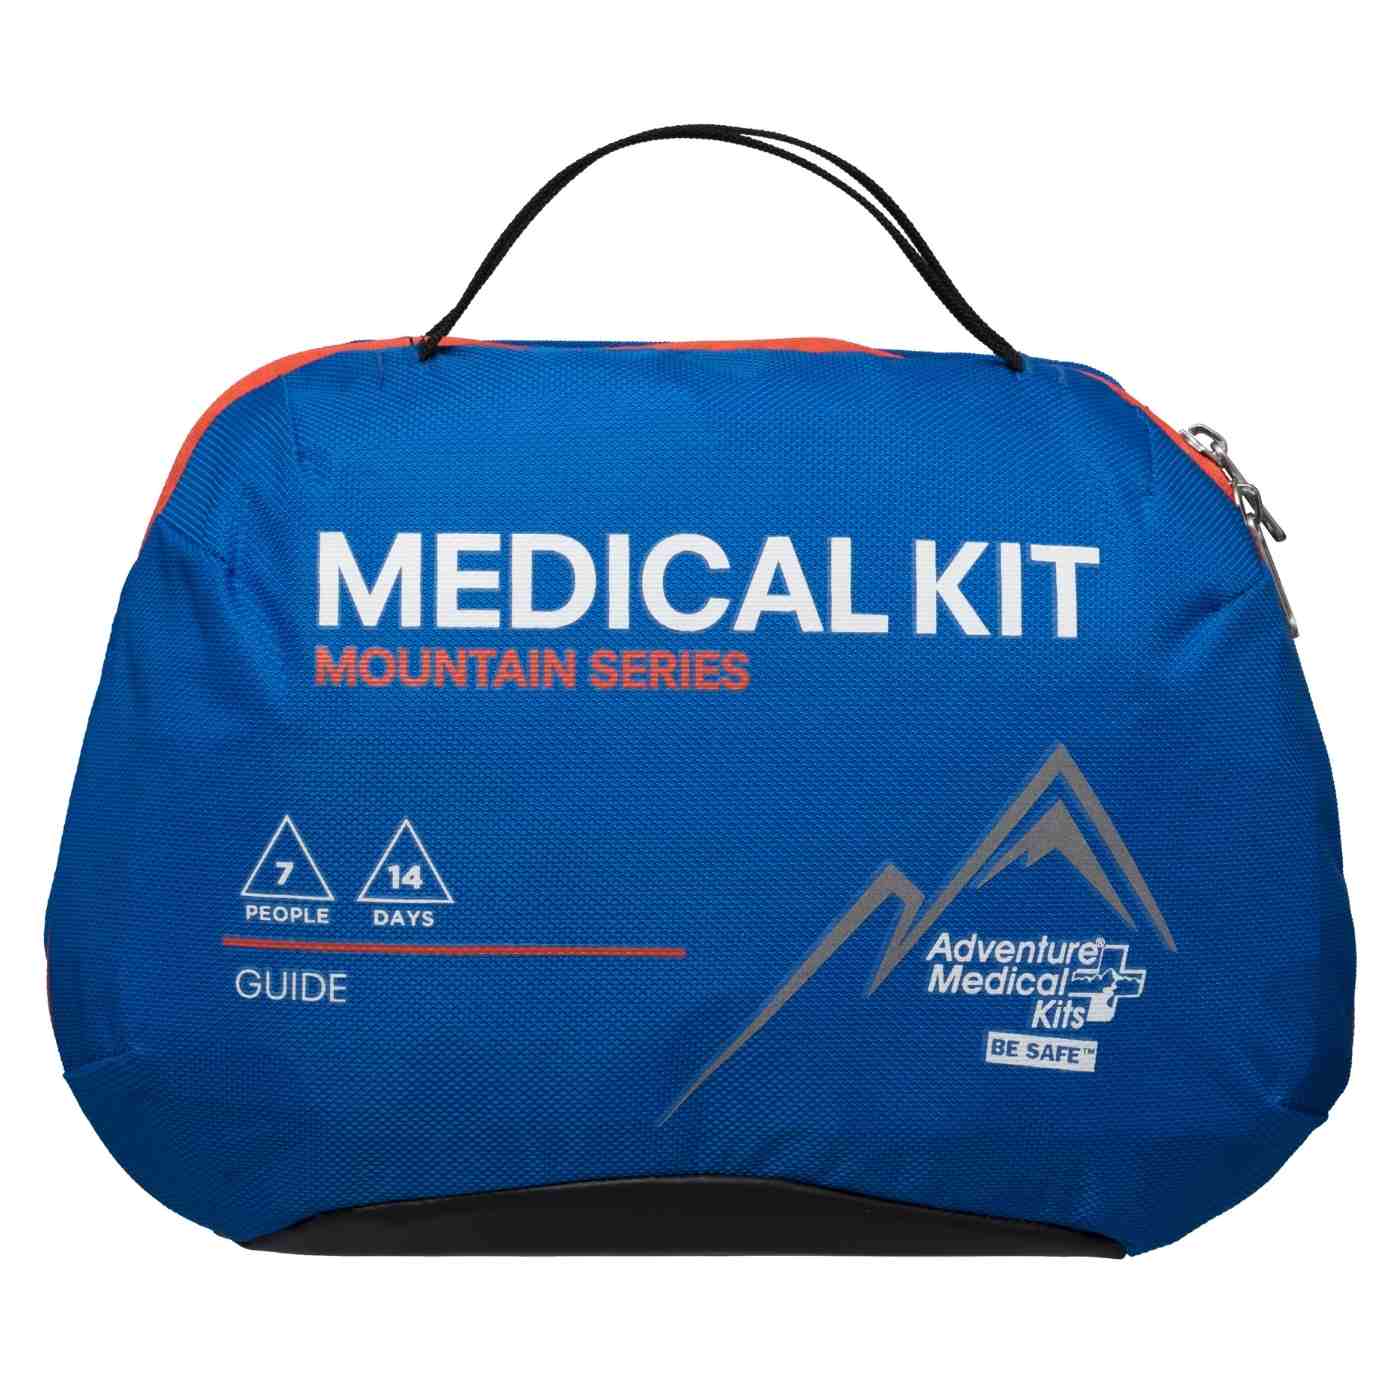
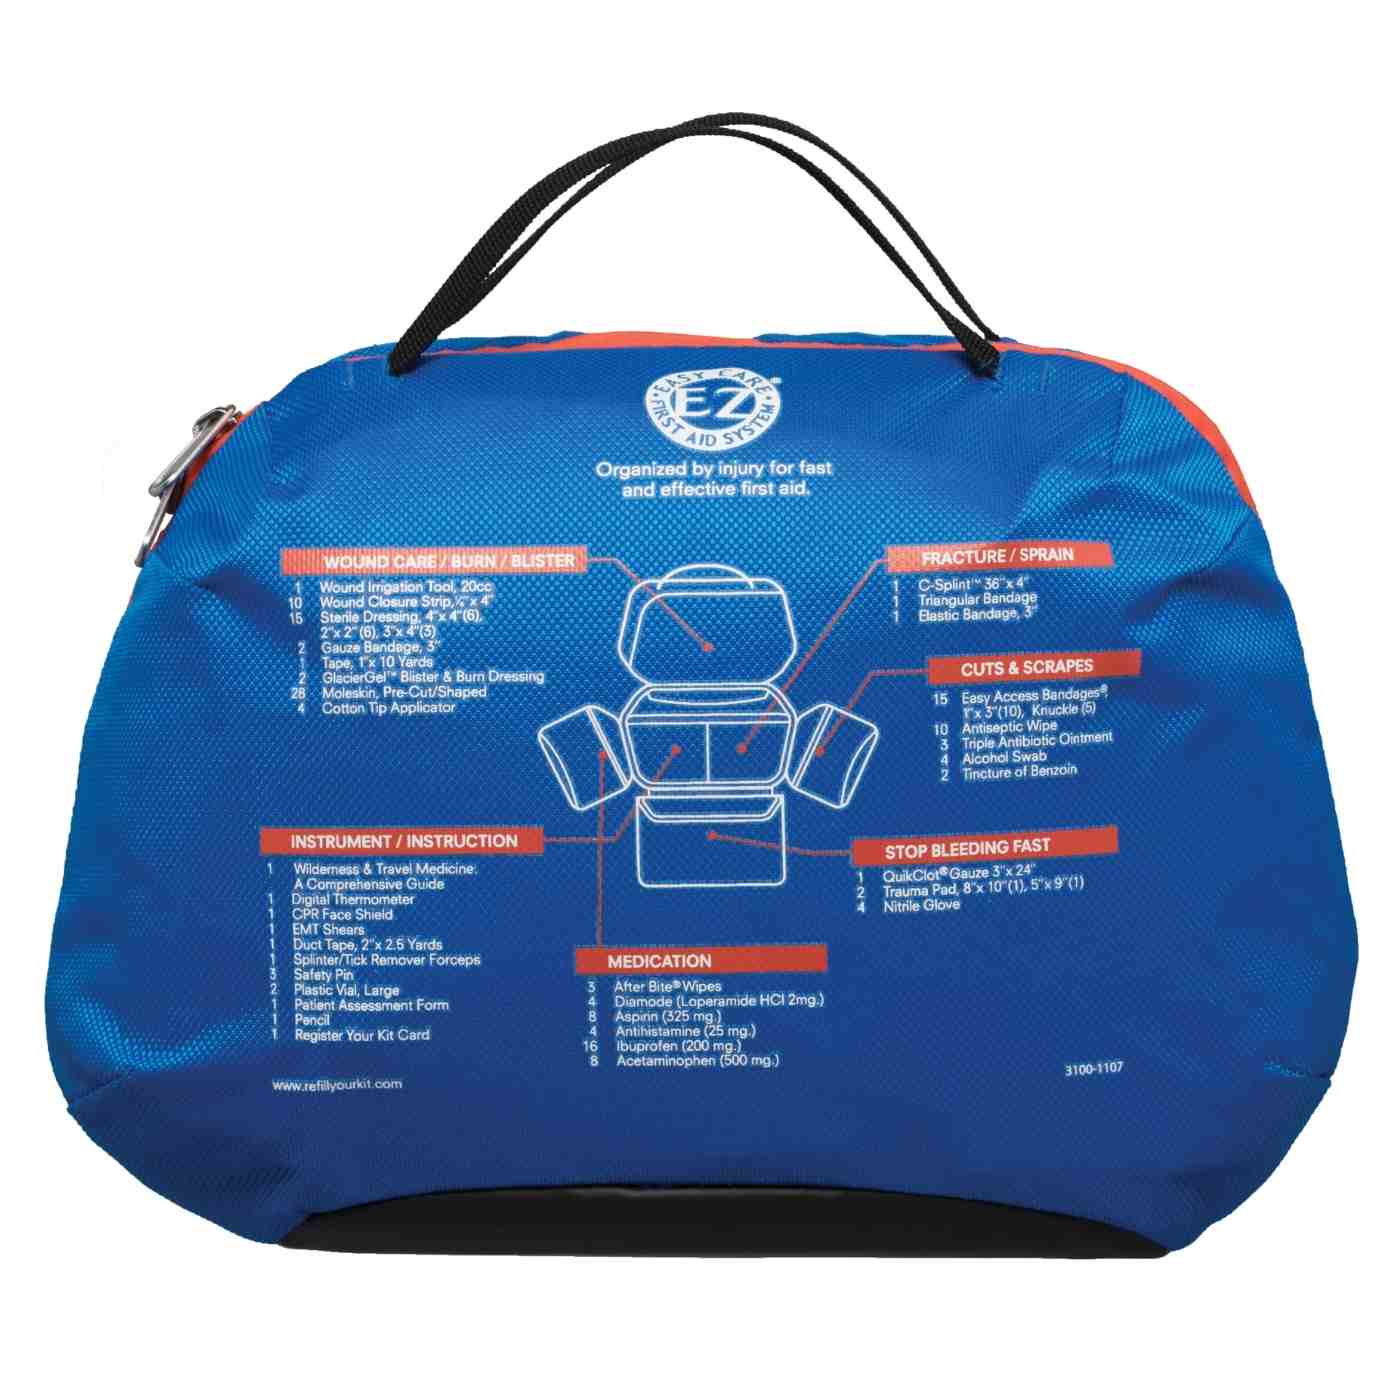
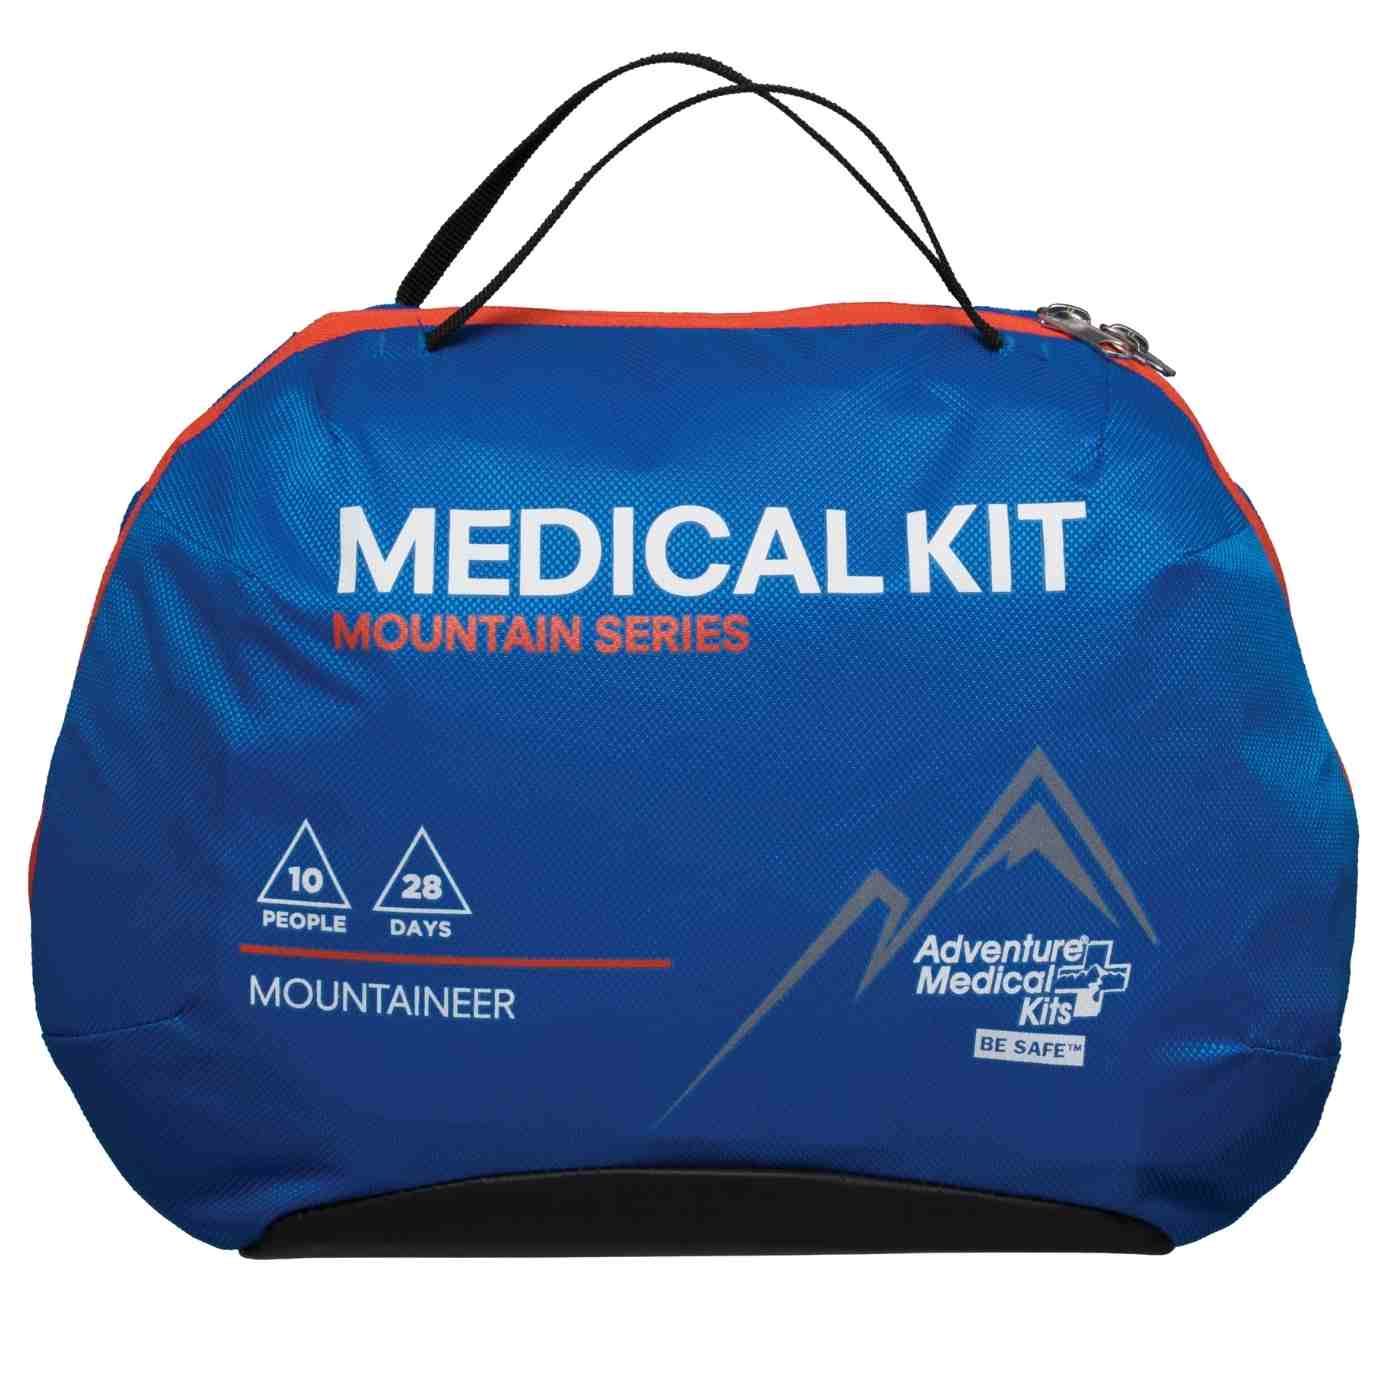
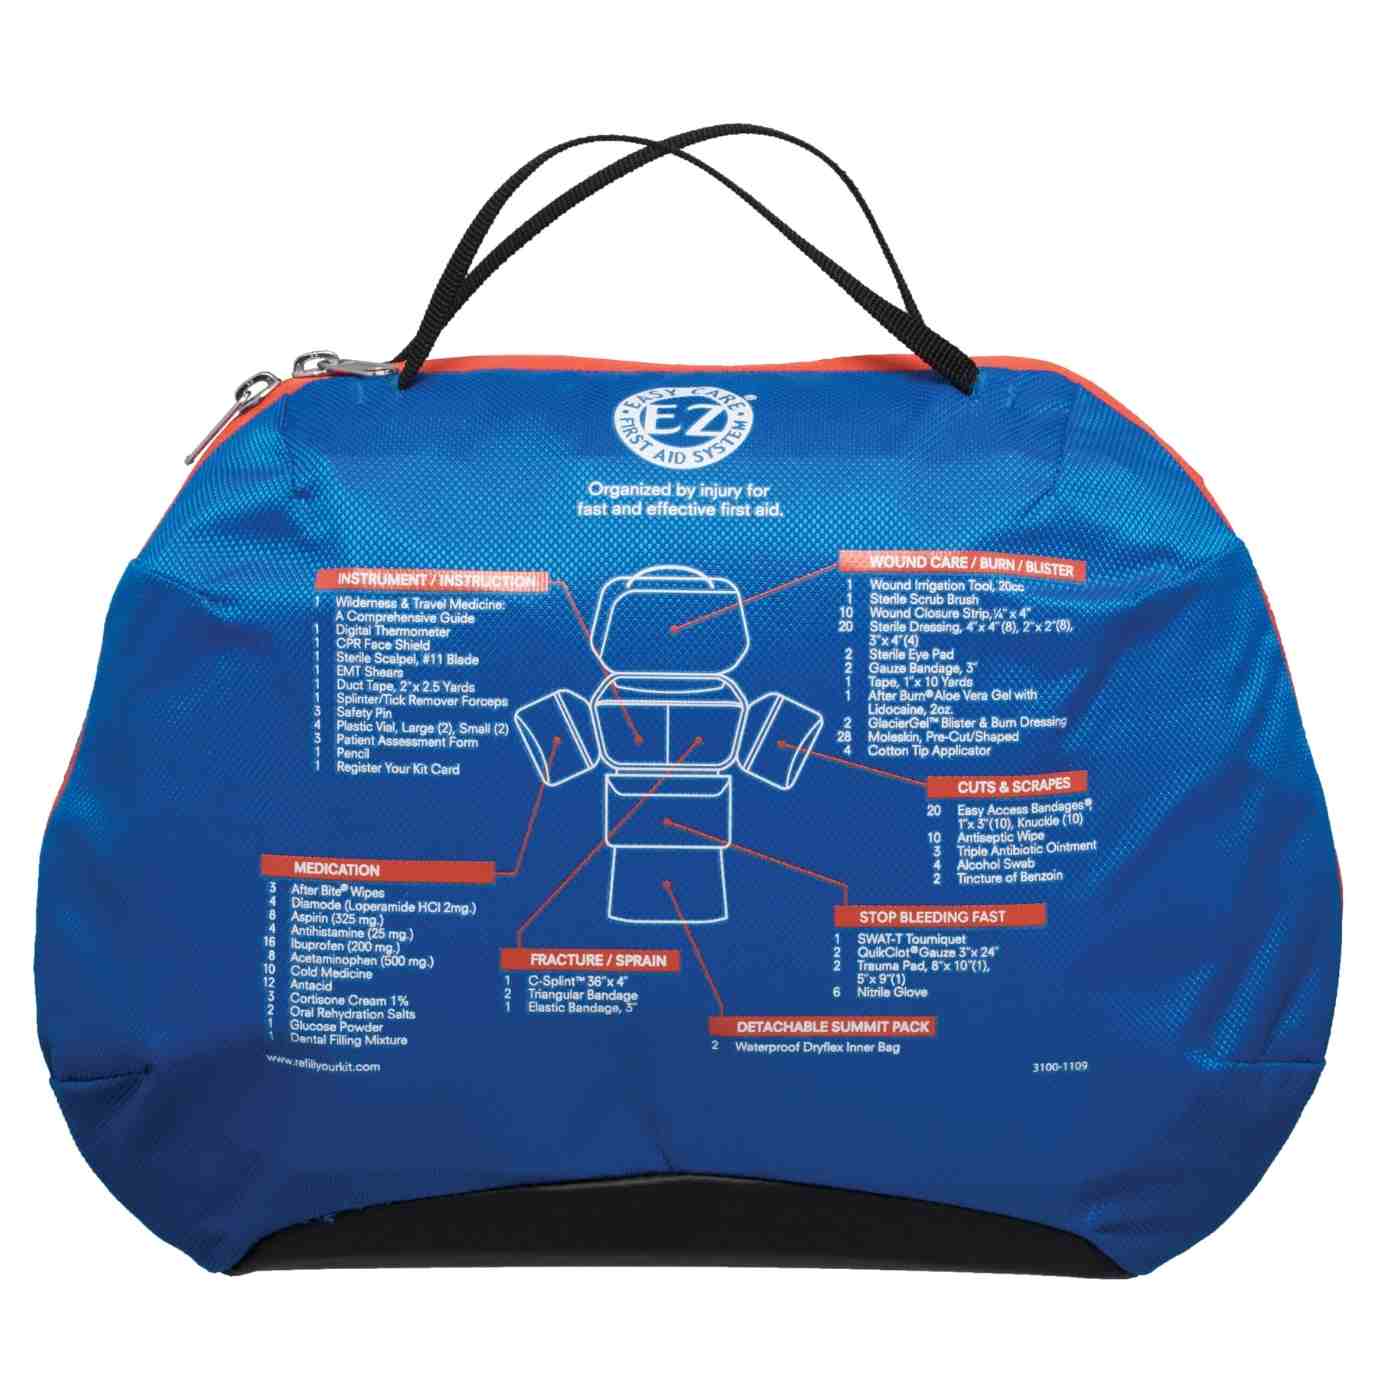
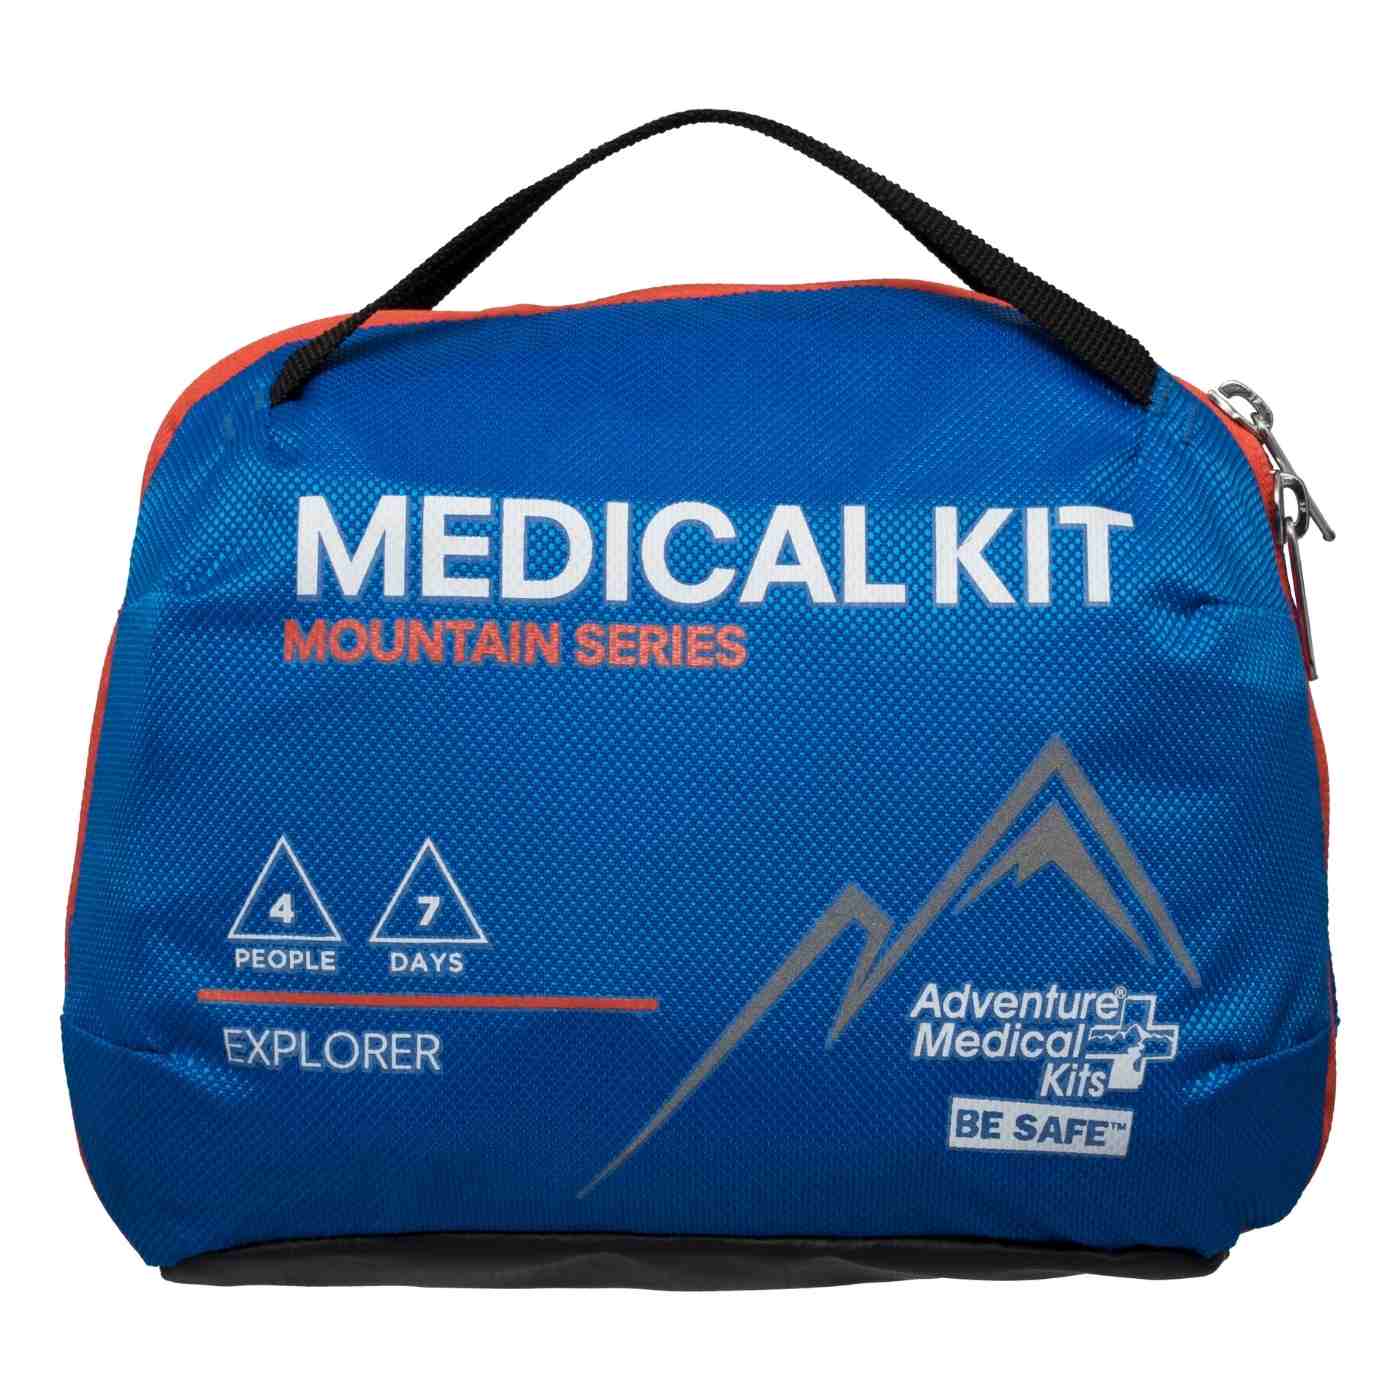
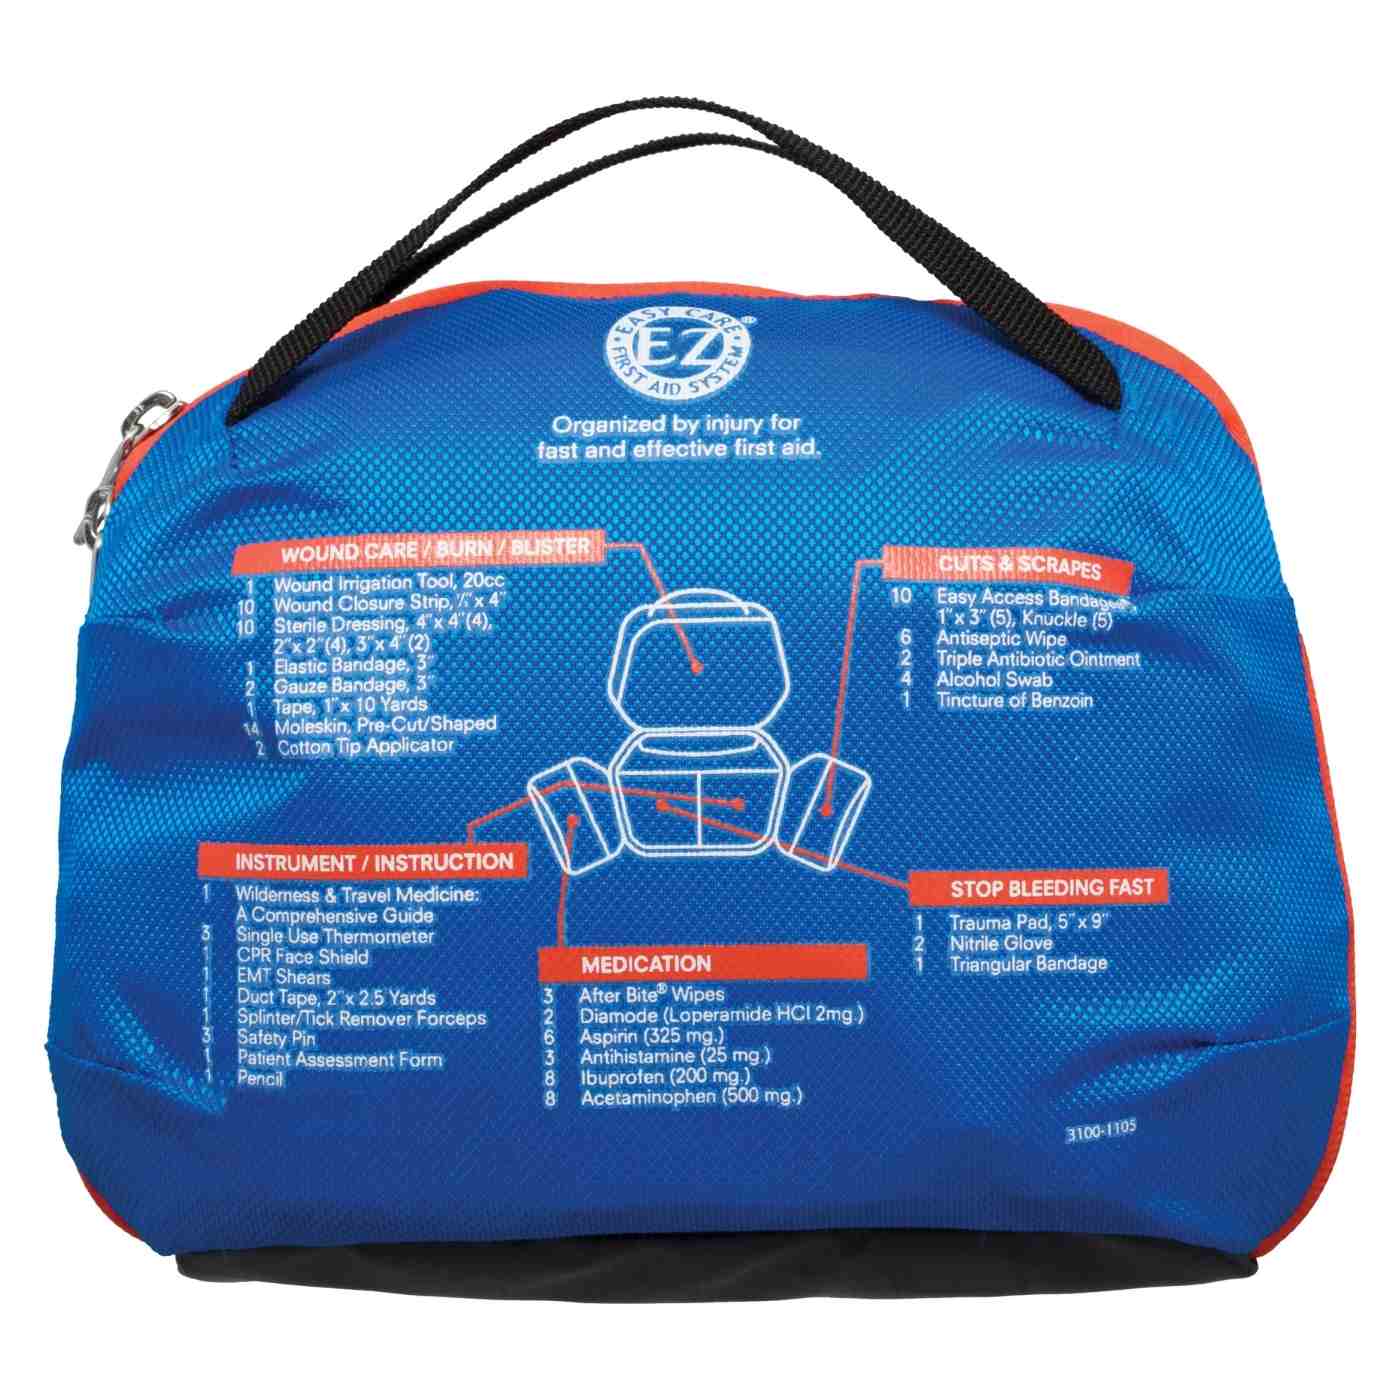
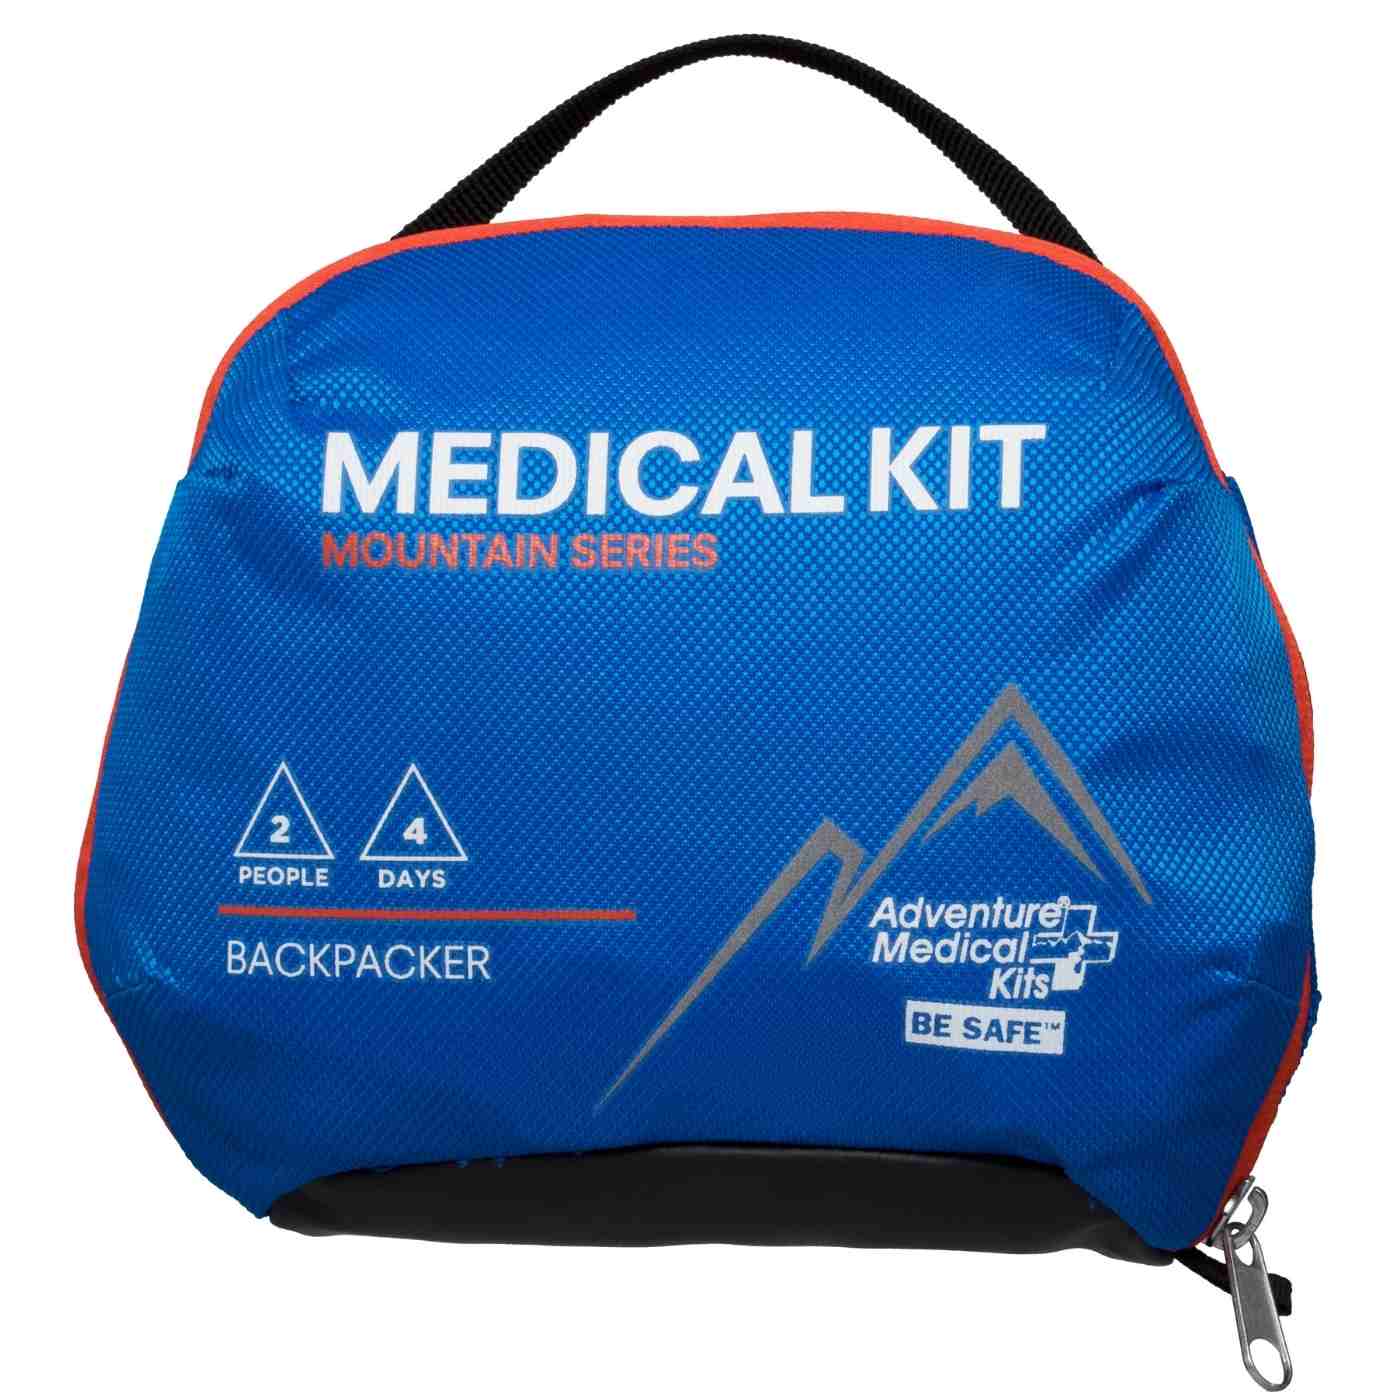
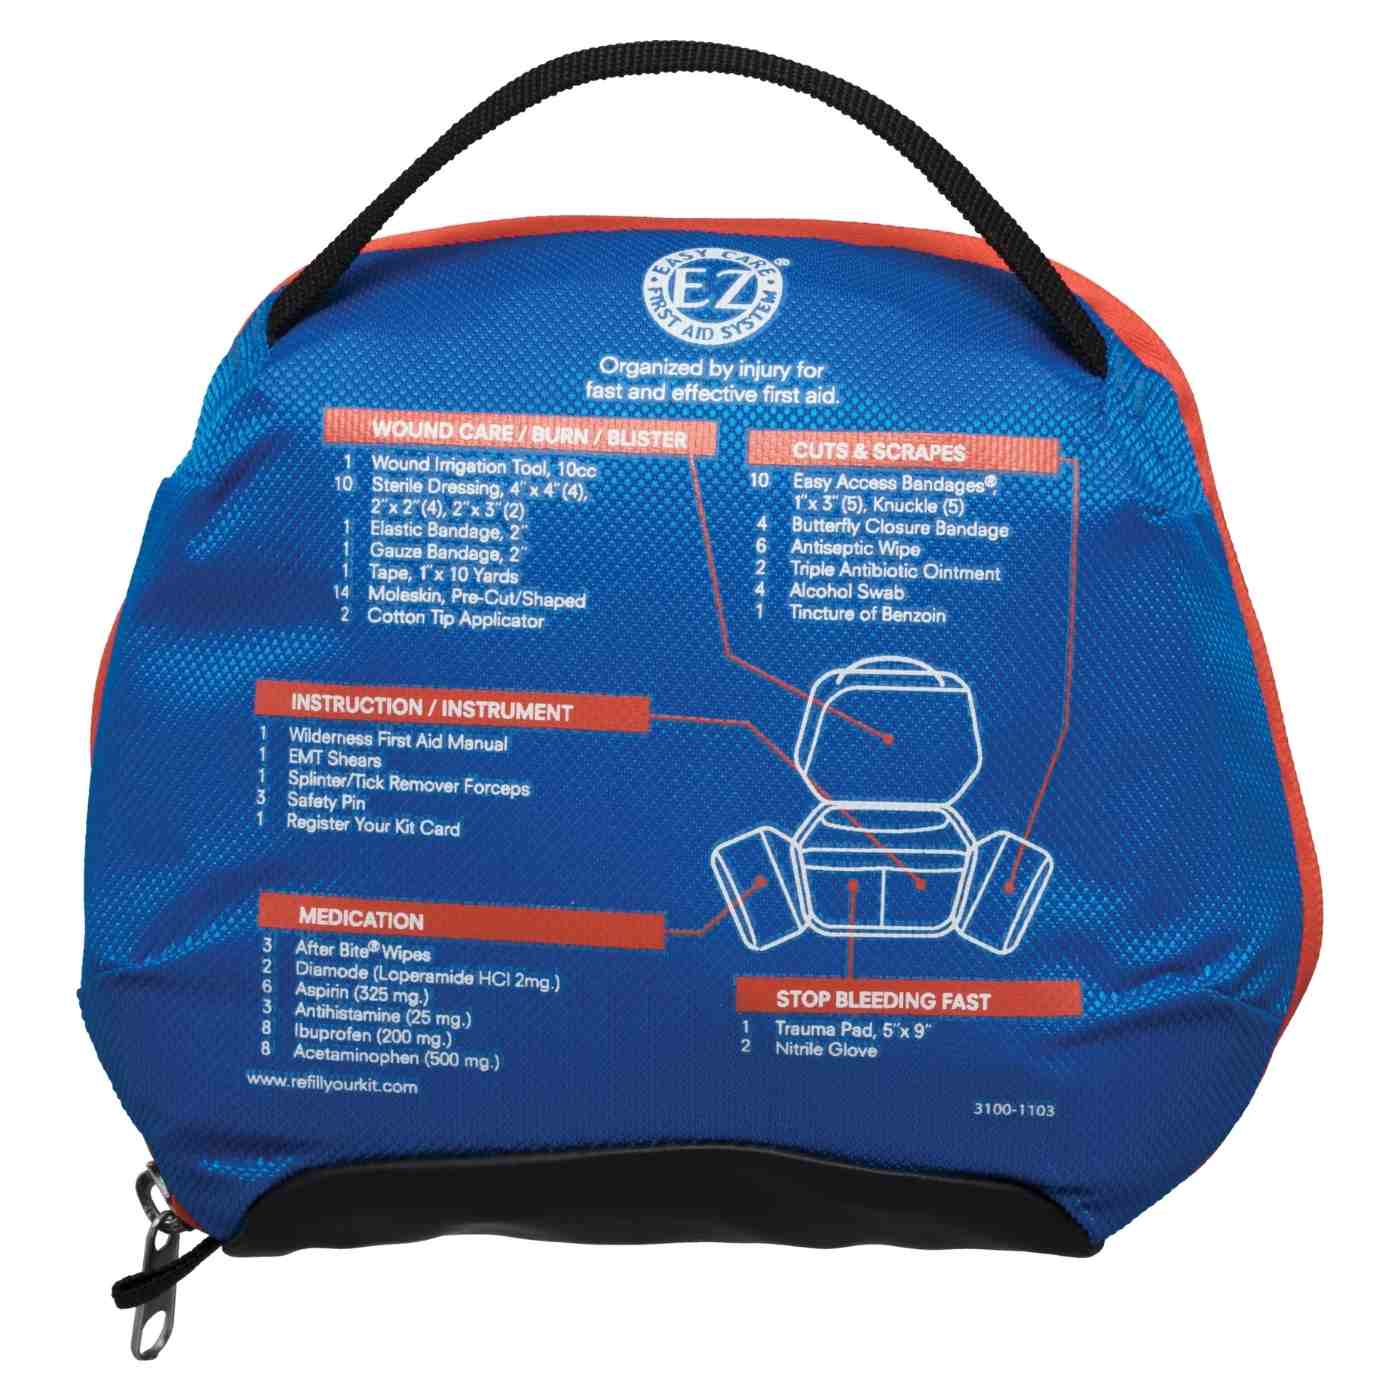
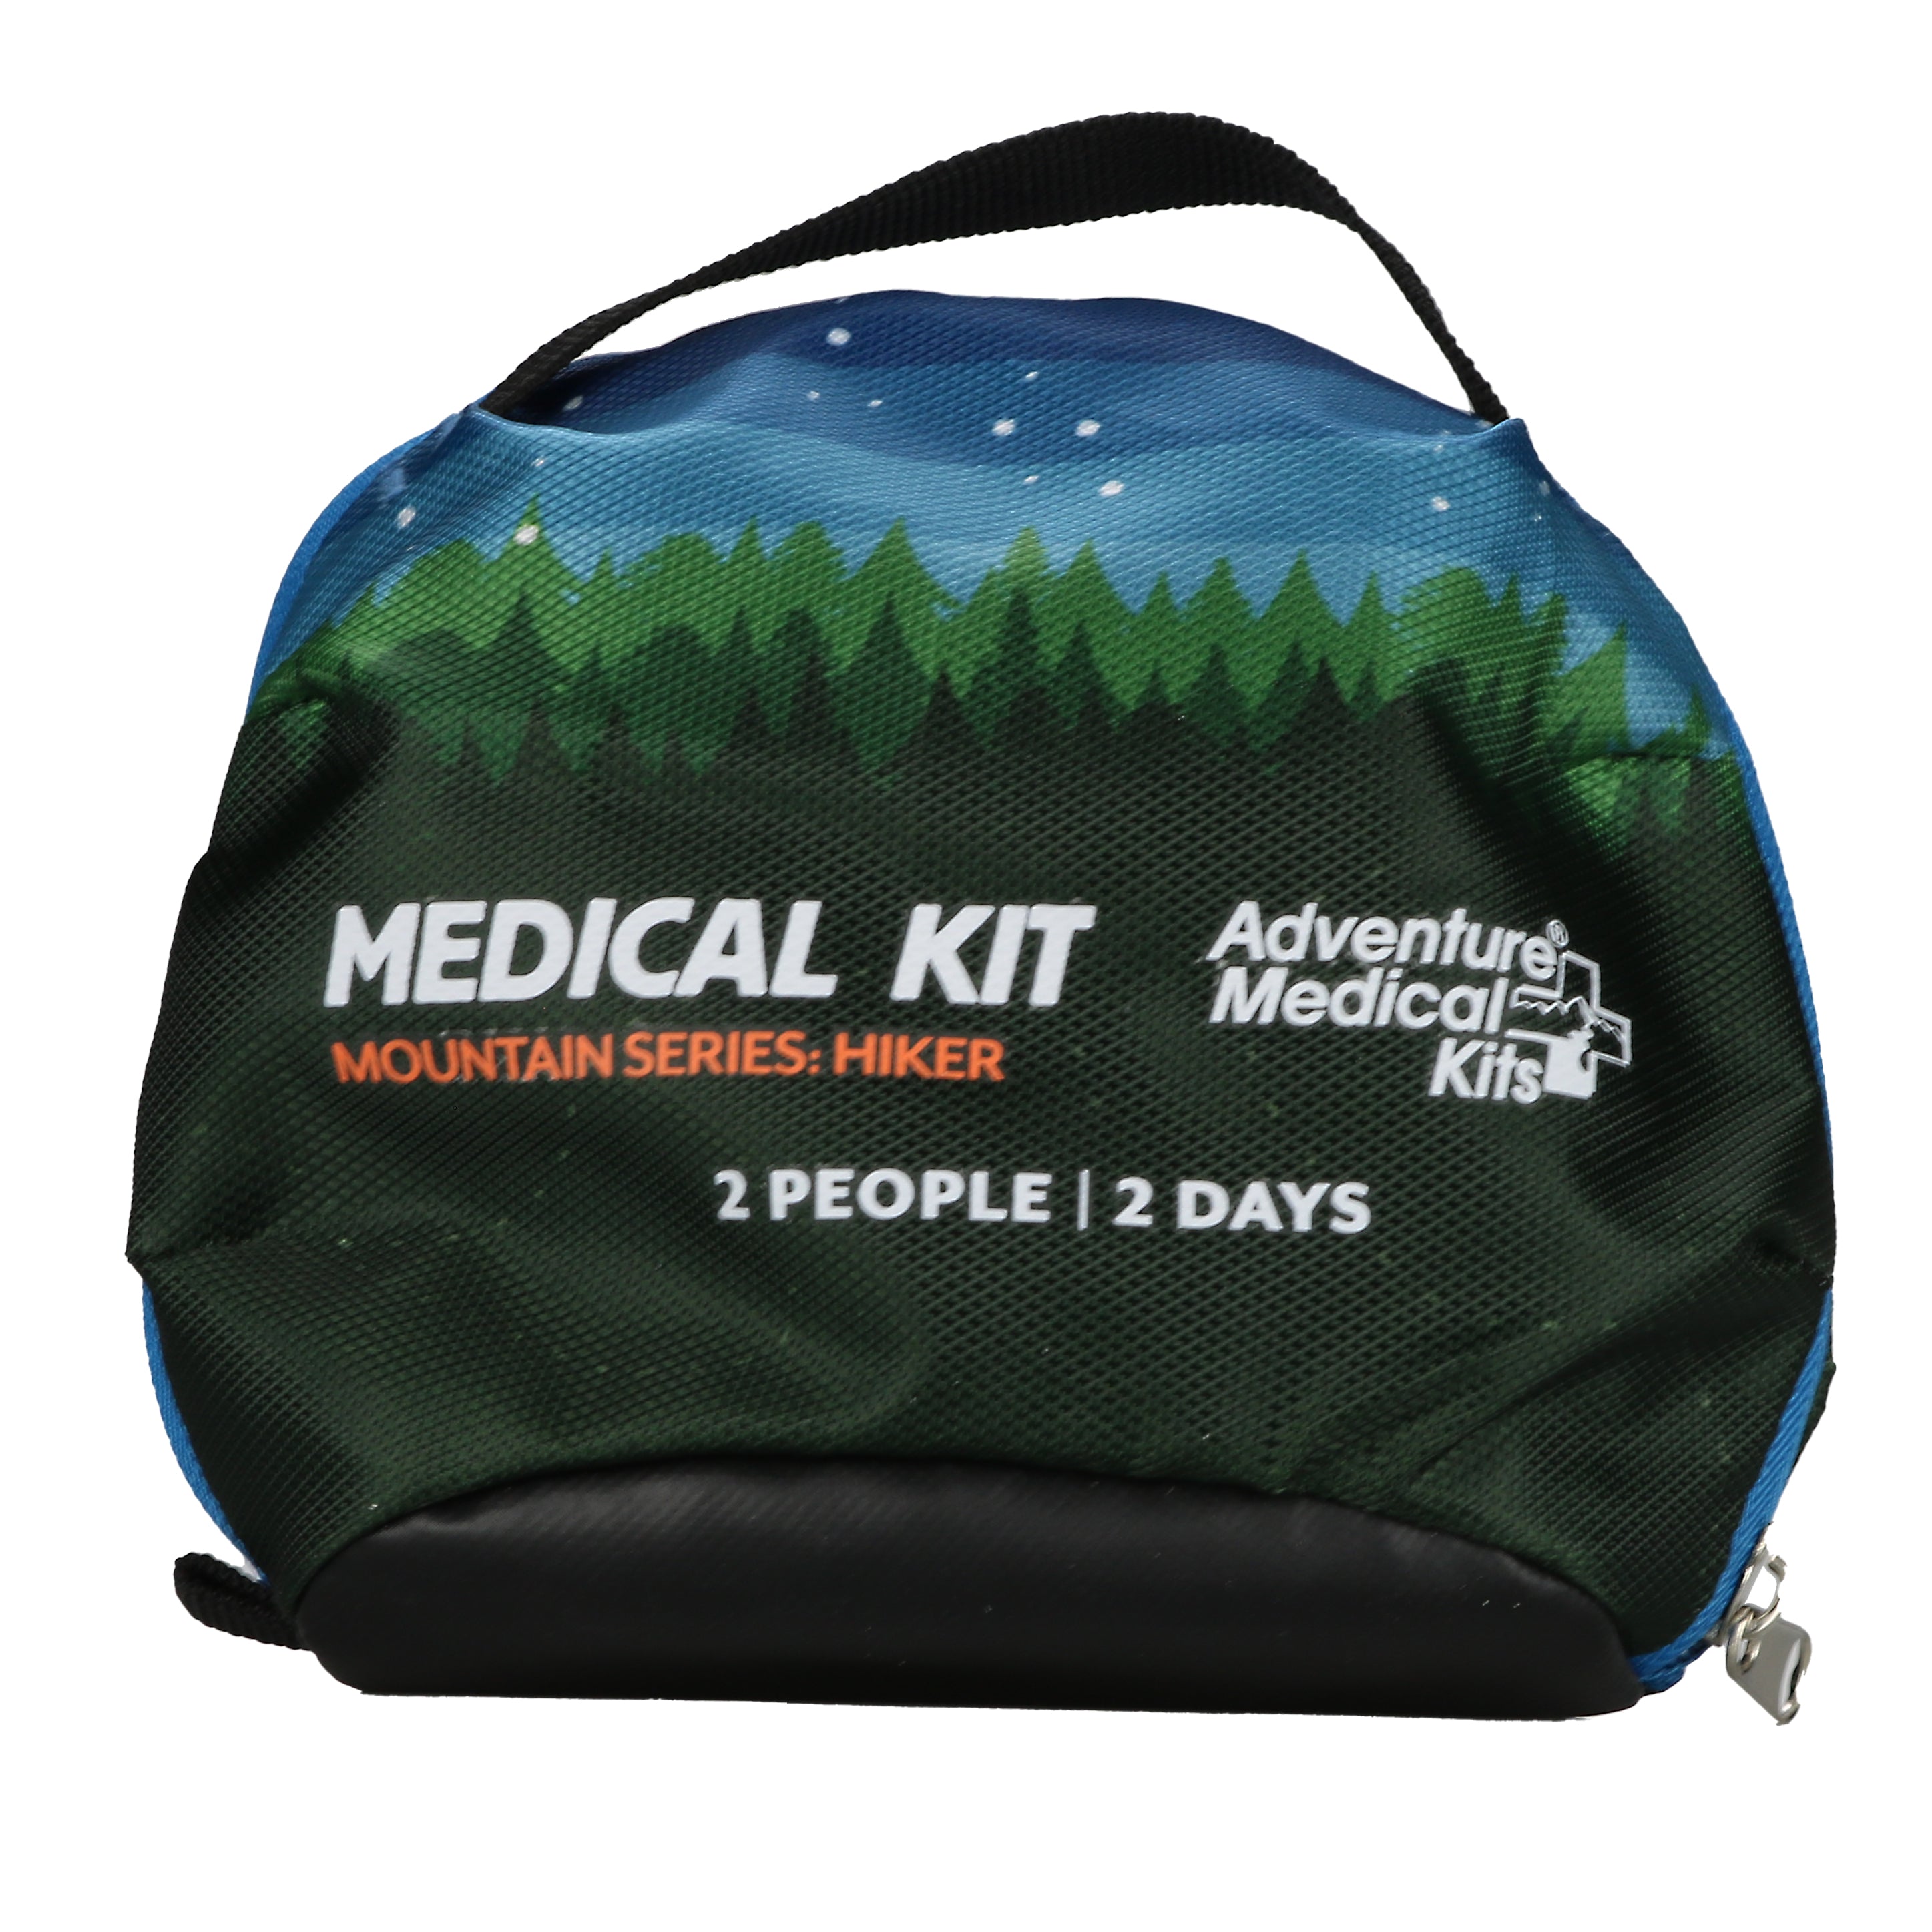
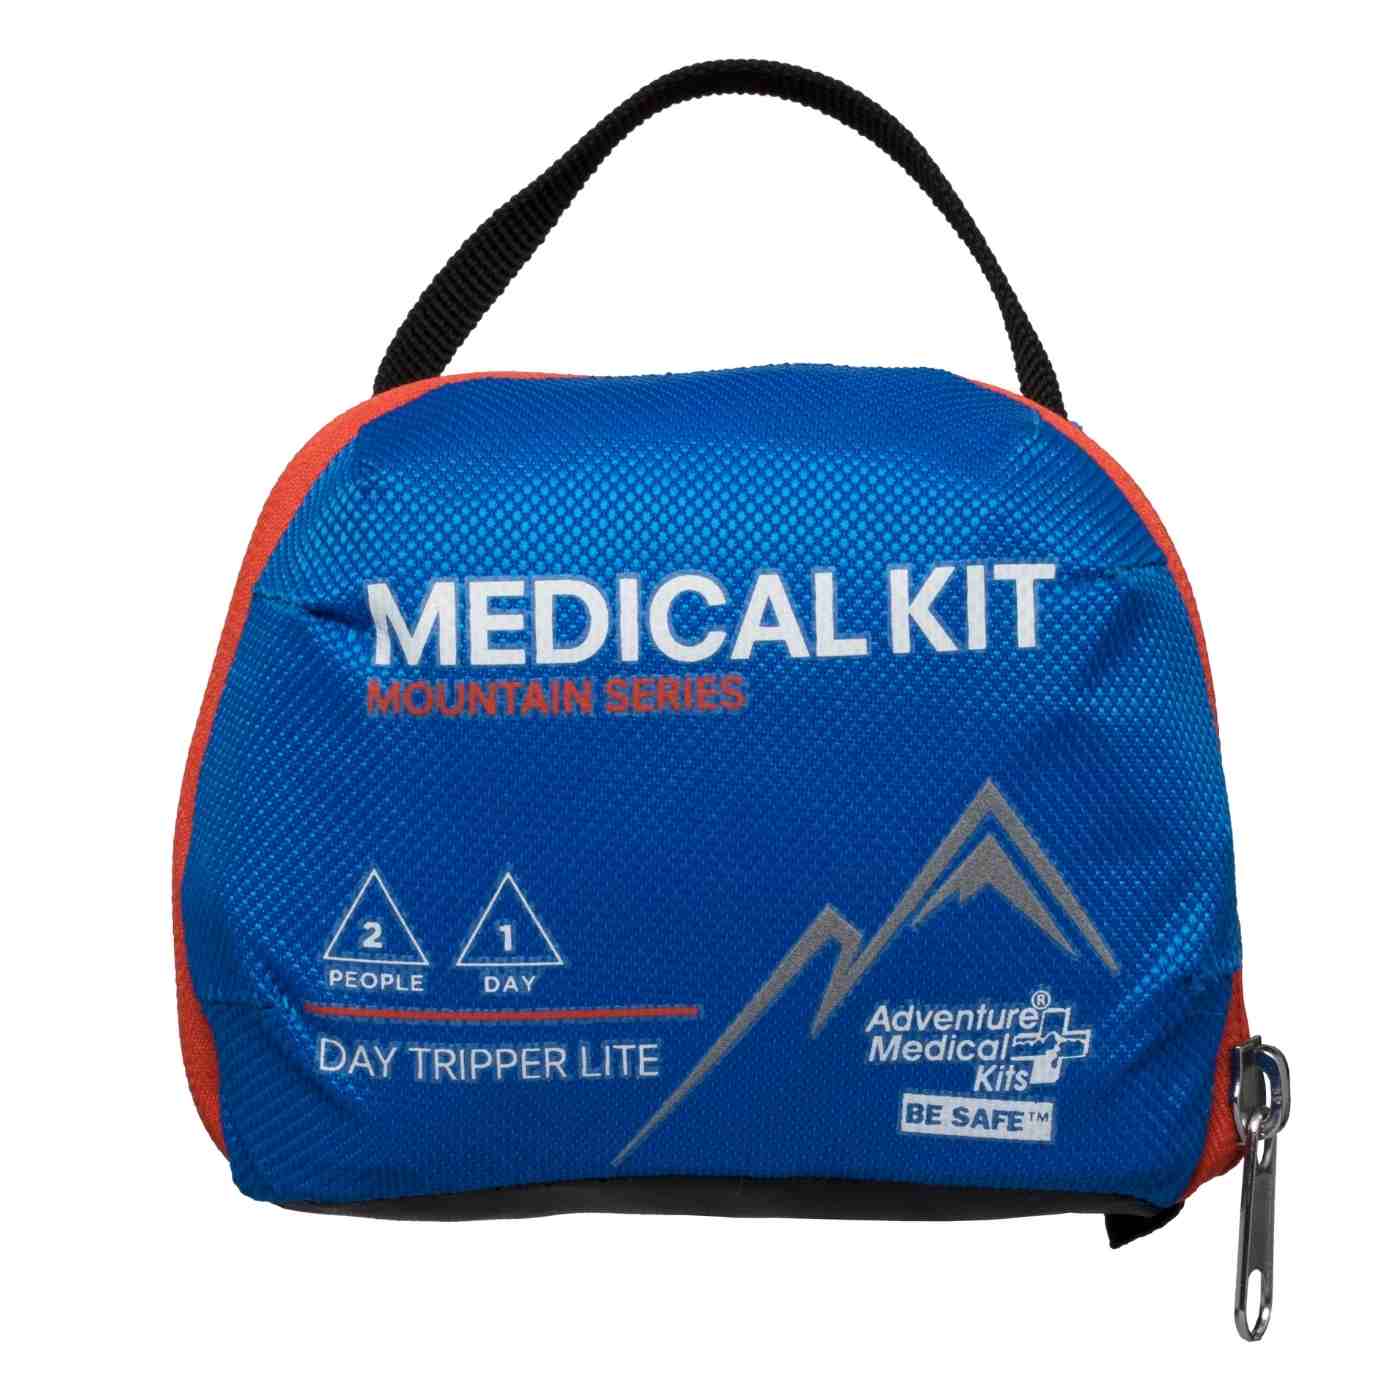
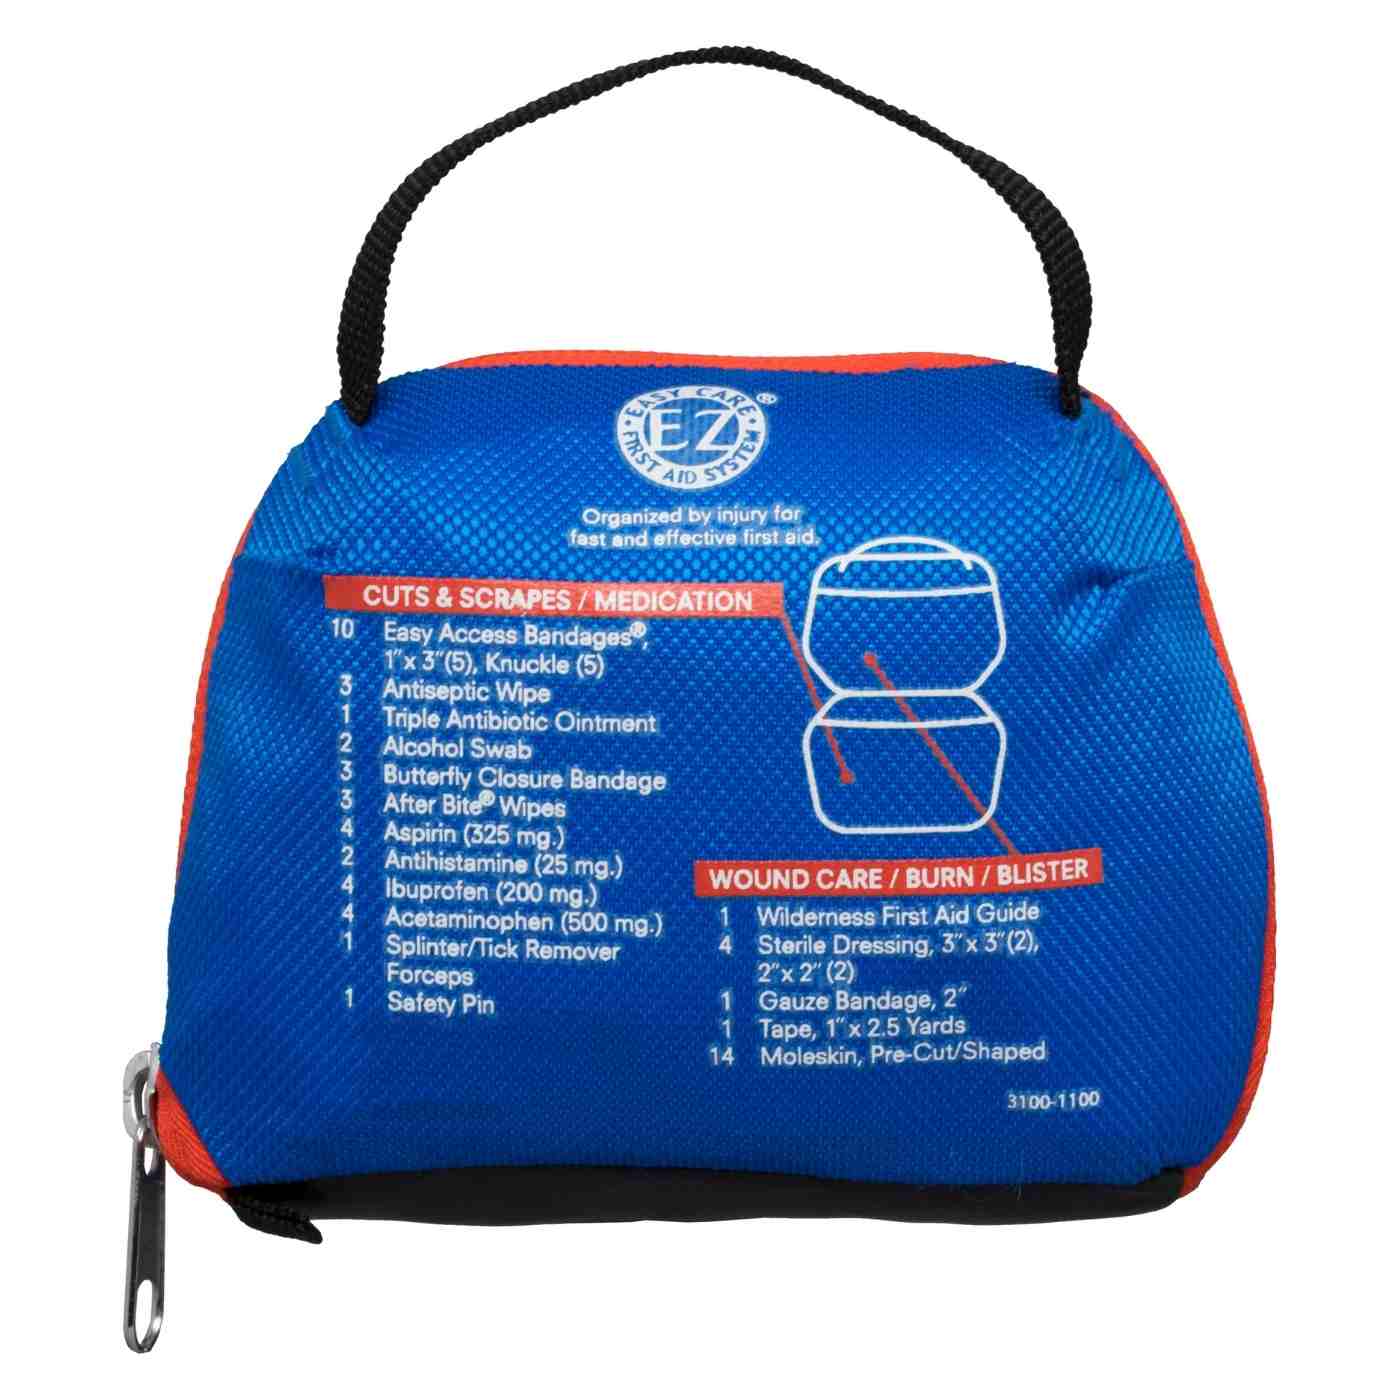
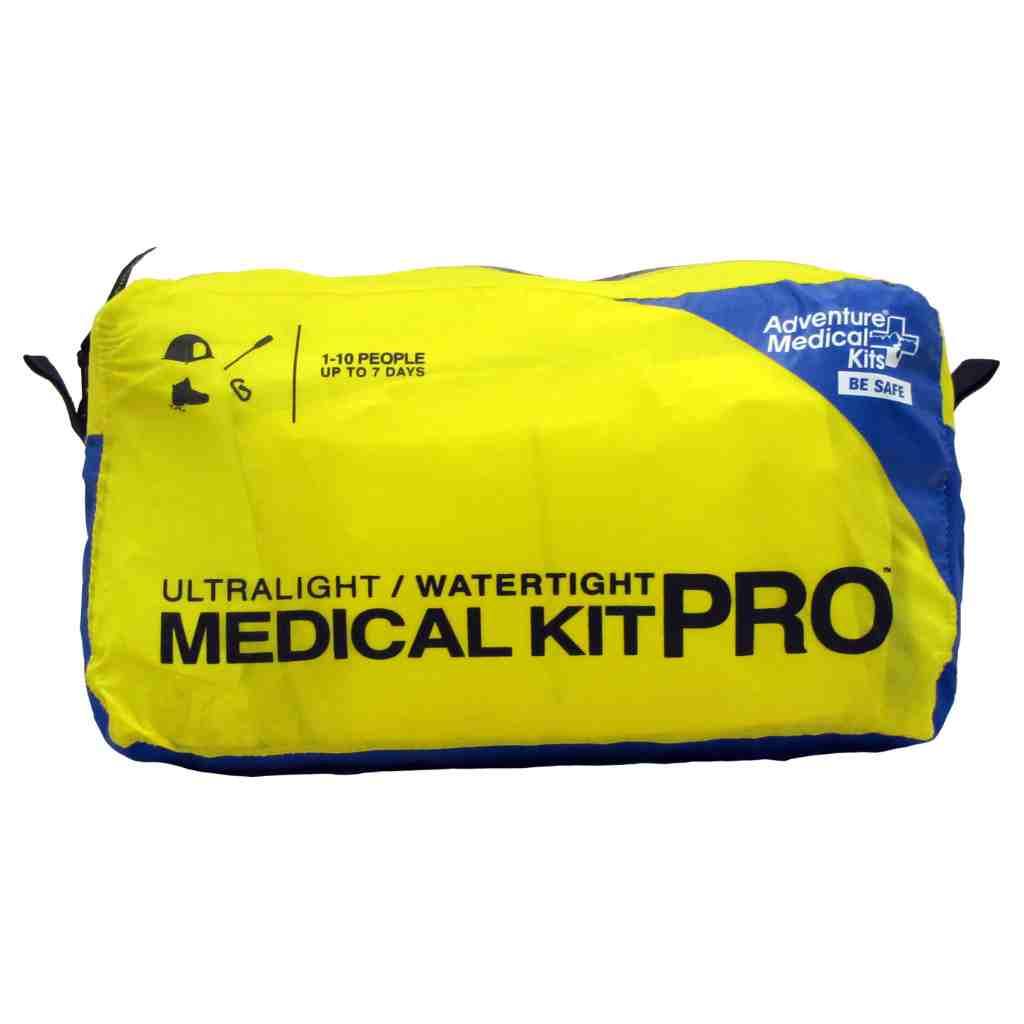
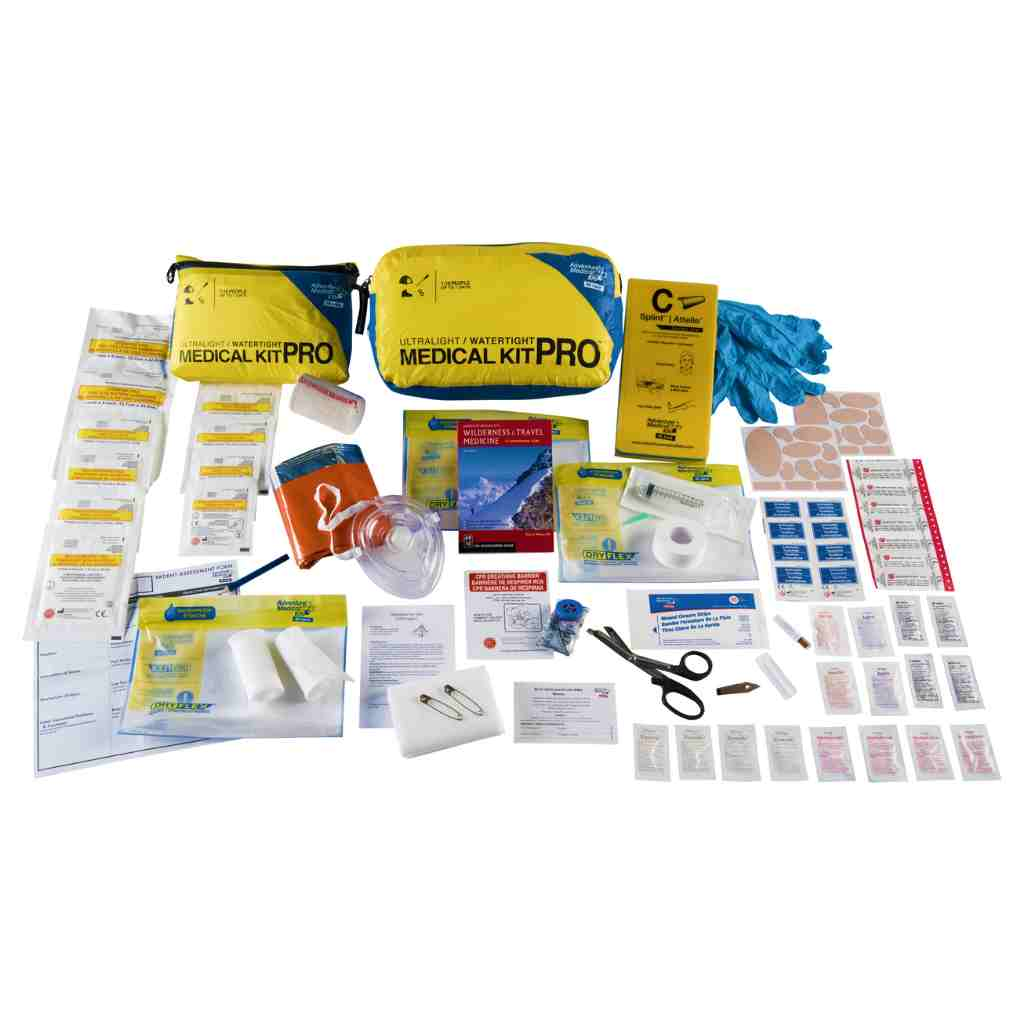
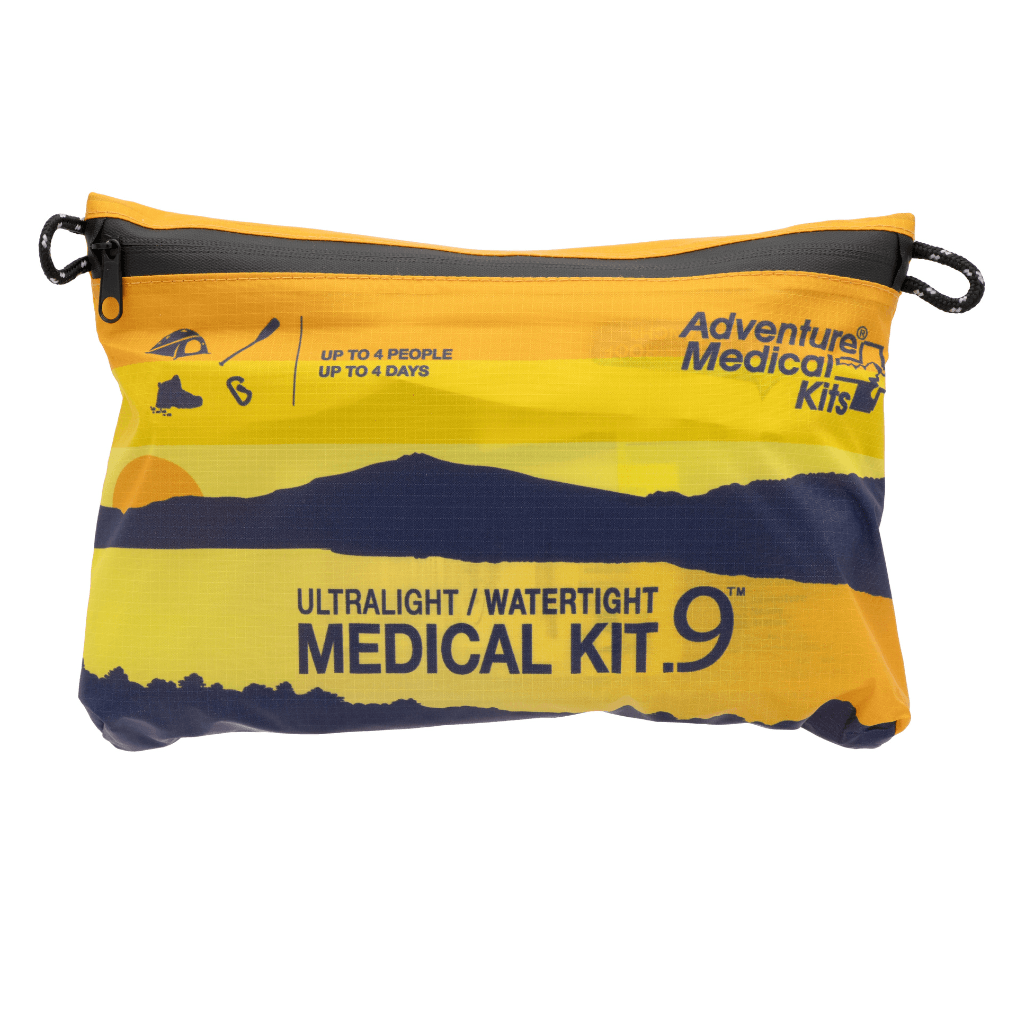
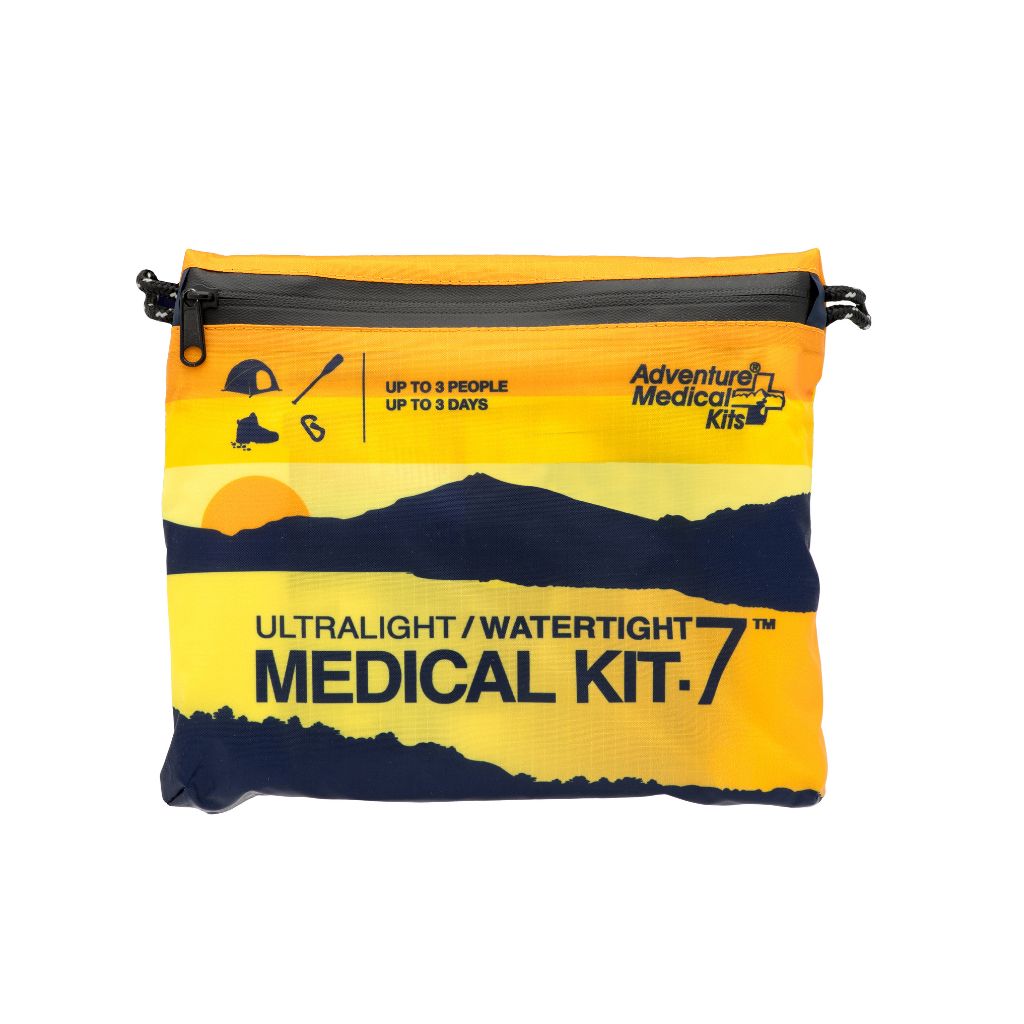
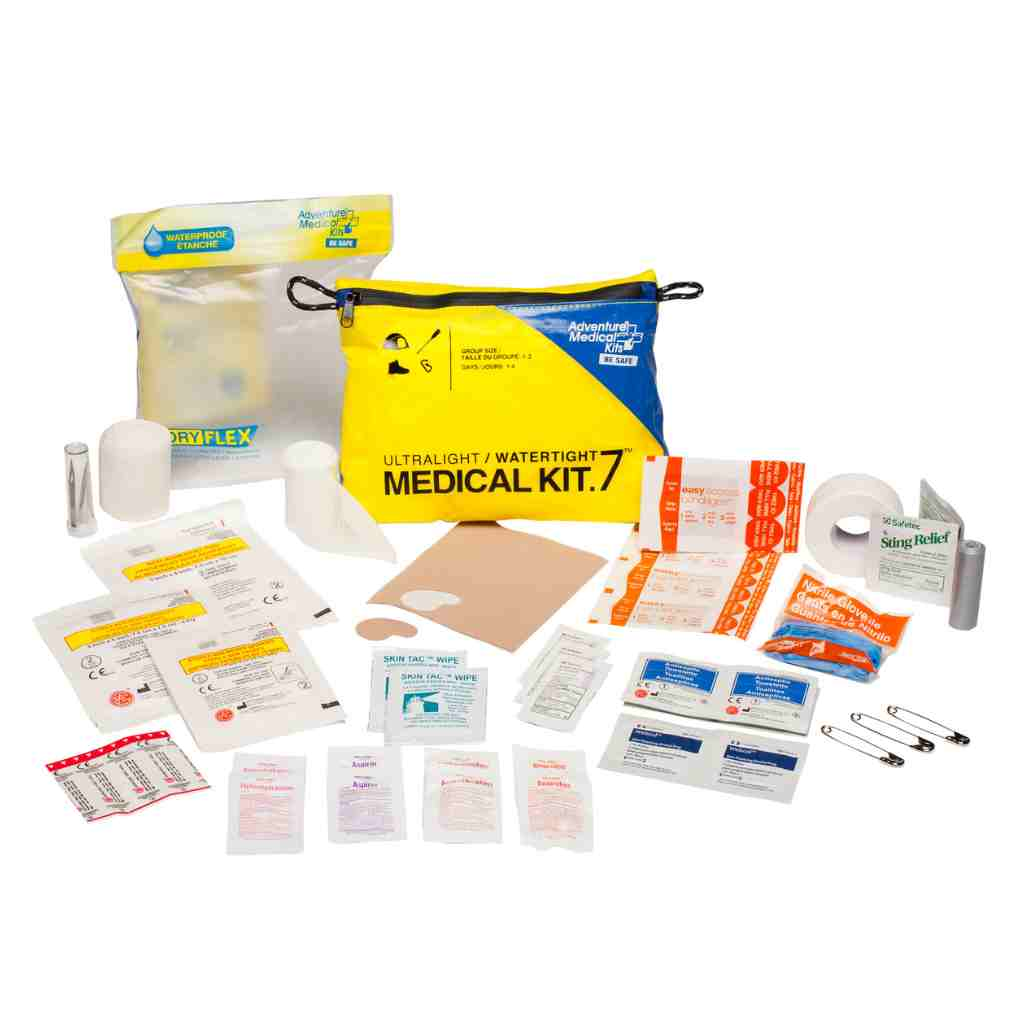
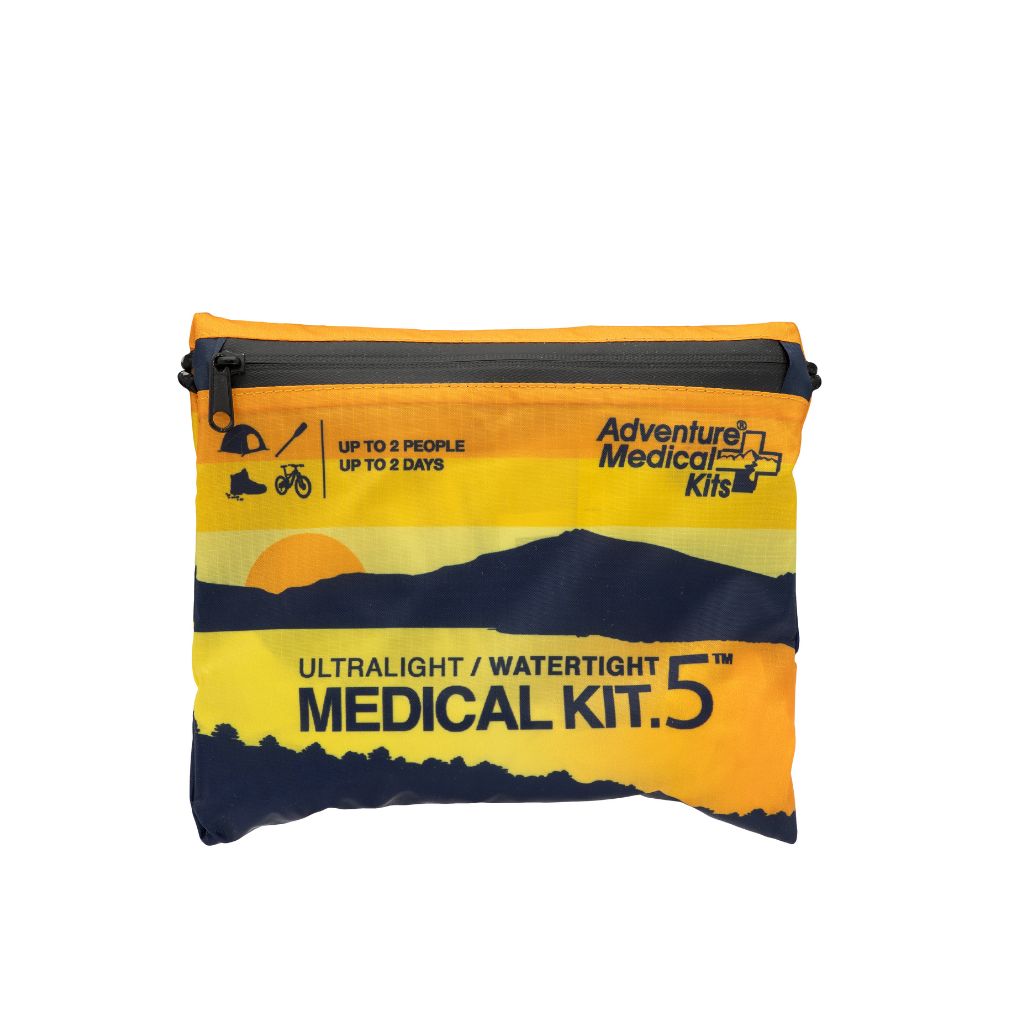
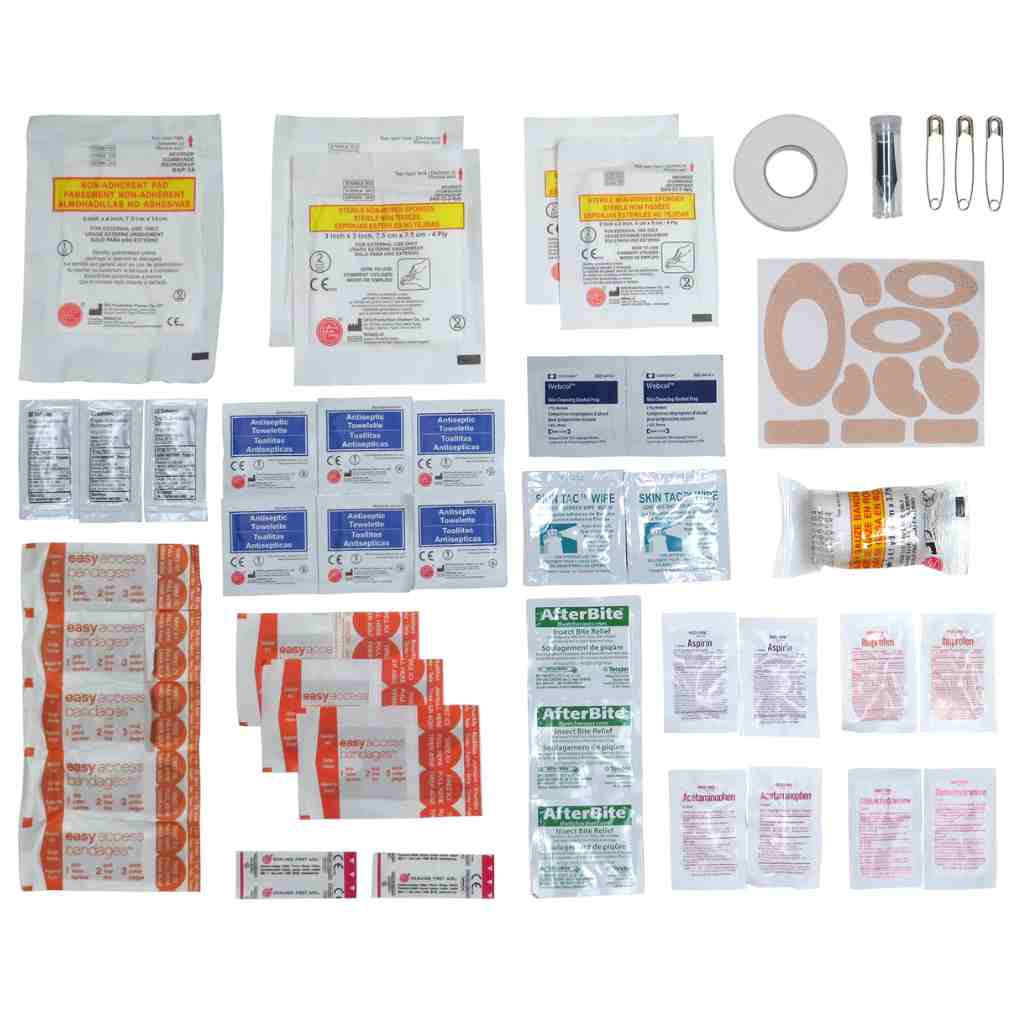
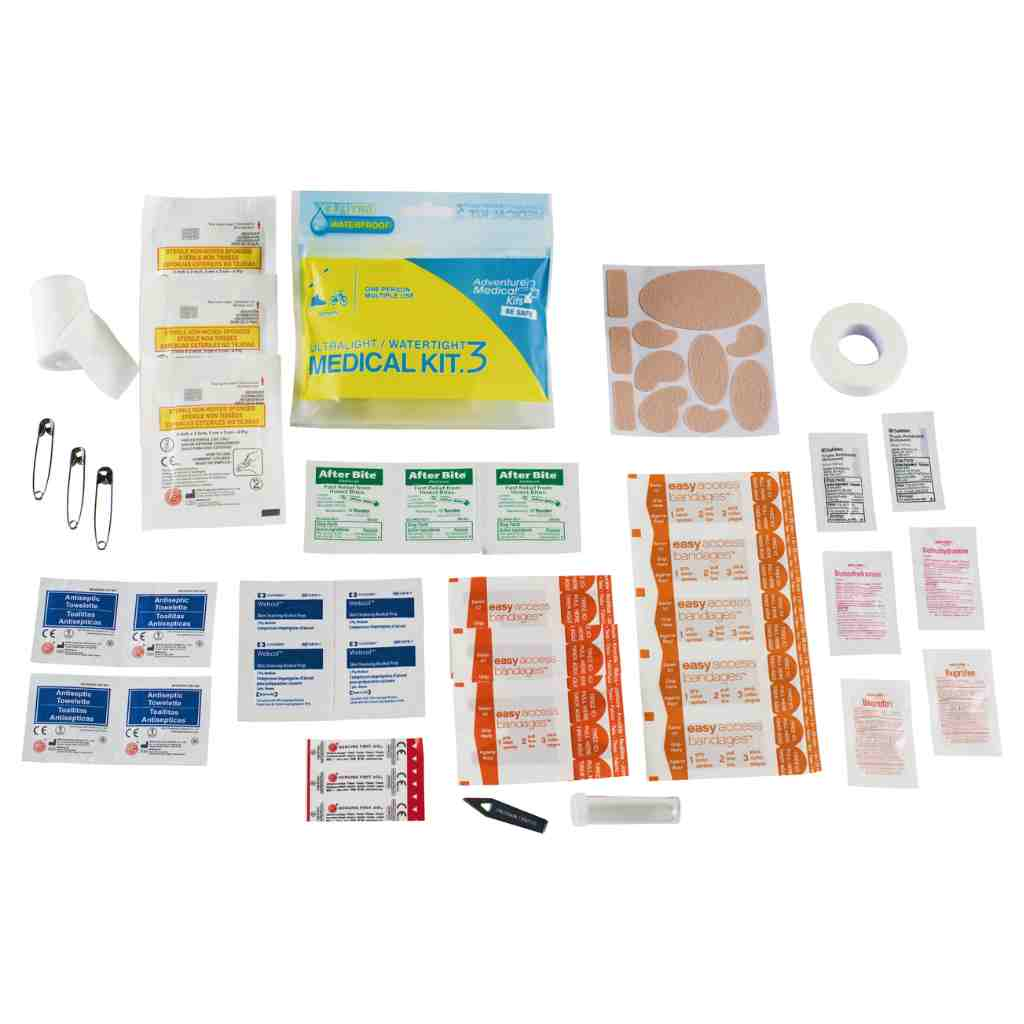
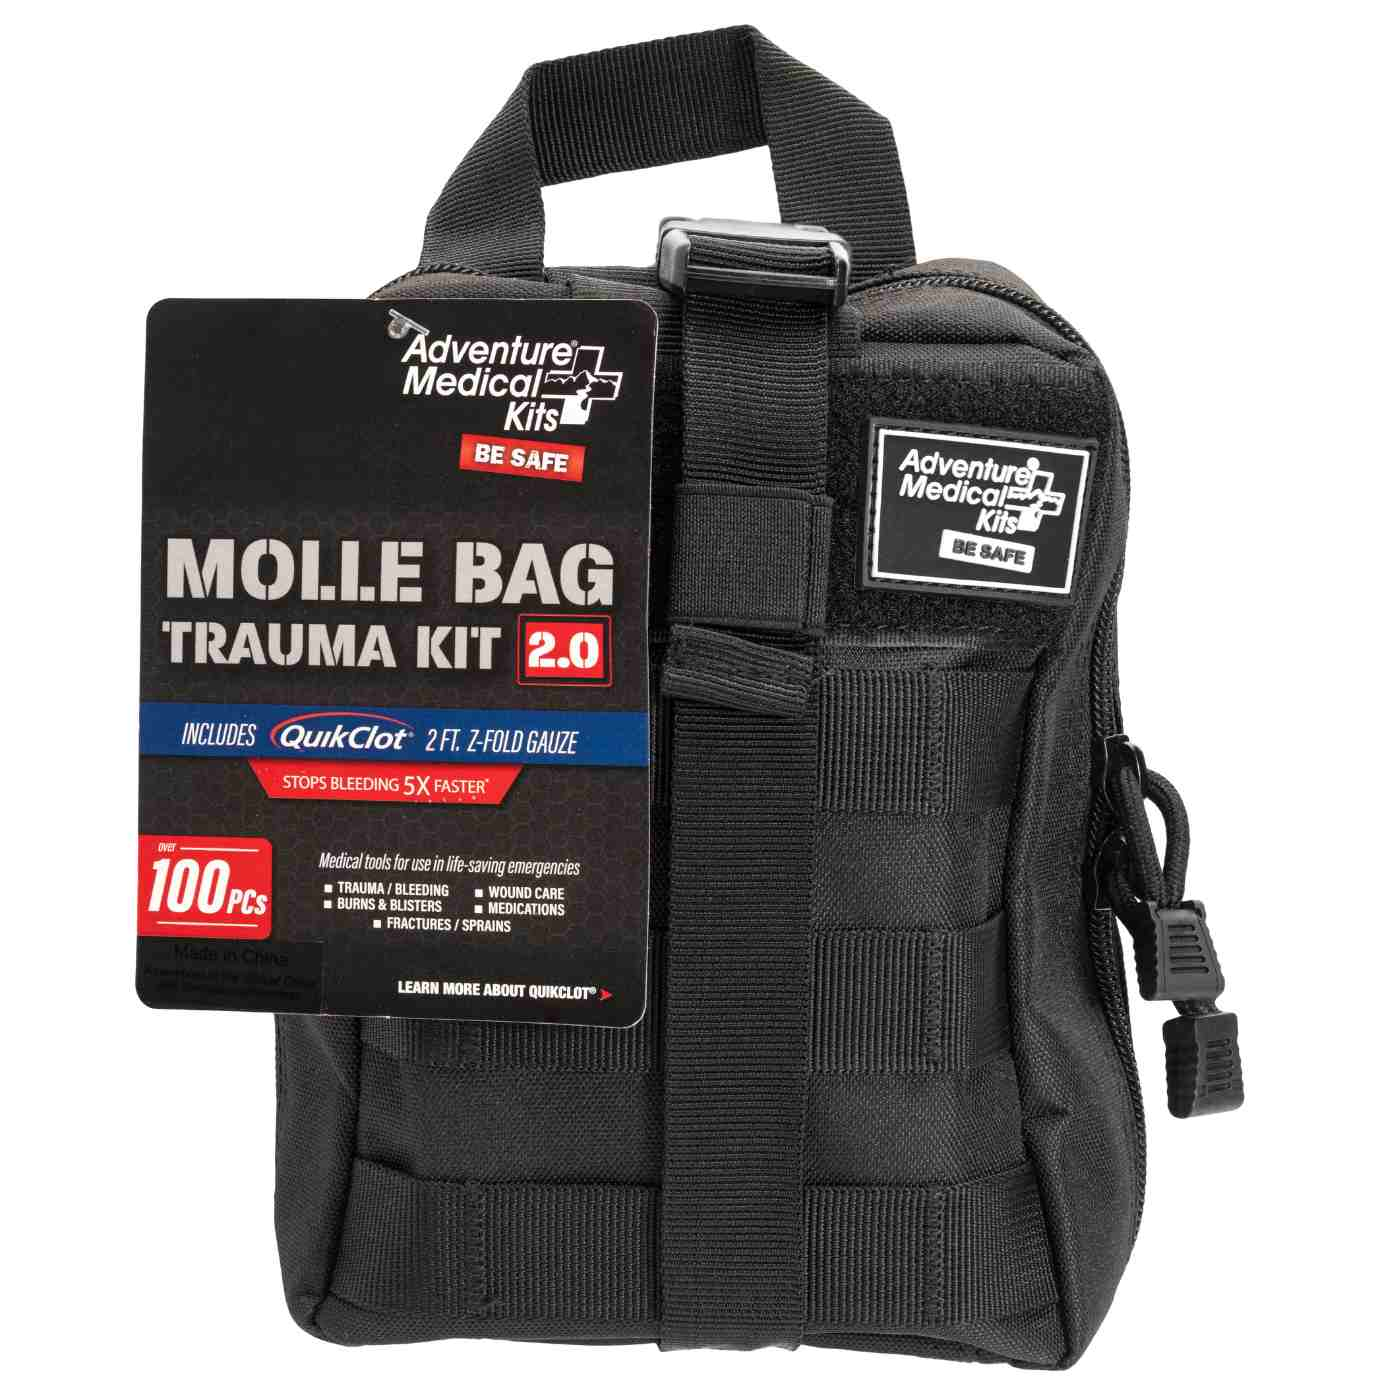
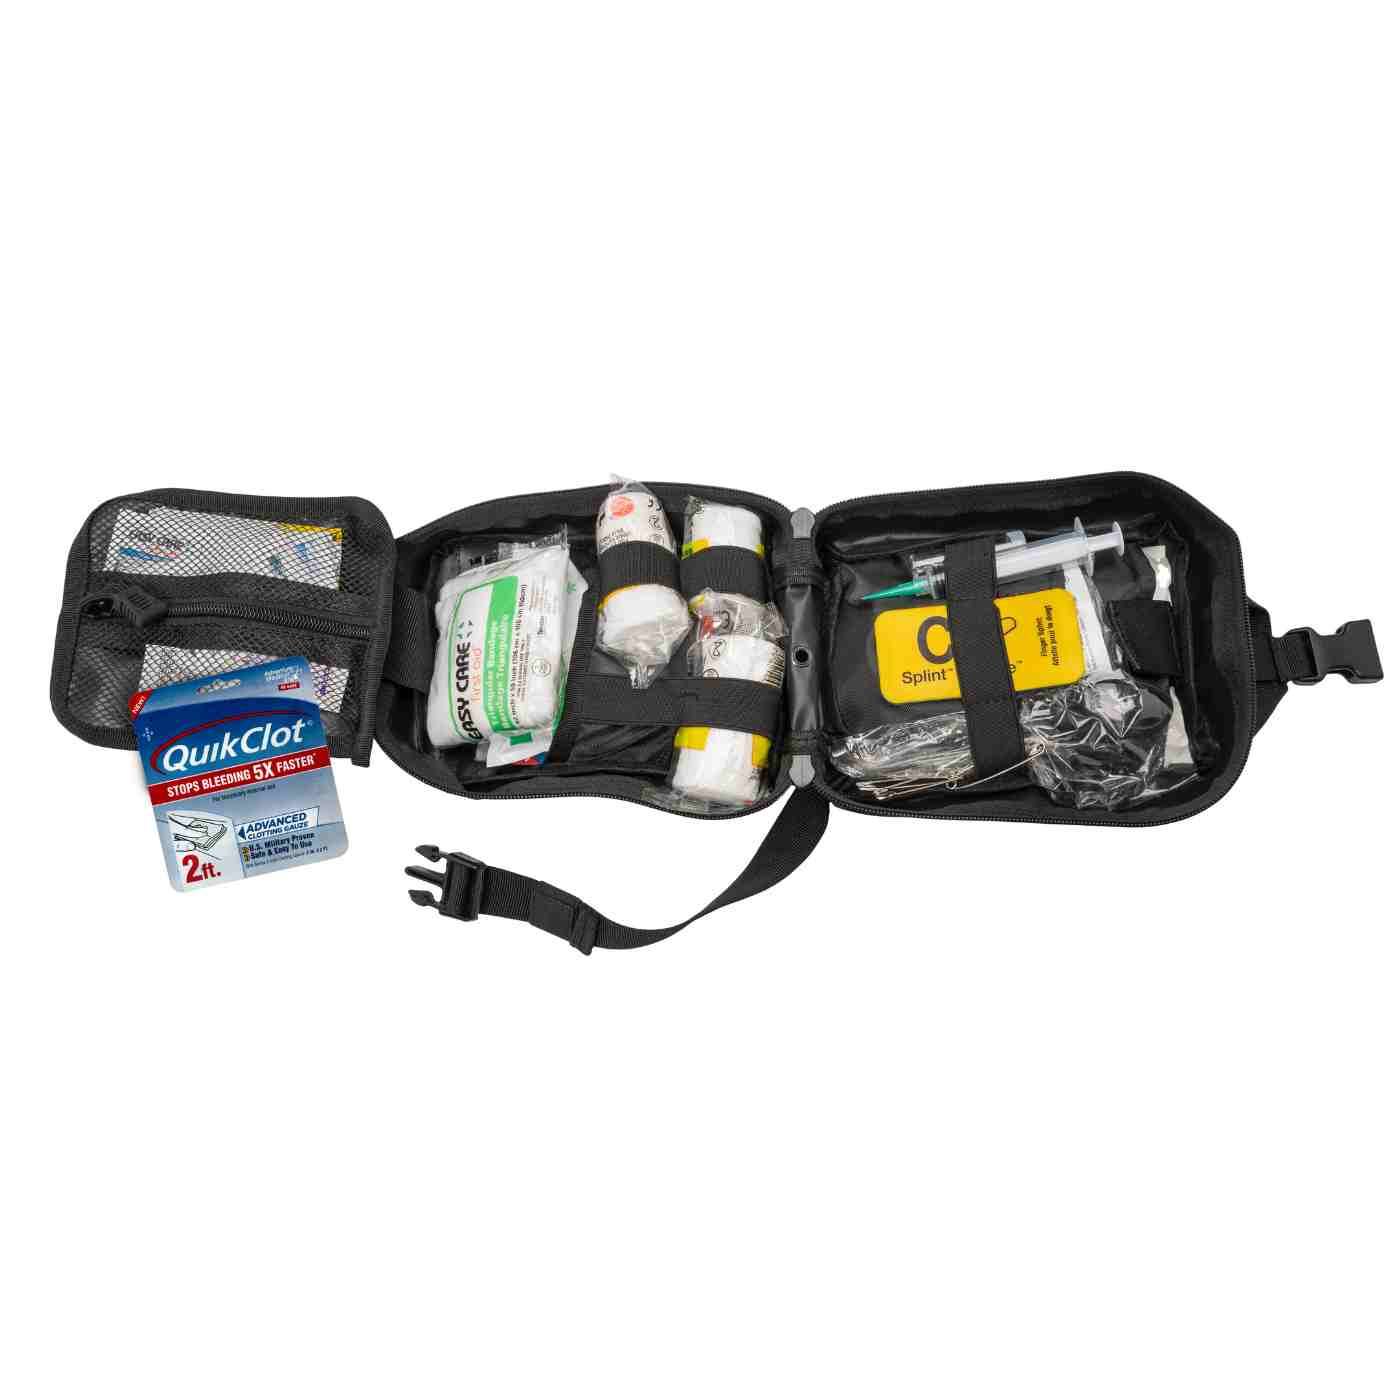
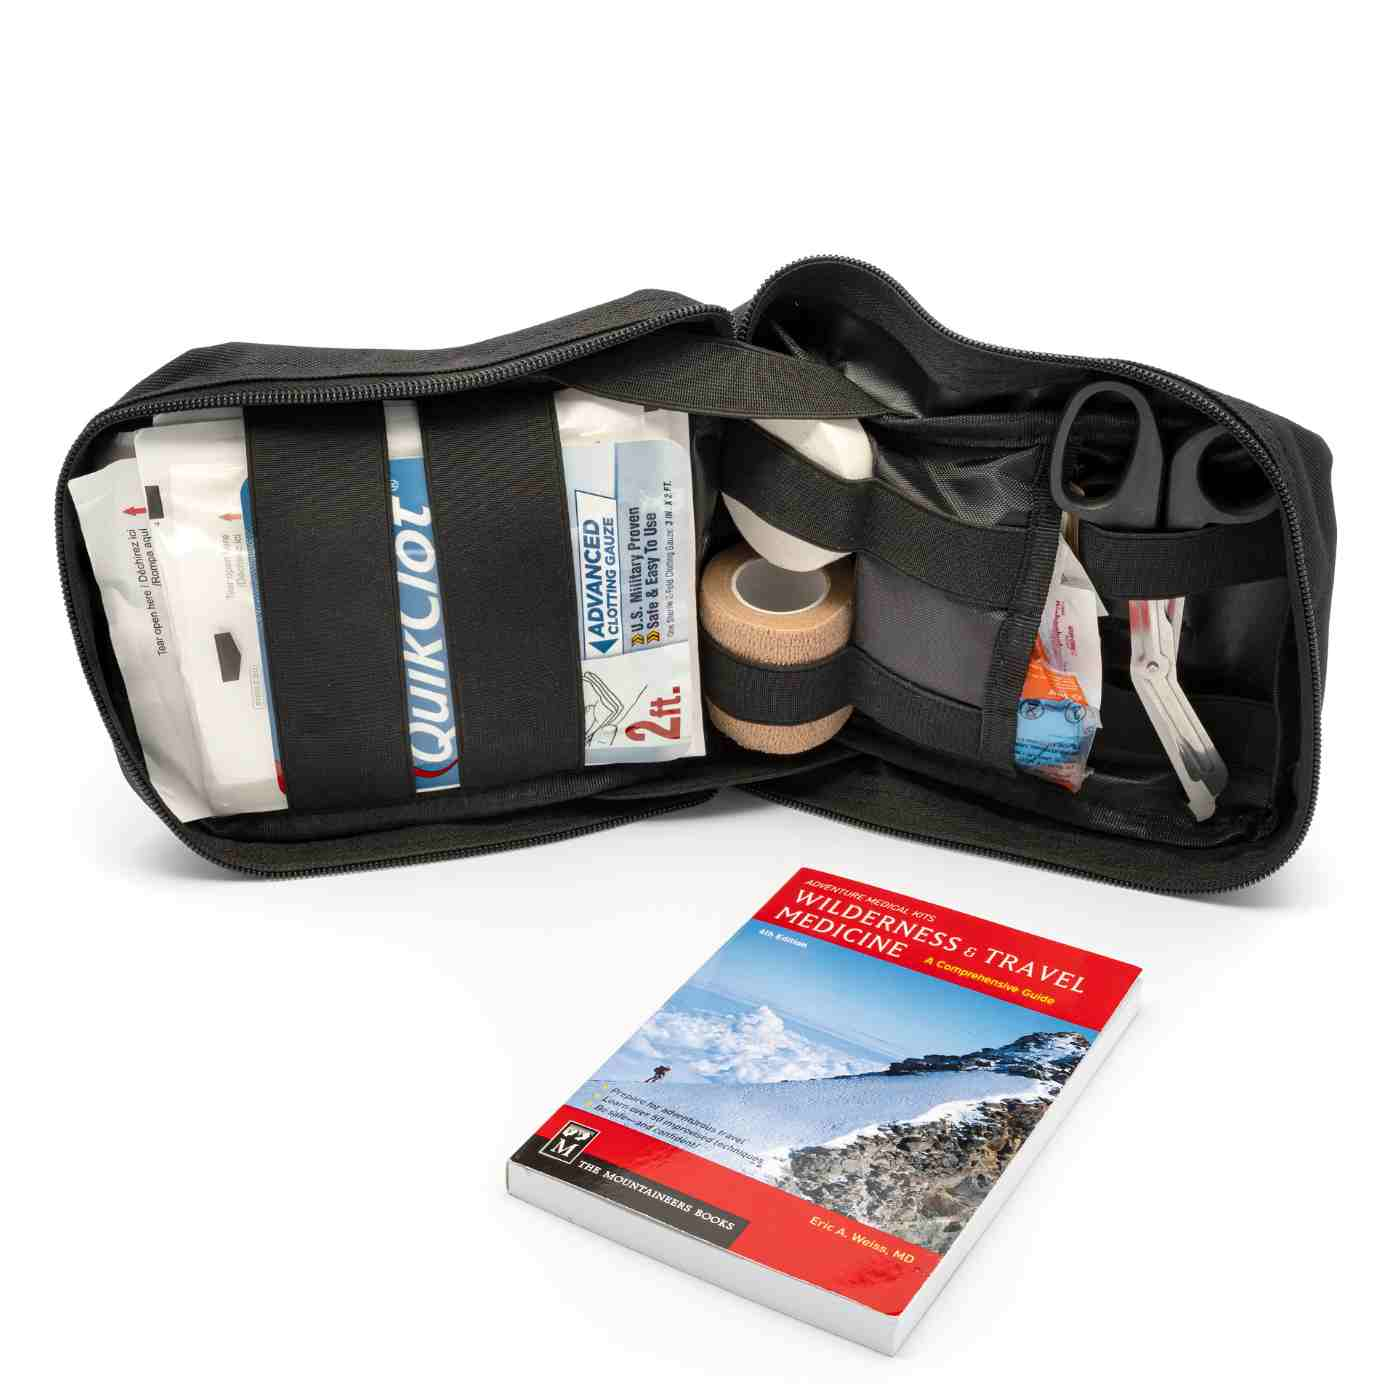
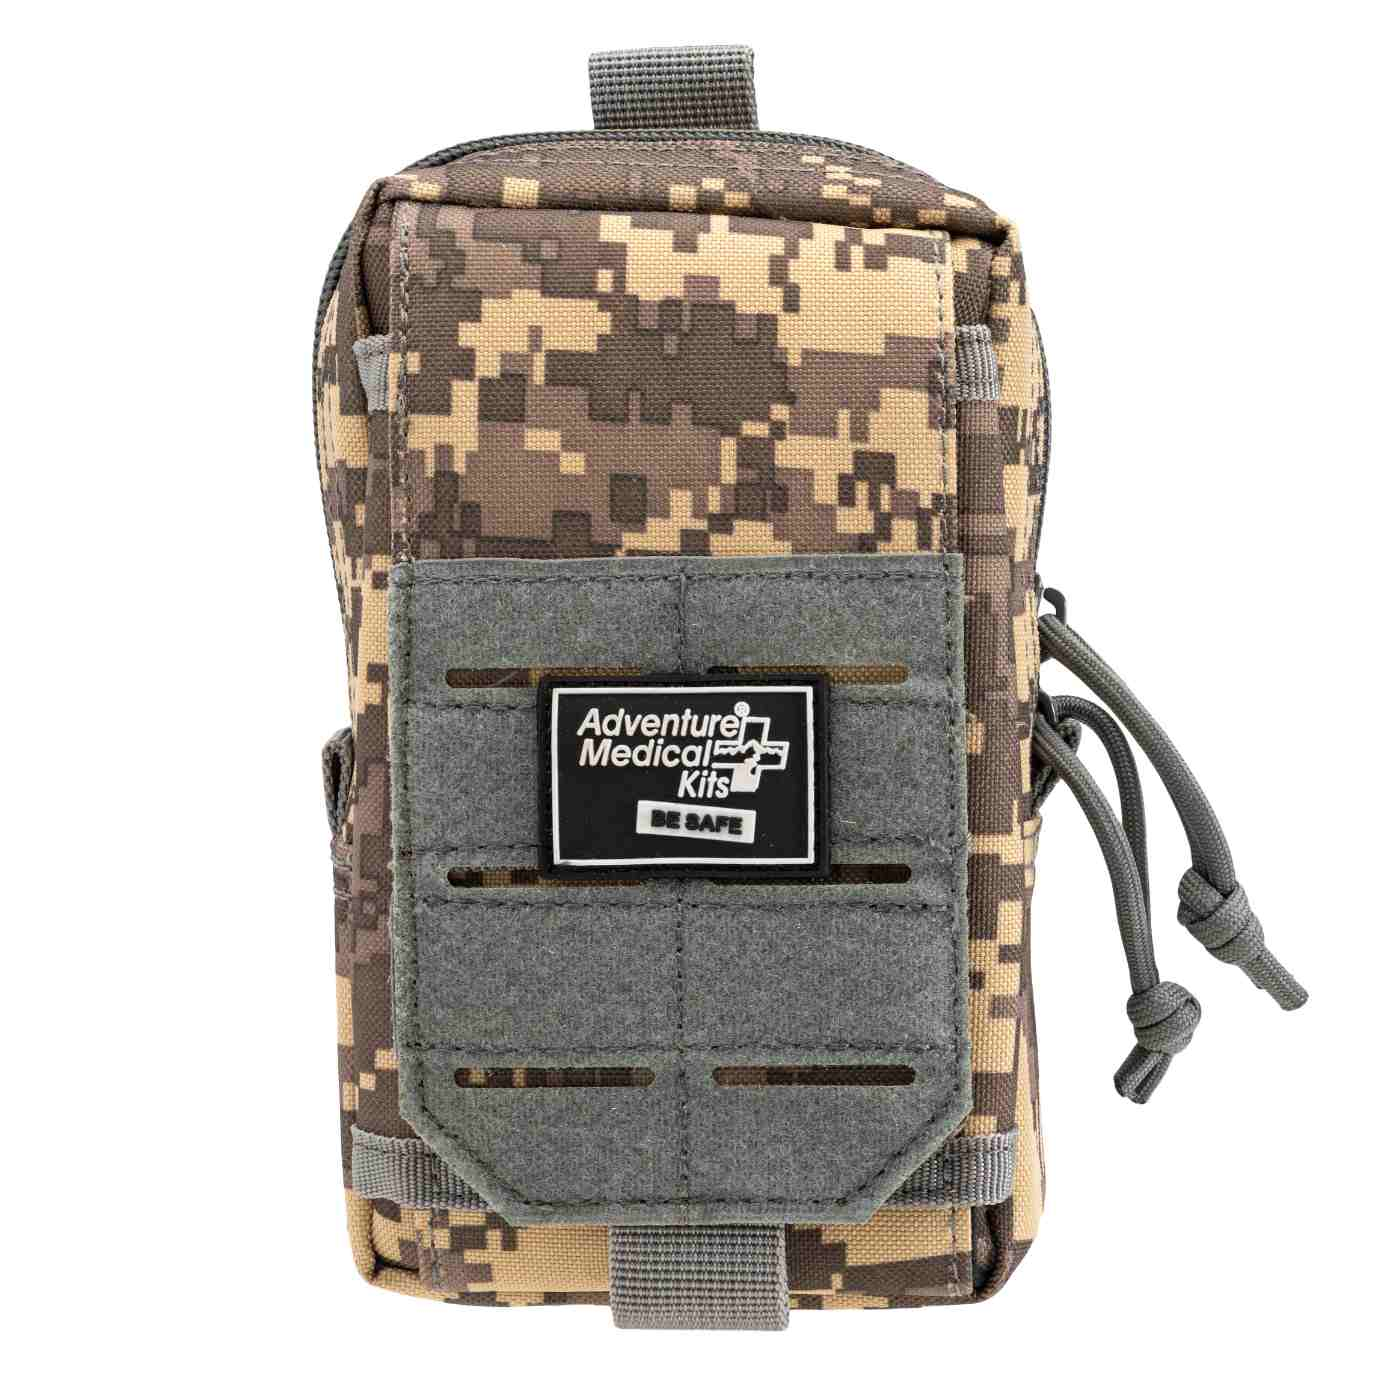
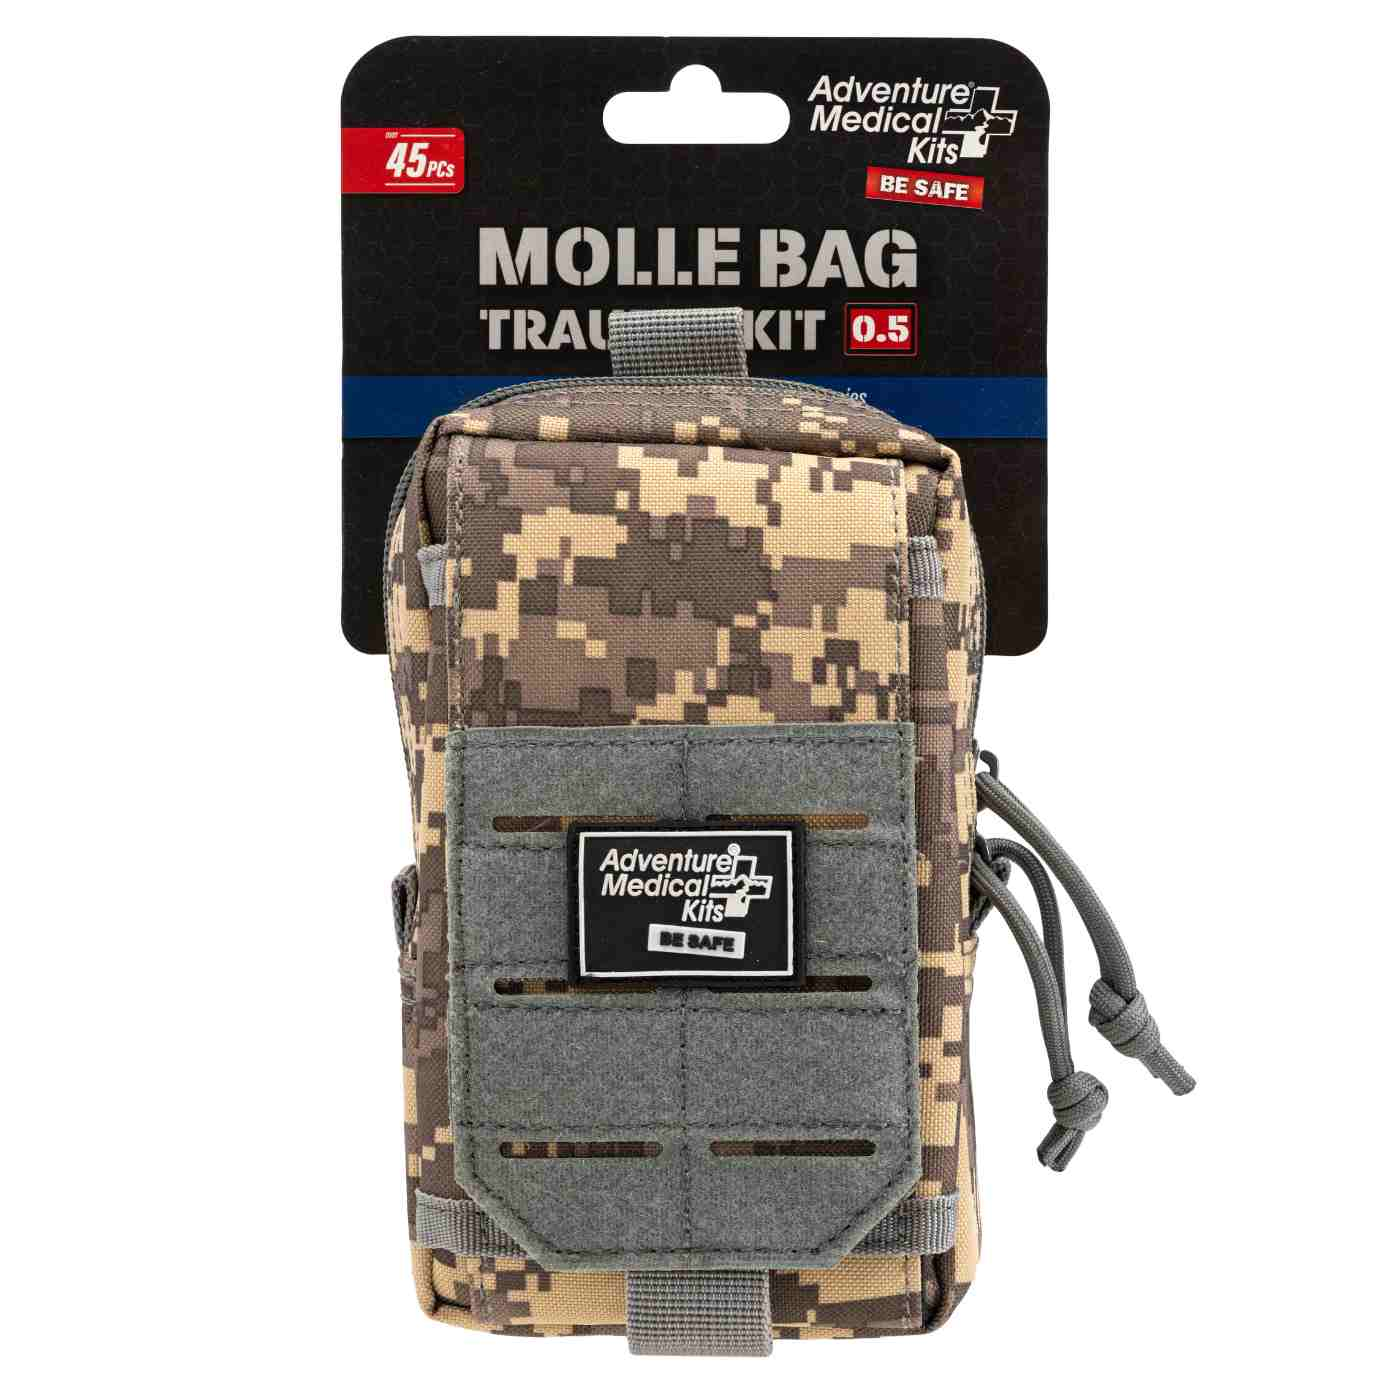
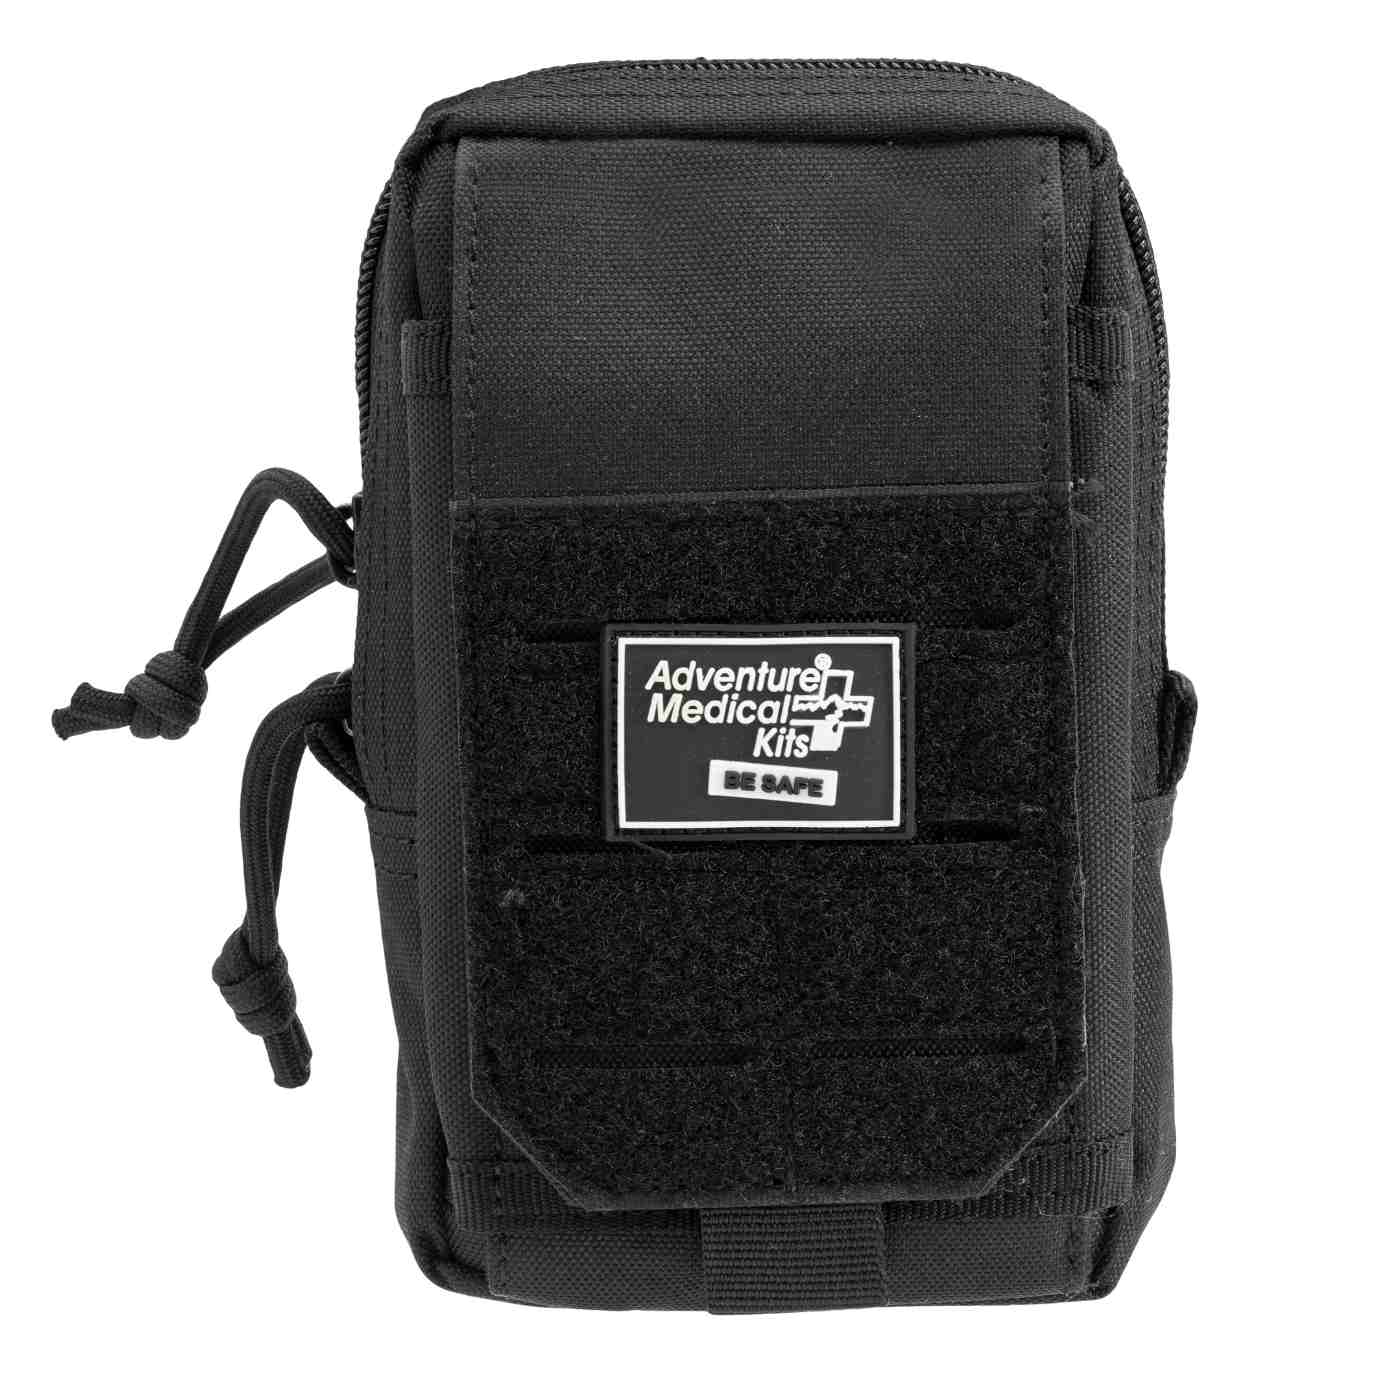
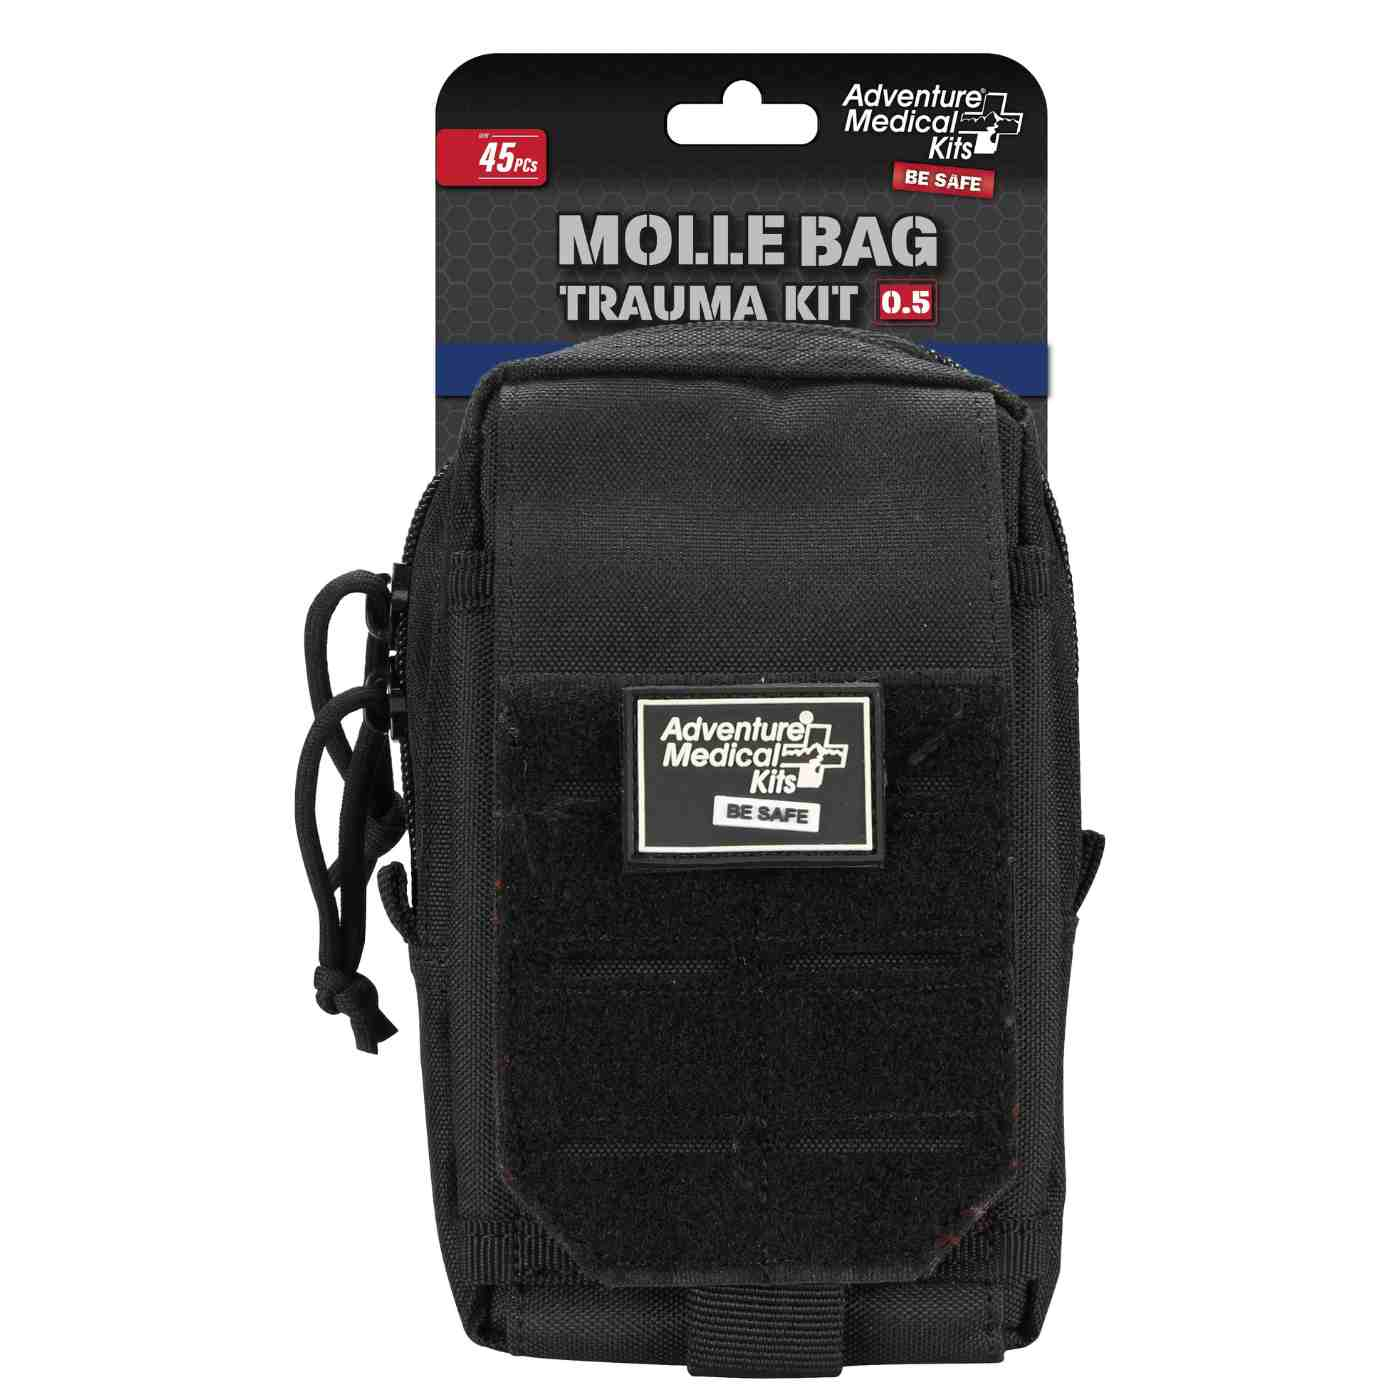
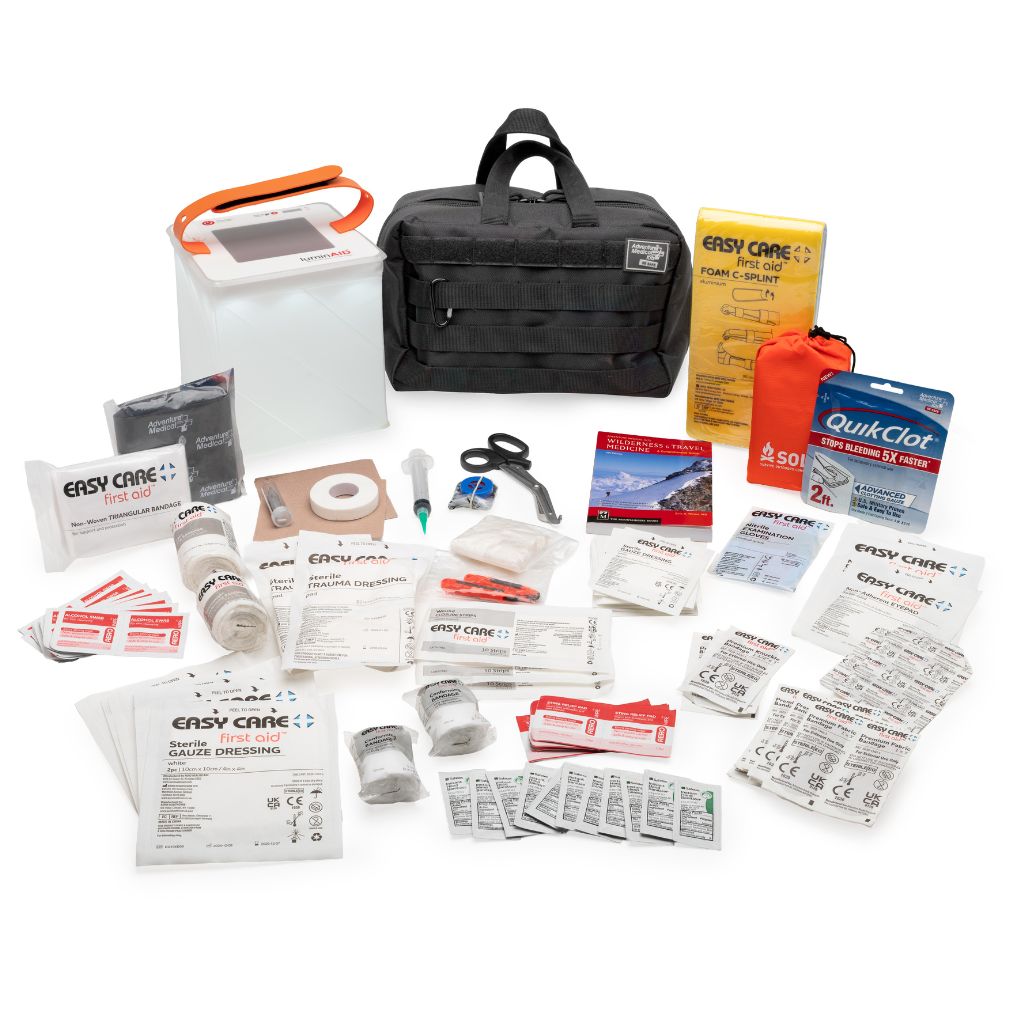
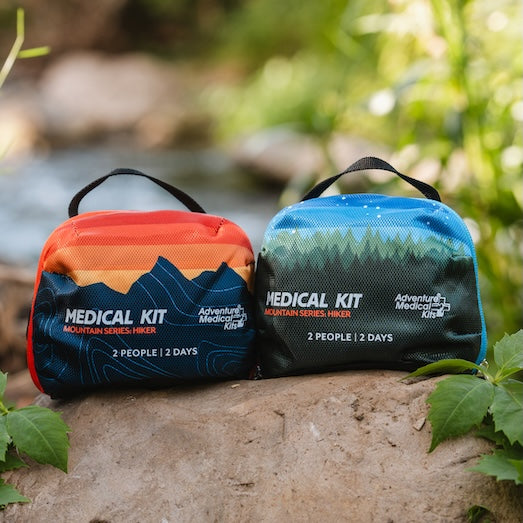
Activity-specific kits help reduce that search. The Mountain Series and MOLLE series from Adventure Medical Kits are designed around outdoor use, with supplies organized for access. Most kits have labelled compartments, a supply list on the back, and a handbook with instructions for common injuries and illnesses encountered on the trail, as described in the Mountain Series kit information.
A practical packing arrangement
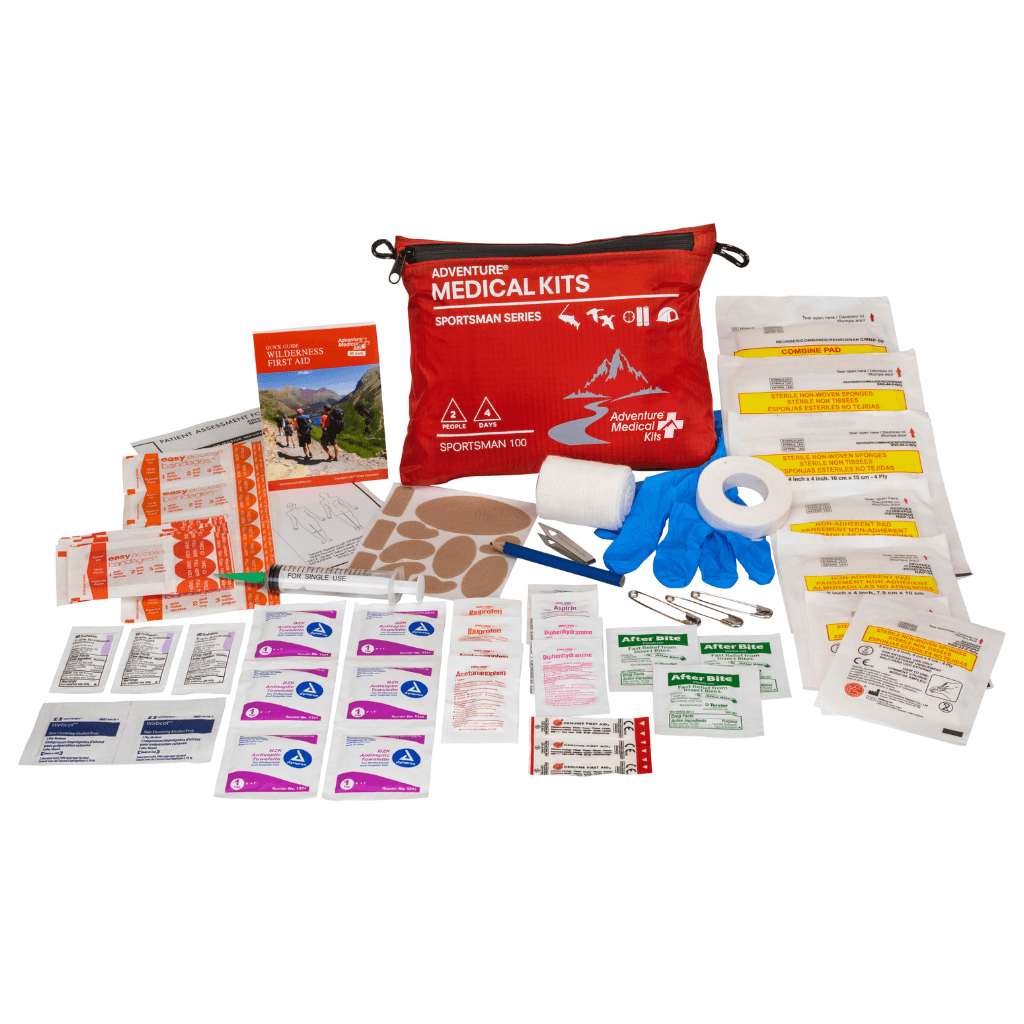
Keep the first wound layer together:
- Non-adherent pads: Place them in the quickest-access compartment.
- Adhesive strips and cohesive wrap: Store several sizes together so the dressing can match the injury.
- Medical tape: Keep it protected from dirt and easy to tear.
- Cleaning supplies: Pack materials for hand cleaning and wound irrigation.
- Gloves and waste storage: Use them to reduce contamination during treatment and carry used dressings out.
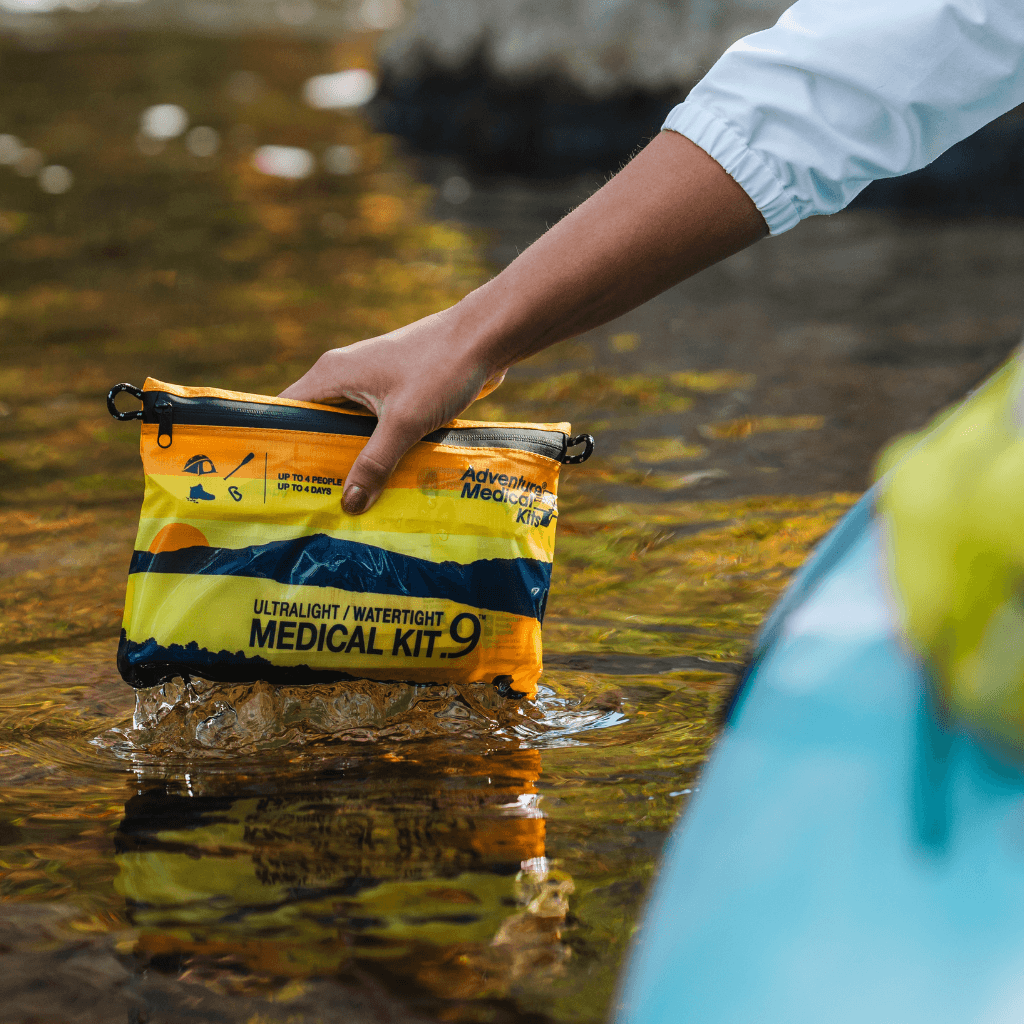
A resealable waterproof bag protects supplies from rain and spills, but it doesn't eliminate the need to inspect the applied dressing. Carrying a few replacement coverings is practical on longer trips because moisture, soil, and repeated hand use can make a dressing unsuitable before the wound itself has healed.
The same organization principle applies to vehicle-based trips and remote repairs. A resource on how to prepare for trail repairs can help travelers think beyond the primary tool and account for the small supplies that make field problems manageable.
For a fuller packing checklist, use the first aid kit list of supplies, then test the kit before departure. Open the compartments with cold or gloved hands, identify the finger dressings, and check that the waterproof packaging still closes securely.
Adventure Medical Kits offers activity-specific, lightweight outdoor medical kits with organized supplies, waterproof storage for most kits, and field instructions for common trail injuries. For a finger wrap bandage that can be found, applied, inspected, and replaced without unpacking an entire bag, visit Adventure Medical Kits before the next trip.