

A solo hiker clearing a blowdown with a folding saw, a hunter quartering game at dusk, a paddler unloading a canoe on slick rocks. Those are ordinary outdoor moments until a deep cut turns into severe limb bleeding and one hand is injured, pinned, or busy controlling the scene. That's where a one hand tourniquet stops being a tactic from a classroom handout and becomes a real piece of field equipment.
A common focus is on the steps. The harder truth is that one-handed self-application is a gear problem and a fine-motor problem. The device has to be reachable by either hand, already staged for self-use, and mechanically capable of getting tight enough on the limb in front of you. Then the user still has to operate it while cold, wet, gloved, shaky, or working around a pack strap, raft frame, or tree stand harness.
Table of Contents
- What a One Hand Tourniquet Actually Does
- Why Seconds Matter in Remote Settings
- Arm Versus Thigh and Why Device Design Matters
- The Application Sequence That Actually Works
- Training Your Fine Motor Skills Under Real Conditions
- Choosing a Device and Packing It for Real Use
- Maintenance, Replacements, and End-of-Season Habits
What a One Hand Tourniquet Actually Does
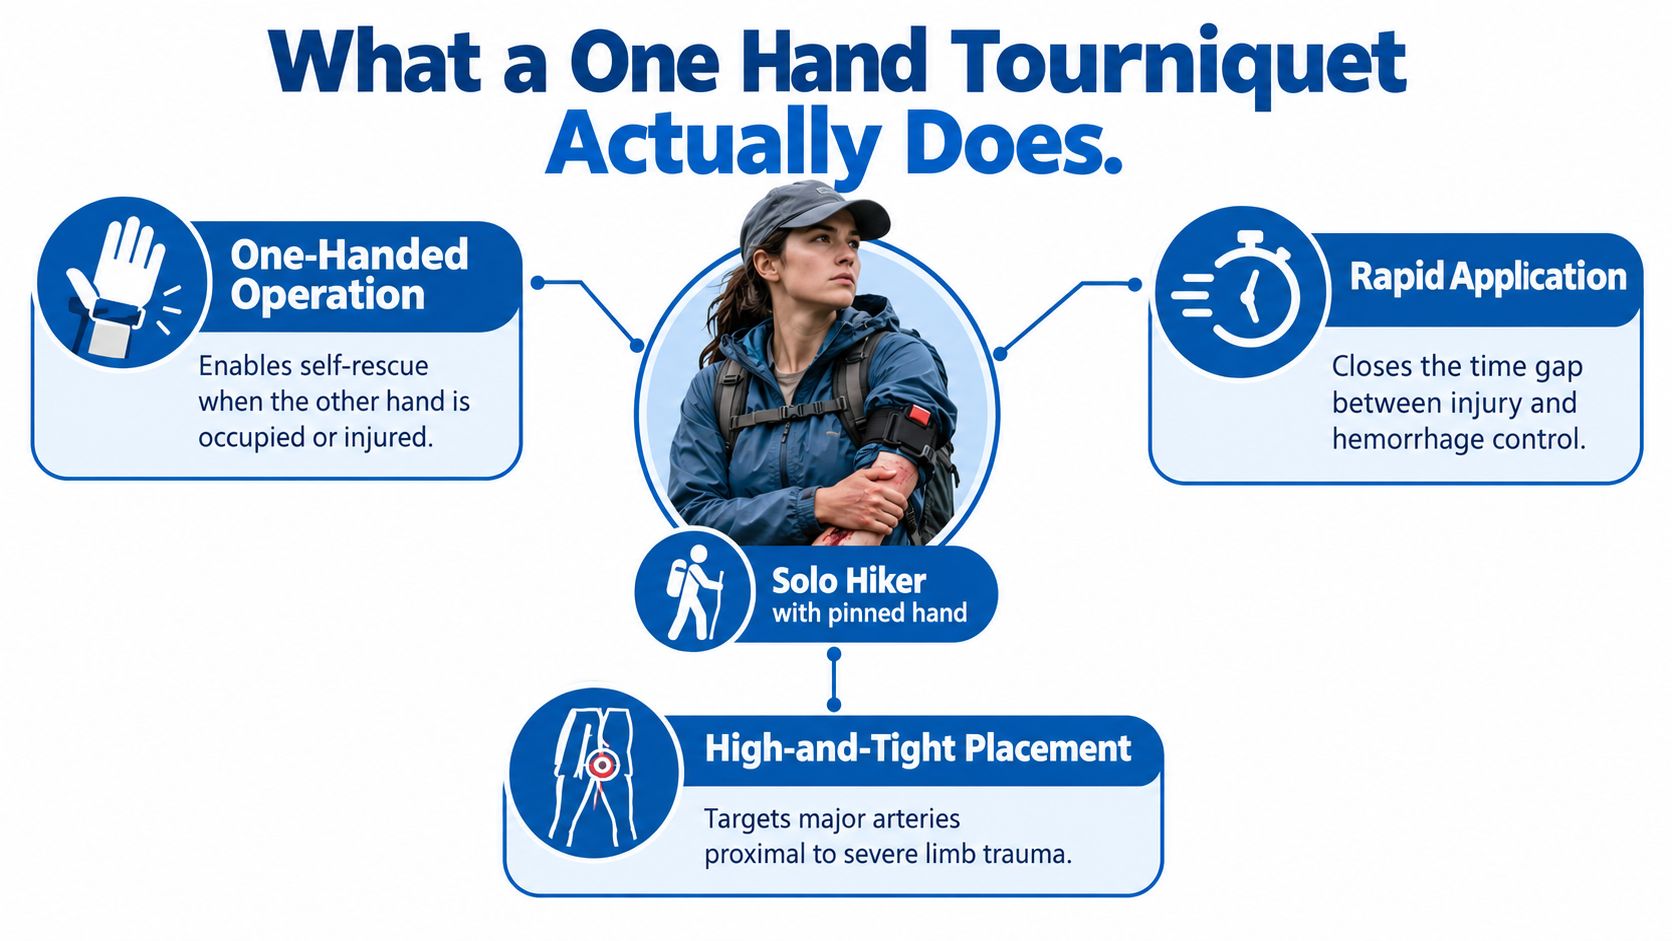
A one hand tourniquet is built for self-application on a limb when only one hand is usable. In the field, that job usually falls to a windlass tourniquet that has been pre-threaded, staged, slipped over the arm or leg, pulled tight, then tightened further with the windlass until bleeding stops.
The arm-versus-thigh difference is the point that gets missed.
Self-applying to an upper arm is often realistic with a well-designed device and decent practice. Self-applying to a thigh is a harder mechanical problem. The thigh has more circumference, more soft tissue, and often more clothing in the way. A strap that cinches down well on an arm may still struggle to generate enough compression on a large leg, especially if the user is cold, wet, gloved, or trying to work around rain gear or waders.
That is why "one-handed capable" is not a yes-or-no label. It depends on limb size, strap friction, windlass strength, and whether the tourniquet can be routed and tightened with one hand without losing tension midway through the pull.
A study of civilian clinicians using a Combat Application Tourniquet with a defined one-handed technique reported an average completion time of 101 seconds, with results ranging from 35 seconds to 180 seconds (Military Medicine). In that study, 92% said they would verify that bleeding had stopped, while 49% said they would check for a distal pulse. That matters because a one hand tourniquet is not just a strap you manage to fasten. It has done its job only when it controls life-threatening extremity bleeding.
When it earns space in a kit
A tourniquet makes sense on trips where delayed care and severe tool-related injuries are both plausible. Solo hunters, anglers, paddlers, guides, and field crews all face that mix. So do backpackers using saws or axes far from a trailhead.
Use it for life-threatening extremity bleeding when rapid direct pressure is not enough or when immediate control has to come first.
The carry decision should also match the likely limb problem. If a trip mainly exposes the hands and forearms to knives, broadheads, hooks, or saws, one-handed arm application deserves heavy attention in training. If chainsaws, stock work, boating hardware, or firearms make a leg injury more plausible, choose and practice knowing that thigh self-application is less forgiving and more device-dependent.
Why Seconds Matter in Remote Settings
Your off hand is slick with blood, your radio is buried in a pack pocket, and the trailhead is hours behind you. In that moment, the value of a one hand tourniquet is simple. It gives you a chance to stay ahead of blood loss before cold, pain, and fading dexterity make self-care much harder.
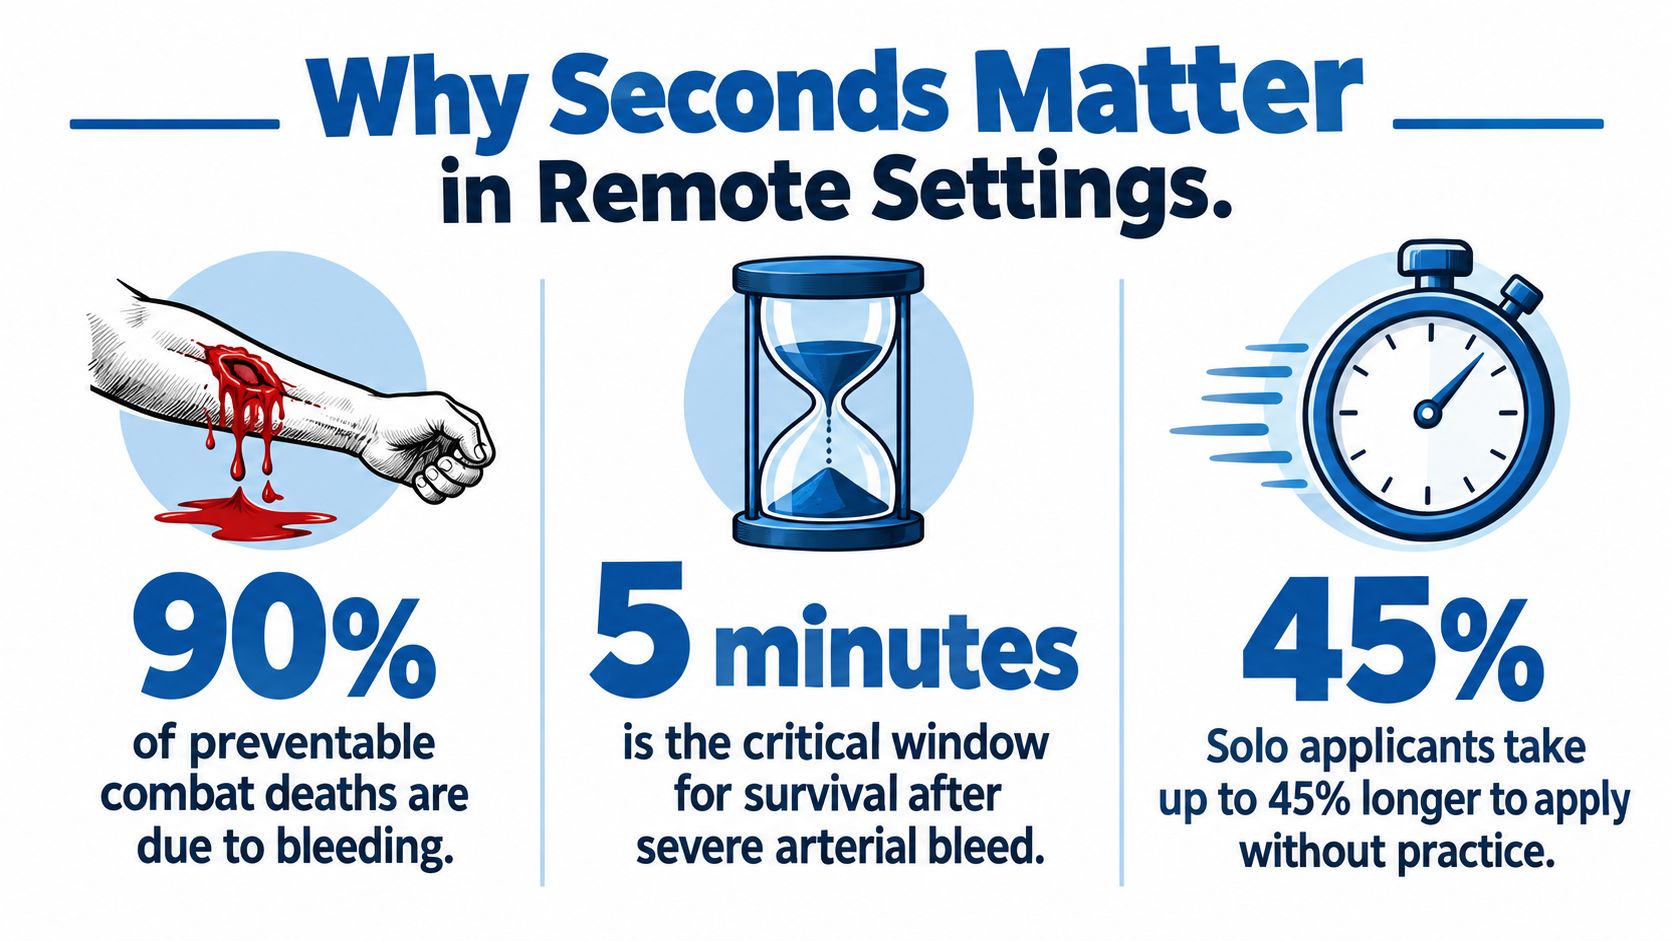
Civilian prehospital research supports that urgency. A systematic review reported survival as high as 96% when a tourniquet was applied before hemorrhagic shock, with survival dropping to 4% after shock developed. The same review also summarized trauma data showing similar patterns and reported 100% mortality when a tourniquet was indicated but not applied in one dataset (systematic review).
Remote settings stretch every delay.
A city injury may get extra hands, a 911 connection, and a short transport. A riverbank, logging road, or late-season ridge hunt often gives you none of that. You may be alone. You may be kneeling in mud, wearing gloves, trying to work a device with one functioning hand while your fine motor control drops off. That is why I teach this as a time problem and a carry problem, not just a medical problem.
It is also a rescue problem with real cost behind it. Aircraft evacuation from remote terrain can be expensive, and Approved Jets on air ambulance costs gives useful context for trip planning.
A tourniquet buys time. It does not finish the job.
That point matters in the backcountry because successful placement is only the first step. The casualty still needs bleeding checks, protection from exposure, a callout or self-rescue plan, and professional care. On your own body, the challenge is even narrower. You need a device you can reach, route, cinch, and wind before stress and blood loss strip away hand strength.
Direct pressure still makes sense when it is working and when you can maintain it. If you cannot hold pressure, if you need both mobility and bleeding control, or if the bleed is severe enough that delay is risky, a tourniquet earns its place fast. In remote settings, those decisions arrive early, and they punish hesitation.
Arm Versus Thigh and Why Device Design Matters
A one-handed self-application on an arm is one problem. A one-handed self-application on a thigh is a different one.
People get misled by the label. “One-handed” often means the tourniquet can be routed, tightened, and locked with one hand under decent conditions. It does not mean every limb is equally manageable. It does not mean a user who can stop flow in an arm will get the same result on a thick thigh, over wet layers, with cold hands and reduced grip.
A cold-weather field study found that briefly trained participants could self-apply most tested tourniquets to an upper extremity, but lower-limb performance was far less reliable, and the SWAT-T stood out as a poor fit for one-handed self-application in that setting (field study review).
That gap shows up for mechanical reasons, not because users are careless.
Why thighs are harder
The thigh asks more from both the device and the user. Limb circumference is larger, so the strap has to start tighter before the windlass can do useful work. The target vessels sit deeper under muscle and soft tissue, so partial compression is common. Add insulated pants, rain gear, bibs, or chaps, and the strap often hangs up before it ever gets fully snug.
One hand also limits how much preload you can create. That matters more than many people expect. If the first pull is loose, the windlass spends turns taking out slack instead of building pressure.
Device design decides whether you can make up for that handicap. A windlass tourniquet with a strap that cinches down hard, a windlass you can grip under stress, and a locking system that stays put gives you a better chance on a thigh. Stretch-wrap designs can work on smaller limbs or with two-handed help, but they ask for more judgment and more consistent tension than many injured users can produce on themselves.
One-handed self-application by limb
| Limb | Typical outcome | Watch out for |
|---|---|---|
| Arm | Often realistic with a staged windlass tourniquet and practice | Slack left in the band, poor routing, weak windlass lock, false confidence from calm indoor drills |
| Thigh | Often the harder problem, sometimes much harder | Large circumference, bulky clothing, deep vessels, a tourniquet that feels tight but does not fully stop arterial flow |
Success on an arm does not prove success on a leg.
That changes how I advise people to carry gear. A climber or trail runner worried about an arm injury can often solve the problem with a well-staged tourniquet placed where either hand can reach it. A hunter, guide, or chainsaw user who spends time around thigh-level hazards should assume self-application may be slower, more force-dependent, and less forgiving. For that group, device choice, carry position, and the option of a second tourniquet matter a lot more than a package claim that says “one-handed.”
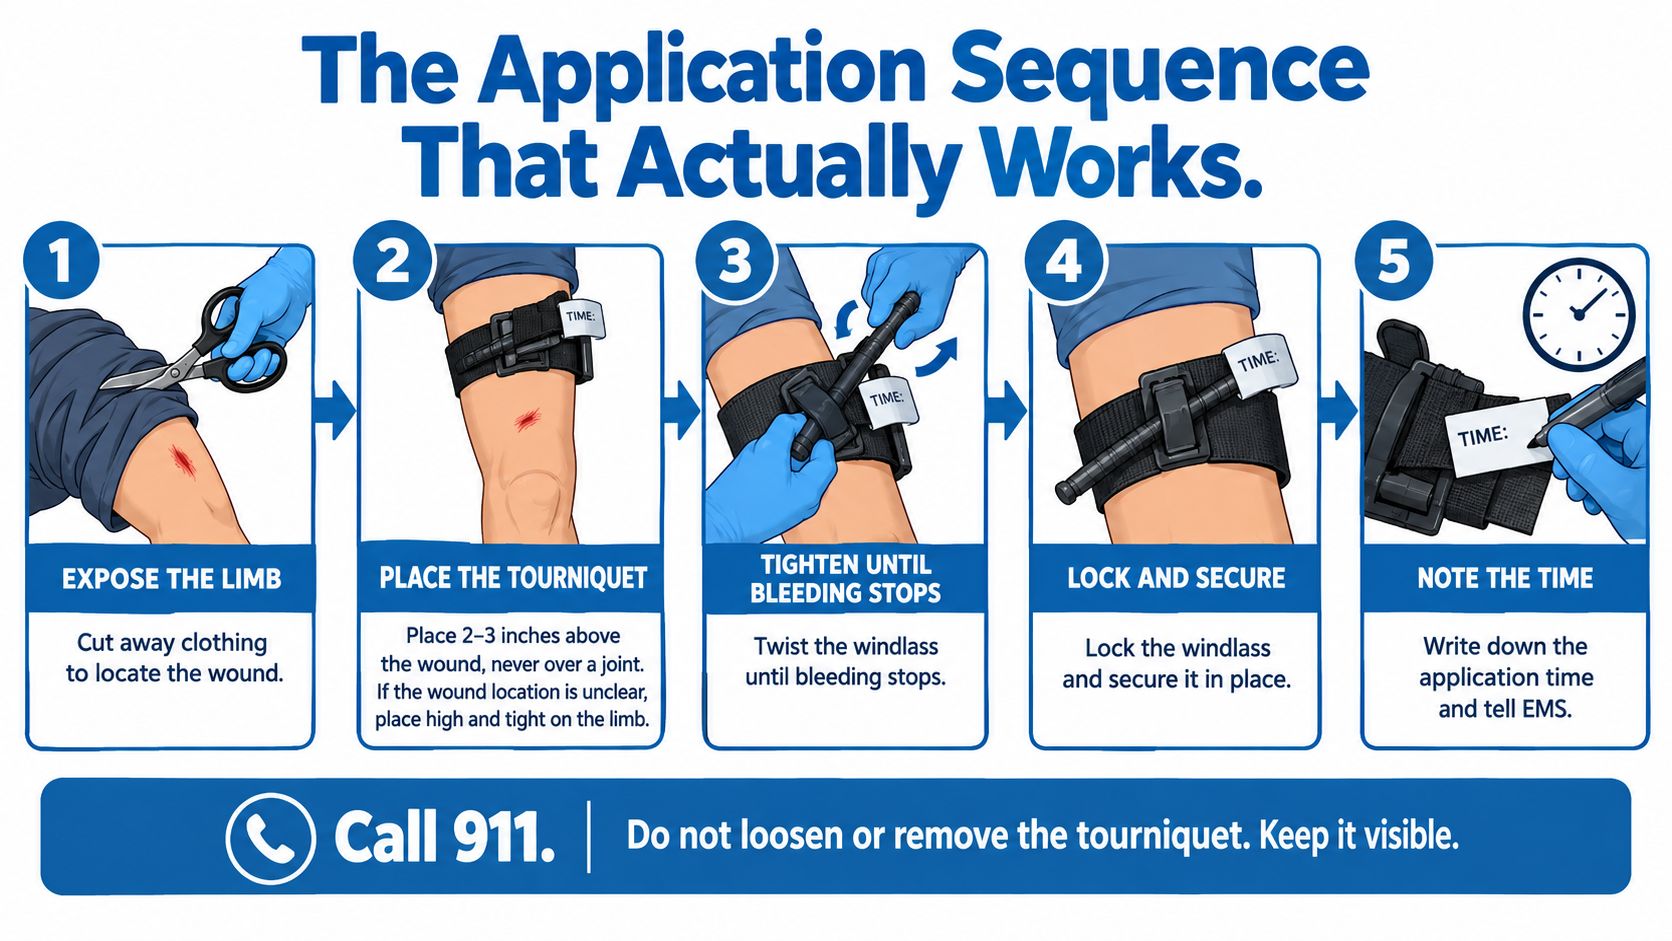
The Application Sequence That Actually Works
A one-handed tourniquet goes wrong in the first few seconds, not the last few turns. The failure point is usually simple. The band goes on loose, the user starts cranking the windlass to make up for bad setup, and the device runs out of mechanical advantage before it shuts down blood flow.
When severe bleeding from an arm or leg does not stop with firm direct pressure, the Department of Homeland Security's Stop the Bleed guidance says to place a tourniquet at least 2 to 3 inches above the wound, never directly over it, and to apply it over clothing if necessary (DHS Stop the Bleed guide).
Mechanics that matter
On an arm, self-application is often a routing problem first. You need the loop large enough to get on fast, but not so large that you waste your good hand pulling out inches of slack. On a thigh, the same mistake costs more. Bigger circumference means more strap to remove and more windlass turns before you build enough pressure.
If you can expose the limb quickly, do it. If heavy clothing is in the way, put the tourniquet on over the clothing and keep moving. Place it between the wound and the torso. Pull the strap down hard before you ever touch the windlass. If the wound cannot be found fast, put the tourniquet high on the limb. Tactical combat casualty care guidance also calls for tightening the band enough that three fingertips cannot slide beneath it, then twisting the windlass until bleeding stops, securing it, and adding a second tourniquet above and beside the first if one does not control the bleed (TCCC casualty response protocol).
A peer-reviewed training study used three practical markers for successful application: pressure greater than 250 mm Hg, placement at least 2 inches proximal to the wound, and completion in less than 2 minutes. That study also explained the 2-minute benchmark by citing earlier training work showing that most correct applications were finished inside that window (tourniquet training study).
Common failure points
The pattern is predictable in classes and field drills.
- Loose strap before windlass use: the windlass should build pressure, not spend turns taking up slack.
- Poor strap management: extra strap can snag, shift, or interfere with locking.
- Stopping at pain instead of at hemorrhage control: this shows up more on thicker legs, where a tourniquet can feel brutally tight and still not occlude arterial flow.
- Weak windlass lock: if the rod is not seated and secured, movement can bleed off tension.
- No time marked: responders who take over need to know when the tourniquet went on.
A practical demonstration helps, especially for the hand sequence and locking motion.
Reassess after movement
Check the result, not the effort. Bleeding should stop. On a limb where you can assess it, a distal pulse should be absent. If the patient moves, if you drag them, or if bulky clothing compresses under the band, reassess again.
Do not loosen a field-applied tourniquet to “give the limb a break.” Once it is on for life-threatening bleeding, it stays on until higher medical care takes over.
Training Your Fine Motor Skills Under Real Conditions
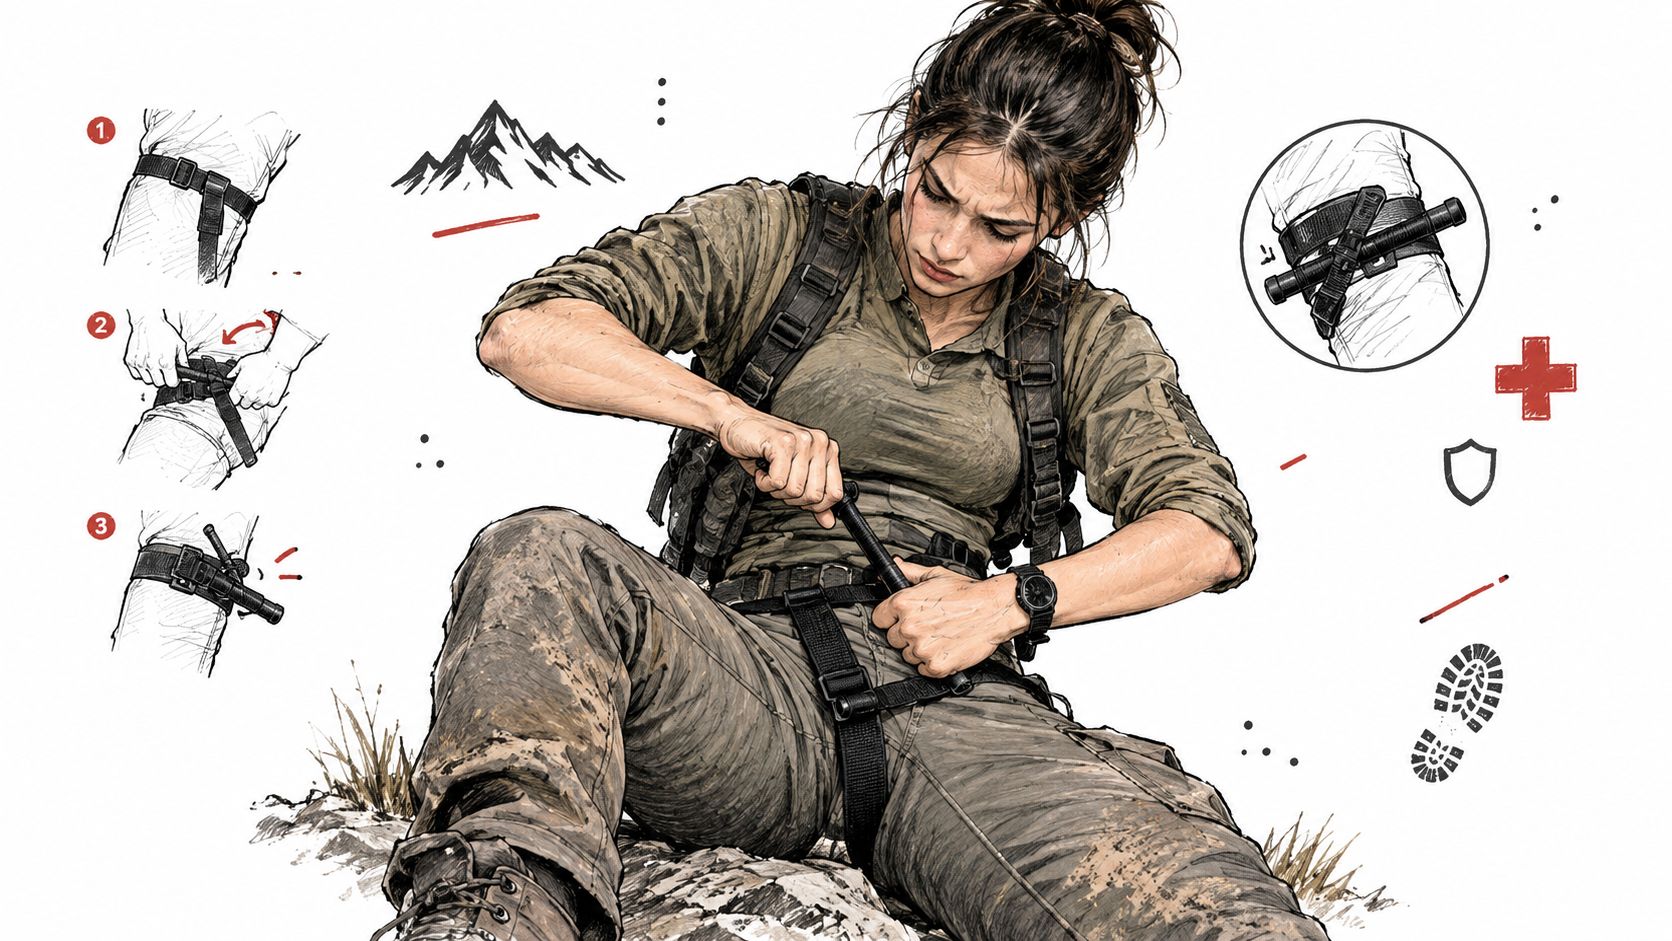
You are kneeling in wet leaves at last light, one hand cold, the other tied up as the injured arm. The hard part is not remembering the steps. The hard part is finding the tourniquet, orienting it by touch, getting the loop over the limb, and tightening it hard enough before your fingers lose precision.
Training needs to match that reality.
A controlled firefighter study showed how much practice changes performance. Initial successful applications were 50.5%, improving to 91.4% after a 45-minute course and remaining 87.1% at follow-up. Mean application time improved from 59.6 seconds to 34.9 seconds, with 37.7 seconds at retention testing (firefighter skill study).
Self-application also carries a built-in penalty. In a comparative study using the Combat Application Tourniquet, self-application took 8.39 seconds longer on the upper extremity and 3.24 seconds longer on the lower extremity. Pulse elimination also dropped during self-application by 13.29% for upper-extremity use and 10.93% for lower-extremity use compared with buddy application (comparative self-application study).
That gap matters most on the thigh. Arm self-application is a fine-motor problem first. Thigh self-application is a fine-motor problem plus a force problem, especially through rain gear, insulated pants, or on a larger leg. If your device is hard to pre-stage, hard to route one-handed, or hard to wind under load, training has to account for that instead of pretending every limb behaves the same way.
A short practice protocol that transfers to the field
Keep the drill short and honest.
- Stage it the way you carry it: pre-thread the loop and set the strap for fast one-handed access.
- Run reps with the non-dominant hand: that is often the hand left working if the strong arm is injured.
- Split arm and thigh practice: the arm tests orientation and strap control. The thigh tests whether you can get enough initial tension before the windlass work starts.
- Practice over real clothing: use the jacket, base layers, or hunting pants you wear outside.
- Add low-light and awkward body position: kneeling, sitting, against a tree, or beside a truck tire changes hand access more than people expect.
- Finish the whole task: seat the windlass, secure it, and mark the time.
Train from the pocket, pack strap, or pouch where the tourniquet is carried. Tabletop reps build habits that fall apart when the kit is buried, rotated, or half-zipped.
What counts as a pass
Use a standard that reflects field use. A solid benchmark is a clean self-application on the non-dominant side, over clothing, from your normal carry position, with firm strap tension and a secure windlass lock inside a time you can repeat under stress.
I also want students to prove they can do two different jobs. One is arm application with reduced dexterity. The other is thigh application on a larger target where slack management and mechanical advantage matter more. If a person can only do one reliably, training is not finished.
People who want coached repetitions can build those skills through hands-on wilderness first aid training. Then keep practicing during the season, because cold, pain, darkness, and adrenaline strip fine motor control fast.
Choosing a Device and Packing It for Real Use
A one hand tourniquet should be chosen the same way any rescue tool is chosen. Start with the likely problem, then work backward to the carry method.
For self-application, windlass-style tourniquets make the most sense because they allow strong mechanical tightening and secure locking. Elastic wrap designs may work differently across users and conditions, and the arm-versus-thigh gap matters. A device that's manageable on a biceps through a light layer may be a poor answer for a large thigh under insulated pants.
What to look for in the device
The right features are practical, not glamorous.
- Pre-threading capability: a large staged loop matters for one-handed use.
- Glove-friendly parts: tabs, strap material, and windlass controls should still be manageable in cold weather.
- Secure locking: the windlass has to stay put during movement.
- Enough width and structure: the device has to hold tension rather than bunching or rolling.
Improvised options are a weak fallback. In a peer-reviewed study, improvised tourniquets without a windlass failed in 79 of 80 tests, or 99%, while improvised windlass devices failed in 25 of 80 tests, or 31% (improvised tourniquet performance study). That's a strong reason to carry a purpose-built device rather than hoping a belt or strap will do the job.
Where it should live
Buried gear doesn't count as readiness. The tourniquet should be reachable by either hand from the user's normal movement position. That may mean a shoulder strap, belt line, exterior pouch, or clearly indexed trauma pocket.
For broader kit setup, the best hiking first aid kit guide is a useful companion read because the tourniquet only solves one category of injury. The rest of the system still needs wound care, fracture support, and the usual field basics.
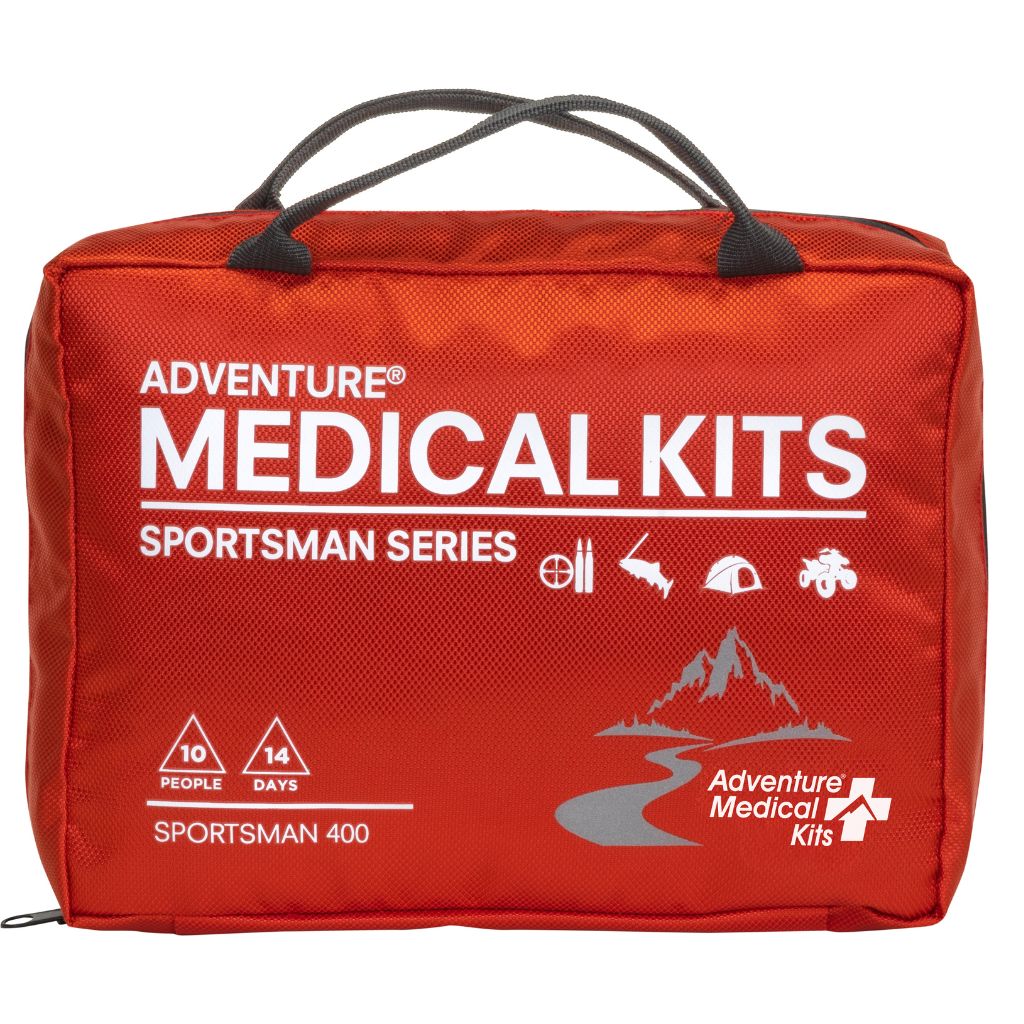
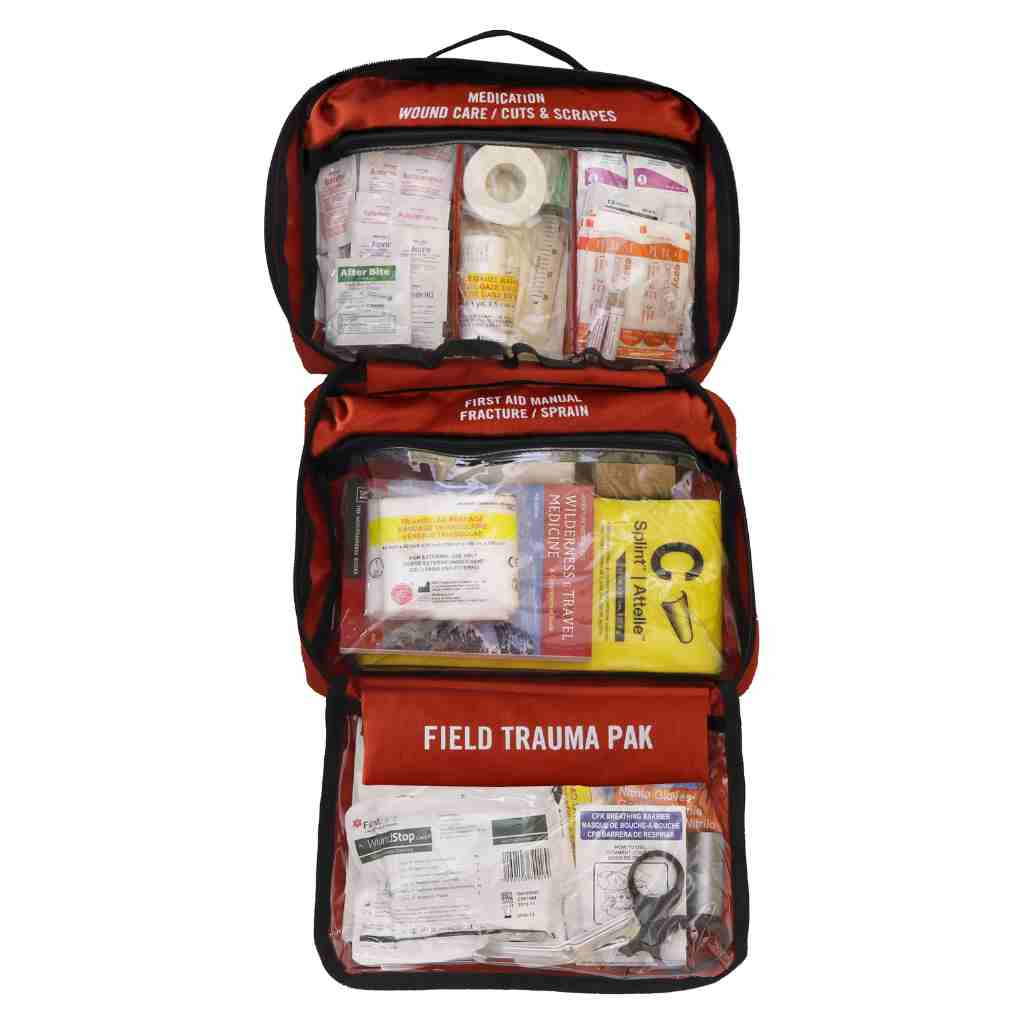
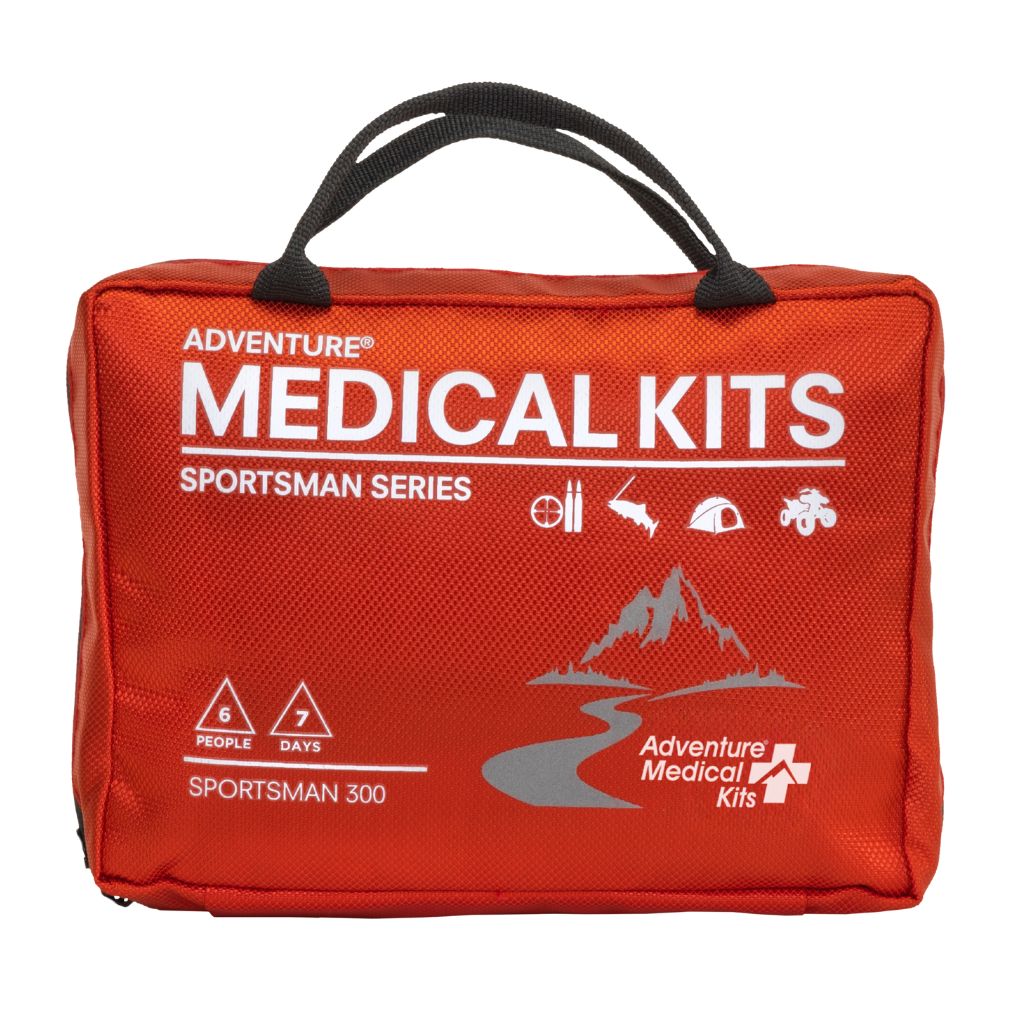
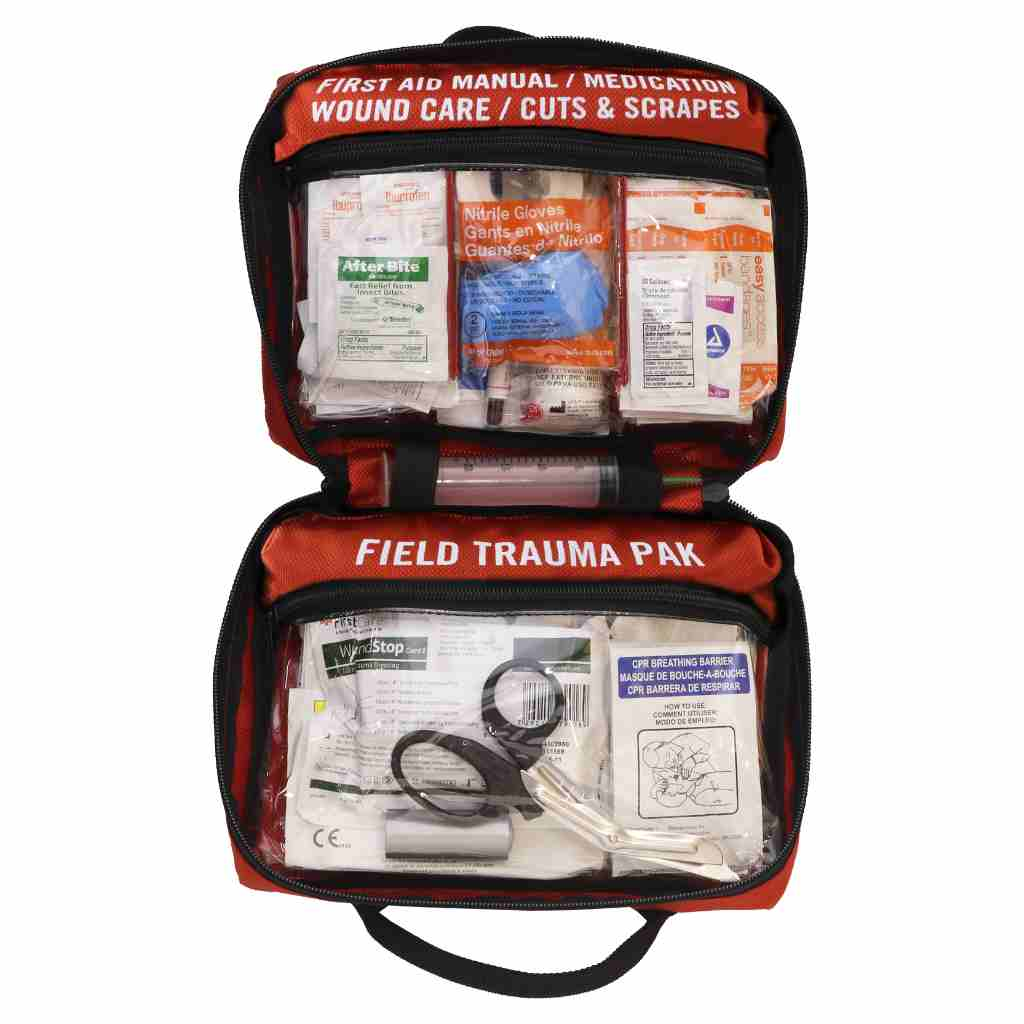
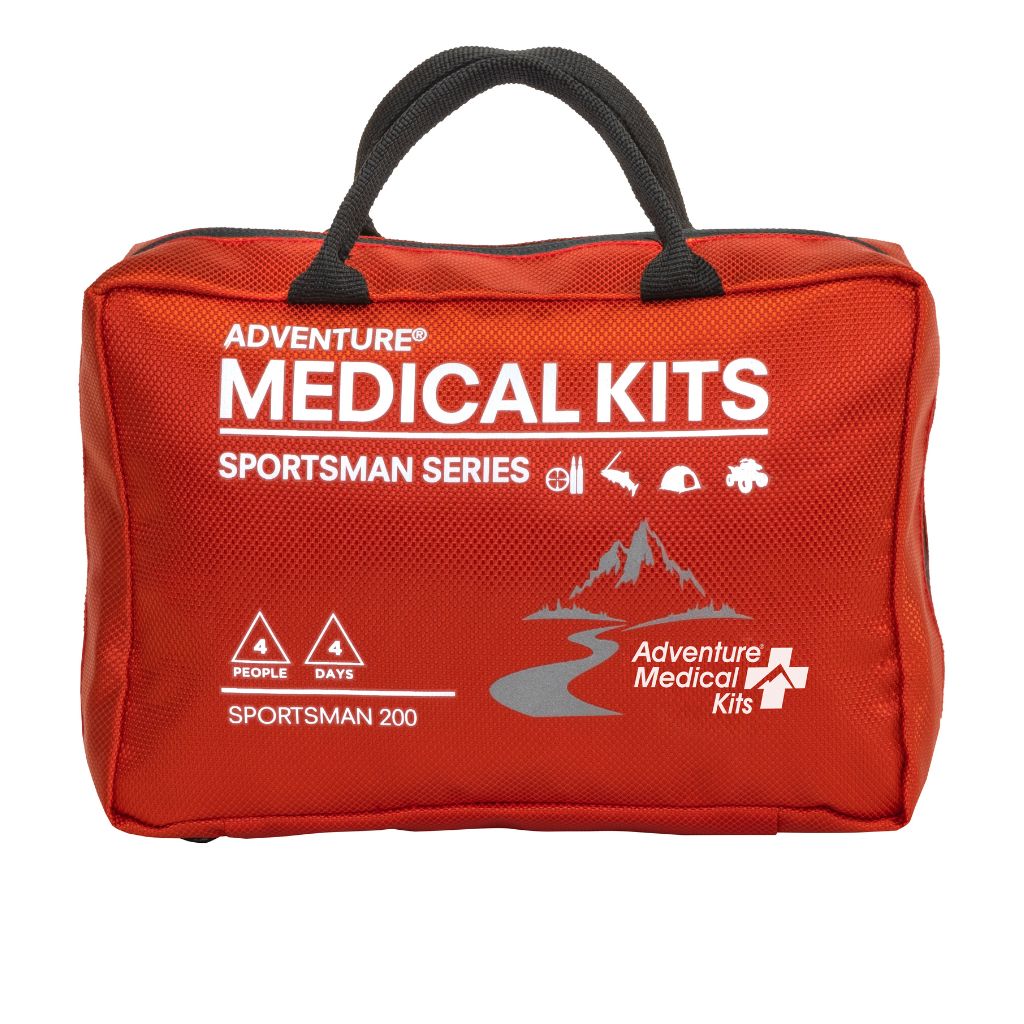
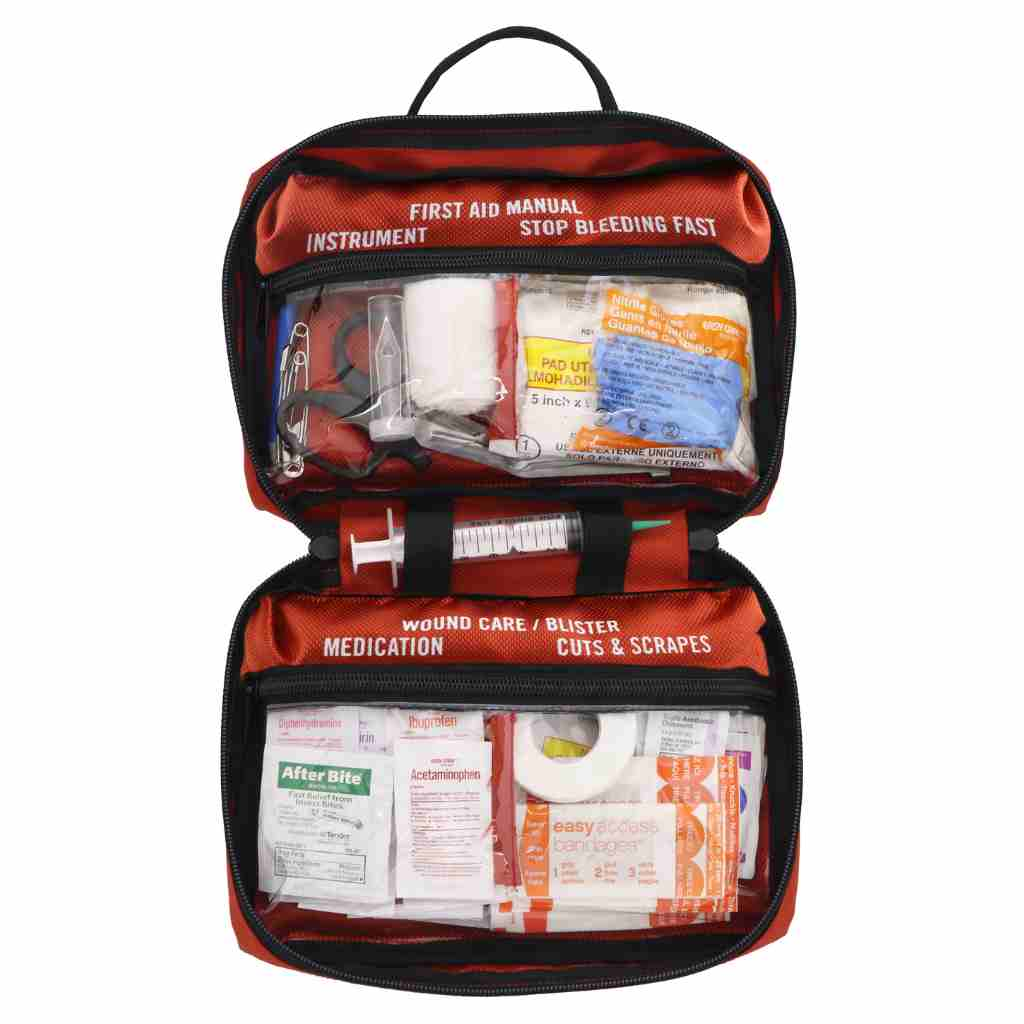
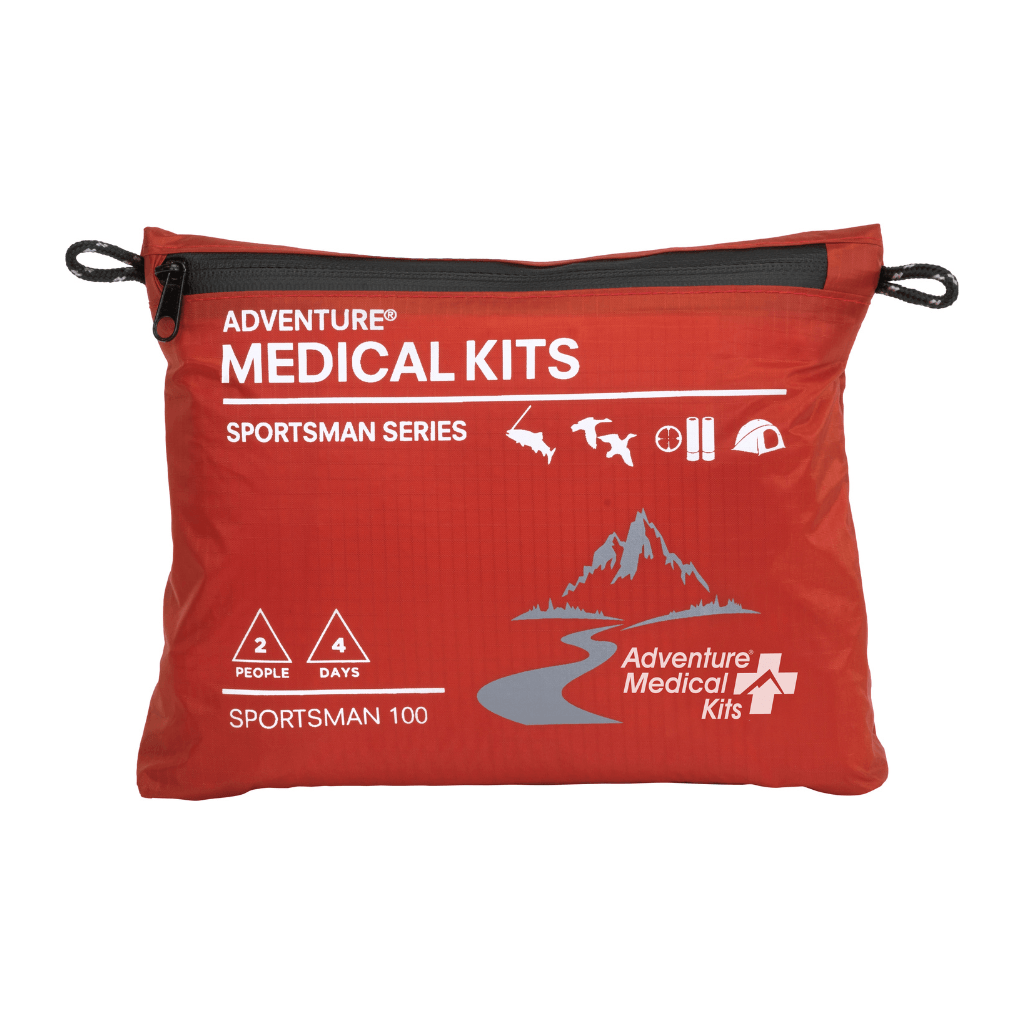
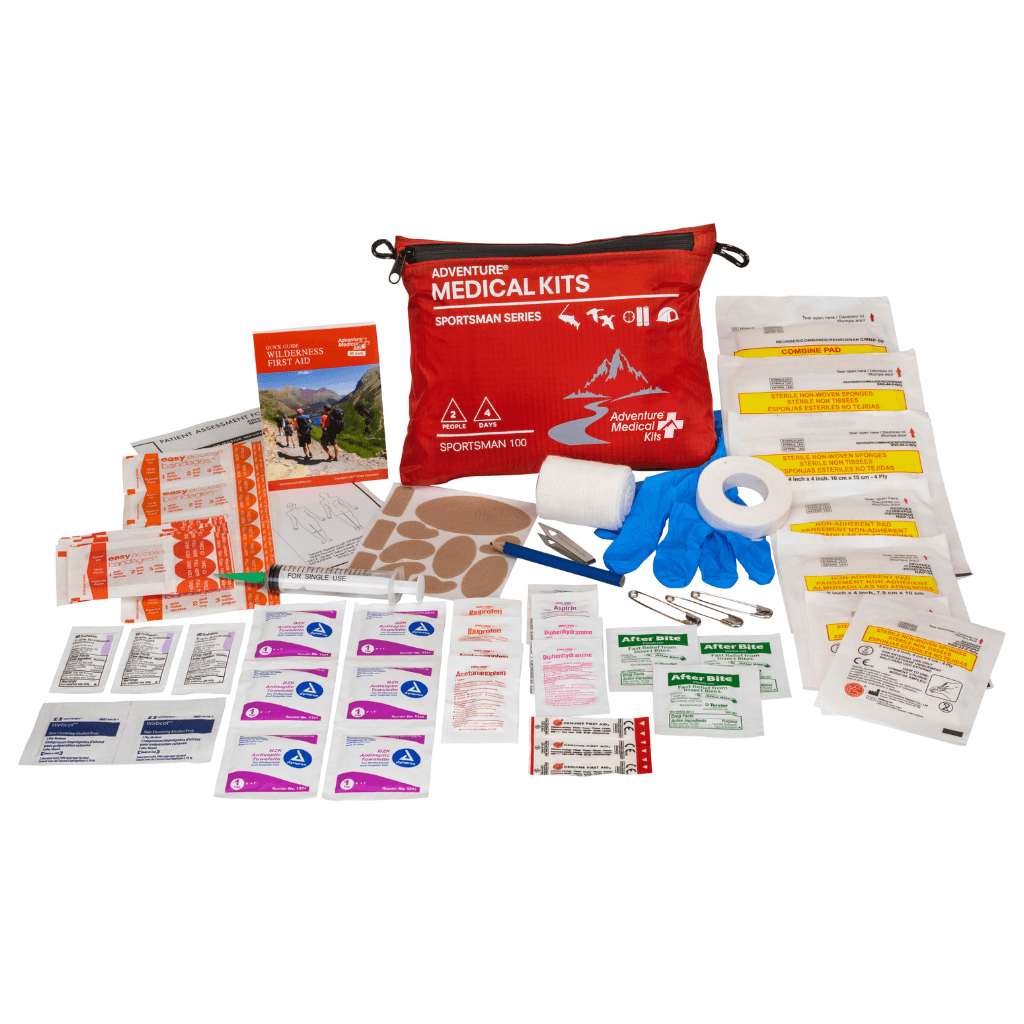
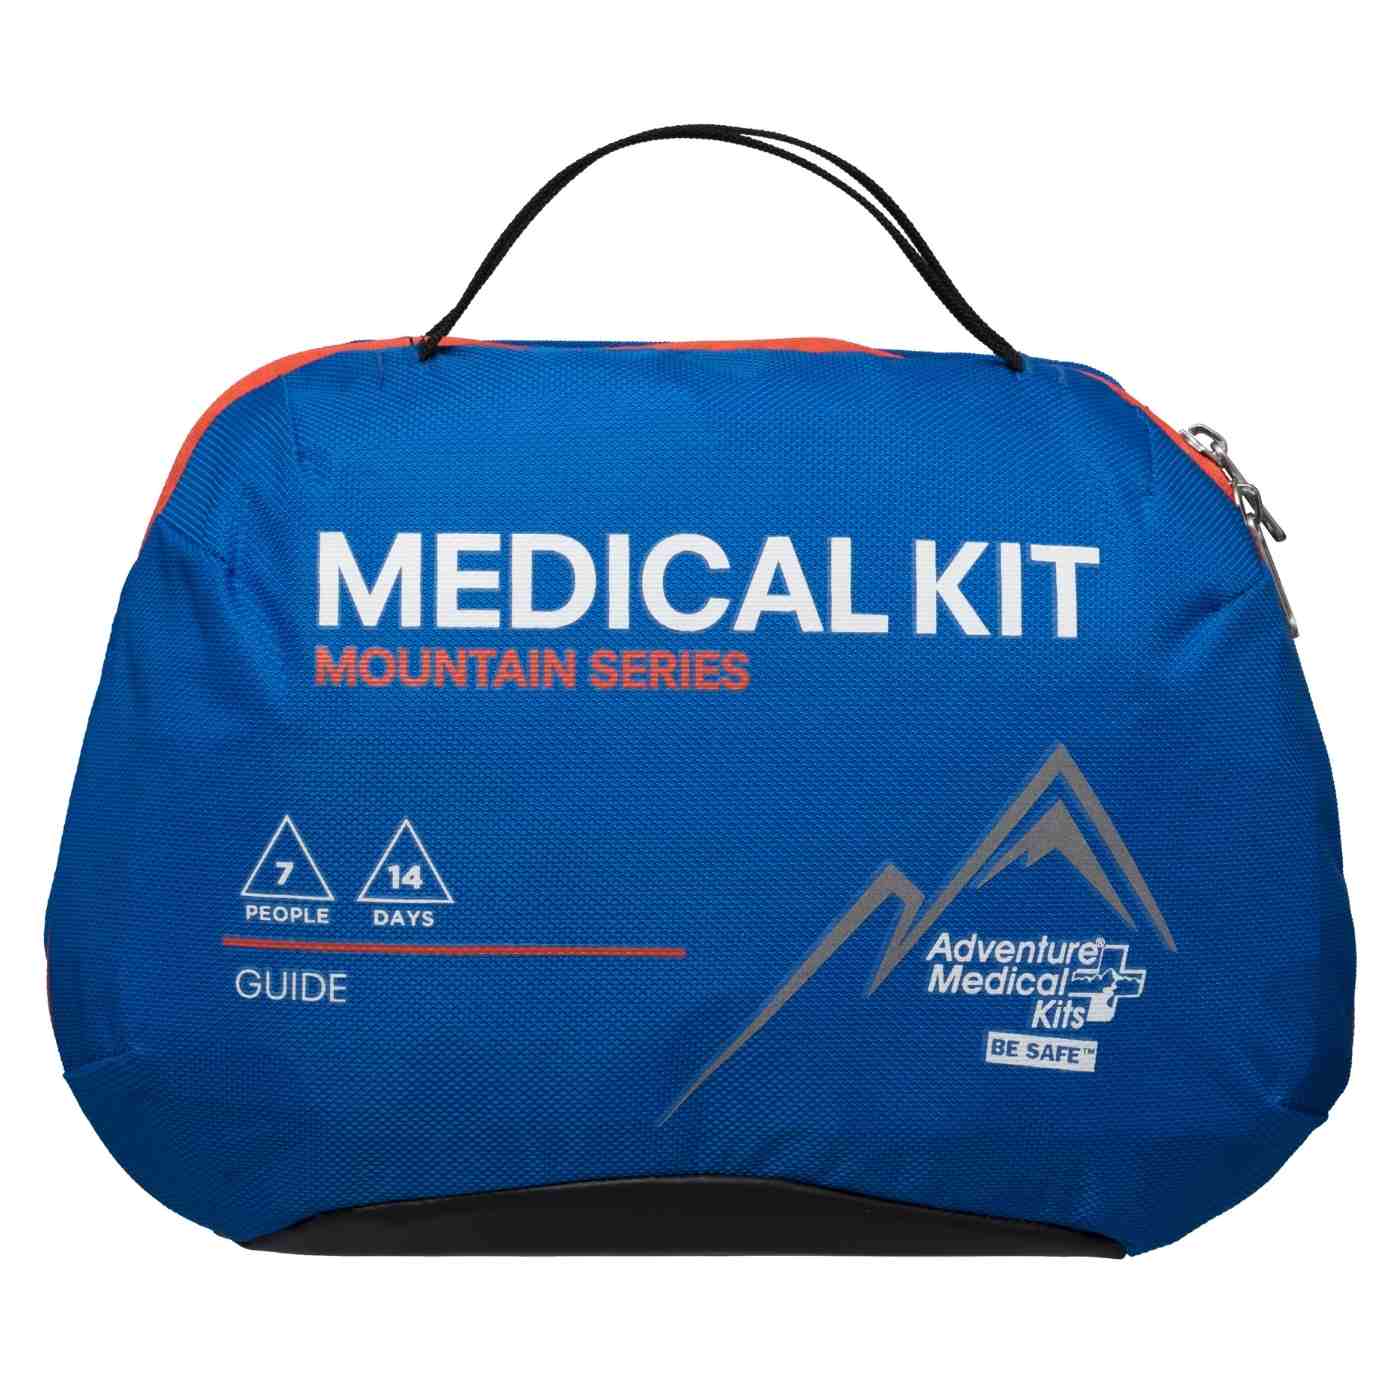
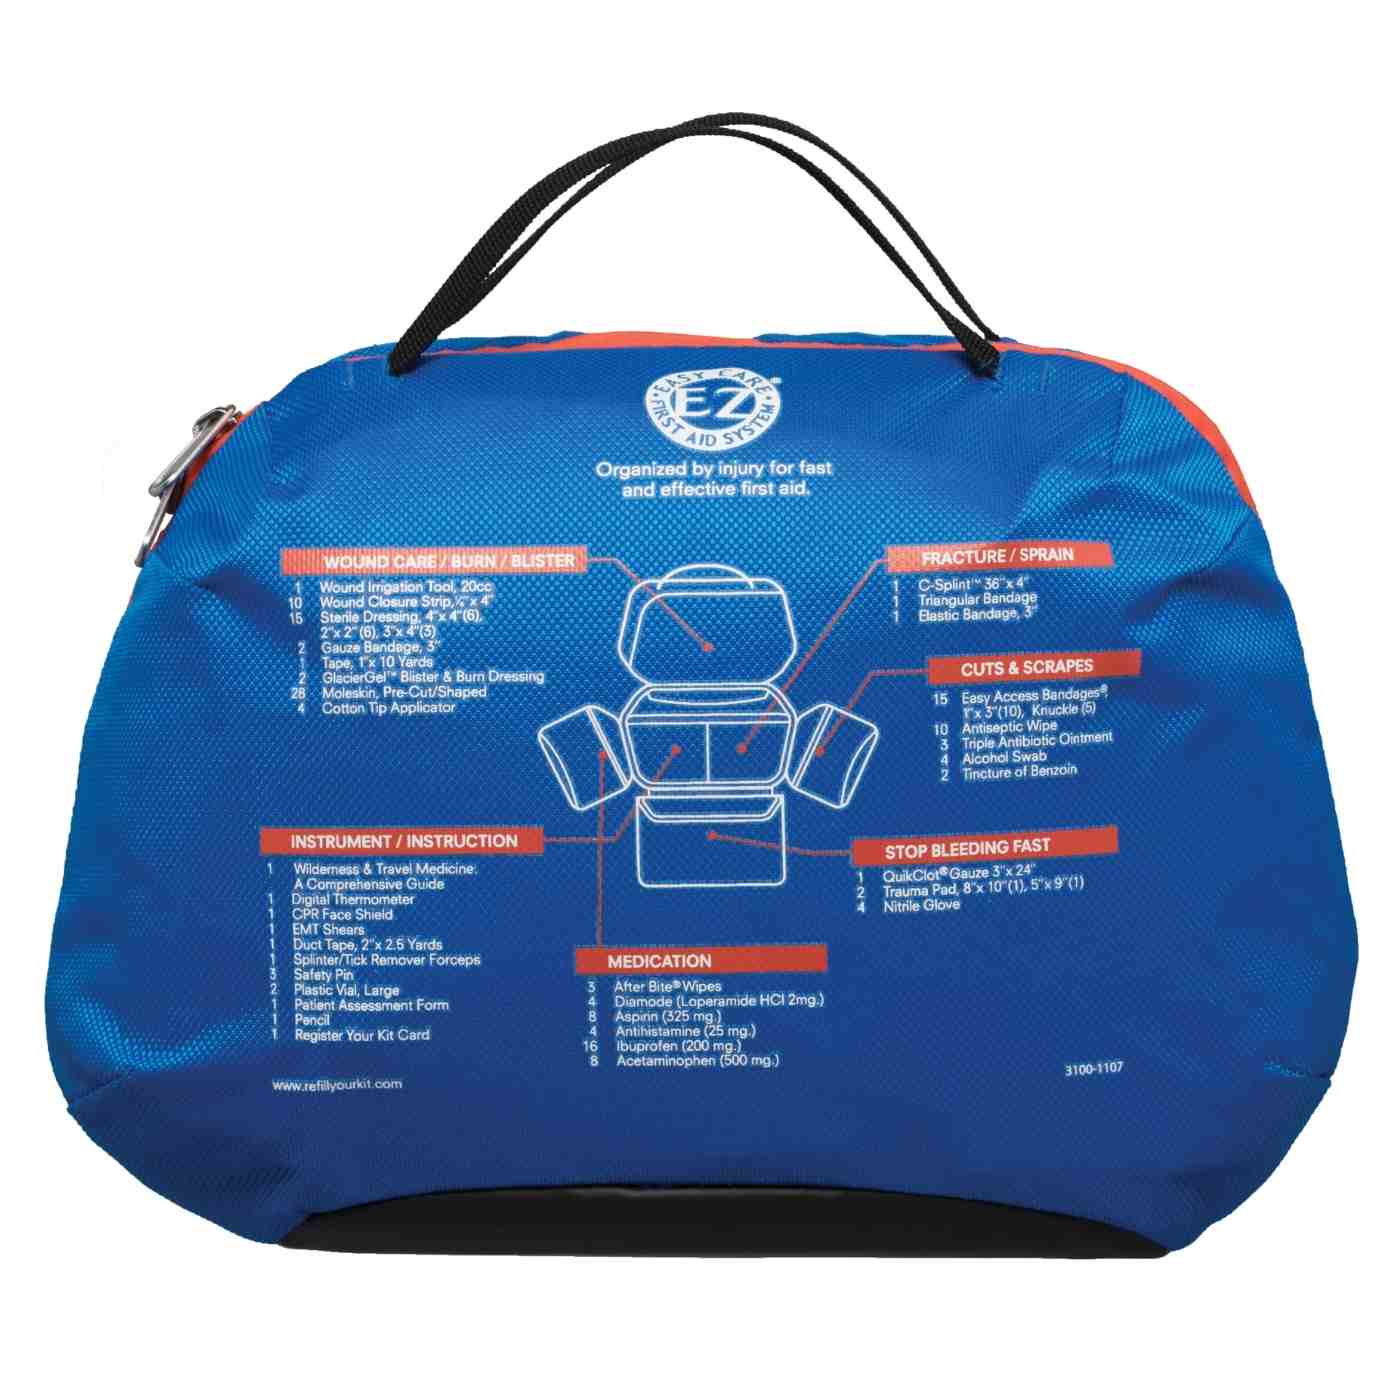
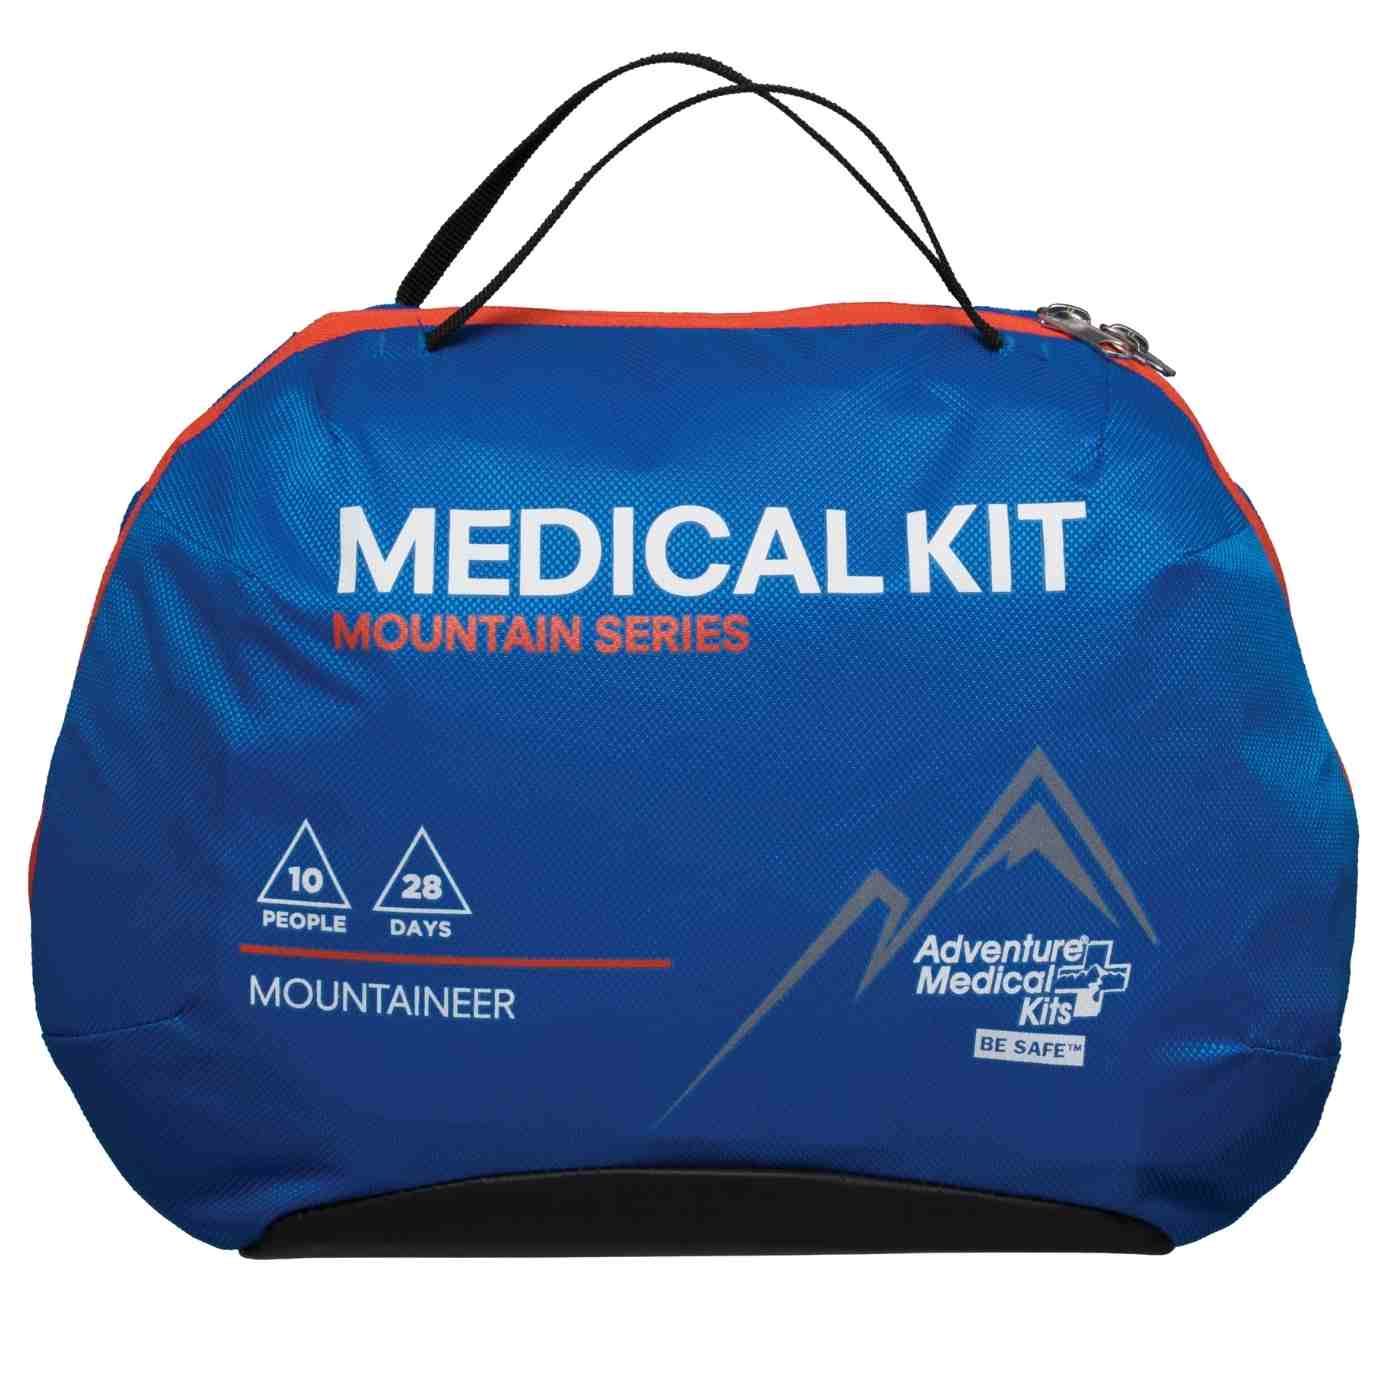
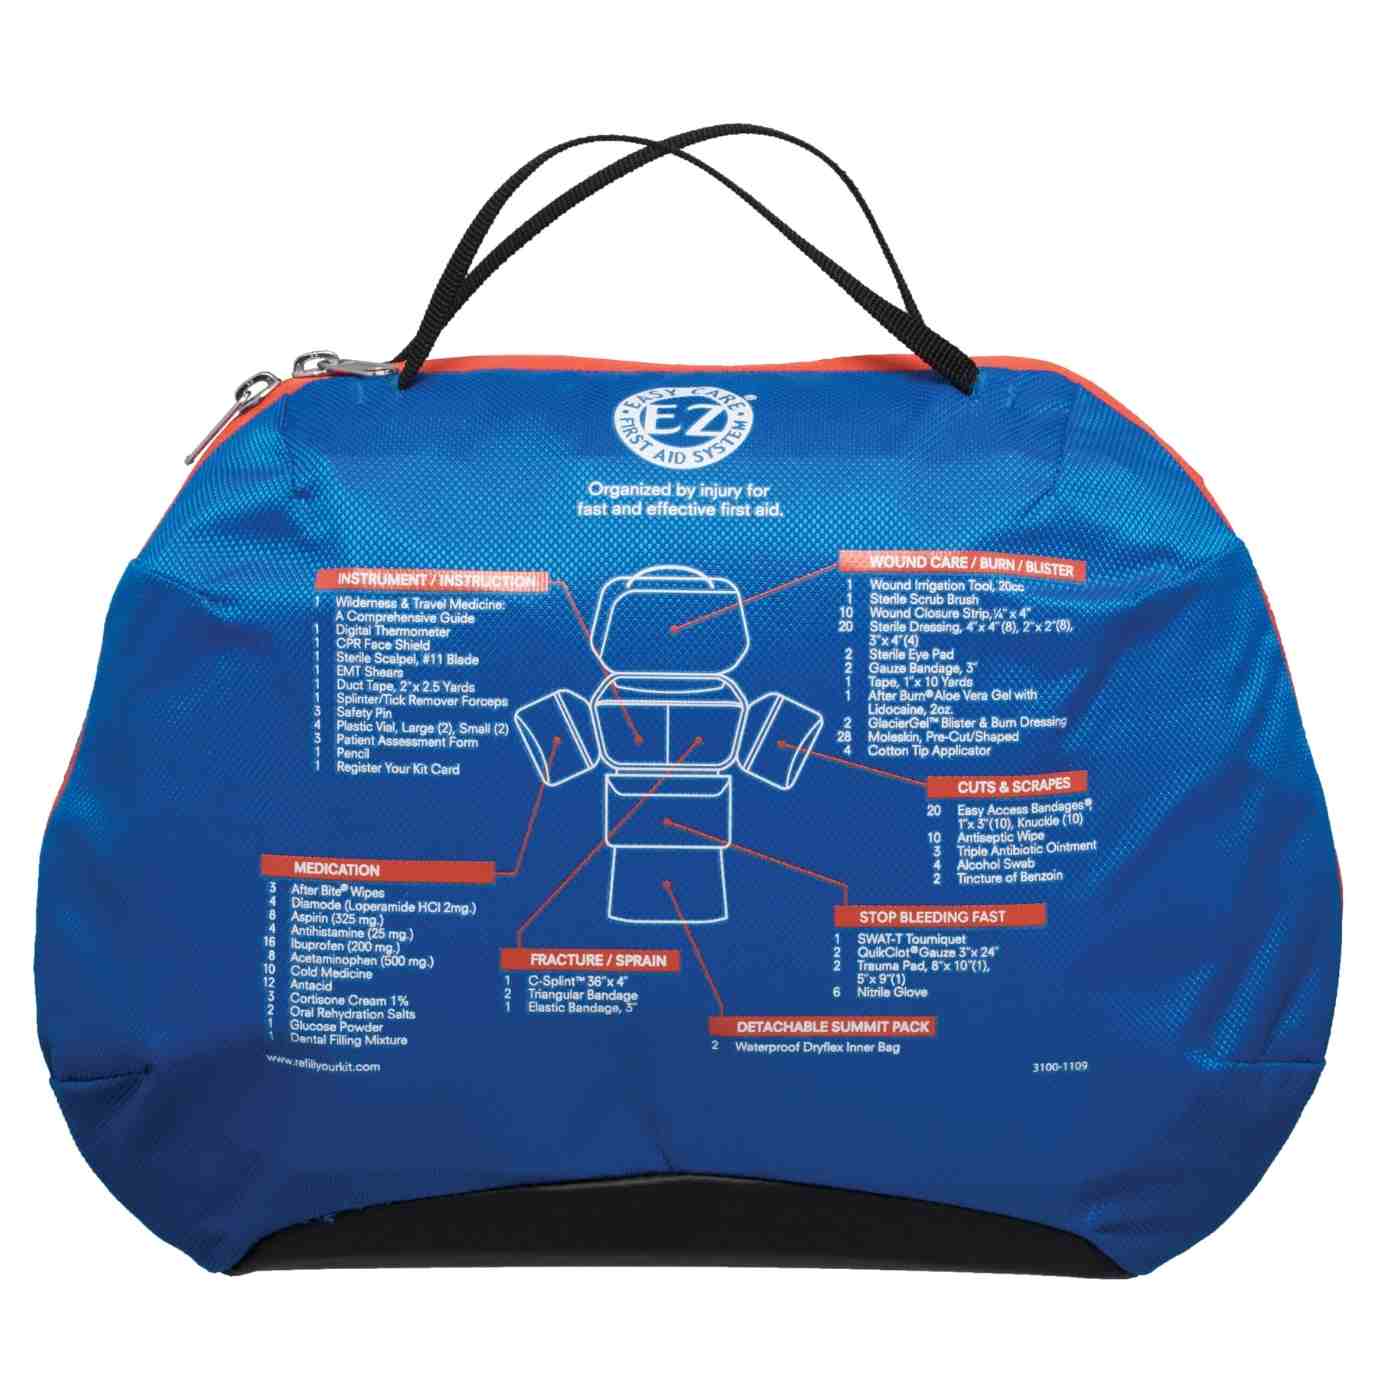
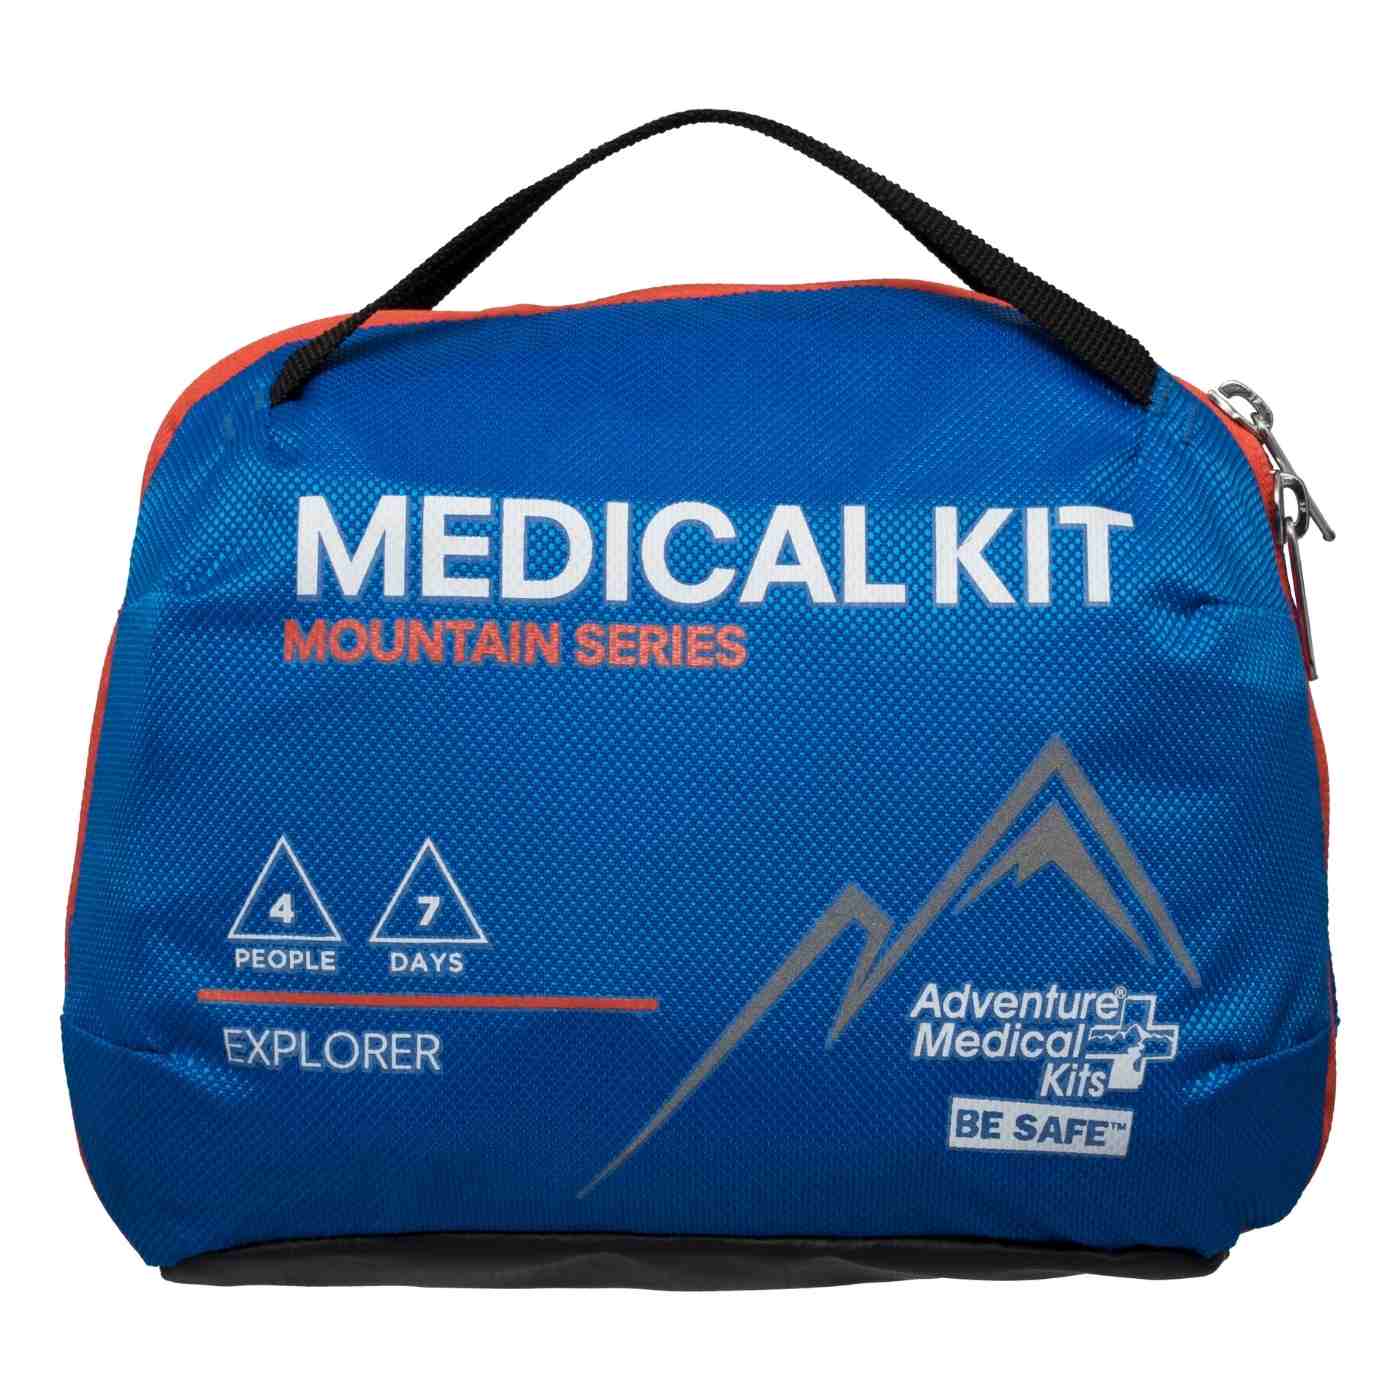
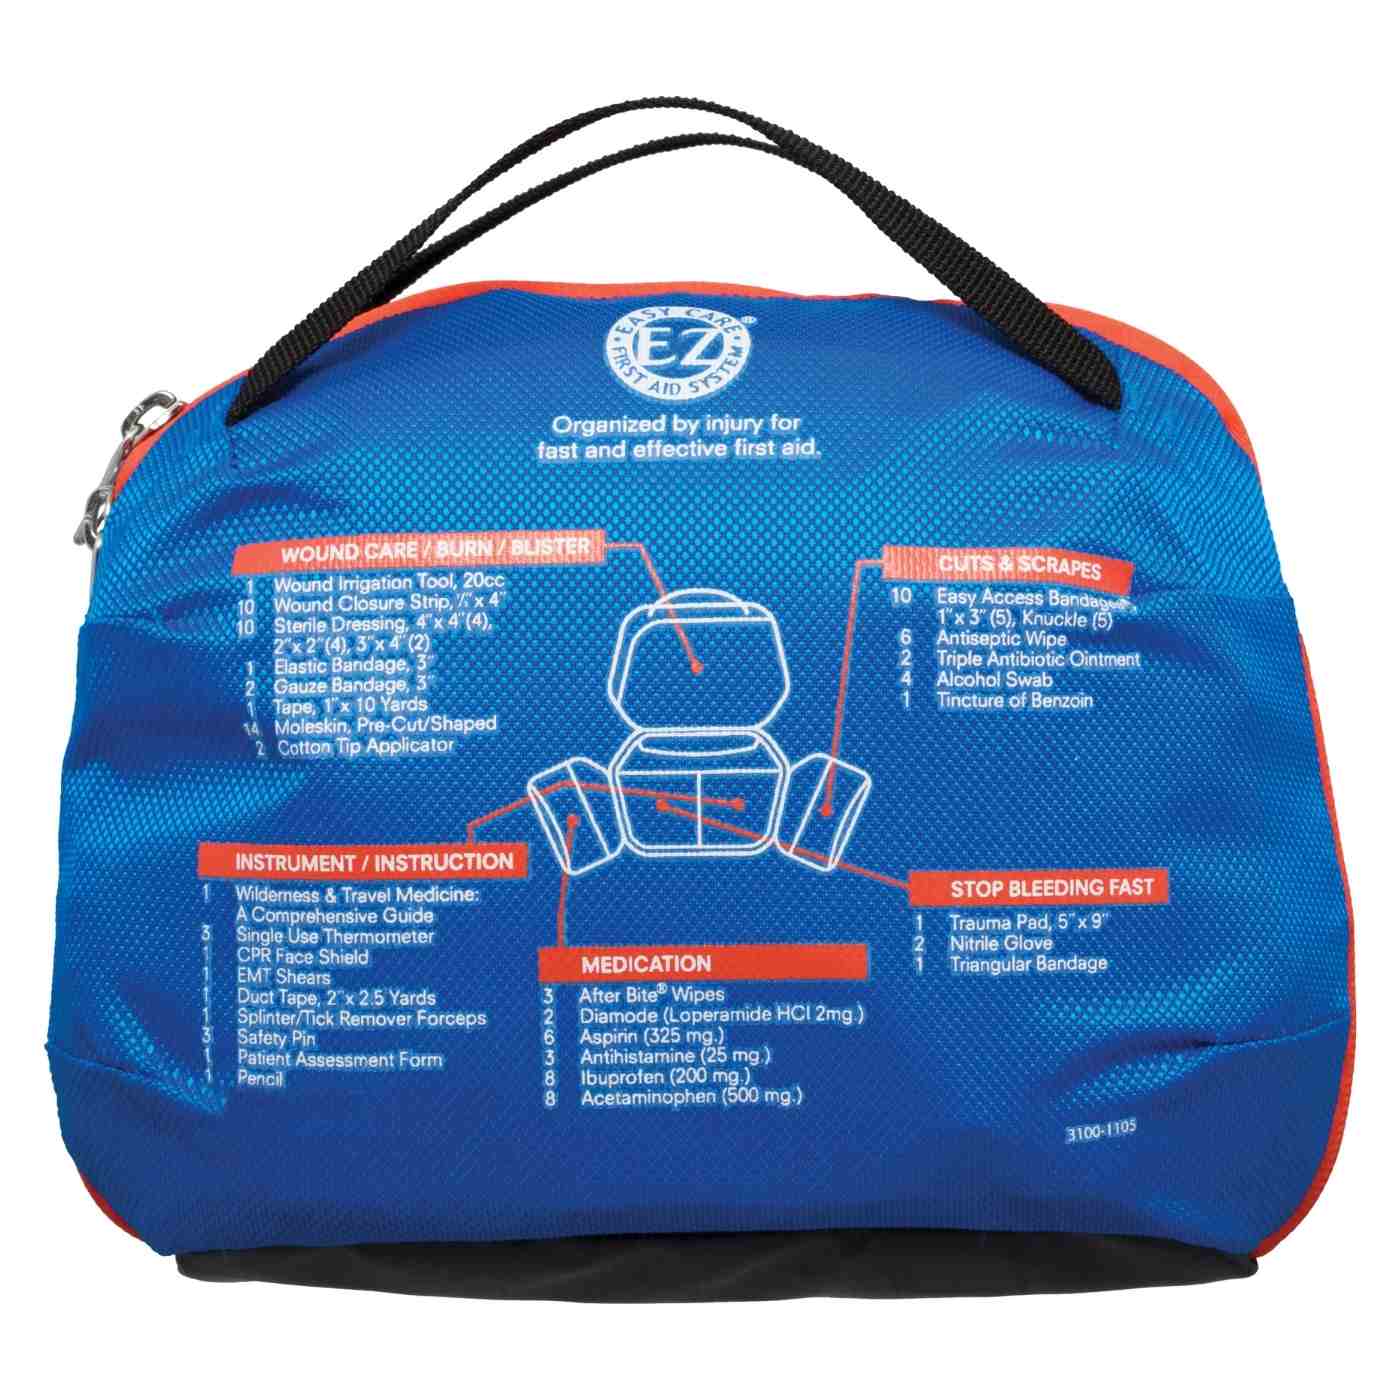
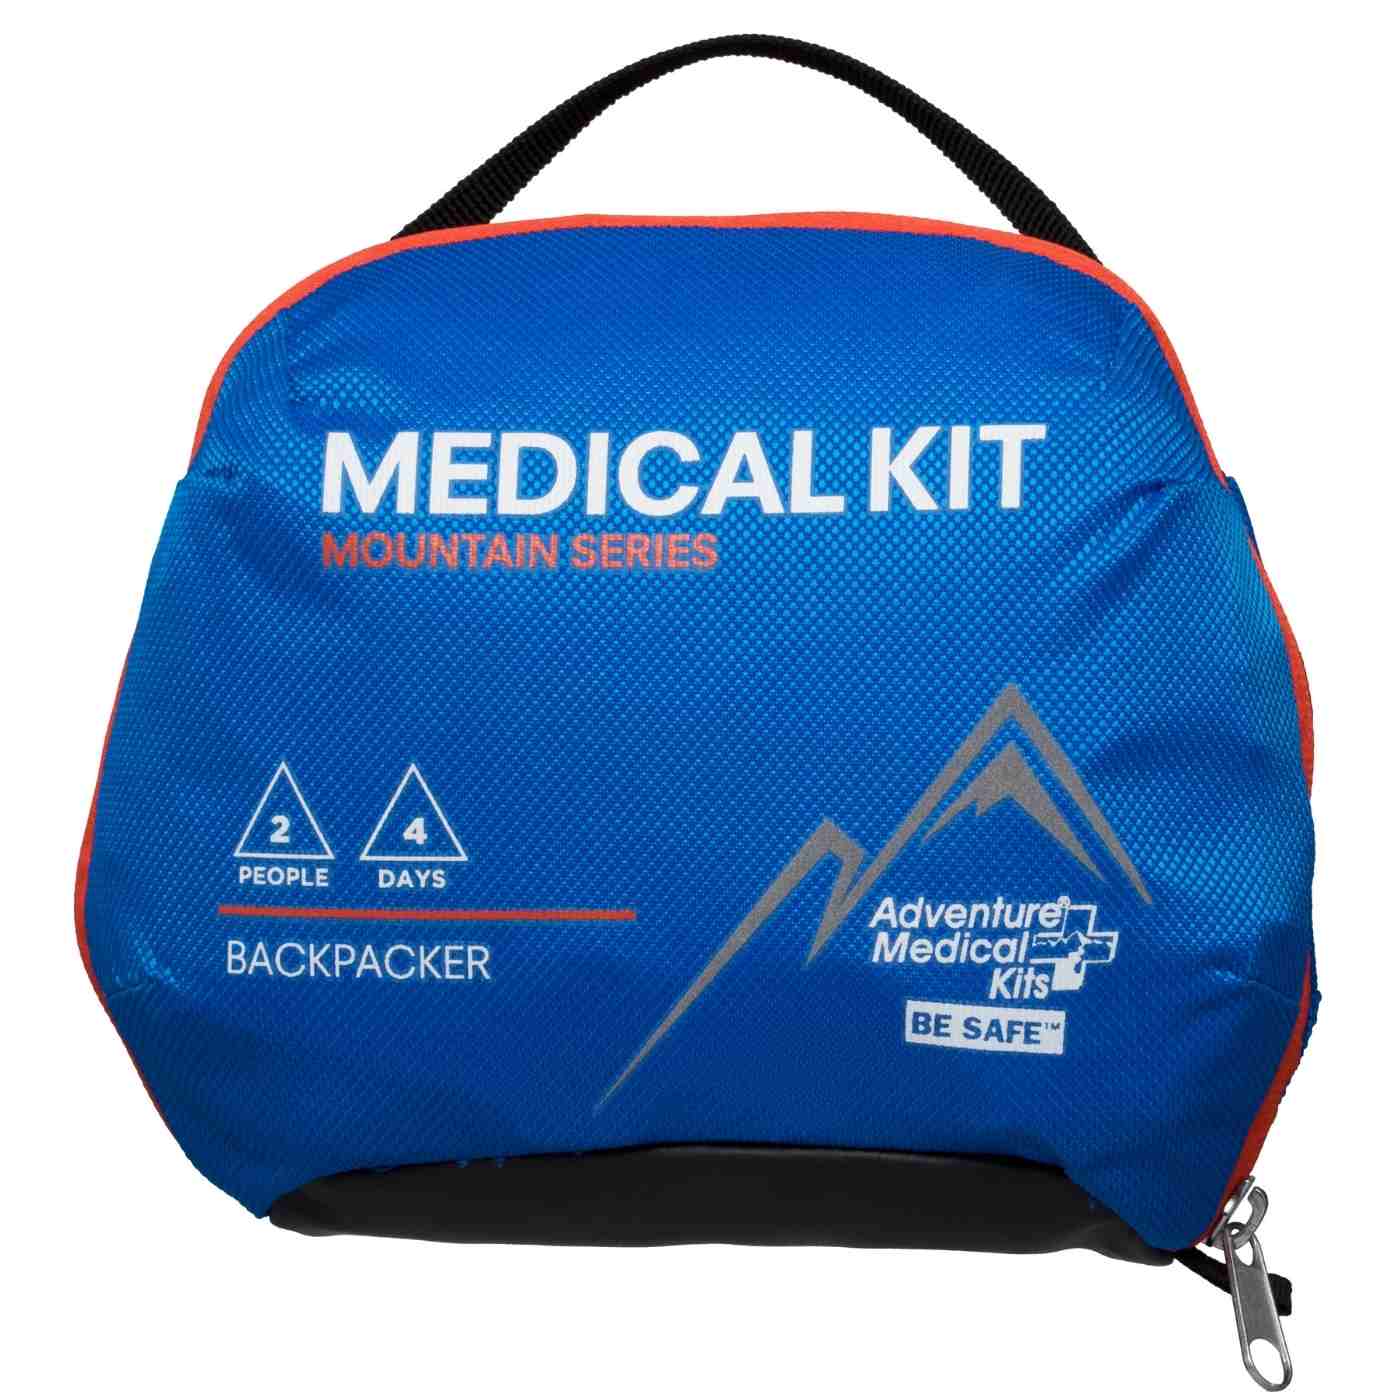
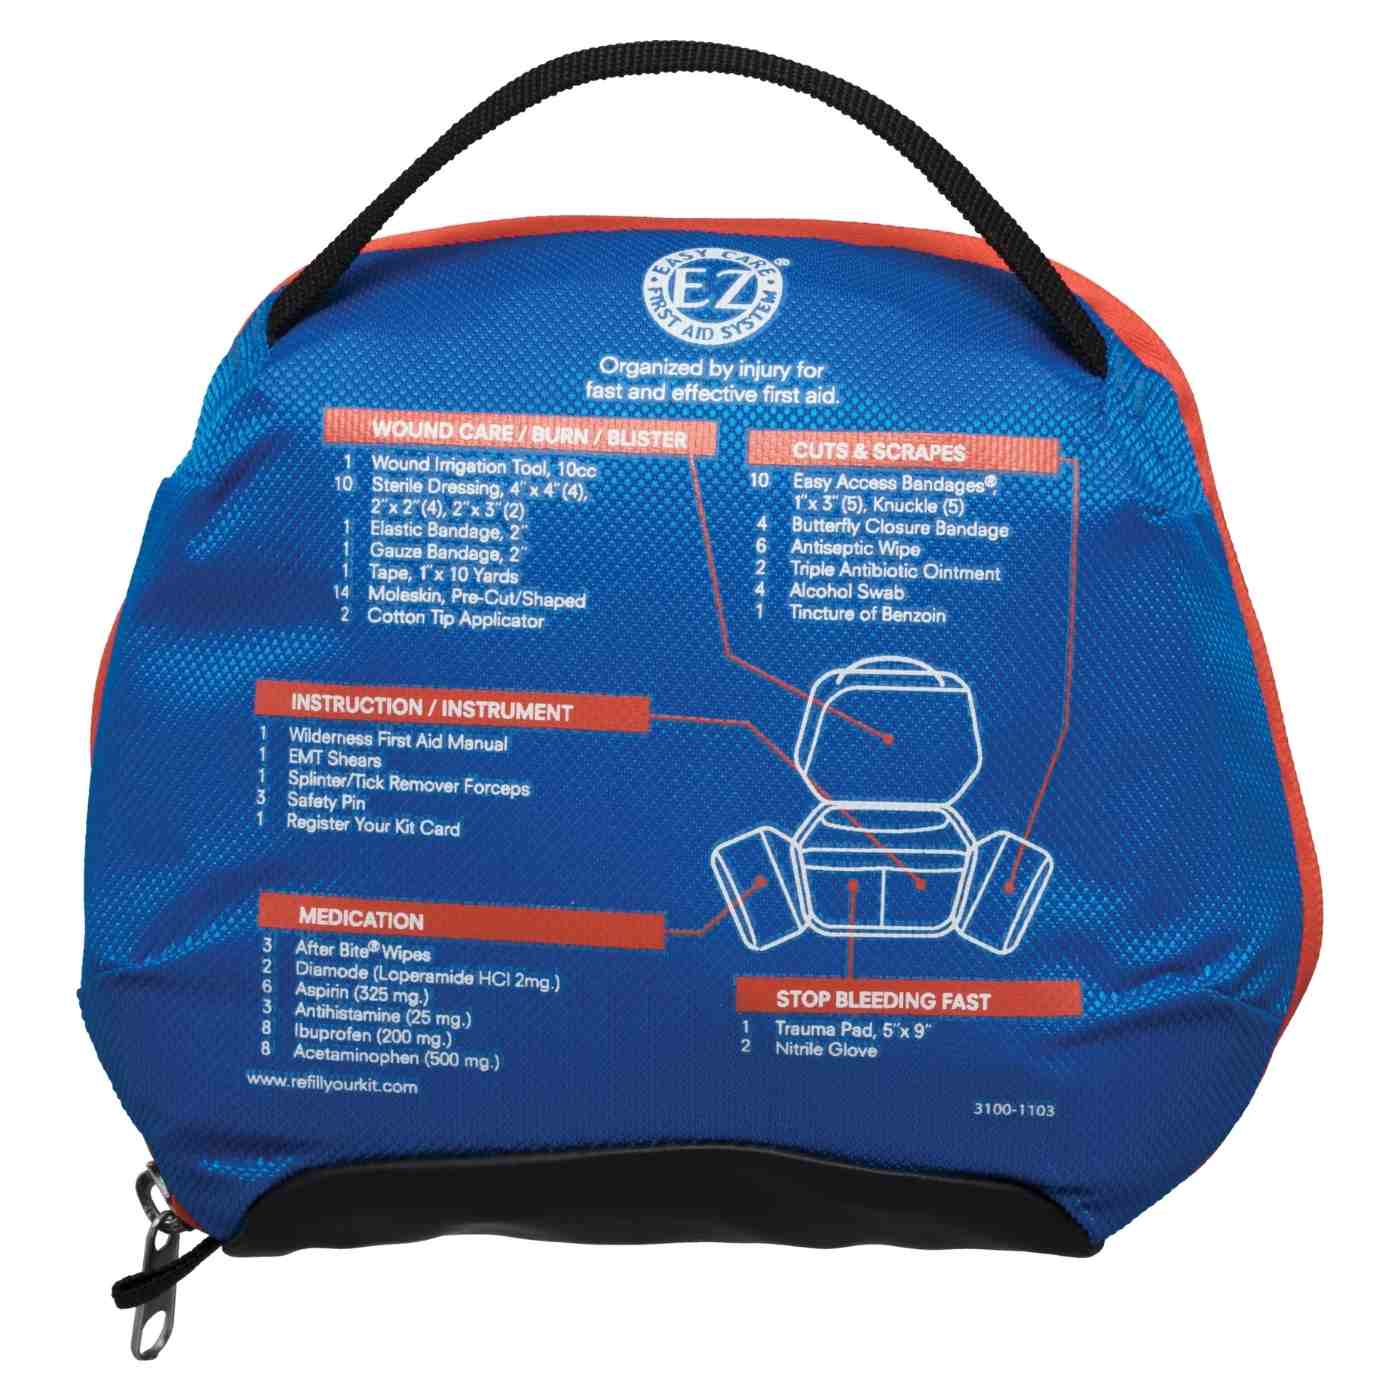
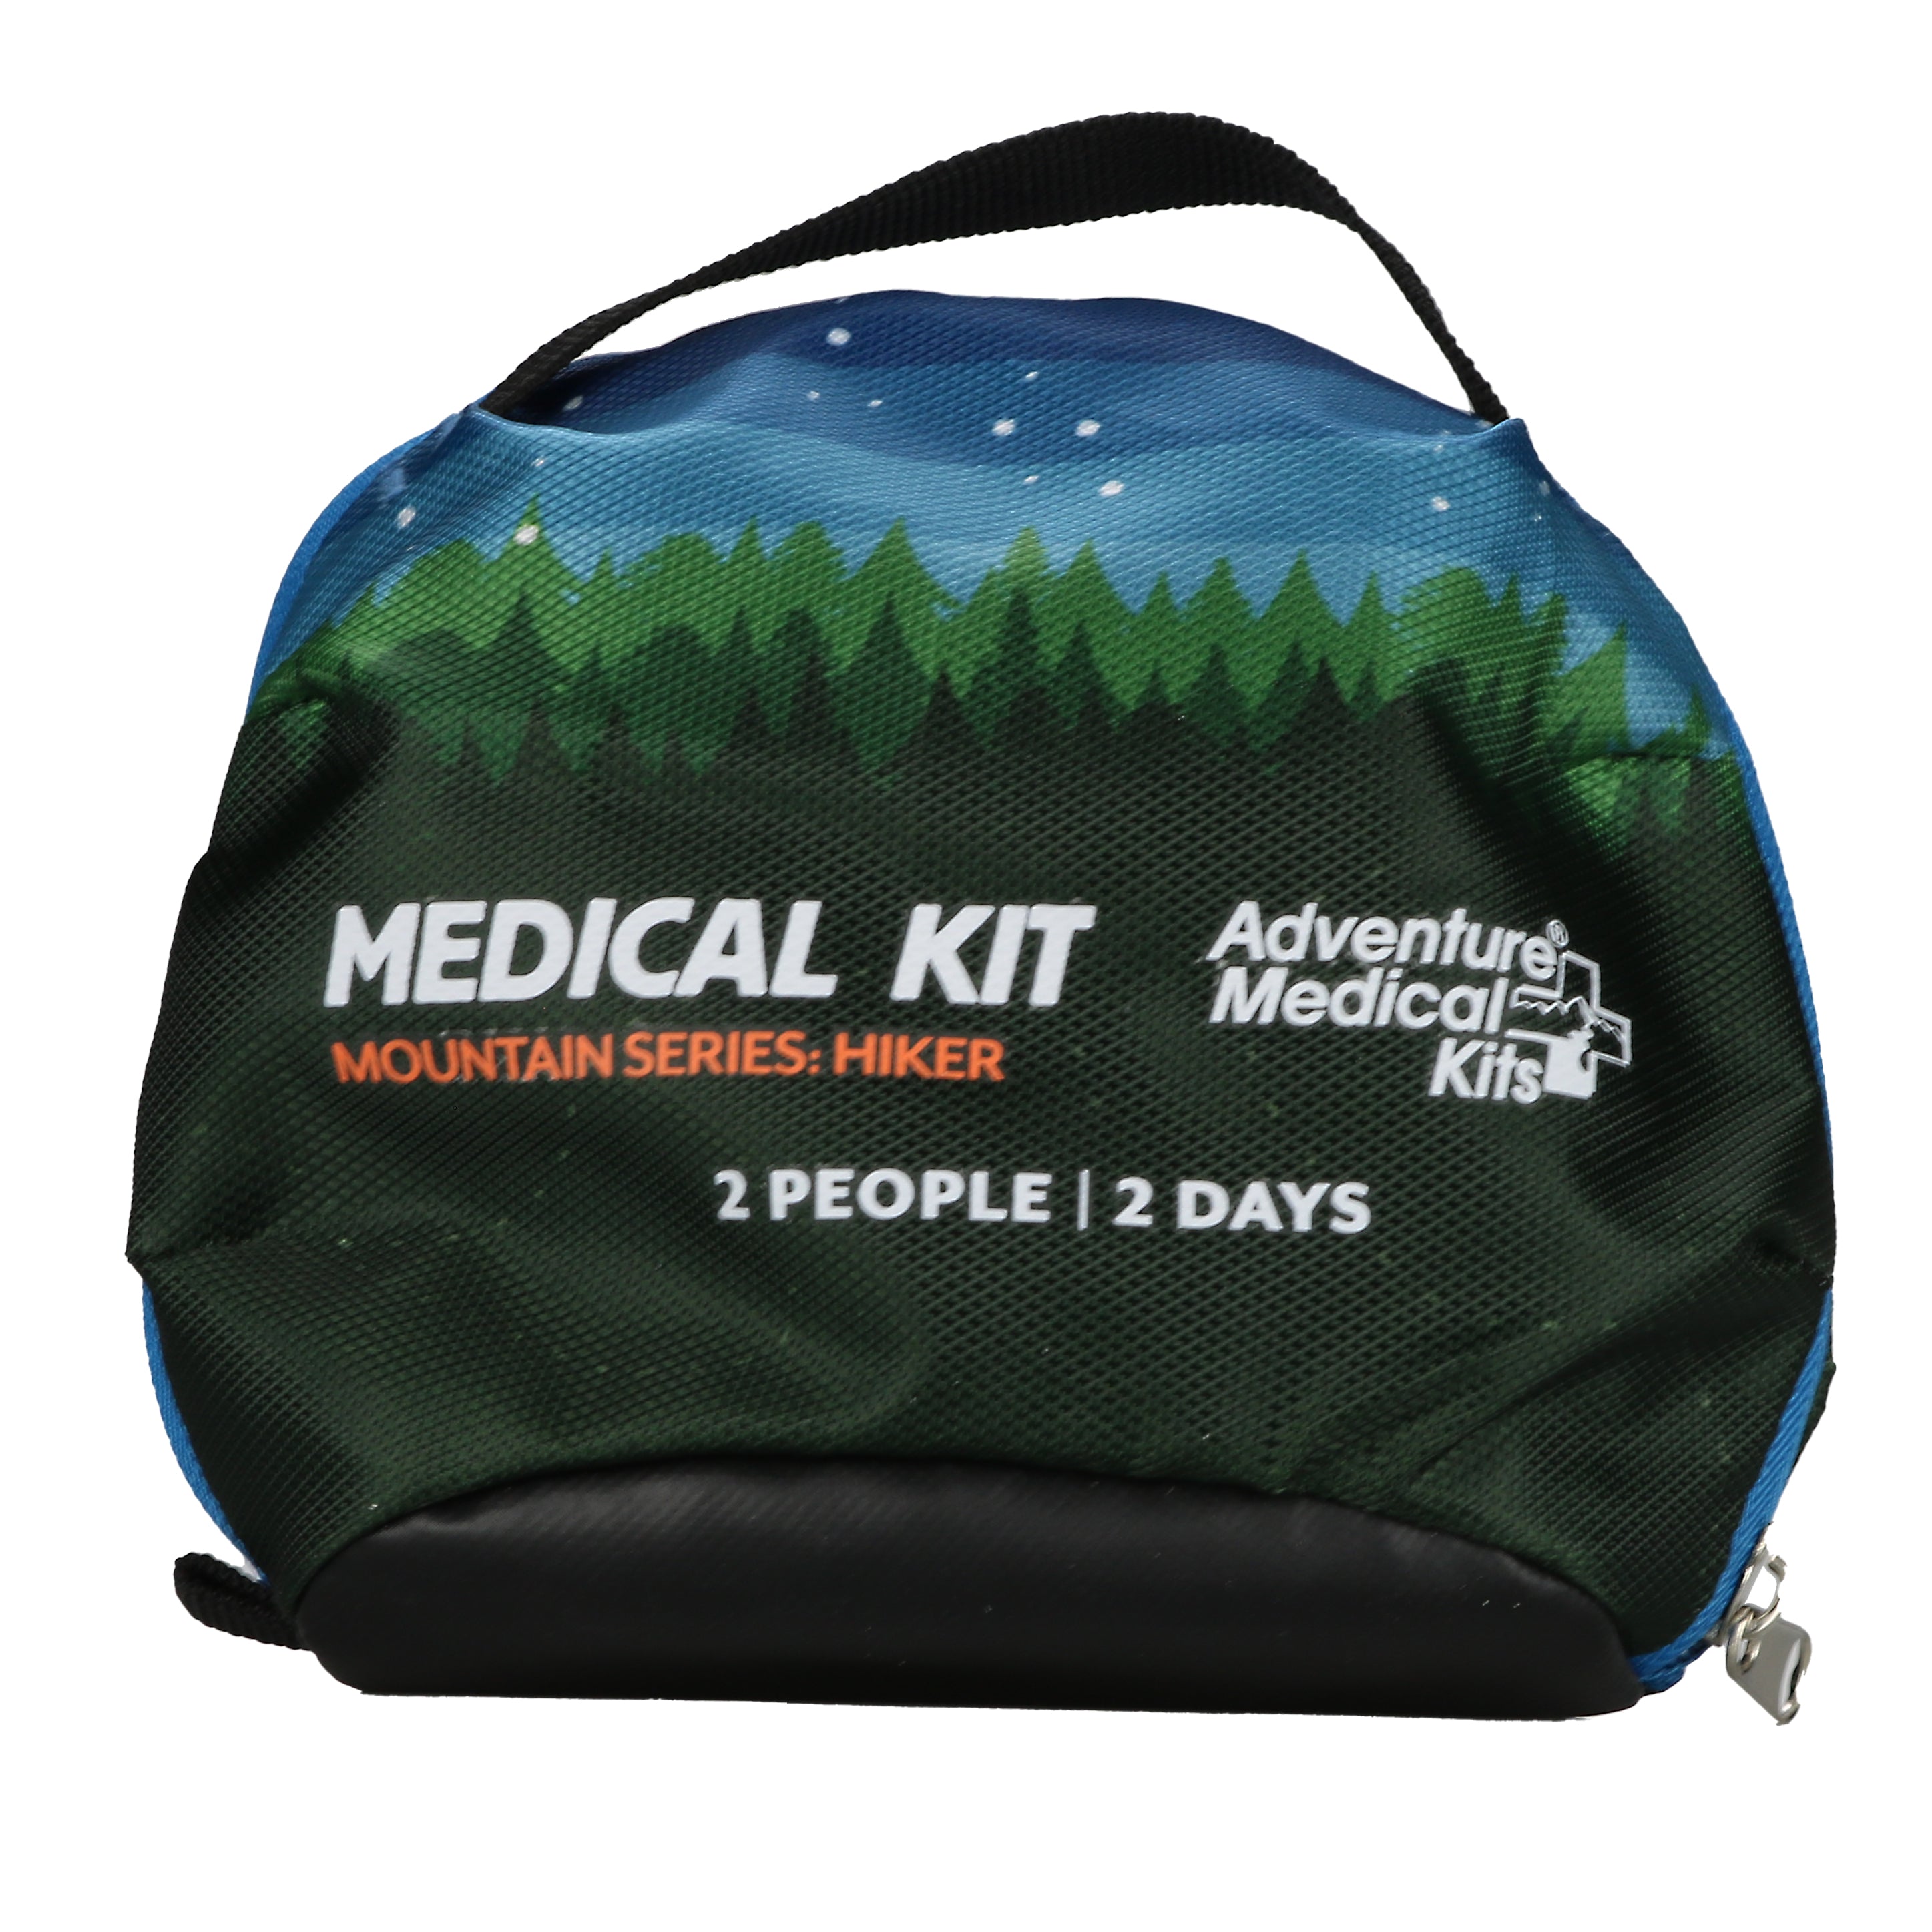
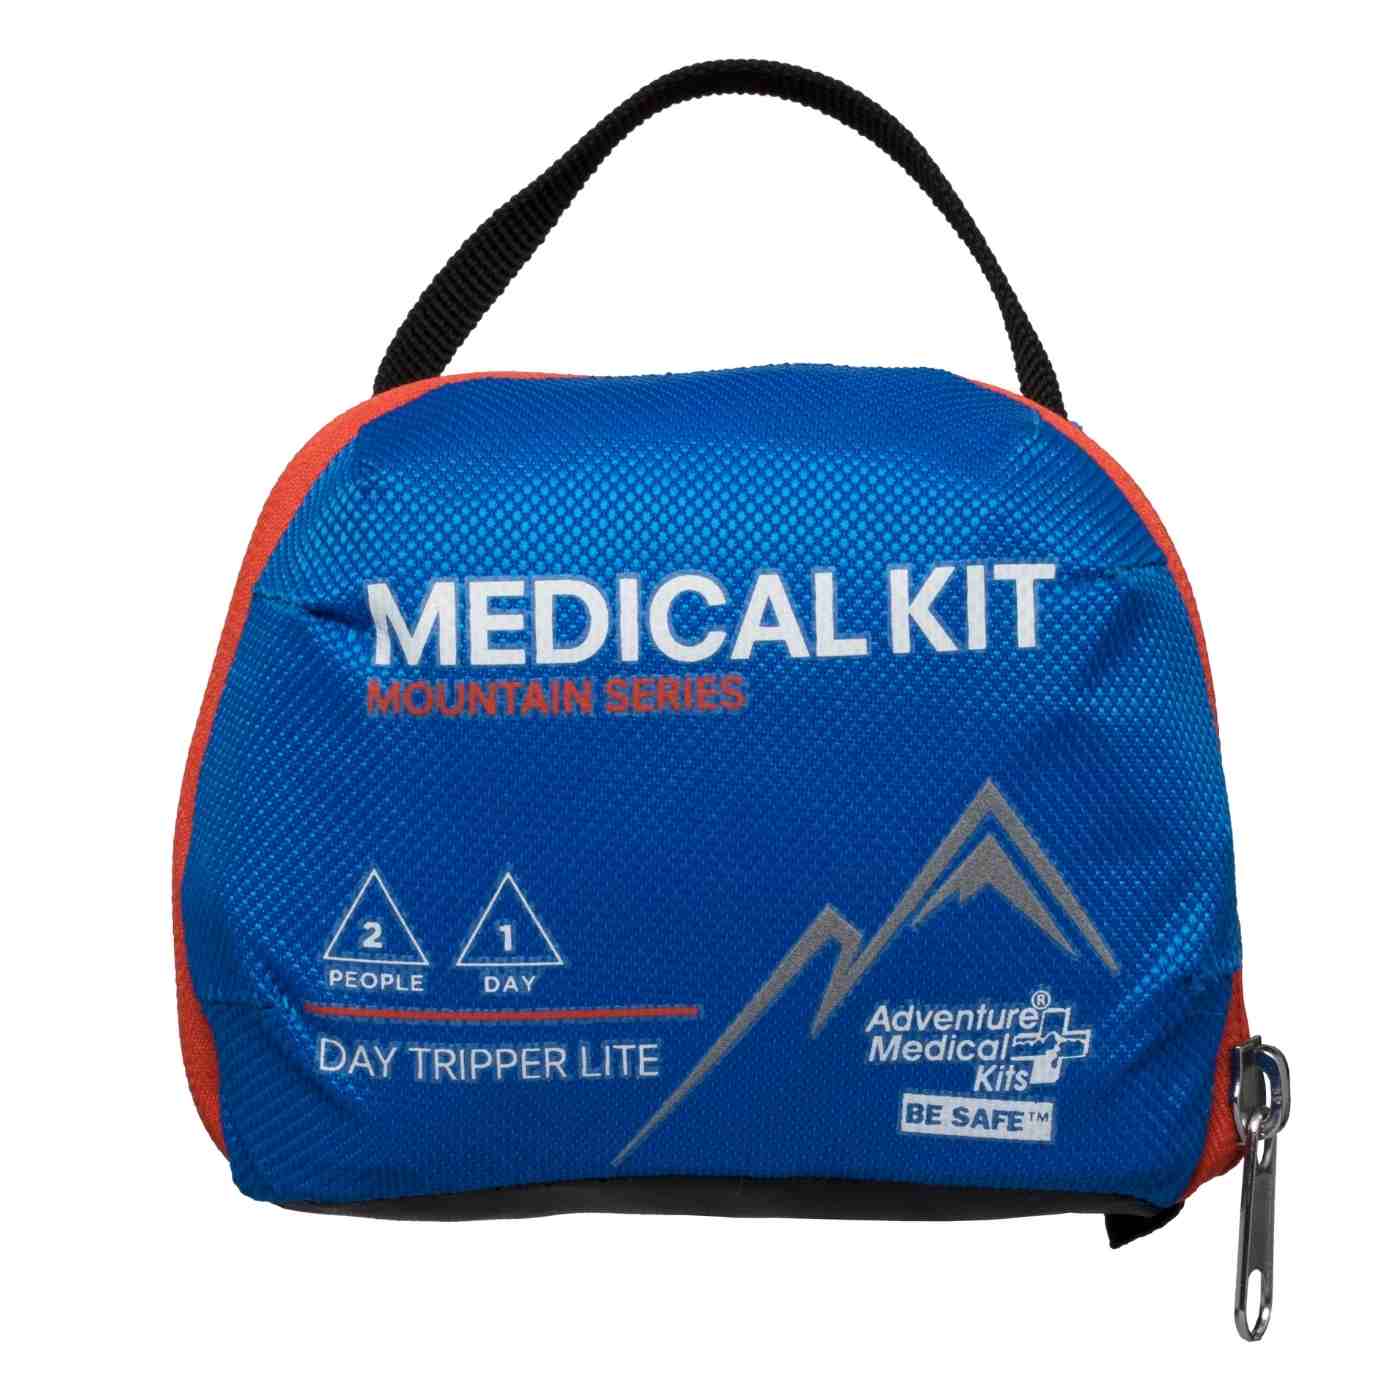
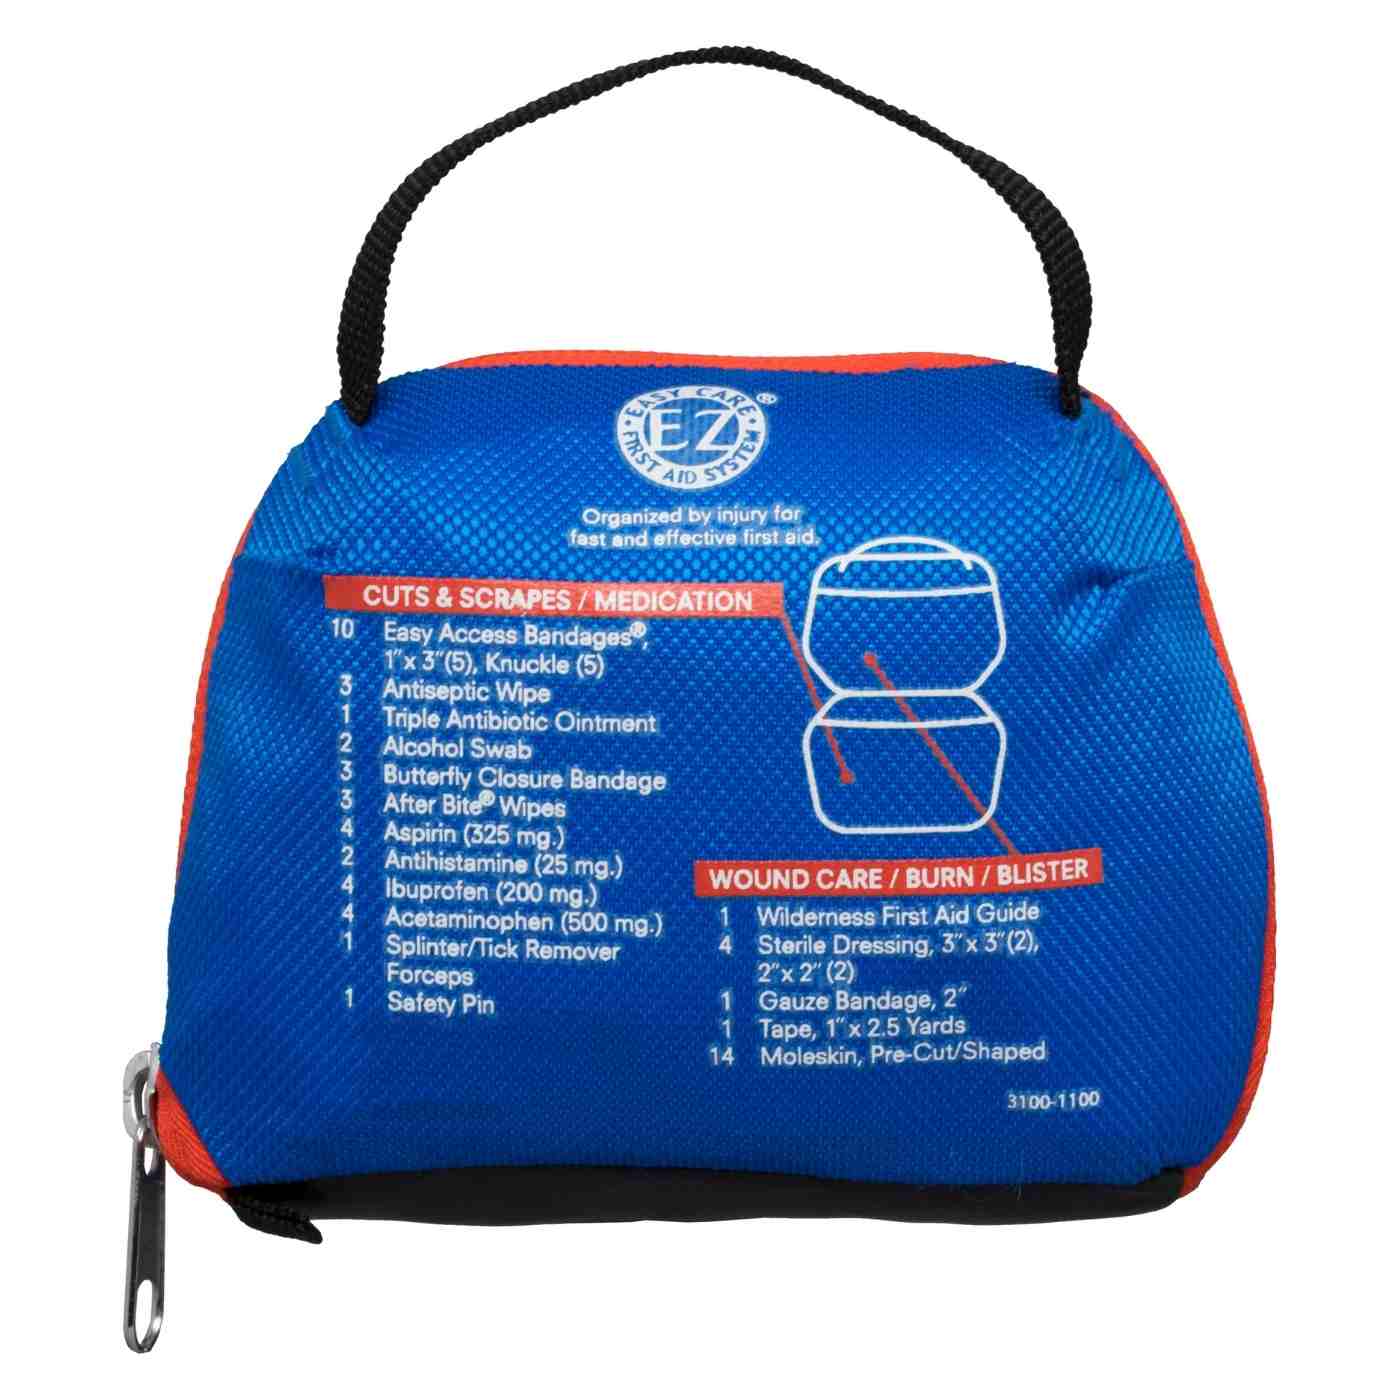
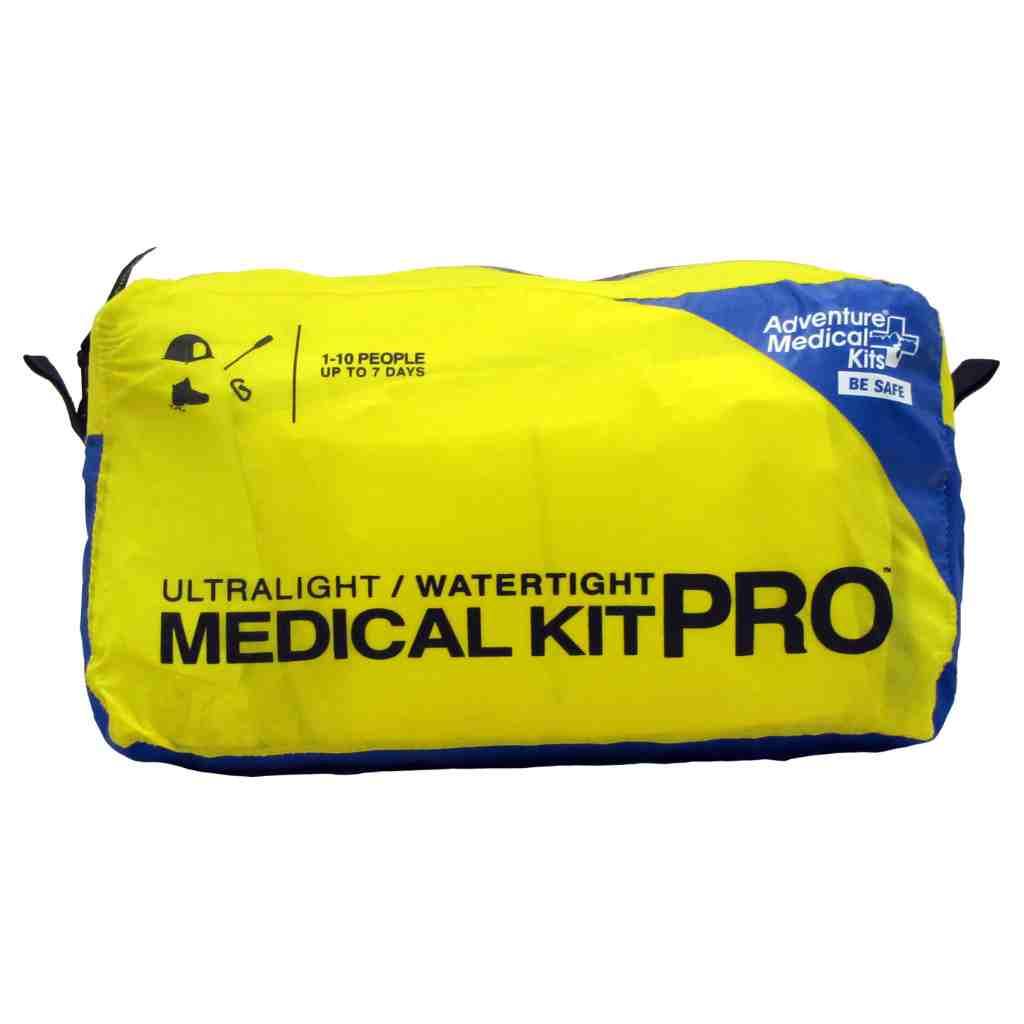
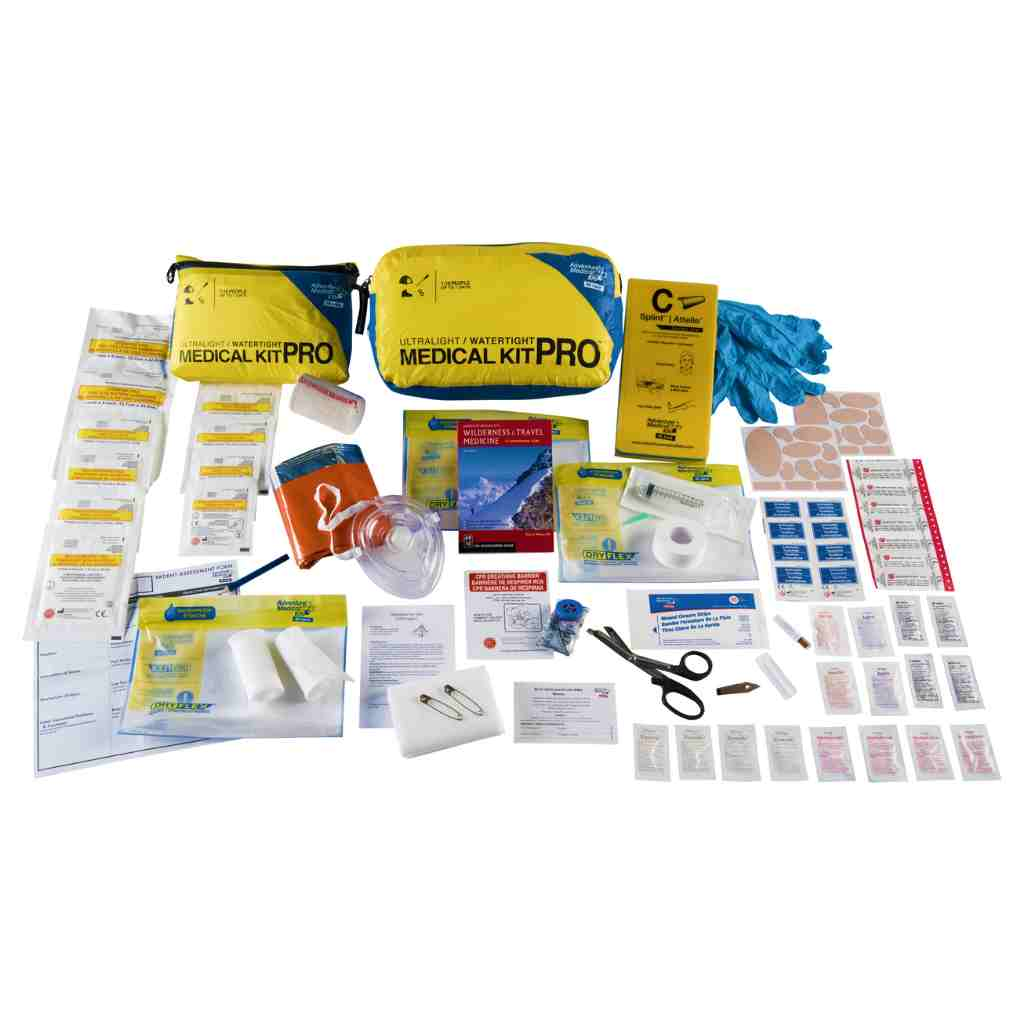
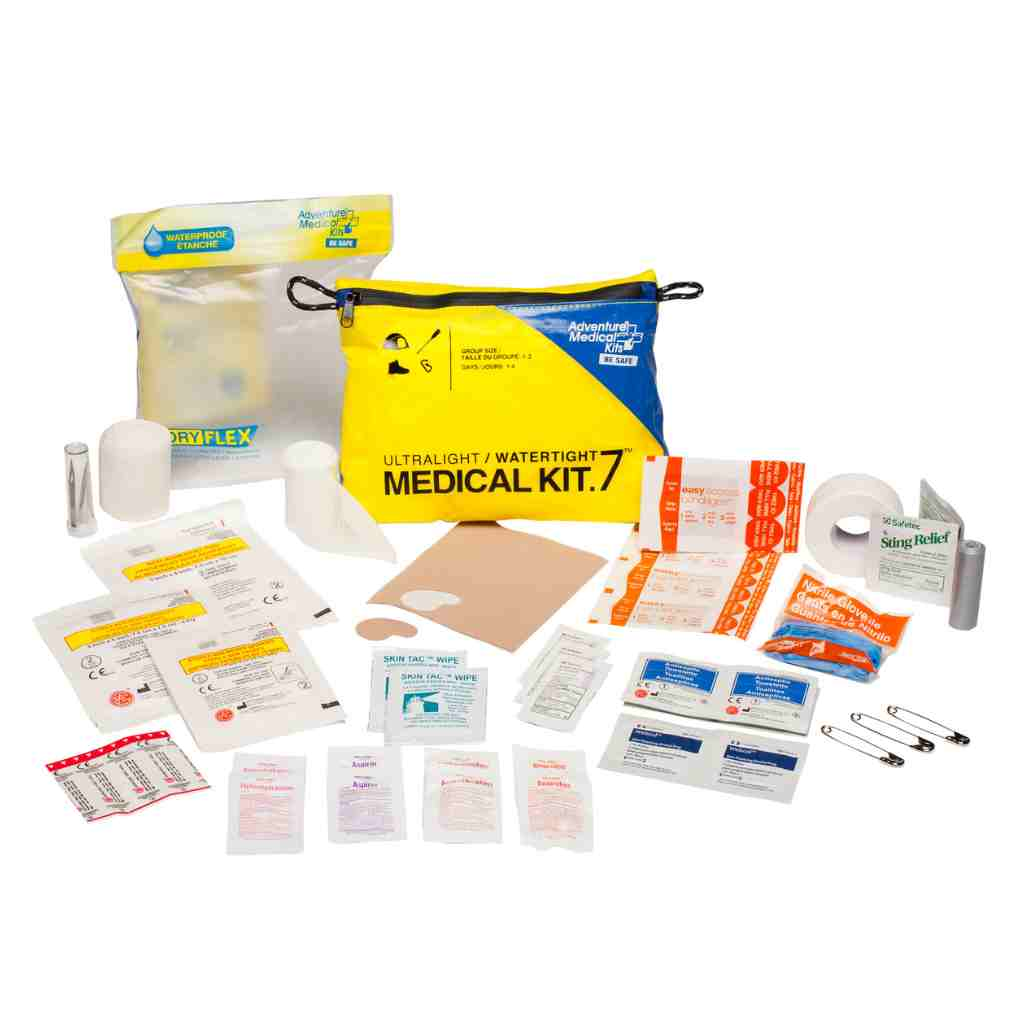
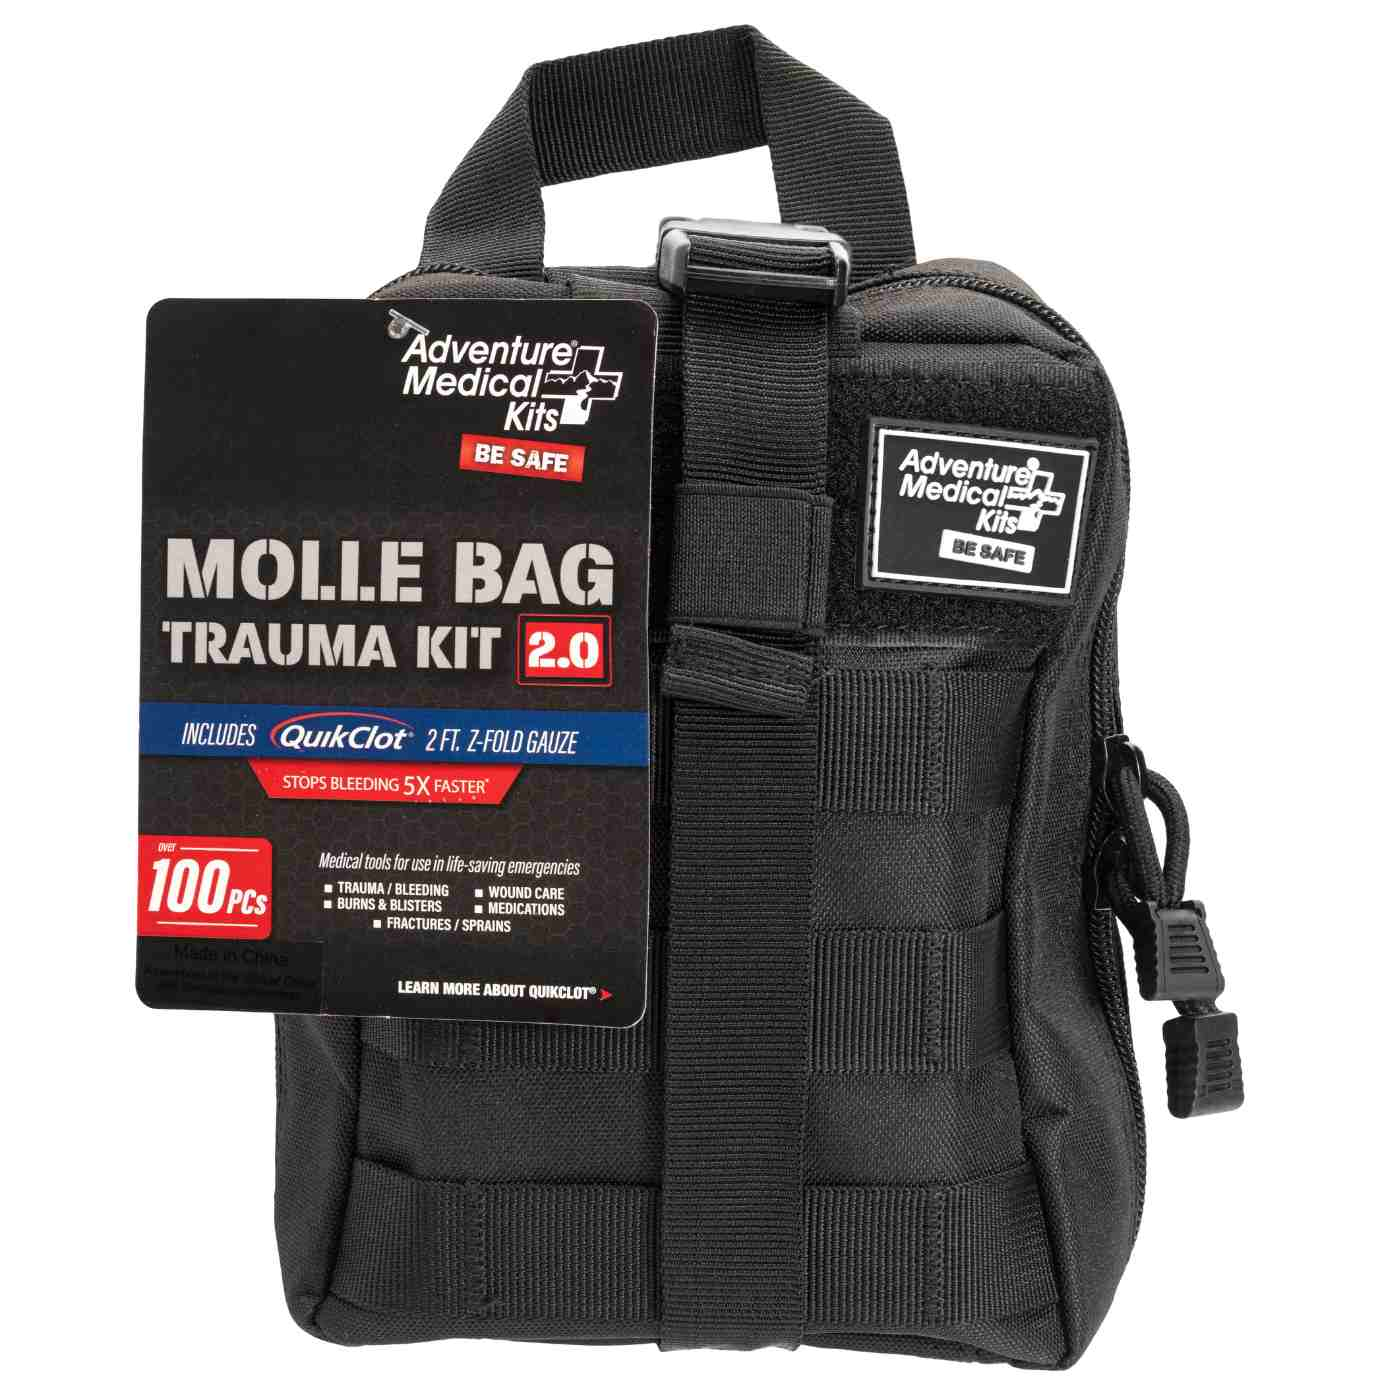
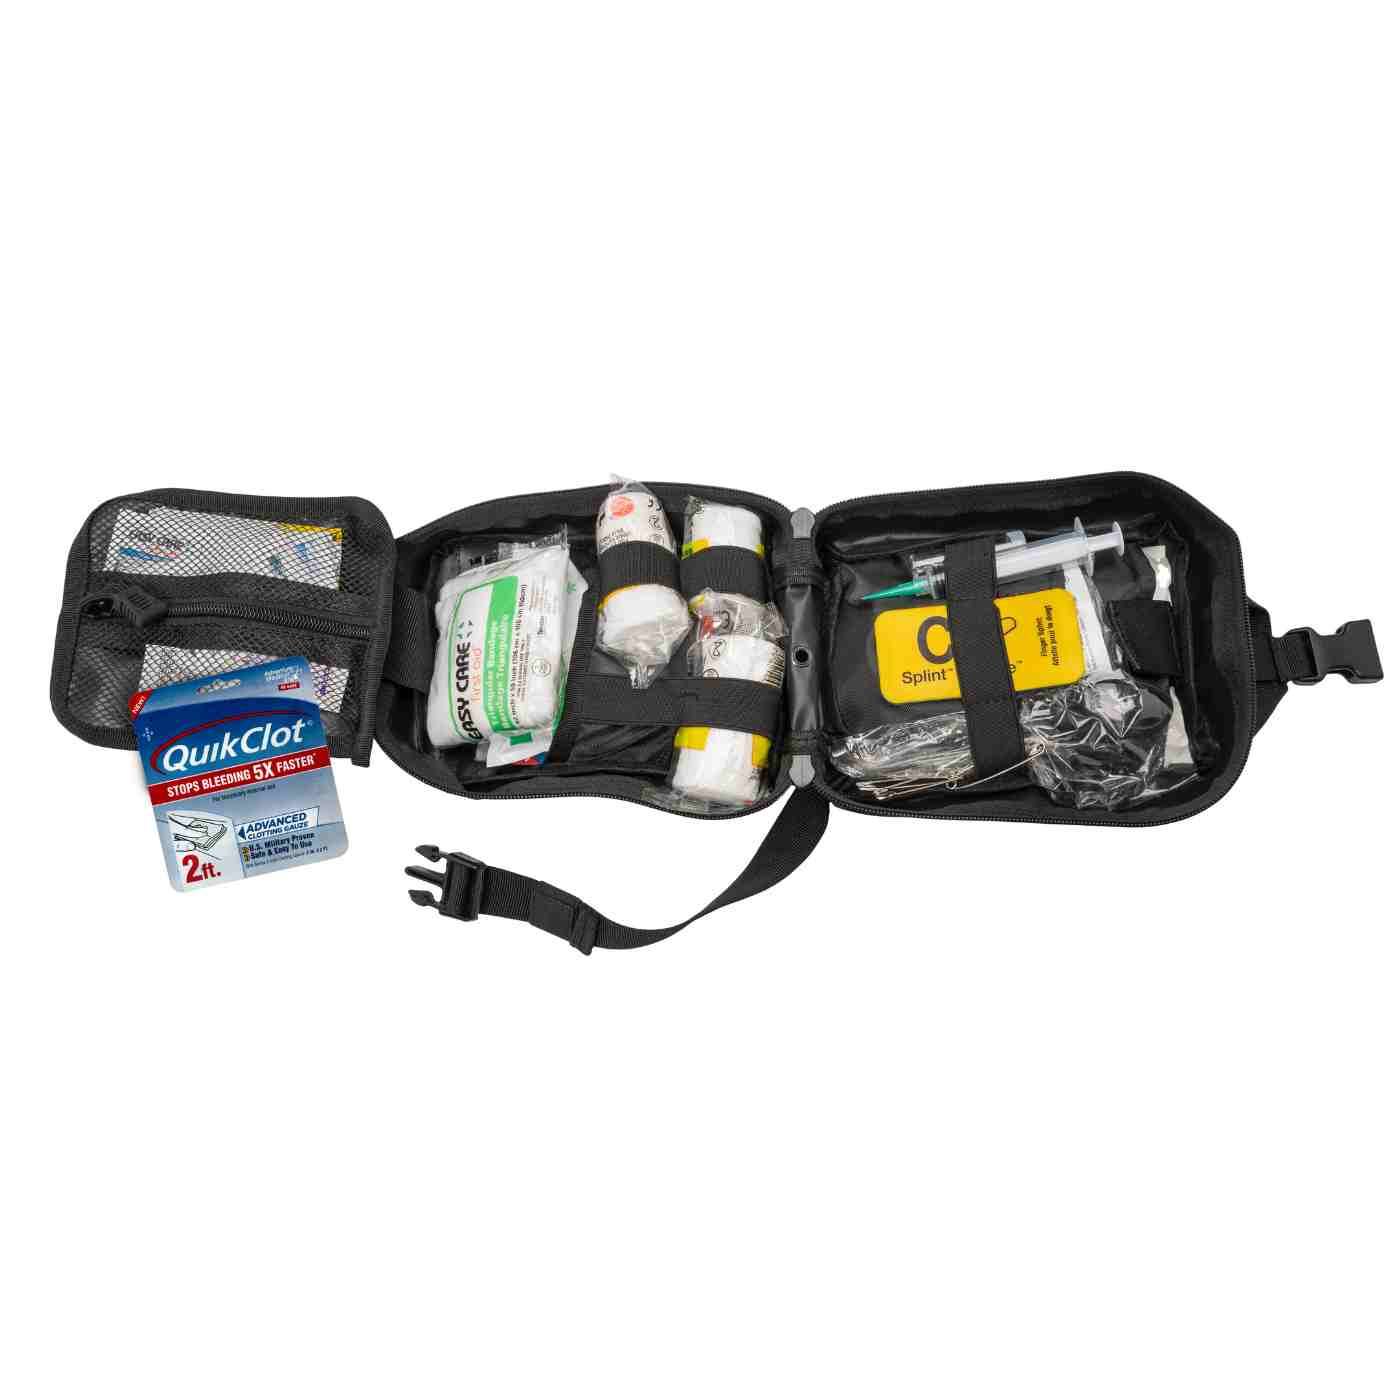
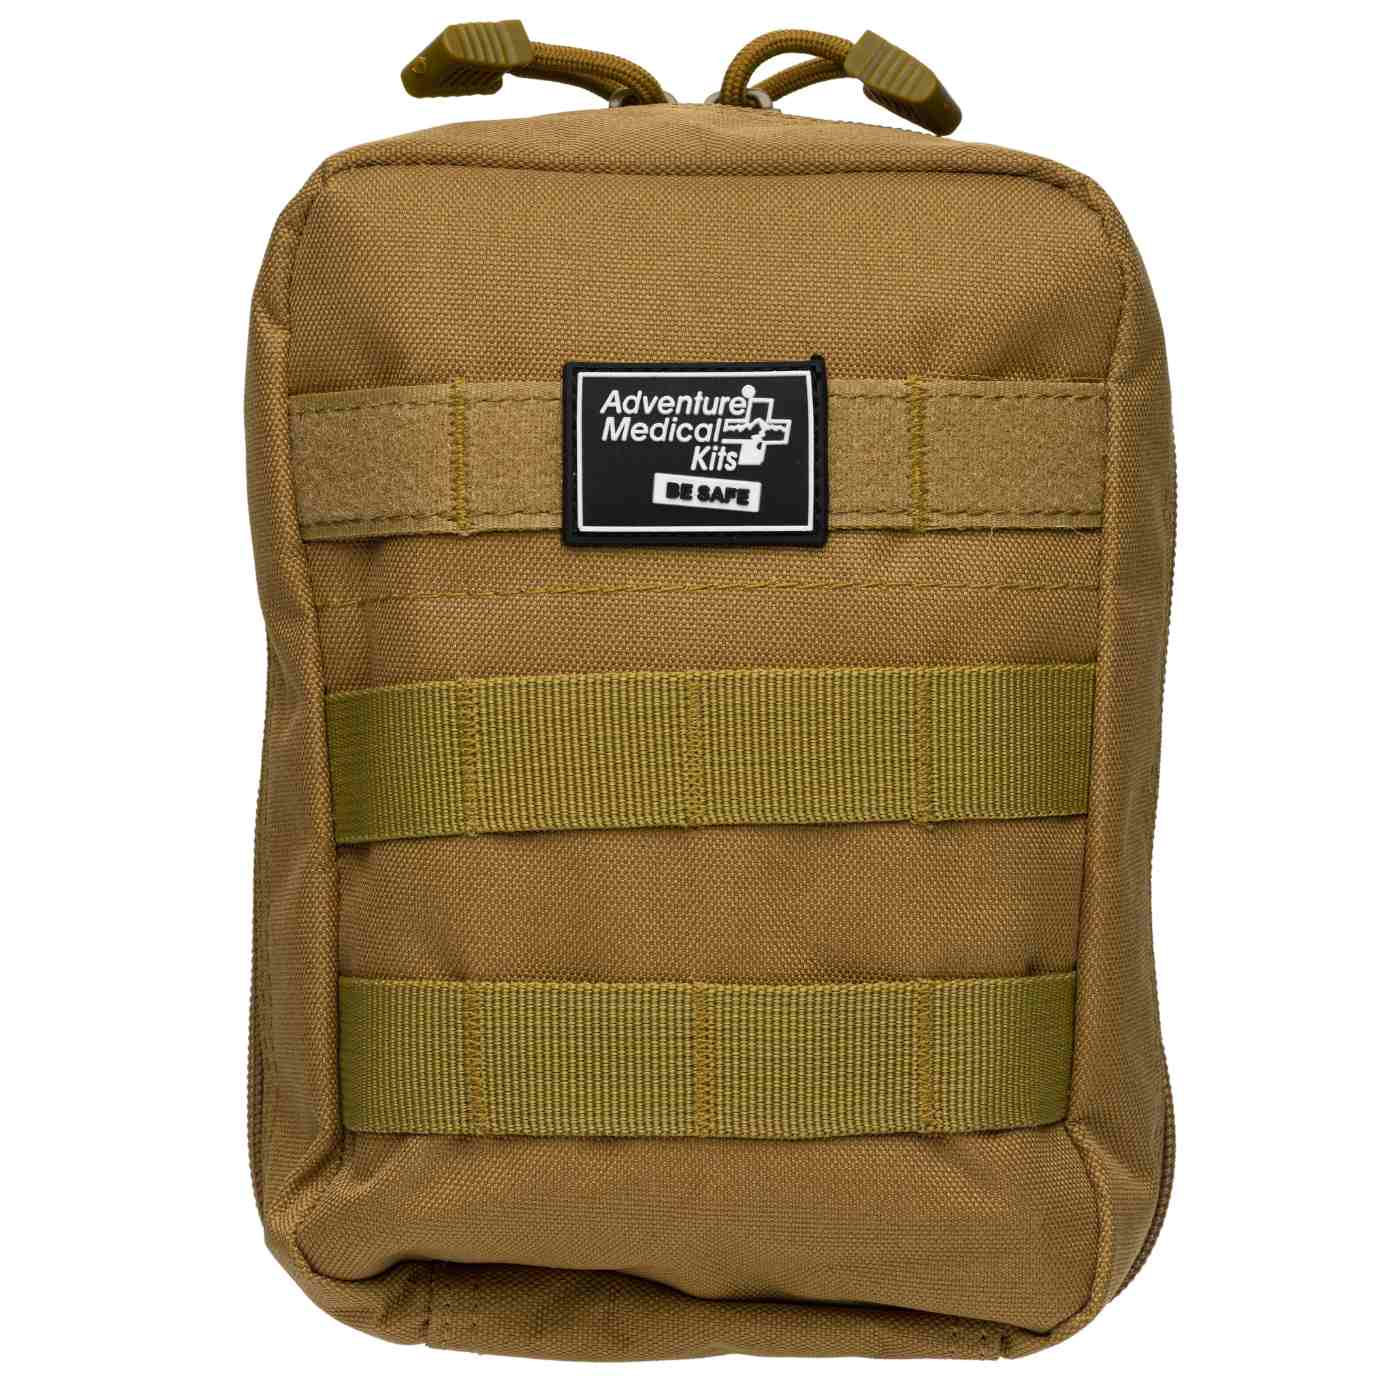
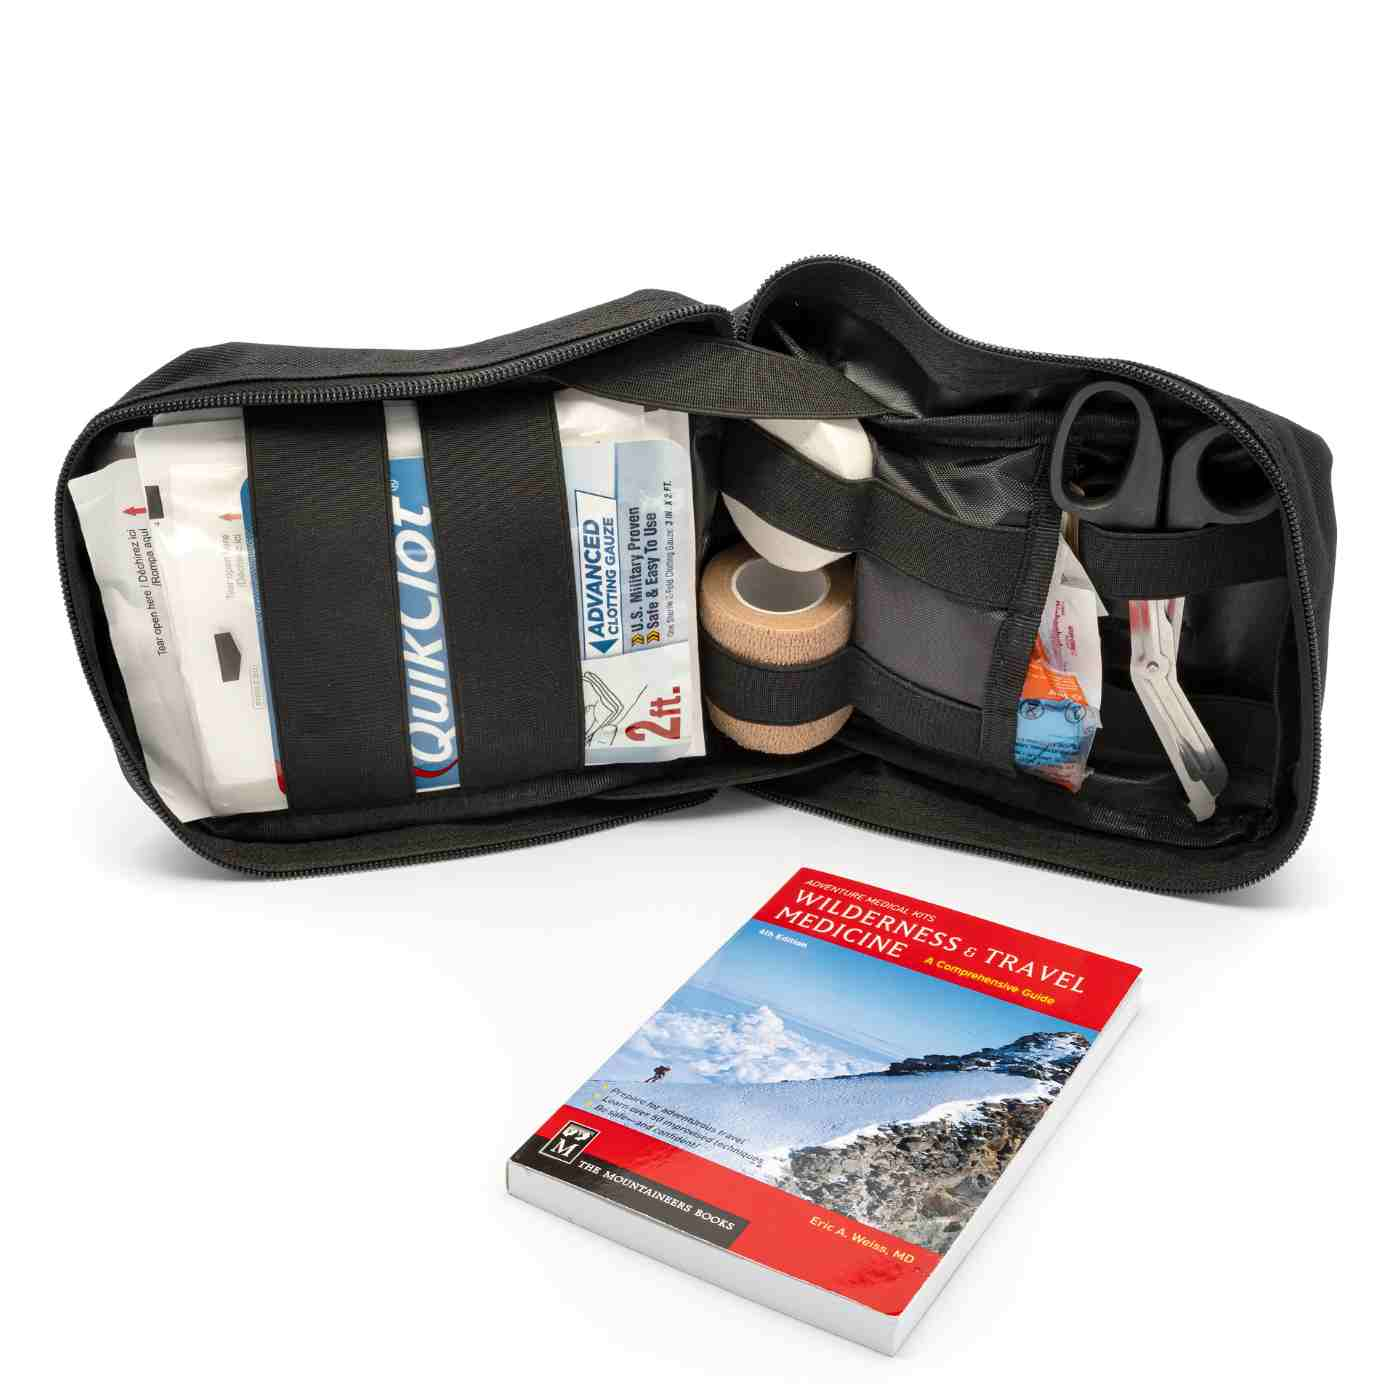
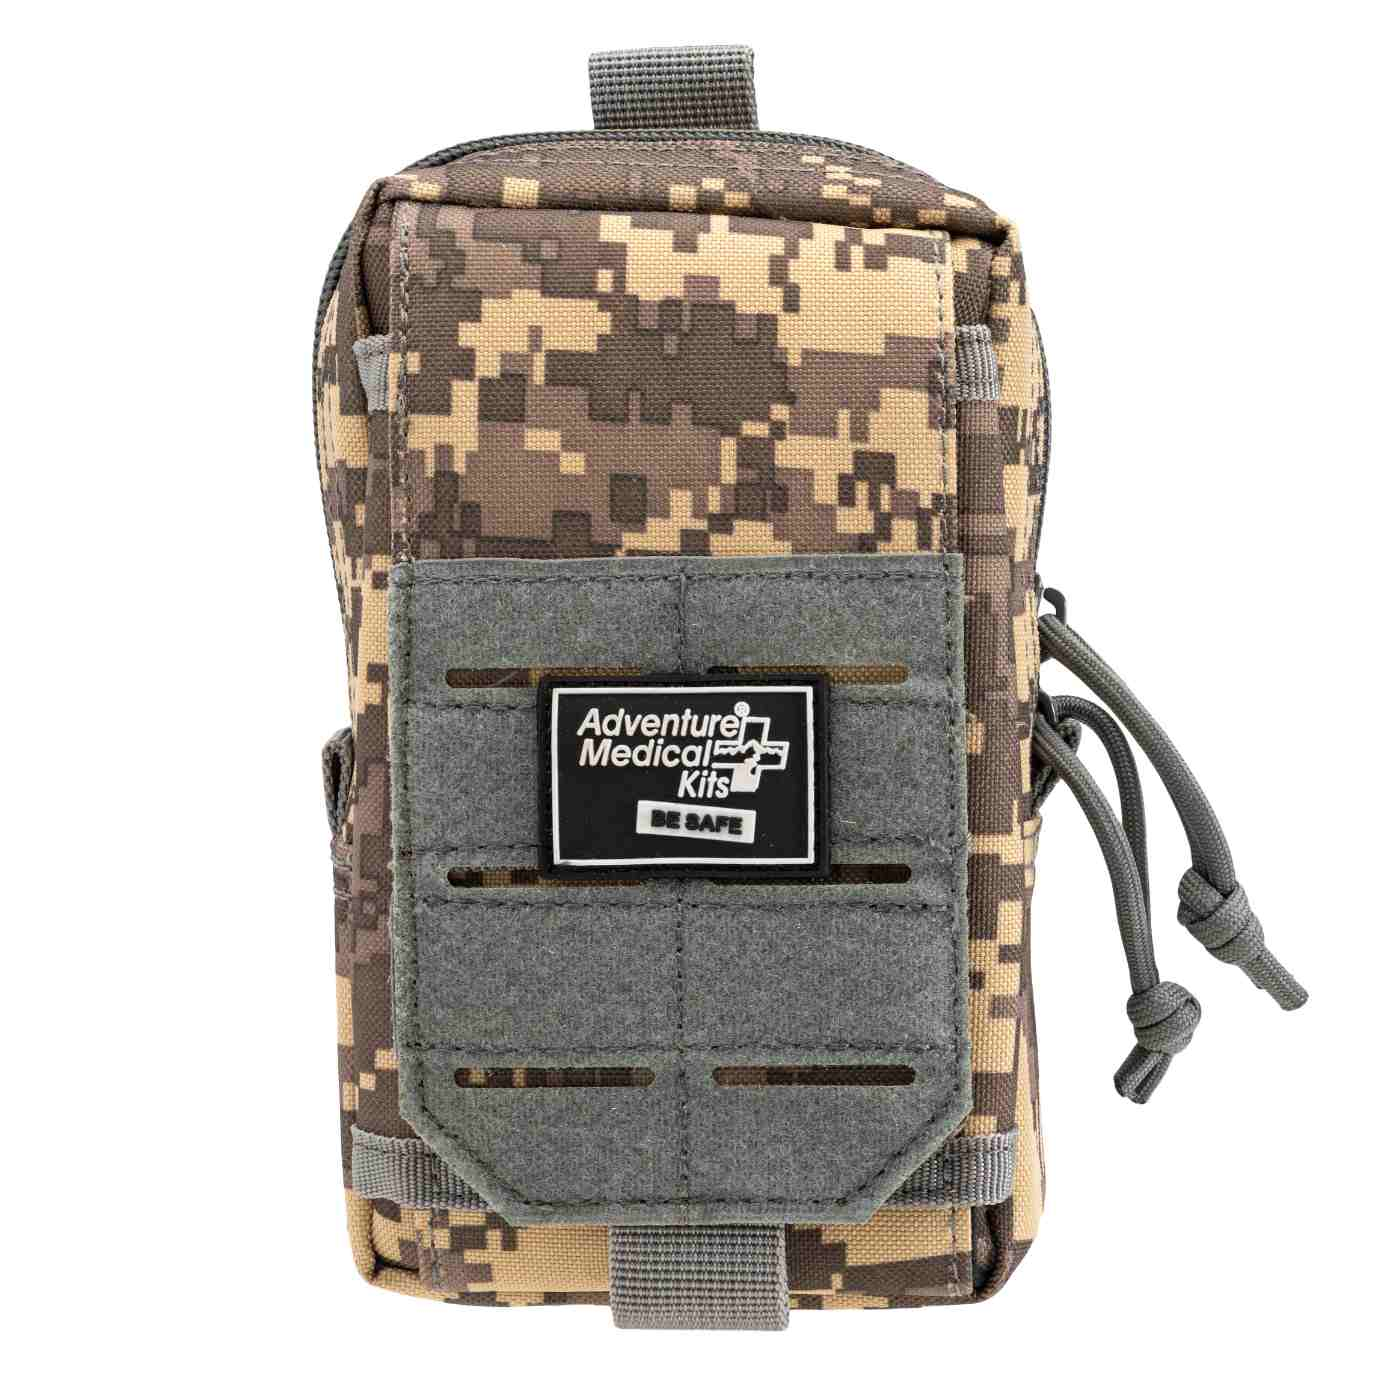
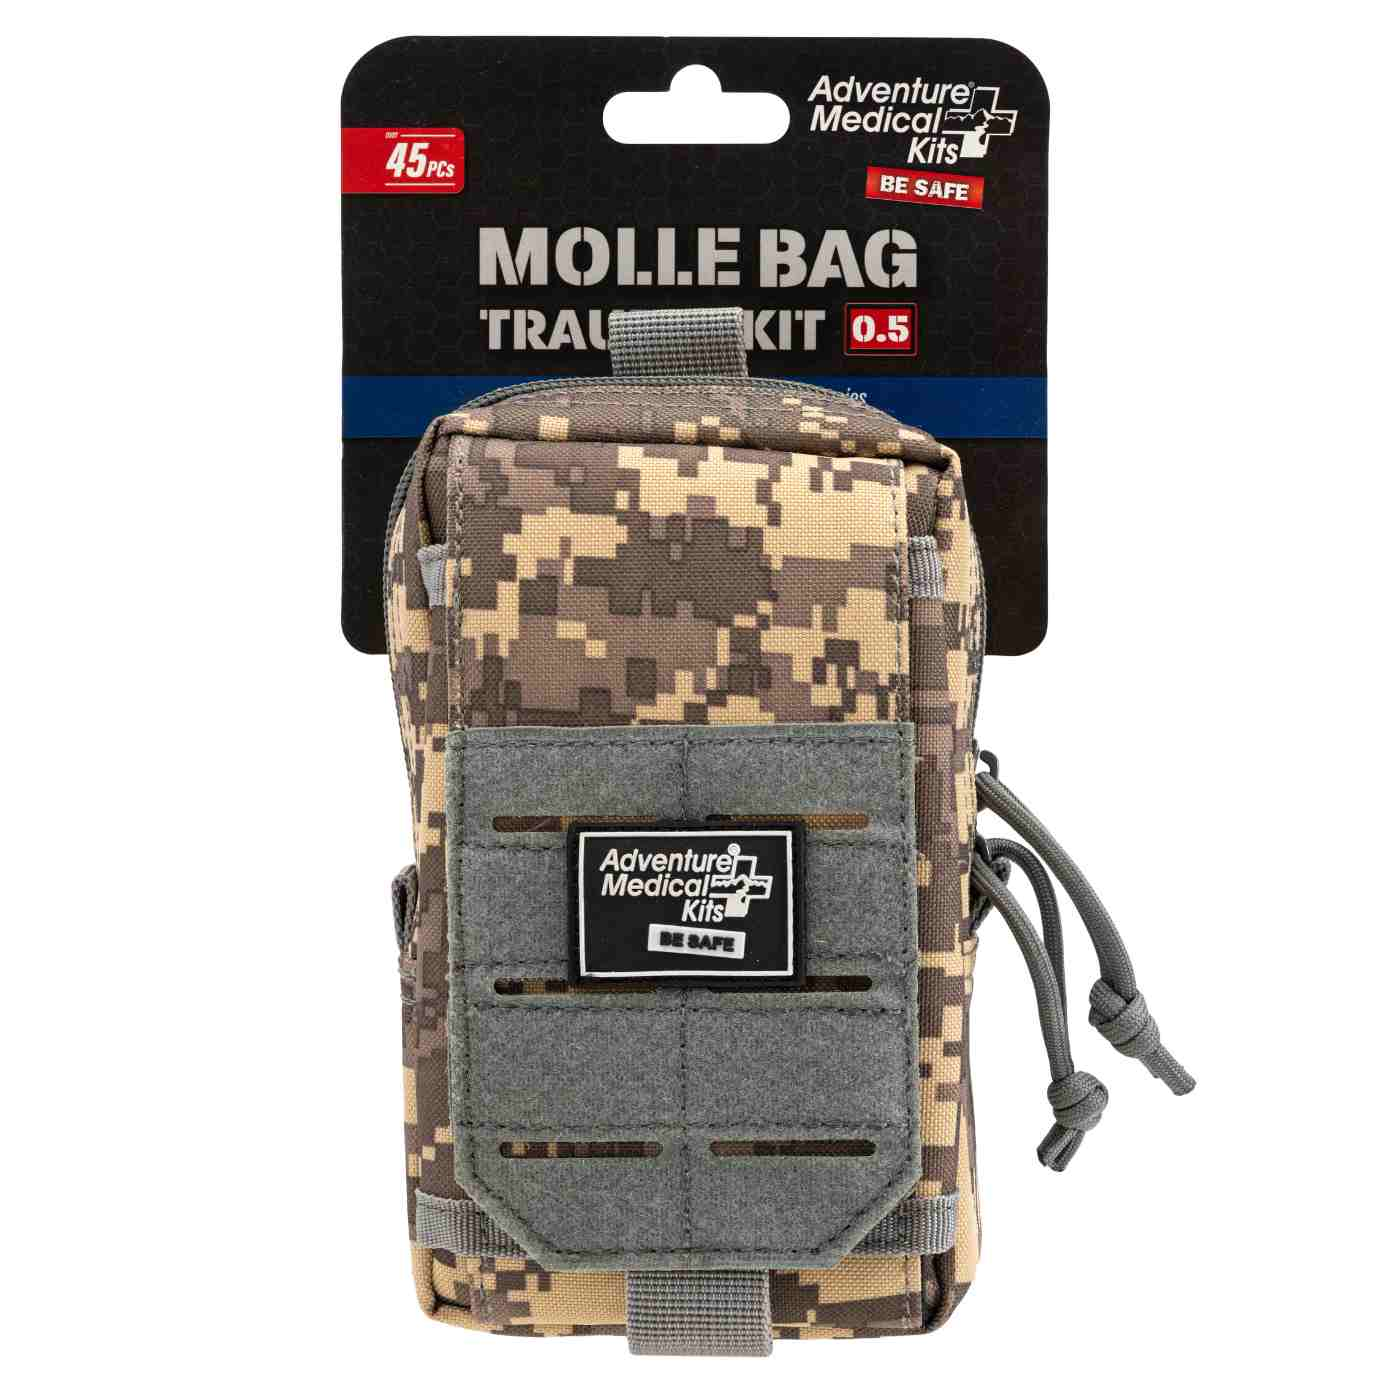
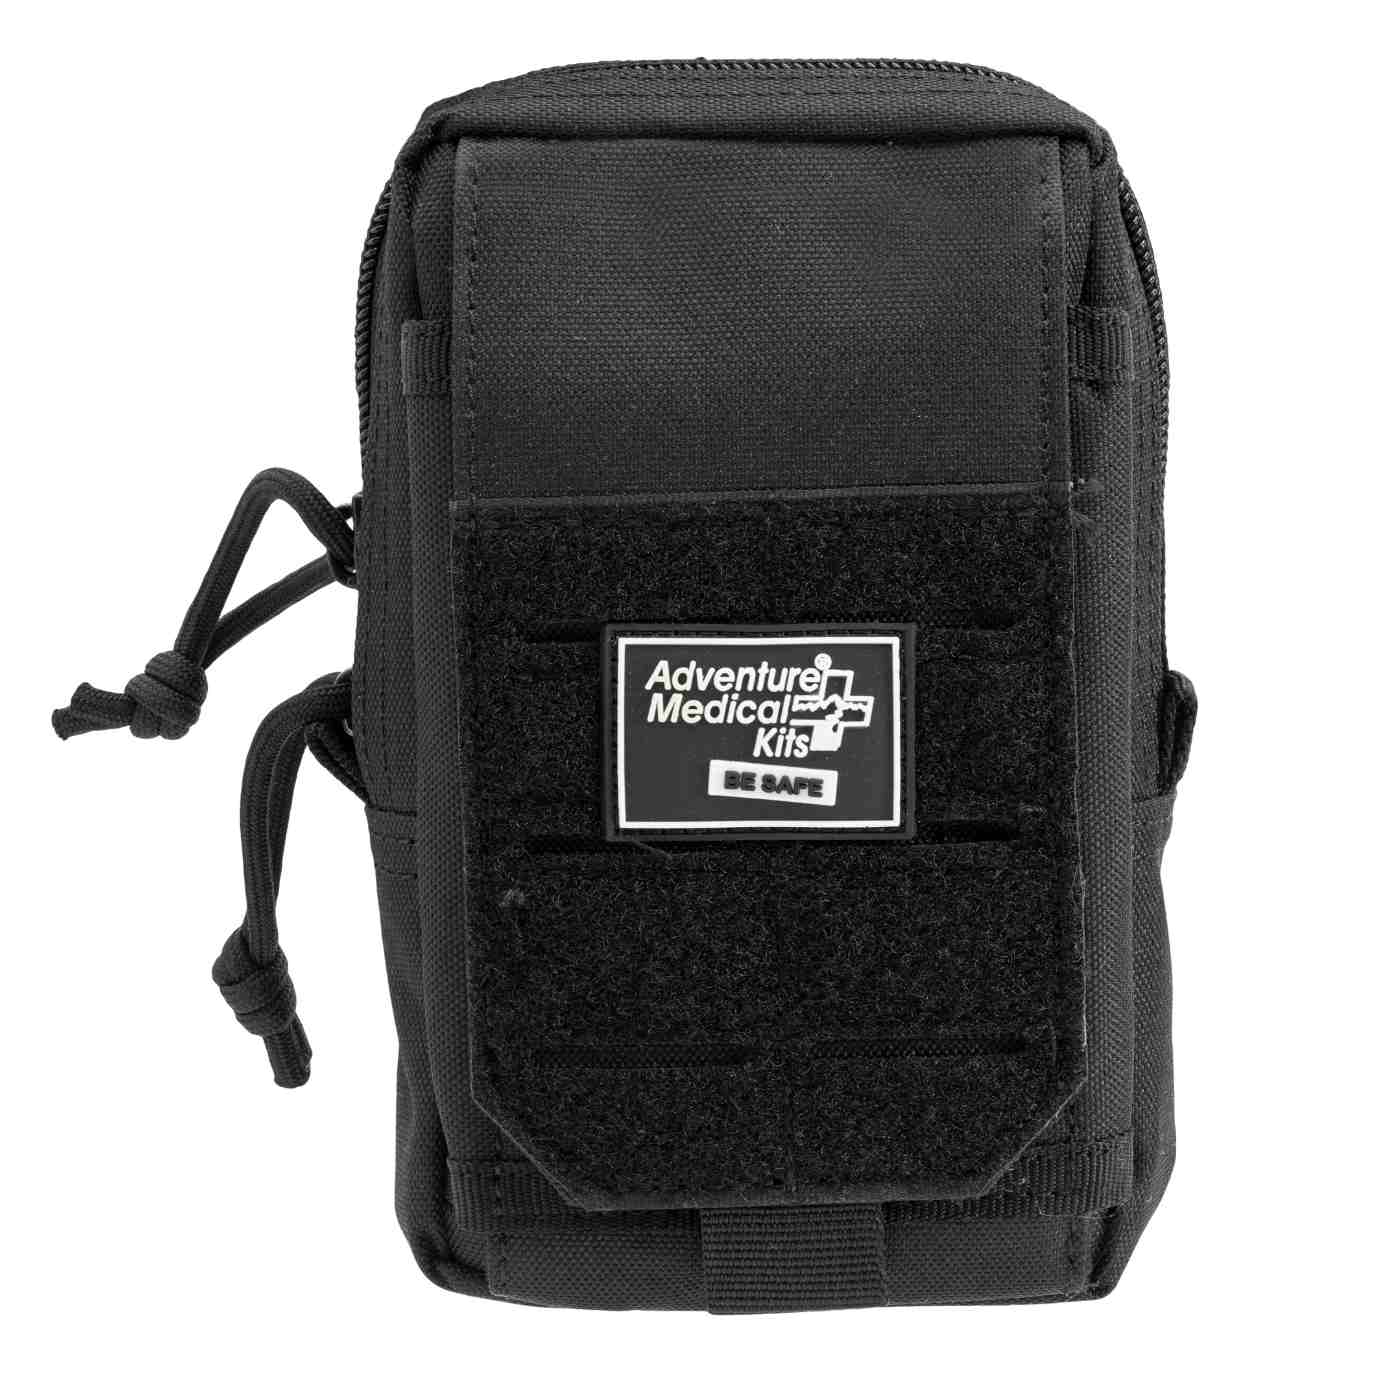
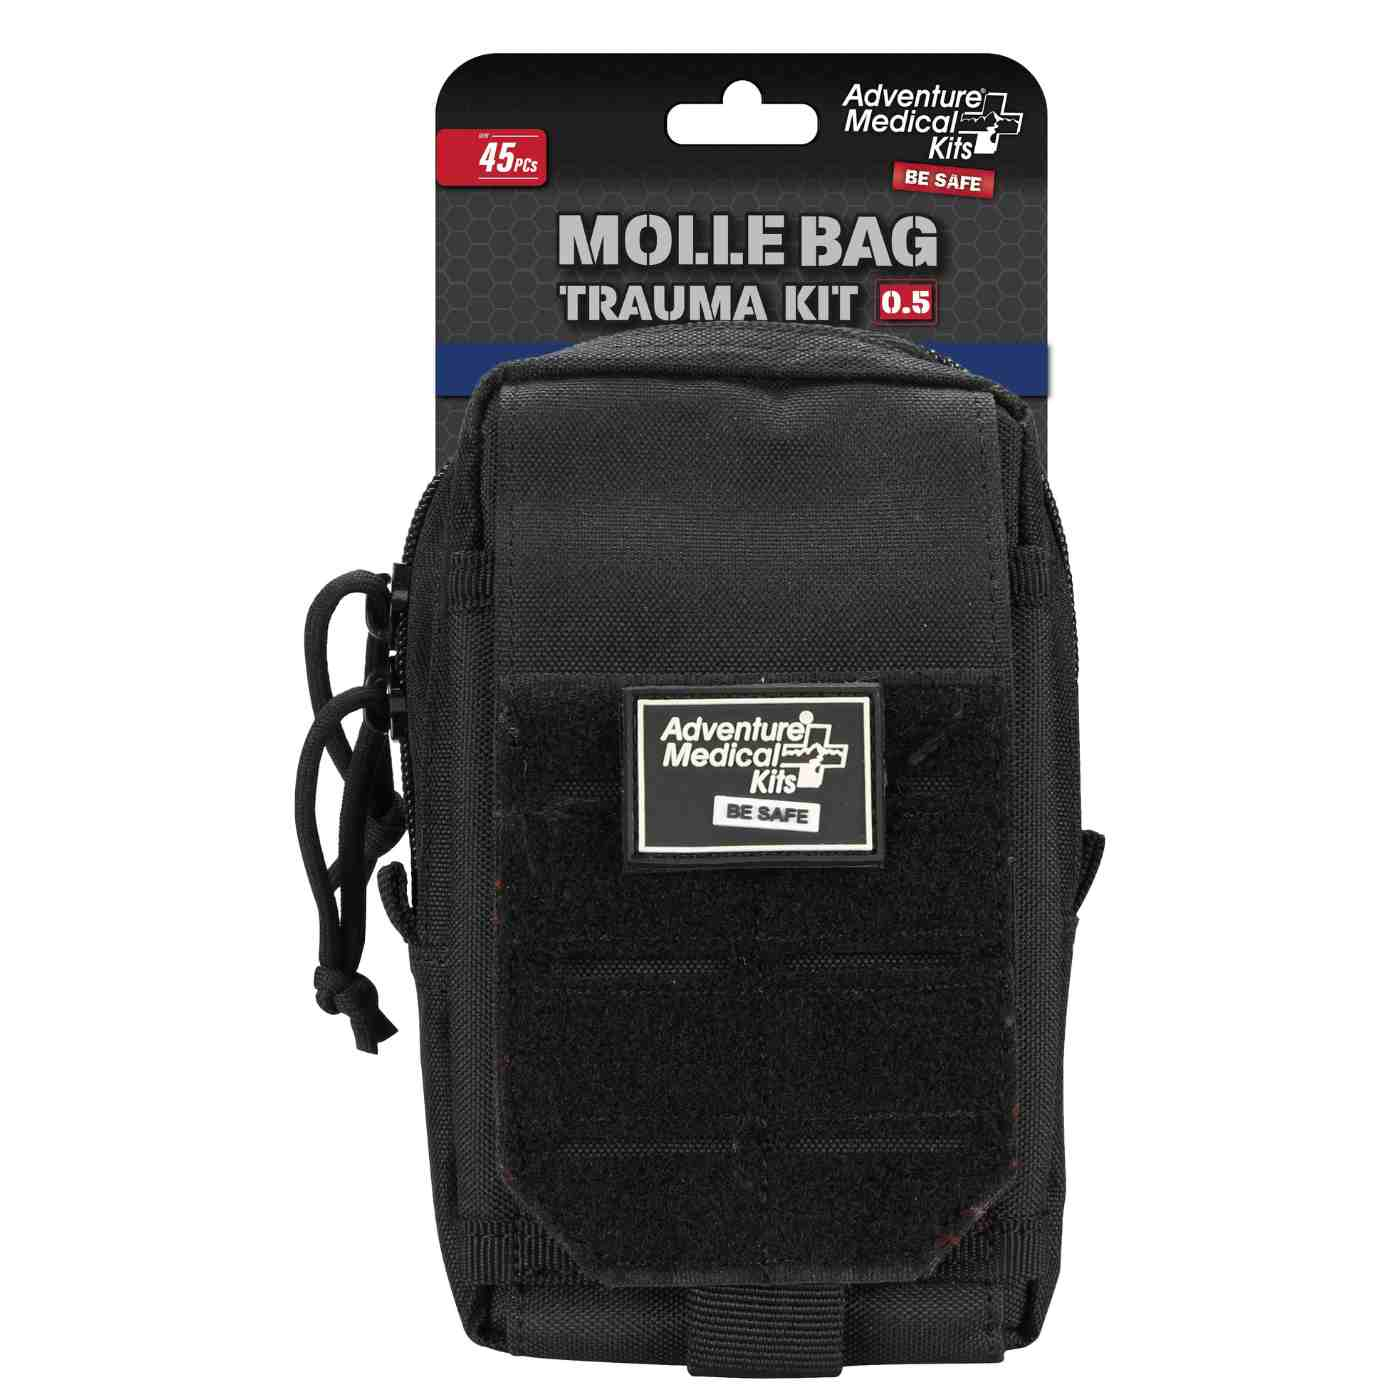
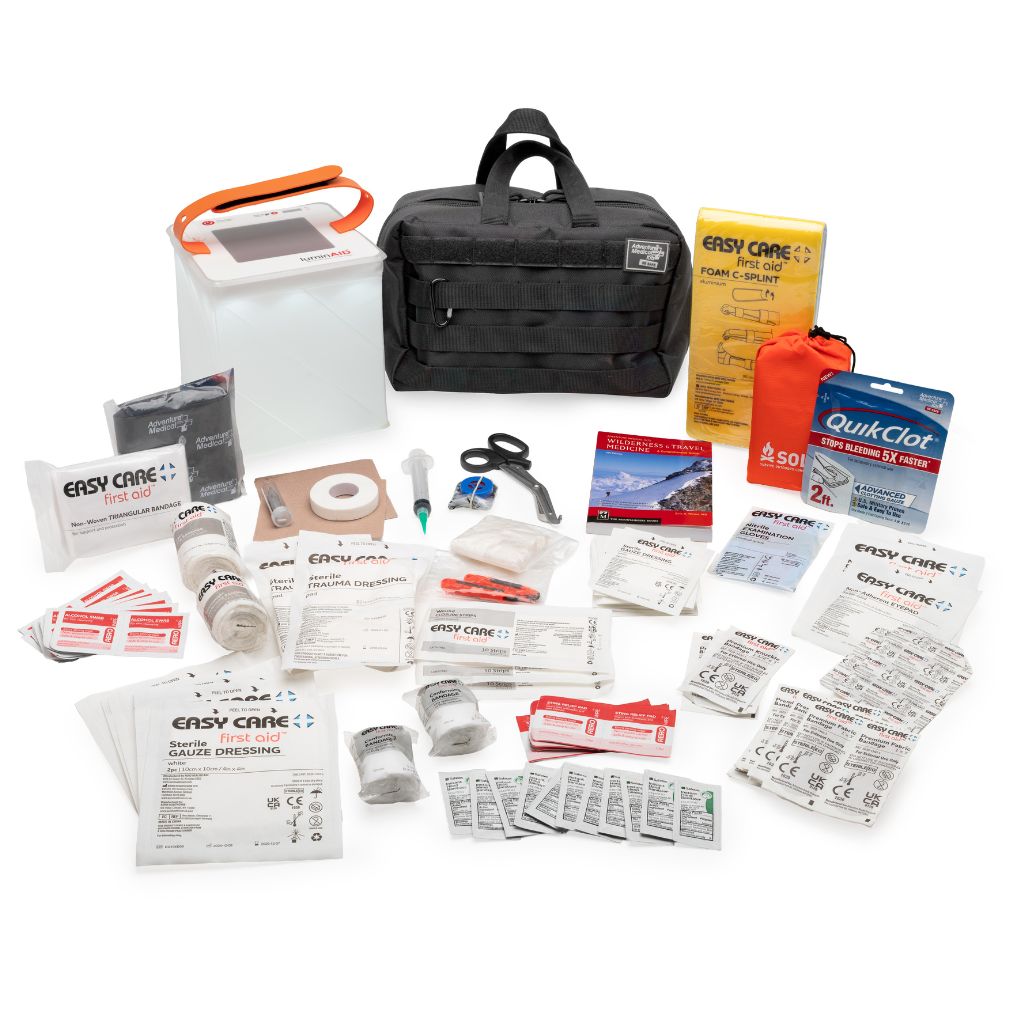
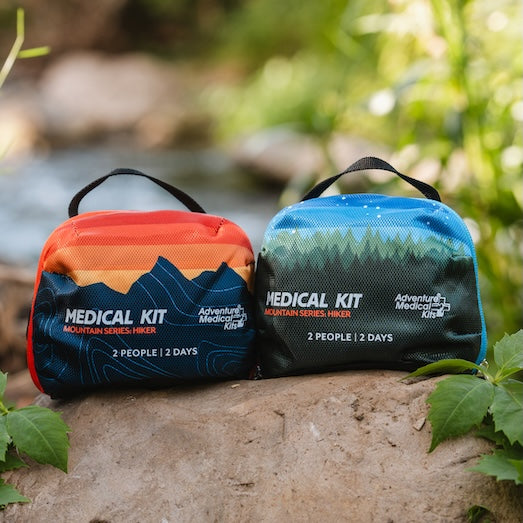
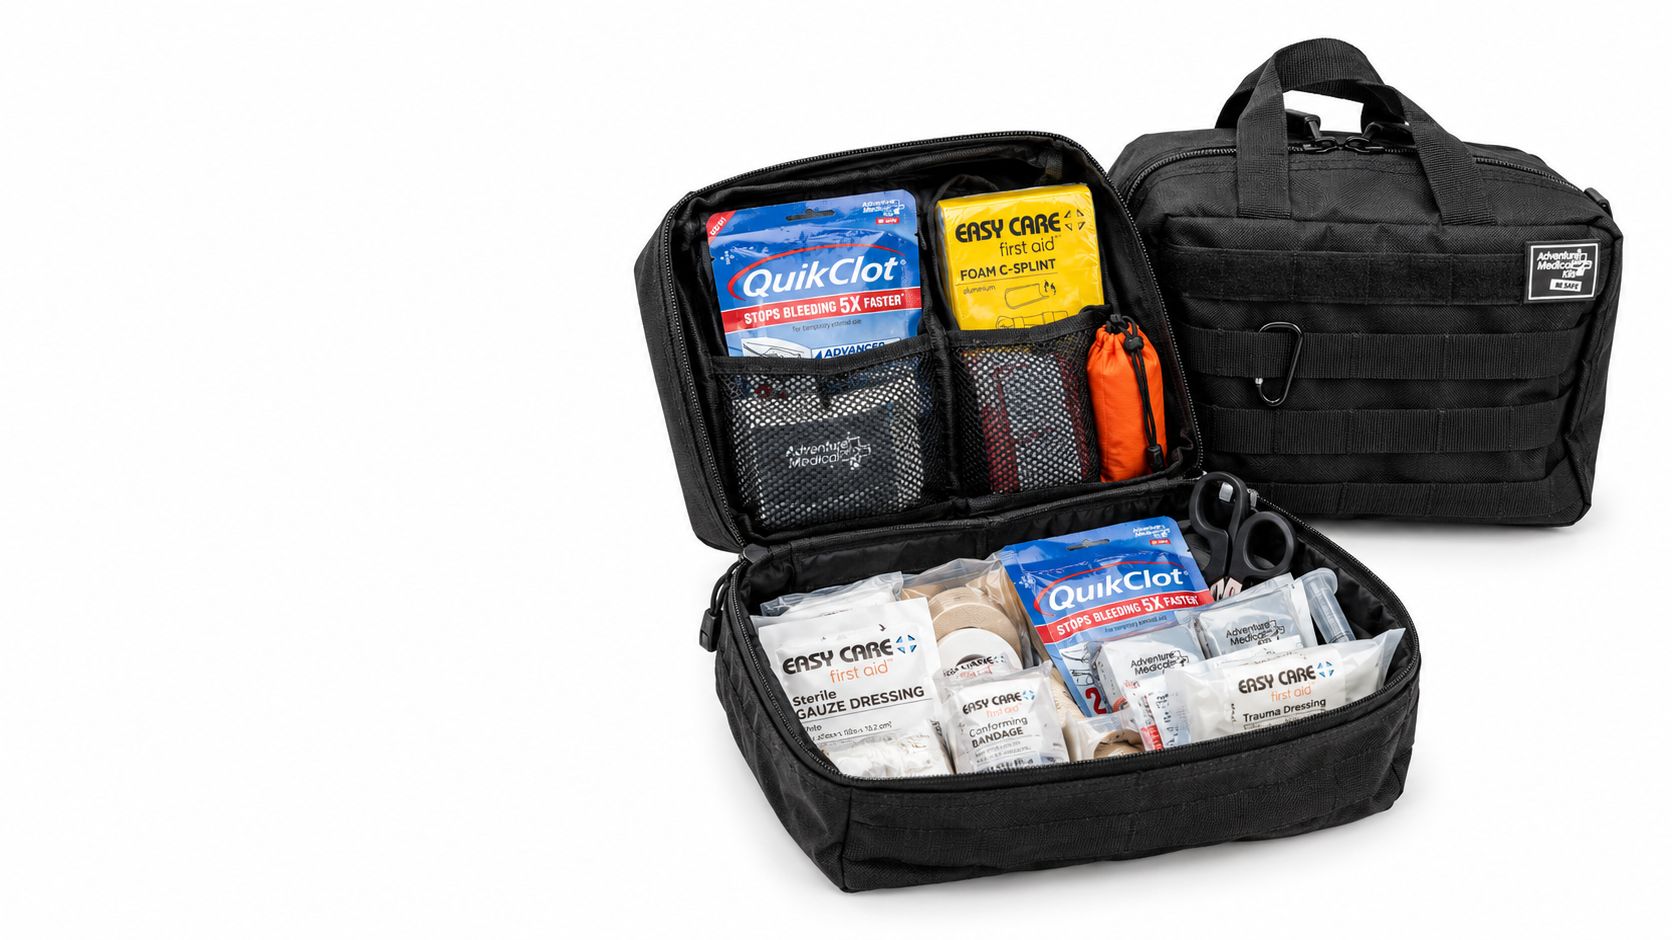
Adventure Medical Kits' flagship collections for this kind of loadout are the Mountain Series medical kits and the MOLLE trauma kit series. Within that ecosystem, the MOLLE Pro Medical + Survival Kit is relevant because its catalog snapshot includes a tourniquet along with a 2-foot QuikClot dressing, CPR face shield, wound care, fracture support, water purification, fire-starting tools, an emergency bivvy, and a solar lantern/charger in a rugged modular case.
A one hand tourniquet also fits into a larger preparedness setup. For example, a SOL emergency bivvy or a LuminAID solar lantern and charger can help manage the rest of the scene after bleeding is controlled, especially in low light or cold weather.
Match the carry to the trip
An angler in chest waders, a bowhunter in late-season layers, and a day hiker in shorts don't need the same placement. The common rule is simple. If either hand can't reach it immediately, it's packed wrong.
Maintenance, Replacements, and End-of-Season Habits
A one hand tourniquet should be treated as a readiness item, not a souvenir. Inspect strap wear, hook-and-loop condition, windlass integrity, and the manufacturer's replacement guidance. Any device that has been applied should be replaced instead of going back into carry.
Tourniquet readiness checklist
| Check | When | Pass criterion |
|---|---|---|
| Carry position | Before each trip | Reachable by either hand without unpacking gear |
| Staging | Before each trip and after each drill | Pre-threaded and ready for one-handed deployment |
| Physical inspection | Start and end of season | No obvious fraying, damage, or failed closure surfaces |
| Training status | At least twice a year | User can complete a clean self-application drill on both sides |
| Kit support items | Seasonal review | Refill items replaced as needed using an IFAK refill kit reference |
Store one where it's protected but accessible, one in a vehicle kit if that matches the trip style, and re-thread after every practice session so it's field-ready the next time.
Adventure Medical Kits builds outdoor medical systems that make sense for real carry, not just shelf storage. For hikers, hunters, paddlers, and families building a serious trauma-capable setup, the Mountain Series and MOLLE kits offer organized, labeled supplies that are easier to reach fast when one hand is all that's available. To build a kit around that reality, visit Adventure Medical Kits.