

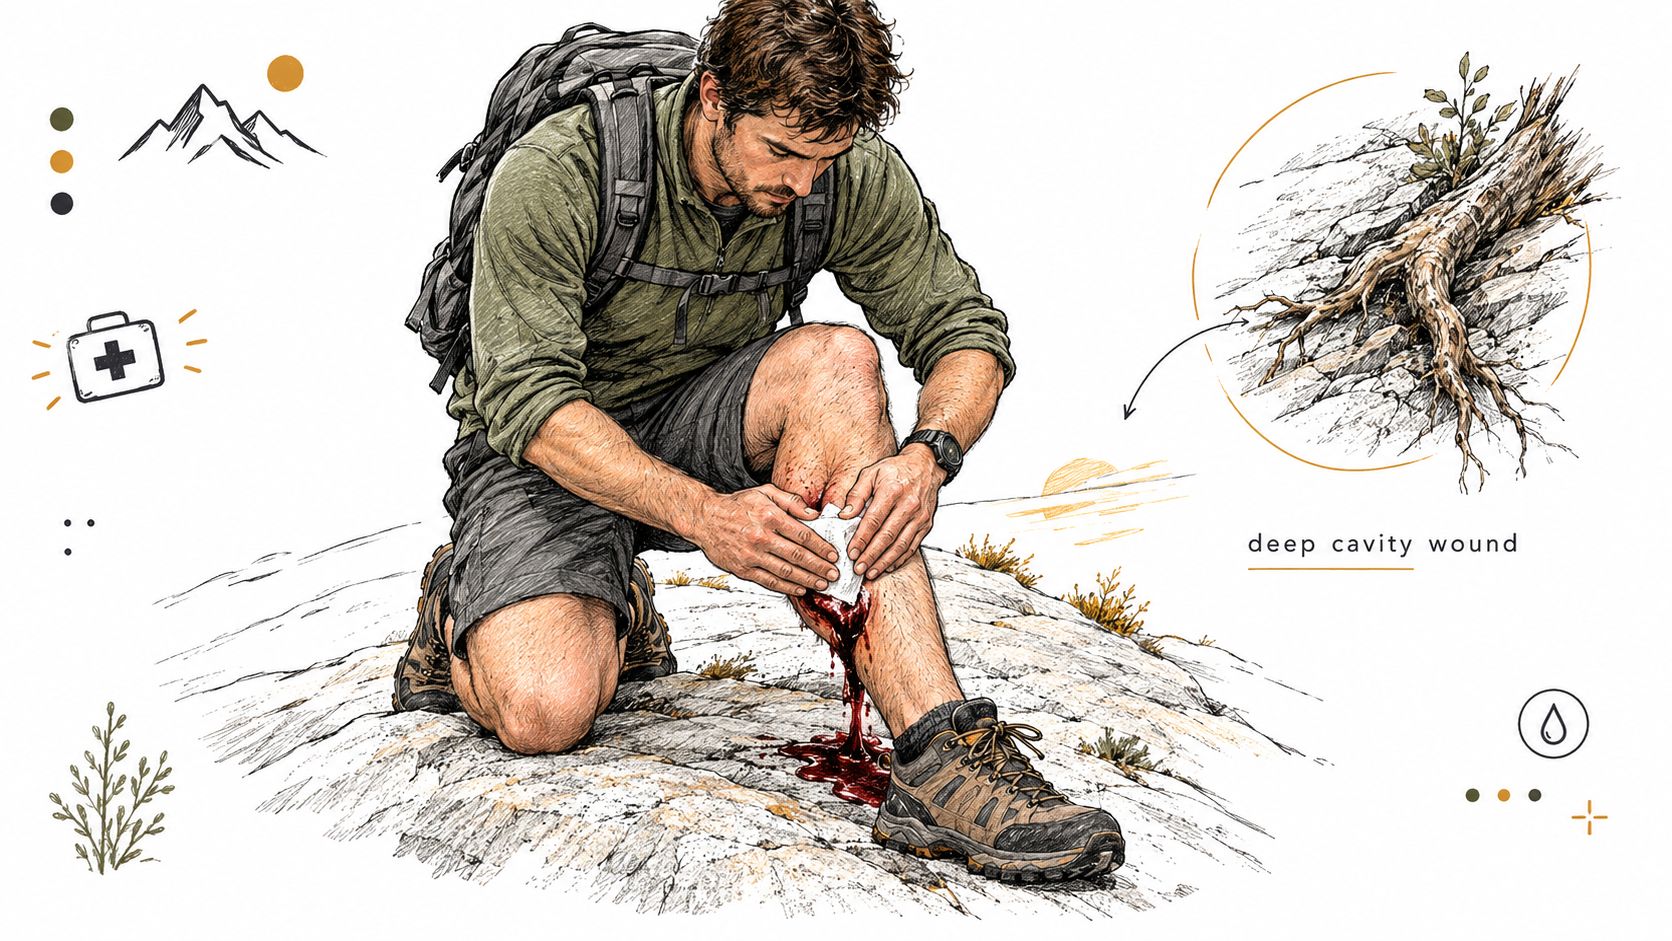
The light is fading on a granite slope when a hiker slips against a protruding root and opens a deep gash in the calf. The blood is dark and steady, pooling beneath the leg rather than spraying. A partner checks that the airway and breathing are clear, sees no obvious arterial spurting, and notices that the cavity gapes again whenever pressure is released. That's the moment a responder has to choose a method rather than reach for the largest dressing.
Wound packing dressings are targeted tools for deep, narrow, or tunneling injuries where a hand pressing on the skin can't reach the bleeding vessel. They aren't a default for every open wound, and they aren't interchangeable with the loose packing used later to manage drainage. The distinction matters most when a small group is tired, cold, and working beside a trail rather than in a treatment room.
Table of Contents
- When Wound Packing Becomes the Right Call on the Trail
- Bleeding Control vs Drainage Packing and When to Skip Both
- Choosing the Right Wound Packing Dressings for Your Kit
- How to Pack and Dress a Deep Cavity Wound in the Field
- Monitoring a Packed Wound Through the Next 12 to 24 Hours
- Evacuation Triggers and Safety Boundaries You Should Not Cross
- Field Checklist and Common Questions About Wound Packing Dressings
When Wound Packing Becomes the Right Call on the Trail
The first thirty seconds should answer a few urgent questions. Is the patient breathing normally? Is there dangerous bleeding elsewhere? Does firm, uninterrupted pressure control the wound? Is the injury on an extremity or junctional area where a tourniquet can work? If direct pressure stops the bleeding and the wound is shallow enough for a surface dressing to stay in place, packing adds complexity without solving a problem.
A deep calf cavity presents a different challenge. The opening may look modest, but the track can extend beneath intact skin, allowing blood to collect where a flat pad cannot exert force. In that situation, the responder exposes the wound, identifies the cavity, and pushes gauze down to the bleeding source before applying sustained pressure over the filled space. Guidance summarized in emergency medicine wound-packing protocols supports hemostatic dressings with direct pressure for junctional hemorrhage when pressure or a tourniquet alone cannot control the bleeding.
The history behind this approach is long. Gauze was used broadly for traumatic injuries and cavity wounds before the 1960s, and a review of wound packing history describes ribbon gauze moistened with antiseptics and tightly placed into wound cavities. In 2008, QuikClot Combat Gauze became the first widely adopted hemostatic gauze integrated into a packable format. By January 2017, the military Committee on Tactical Combat Casualty Care had designated Combat Gauze as the primary hemostatic agent, reflecting how central packable gauze became in life-threatening bleeding care.
Practical rule: Pack a cavity when the bleeding source is reachable only from inside the wound and external pressure alone isn't controlling it. If a surface dressing or tourniquet works, use the simpler effective option.
A wound that spurts or rapidly saturates dressings needs immediate escalation, not prolonged inspection. A wound with an embedded object needs pressure around the object, not removal. The responder's job is to control what can be controlled, protect the patient from further harm, and arrange evacuation.
Bleeding Control vs Drainage Packing and When to Skip Both
A deep cavity does not automatically need gauze. First decide whether the job is to control hemorrhage, support drainage after clinical treatment, or leave the cavity undisturbed.
Hemostatic packing is for active bleeding that continues despite direct pressure and comes from a reachable source inside a compressible wound. Place sterile or hemostatic gauze firmly against the deepest accessible point, fill the cavity completely, and maintain sustained pressure. The gauze provides pressure from within the wound, while hemostatic material can support the body's clotting process. For active bleeding, a hemostatic gauze that supports clot formation can be packed like plain gauze, provided firm pressure follows.
Drainage packing serves a different purpose. After a clinician opens an infected or abscessed cavity, plain gauze may be placed loosely to wick fluid and keep the surface from sealing before the deeper space drains. It does not treat brisk hemorrhage, and a backcountry responder should not start this treatment based only on how deep the wound appears.
Use this decision rule: if there is no brisk bleeding and no established drainage indication, do not pack. A clean cavity without active hemorrhage may need protection, medical assessment, or evacuation. Filling it with gauze can disturb early clotting, introduce contamination, and make the injury appear managed when it is not. Overfilling can also obstruct fluid flow, increase pain, and make removal difficult.
A wound-closure kit resource explains the broader difference between closing a superficial wound and managing deeper tissue. Closure strips or other closure materials do not replace hemorrhage control.
Drainage packing also requires a visible removal tail and a record of the amount of material placed inside. Those details support a safe clinical handoff. In the field, skip drainage packing when no clinician has established that plan. Protect the wound, reassess bleeding, and arrange evacuation when the injury exceeds your training.
Choosing the Right Wound Packing Dressings for Your Kit
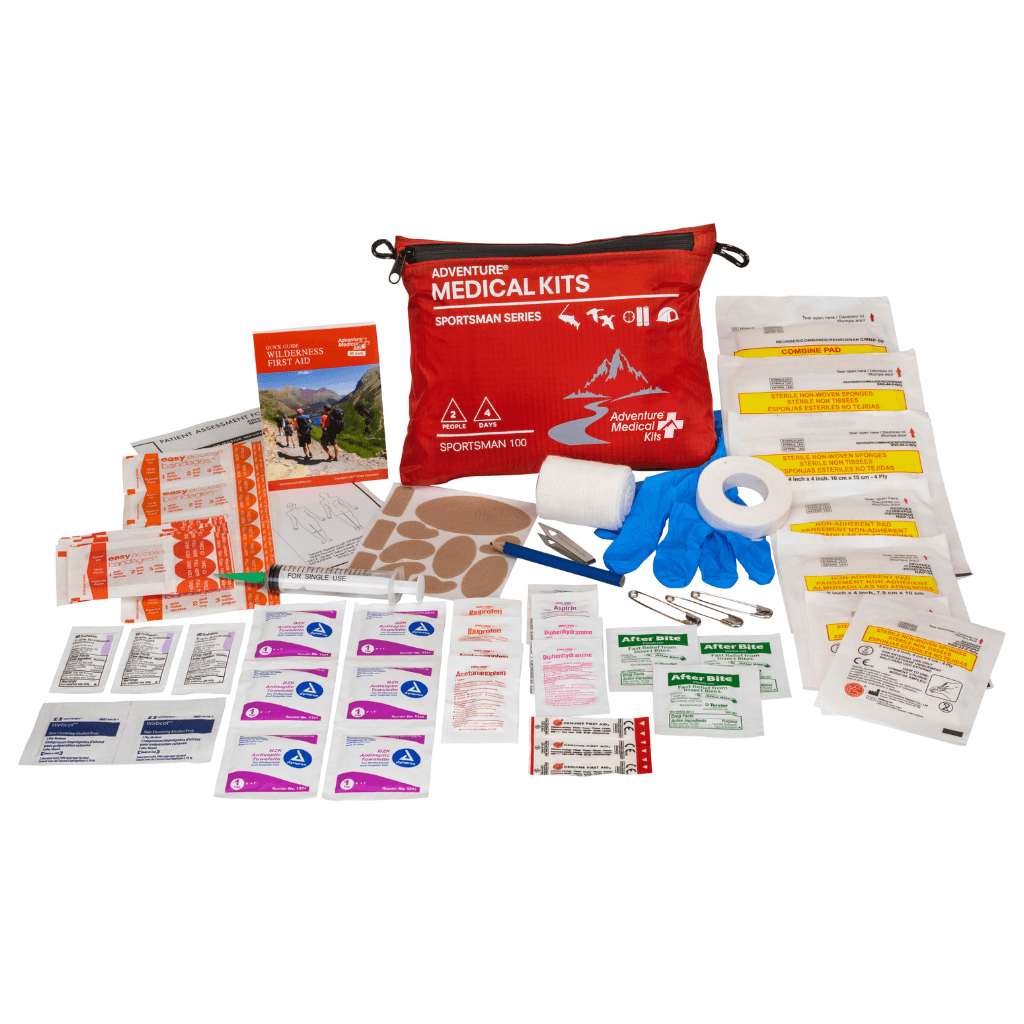
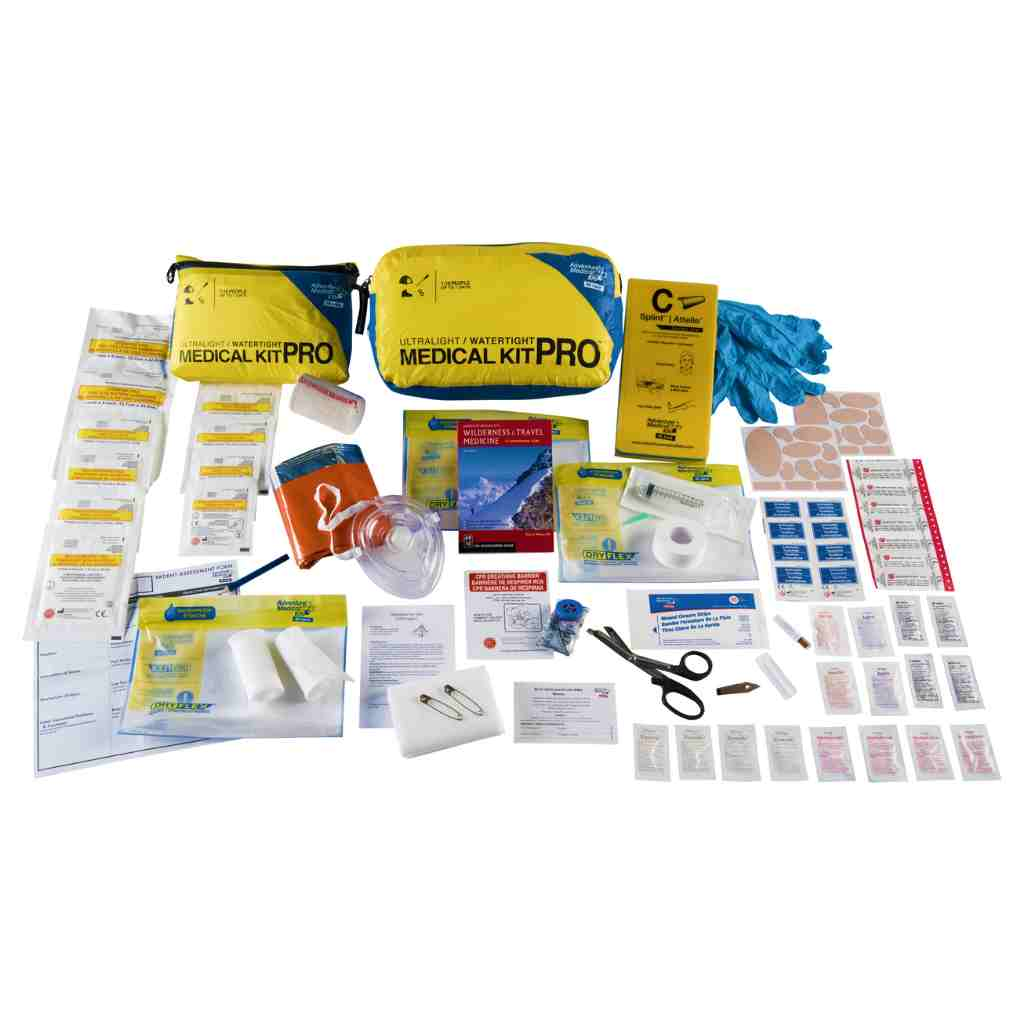
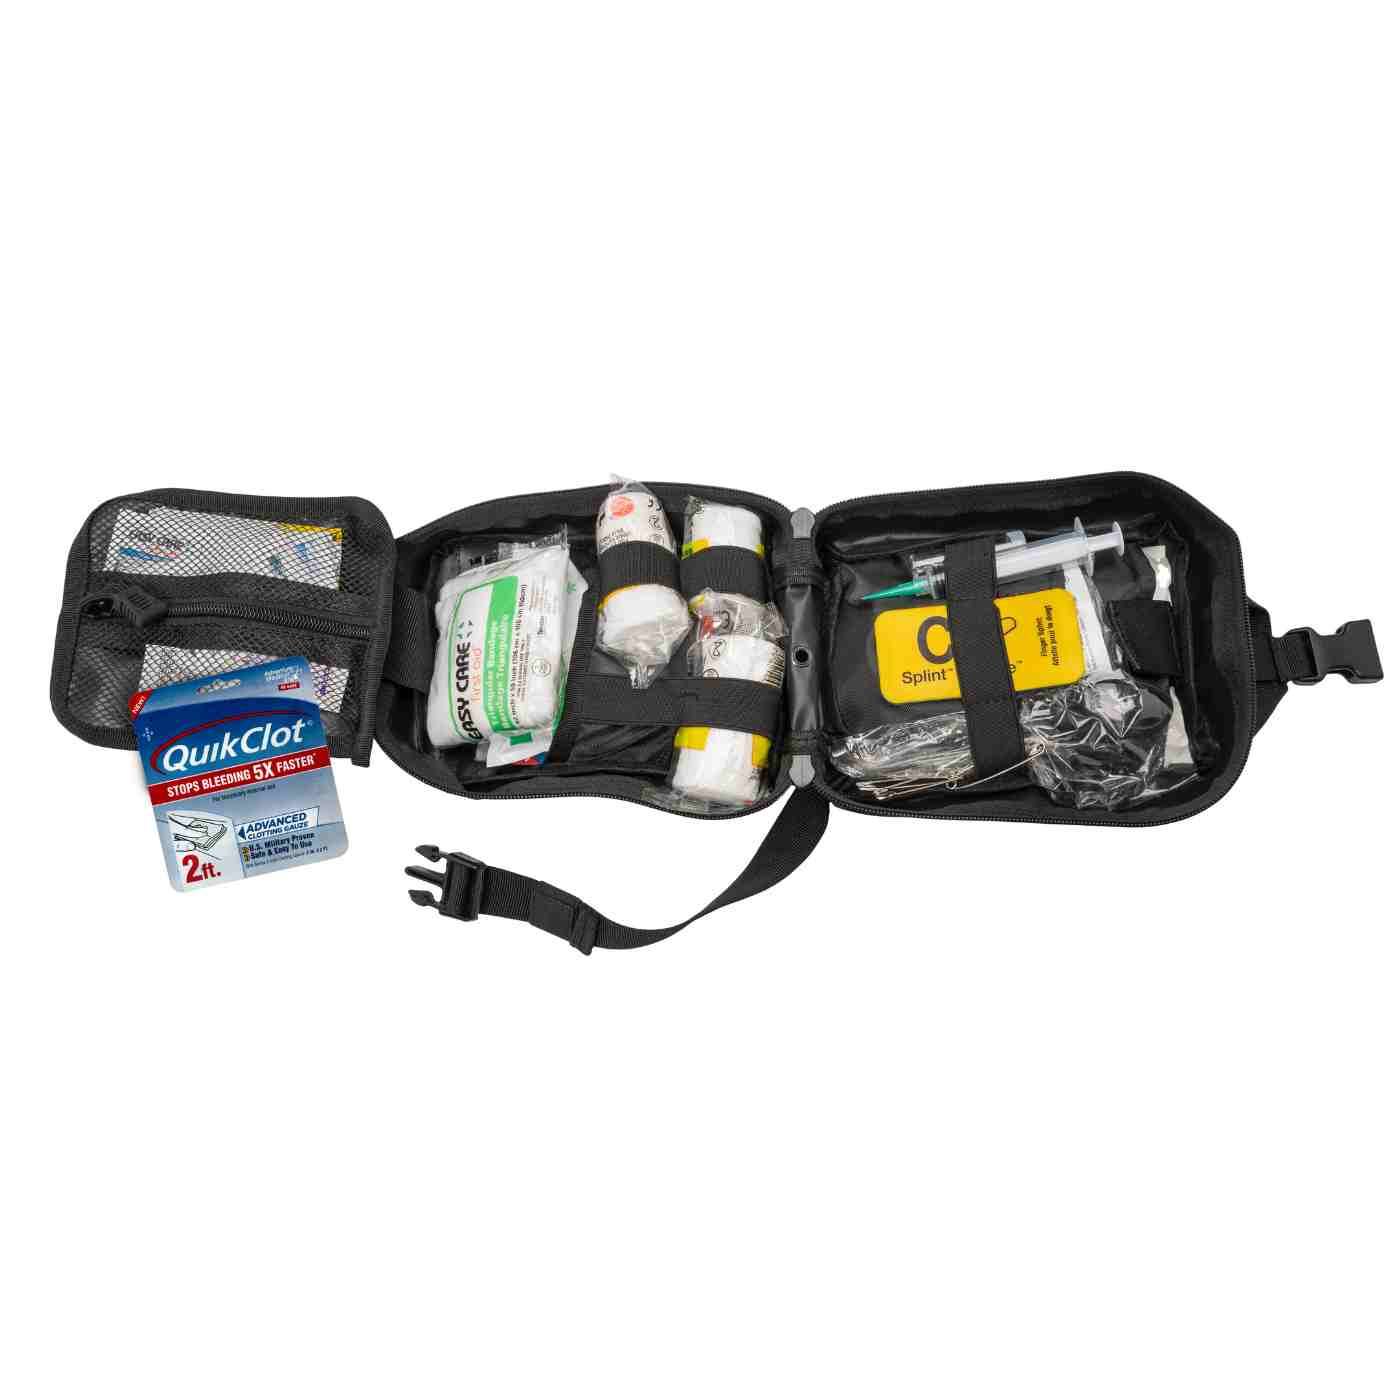
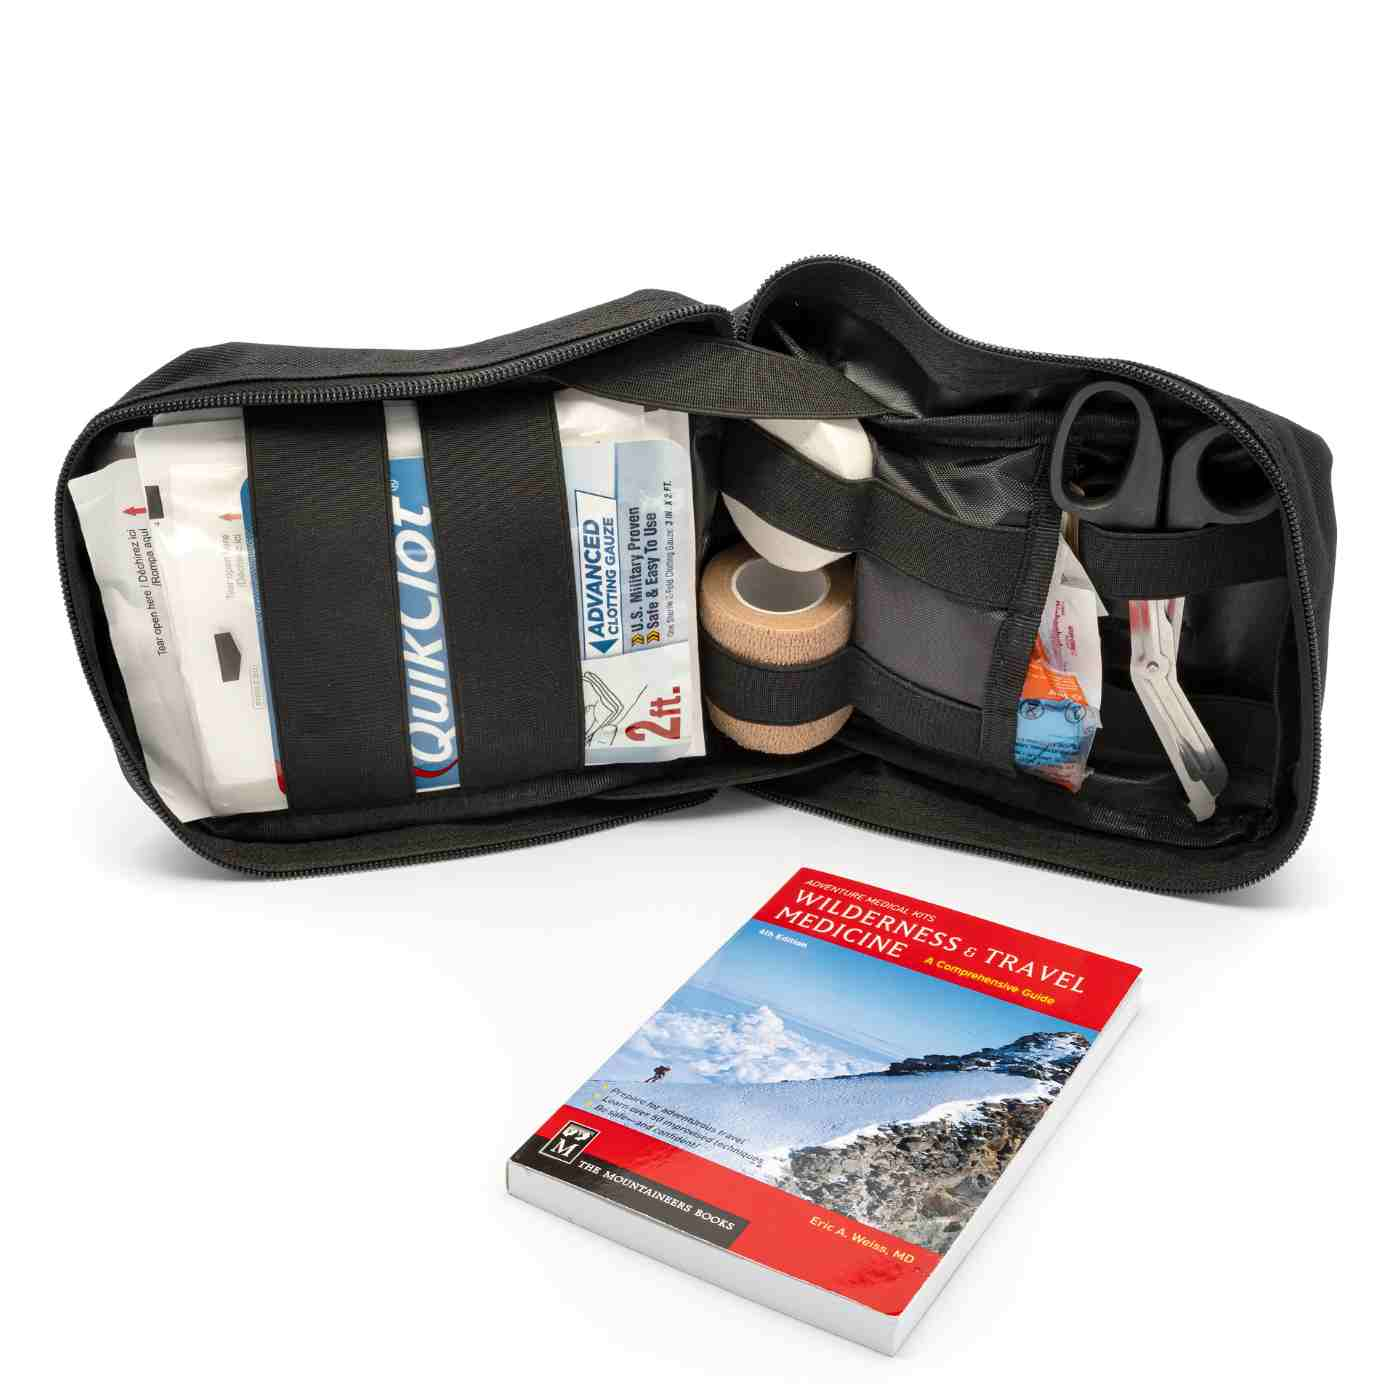
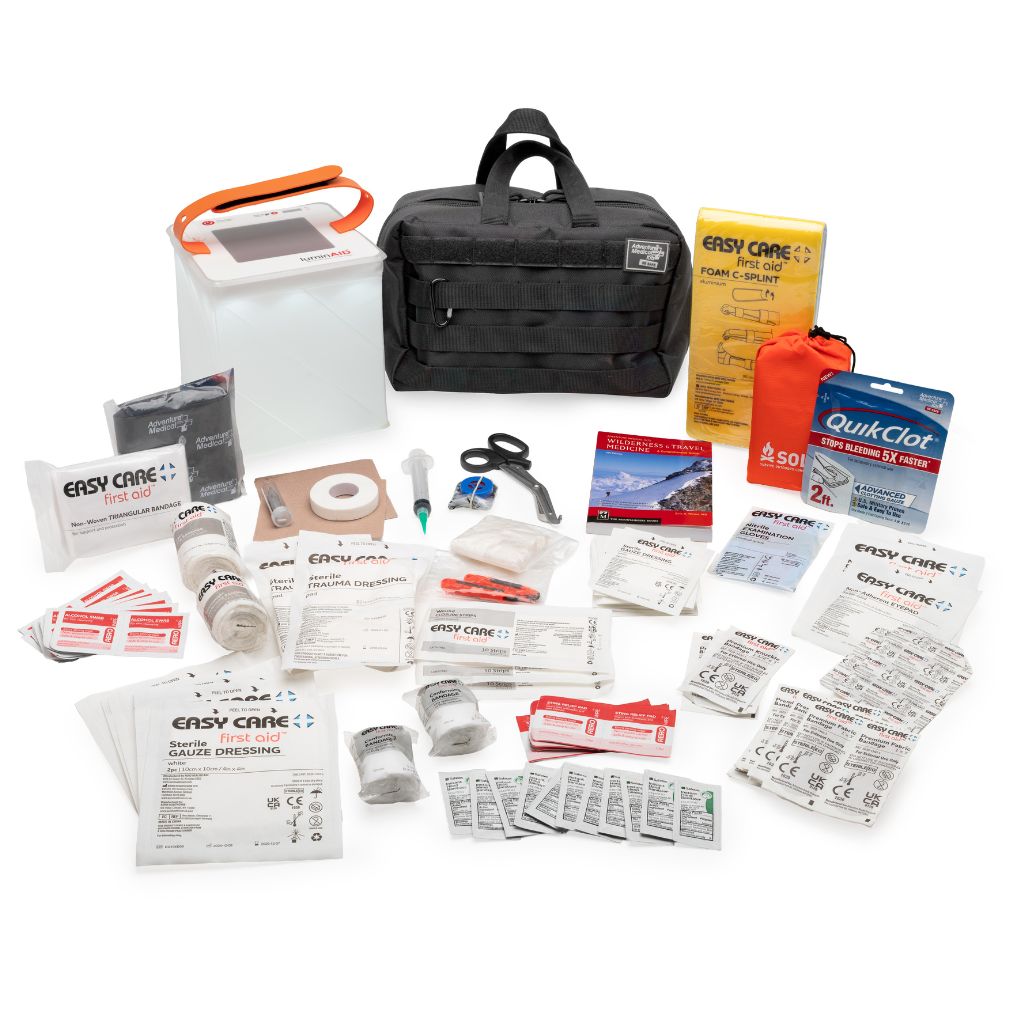
A useful bleeding-control kit needs enough material to fill a cavity, not just cover it. A 3-inch or 4.5-inch rolled gauze, hemostatic strips or gauze, nitrile gloves, trauma shears, an occlusive dressing for appropriate injuries, and a pressure bandage form a practical base. More than one gauze may be needed for a large cavity, and a military trauma guide emphasizes maintaining direct pressure while adding material until the wound is completely filled and clot formation can occur.
Plain sterile gauze is versatile and familiar. It's a sound choice when bleeding is controllable with packing and pressure, and it gives a responder a way to fill a deep space when no hemostatic product is available. Hemostatic gauze, including products such as QuikClot or Celox, may be useful when bleeding is severe or clotting is impaired, but it still requires correct placement and firm pressure. It isn't a replacement for reaching the bleeding source.
| Material | Best Use | Sterility | Shelf Life |
|---|---|---|---|
| Plain rolled gauze | Filling a cavity when direct pressure can control bleeding, or supporting a pressure dressing | Prefer sterile packaging; clean material is a fallback | Check the package expiration and replace when compromised |
| Hemostatic gauze | Severe compressible bleeding when a hemostatic dressing is indicated | Use intact manufacturer packaging | Follow the package expiration and storage instructions |
| Hemostatic strips | Narrow cavities or supplemental filling where the product can reach the source | Use intact sterile packaging when available | Follow the package expiration and storage instructions |
| Pressure bandage | Maintaining compression over packed gauze | Usually clean and packaged for field use | Inspect packaging and replace damaged supplies |
| Nitrile gloves | Reducing contact with blood and protecting the responder | Clean, single-use | Replace if torn, degraded, or contaminated |
Sterile technique is preferable, but a remote responder may face a choice between clean supplies and no supplies. A clean field means hand hygiene when possible, gloves, protected packaging, clean water or saline for irrigation, and avoiding contact between gauze and dirt, clothing, or ungloved hands. Irrigation shouldn't delay control of severe bleeding.
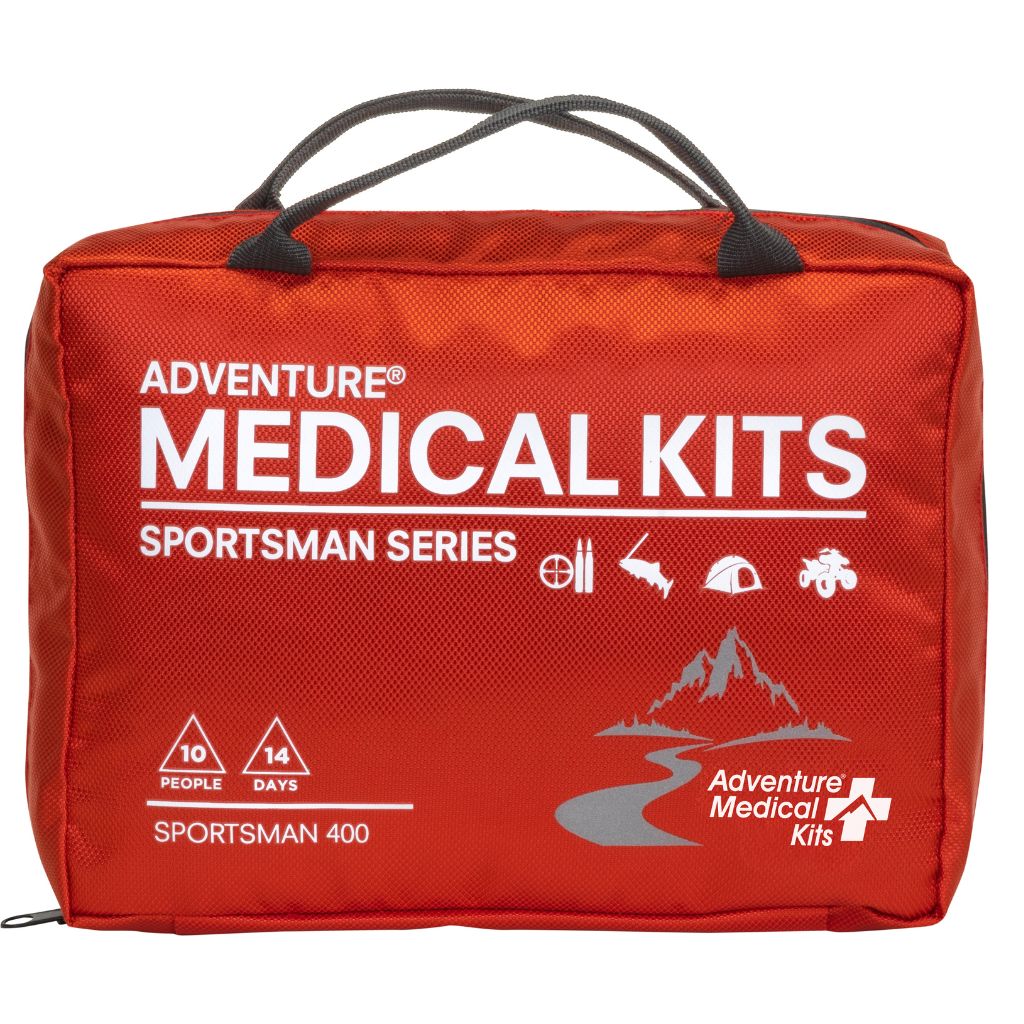
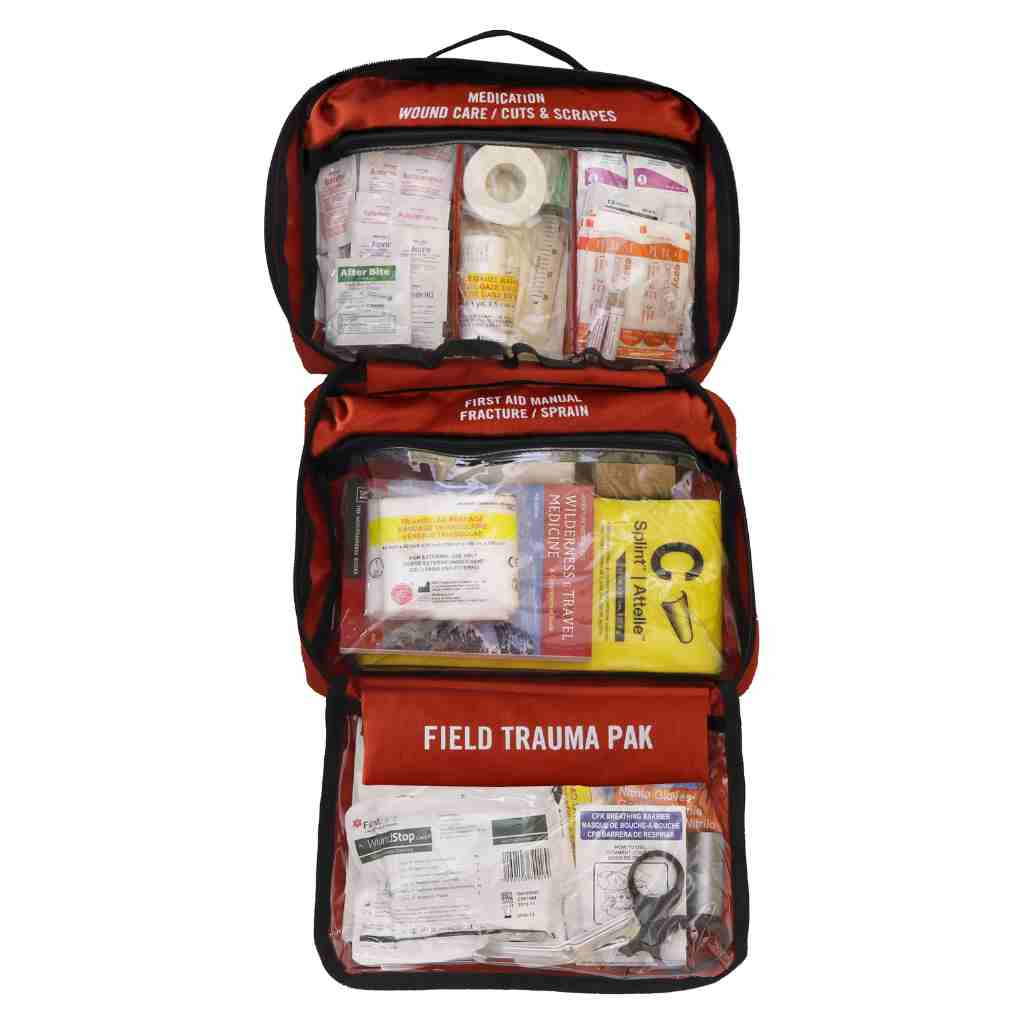
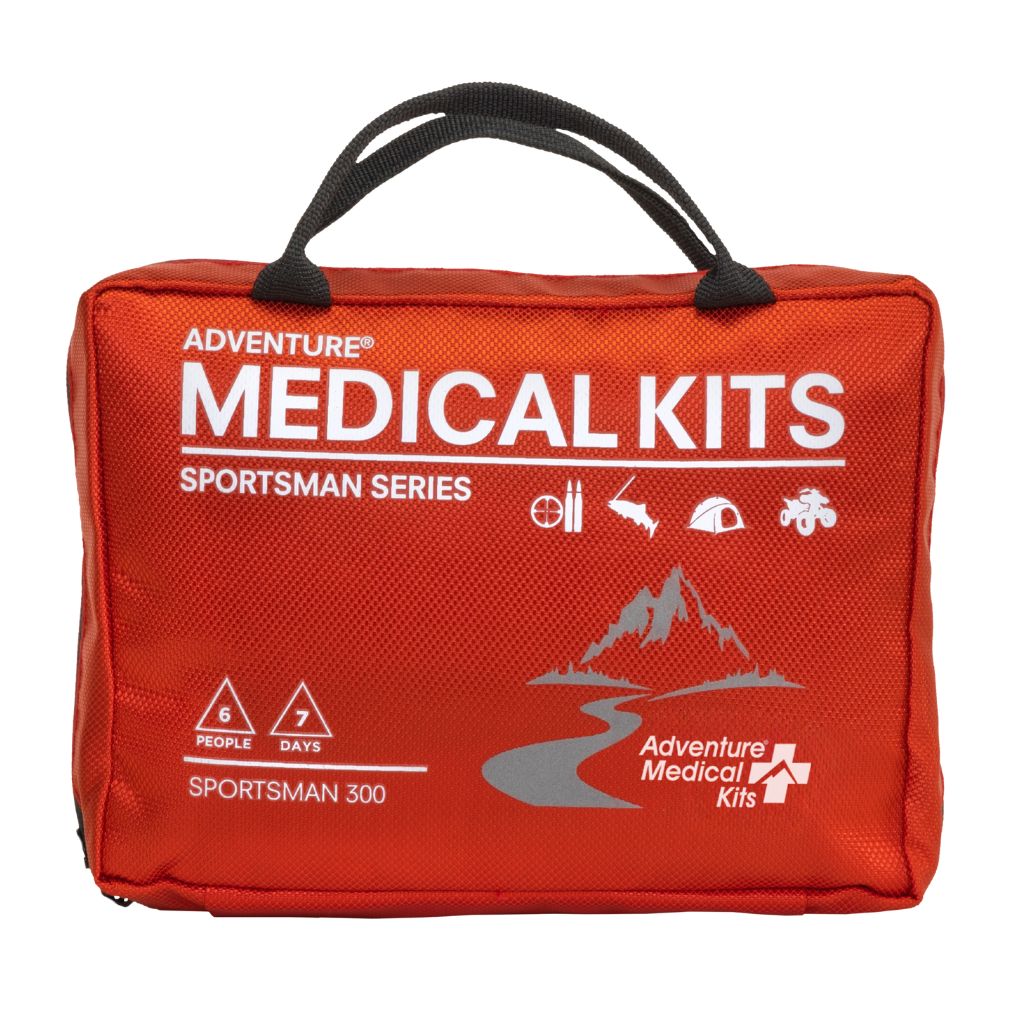
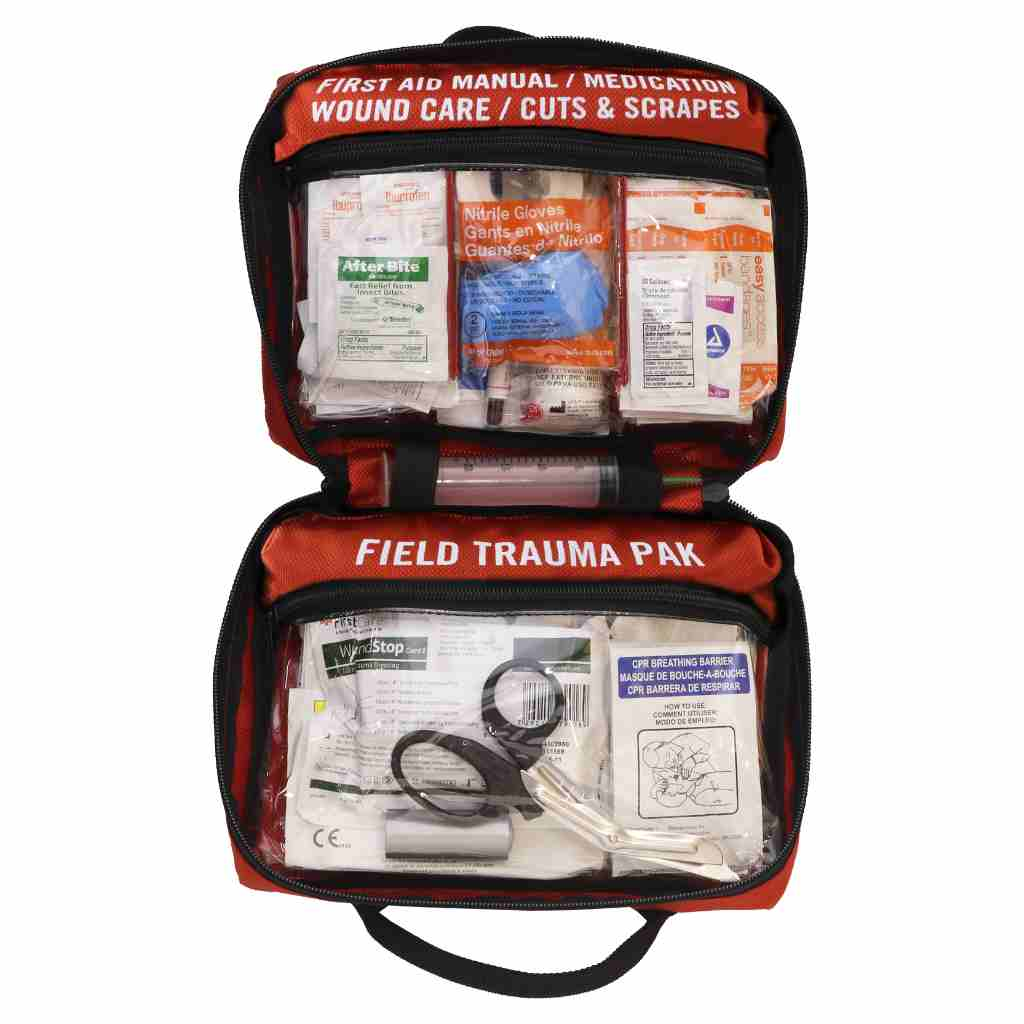
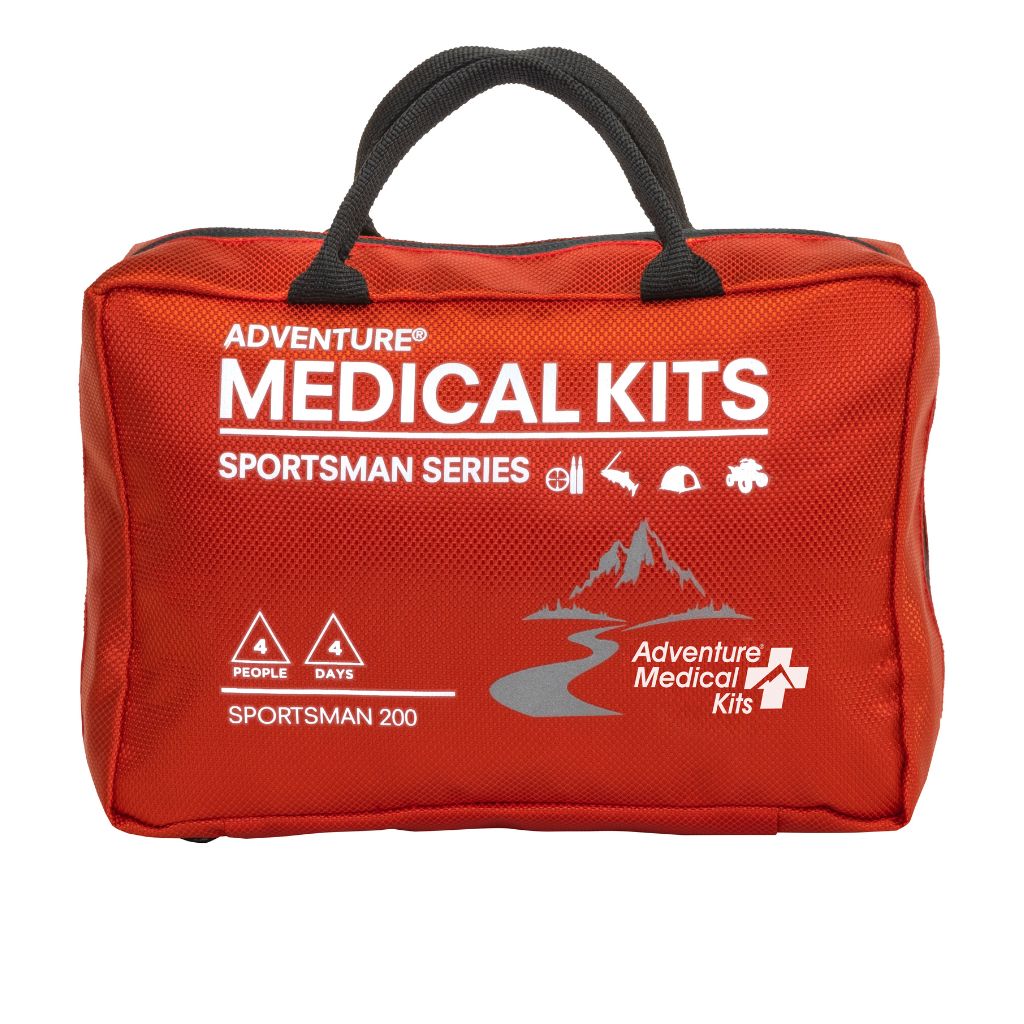
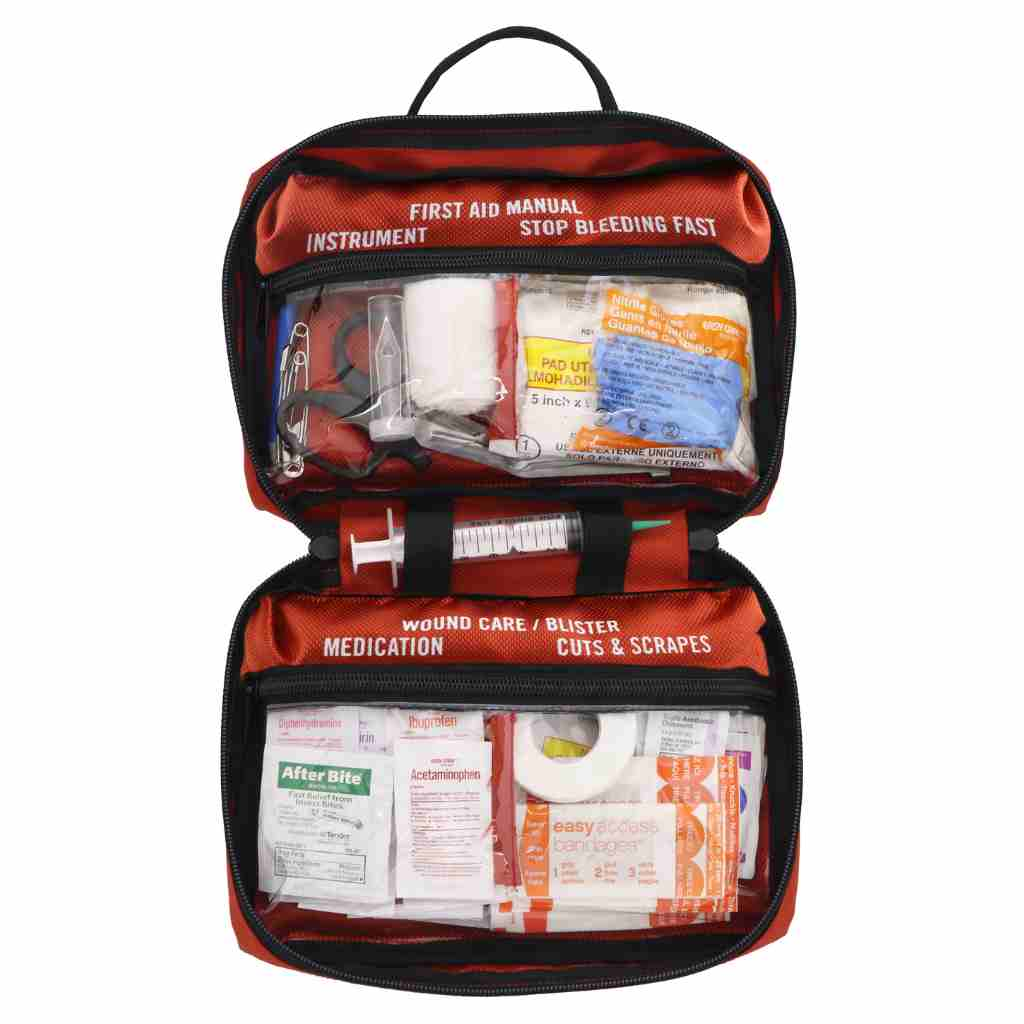
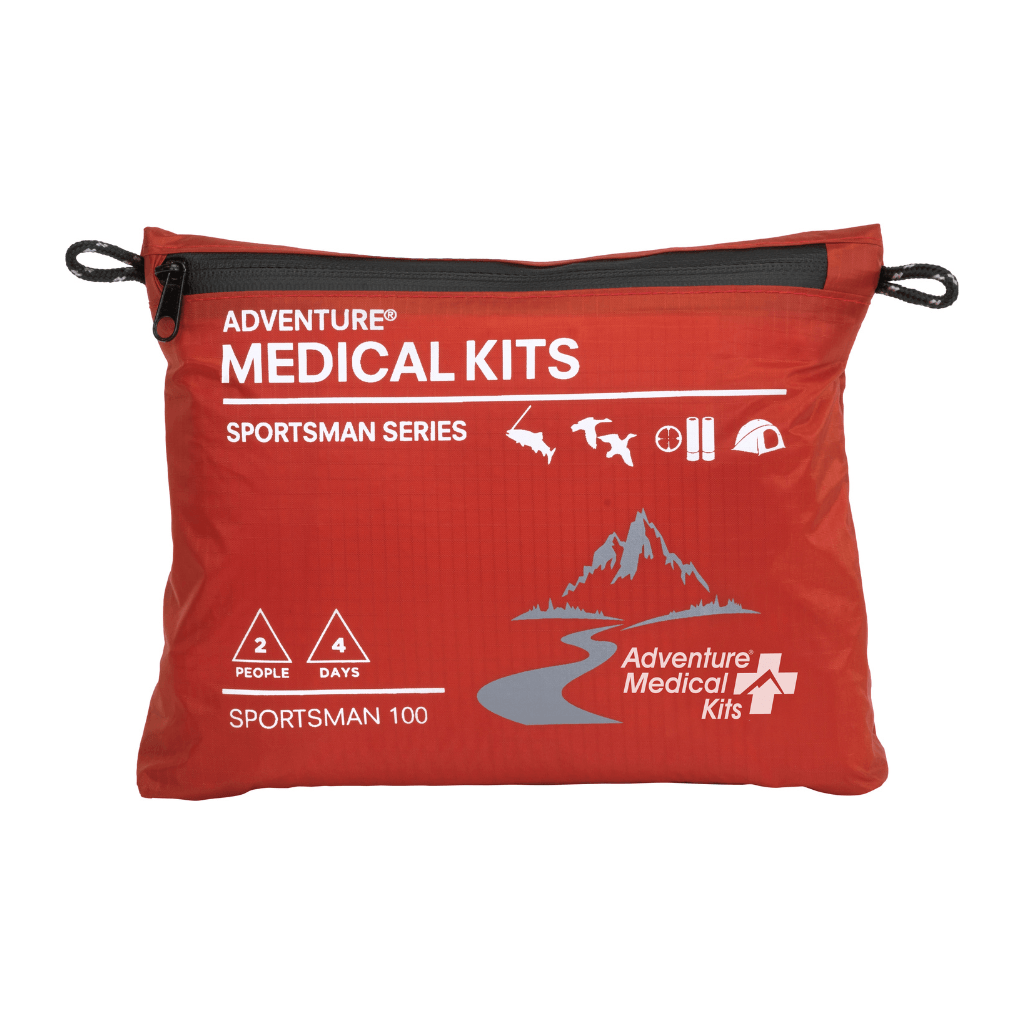
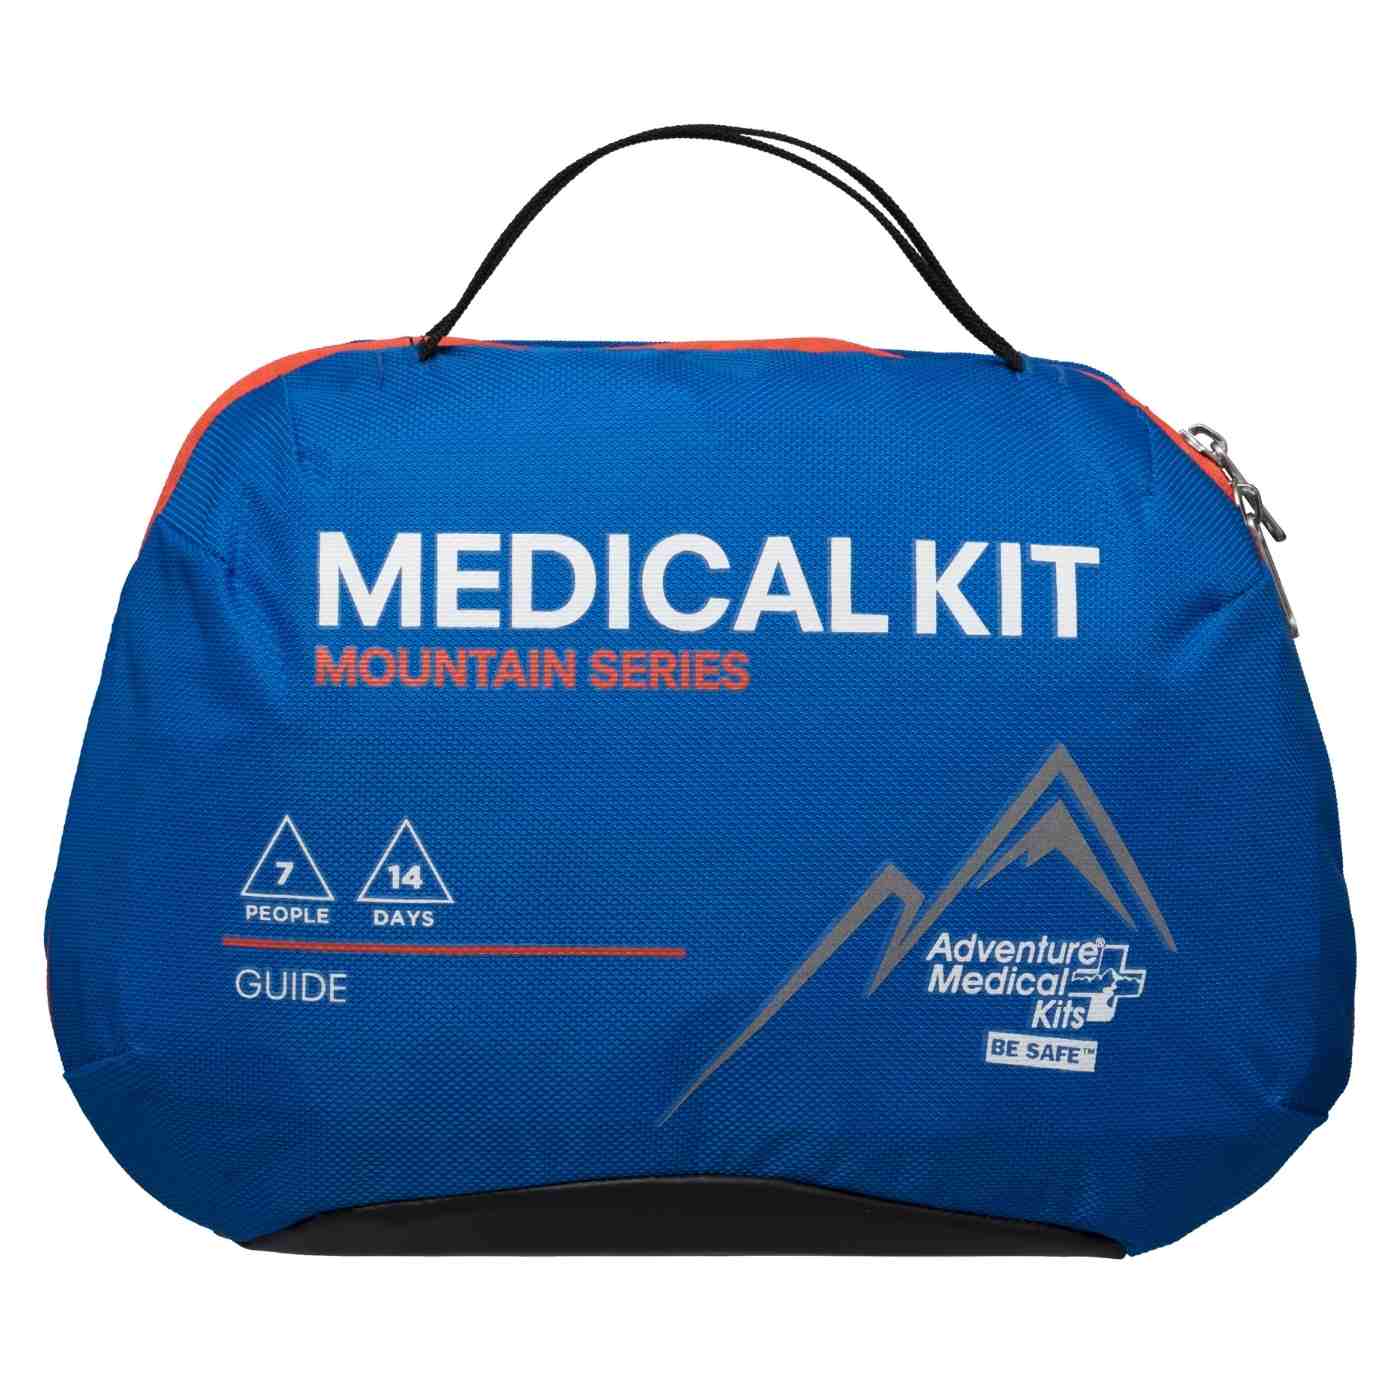
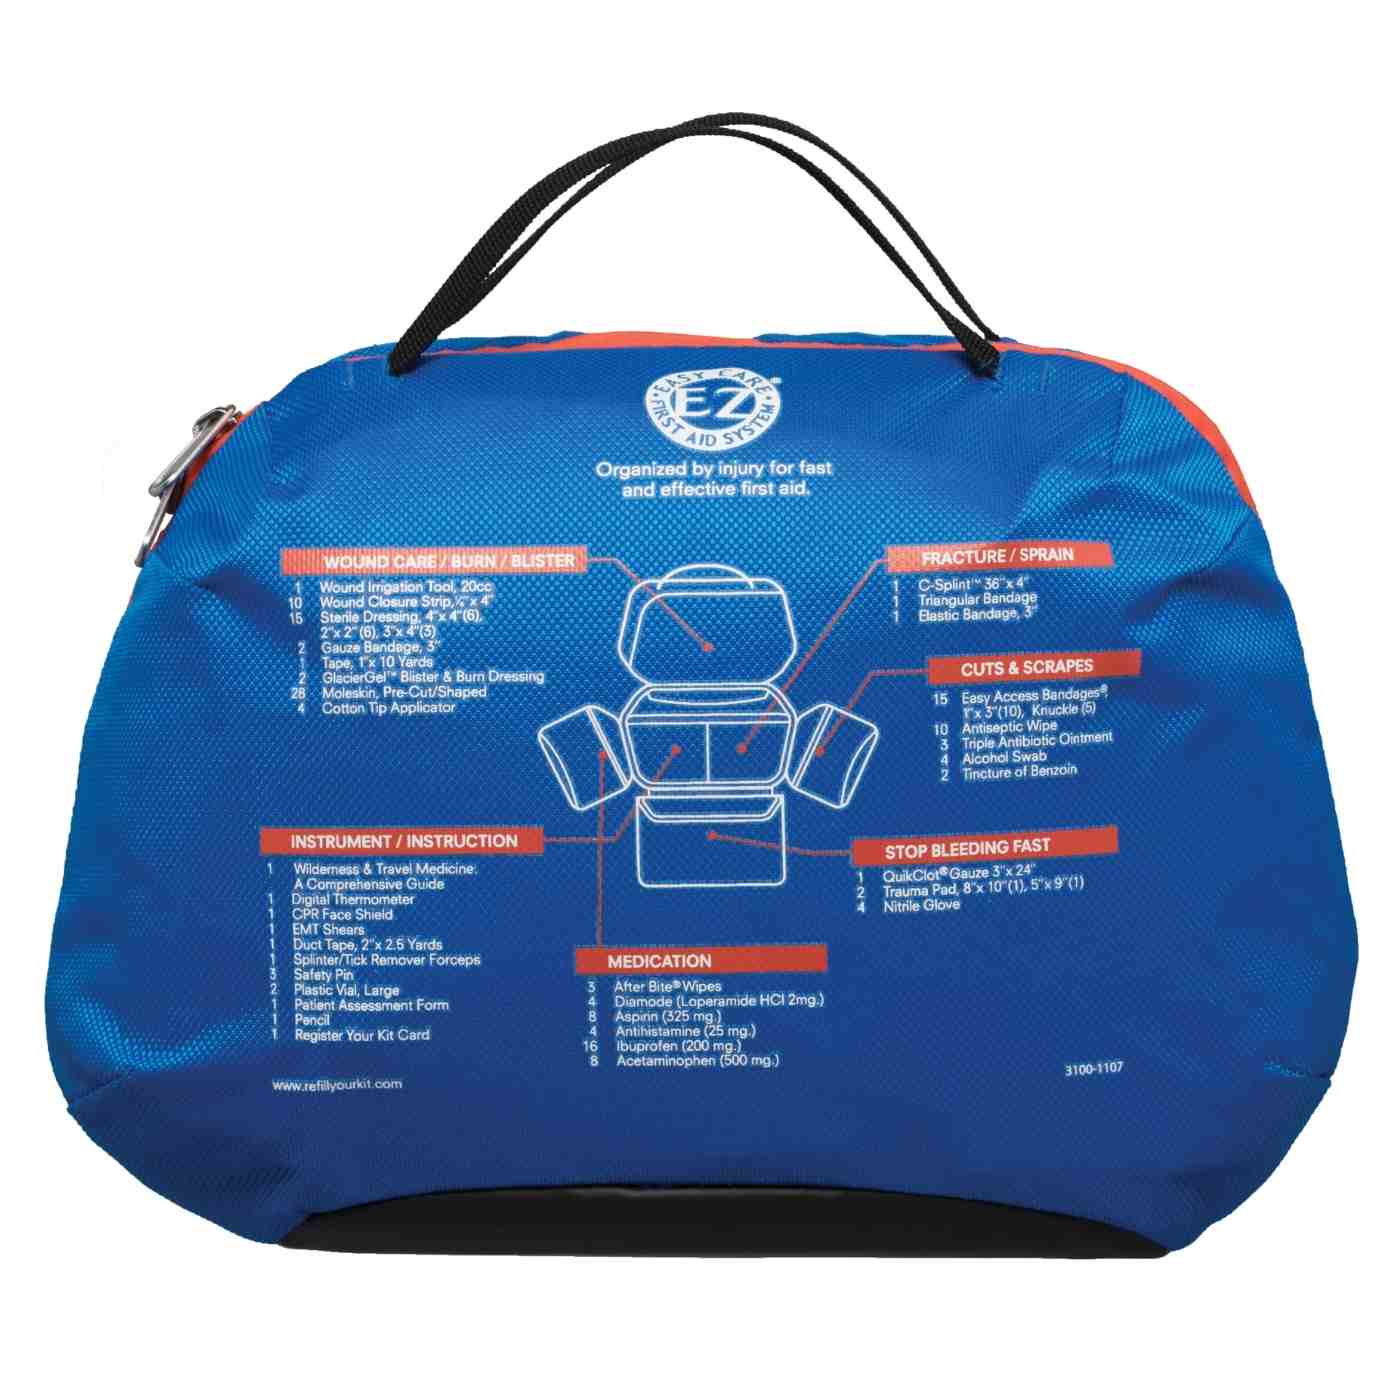
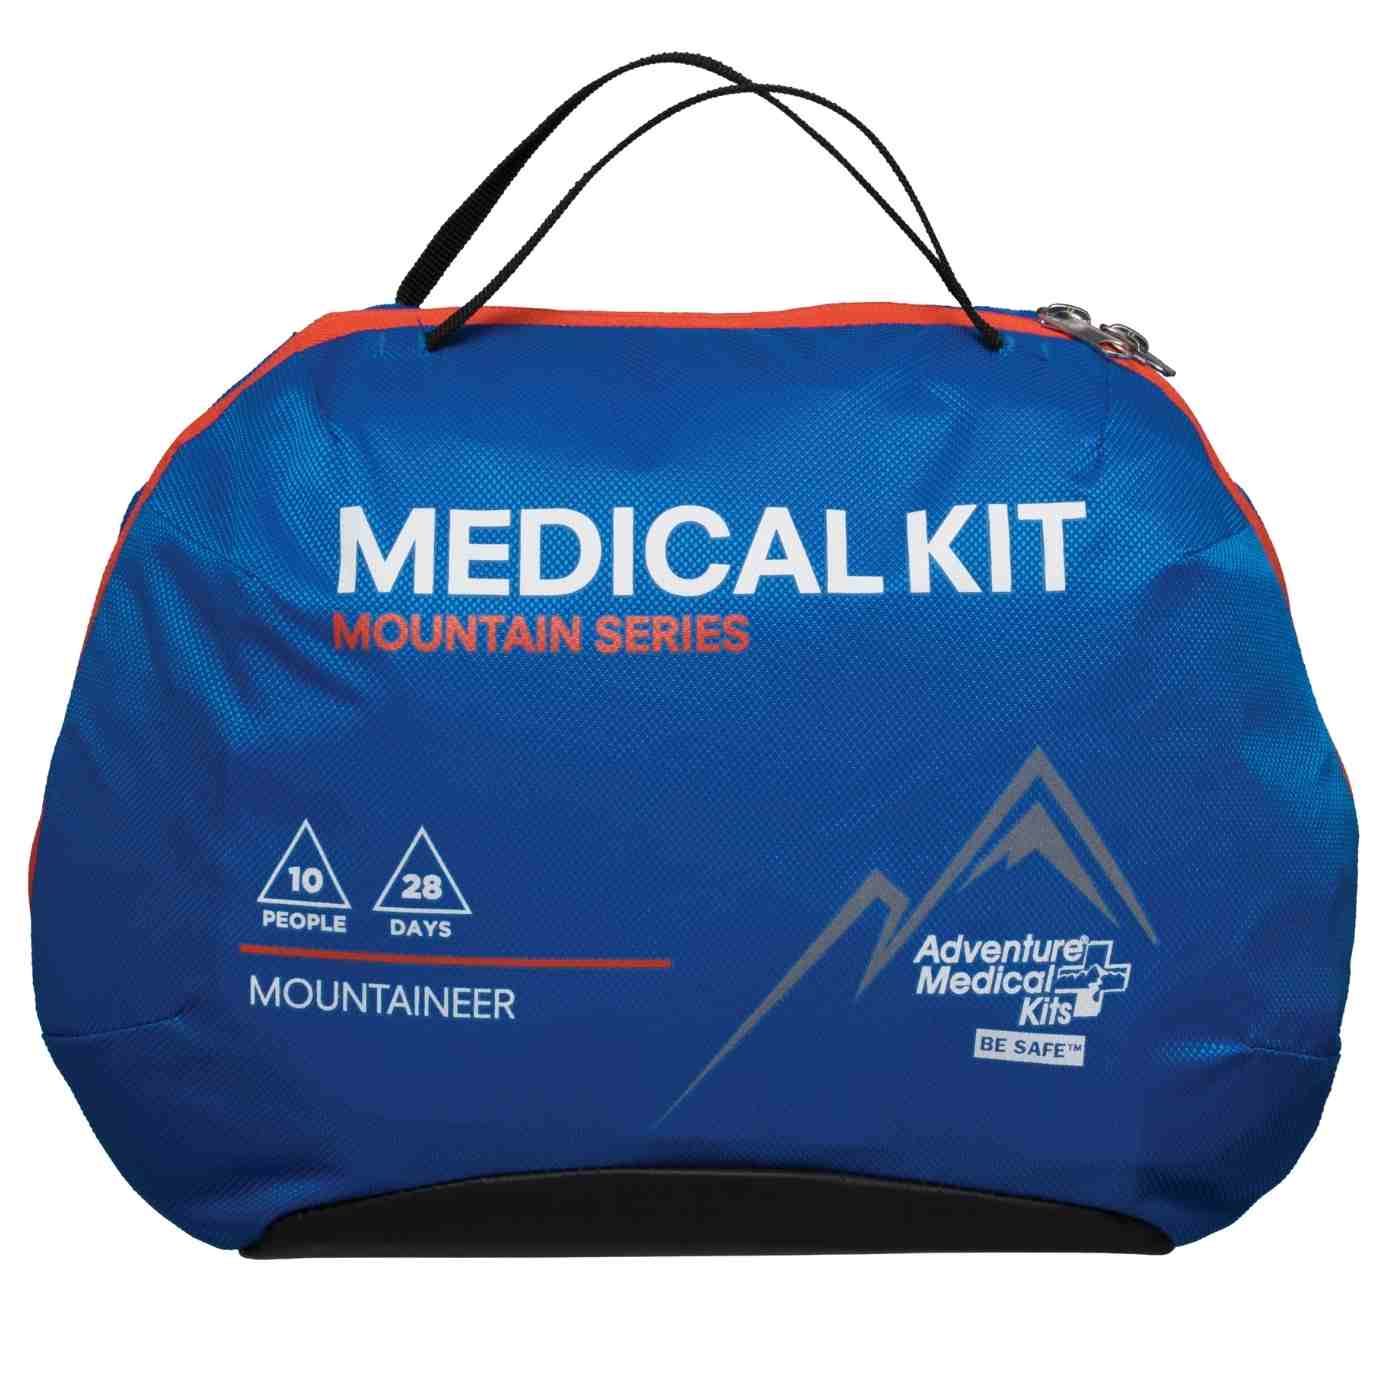
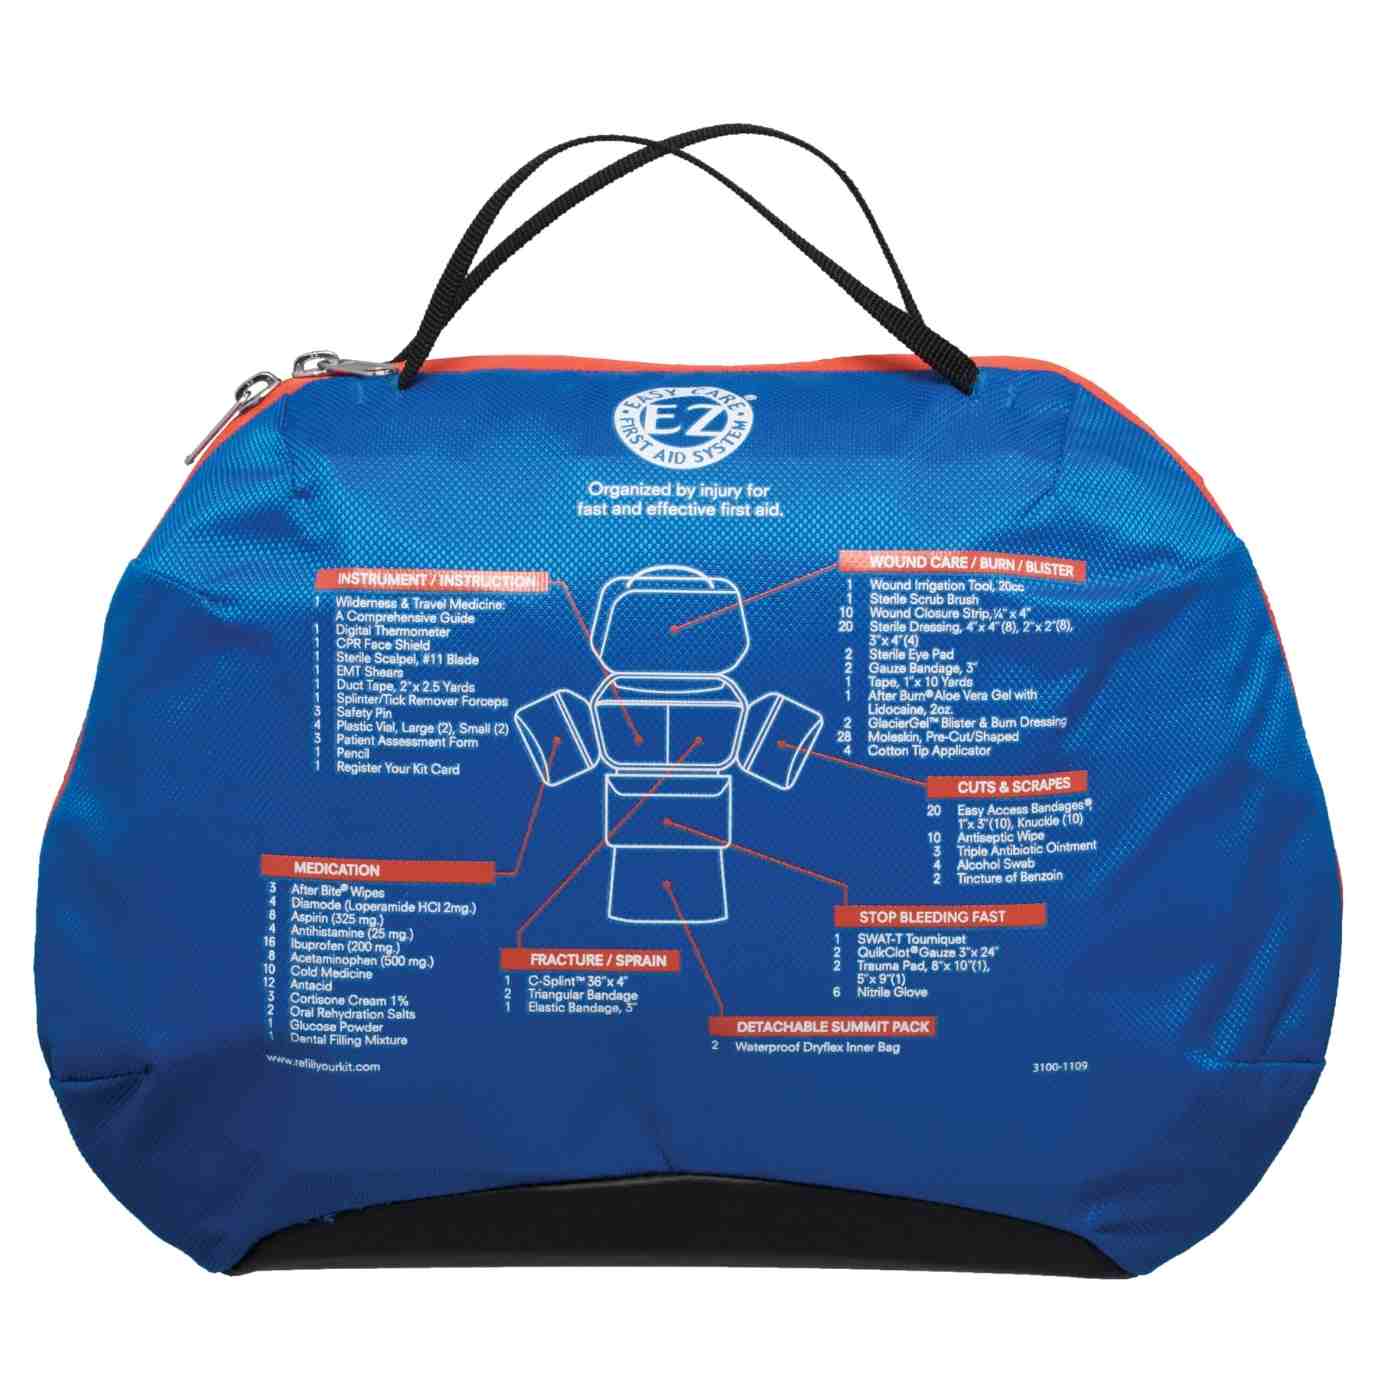
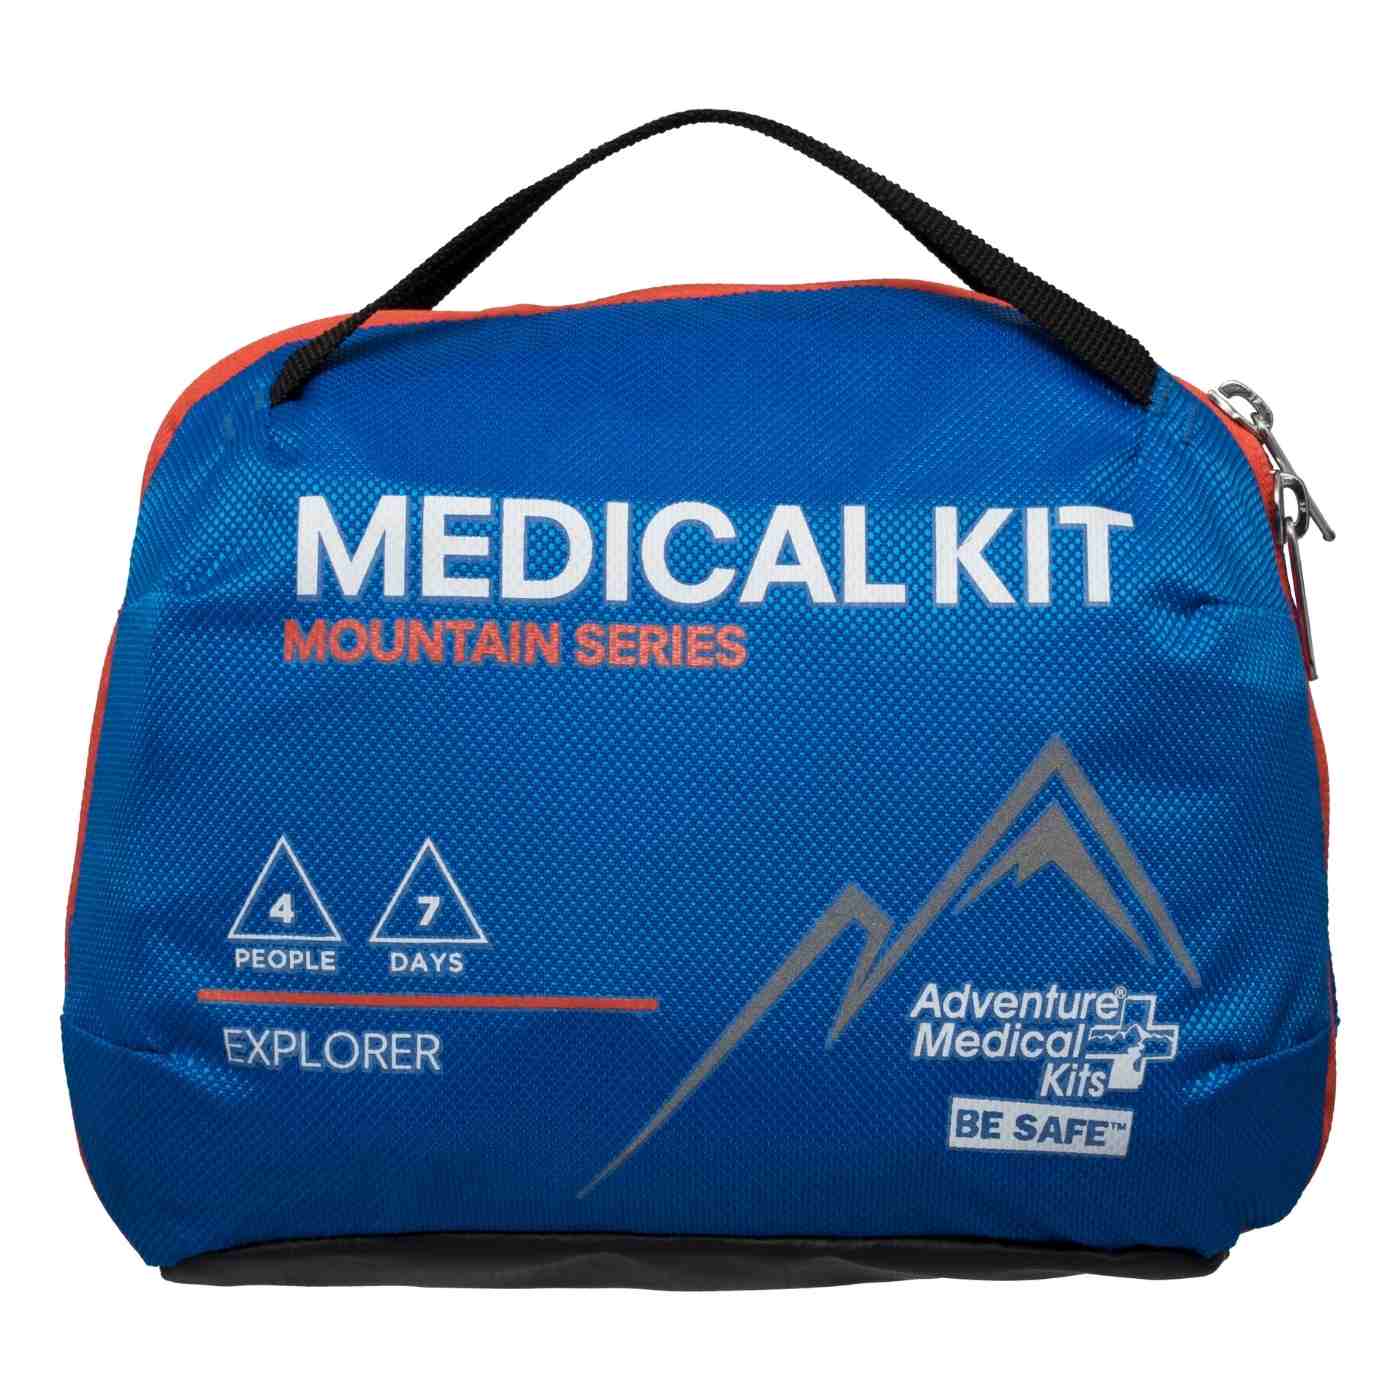
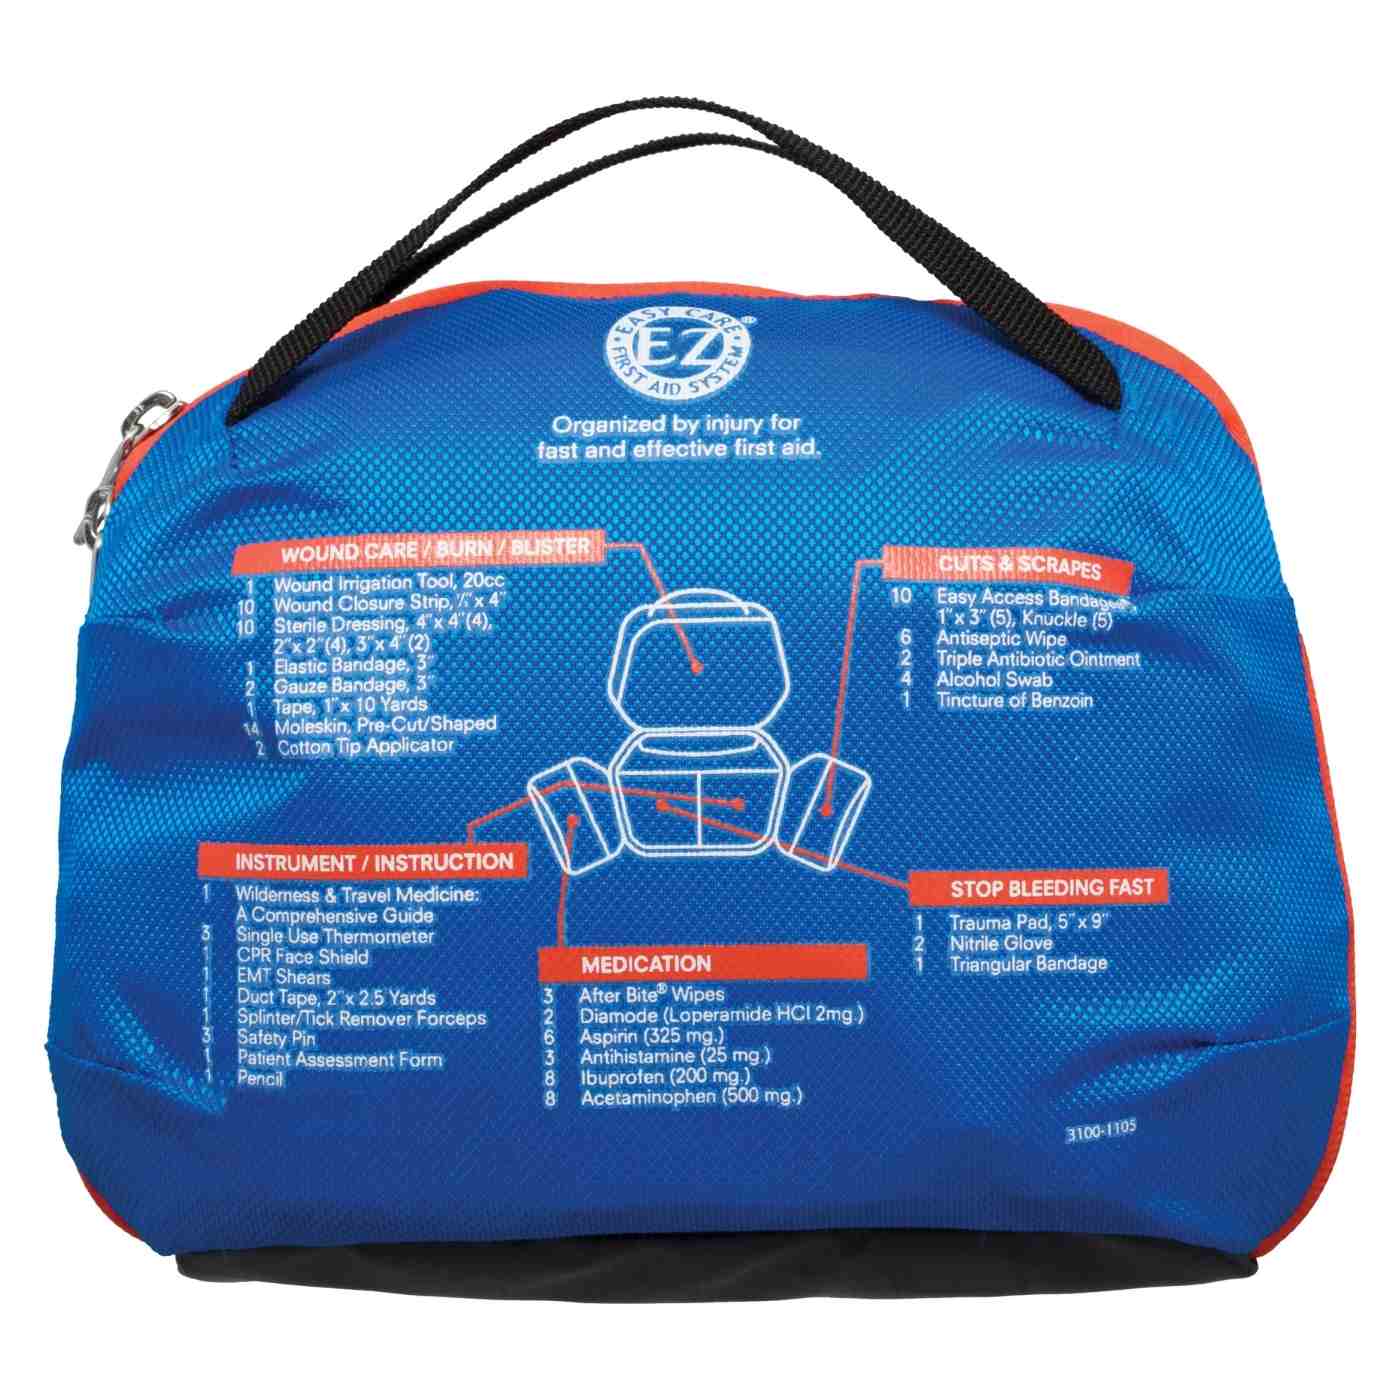
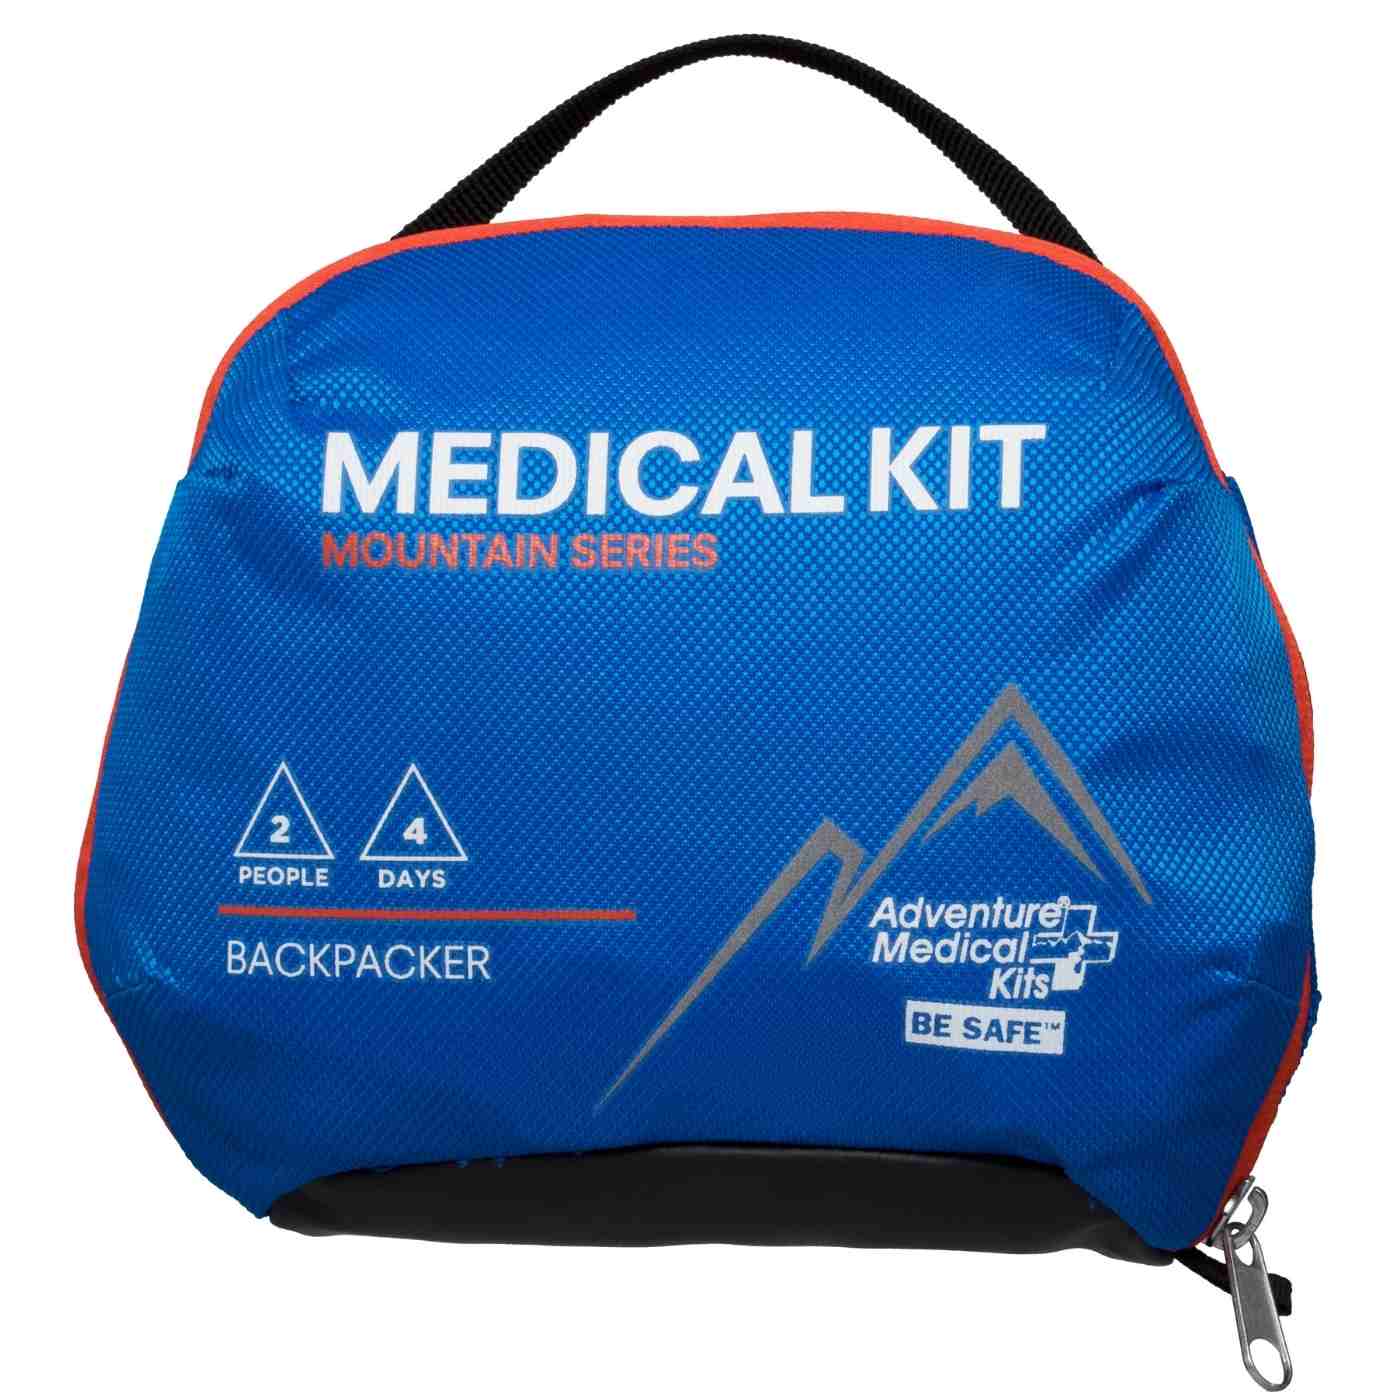
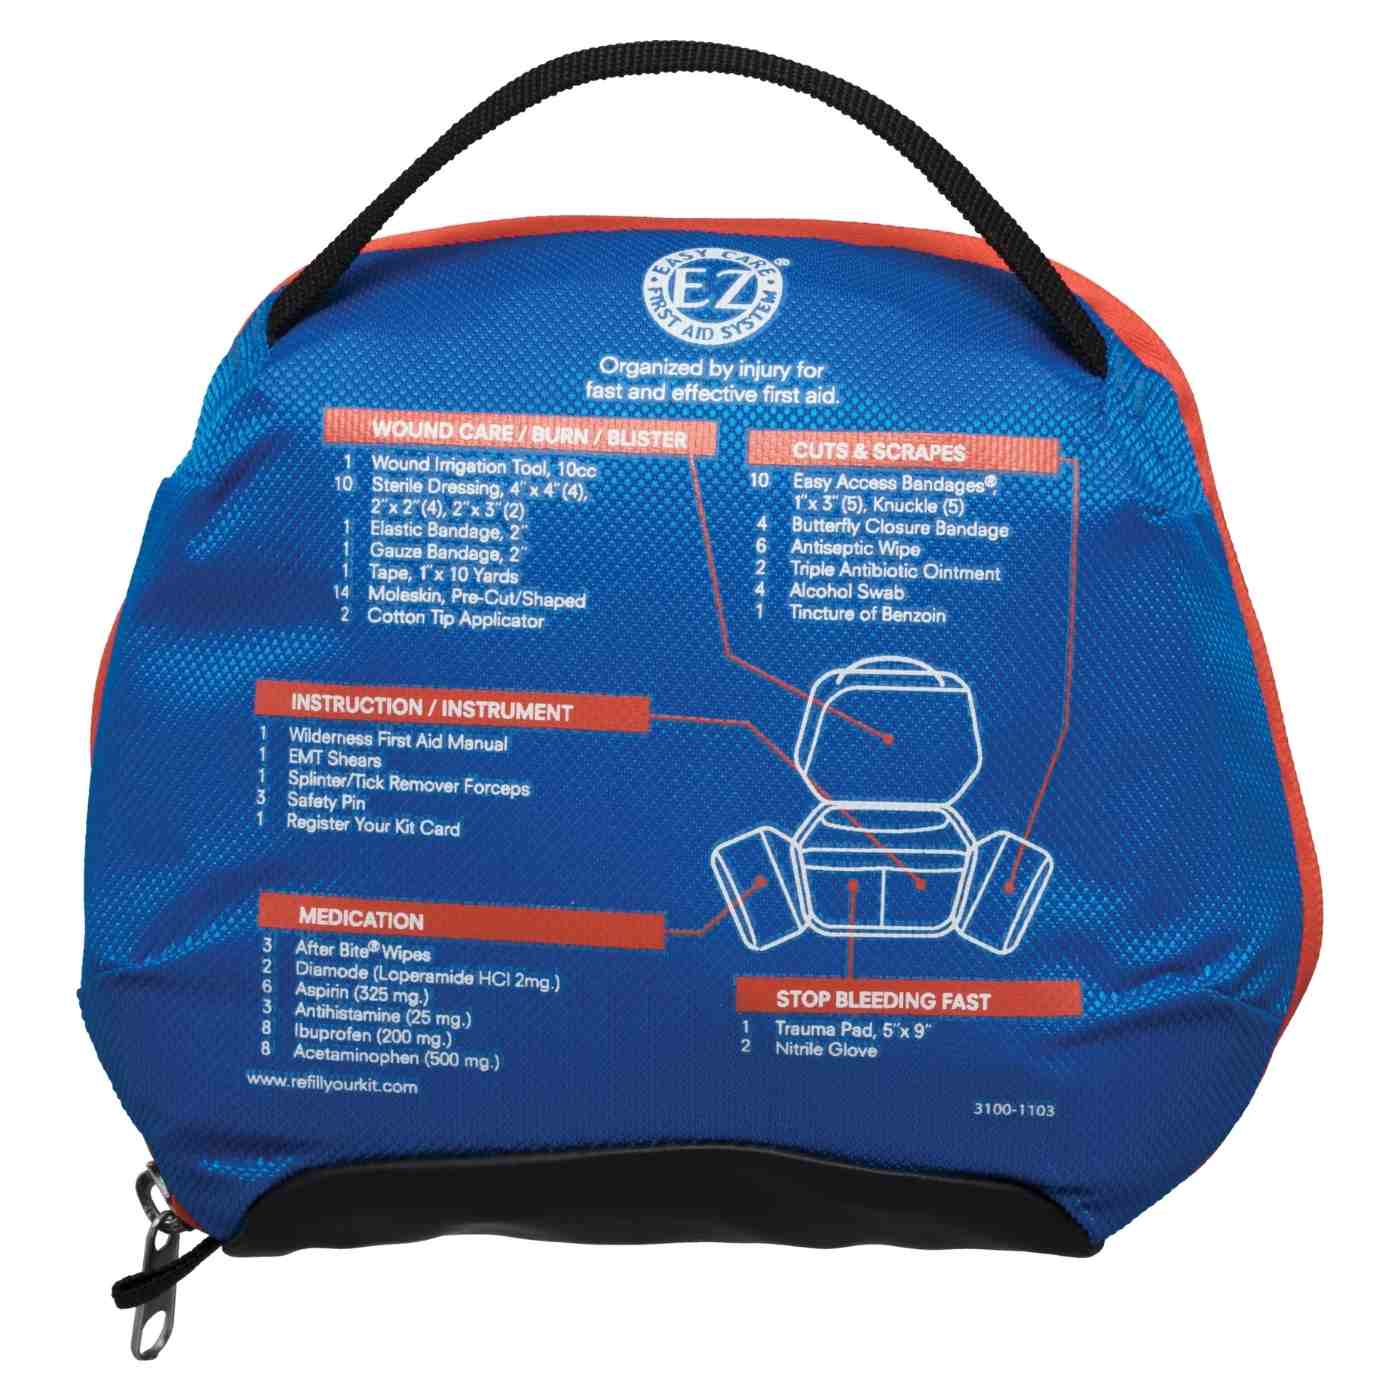
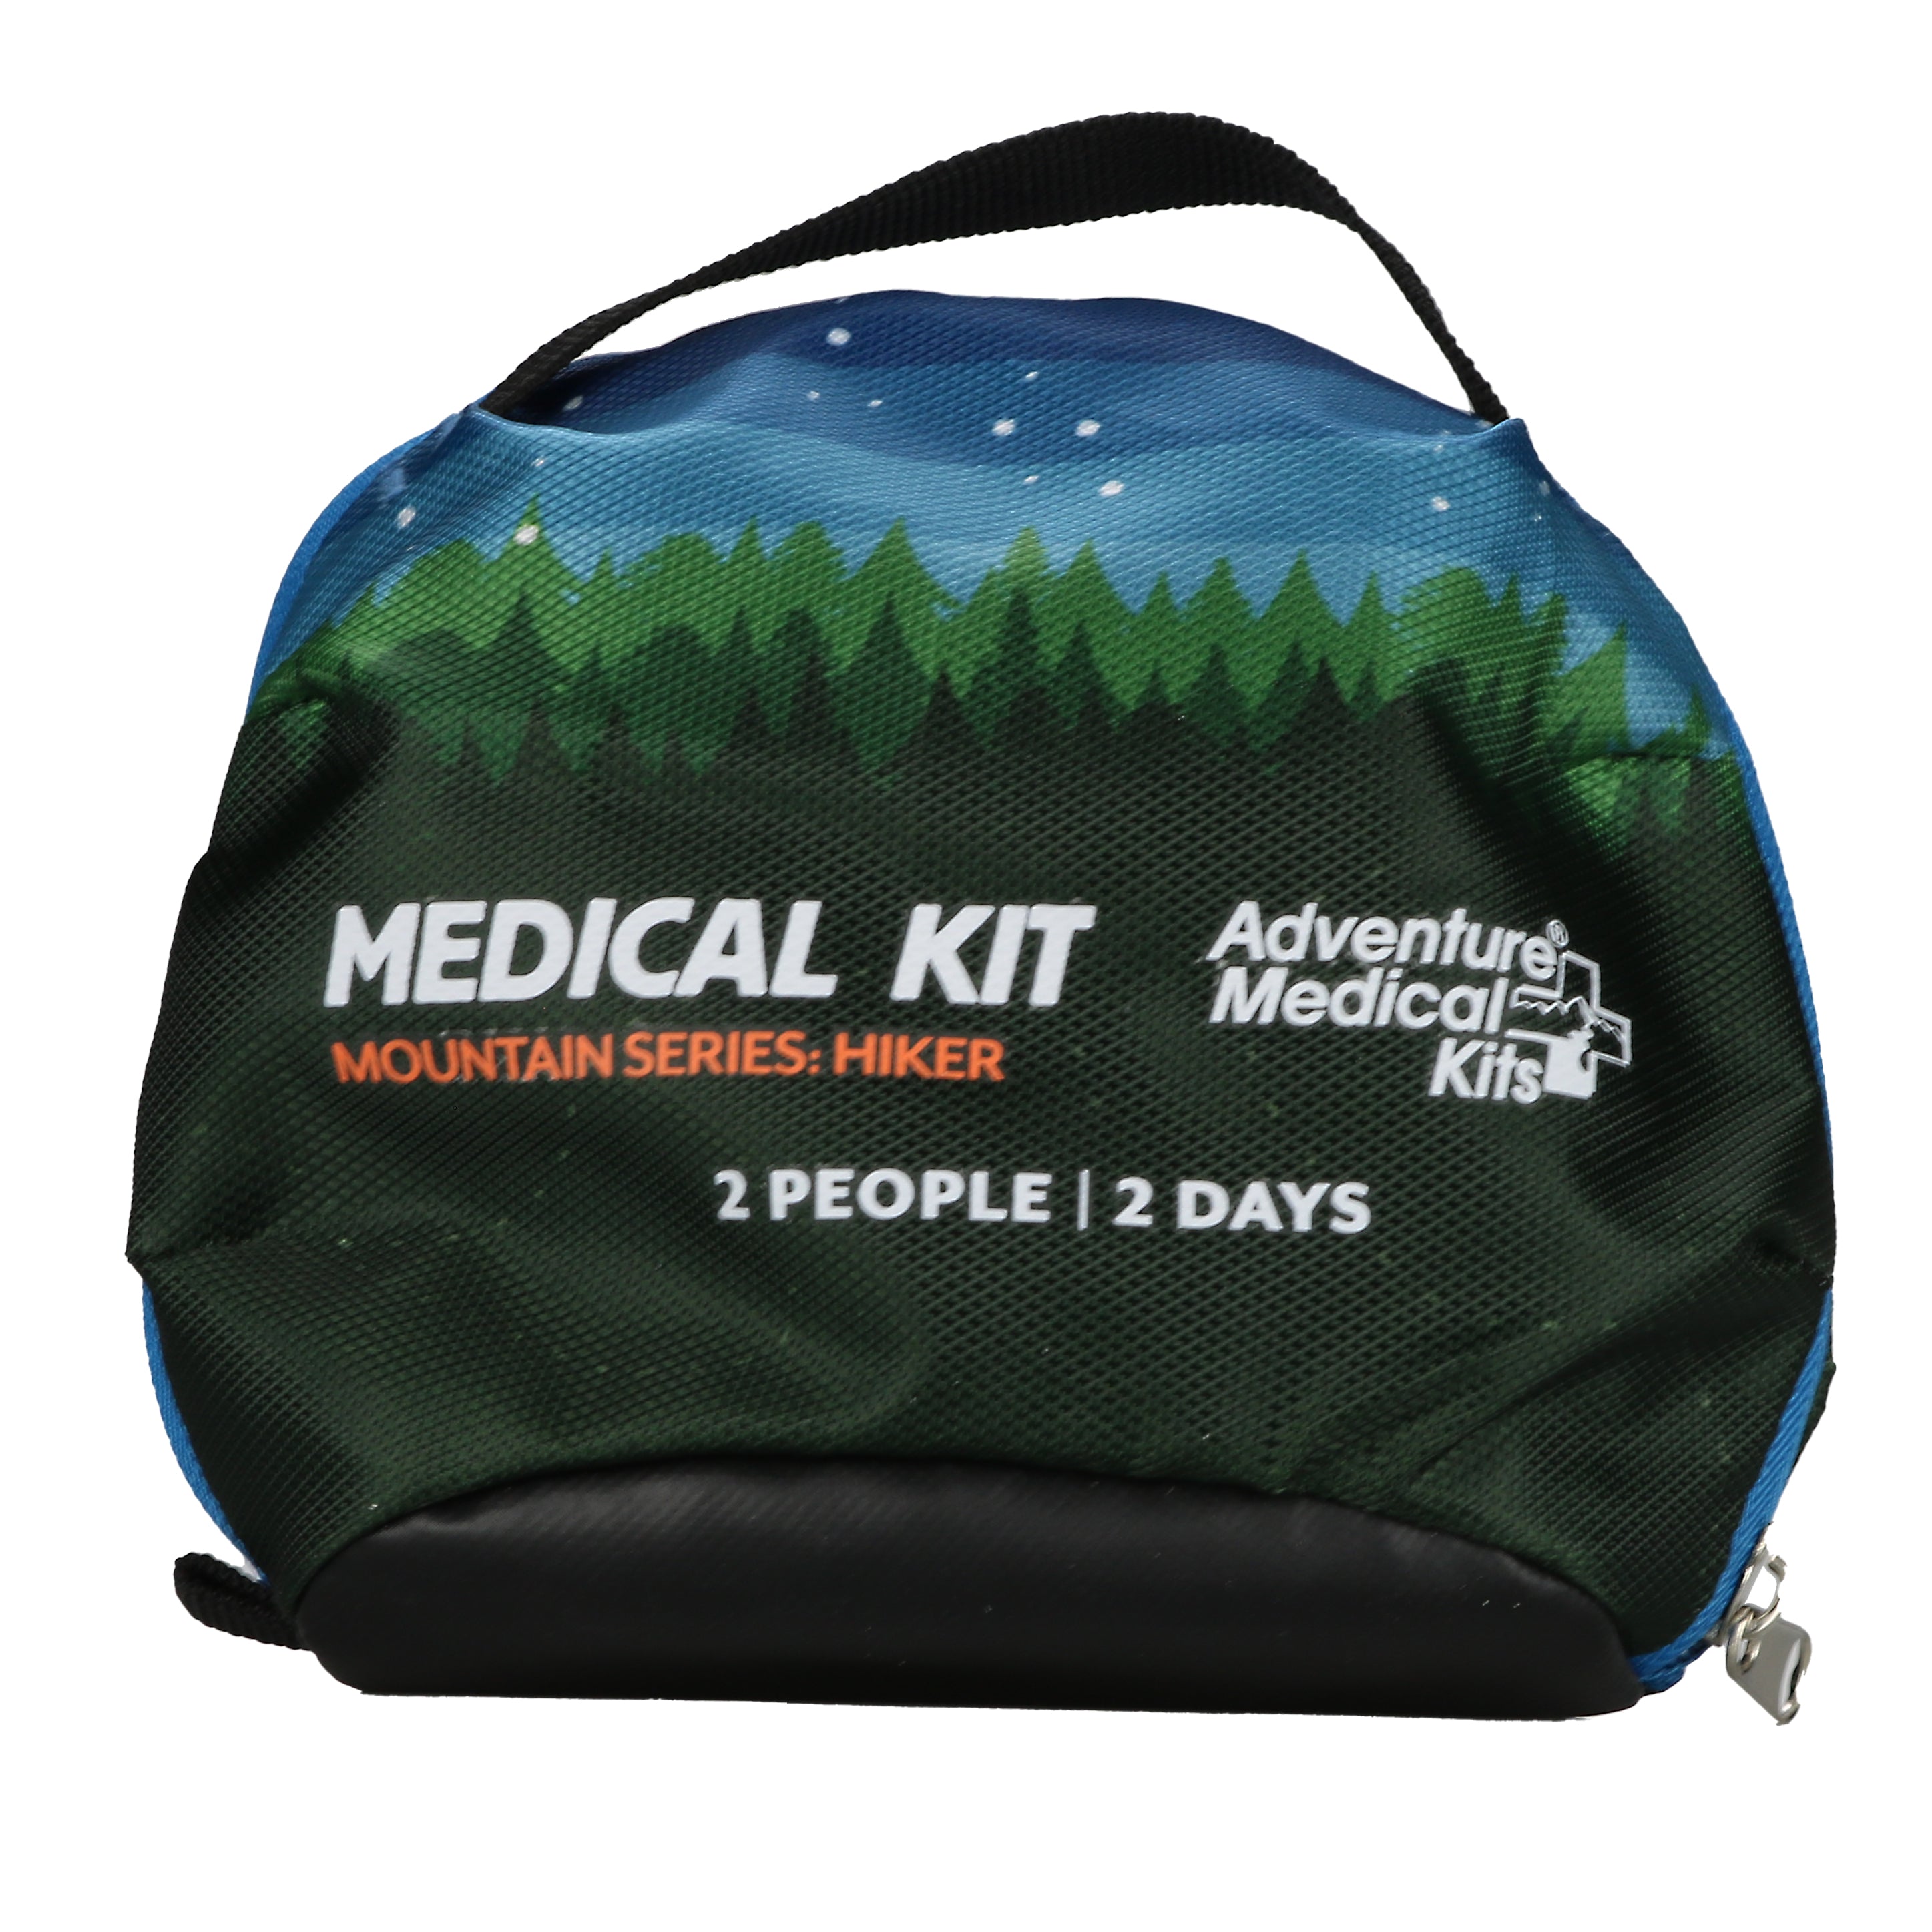
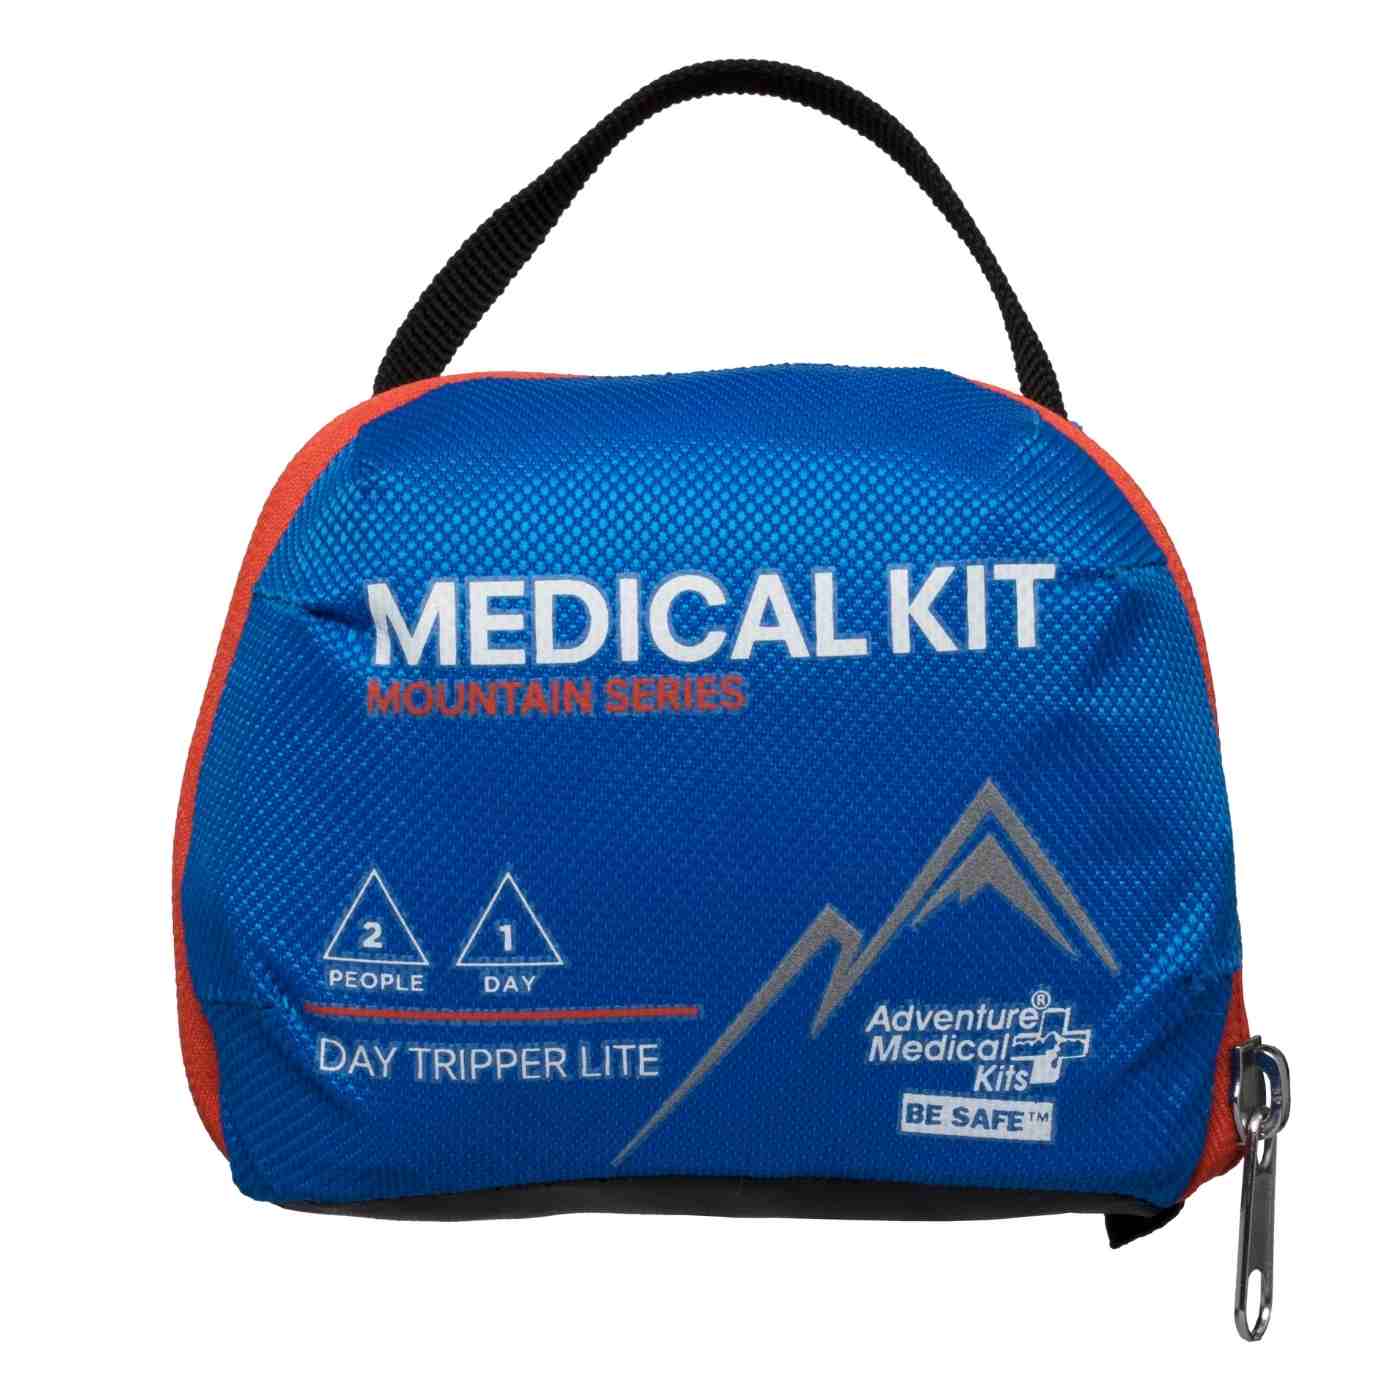
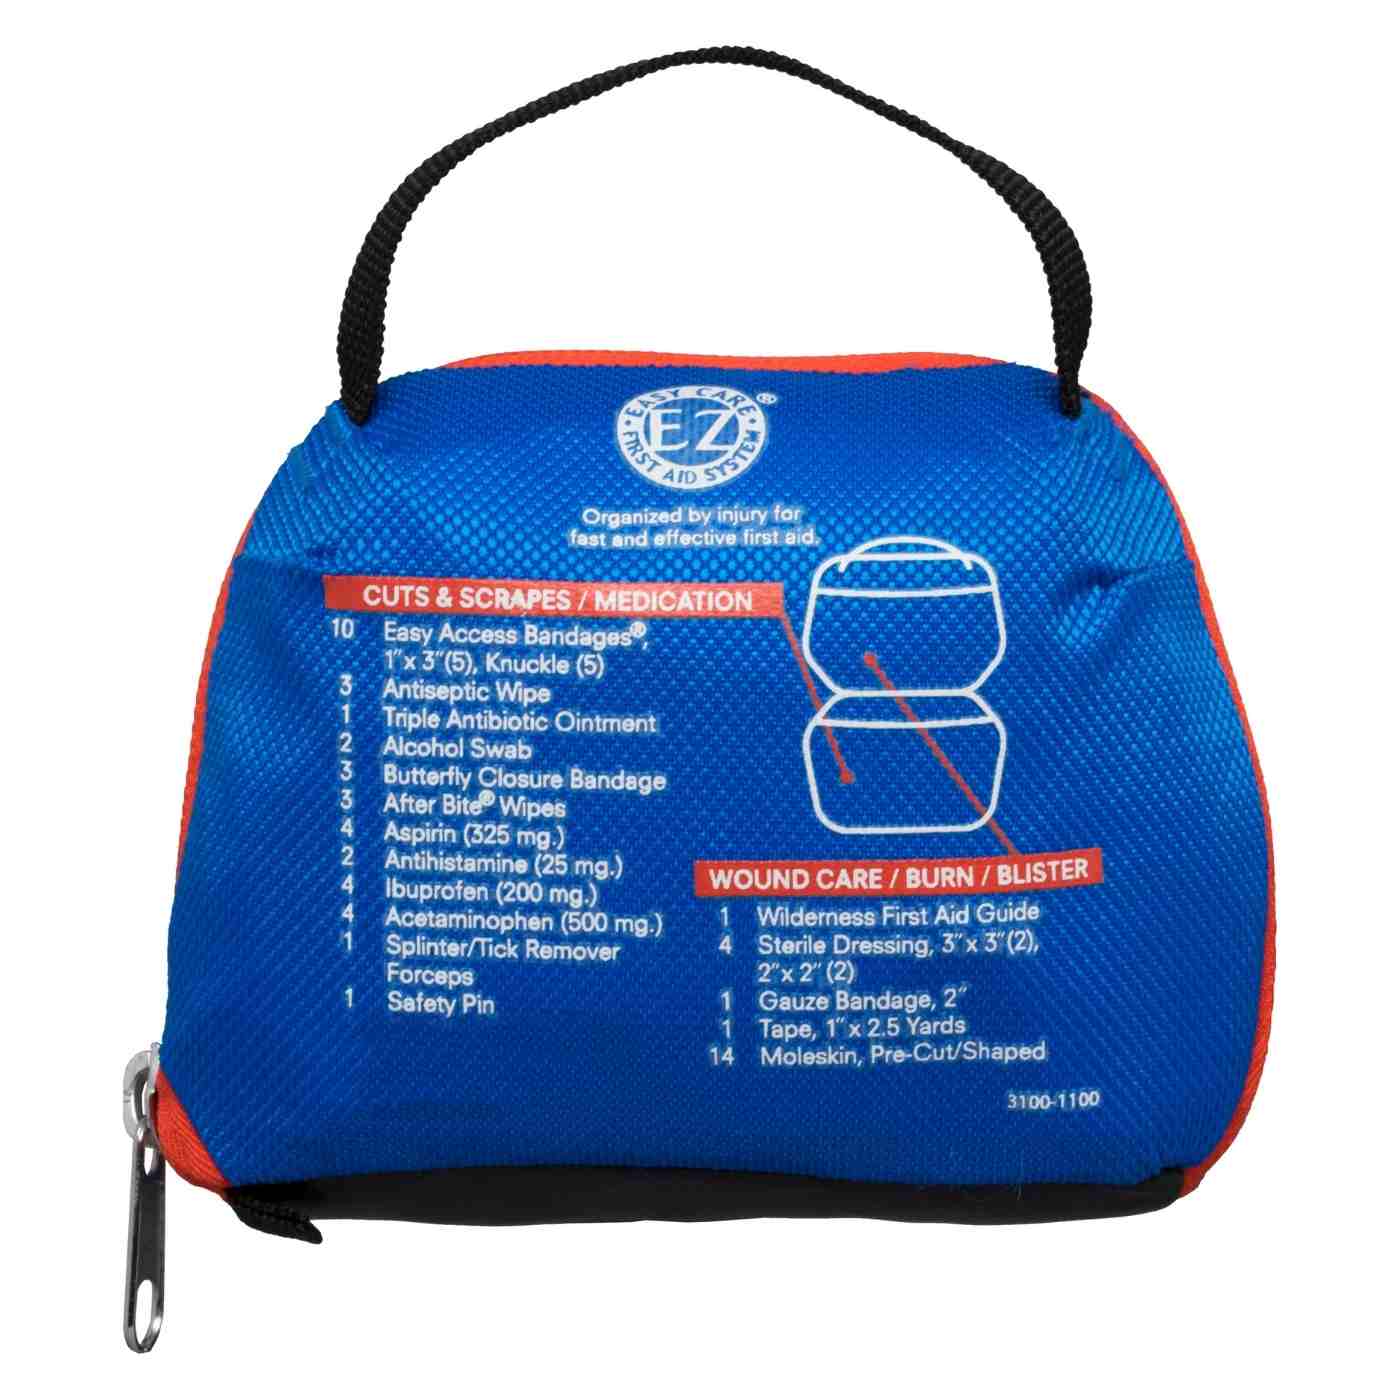
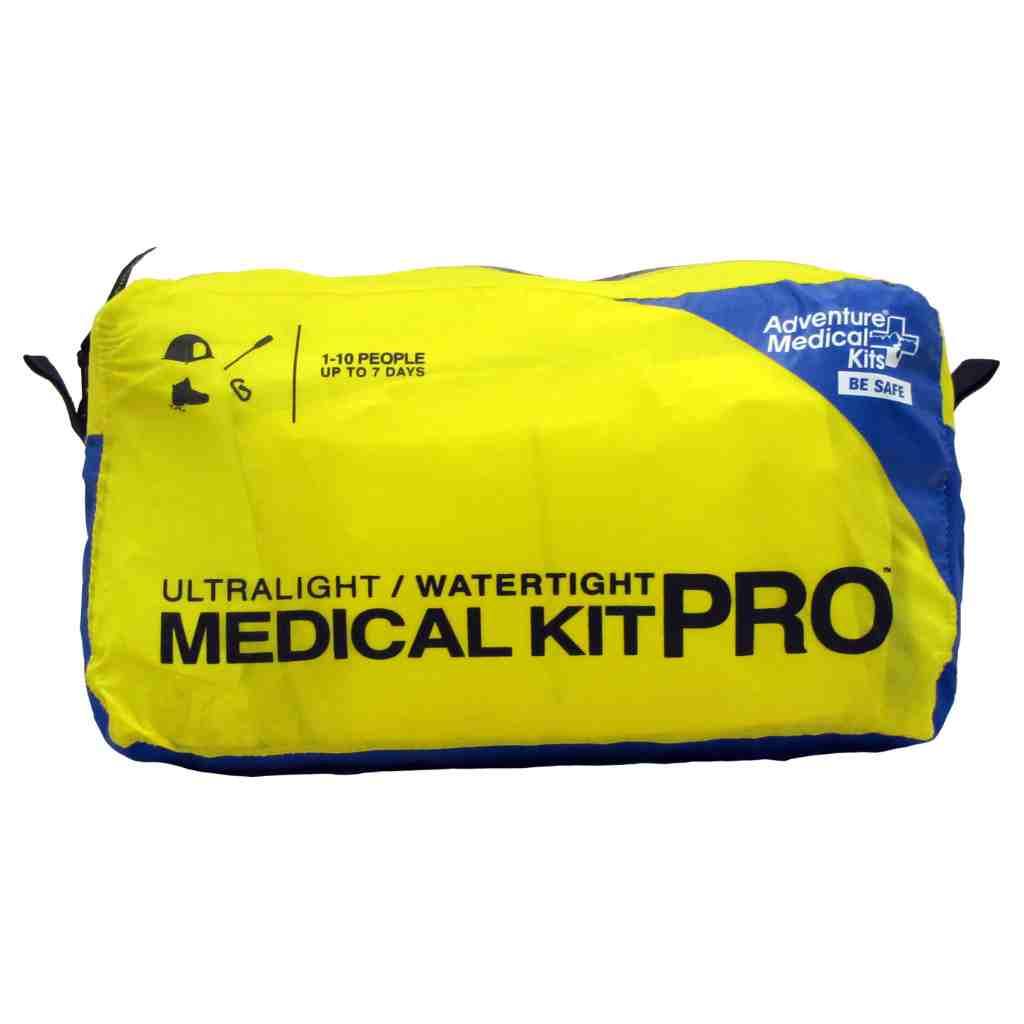
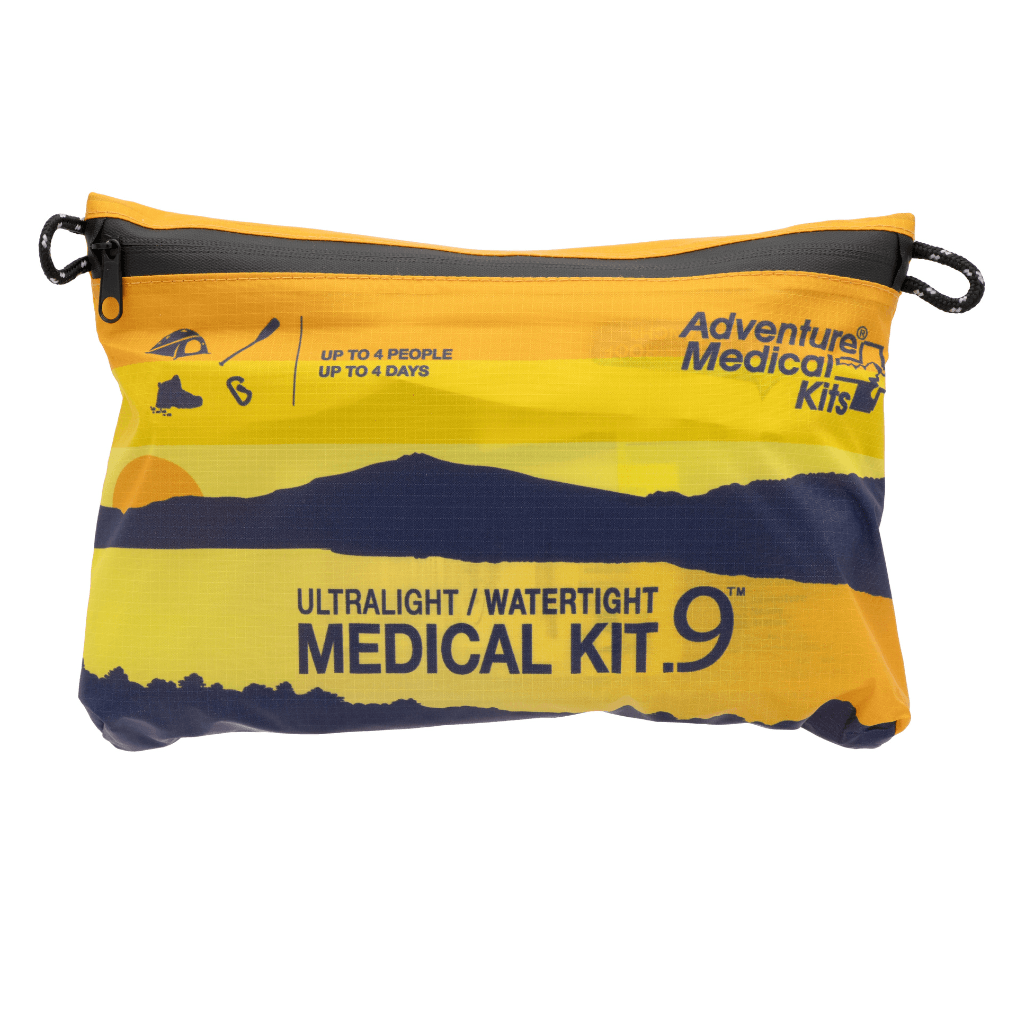
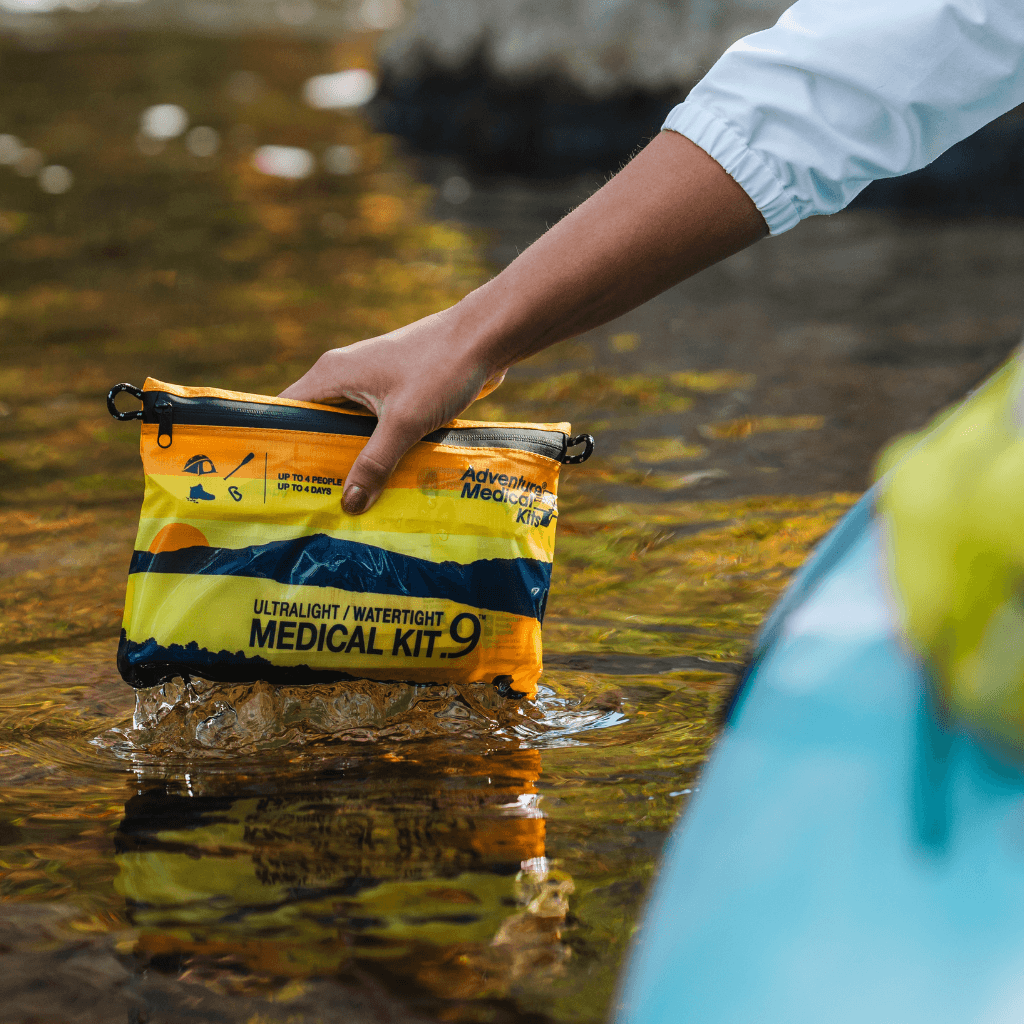
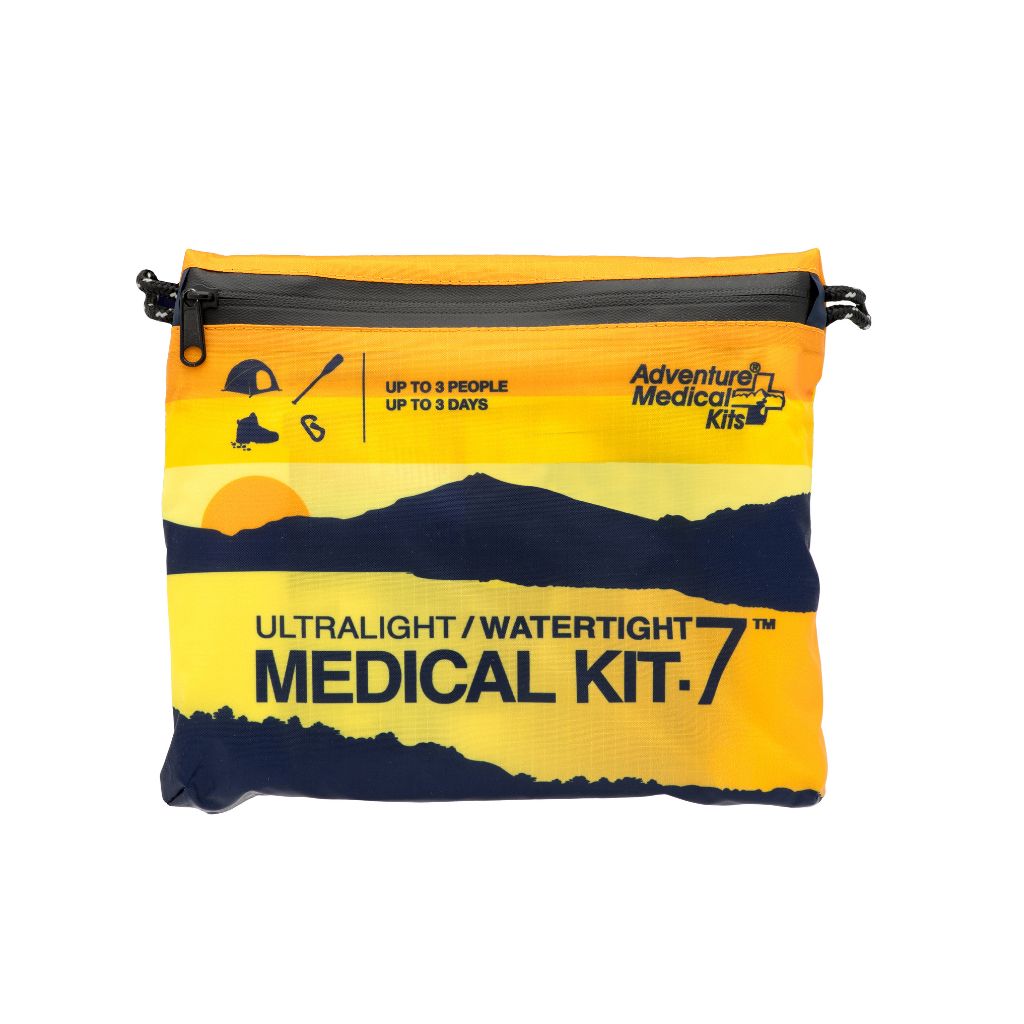
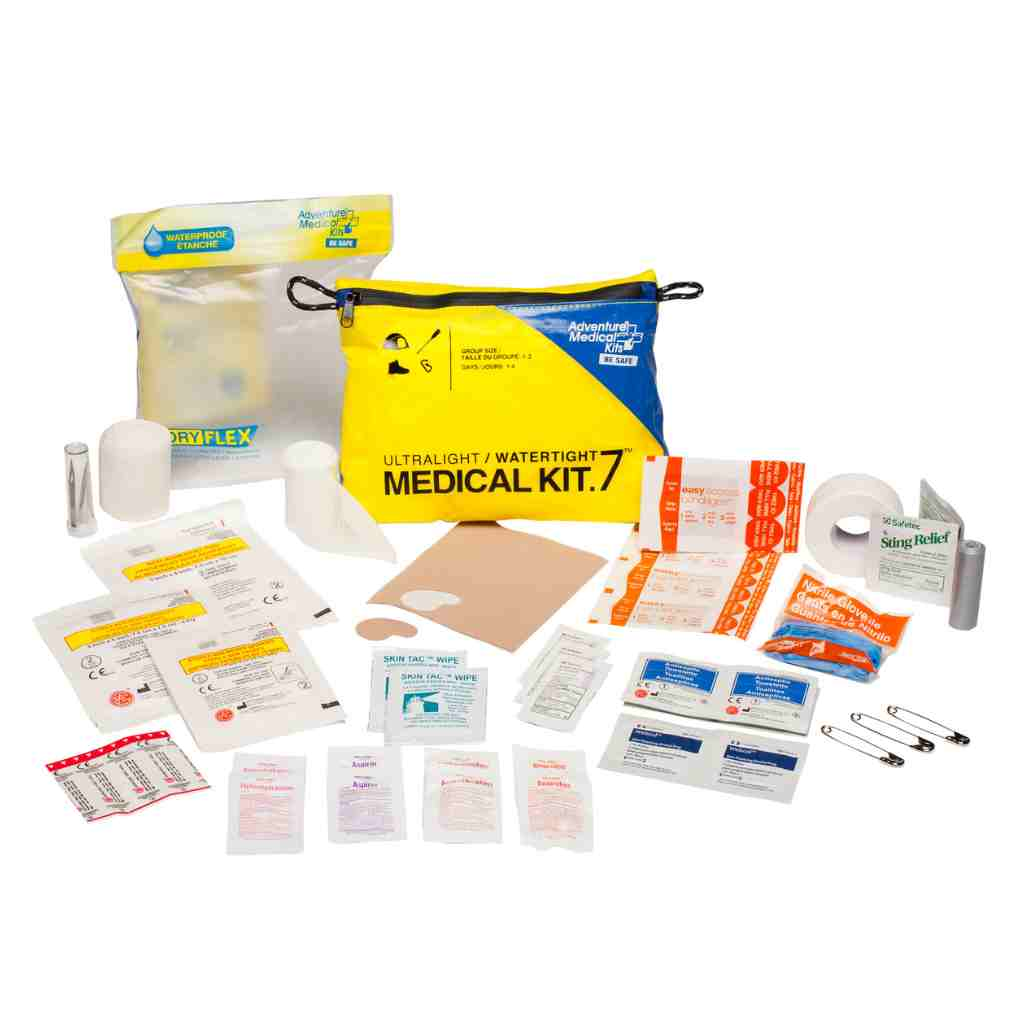
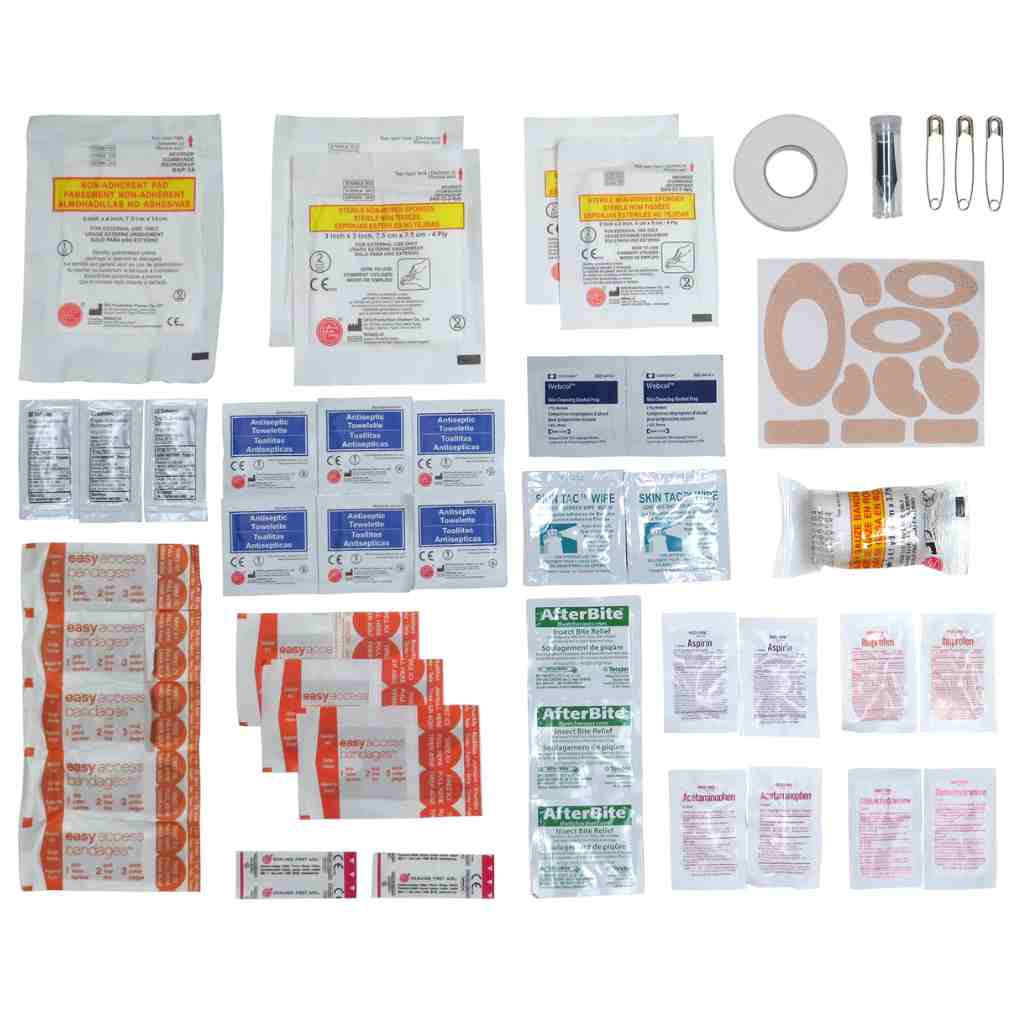
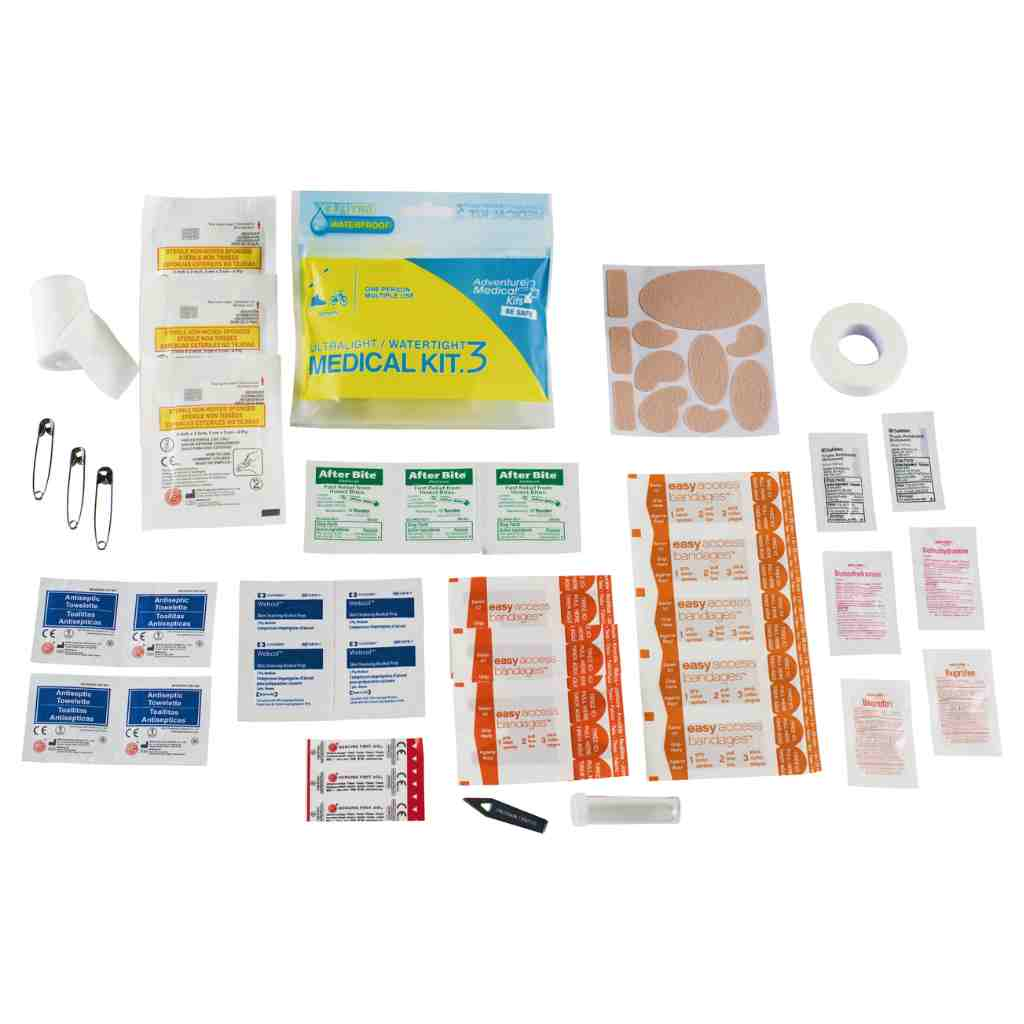
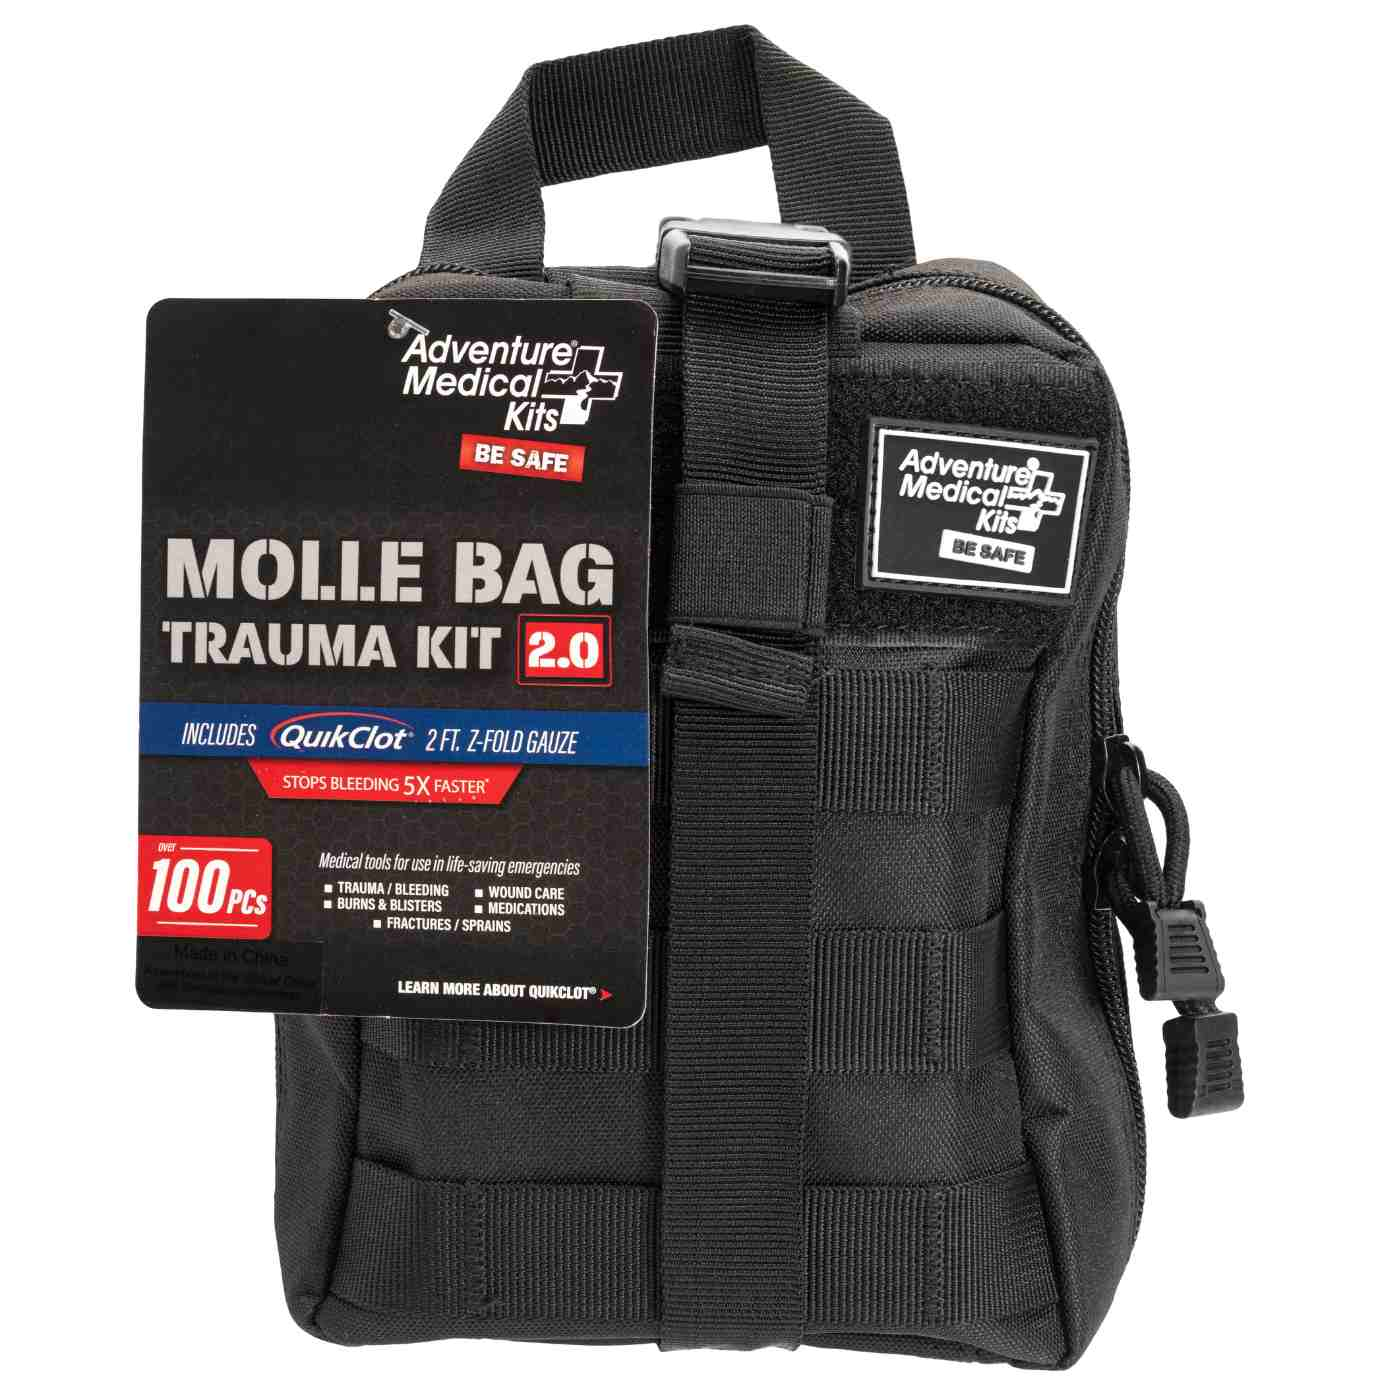
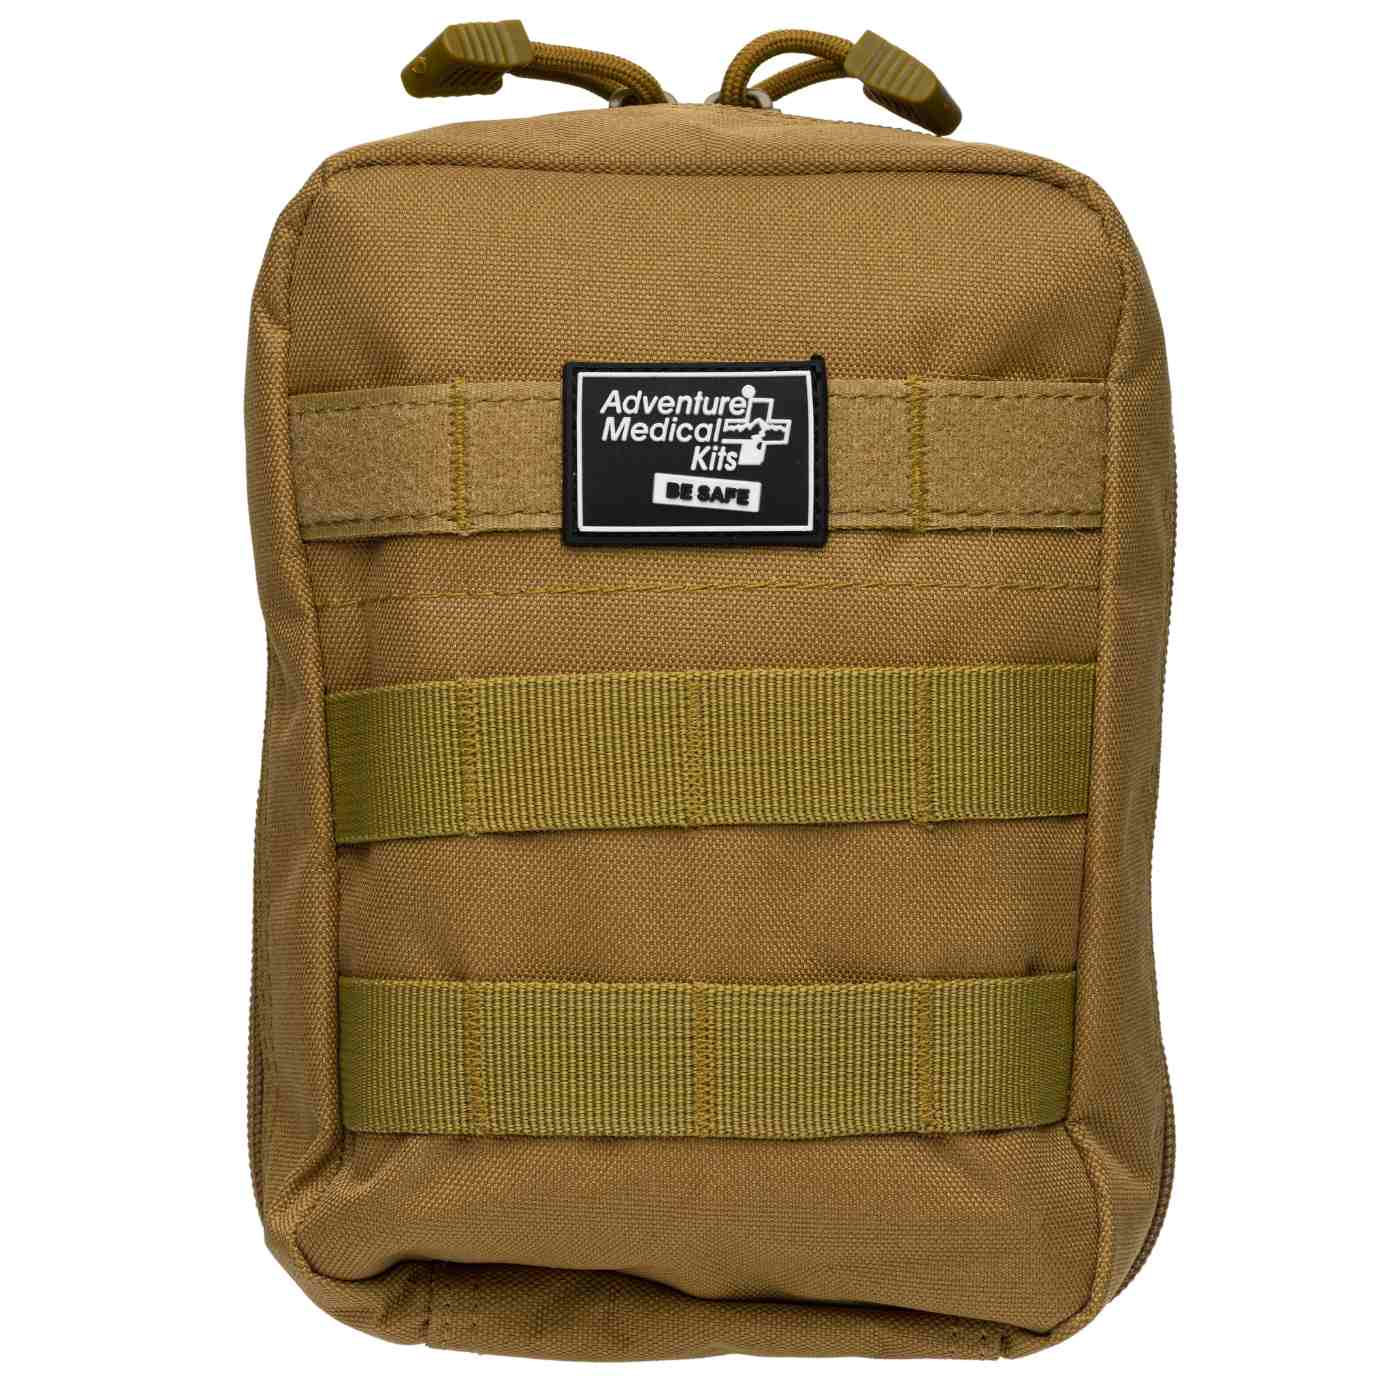
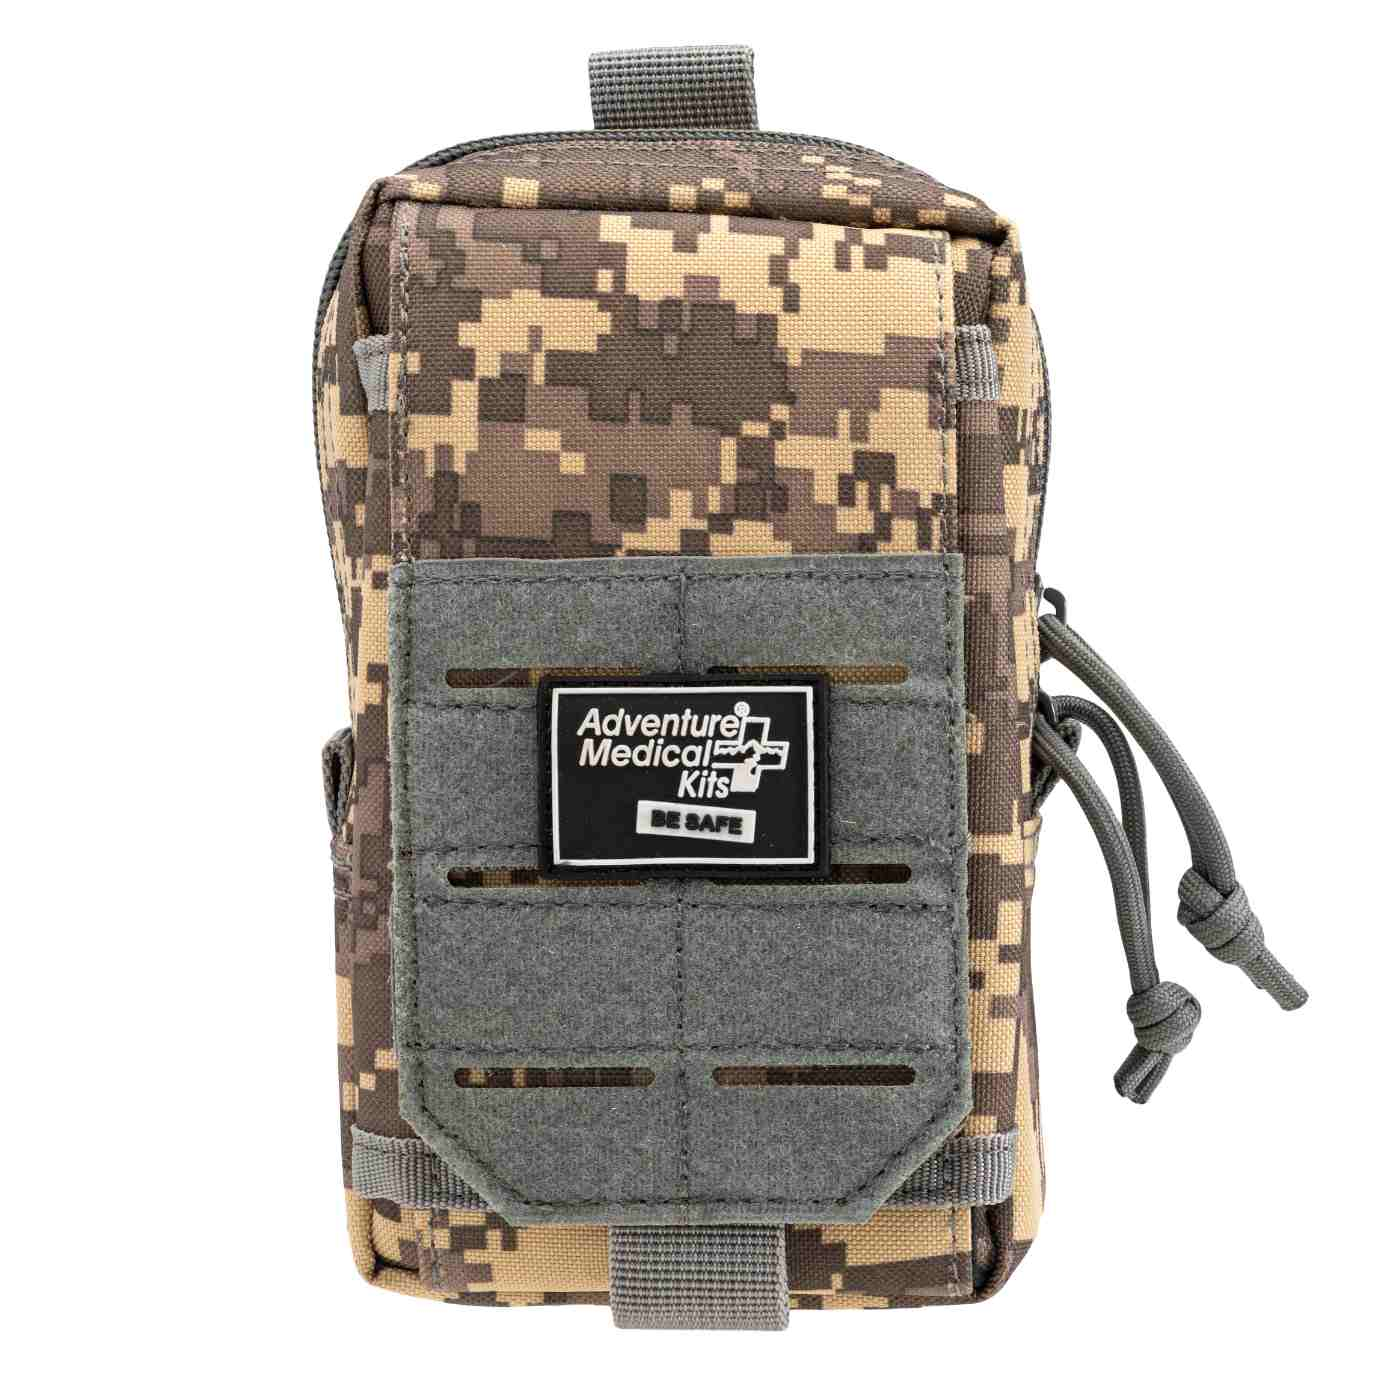
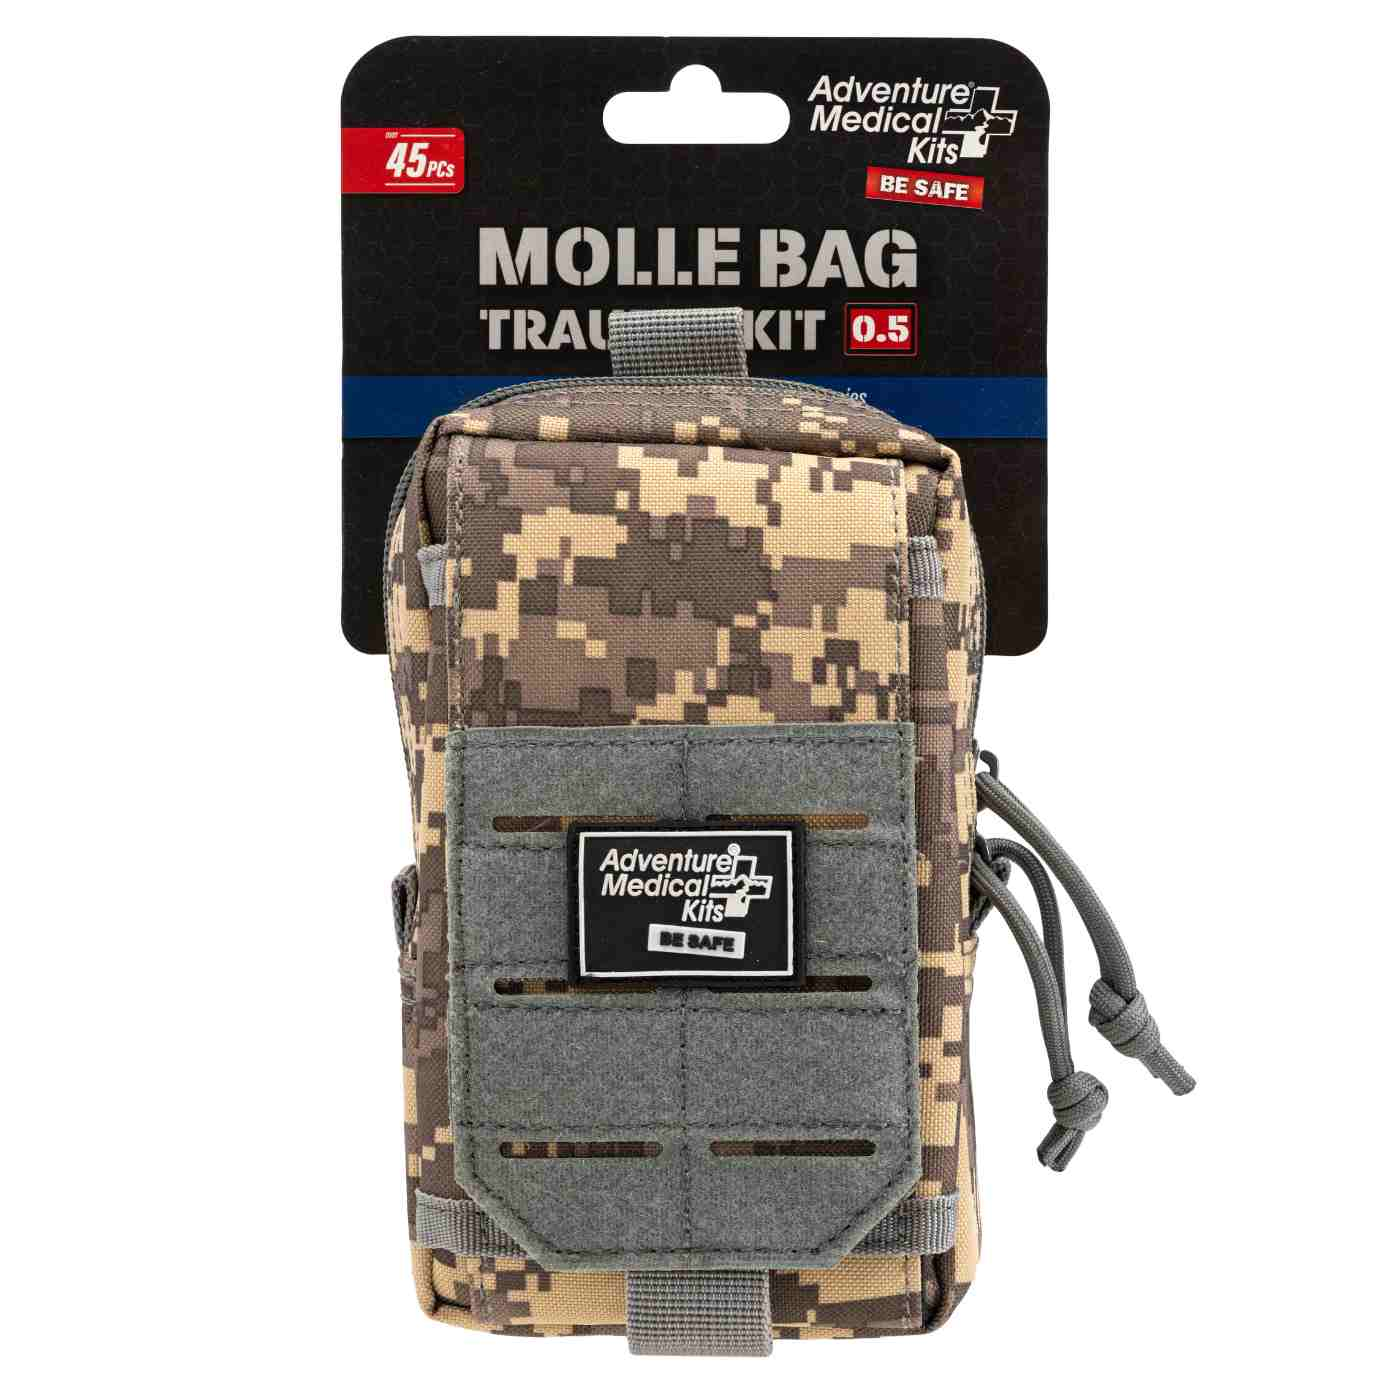
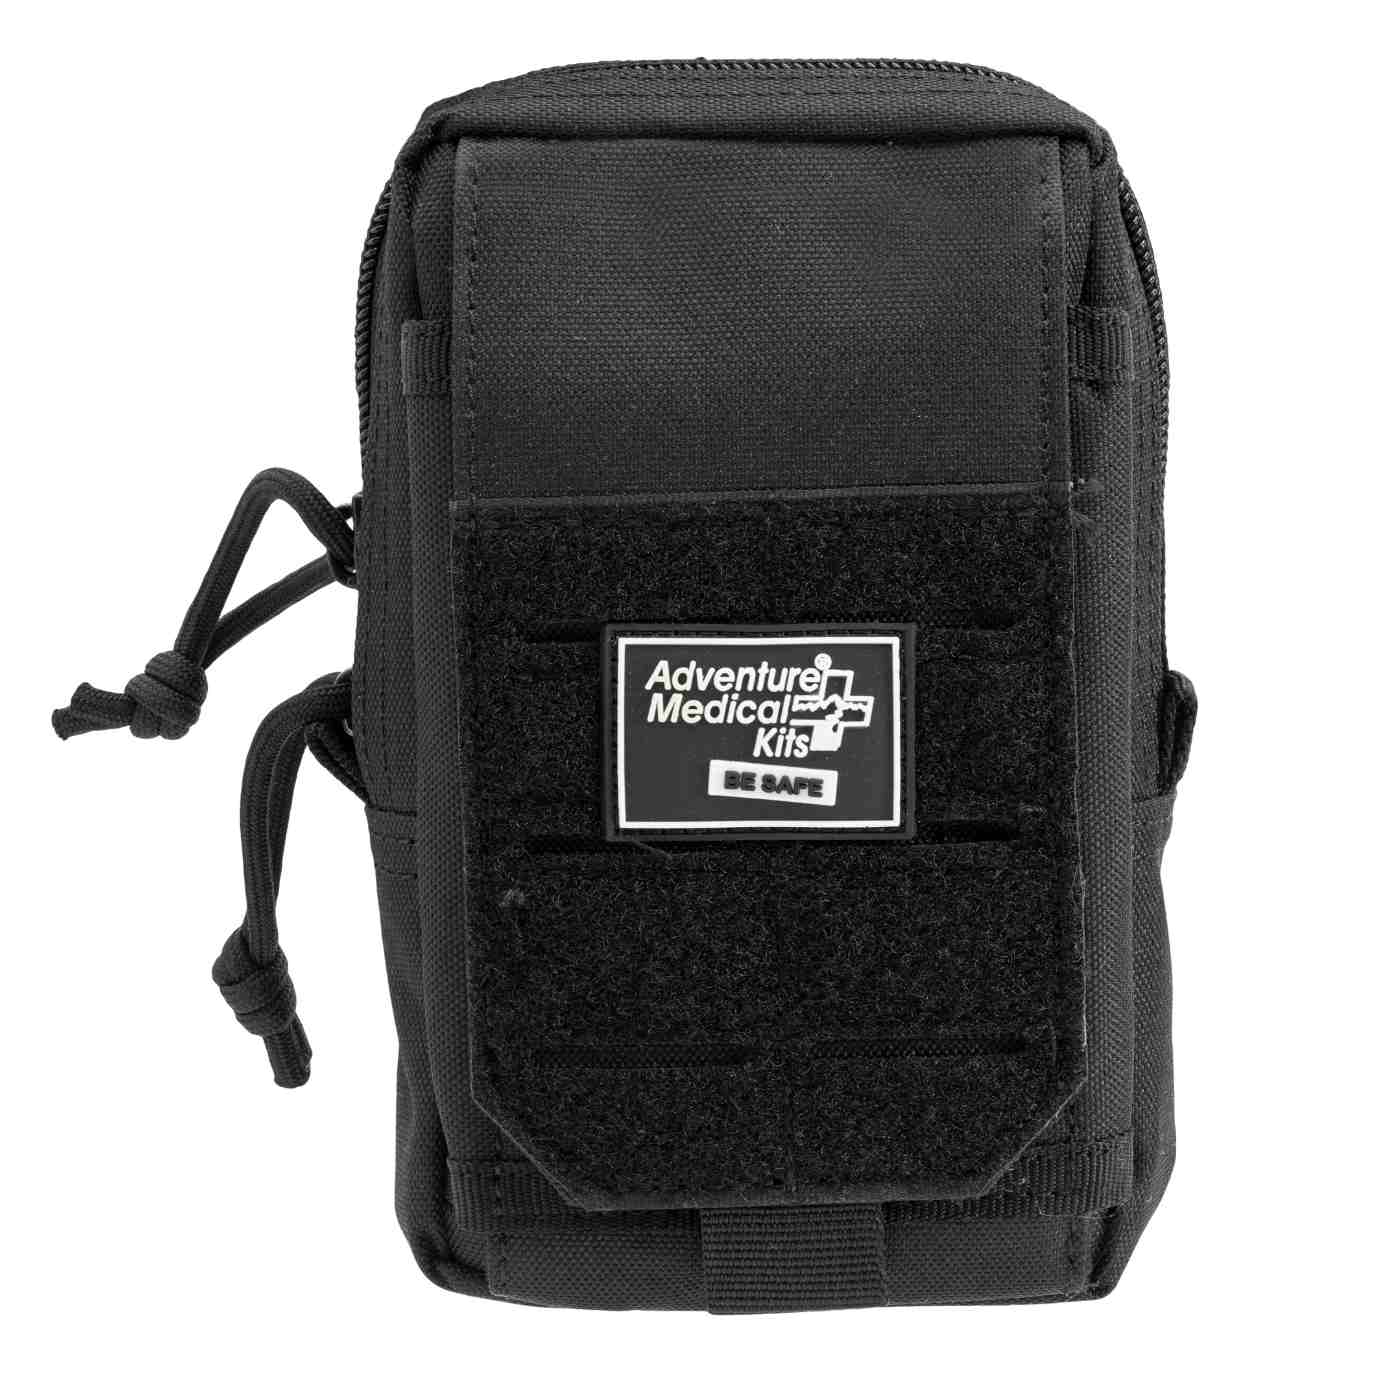
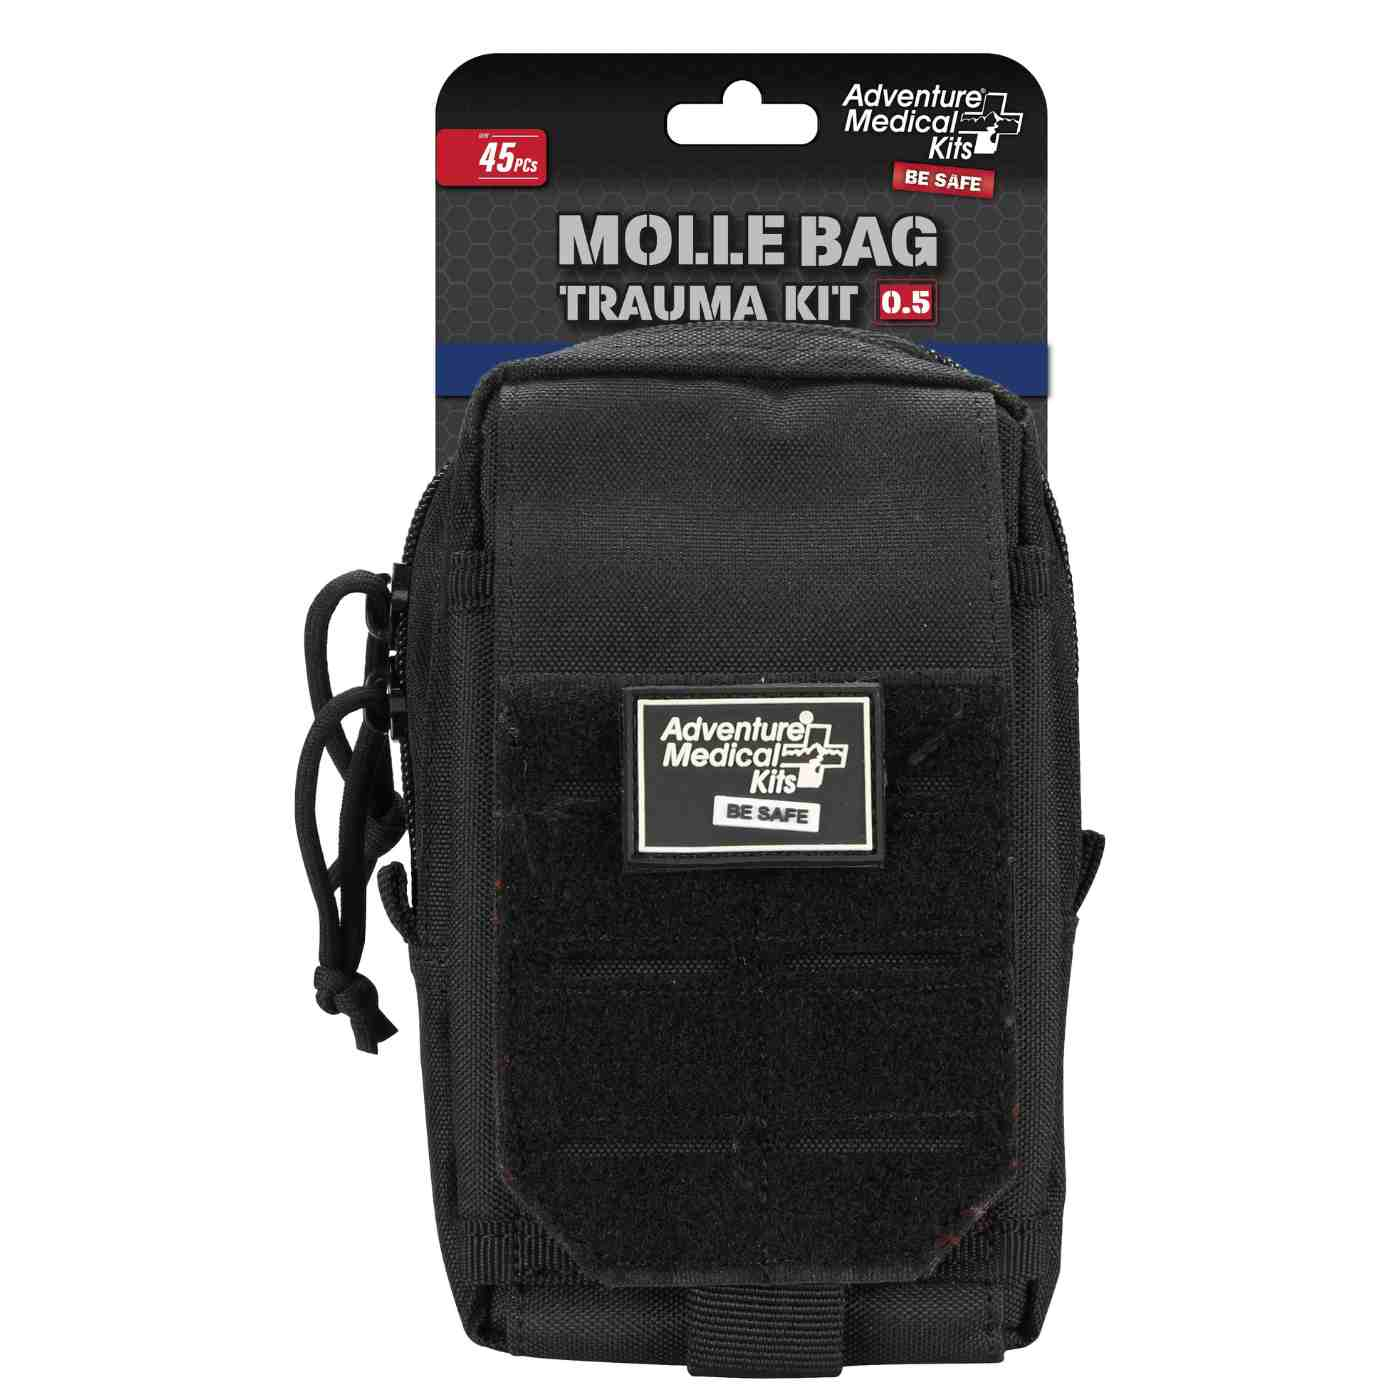
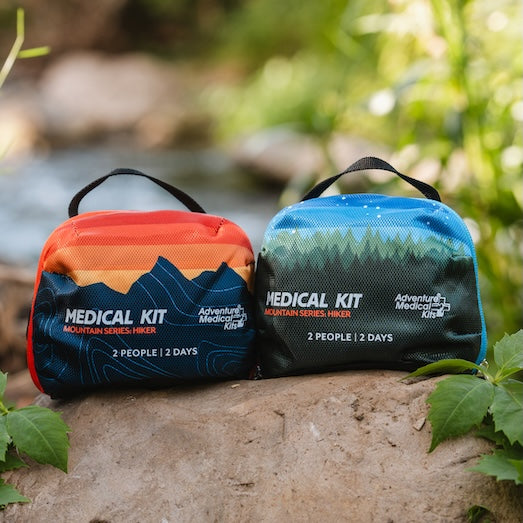
The Mountain Series medical kits and MOLLE trauma kit series provide organizing systems for keeping supplies accessible rather than buried beneath miscellaneous gear. Adventure Medical Kits offers activity-specific kits with labeled compartments, medical instructions, lightweight packable formats, durable waterproof storage for most kits, and supplies intended for outdoor use. First aid kits and supplies are also identified as FSA/HSA eligible on its site, though contents and details can change.
How to Pack and Dress a Deep Cavity Wound in the Field
A hiker has a deep thigh wound, steady bleeding, and no safe way to reach advanced care quickly. Move the patient to stable ground before opening the kit. Support the injured limb, cut away clothing with trauma shears, and assign another group member to watch for falling rock, traffic, water, or other hazards while arranging emergency communication.
Put on nitrile gloves and locate the bleeding source without probing aggressively. Lift away only loose dirt or debris that comes out safely. If bleeding control permits, irrigate with clean water or saline. A gloved finger can assess the cavity's depth and direction. A cotton-tipped applicator may help identify a tract, but never force it into tissue or search blindly.
Packing for hemorrhage requires contact with the deepest accessible part of the cavity. Feed the end of plain or hemostatic gauze inward with a finger, then layer it in tight, even folds while keeping contact with the wound base. Fill the dead space rather than placing a pad over the opening. Otherwise, blood can collect behind a superficial plug. For a large cavity, add gauze until the space is firm and filled. Field hemorrhage-control guidance describes packing to the wound's depth, with about 1 to 2 inches of gauze left above the skin for the pressure bandage.
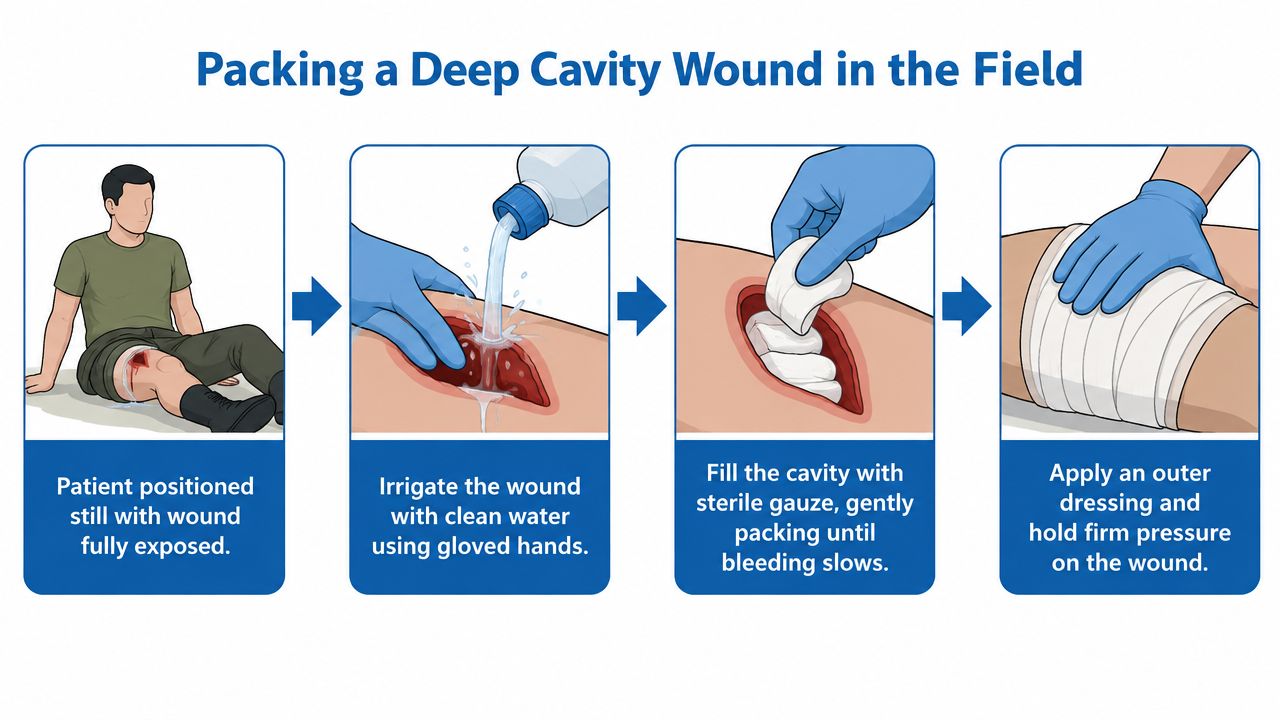
Once the cavity is filled, press directly over the packing. Maintain continuous pressure for three to five minutes, according to the dressing and your training. Do not lift the gauze to inspect it. Peeking can disturb a forming clot and forces the process to start again.
After sustained pressure, add a pressure bolster and secure it with a wrap. Leave a visible tail of packing for later removal and record what was inserted. Check the hand or foot beyond the injury for circulation, sensation, and movement. A cold, pale, numb, or immobile distal limb requires urgent reassessment.
Packing should feel firm at the wound base, not like a loose wad sitting at the opening. Loose packing leaves a channel for blood to travel around the gauze.
Common errors include filling only the surface, using a bulky pad instead of packing the cavity, stopping compression early, and tightening the wrap until distal circulation changes. Leave an embedded object in place and apply pressure around it. A packaged hemostatic option such as QuikClot Gauze 3" x 4' may suit a kit when its instructions match the responder's training.
Monitoring a Packed Wound Through the Next 12 to 24 Hours
By nightfall, the patient may be sitting under a shelter with the injured leg raised and the outer wrap intact. The group's task changes from active packing to observation. A packed wound shouldn't be repeatedly opened just to reassure the responders. Fresh blood appearing through the outer dressing is more meaningful than anxiety about what might be happening underneath.
At the first check, around 20 minutes, inspect the outside for new soak-through, expanding blood loss, or a wrap that has loosened. Don't lift the packing. If slow oozing appears at the edges, add gauze over the existing dressing and reinforce the pressure wrap. Removing soaked outer layers can disturb the material that is controlling the vessel.
Record the time of packing, the type and amount of gauze used, and the patient's baseline vital signs. A simple note shared during an overnight handoff prevents the next responder from guessing whether the dressing is new, whether additional material was added, or whether the patient's condition has changed.
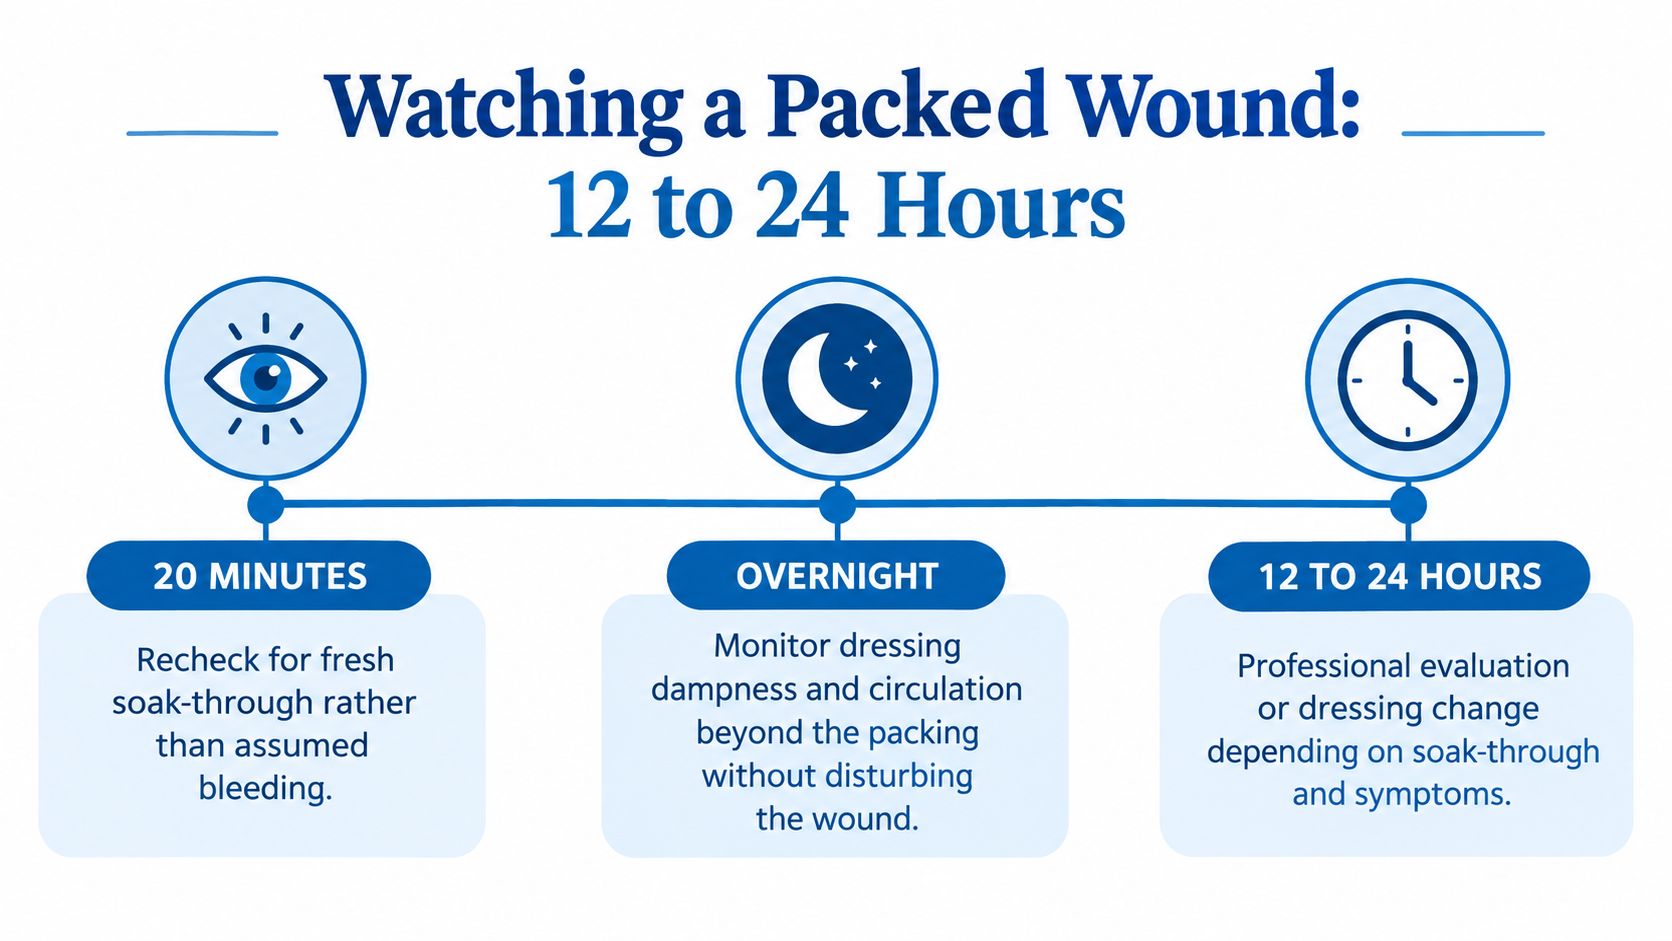
Unless specific warning signs appear, the dressing shouldn't be lifted or changed during the first 24 hours in the backcountry. The patient still needs circulation, sensation, movement, pain, mental status, and temperature monitored beyond the dressing. A practical infection-prevention supply guide can support kit preparation, but it doesn't replace professional evaluation.
Red flags include increasing pain, an expanding hematoma, foul odor, fever, confusion, or numbness below the wound. Persistent bleeding, worsening weakness, or a change in distal circulation should move the group from observation to evacuation planning immediately. In the morning, the decision should be explicit: continue evacuation, rest only if the patient is stable and help is reachable, or move toward the nearest trailhead with a designated monitor.
Evacuation Triggers and Safety Boundaries You Should Not Cross
A packed wound is a bridge to higher care, not a destination. The fastest available evacuation is warranted when hemostasis fails, the airway or chest is involved, compartment syndrome is suspected, or the wound lies above the knee or elbow where tourniquet options and time can become limited. A responder shouldn't let a temporarily quiet dressing override a deteriorating patient.
| Tier | Trigger Signs | Required Action |
|---|---|---|
| One, immediate | Failed hemostasis, airway or chest involvement, suspected compartment syndrome, or a packed wound above the knee or elbow | Activate the fastest evacuation available, including helicopter support when appropriate |
| Two, prompt | Persistent bleeding, infection signs, an embedded object, or loss of a distal pulse | Arrange ground evacuation within hours and continue monitoring |
| Three, situational | Stable packing, controlled bleeding, and a patient who can walk with supervision from a reachable location | Evacuate with a clear monitor, reassess regularly, and stop if the condition changes |
Persistent bleeding after correct packing and sustained pressure is not a cue to keep adding material indefinitely. It's a cue to reassess the source, reinforce externally without removing established packing, and summon higher-level care. A foreign object stays in place until clinicians can manage it safely.
Some boundaries are firm. Animal bites to the hands or feet shouldn't be packed without medical consultation. A wound that enters and exits a body cavity shouldn't be packed through. Established packing shouldn't be removed after 24 hours in the backcountry, and packing shouldn't be placed over a tourniquet that's still in position. These situations require professional direction, not improvisation.
For patients who need transport beyond local trail access, families may also need to understand options such as a private jet for medical transport, though backcountry responders should first activate local emergency services and follow the receiving medical team's instructions.
Safety boundary: If the responder can't identify the indication, reach the bleeding source, or monitor the patient, the safest action is pressure where appropriate, protection from further injury, and urgent professional help.
Field Checklist and Common Questions About Wound Packing Dressings
A responder under stress needs a short card, not a lecture. The following sequence keeps the decision visible:
- Identify the threat. Check the scene, airway, breathing, and severe bleeding before focusing on the cavity.
- Choose the purpose. Pack for brisk bleeding that external pressure can't control. Don't use hemostatic packing as routine drainage care.
- Select the dressing. Use hemostatic gauze when indicated, plain gauze when that's what's available, gloves, and enough material to fill the space.
- Fill and compress. Reach the deepest point, eliminate dead space, hold uninterrupted pressure, and apply a pressure bolster.
- Protect the result. Leave a removal tail, secure the outer wrap, and check circulation, sensation, and movement beyond the wound.
- Monitor and move. Record what happened, watch for soak-through and systemic warning signs, and evacuate when the patient or dressing worsens.
Common questions from hikers
How long can packing material stay in place? In the backcountry, established packing shouldn't be removed after 24 hours. The patient needs professional evaluation, and the receiving clinician should decide whether and how to change it.
What if the outer dressing becomes soaked? Don't pull out the packing. Add gauze over the existing dressing and reinforce pressure while arranging evacuation, unless emergency instructions from qualified clinicians direct another action.
What if hemostatic gauze isn't available? Plain sterile gauze can still fill the cavity and transmit firm pressure to the bleeding source. The technique, sustained compression, and evacuation plan matter more than a product label.
How is packing different from a pressure dressing over a closed wound? Packing places material inside an open cavity to reach a vessel that surface pressure can't reach. A pressure dressing over a closed or shallow wound applies force from outside and doesn't require material inside the injury.
Adventure Medical Kits offers lightweight, organized outdoor kits with labeled compartments, medical instructions, and supplies selected for activity-specific injuries. Review the contents before the next trip and visit Adventure Medical Kits to choose a packable kit that keeps bleeding-control materials accessible.