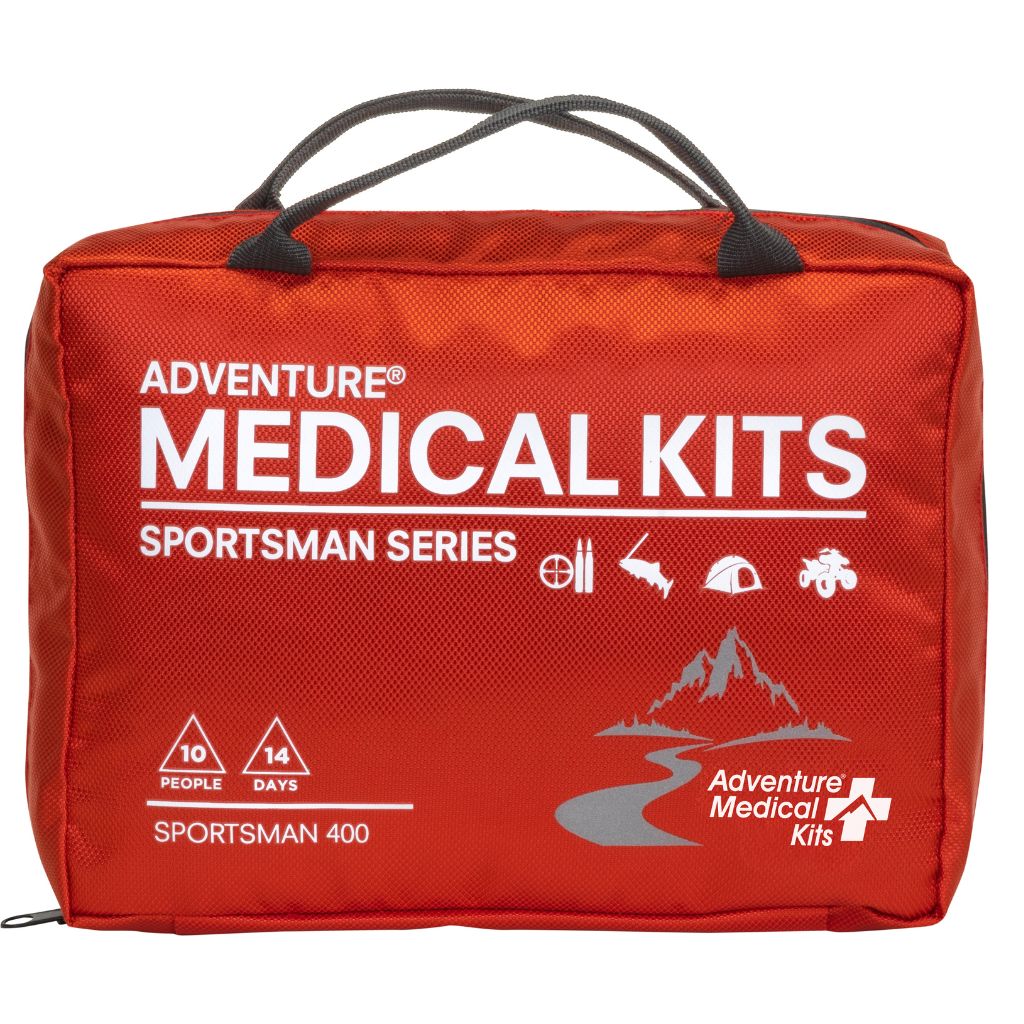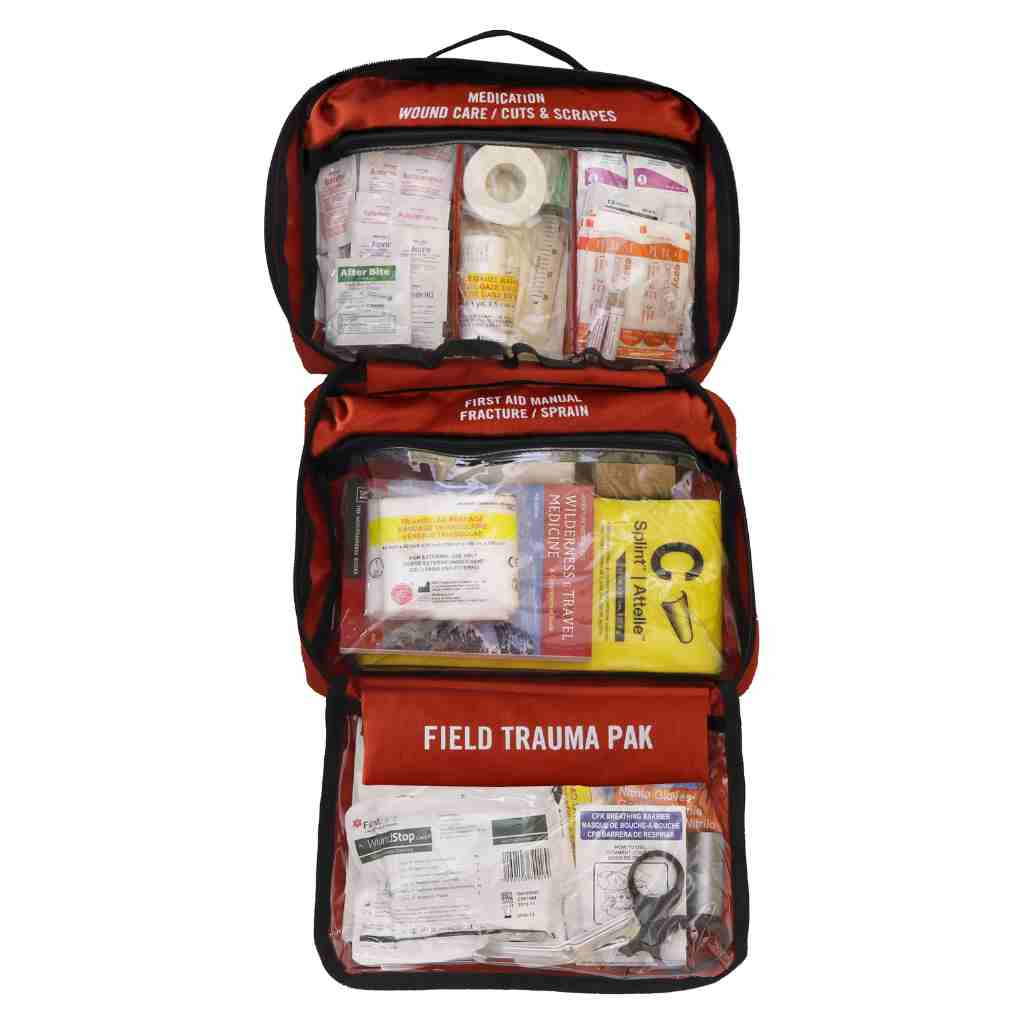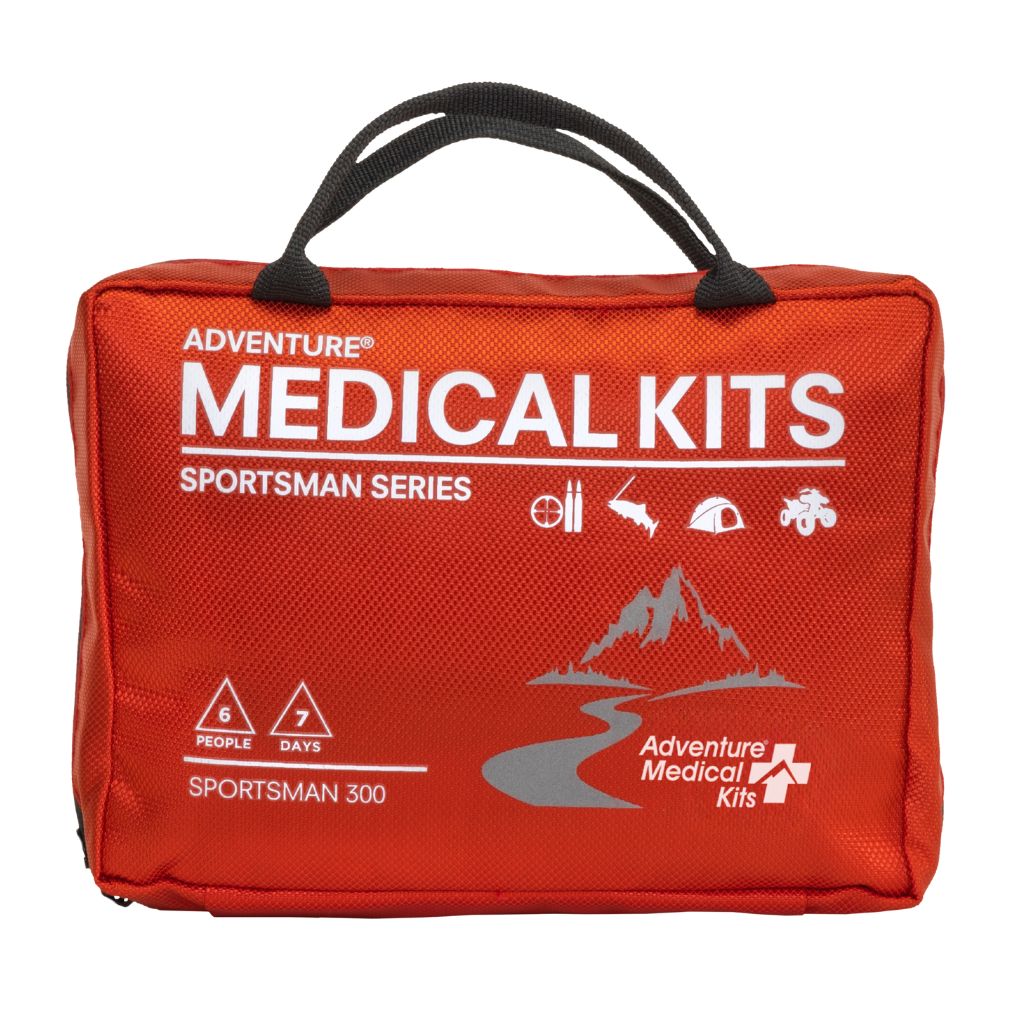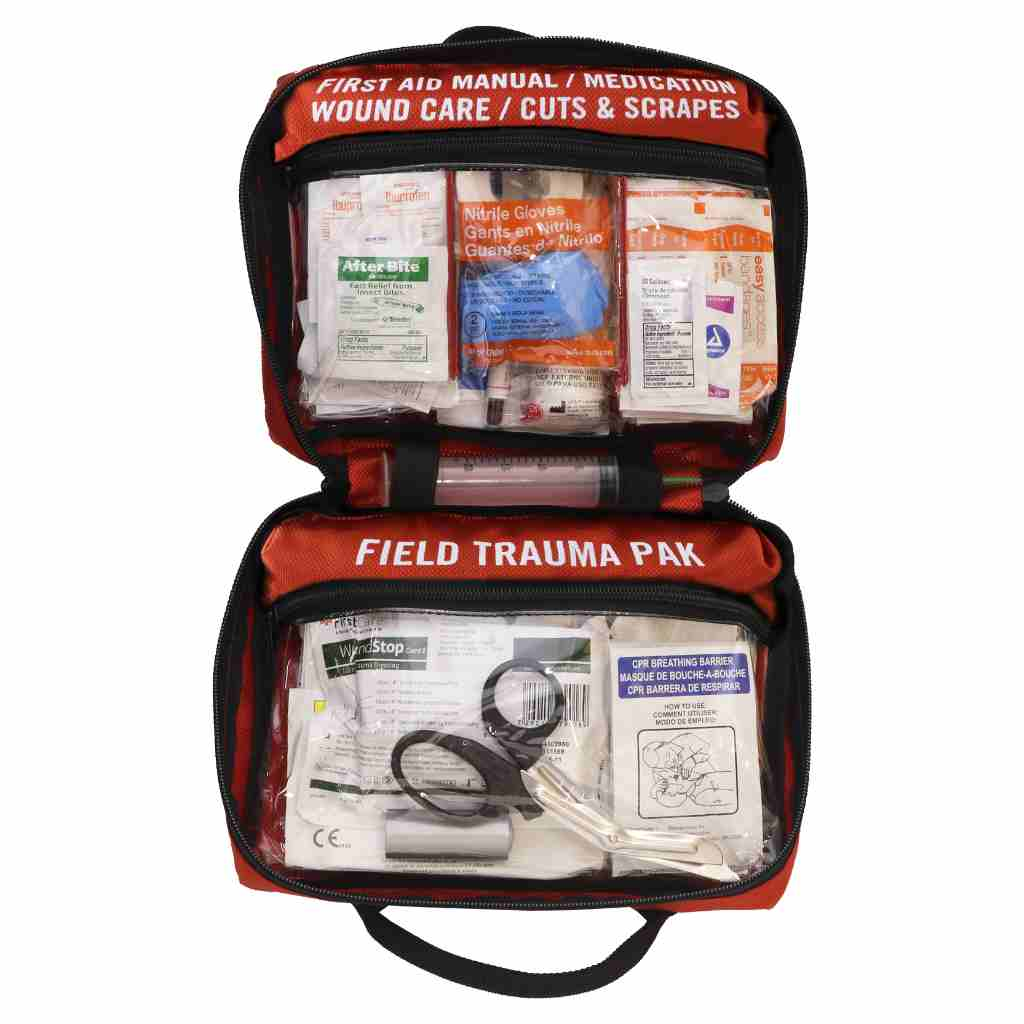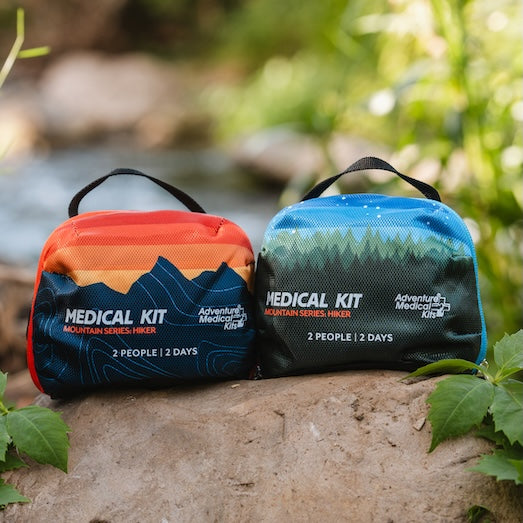


A hiker slices a palm on a sharp rock three miles from the trailhead. Blood runs across the fingers, the nearest clean water is in a drinking bottle, and the group has to decide what happens during the next hour. The wound care kit is somewhere inside a backpack, but nobody remembers which pocket holds the gloves.
Table of Contents
- Why Outdoor Wound Care Starts Before Help Arrives
- Core Wound Care Kit Contents by Category
- Control Bleeding in Order and Choose a Tourniquet
- How to Clean and Cover a Wound Safely
- Organizing and Restocking Your Kit for Real Trips
- Decide When to Stop Self-Care and Call for Help
Why Outdoor Wound Care Starts Before Help Arrives
A wound care kit has a practical job: control bleeding, protect the injury from contamination, and help responders track changes until a clinician takes over. A pile of adhesive bandages can handle minor scrapes, but it can't fill a deep bleeding wound or replace an evacuation plan. The useful kit matches both the likely injury and the distance from care.
A kit buys time. It doesn't replace treatment.
Outdoor care differs from care beside a bathroom sink. Evacuation may be delayed, drinking water may double as irrigation water, and rain or sweat can loosen dressings. Supplies must travel with the group rather than wait in a vehicle.
Weather also changes how care is delivered. PADL's weather precautions for Florida outdoor trips provide useful planning context for outings where heat, storms, and water exposure can complicate an injury. A sheltered treatment spot and protected supplies matter when conditions deteriorate.
Readiness includes access and familiarity
Some kits fail without ever running out of bandages. The contents are buried beneath camping gear, a used dressing was never replaced, or nobody has opened the kit since it was packed.
A useful preparation check goes beyond ownership:
- Inventory: Match supplies to the trip and identify missing essentials.
- Rehearsal: Practise finding gloves, opening gauze, and applying direct pressure.
- Decision-making: Establish which injuries require emergency help before anyone gets hurt.
Core Wound Care Kit Contents by Category
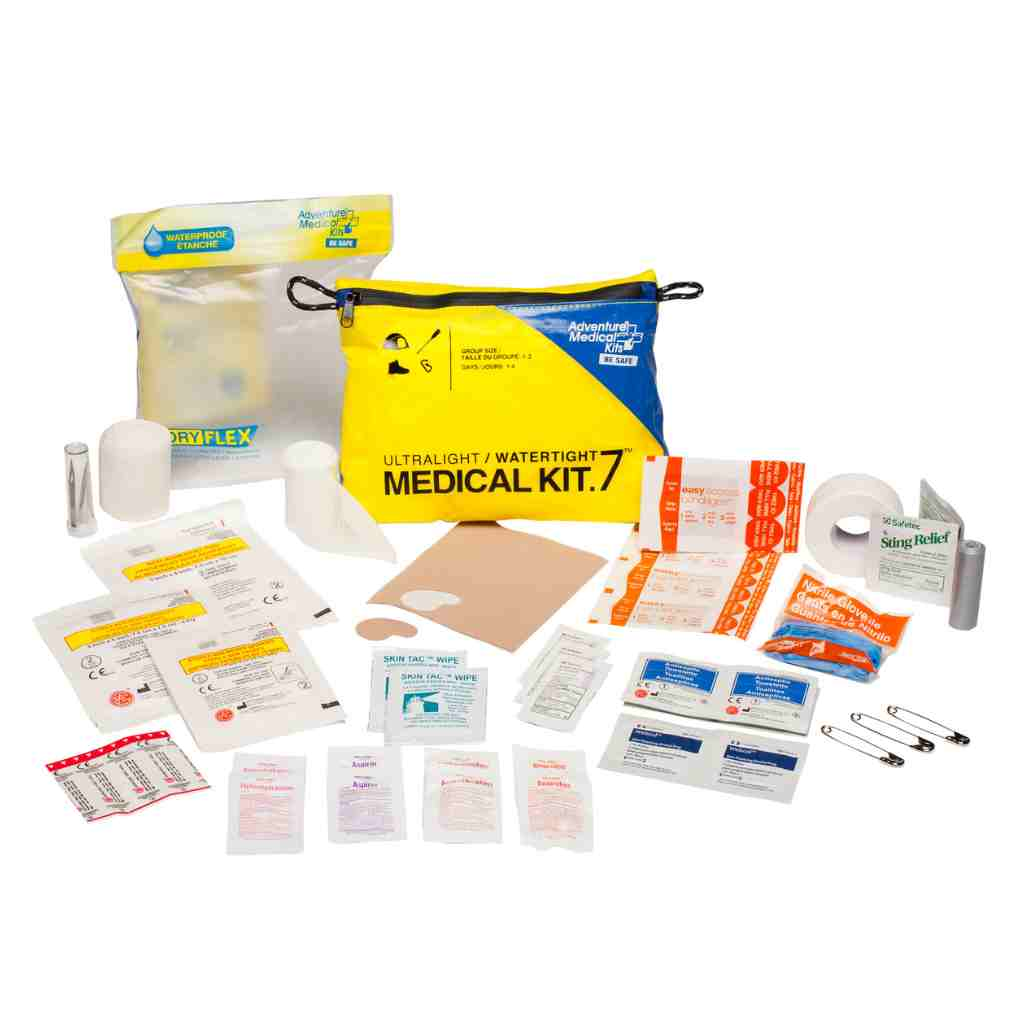
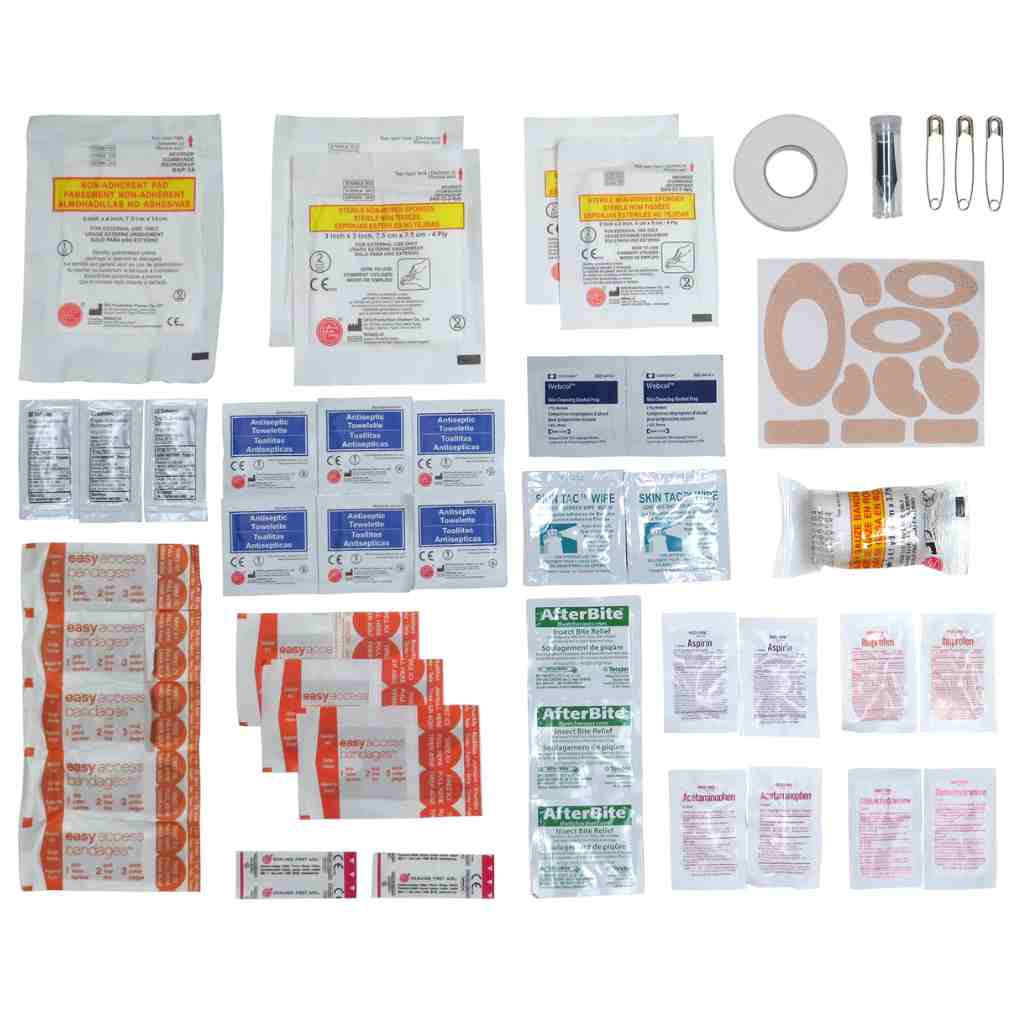
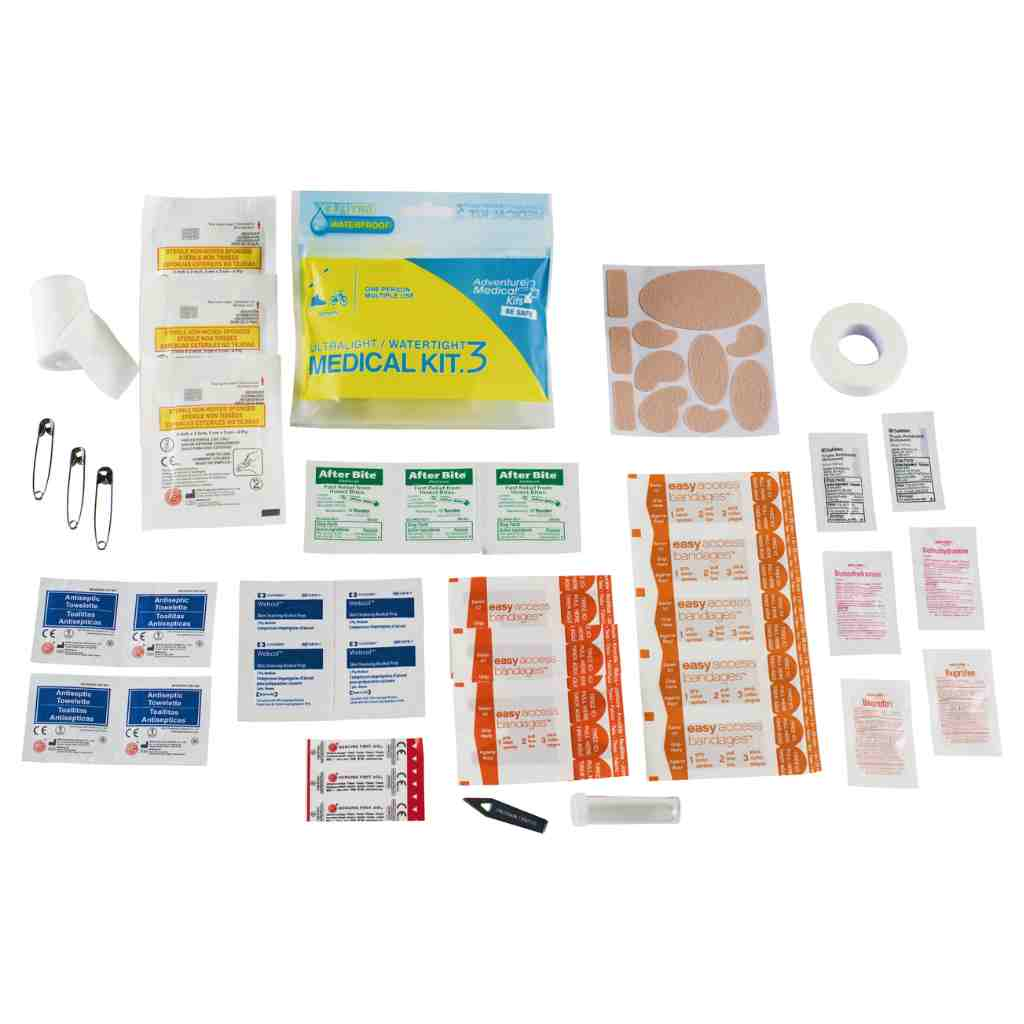
A kit is useful only if its contents match the trip and are ready when needed. Start with an inventory, then arrange supplies by task so the right item is easy to reach.
Core wound care kit contents and starting quantities for one person on a day hike
| Category | Item | Starting quantity | Job it does and when to reach for it |
|---|---|---|---|
| Bleeding control | Windlass-style tourniquet | 1 | Apply for life-threatening arm or leg bleeding when pressure is ineffective or impractical |
| Bleeding control | Wound-packing gauze, hemostatic or plain | 2 packs | Reach for deep, compressible wounds that need packing before firm pressure |
| Bleeding control | Elastic pressure bandage, 4 in | 1 | Secure packing or a dressing after bleeding is controlled |
| Dressing | Sterile gauze pads, 4 x 4 in | 12 | Use first for direct pressure, then to cover a wound or replace a soaked pad |
| Dressing | Non-stick sterile pads | 2 to 4 | Cover wounds where ordinary gauze may stick |
| Dressing | Adhesive bandages, assorted sizes | 20 | Cover small cuts and scrapes after cleaning |
| Dressing | Hydrocolloid blister dressings | 3 to 5 | Cushion and cover blisters before friction worsens them |
| Securing | Medical tape, 1 in roll | 1 | Hold a pad in place without wrapping tightly |
| Securing | Wound closure strips | 1 pack | Support the edges of a clean, shallow wound |
| Cleaning | Sterile saline or bottled clean water | 1 bottle | Flush dirt from a wound before covering it |
| Cleaning | Antiseptic wipes | 5 to 10 | Clean intact skin around a wound |
| Protection | Nitrile gloves | 4 pairs | Put on before wound contact; change them when needed to maintain a barrier |
| Tools | Trauma shears and fine tweezers | 1 each | Cut clothing for access and remove superficial splinters |
| Medication | Pain reliever and antibiotic ointment | Personal trip supply in labelled packaging | Use according to the label and personal medical advice |
| Documentation | Pen and waterproof card | 1 | Record a tourniquet time and changes in the wound |
| Storage | Resealable waterproof bag | 1 | Keep contents dry |
These are starting amounts, not a guarantee that supplies will cover every injury or dressing change. For irrigation, pack enough clean water to flush away visible dirt; a small bottle may run out before the wound is clean.
Arrange bleeding-control items where they can be reached before routine cleaning supplies. When a cut bleeds through a glove, gauze should be available immediately for direct pressure. Keep cleaning supplies in a separate compartment, so skin-preparation wipes are not mistaken for materials to use inside an open wound. For more on separating barrier protection, cleaning products, and dressings, see this infection-prevention supplies guide.
Scale for people, exposure, and replacement
A solo day hiker may carry one tape roll. For a six-person group on a four-day backpacking trip, start with at least 12 gauze pads and four pairs of gloves, then increase dressing supplies if repeat changes are likely. Those counts give the group a baseline for planning; they do not guarantee enough for every injury.
Count gloves by the number of potential responders and task changes. A torn glove or a second helper can use up the supply sooner than expected. Keep replacements with the kit, rather than assuming the initial treatment will be the only one.
Adjust the inventory to the activity:
- Paddling: Add blister protection and a separate dry bag for the medical supplies.
- Hunting: Carry additional gloves and packing gauze, with bleeding-control items immediately accessible.
- International travel: Include a written medication and allergy list that can accompany the patient.
Choose pain relievers for the individual who may take them. Antibiotic ointment is optional, does not replace irrigation, and should be avoided if it has caused a previous reaction.
Use a commercial kit as an inventory baseline
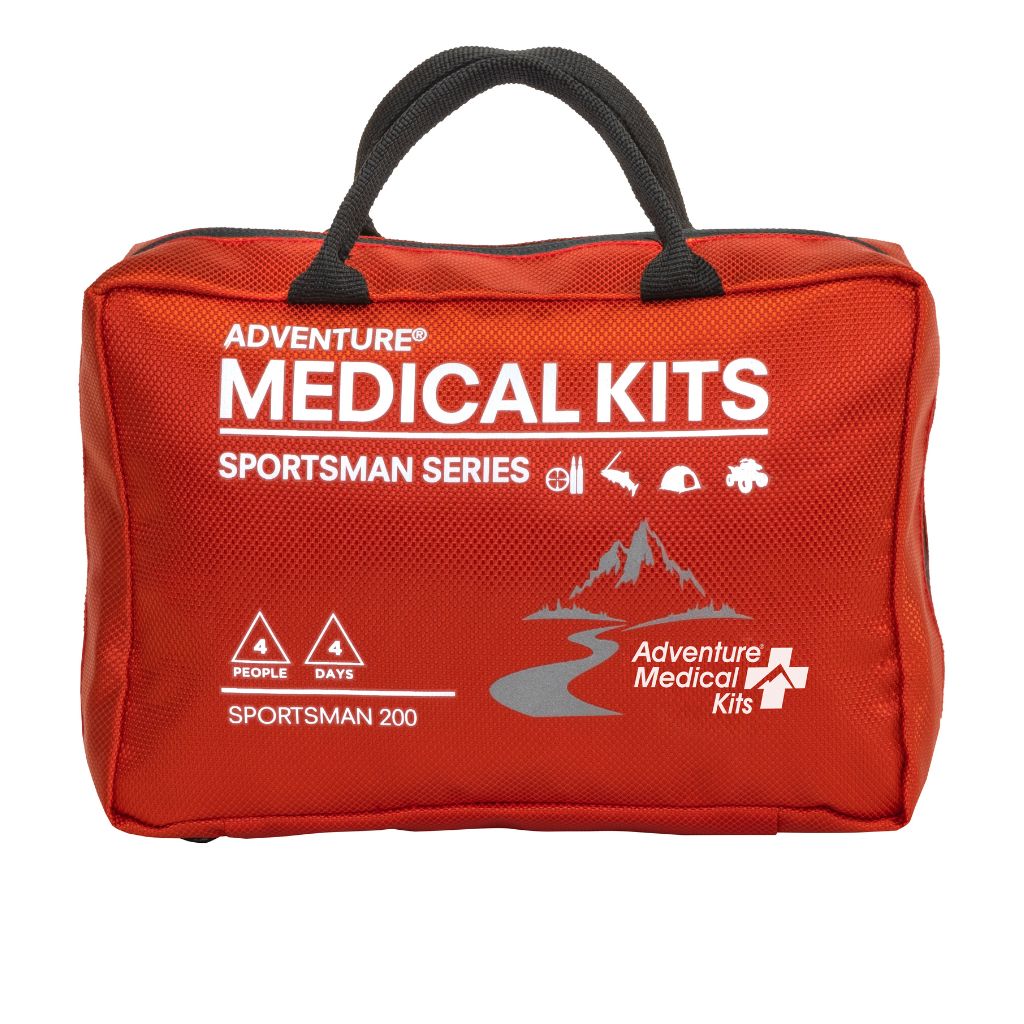
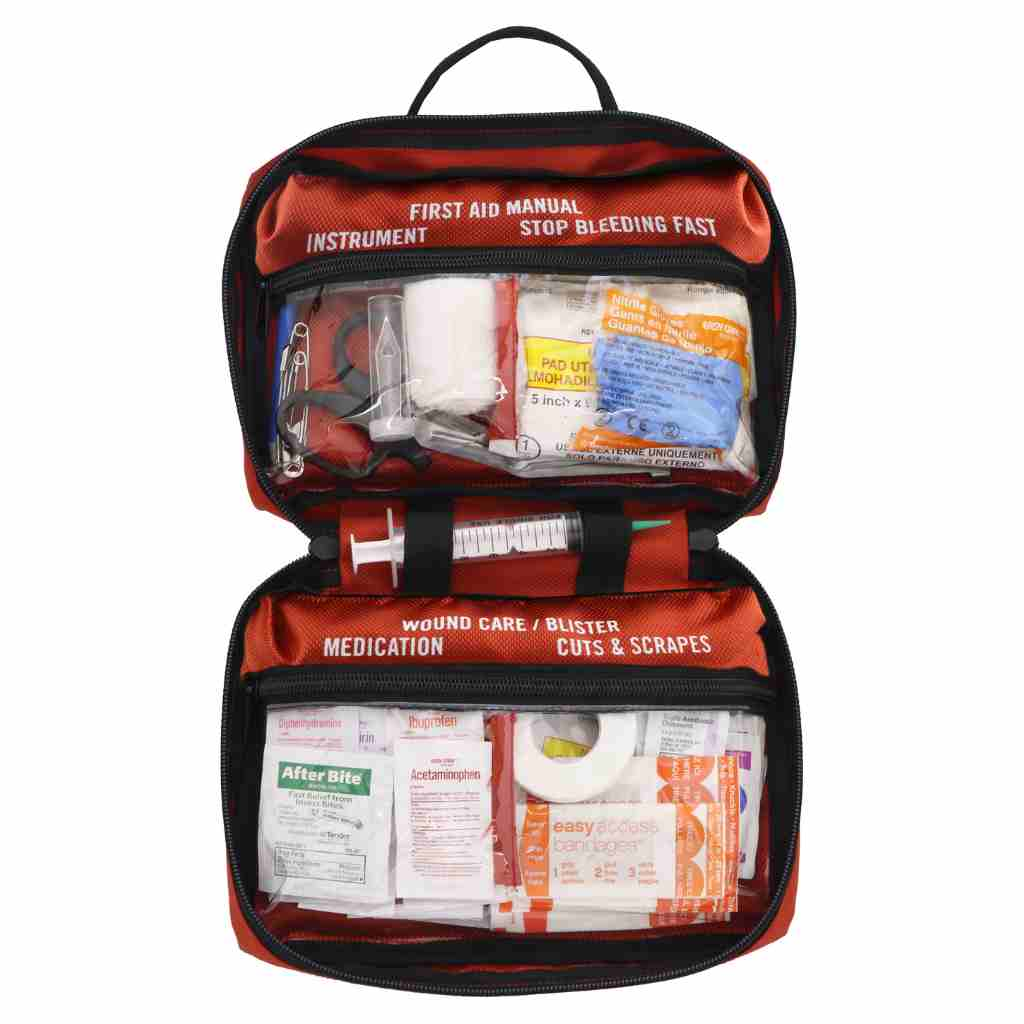
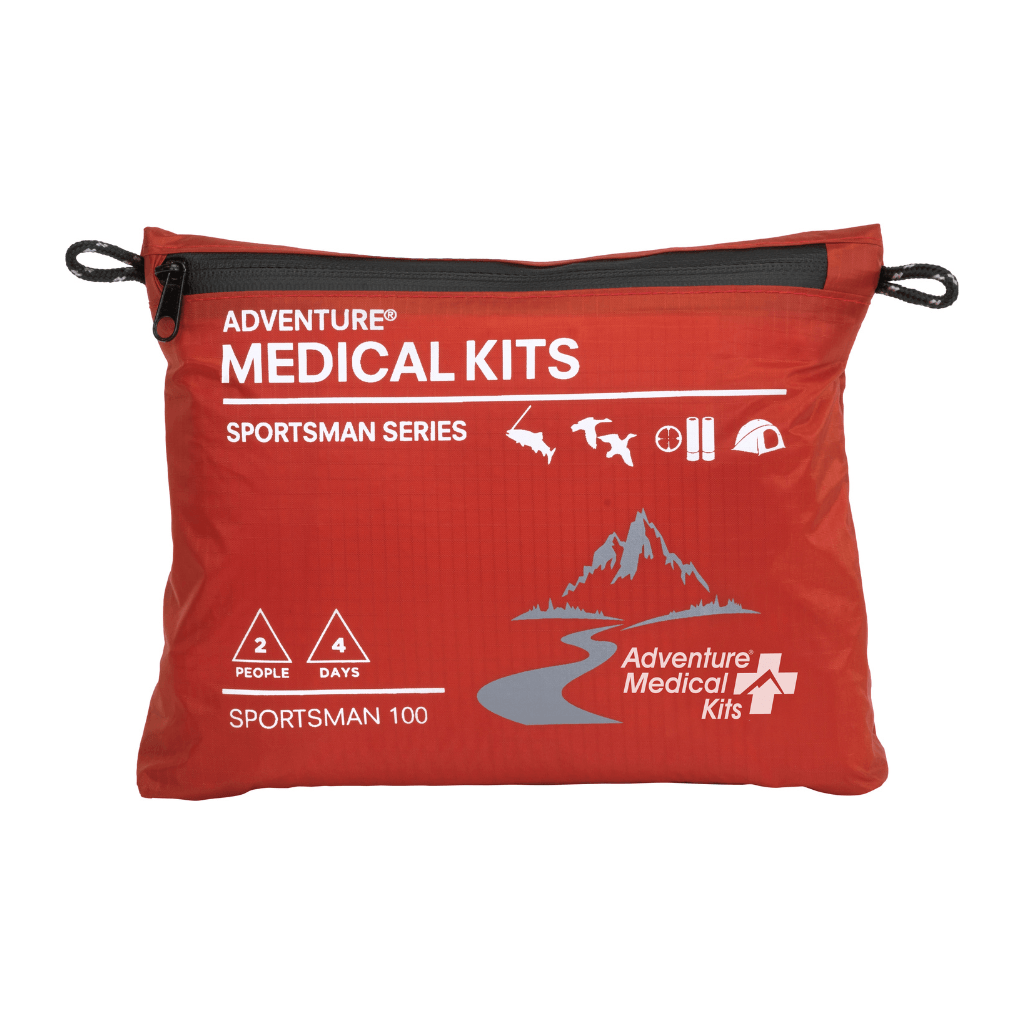
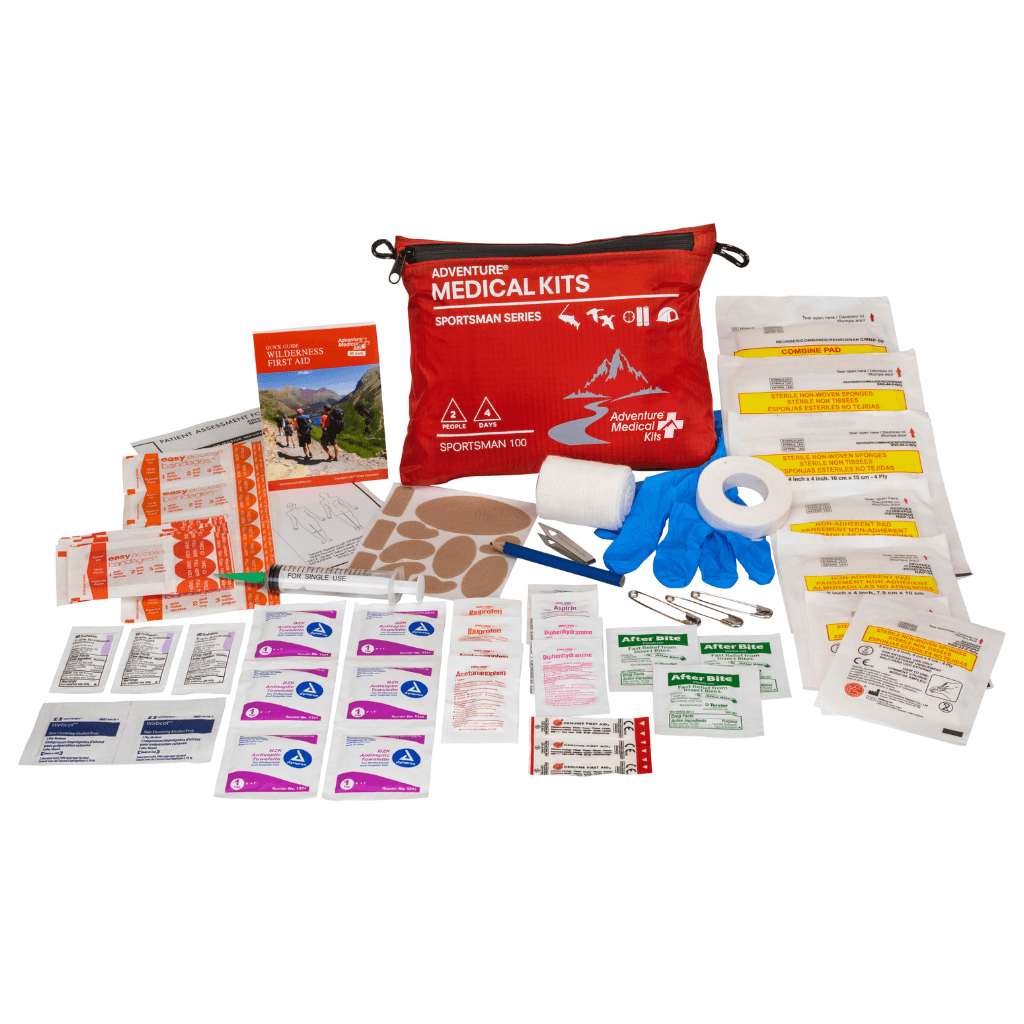
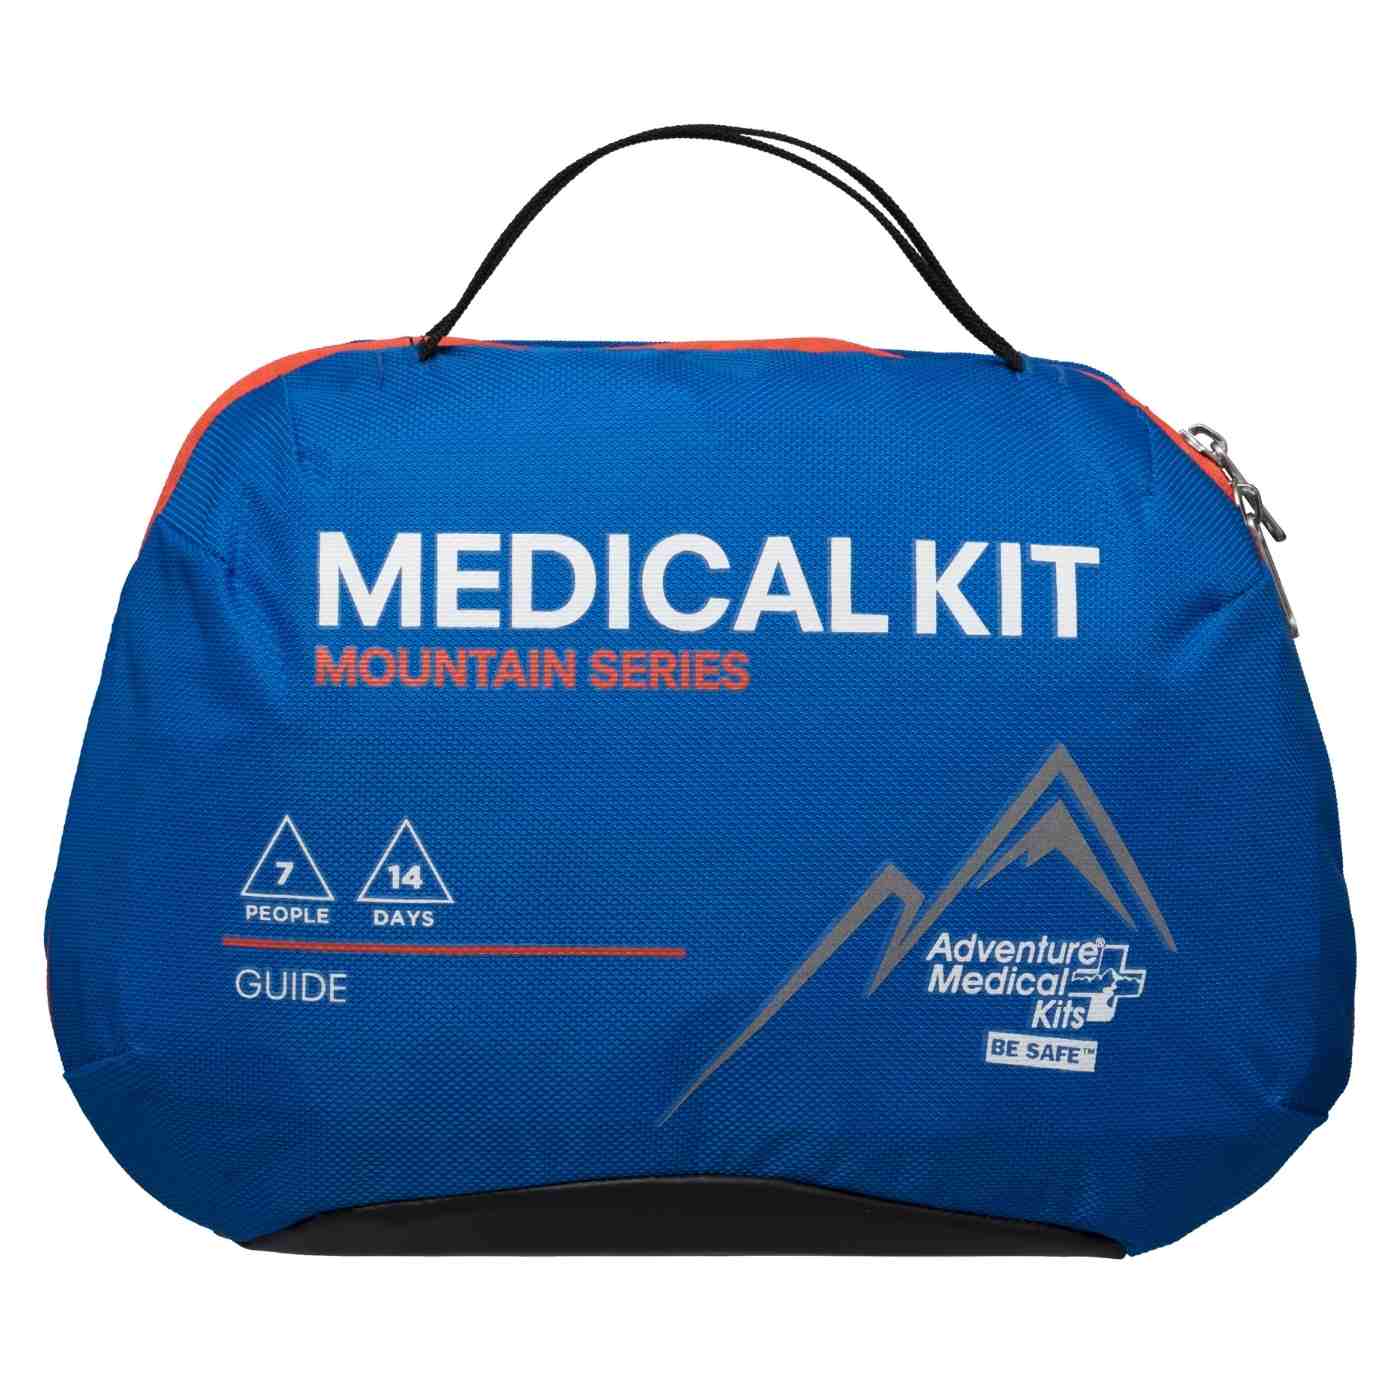
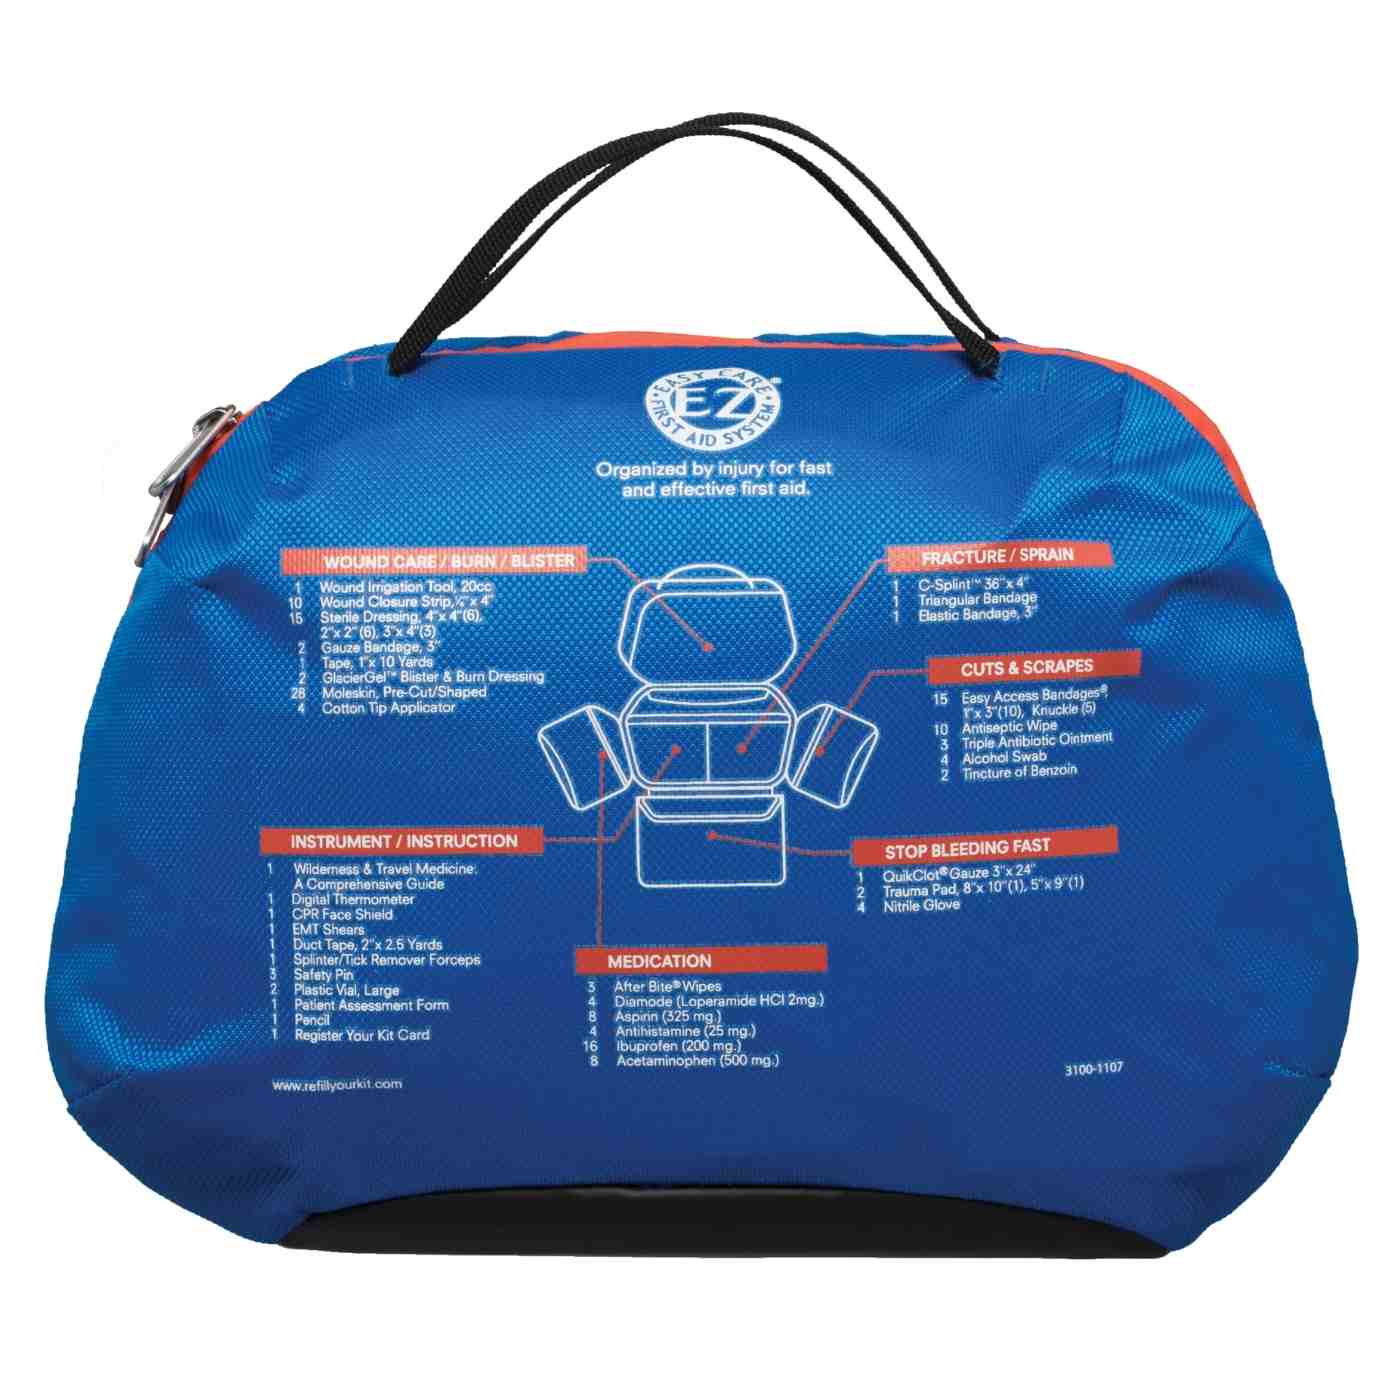
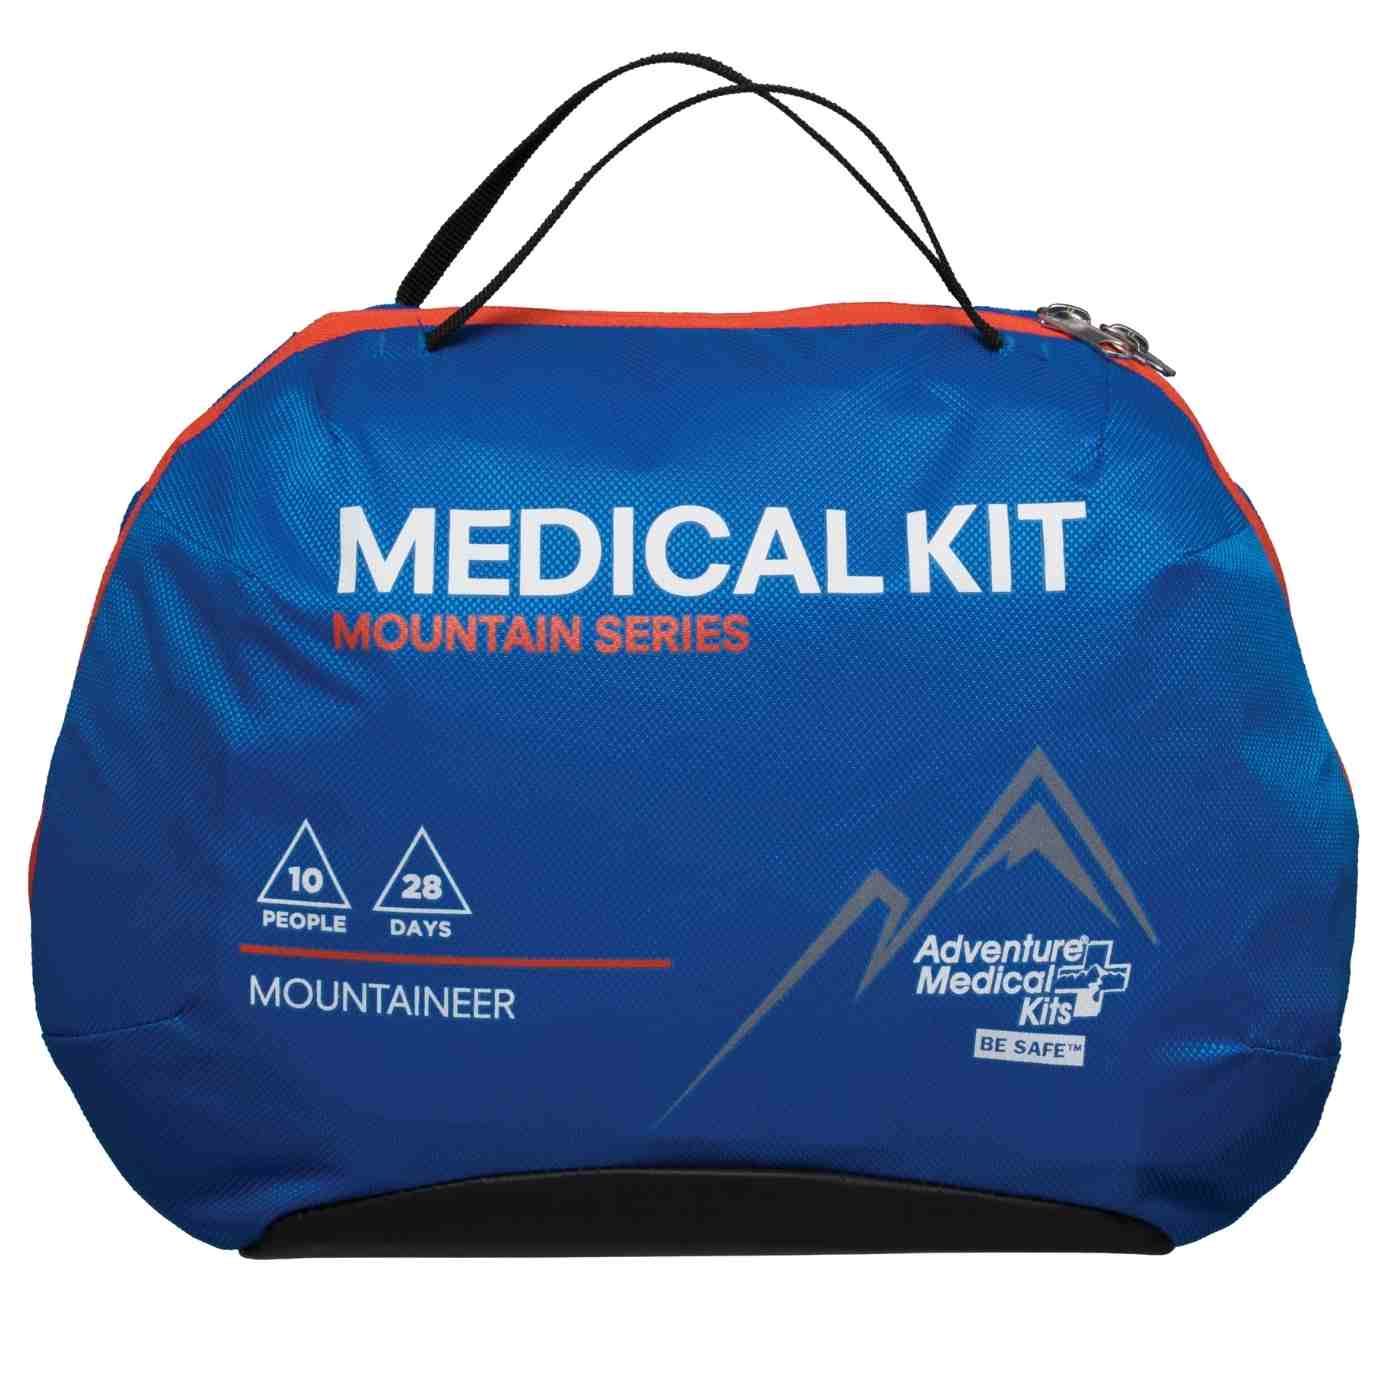
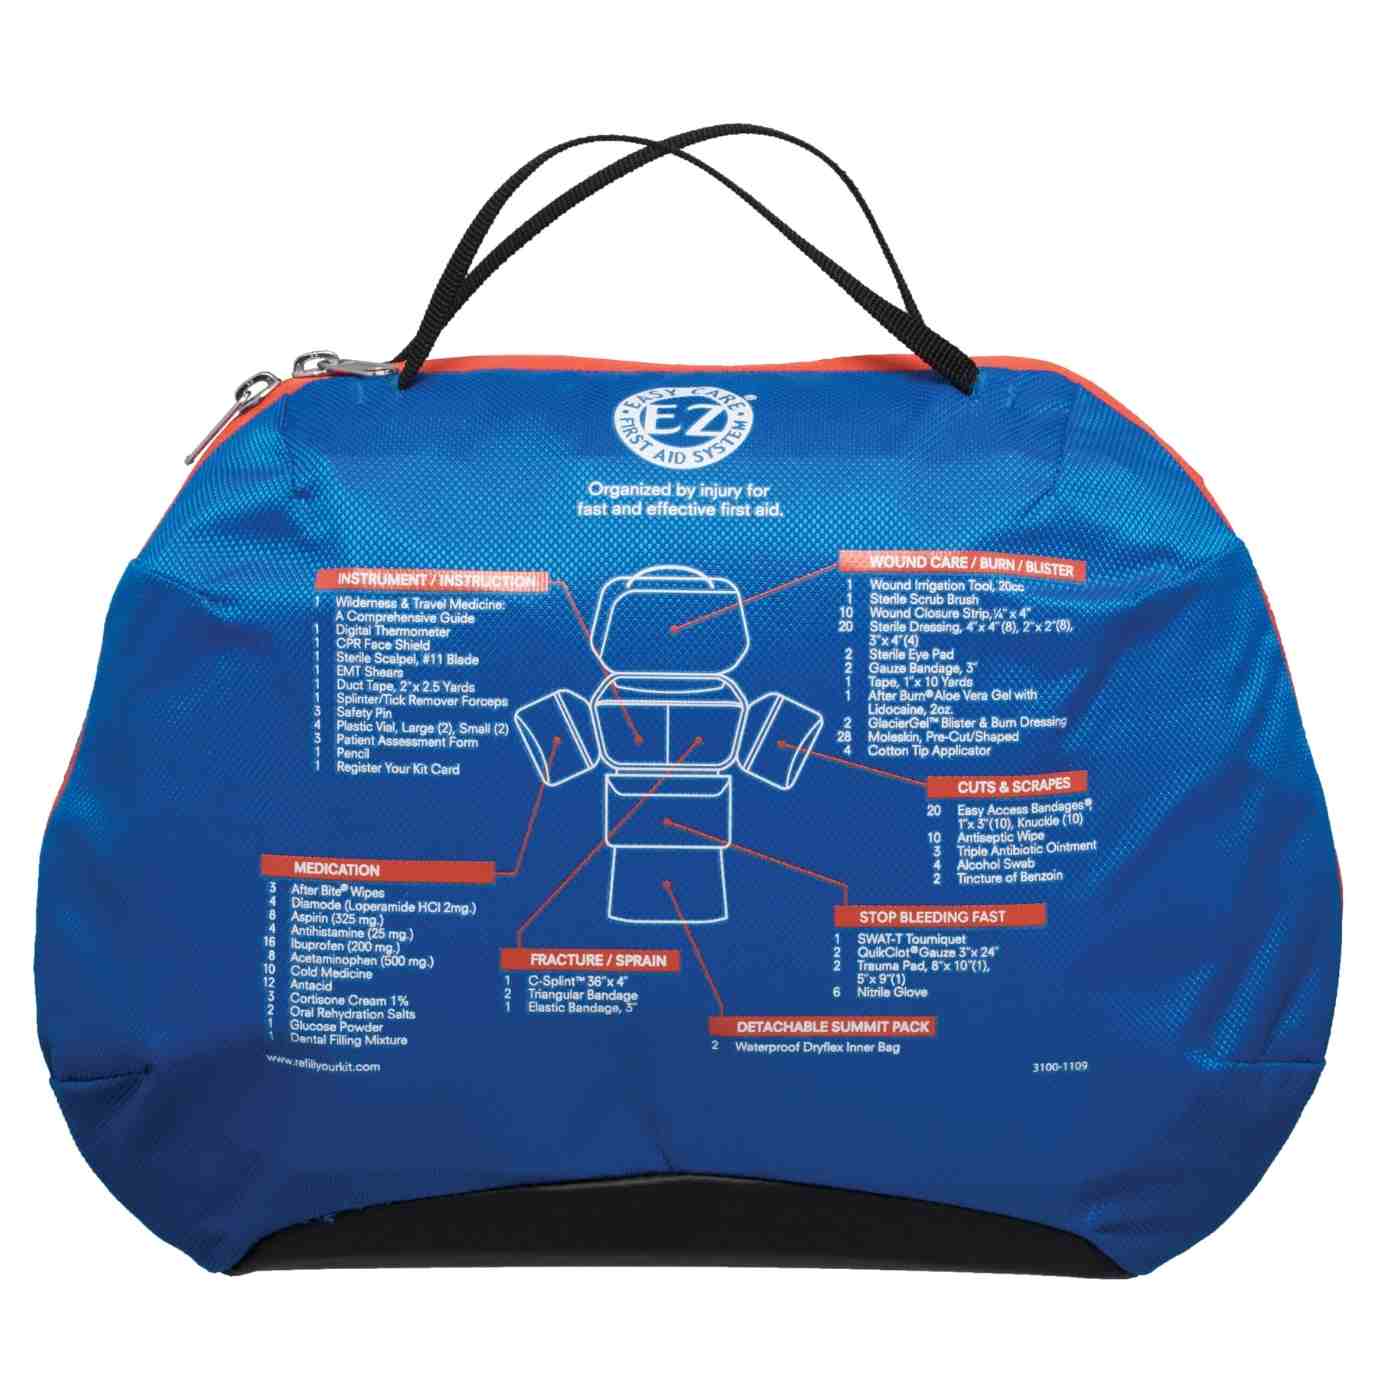
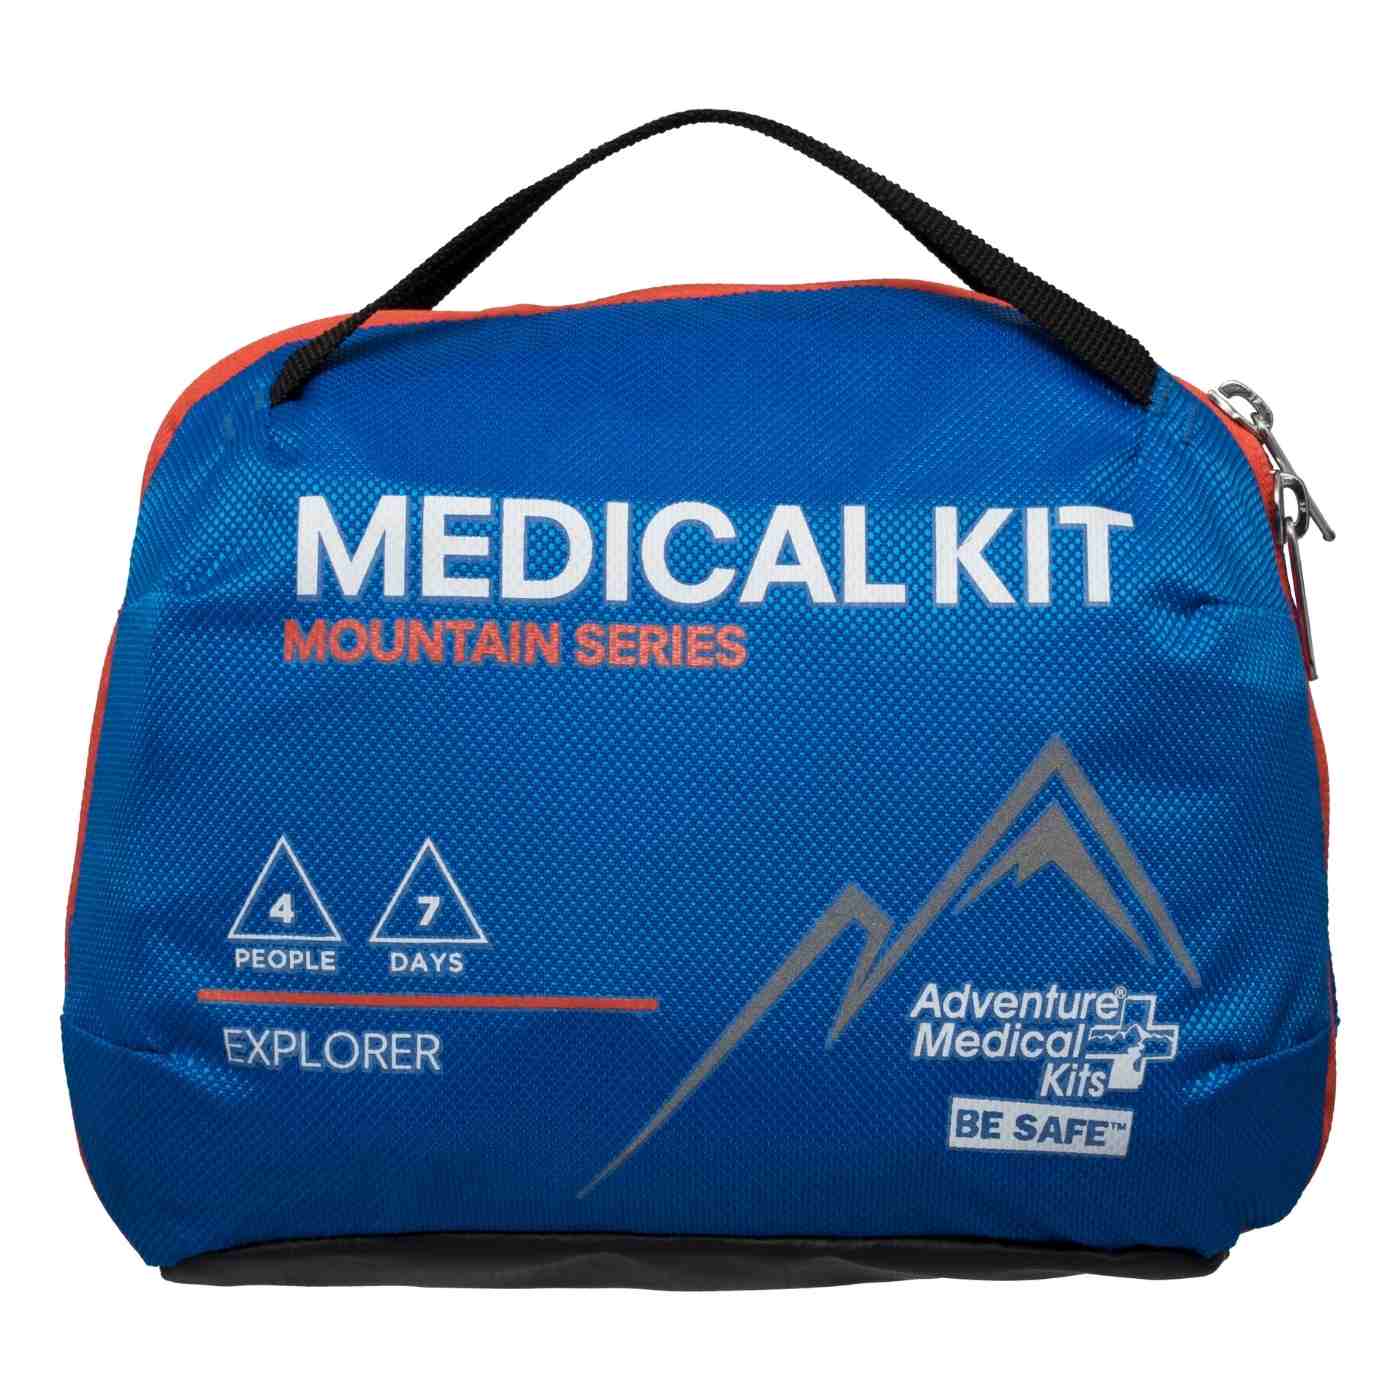
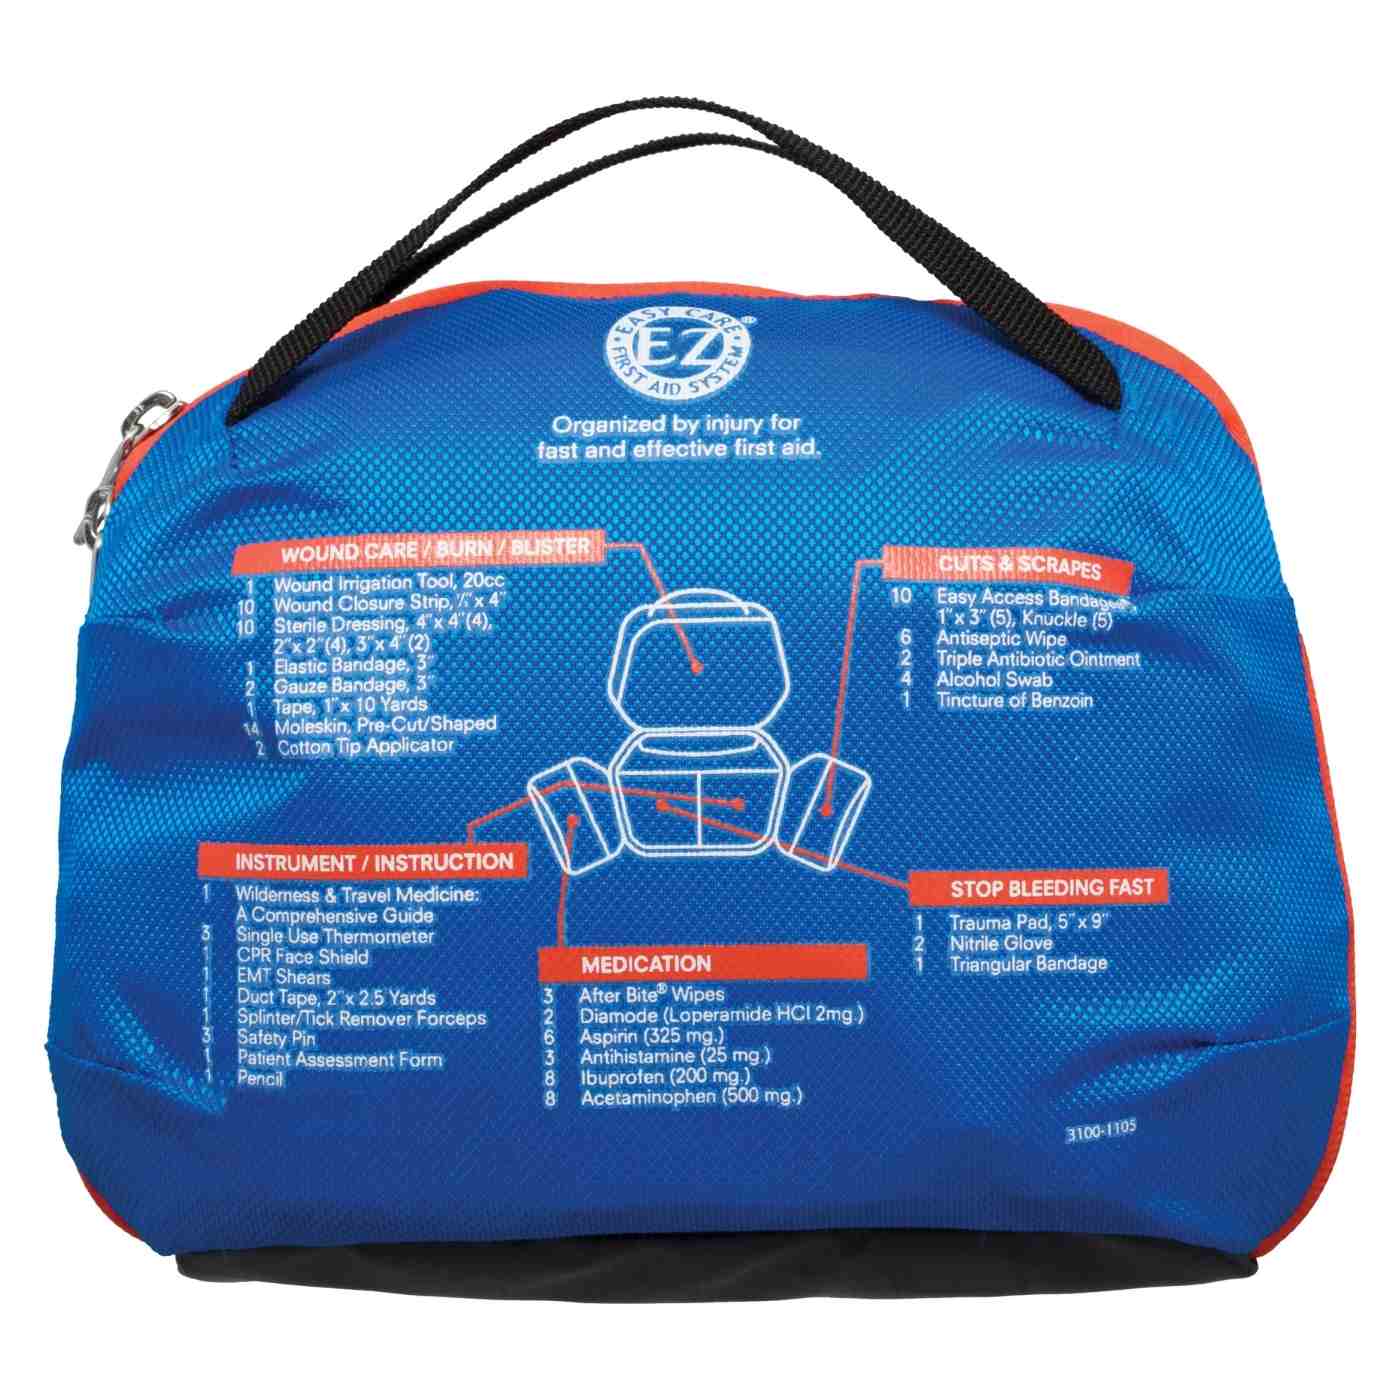
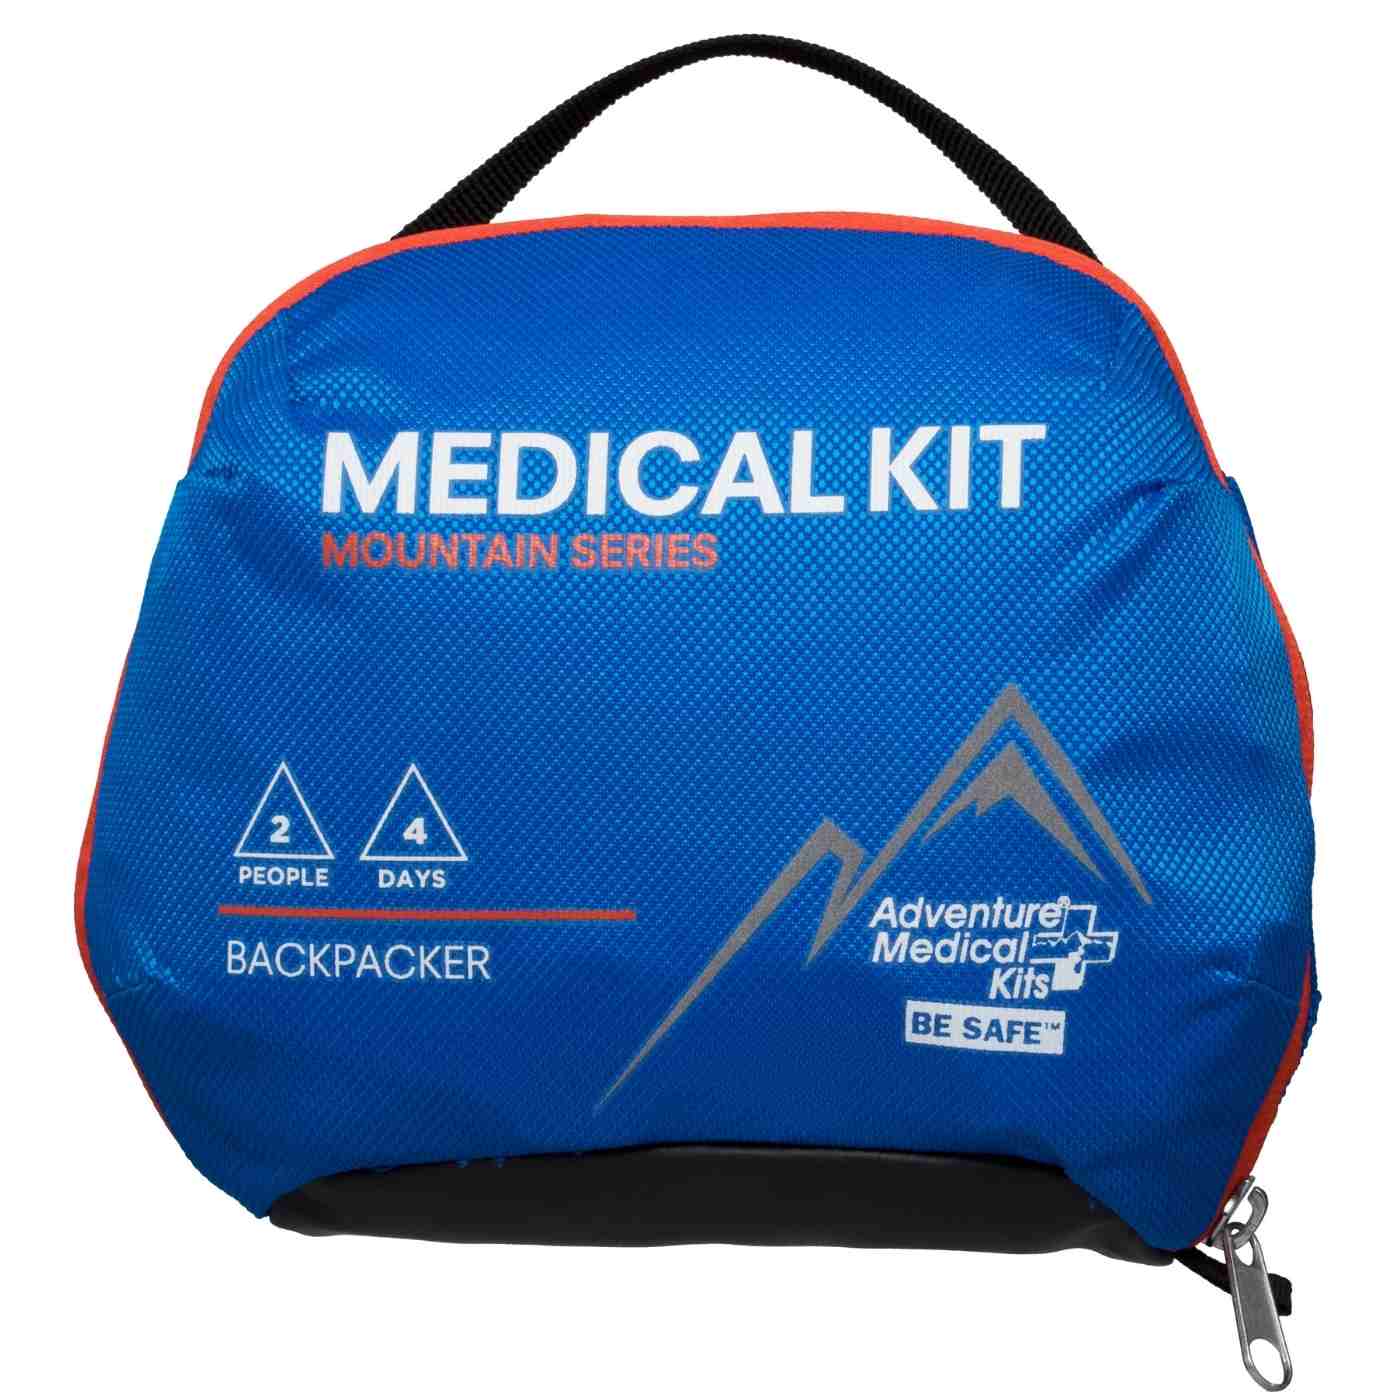
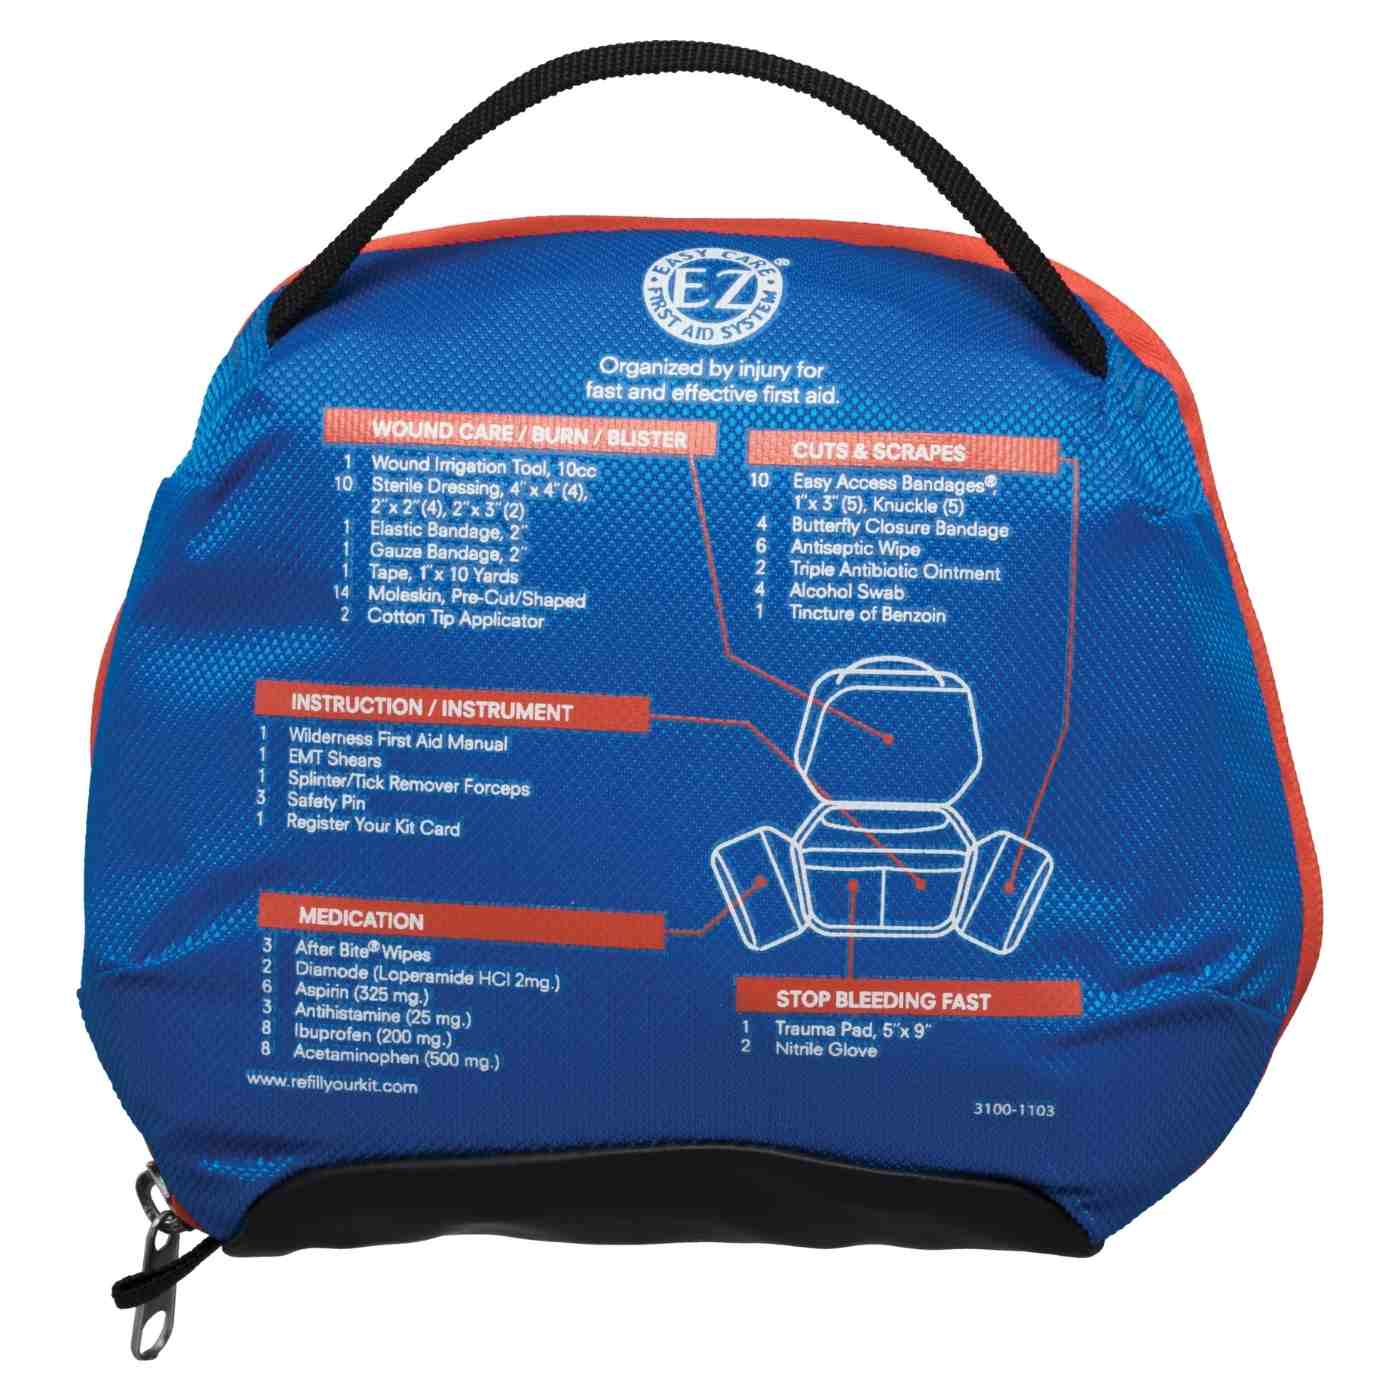
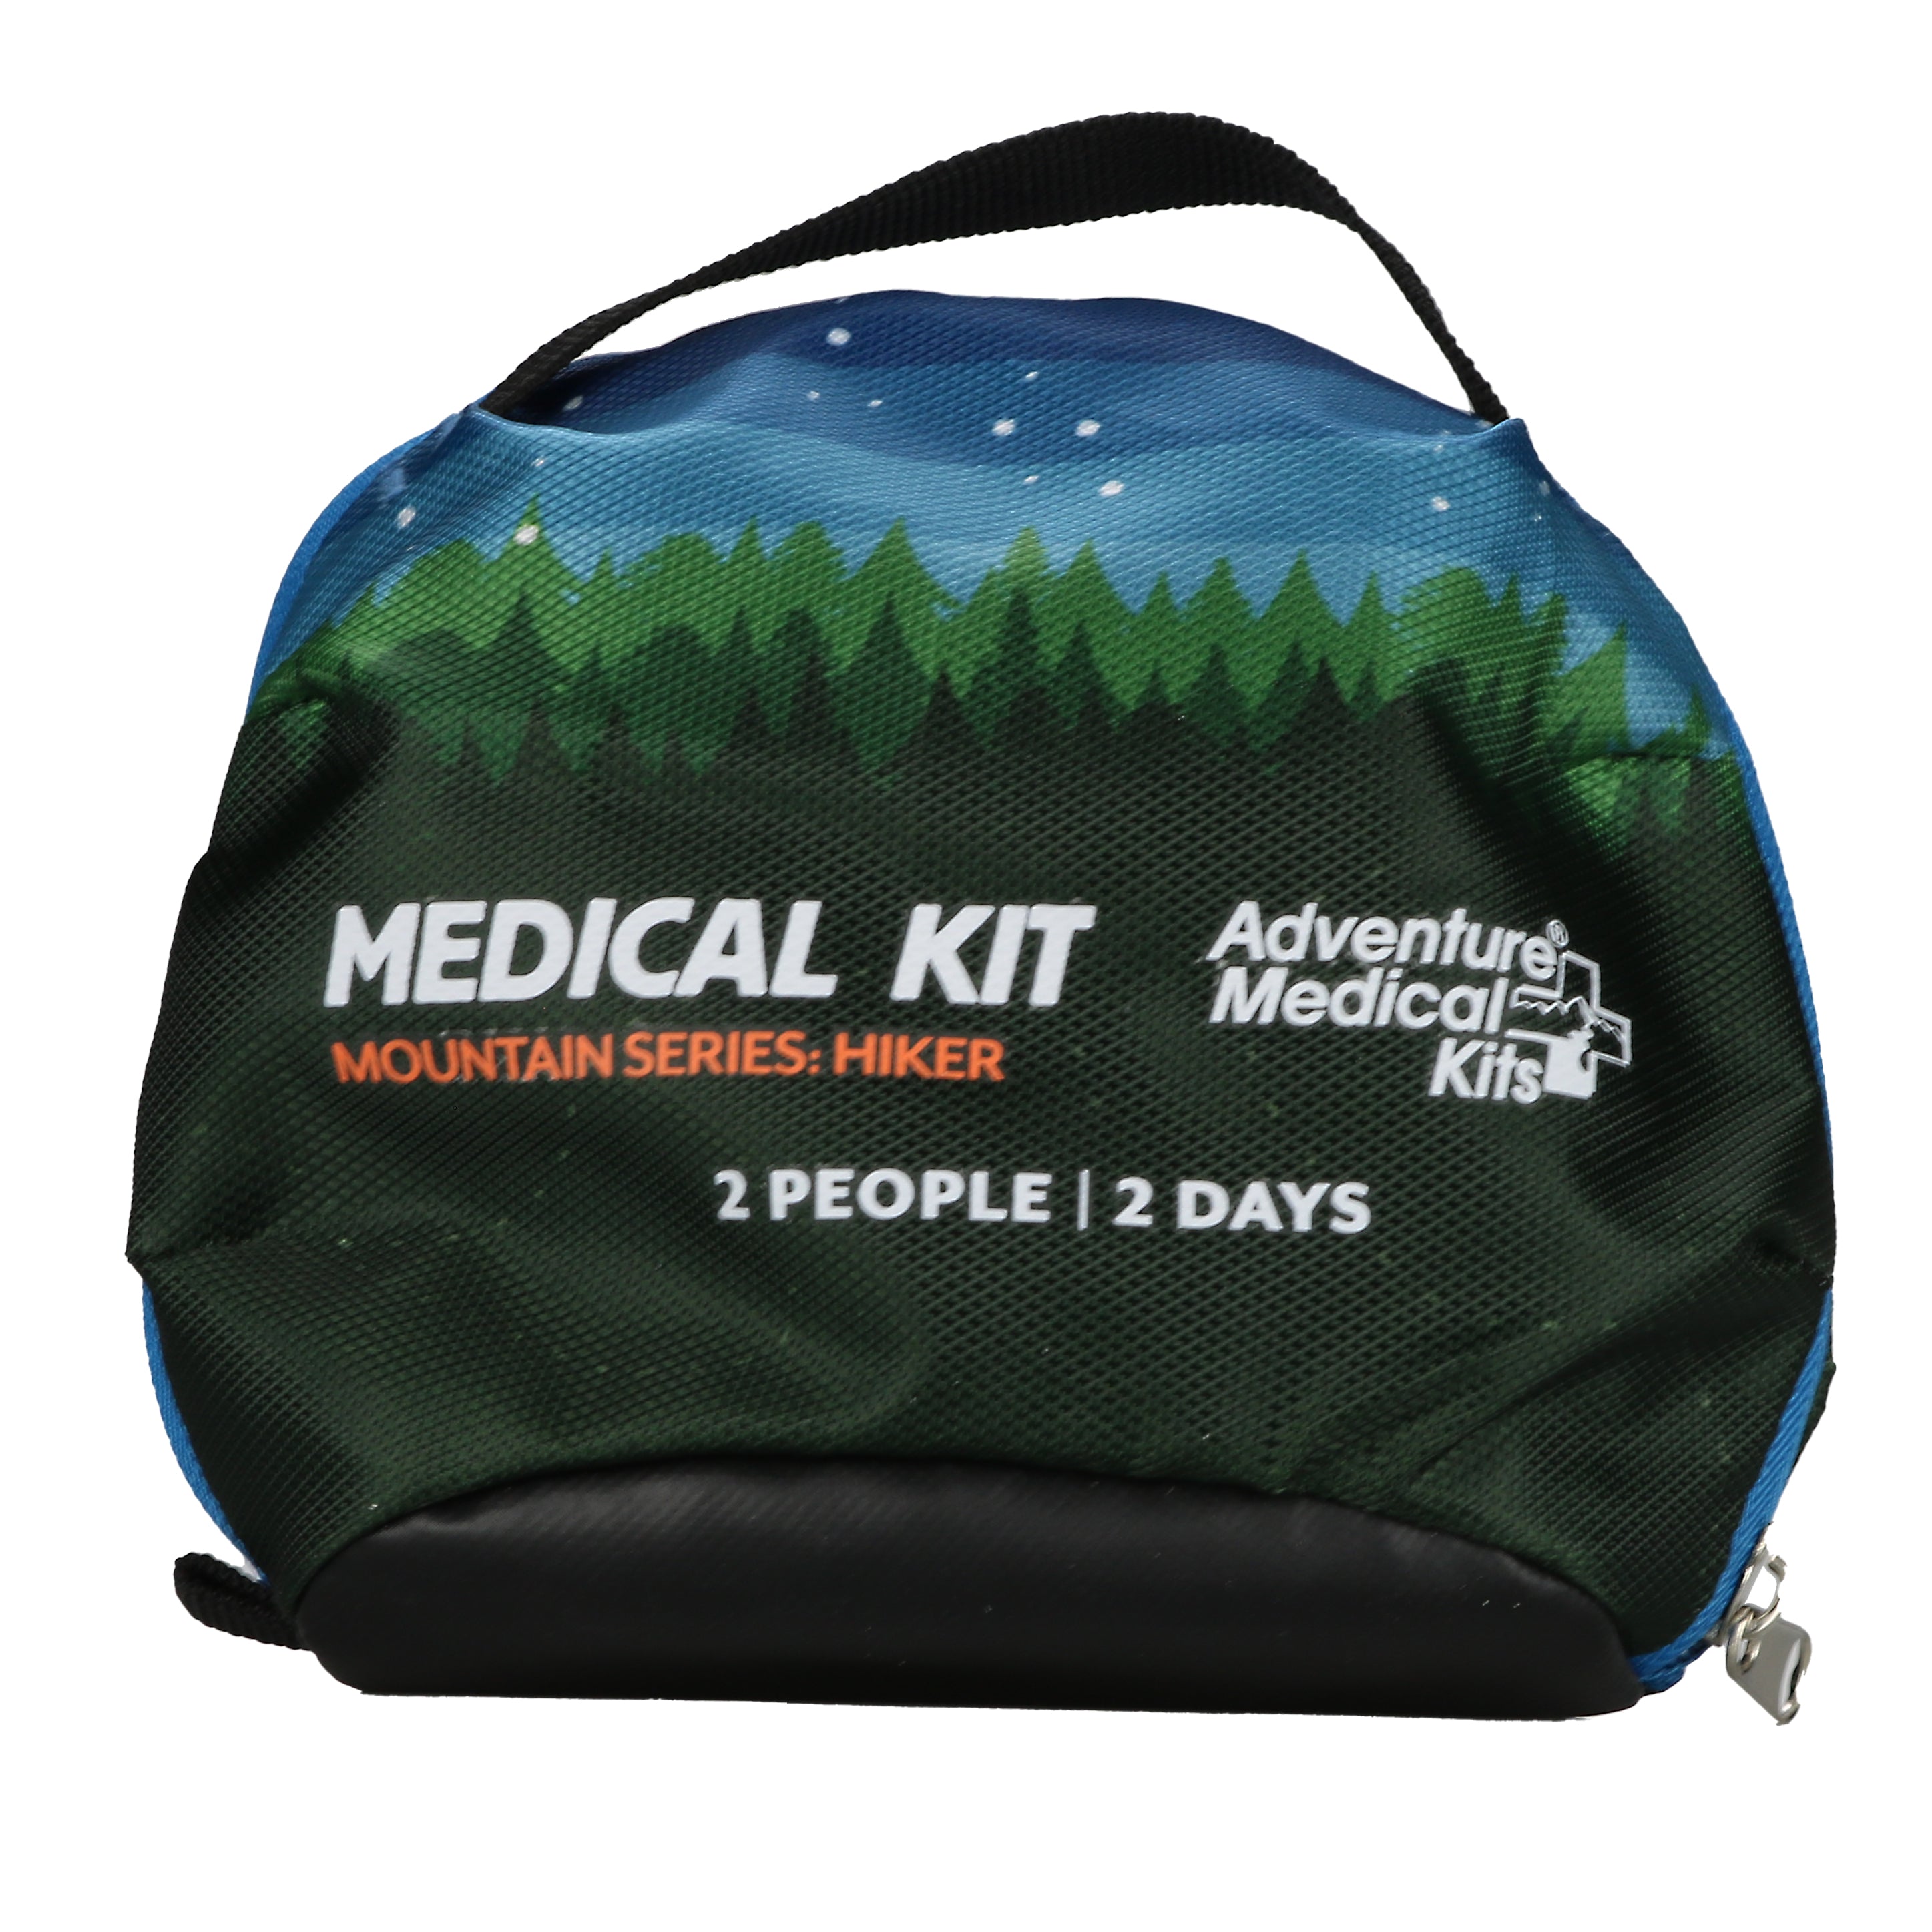
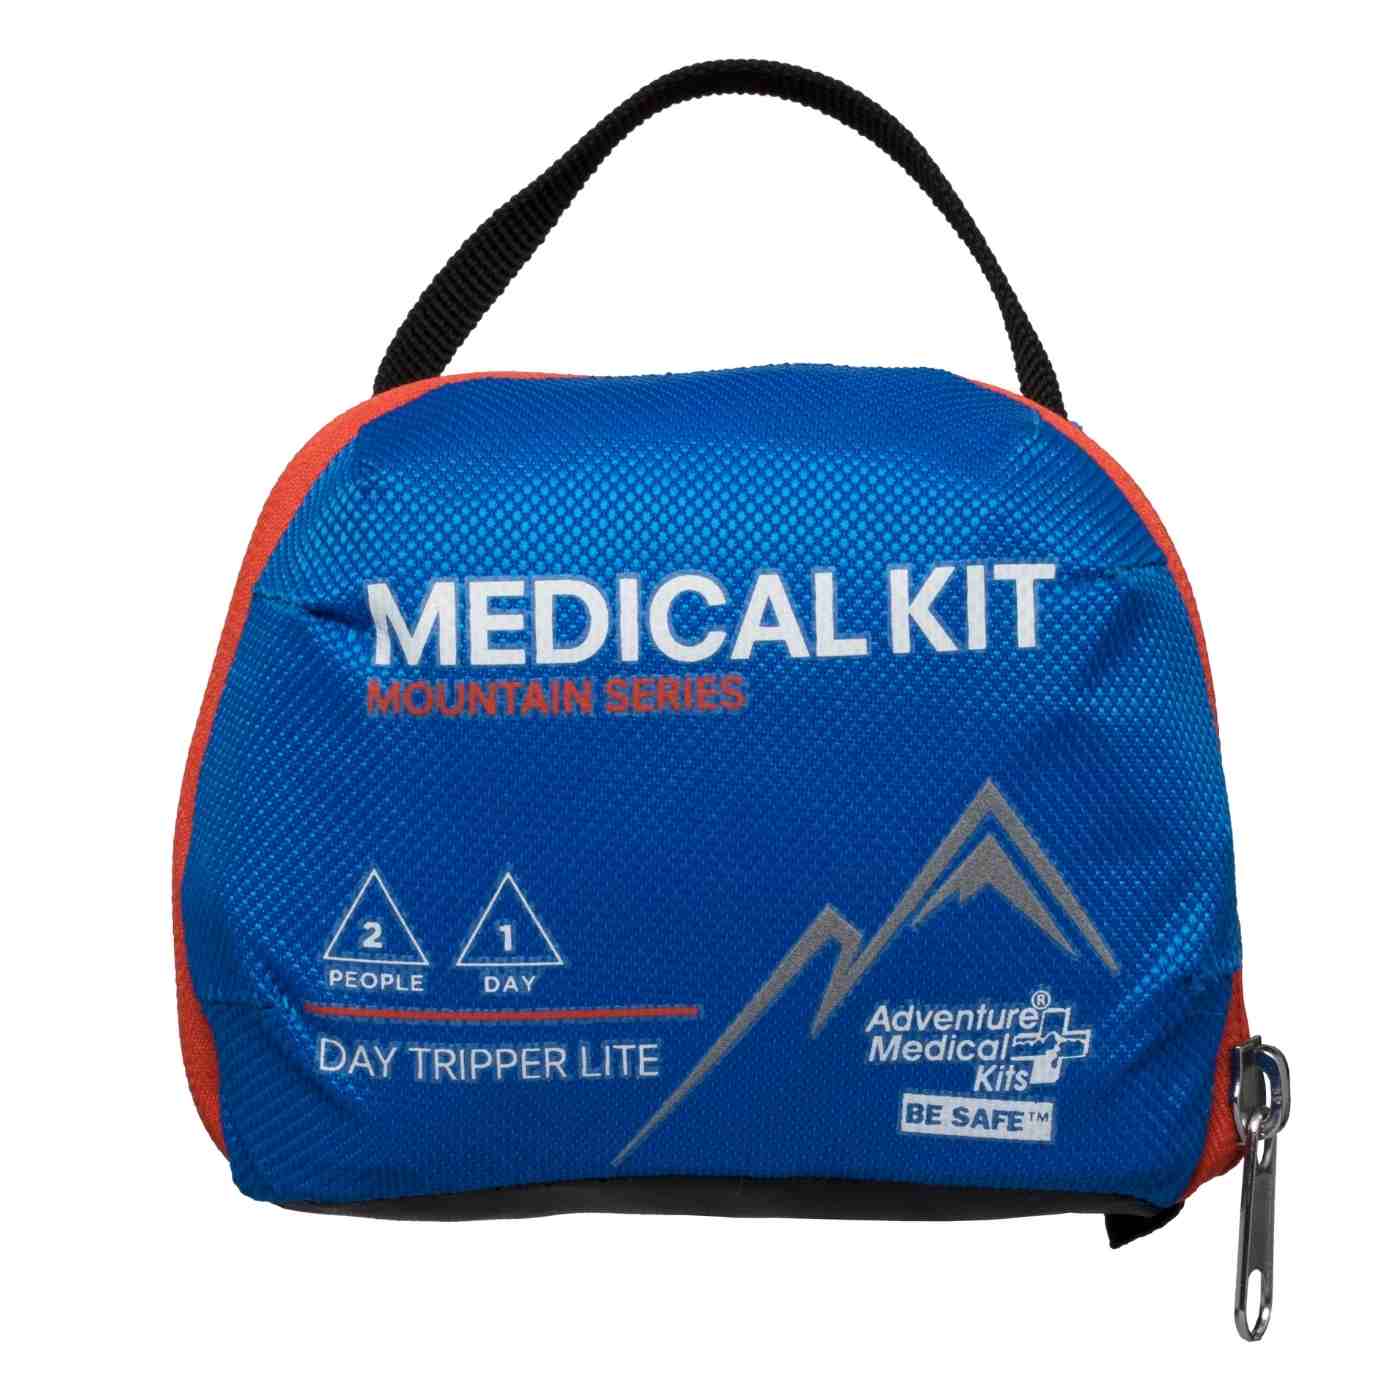
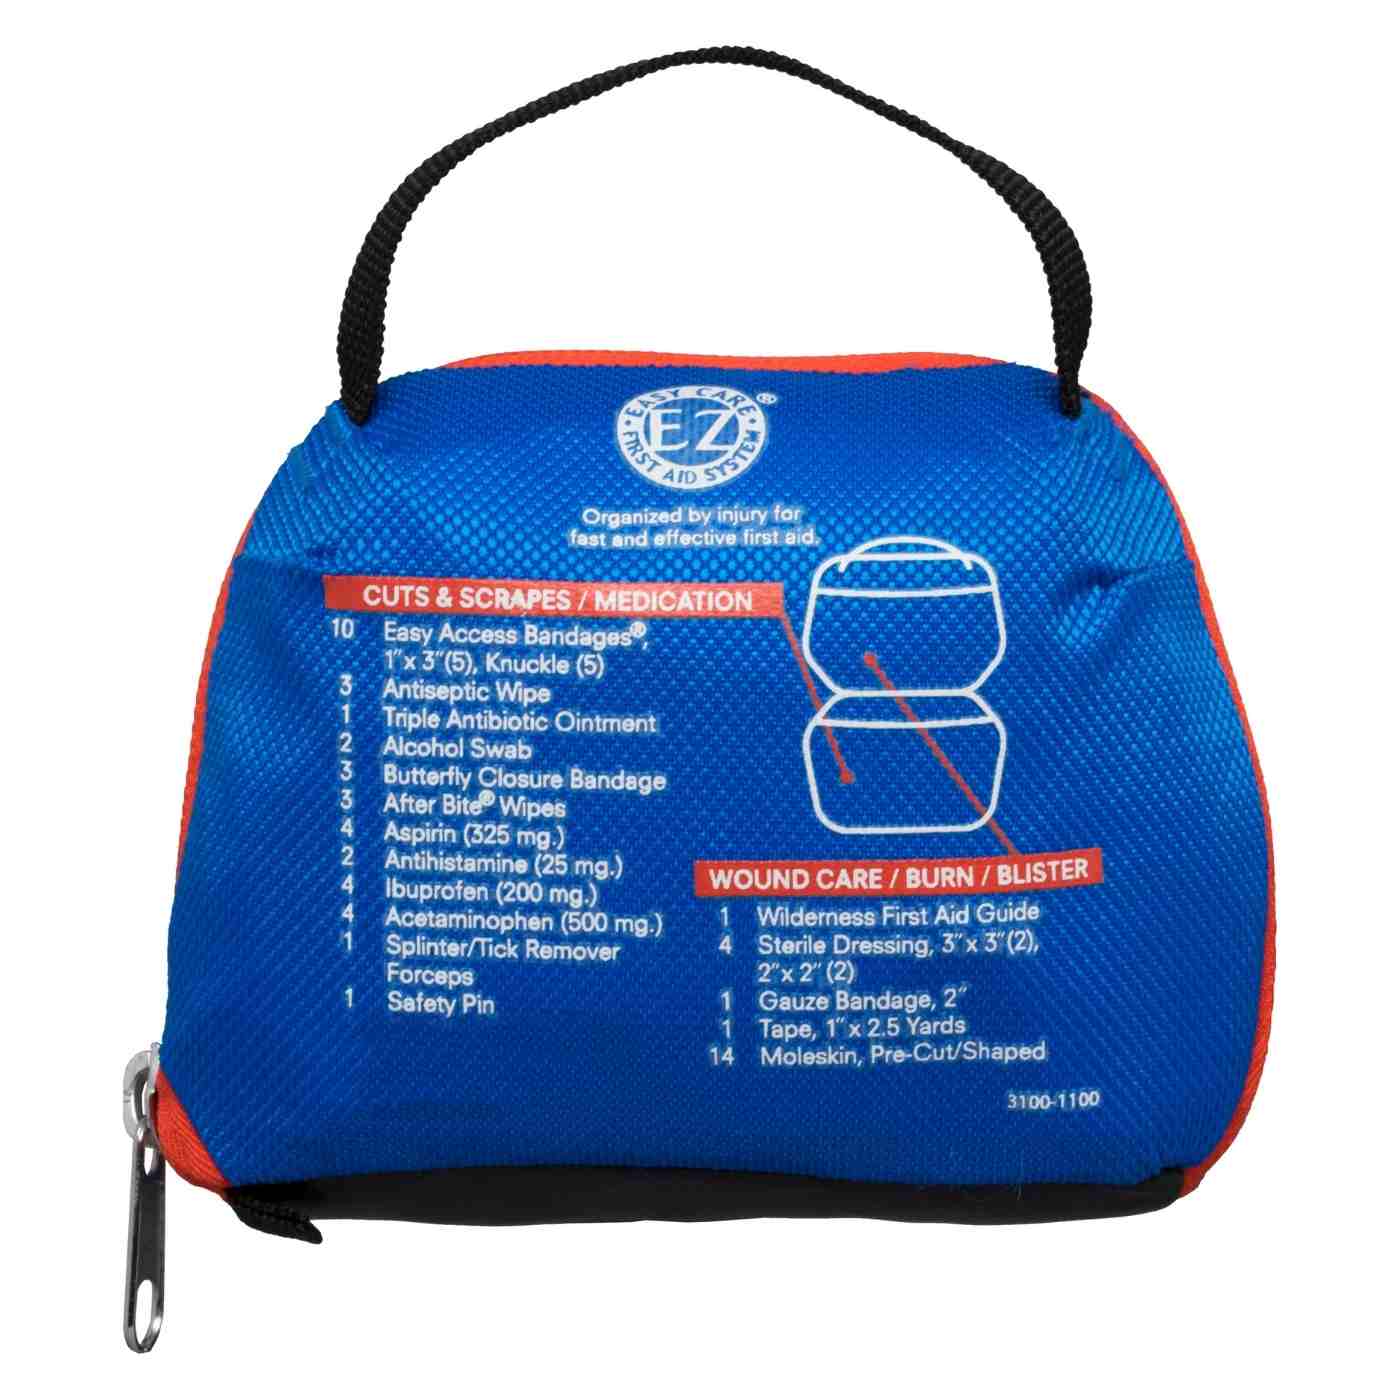
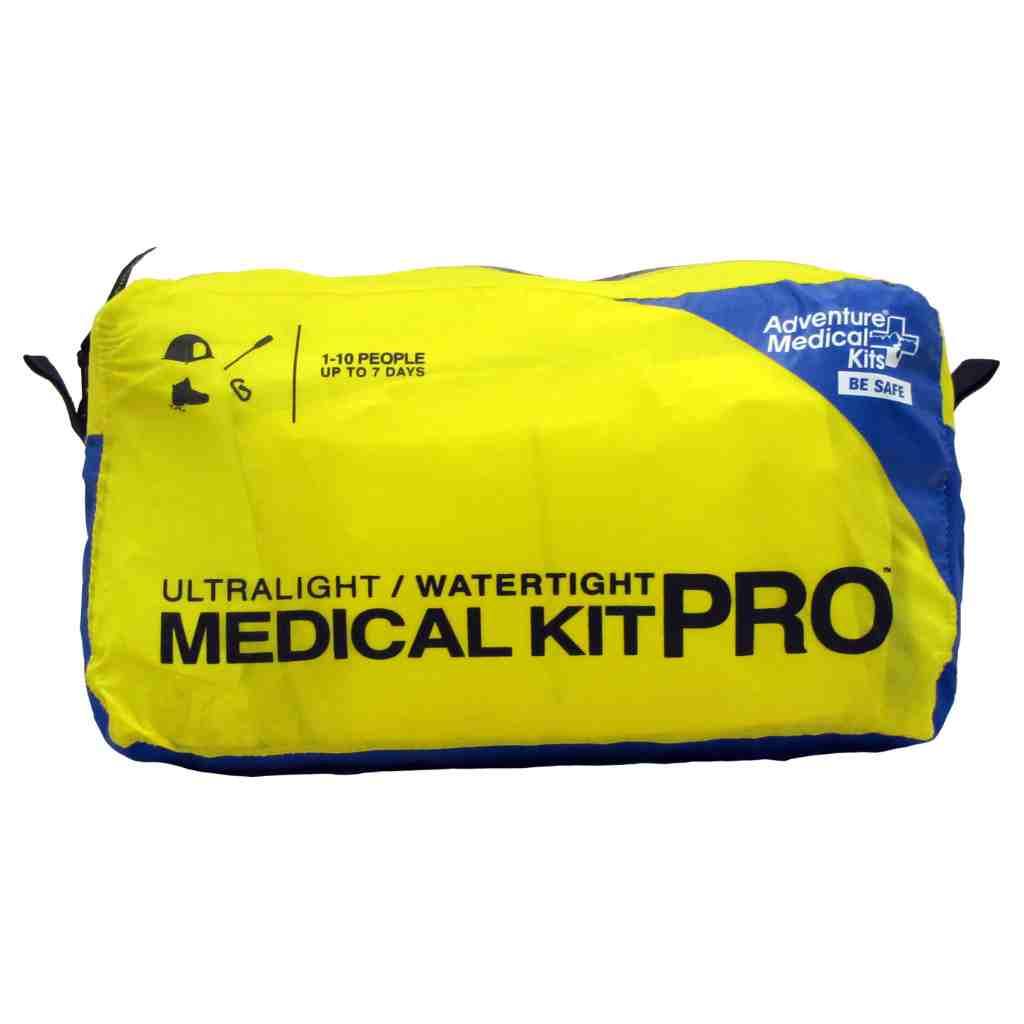
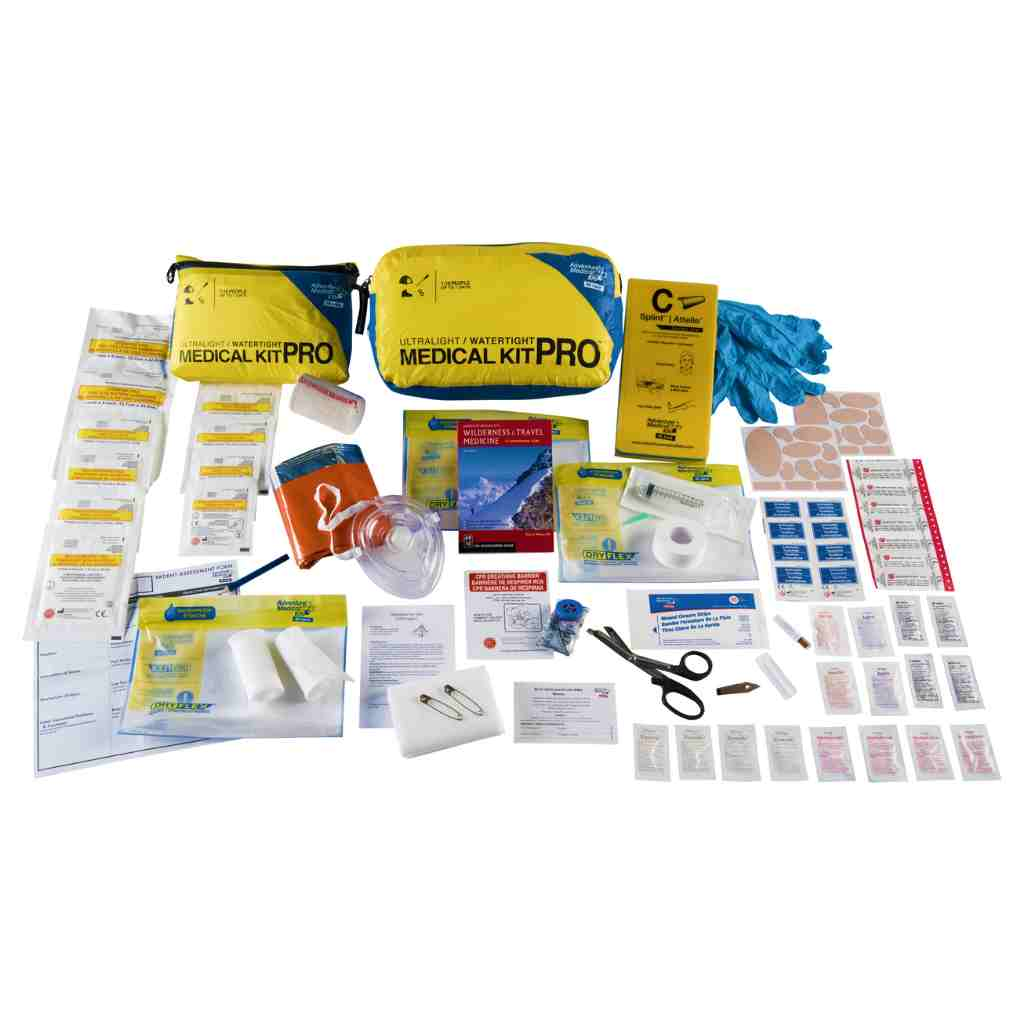
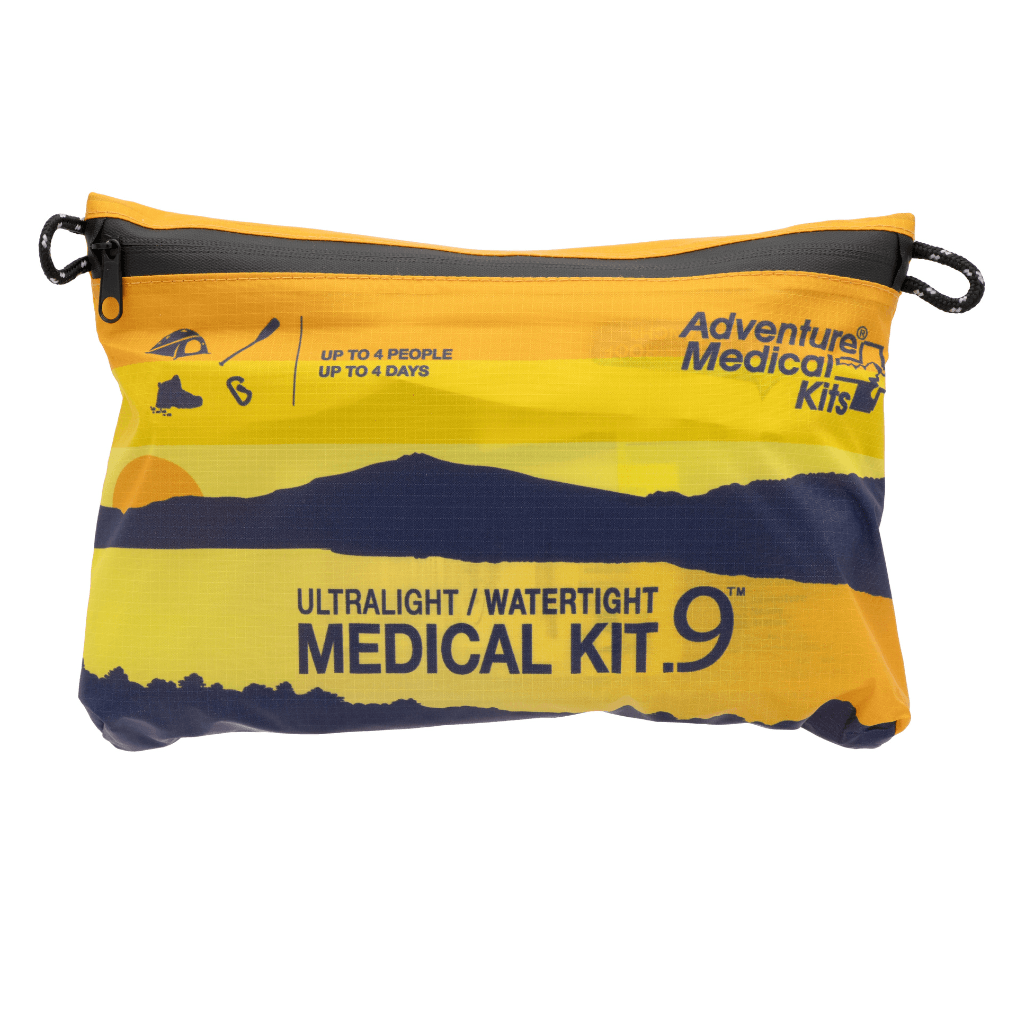
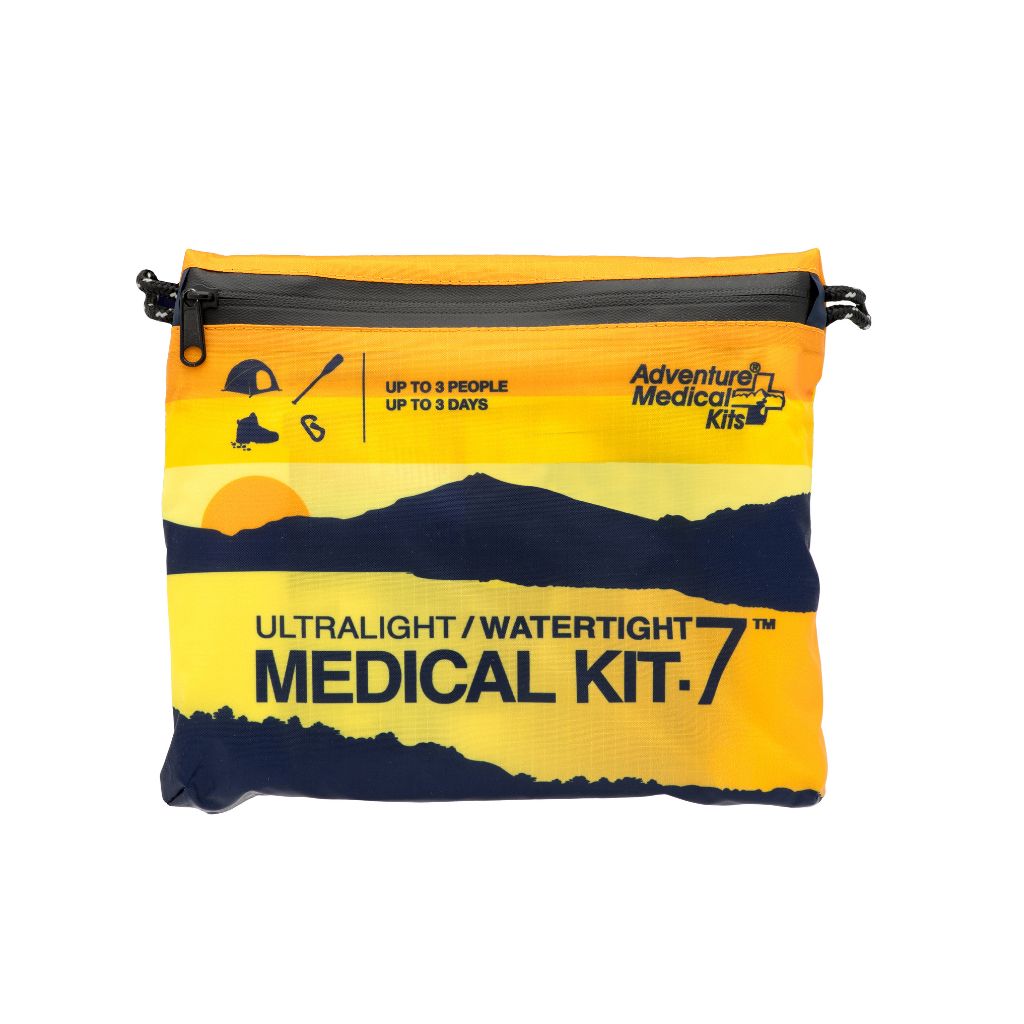
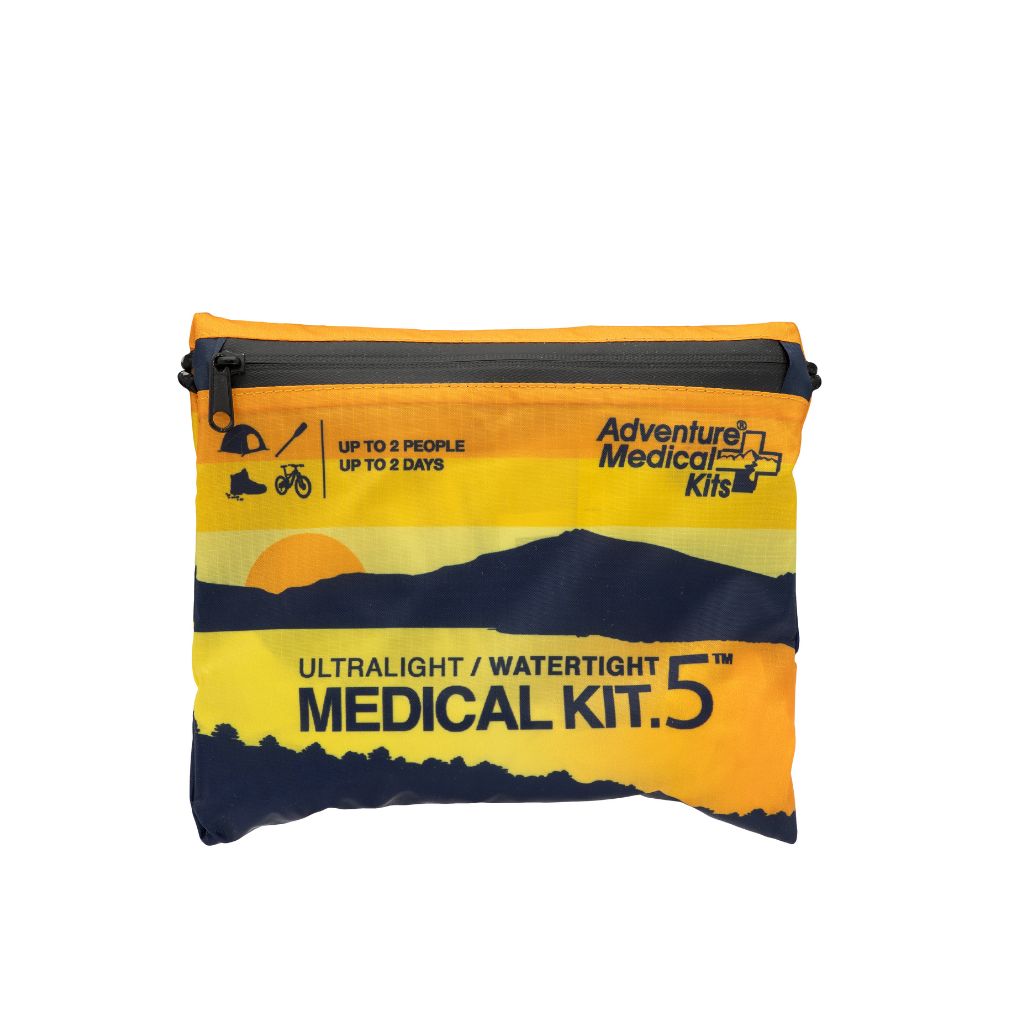
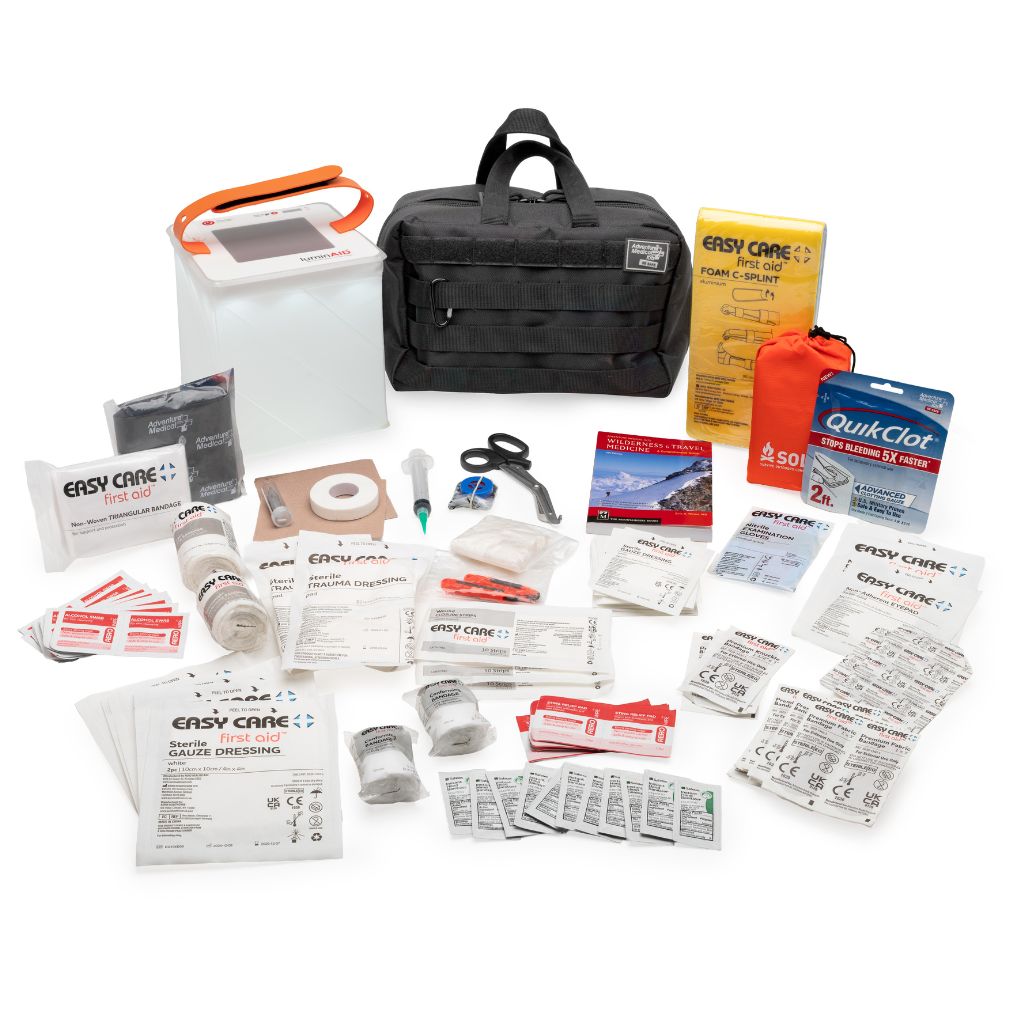
The Adventure Medical Kits Mountain Series Medical Kit - Mountaineer is a group-oriented kit intended for wilderness trips where medical care may be inaccessible. Use its contents as a baseline, then check the actual inventory and add supplies for the trip. A broader injury kit serves a different purpose from a compact pouch focused on bleeding.
Control Bleeding in Order and Choose a Tourniquet
If a serious limb wound is bleeding heavily, activate emergency help and act immediately. Put on gloves if they are within reach, expose the wound, and begin firm, continuous pressure with gauze. Another group member can contact emergency services or use a satellite communicator while you treat the injury.
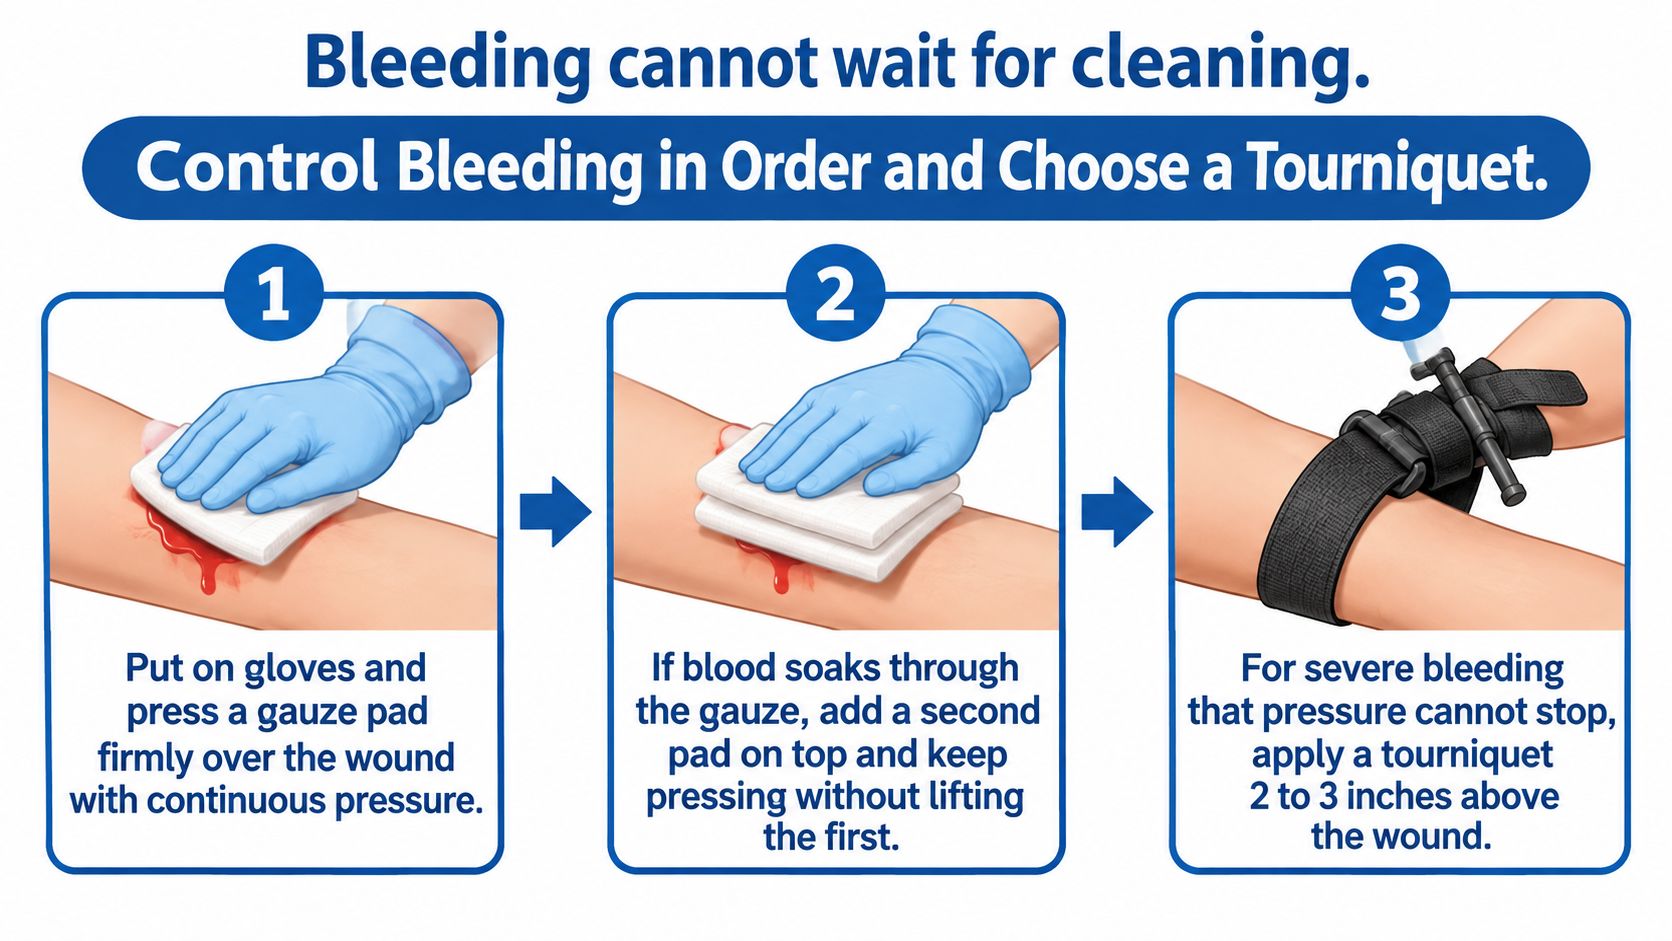
The visual below summarizes the progression. Severe limb bleeding may require a tourniquet at once, rather than an extended trial of other measures.
Apply pressure, then escalate without delay
- Protect hands and press directly. Wear nitrile gloves if immediately available. Expose the bleeding site and press gauze firmly against it. Keep steady pressure, since lifting the pad interrupts compression of the injured vessel. Have another person call for help while treatment begins.
- Keep the original pad in place. If blood soaks through, add a fresh pad and continue pressing without lifting the first one to inspect the wound. Avoid a tall, loose stack, which can spread pressure away from the bleeding point.
- Pack an appropriate deep wound if trained. For a deep, compressible wound that continues to bleed, feed packing gauze into the cavity against the bleeding source, fill the space, then maintain firm pressure with both hands. Packing carries pressure into deeper tissue. Do not pack the chest, abdomen, or eye, and do not push gauze around an embedded object.
- Secure the pressure. When bleeding is controlled, use an elastic pressure bandage to hold the packing and dressing firmly. Check the fingers or toes beyond the wrap for color, warmth, feeling, and movement, since an ordinary pressure bandage should not unintentionally stop circulation. If blood still seeps through, add packing and rewrap; do not add a second loose layer.
- Use a tourniquet for life-threatening limb bleeding. Apply one if direct pressure fails or cannot be maintained. Place it a few inches above the wound, toward the torso, and never across a joint. Tighten the strap, turn the windlass until bleeding stops, secure it, and record the application time. If bleeding continues, check the application and follow your training and the device instructions.
- Maintain control until handoff. Keep direct pressure in place until another responder takes over without a gap. Leave an effective tourniquet secured and visible for medical professionals; do not loosen it periodically. Keep the injured person warm, and monitor responsiveness and breathing while help approaches.
The WHO Community First Aid Response pocket guide/csy/cfar-pocketguide.pdf?sfvrsn=a4ac249c_1) covers direct pressure, wound packing, pressure dressings, and tourniquets for life-threatening extremity bleeding when pressure is ineffective or impractical. Each method works differently: direct pressure compresses vessels at the wound, packing fills a cavity so pressure reaches the source, and a tourniquet stops arterial flow into the injured limb.
For a soaked dressing, the American Red Cross wound guidance advises leaving the original dressing in place and maintaining steady pressure rather than repeatedly uncovering the injury. After applying a pressure bandage, check whether blood continues to seep through and whether pressure remains firm over the wound.
Choose a device that can be applied under stress
A tourniquet must be usable with cold or slippery hands. The person applying it needs to open the device, route the strap correctly, remove slack, and secure the windlass. Keep it accessible, and practise with the same type of device you carry.
A systematic review of bleeding-control training published in Military Medicine found that two-handed manual pressure generated more force than one-handed pressure or pressure-wrap techniques. Reported tourniquet success rates were CAT 92.2%, SOFTT 68.6%, SWAT-T and RATS 11.8% each, and improvised devices 32.4%.
Tourniquet success rates in a bleeding-control training review
| Practical note for a trail kit |
|---|
| CAT: windlass design; highest reported result in the review |
| SOFTT: lower reported result; choose a model supported by hands-on training |
| SWAT-T: low reported result; weak first choice |
| RATS: low reported result; same caution applies |
| Improvised device, such as a belt, strap, or cord: fallback when no commercial device is available |
These training results are not guaranteed field outcomes or a universal ranking for every condition. They support choosing a validated device and practising with it, rather than assuming any tight strap will work. A separate training device also avoids repeatedly wearing out the operational tourniquet. Store the field device where either hand can reach it, protect it from environmental damage, and keep clothing or pouch straps from obstructing removal.
Packing mistake: Small adhesive bandages cannot substitute for gauze that fills a bleeding cavity.
Understand where a tourniquet cannot work
A limb tourniquet cannot control bleeding at the groin, armpit, or neck. For suitable junctional wounds, trained responders use hemostatic gauze with sustained direct pressure. Neck wounds require particular caution; never wrap anything around the neck.
Do not pack blindly into an unfamiliar body cavity. If an injury is outside your training, use focused direct pressure where appropriate and seek urgent emergency guidance rather than improvising an invasive technique.
Hands-on instruction is needed to learn packing and tourniquet skills. A demonstration can support practice, but it cannot check hand placement, pressure, or strap tension.
How to Clean and Cover a Wound Safely
Covering a dirty wound can trap contamination beneath the dressing. Routine cleaning begins after bleeding is controlled, not while a serious hemorrhage continues.
The CDC's disaster wound-care guidance recommends hand hygiene, direct pressure, gentle flushing, cleaning the surrounding skin, and covering the cleaned injury. Antiseptic wipes don't replace irrigation.
Follow a clean-to-covered sequence
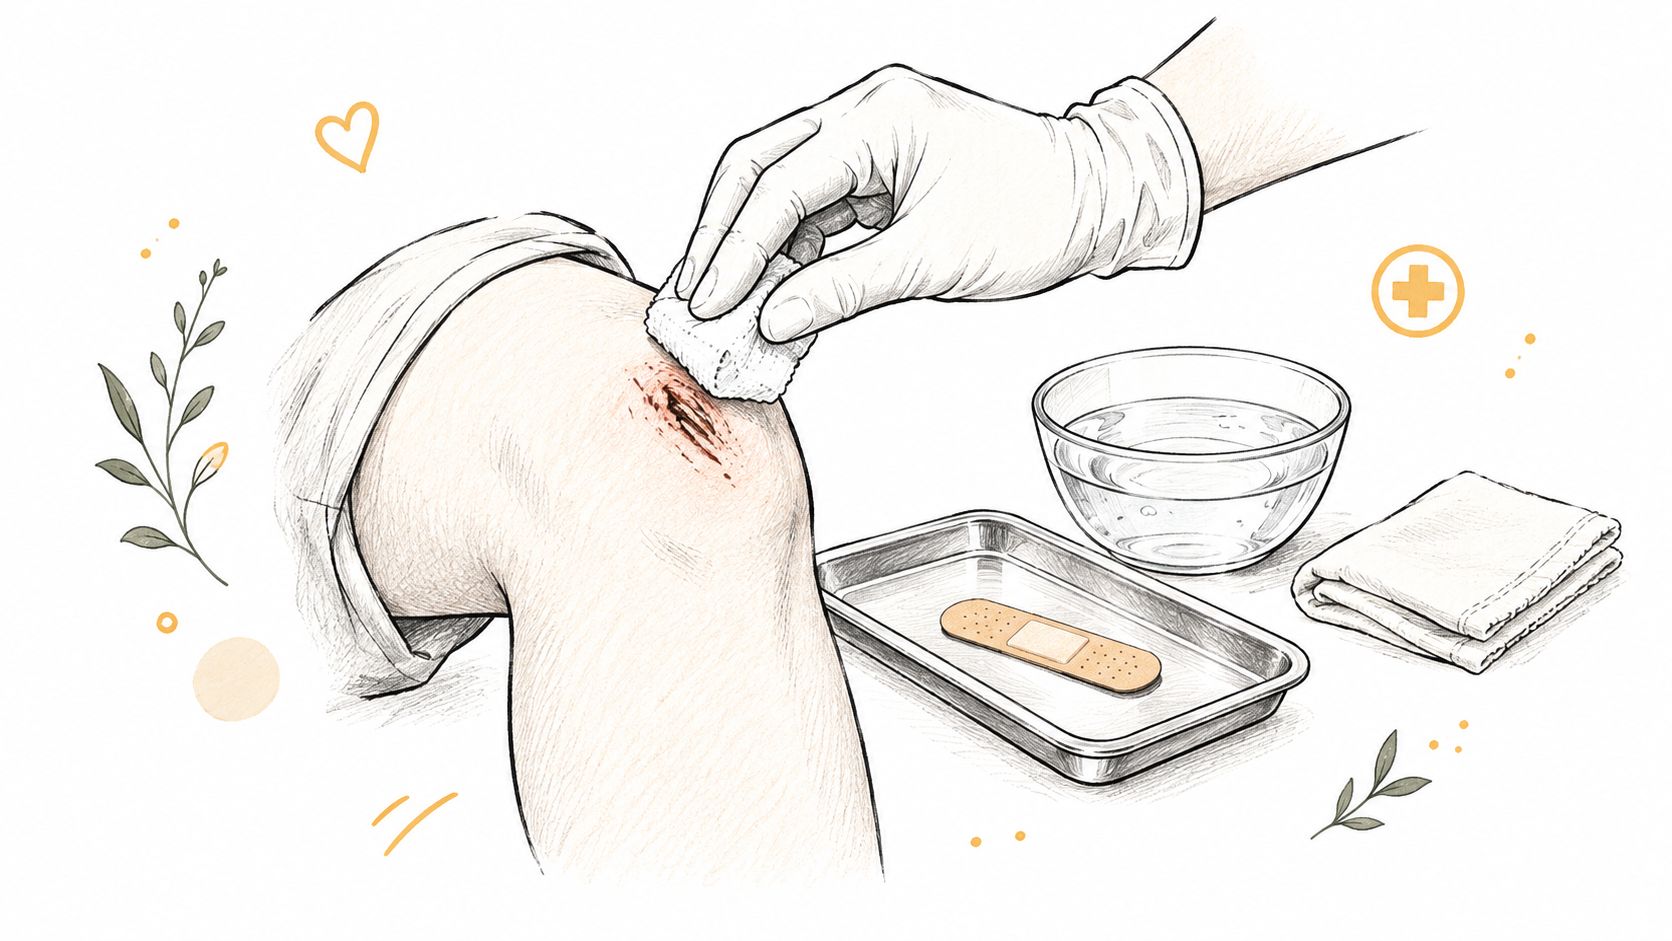
- Wash hands and use gloves. Clean hands reduce contamination during care; gloves add a barrier but don't make dirty hands or equipment sterile.
- Control bleeding first. Use direct pressure so cleaning doesn't distract from the immediate threat.
- Gently flood the wound. Use bottled or clean running water, preferably saline when available, to wash away loose dirt. Don't use untreated lake or stream water.
- Clean surrounding skin. Use soap and clean water, wiping away from the opening so debris isn't swept back inside.
- Pat dry. Dry the surrounding skin gently rather than rubbing injured tissue; adhesive also holds better on dry skin.
- Cover the clean wound. Choose a non-stick pad or an appropriately sized adhesive or waterproof bandage to protect against further contamination.
- Inspect and replace. Check daily and change a dressing when wet or dirty, checking for increasing pain, redness, swelling, or drainage.
The image shows gentle handling of an abrasion, not forceful scrubbing.
Handle special cases differently
- Bites and punctures: Clean before covering, don't seal with closure strips, and arrange medical assessment. Small surface openings can conceal deeper contamination.
- Blisters: Cushion an intact friction blister with a hydrocolloid dressing rather than routinely popping it or wrapping the foot tightly.
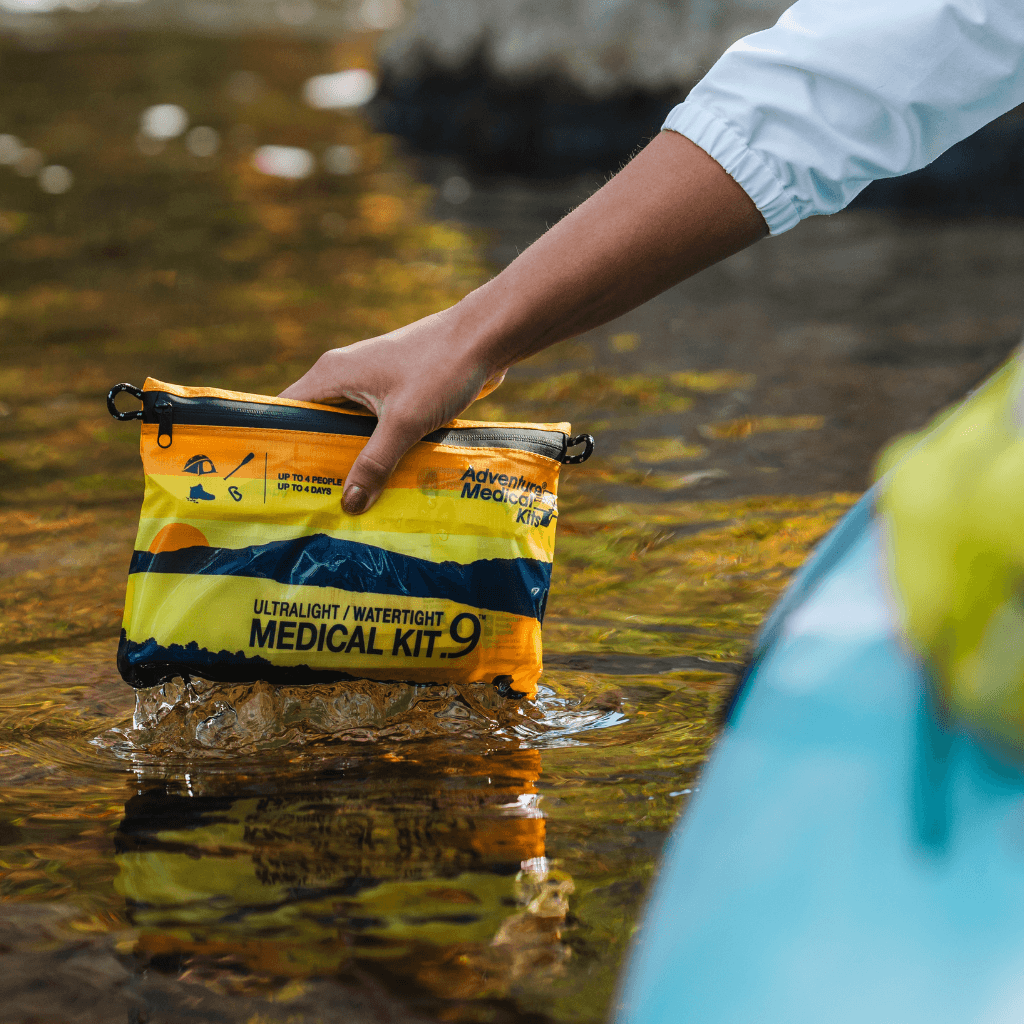
- Water exposure: Keep open wounds out of floodwater, salt water, and brackish water. The CDC's emergency hygiene guidance recommends waterproof coverage after cleaning, not as permission to immerse an injury.
- Contaminated wounds: Don't pull dirty edges together. Clinician-directed care may leave the wound unclosed with light saline-gauze packing and a dry dressing.
- Insect bites: AfterBite addresses itch relief after a bite, separately from wound cleaning; check the product label before application.
The wound closure kit guide provides context for closure supplies, but gaping, dirty, or deep wounds aren't trail-side closure projects. TP Training's practical first aid training explained is also useful when choosing instruction that includes supervised practice rather than checklist memorization.
Organizing and Restocking Your Kit for Real Trips
Start with the items needed first: gauze and a pressure bandage for bleeding, gloves for contact with blood, and tape to secure a dressing. Keep these in the top layer, with saline and adhesive bandages grouped nearby. If gauze sits beneath cooking gear, someone managing a bleed must stop and search while pressure is needed. A stocked kit can fail because supplies are buried, depleted, or unfamiliar.
A solo day hiker can carry a compact pouch in a hip pack. On a two-person canoe trip, divide the bleeding-control supplies between both carriers so one separated pack does not take every item. Make sure both people know where the supplies are and how the kit is organized.
A vehicle kit is easy to reach from a glovebox, but prolonged heat and cold can damage packaging, adhesives, and medications. Check storage limits and move temperature-sensitive items rather than leaving the kit in the vehicle permanently.
Build access into the packing system
Use a resealable waterproof bag as a moisture barrier, then sort supplies into labelled inner groups. Keep sterile wrappers away from sharp tools, and store wet used equipment outside the clean supply compartment. After dark, a LuminAID lantern can illuminate the treatment area while leaving hands free; a headlamp directs light more precisely onto a wound.
Rider 18's packing tips for family cycling outings offer useful context for keeping essentials accessible. Apply the same principle to medical gear: every group member should know its location, not only the person carrying it.
Make replacement part of the trip
A pressure bandage used on one trip must be replaced before the next. Otherwise, the kit may be missing the item needed to maintain pressure during another injury. Keep gauze, tape, gloves, a pressure bandage, saline, and adhesive bandages as the minimum refill set. Replace opened sterile supplies even if they look unused, and discard items with damaged packaging.
The MSD Manual's basic first-aid supplies guidance recommends checking kits every three to six months and keeping a supply checklist and first-aid manual.
Kit inspection and restock schedule
| Check | When to run it | What to do |
|---|---|---|
| Trip-start inspection | Before every trip | Confirm every item is present, unexpired, and dry |
| Post-use refill | Immediately after any use | Replace used gauze, gloves, dressings, and tape |
| Full audit | Every three to six months | Replace missing or expired items and update the checklist |
| Storage check | At each change of season | Move the kit out of damaging heat, cold, and direct sun |
| Group size review | Before each new group trip | Rescale supplies for people, trip length, and remoteness |
Keep bulky replenishment supplies in a stationary disaster kit. For a mobile trail kit, balance carrying weight against the expected time before resupply. Check the inventory before leaving, then refill anything used as soon as the trip ends.
Decide When to Stop Self-Care and Call for Help
Self-care suits clean, shallow wounds that stop bleeding under pressure. Injuries beyond that scope need professional assessment, even when a dressing makes them look manageable.
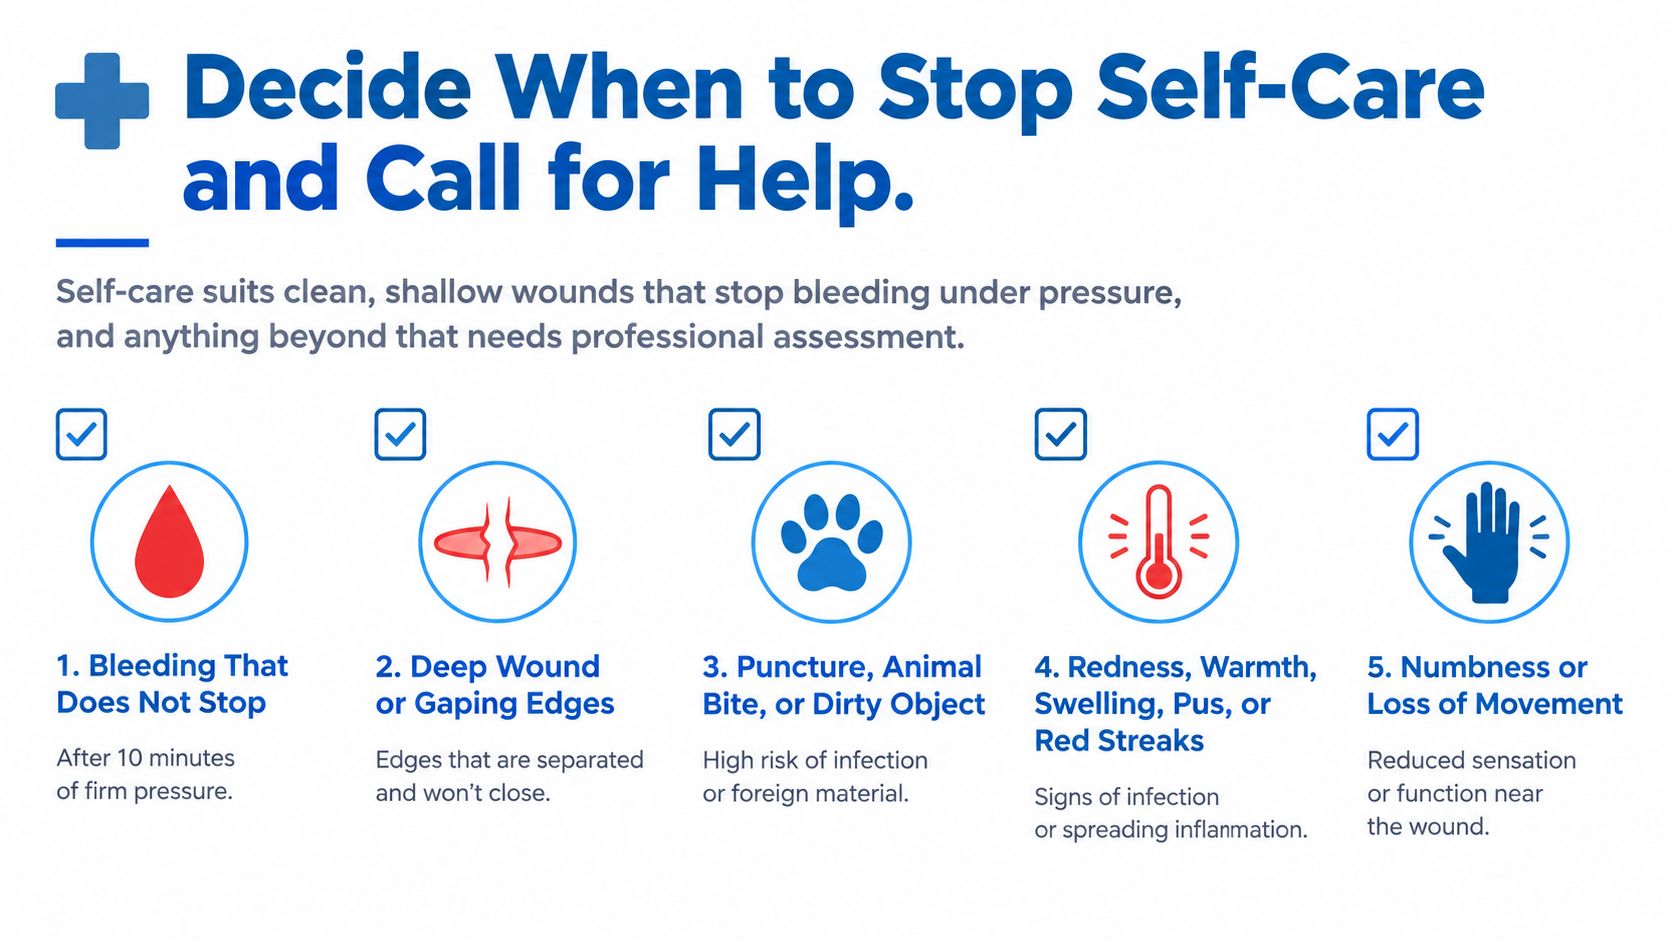
- Uncontrolled bleeding: Persistent flow or repeated soak-through despite sustained pressure requires emergency help.
- Tourniquet use: Any applied tourniquet requires immediate emergency care.
- Deep or contaminated injury: Gaping wounds, embedded objects, animal bites, and punctures need assessment.
- Infection signs: Spreading redness, swelling, pus, oozing, or worsening pain aren't reasons to keep experimenting with dressings.
- Sensitive or extensive injury: Eye injuries, major-area burns, numbness, or loss of movement need urgent evaluation.
The checklist below highlights escalation signs. Severe bleeding warrants immediate action; no clock-based waiting period should delay emergency help.
Plan evacuation before deterioration
The IFRC's 2025 International First Aid Guidelines advise against covering an infected wound and emphasize medical help; they also identify low- or very-low-certainty evidence for some wound-care comparisons. No antiseptic or dressing deserves a claim of universal superiority.
Far from care, stabilize the injury, document treatment times and changes, and arrange evacuation early. The backcountry self-care guide supports broader trip preparation, not treatment beyond the responder's training.
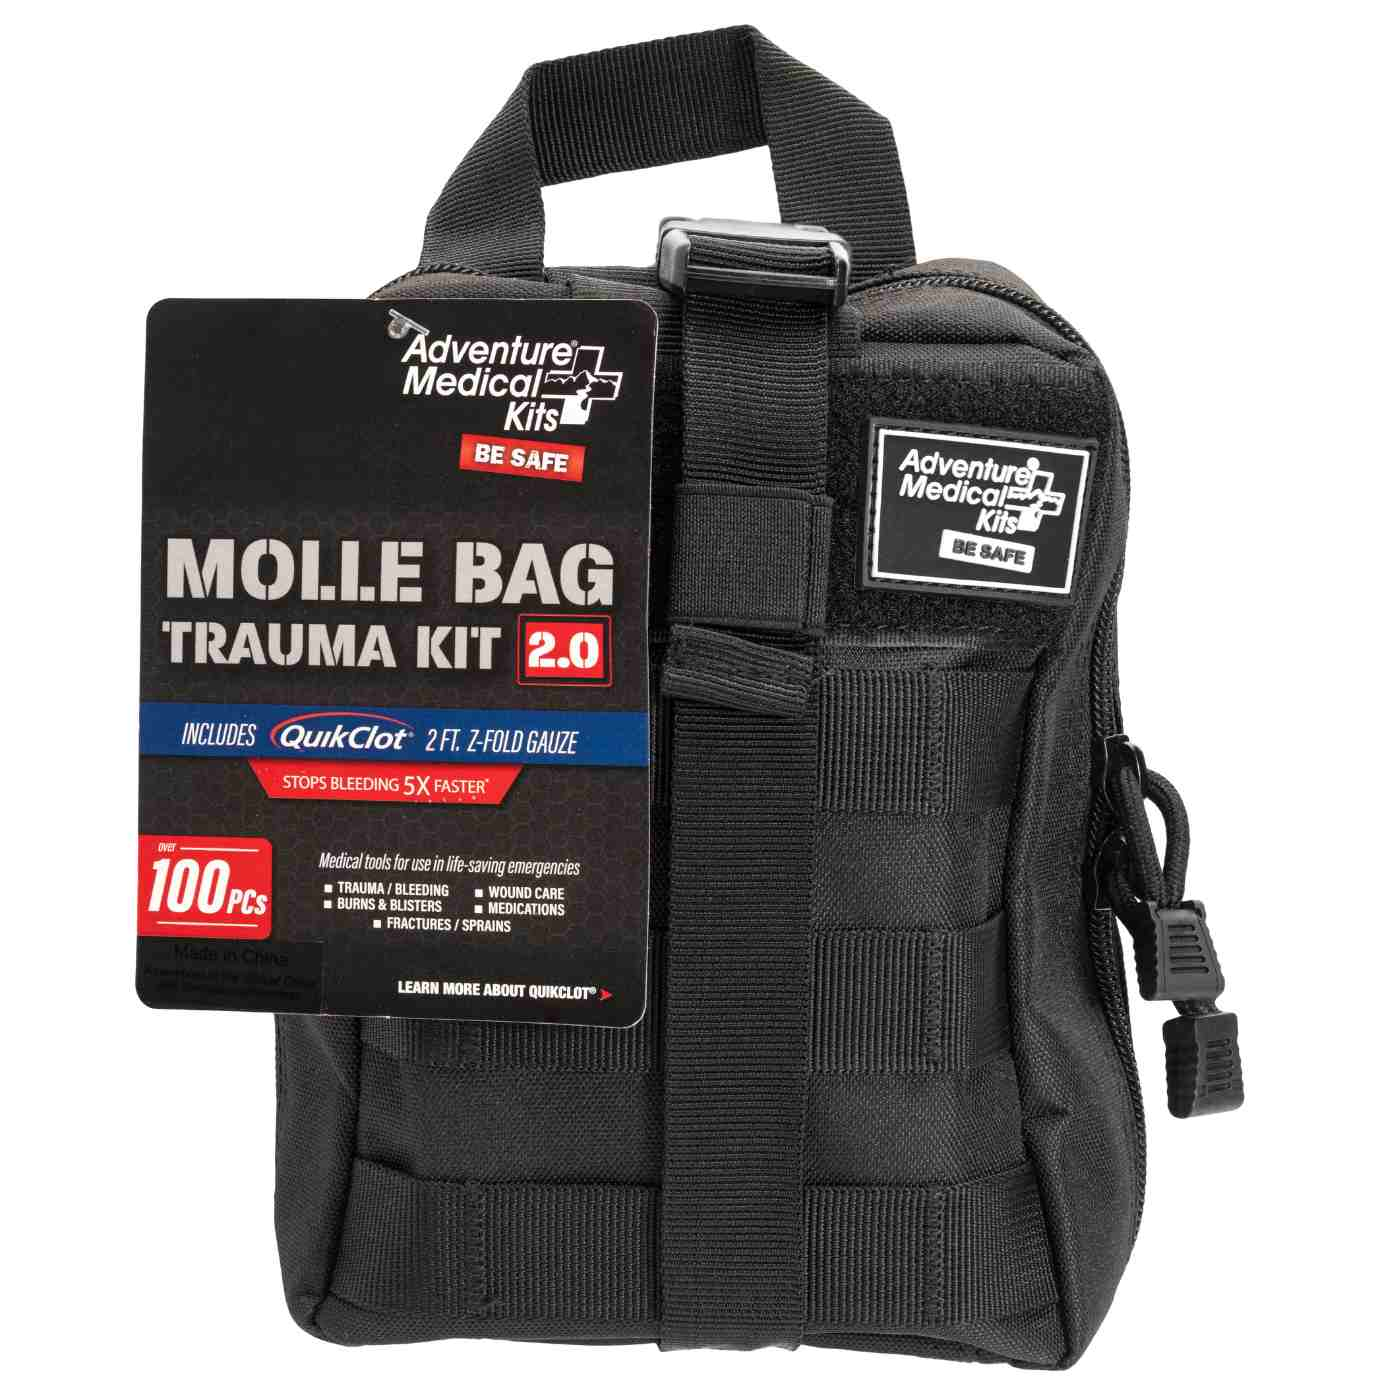
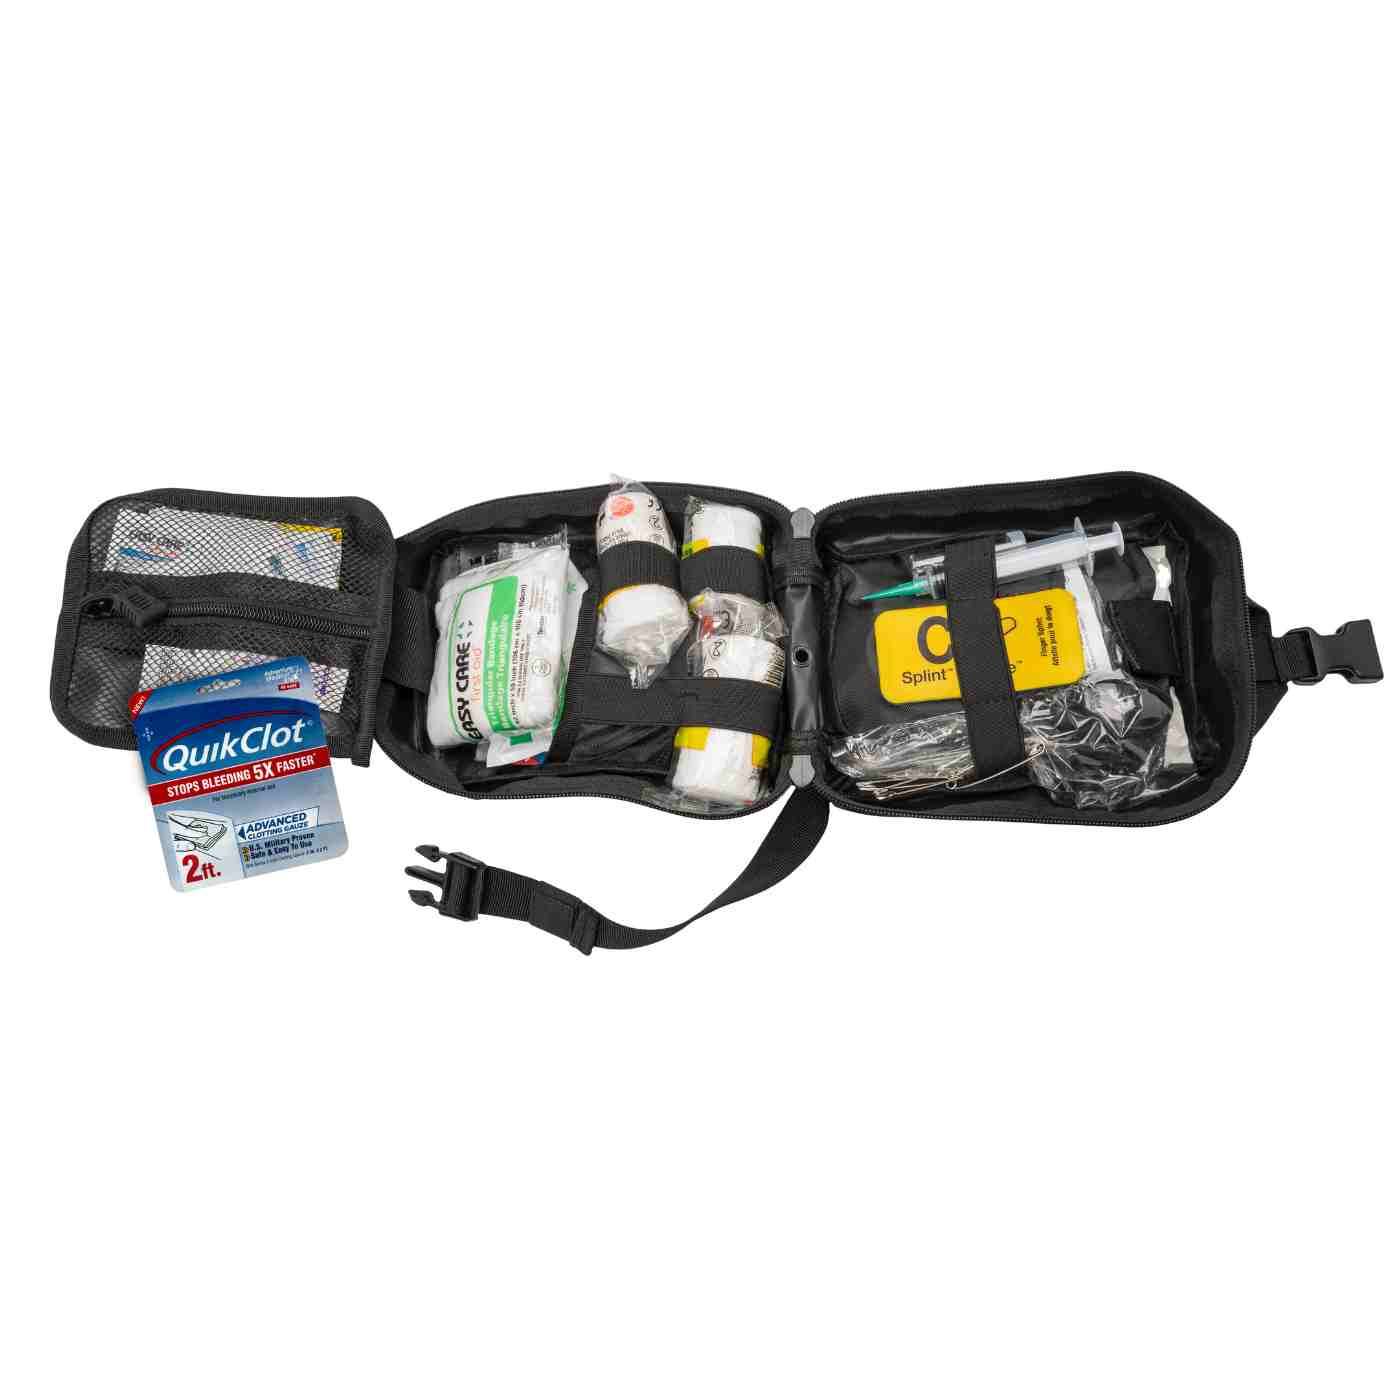
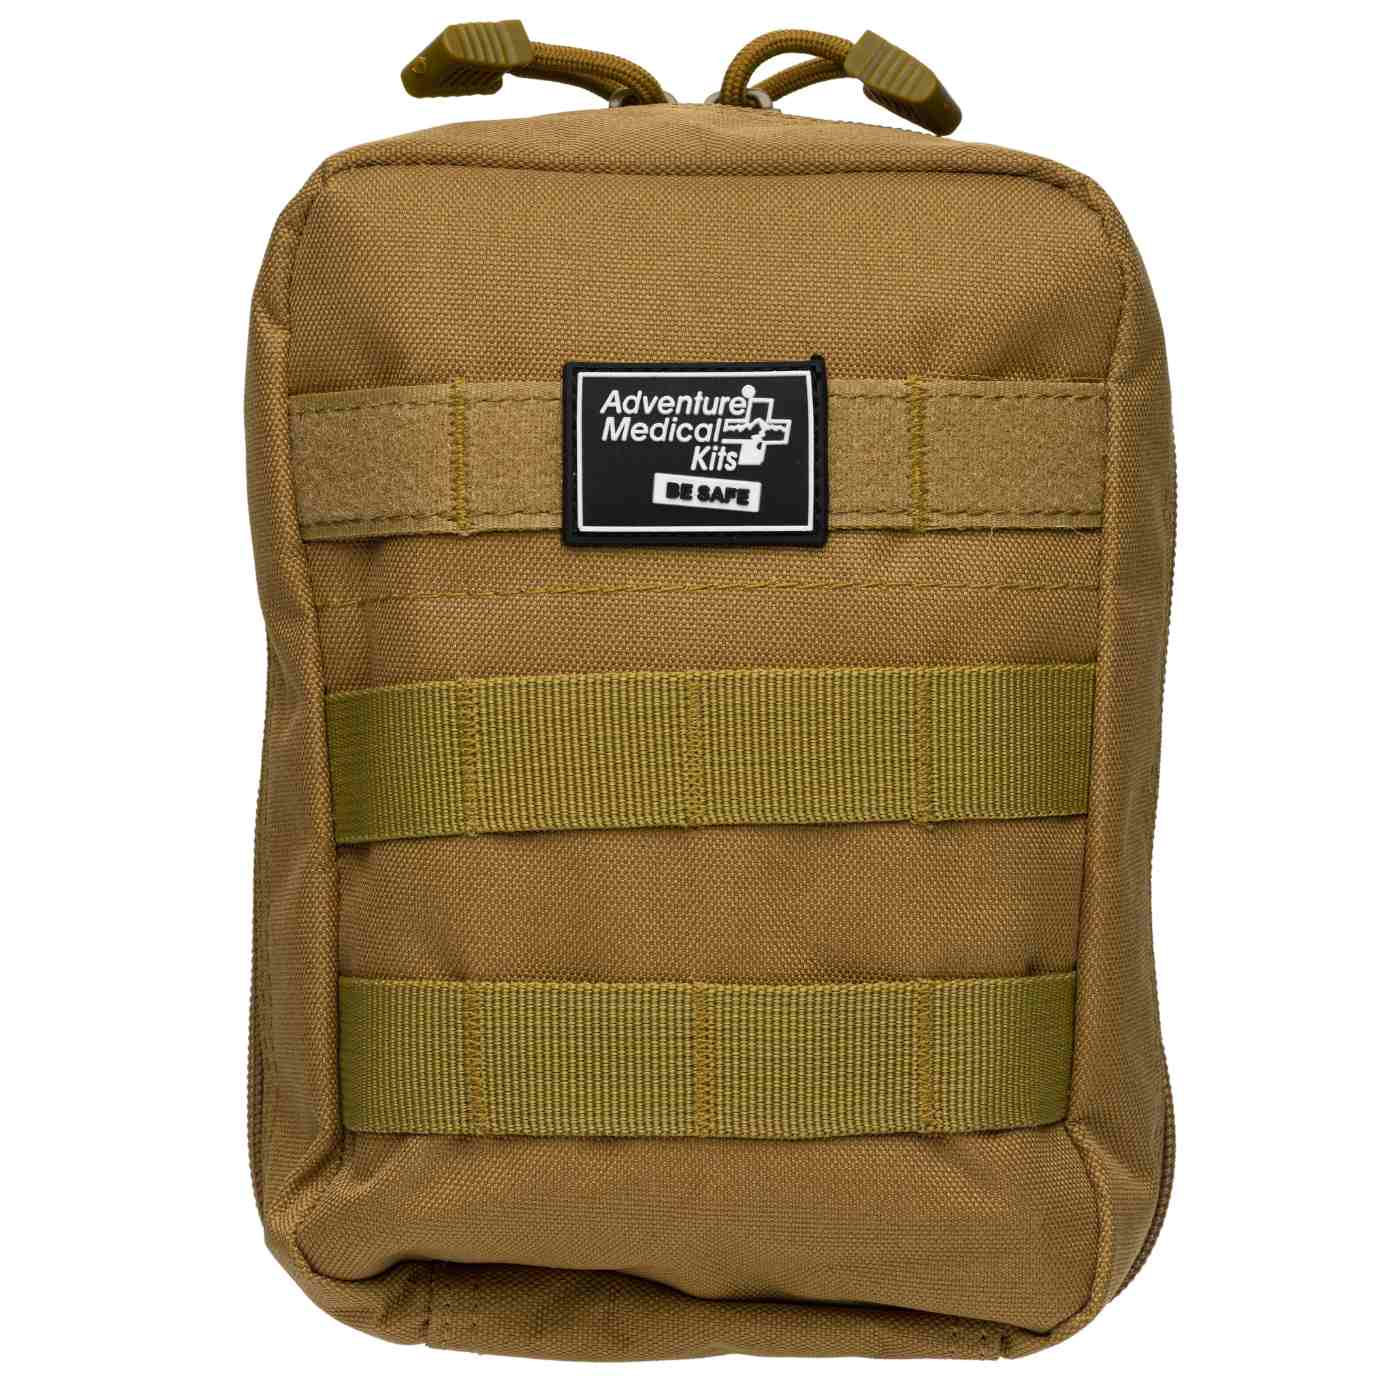
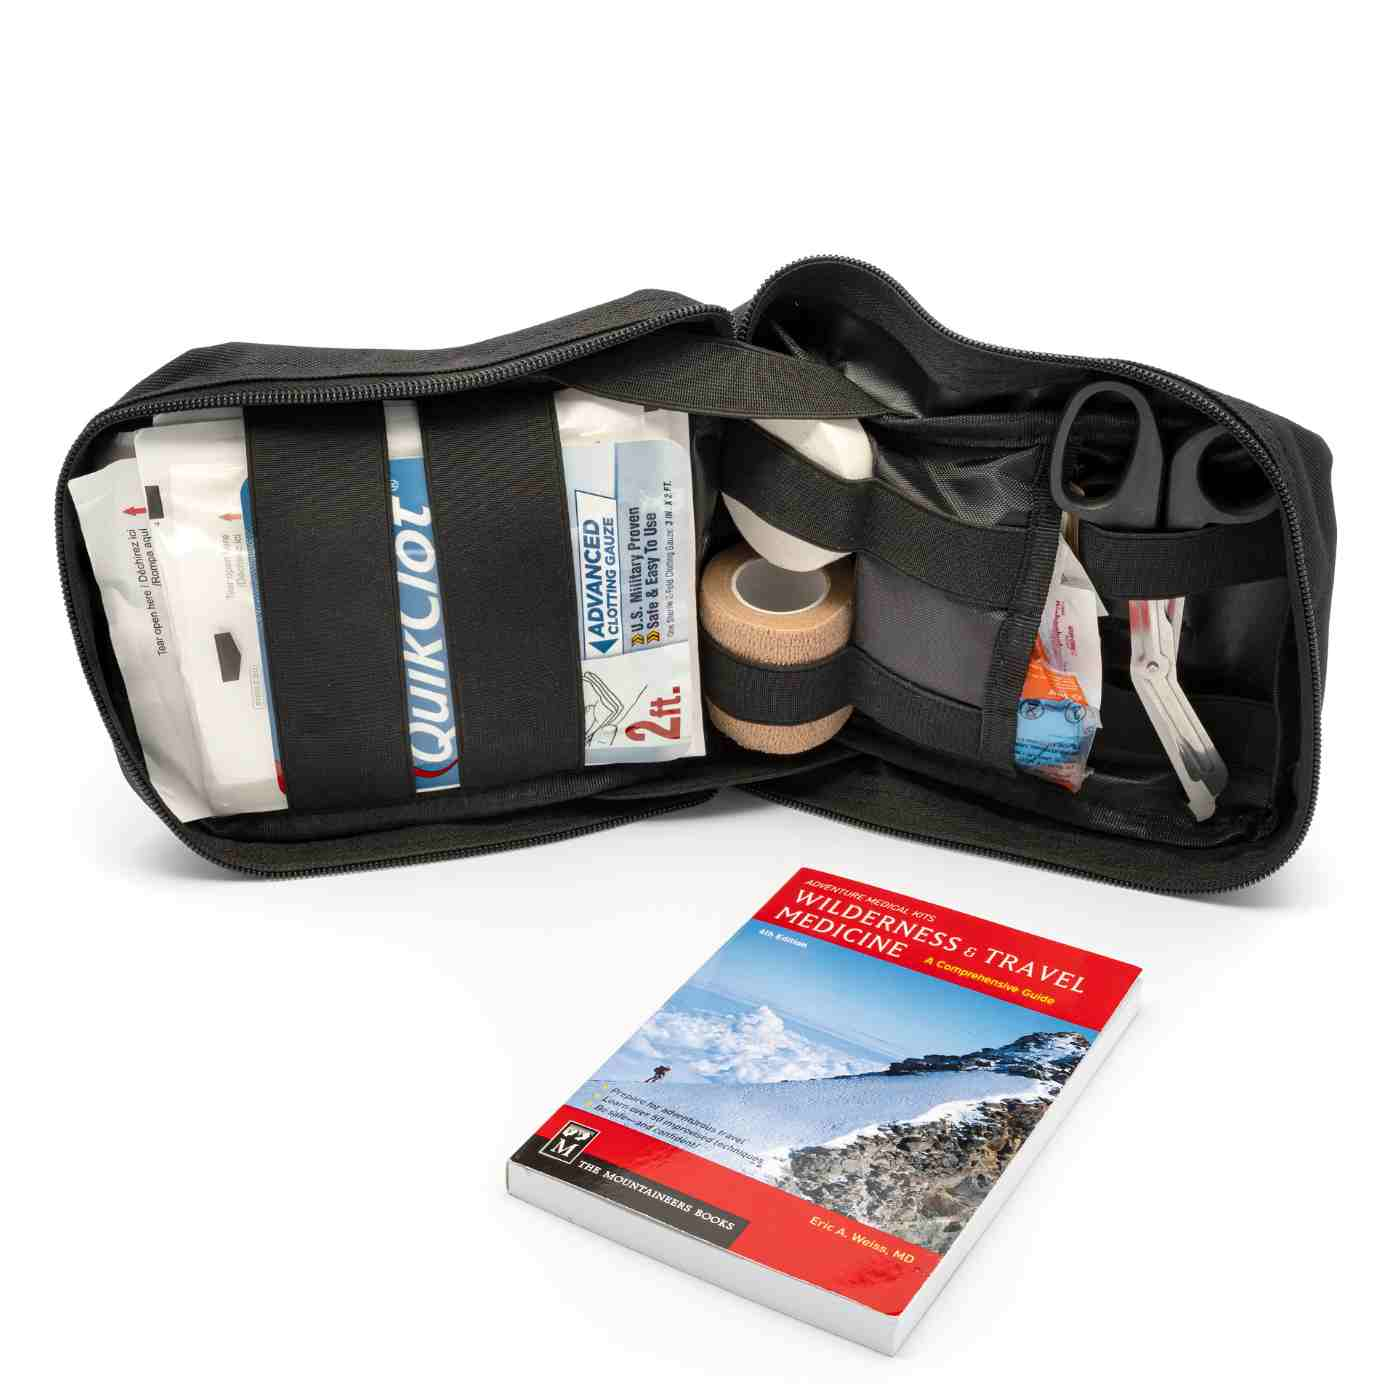
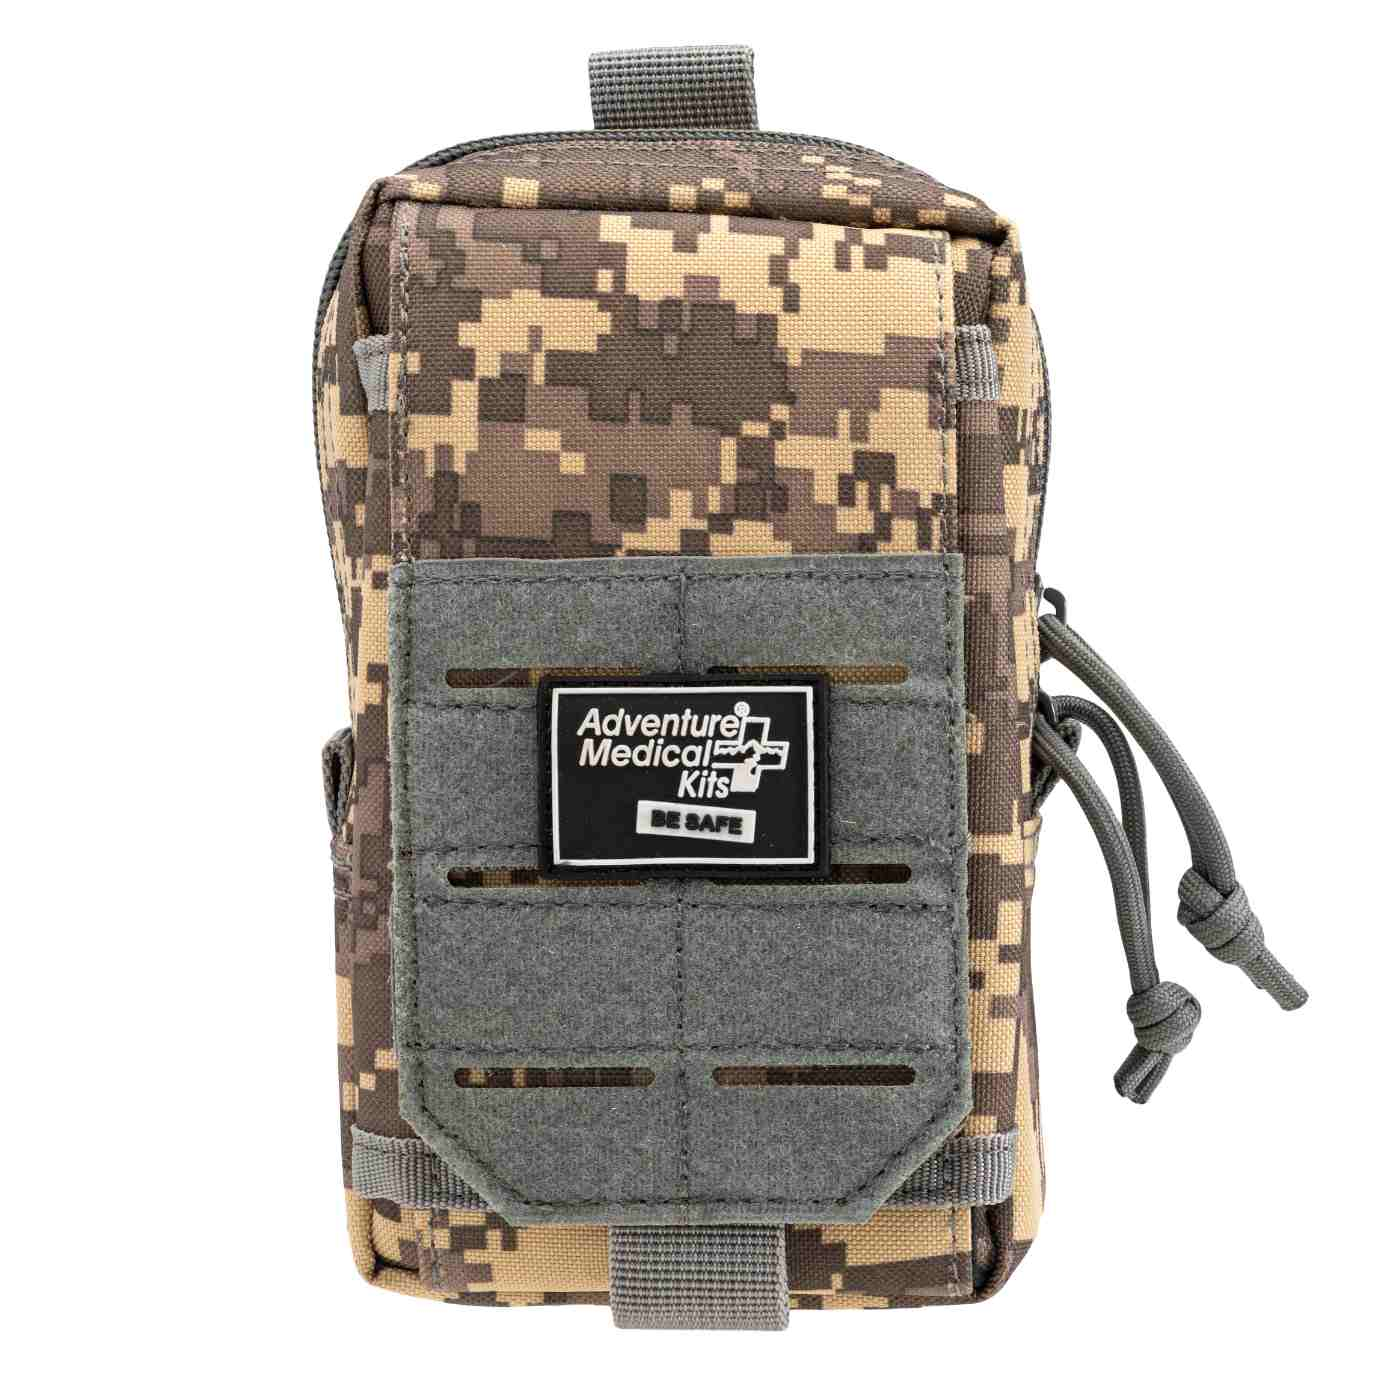
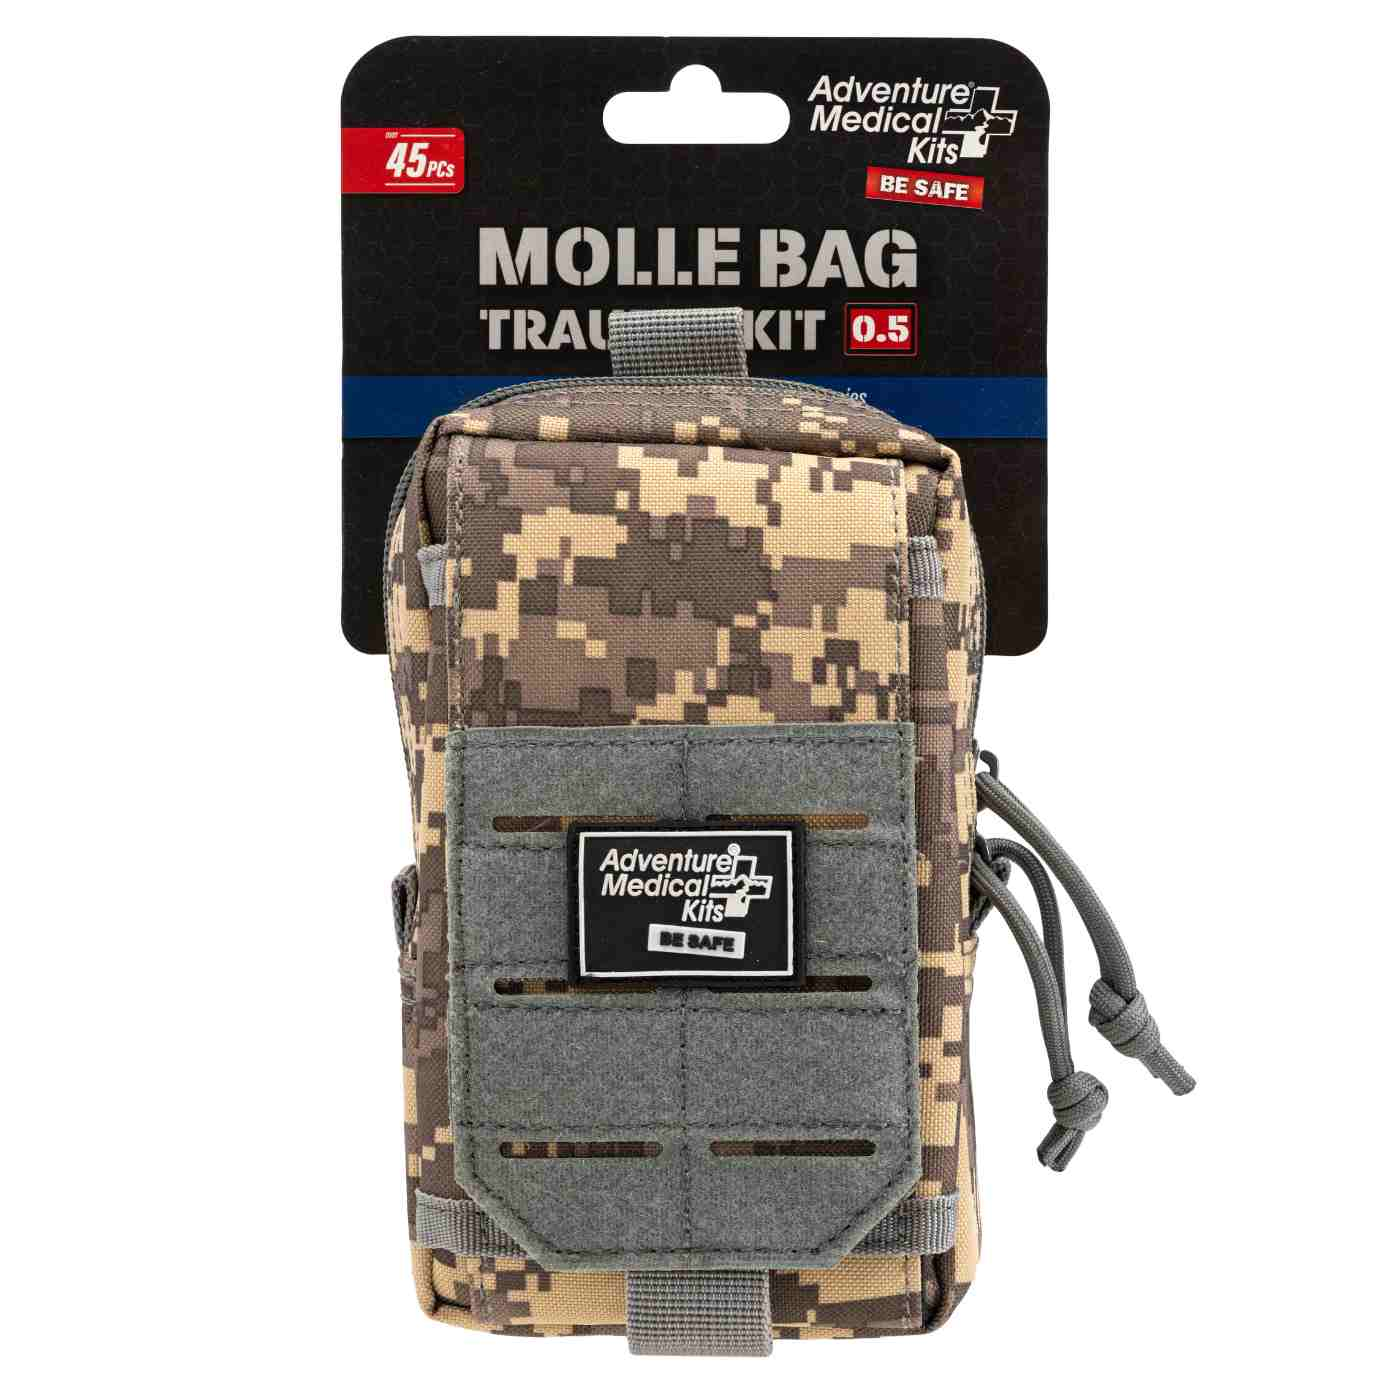
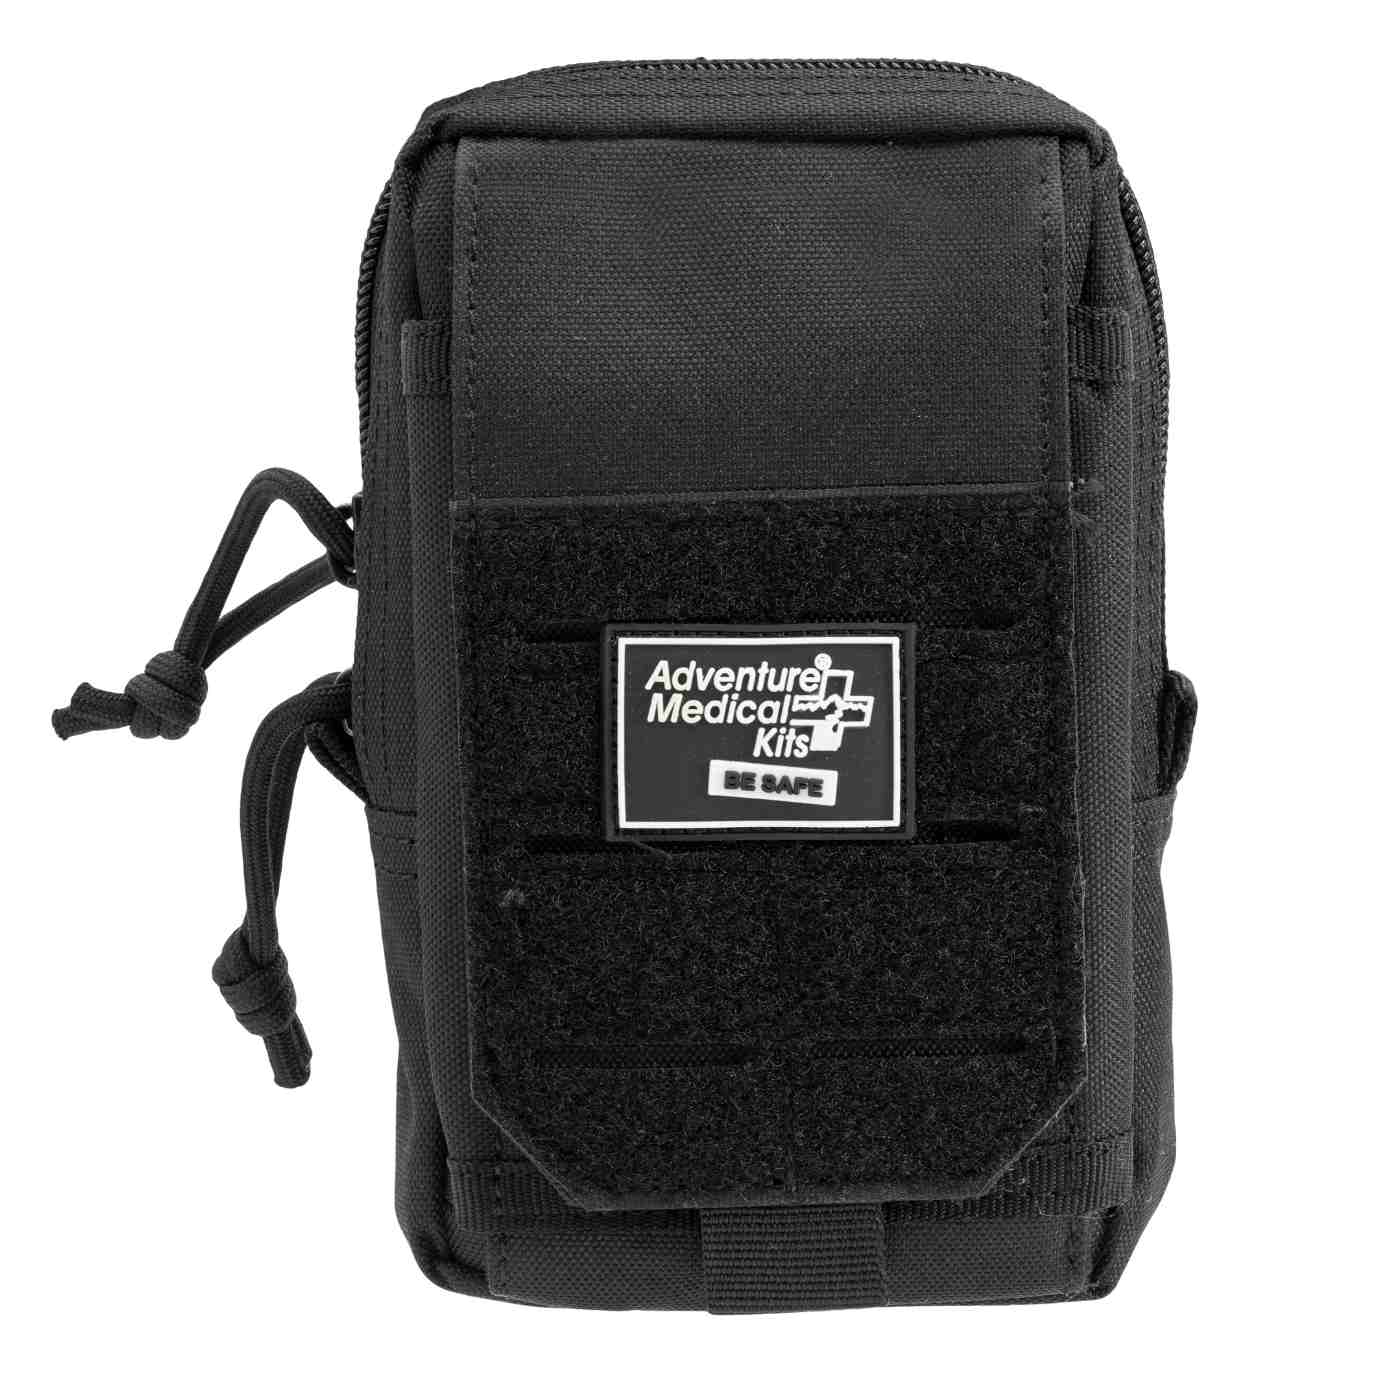
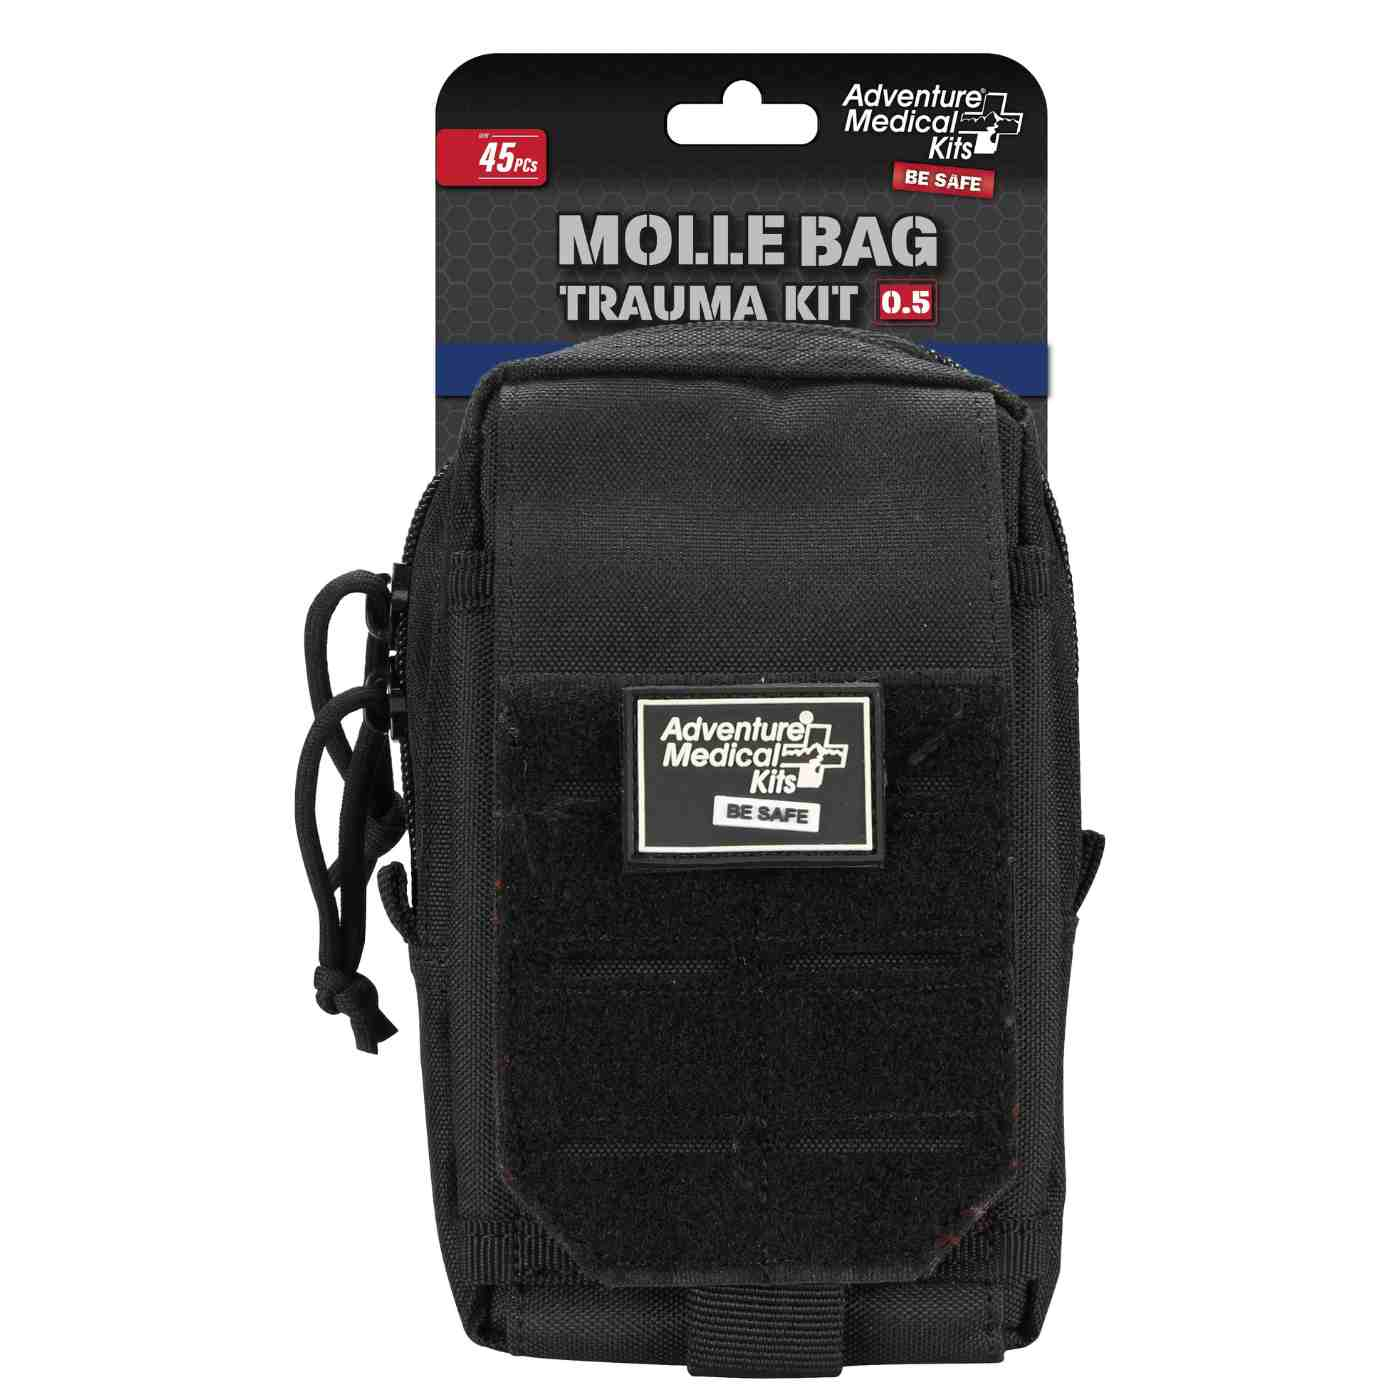
This week's practical action is a kit audit. Match the inventory to the activity, considering the Mountain Series for hiking and camping or the MOLLE trauma series for hemorrhage-focused coverage, then rehearse access and application.
Adventure Medical Kits offers activity-specific, packable kits with organized supplies and medical instructions for outdoor care. Visit Adventure Medical Kits to compare kit contents against the trip's group size, hazards, and distance from professional help.