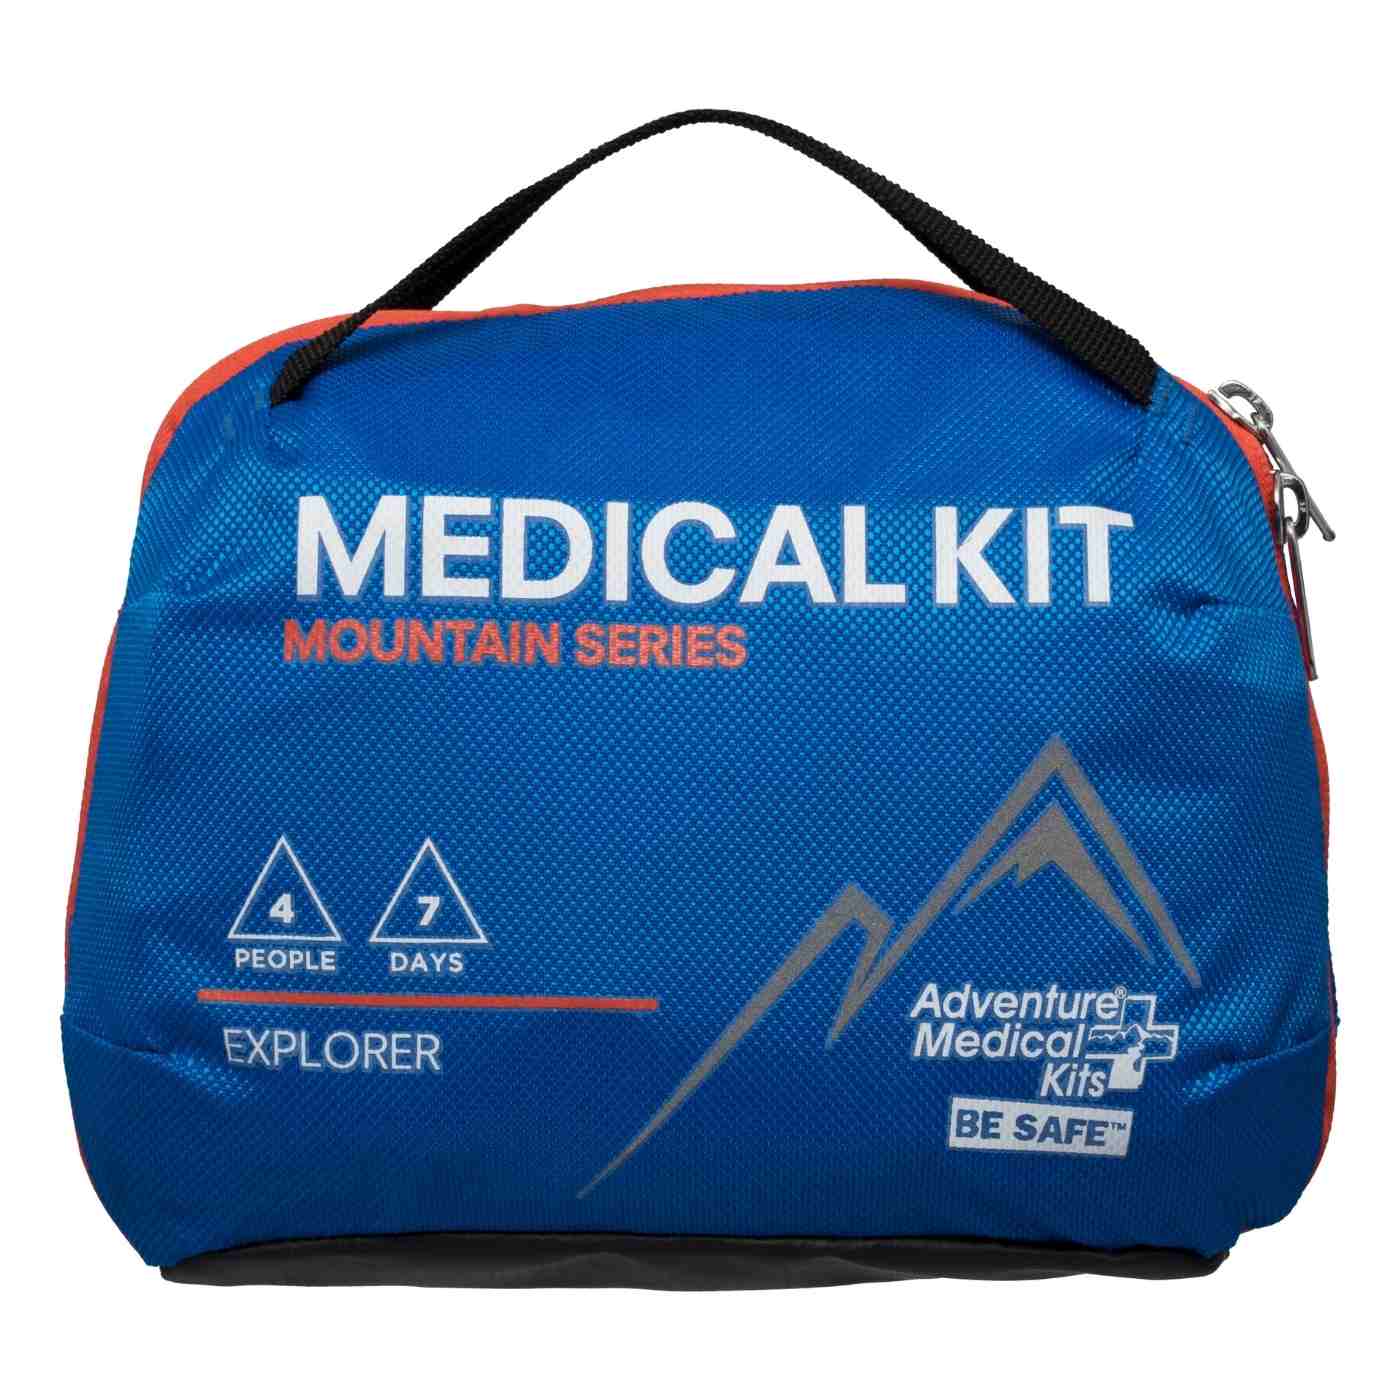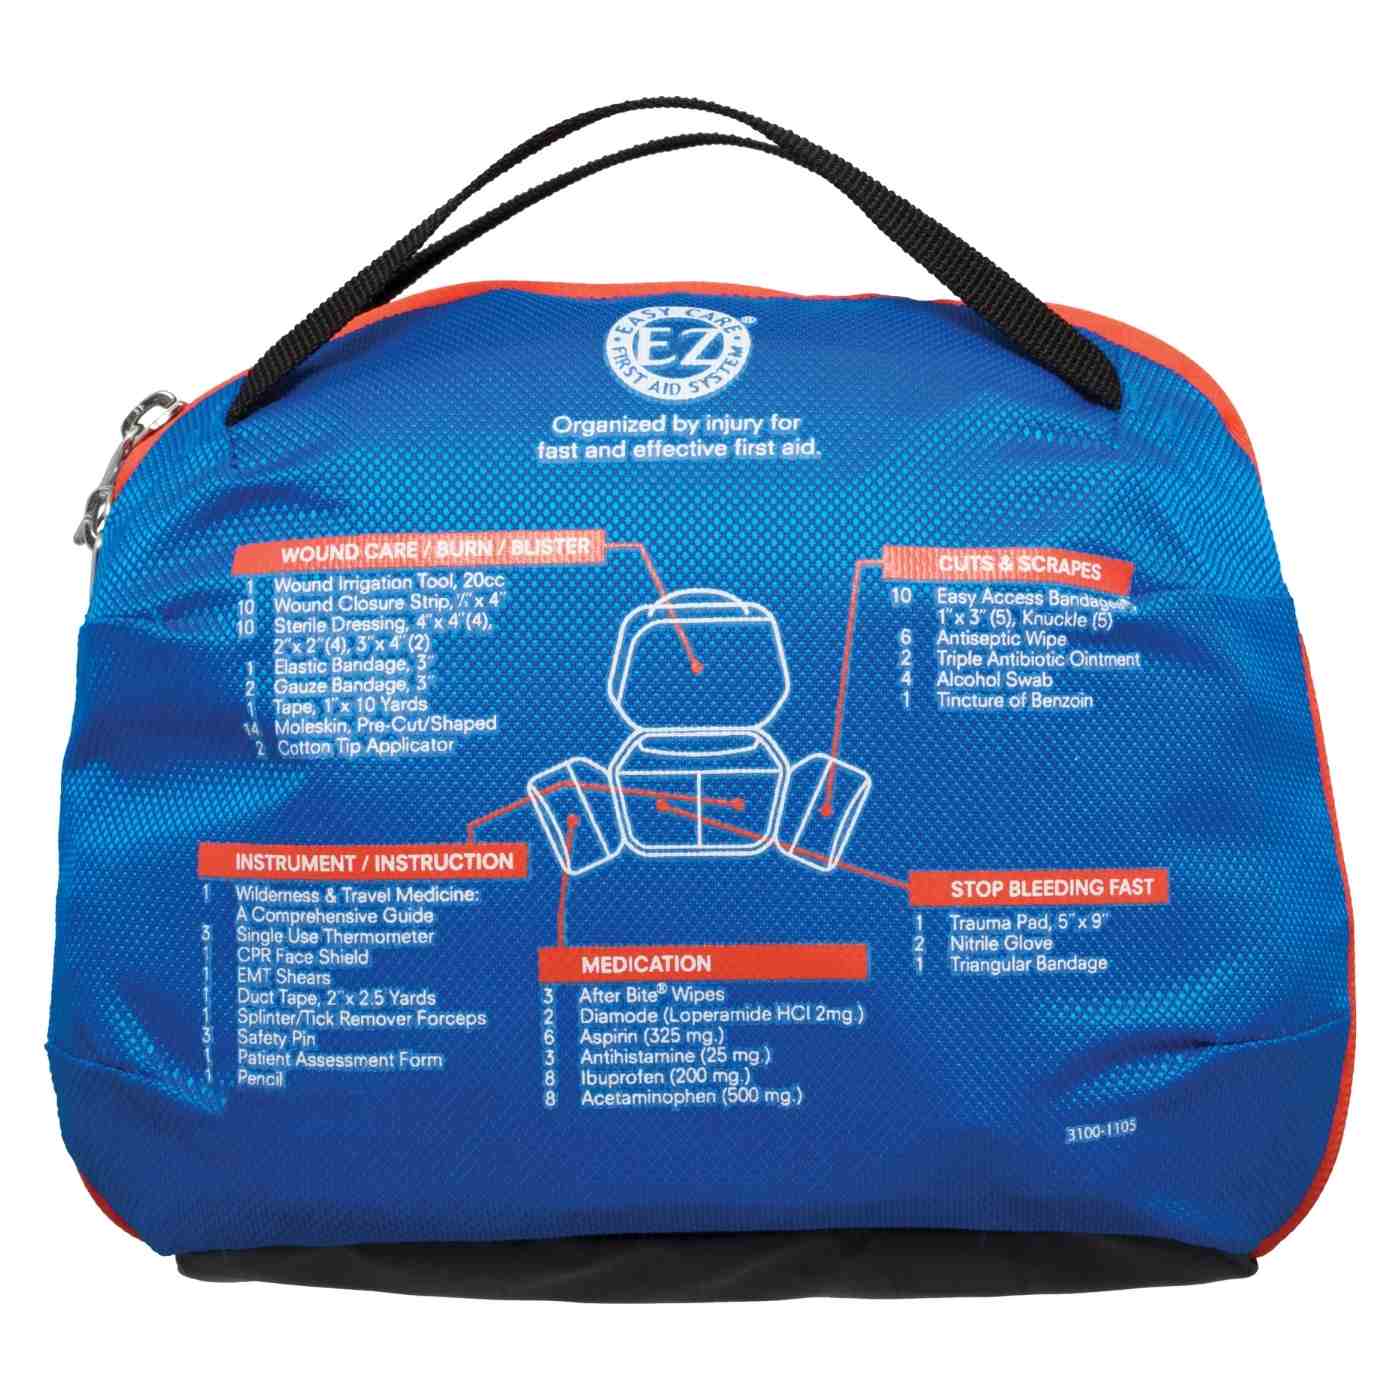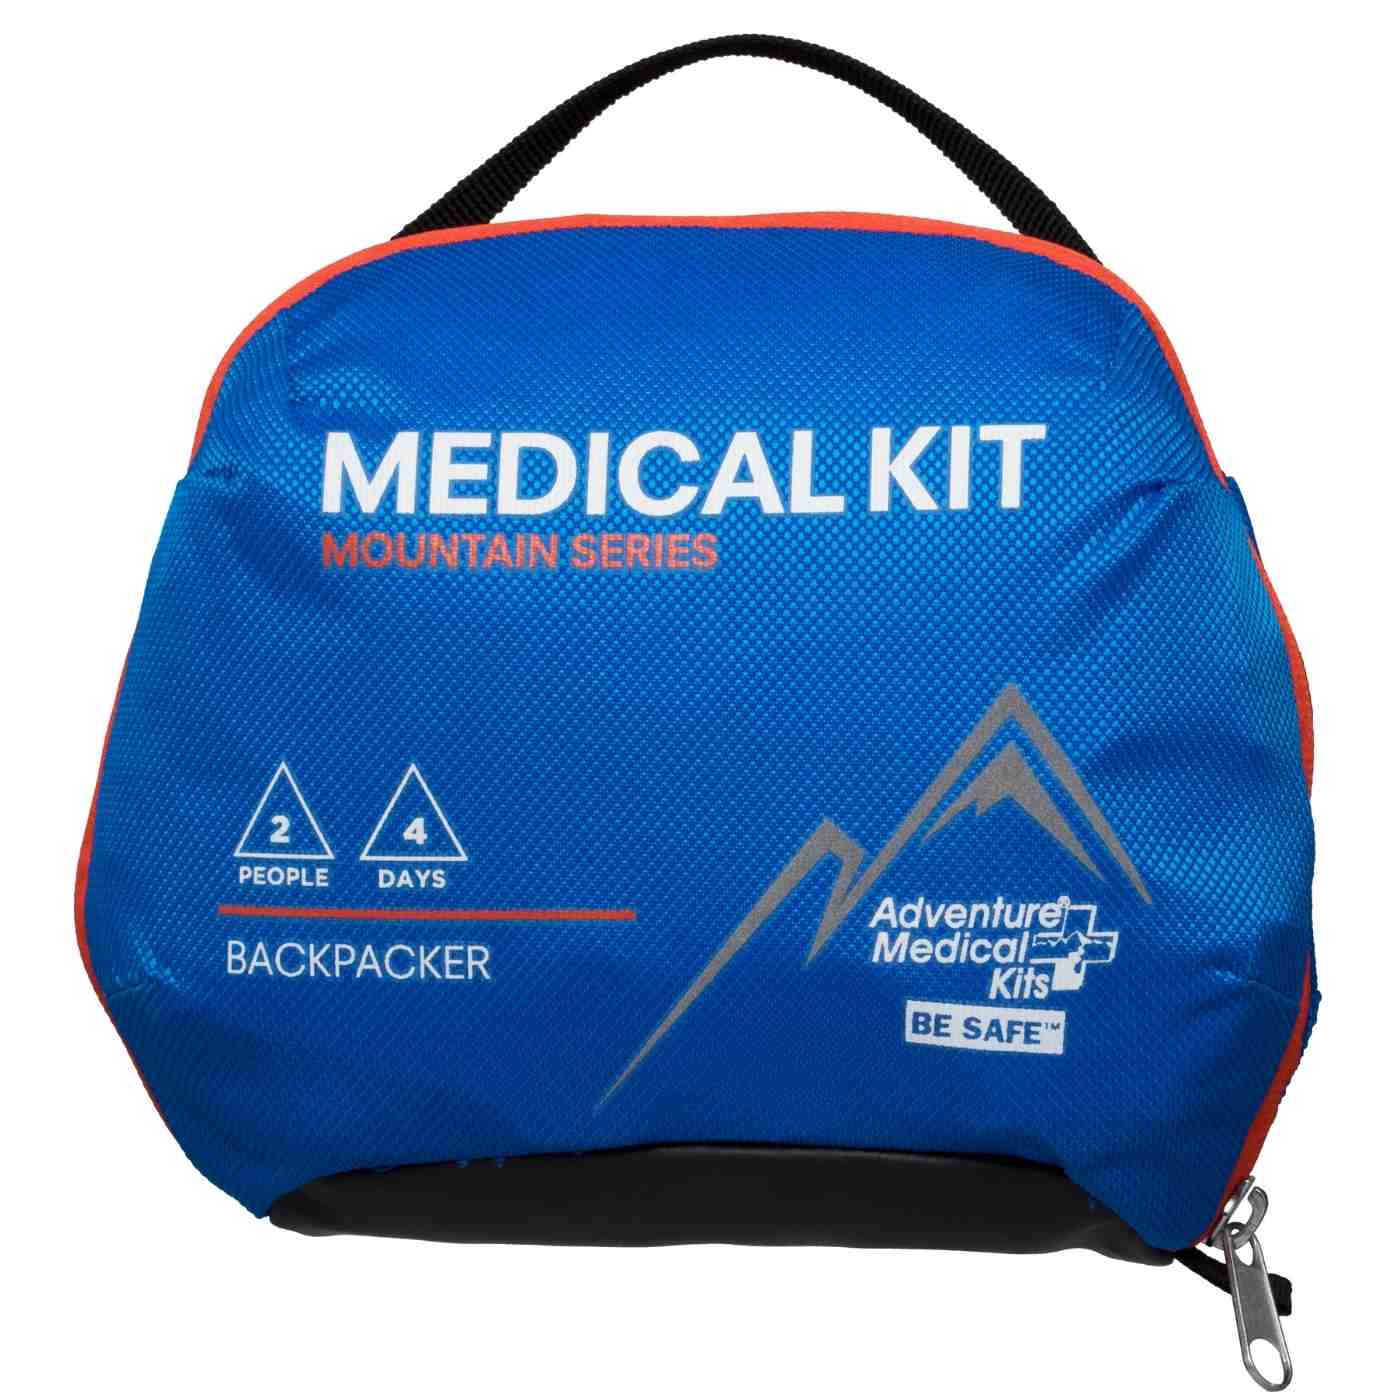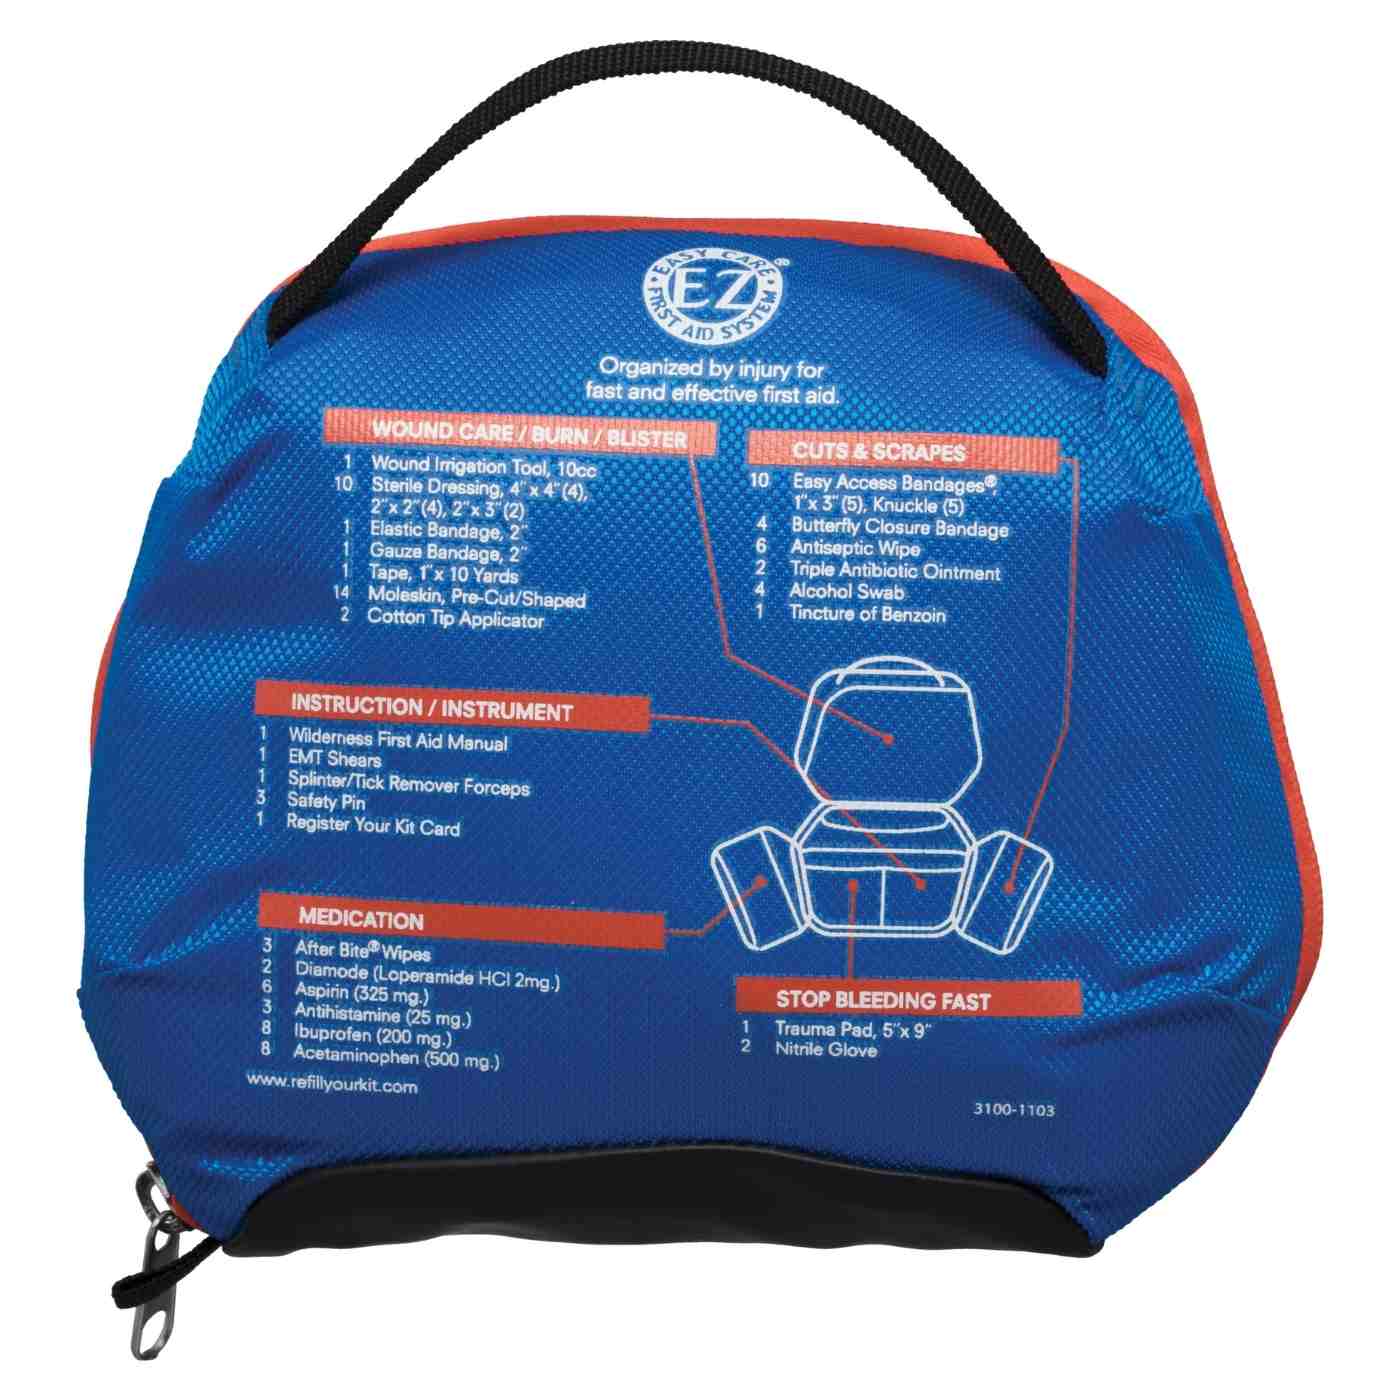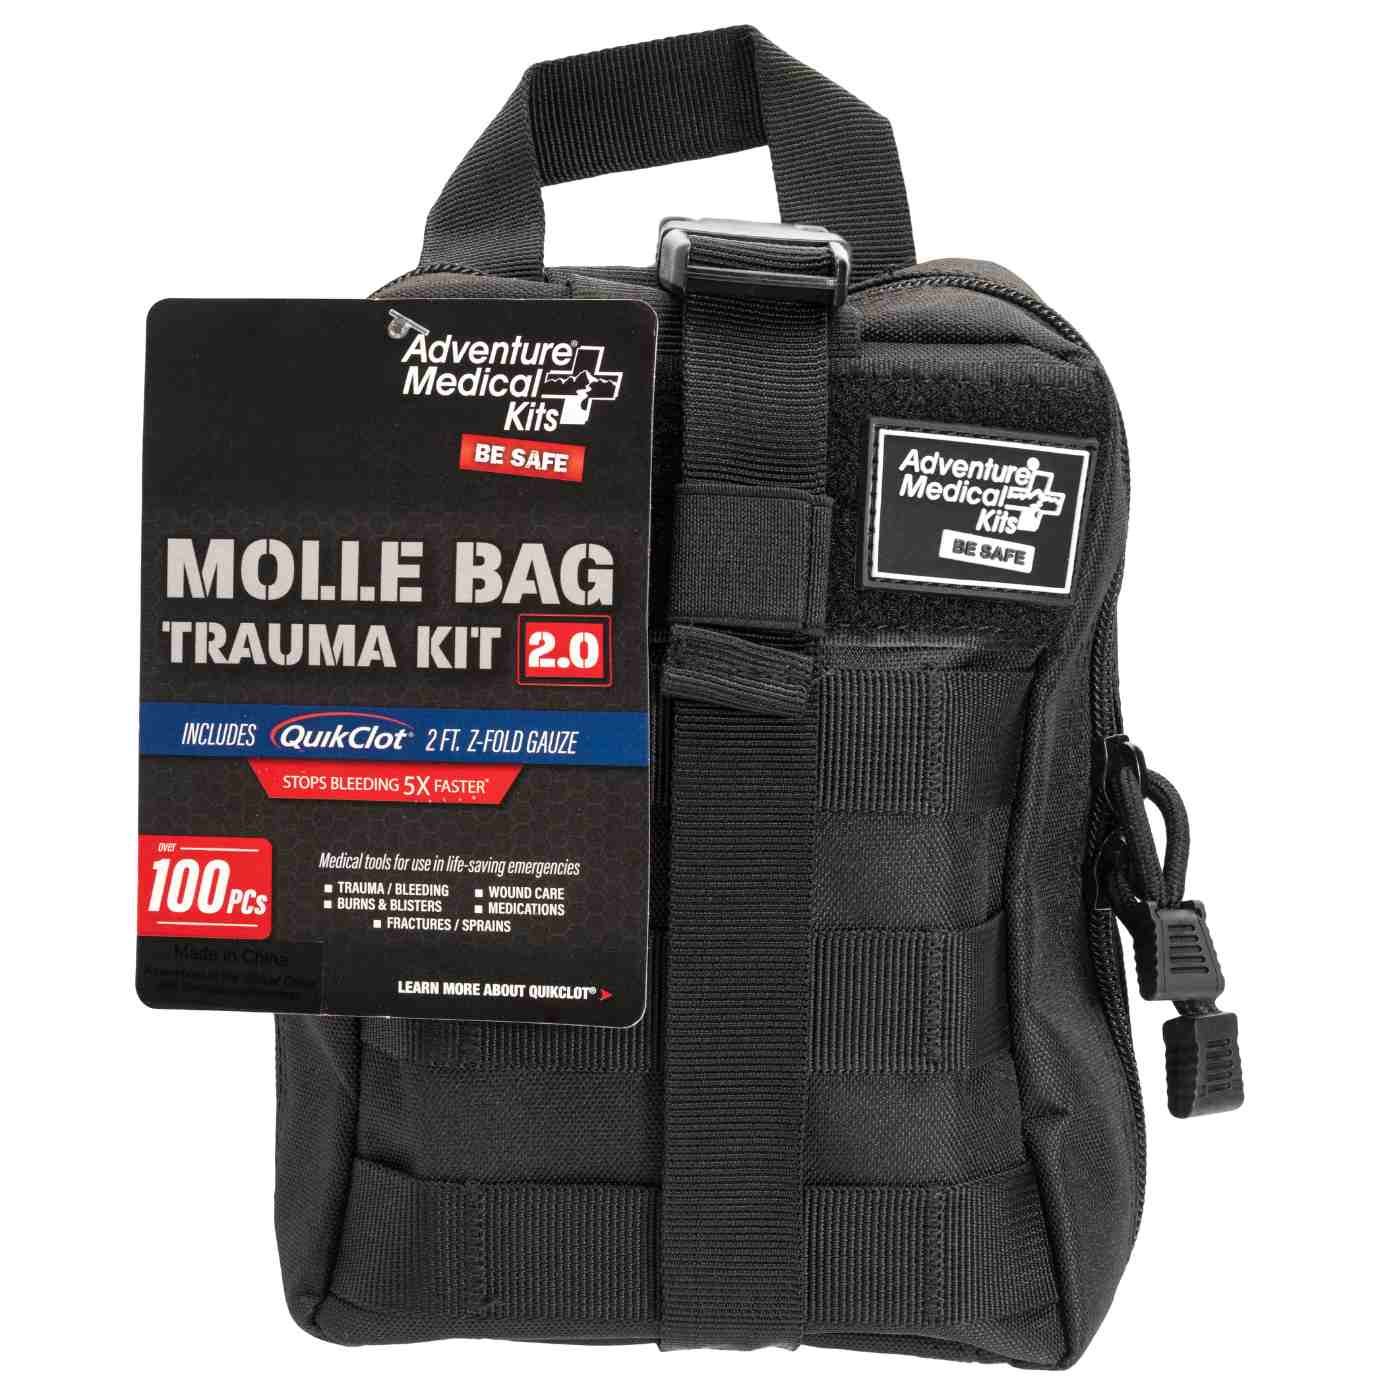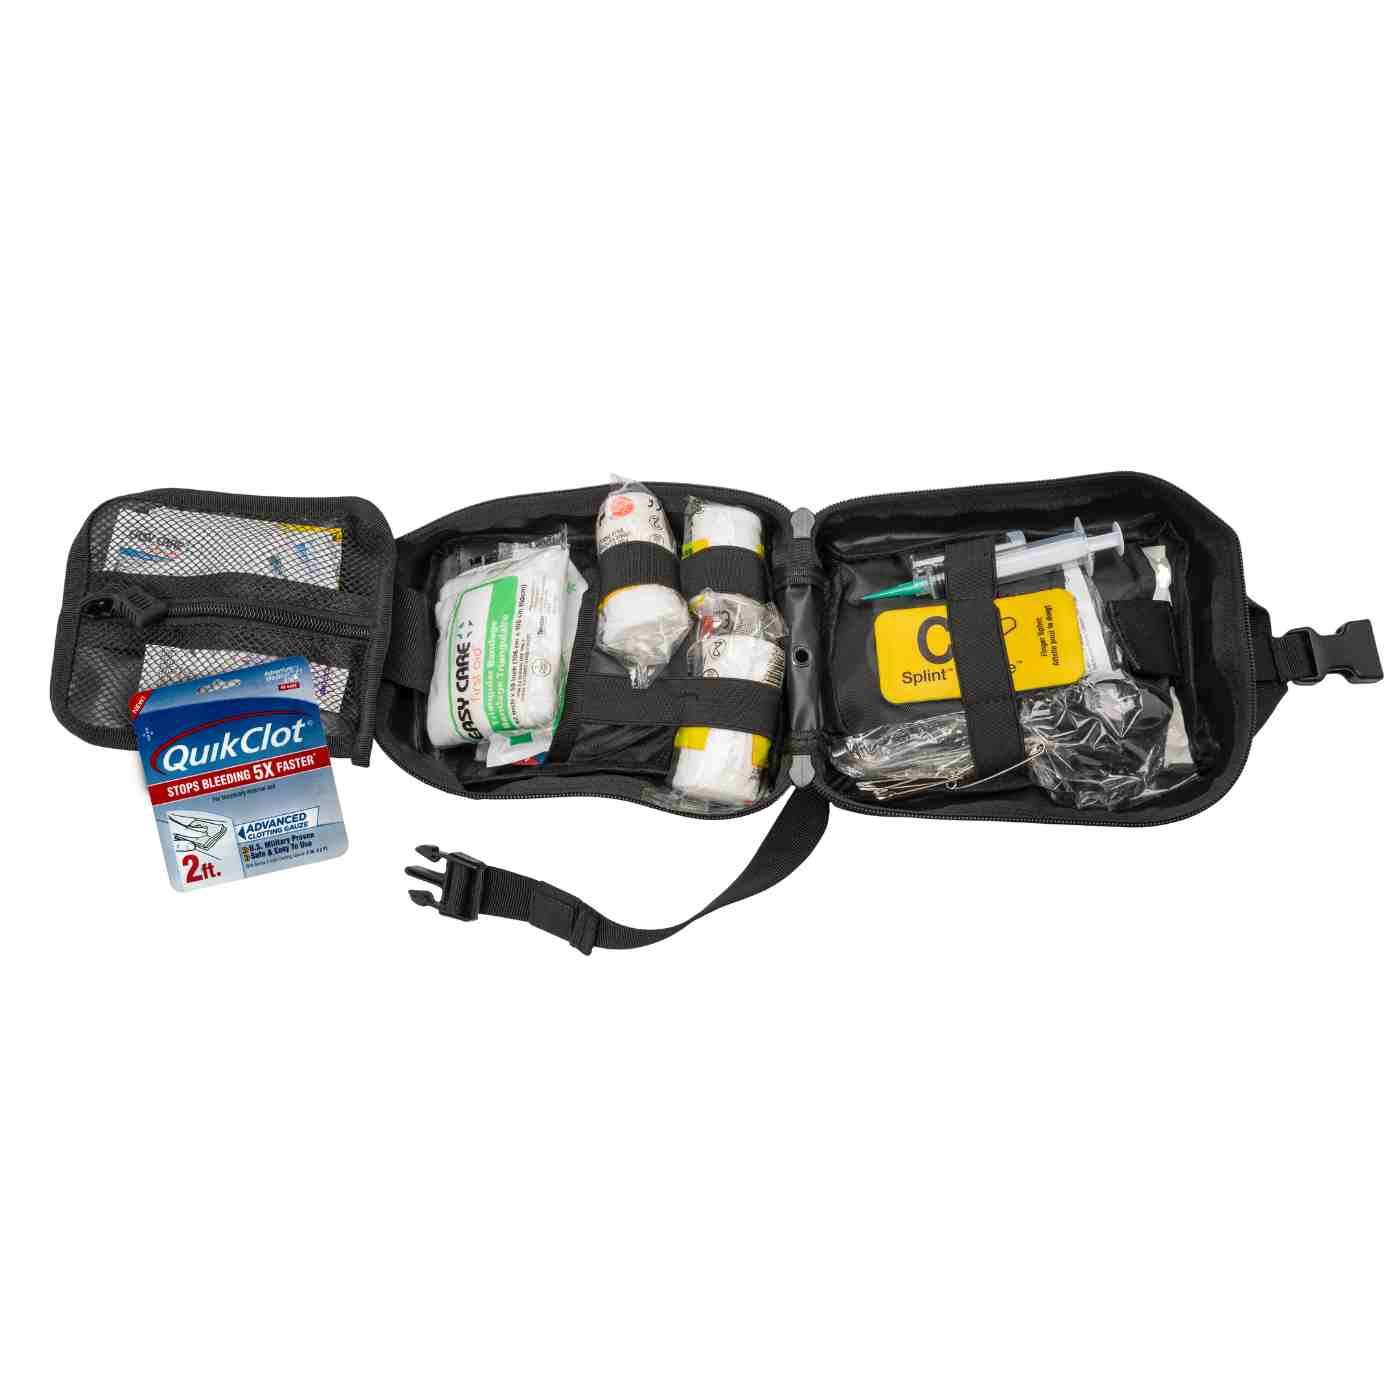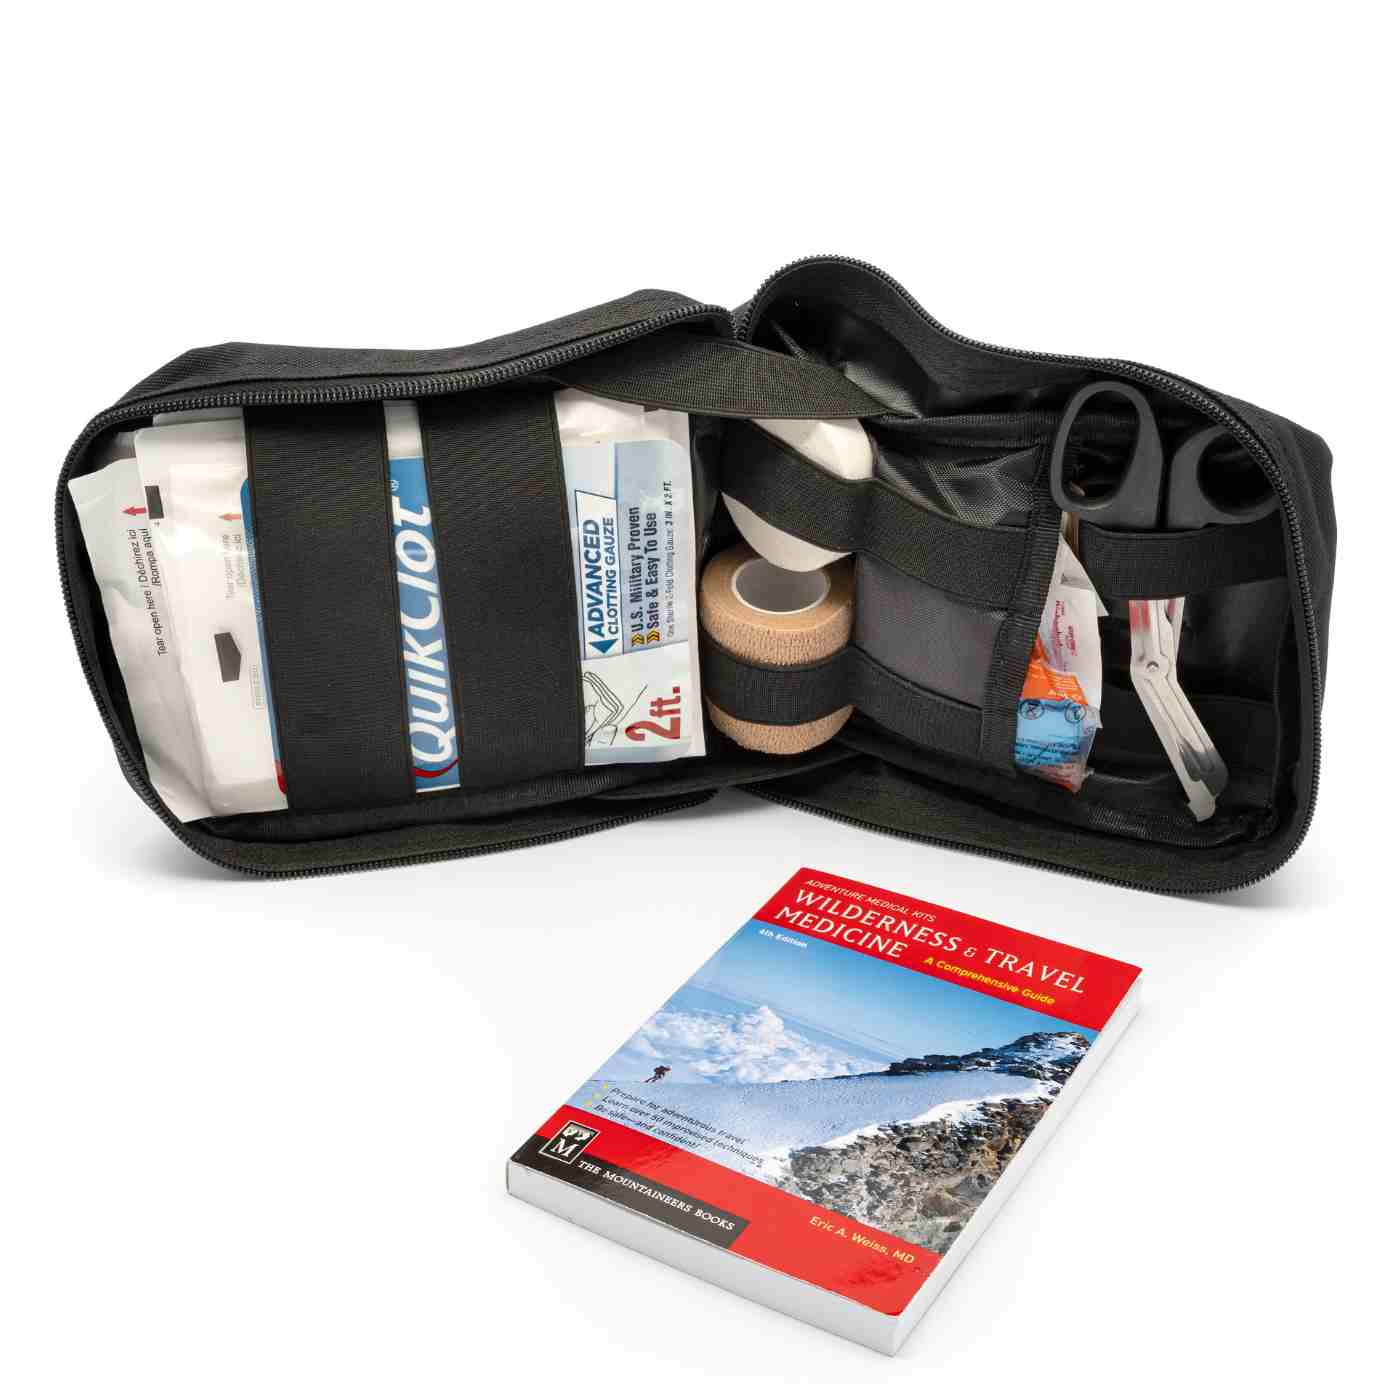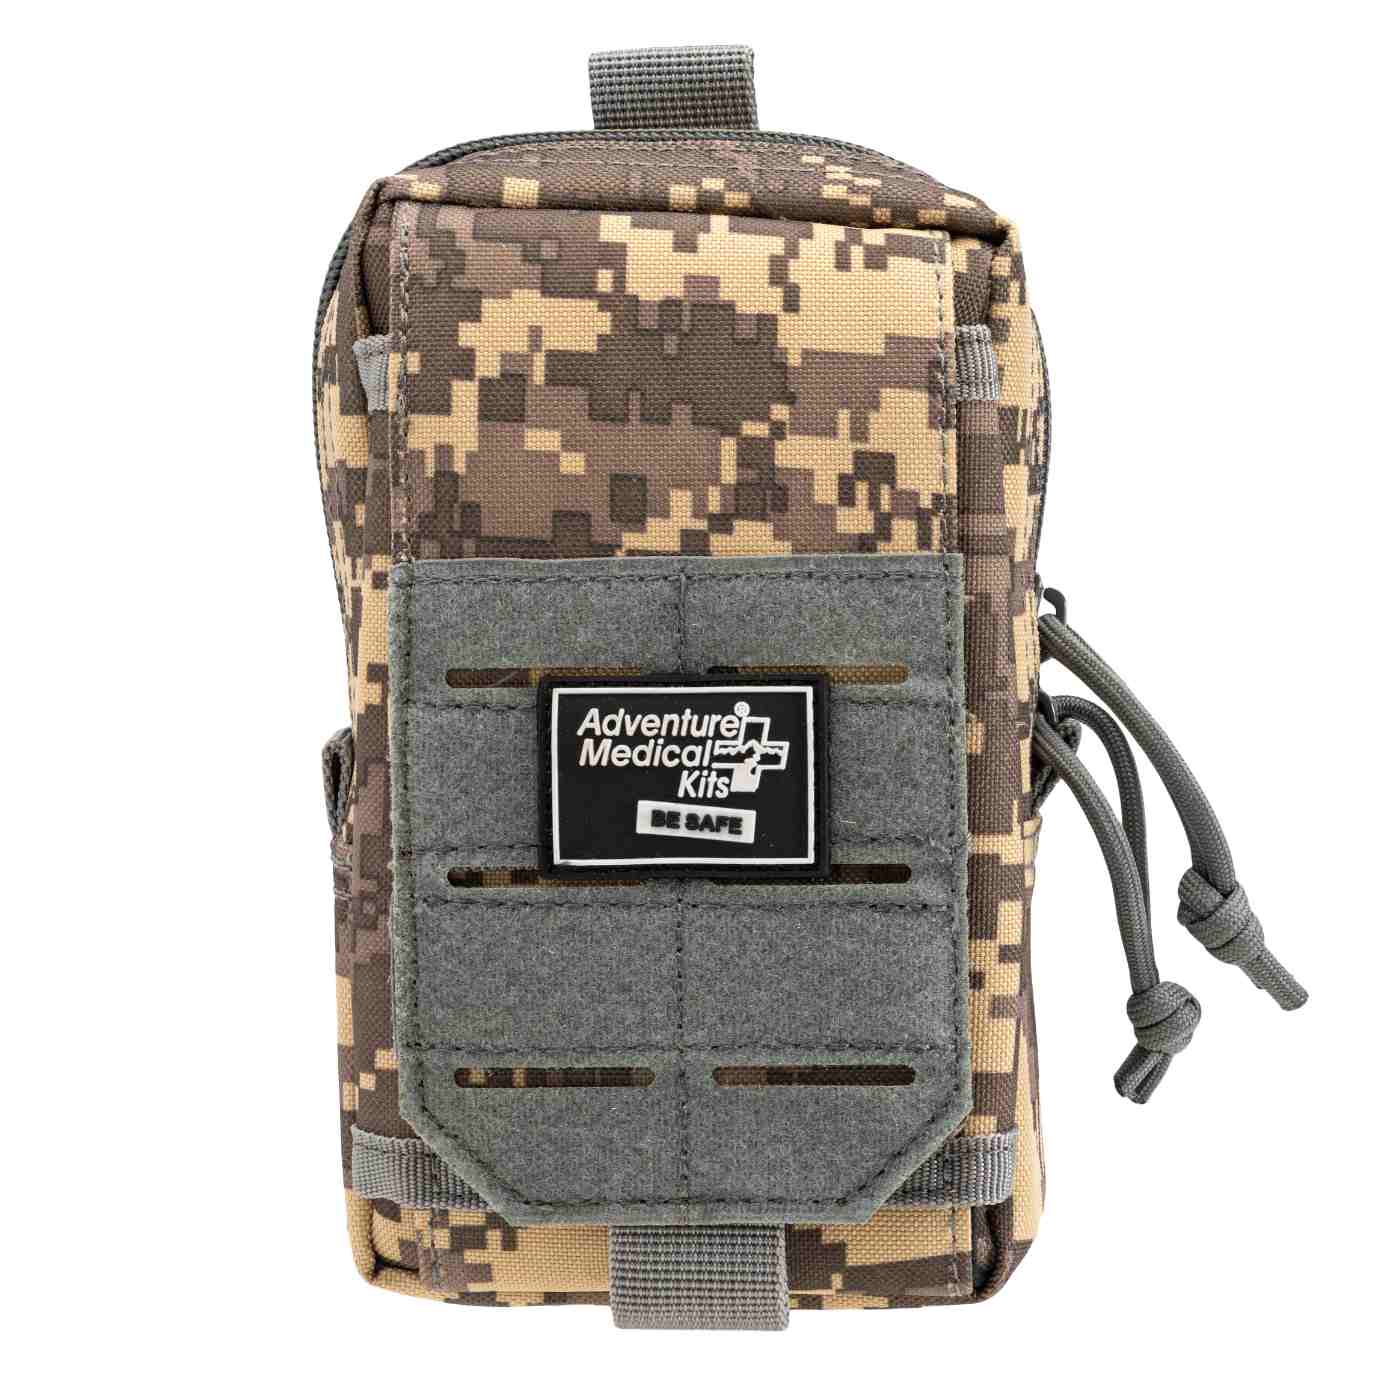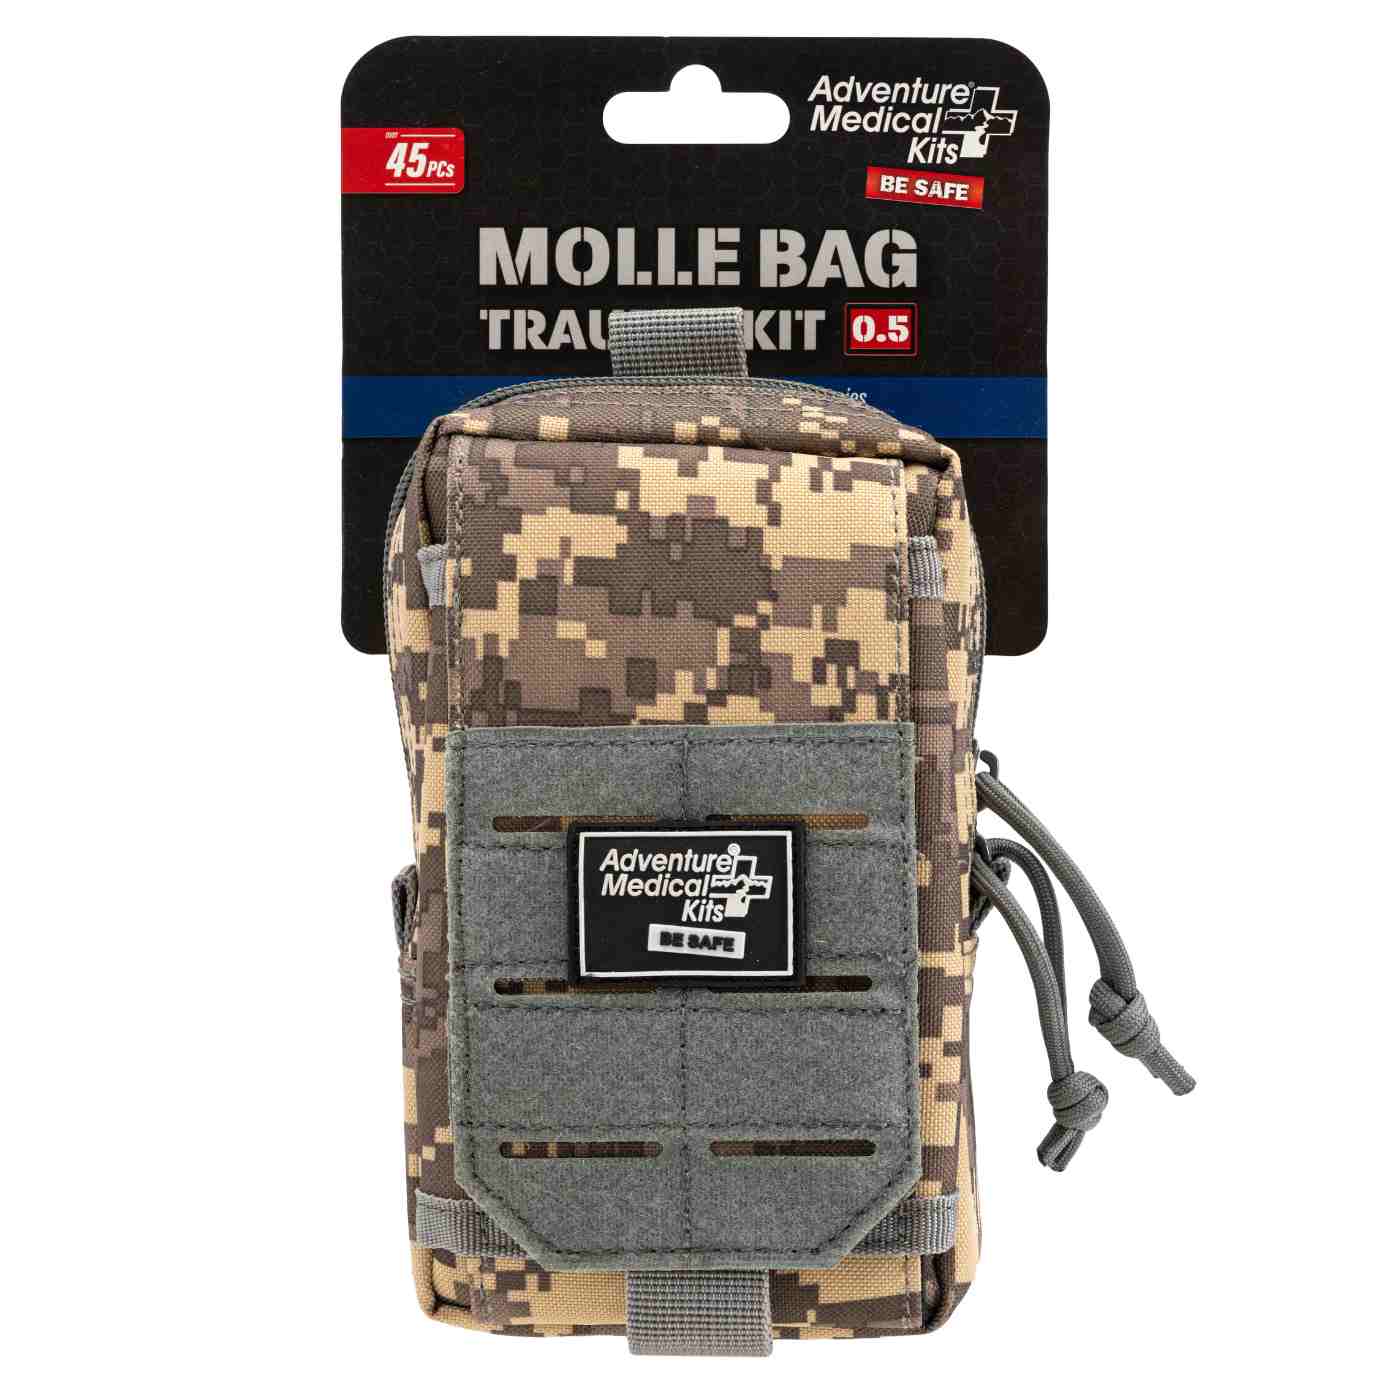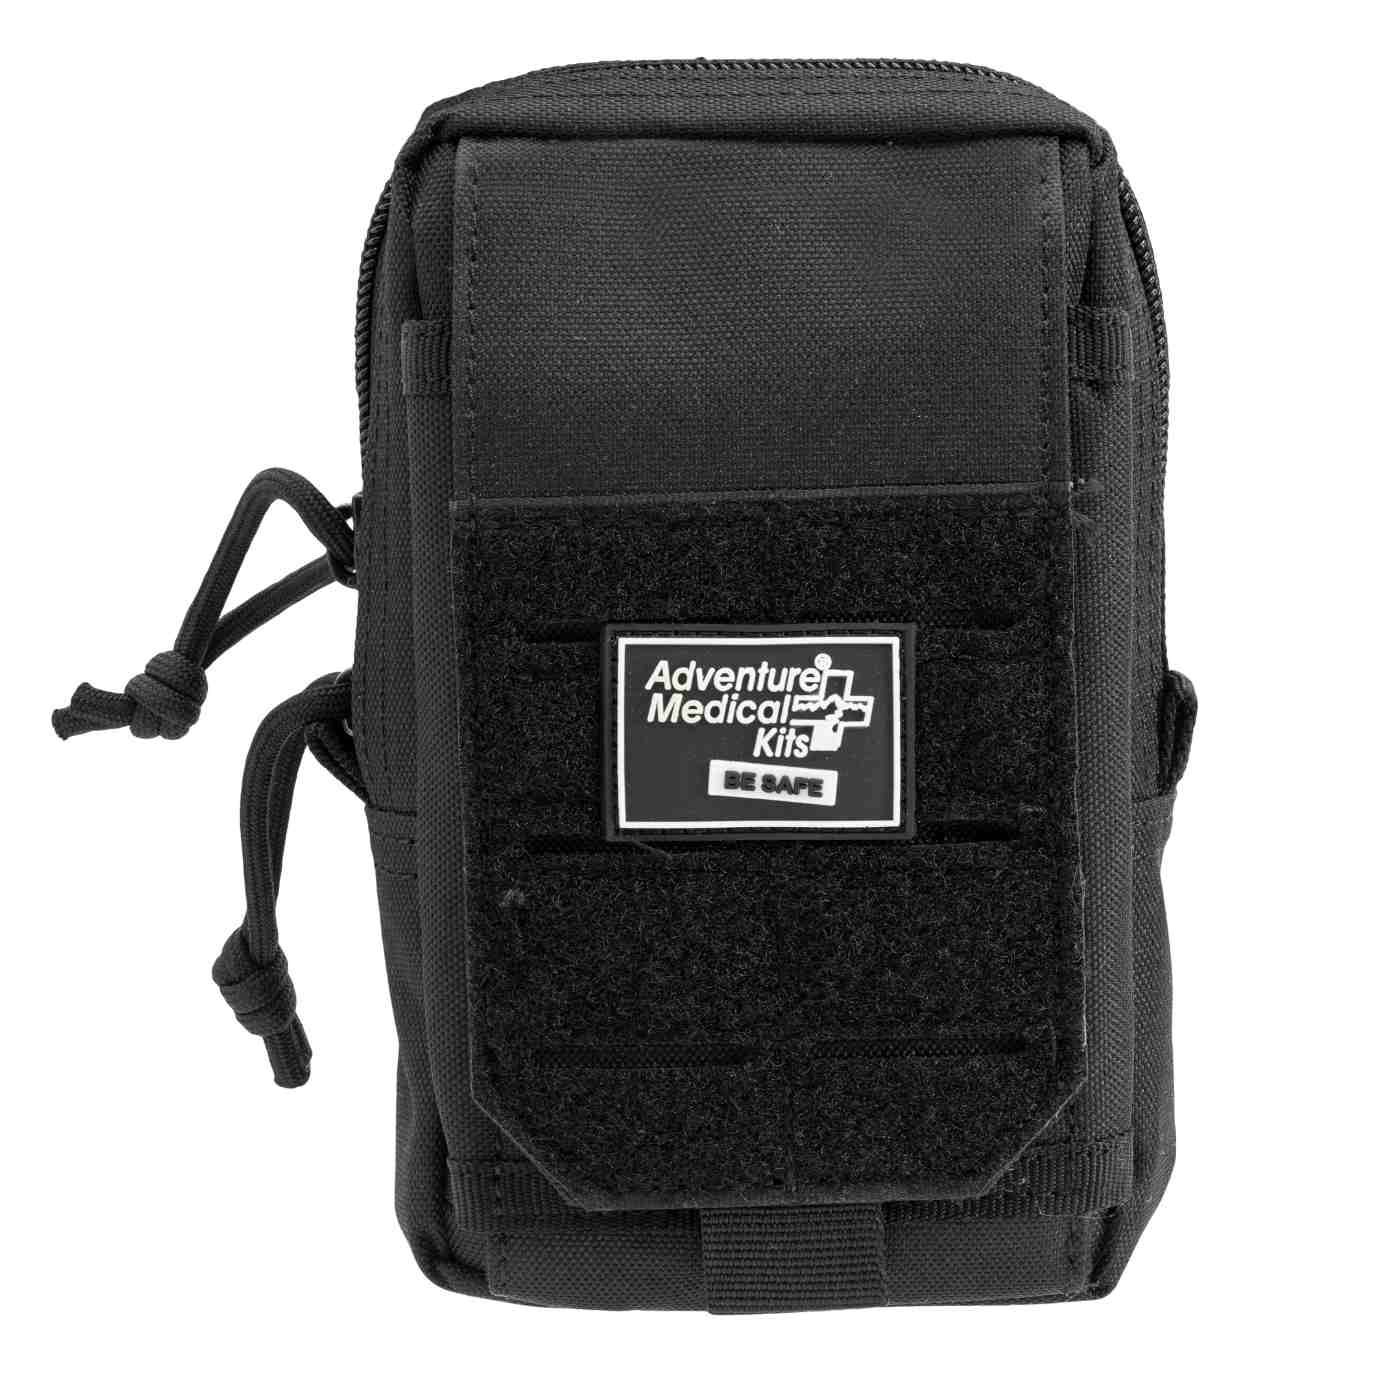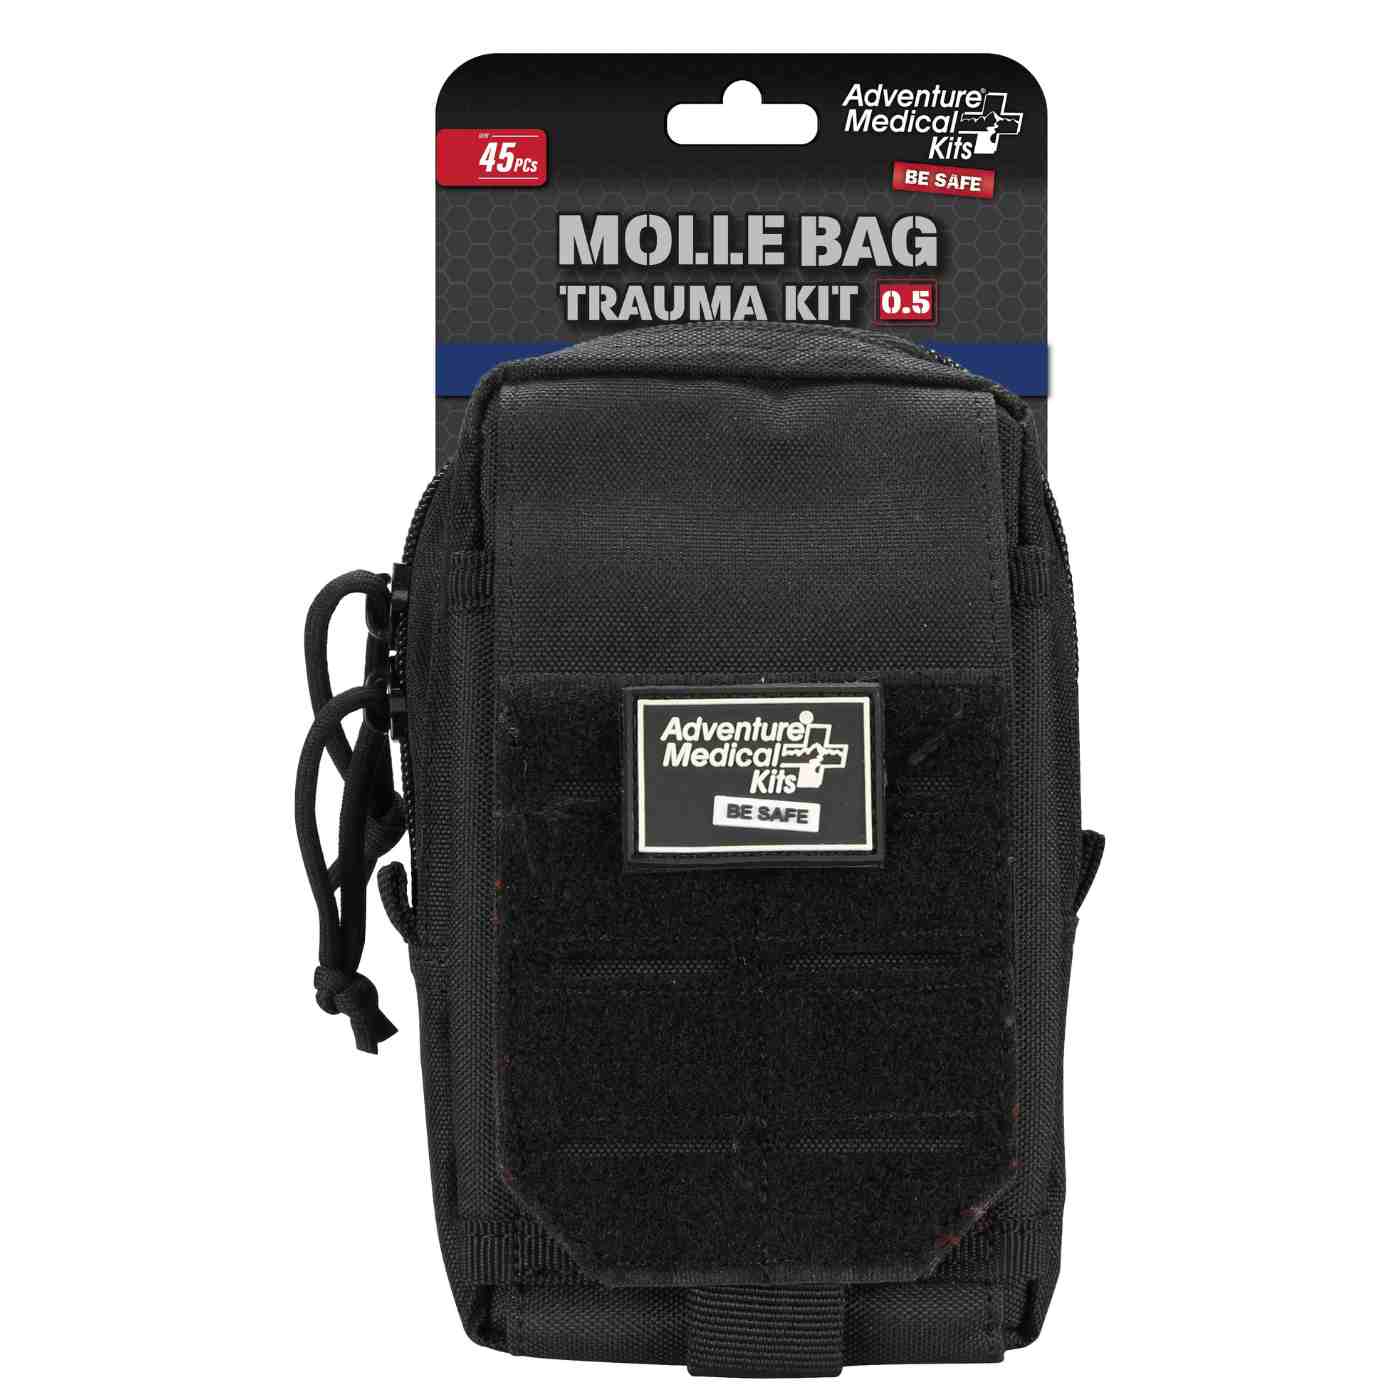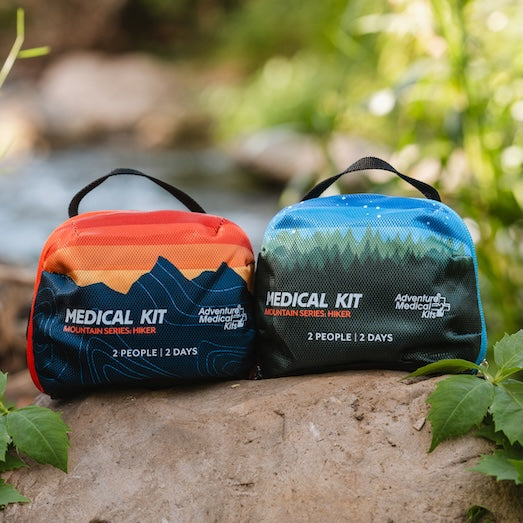


A hiker slips on wet slate near the top of a ridge, catches a low edge, and opens a two-inch gash above the eyebrow. The bleeding has slowed by the time the pack comes off, but the cut is streaked with grit and pine resin, the light is fading, and the trailhead is still miles below. A strip closure looks tempting in that moment because it feels decisive, but the decision comes first, stop the bleed, clean the wound, decide whether closure helps or hurts, then act.
That order matters because a wound closure kit is only useful when the wound is already clean, low tension, and a candidate for edge approximation. Field medicine punishes hurry. A closure device on a dirty, actively bleeding wound can make the problem harder to solve, not easier.
Table of Contents
- A Trail-Side Moment That Brings This Topic to Life
- What a Wound Closure Kit Is and How It Differs from a General First Aid Kit
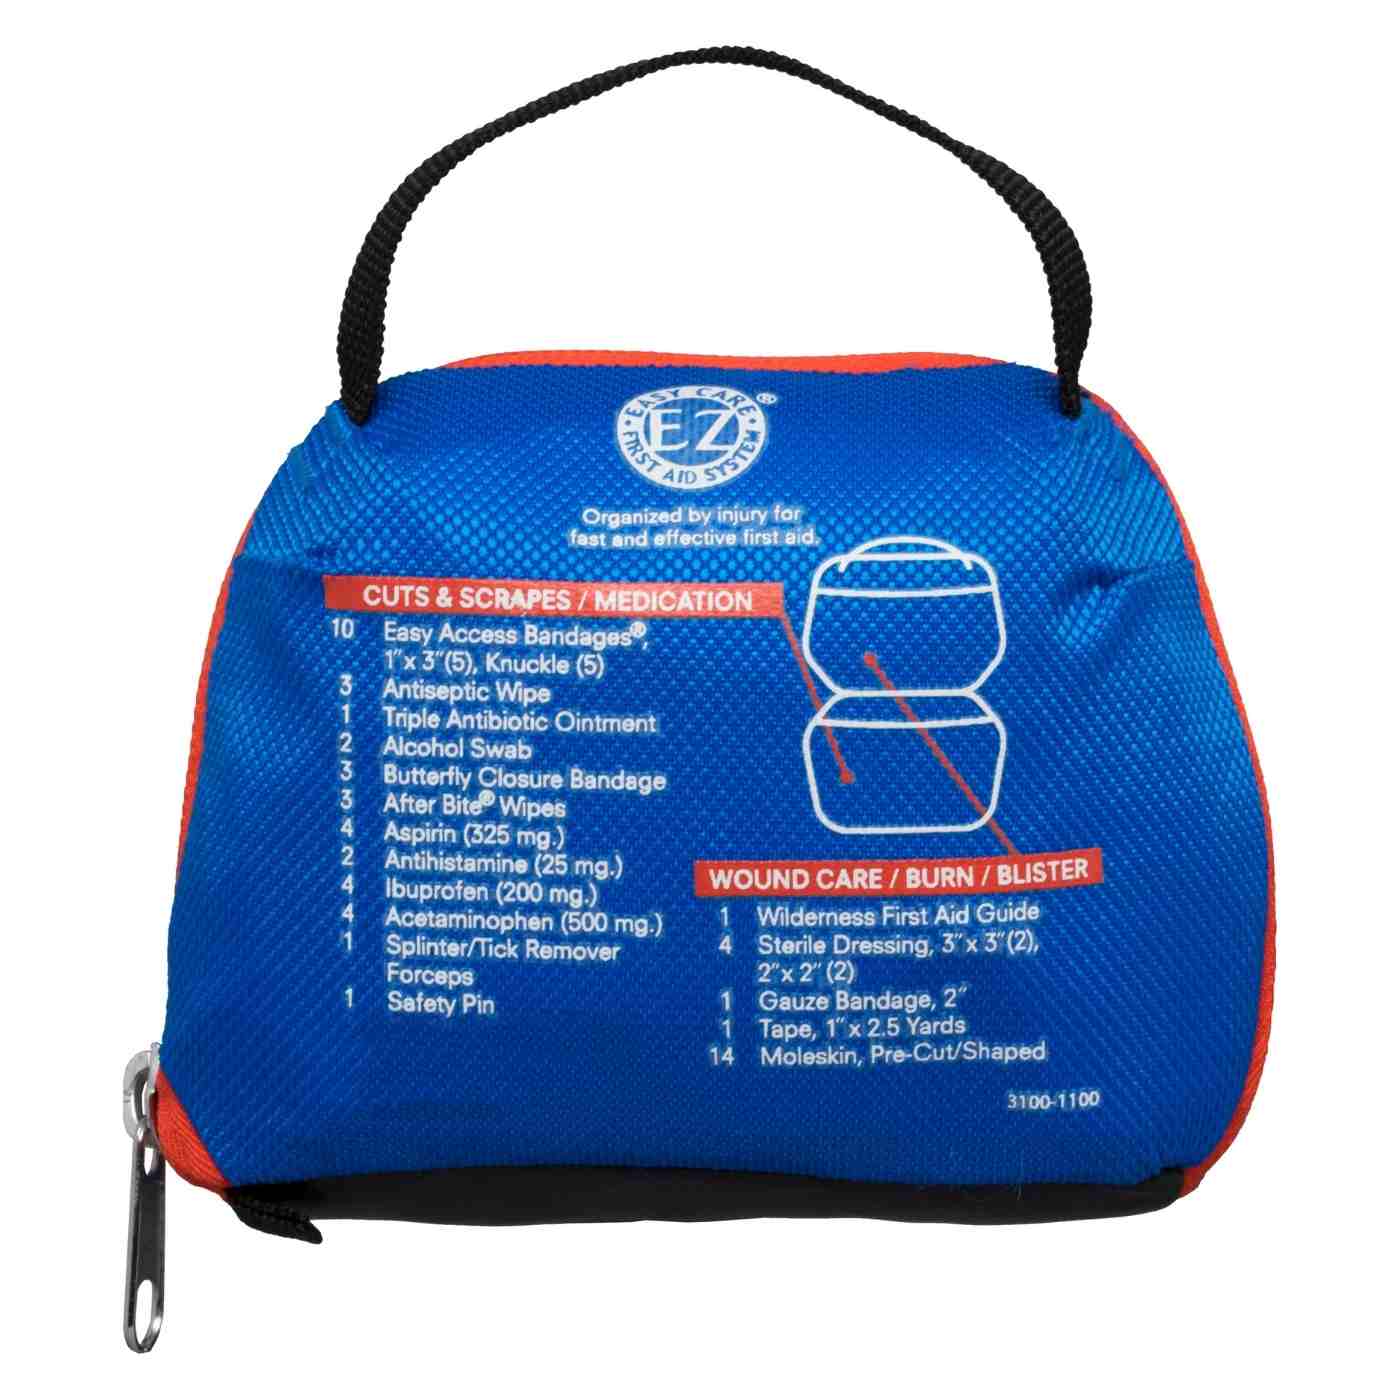
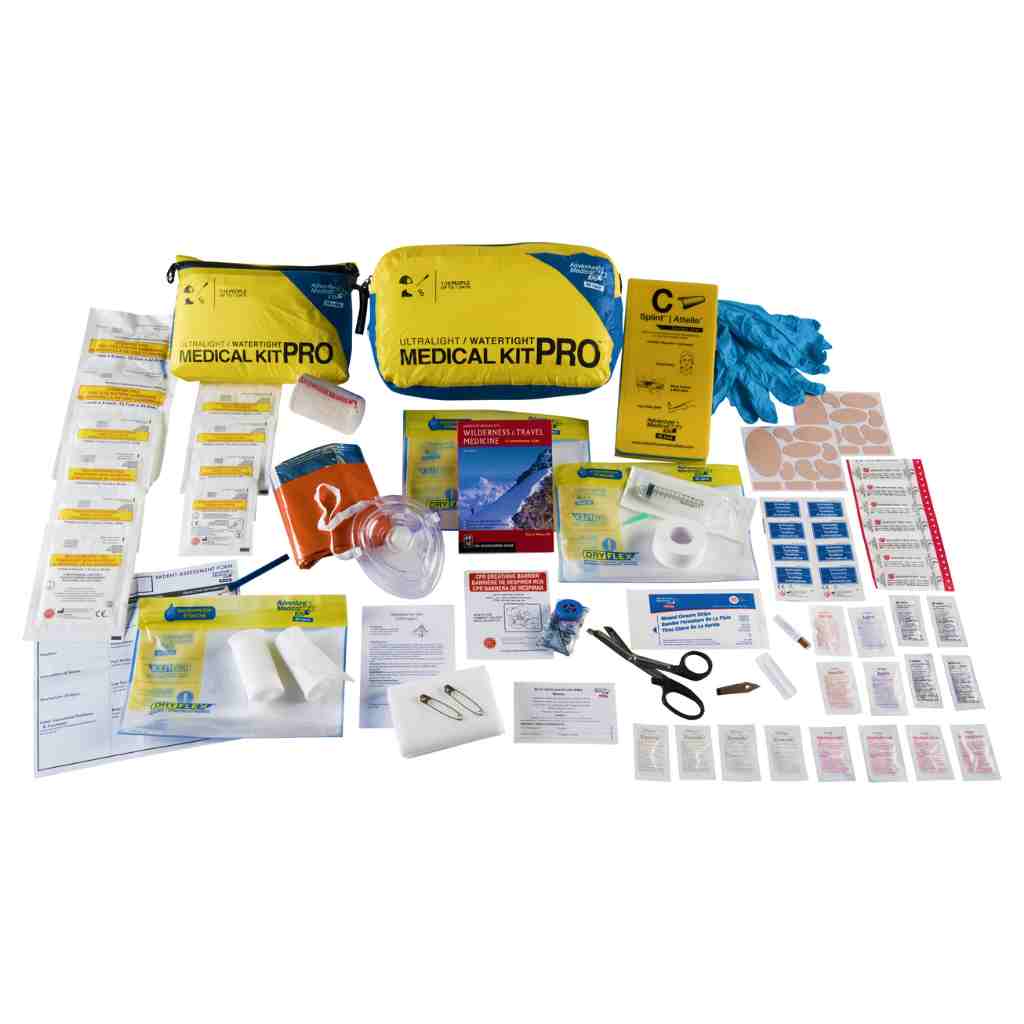
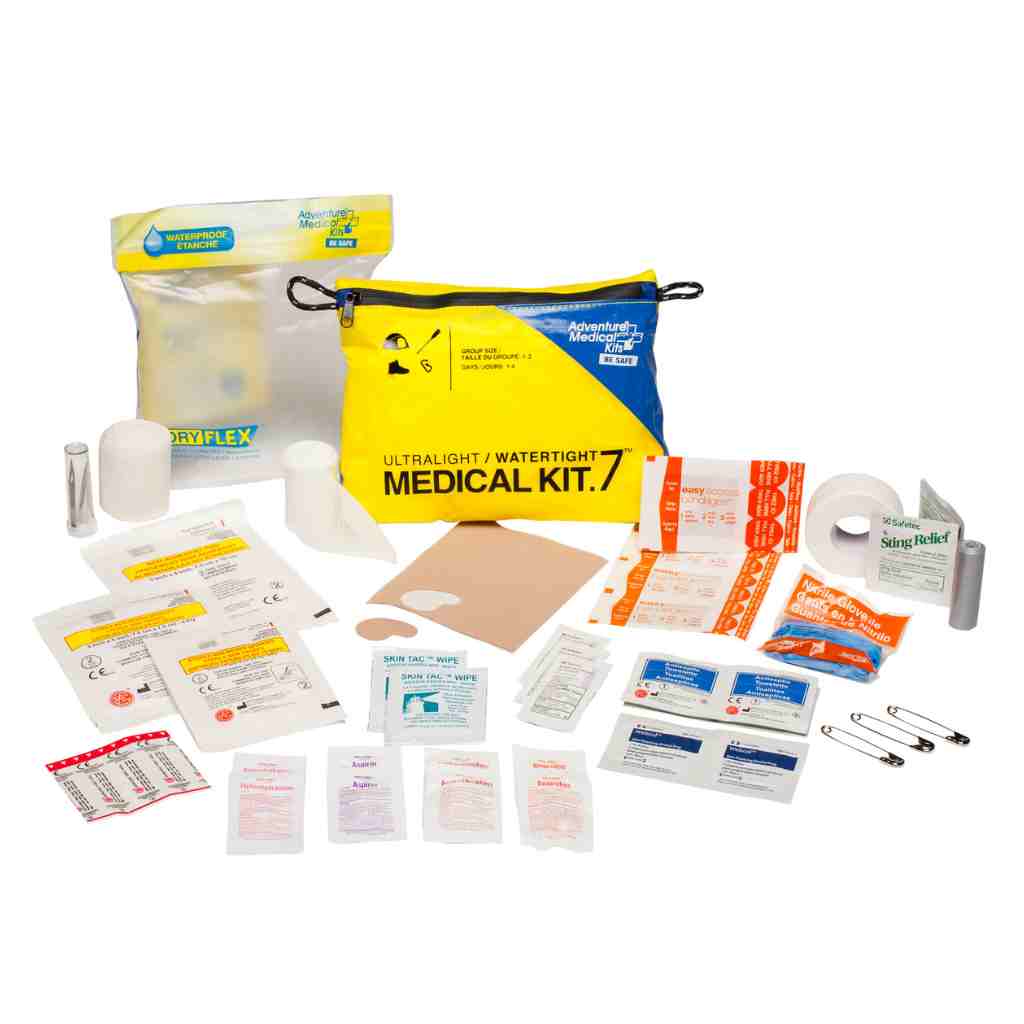
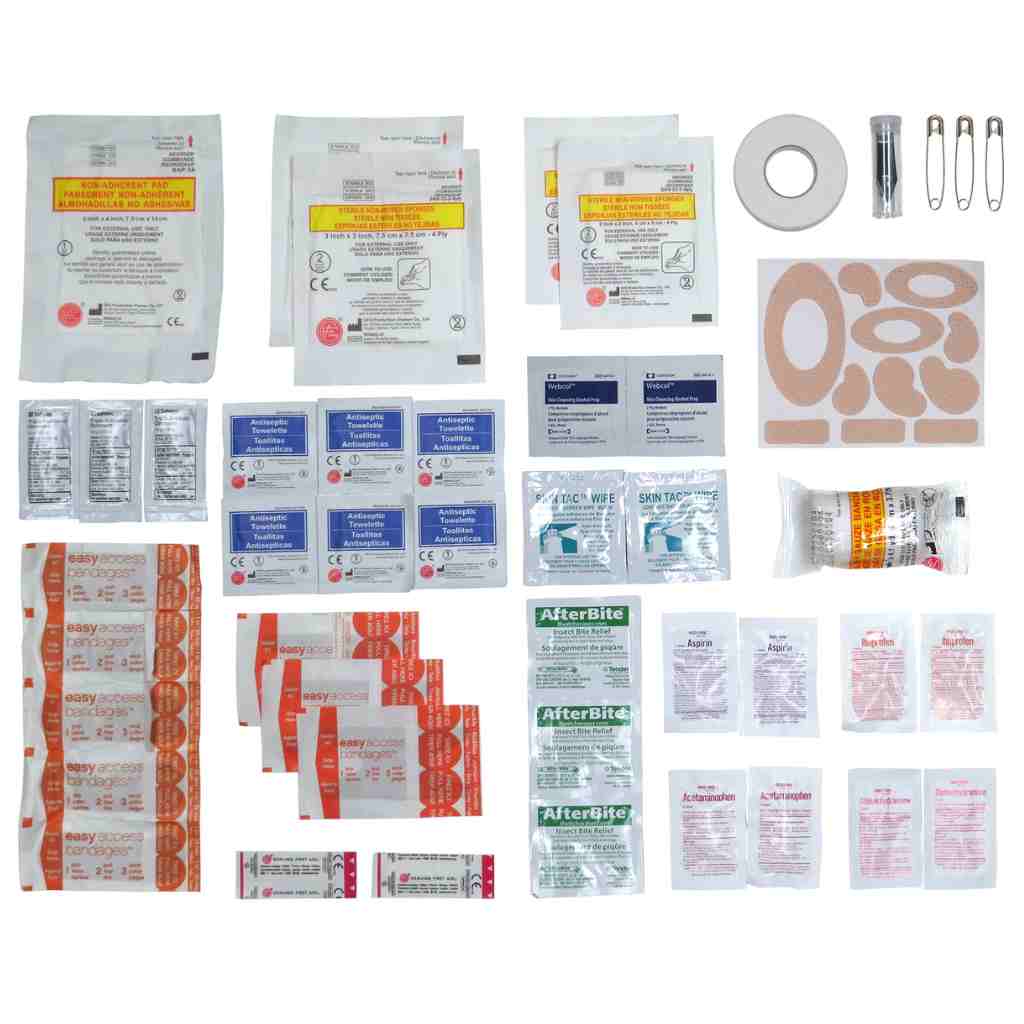
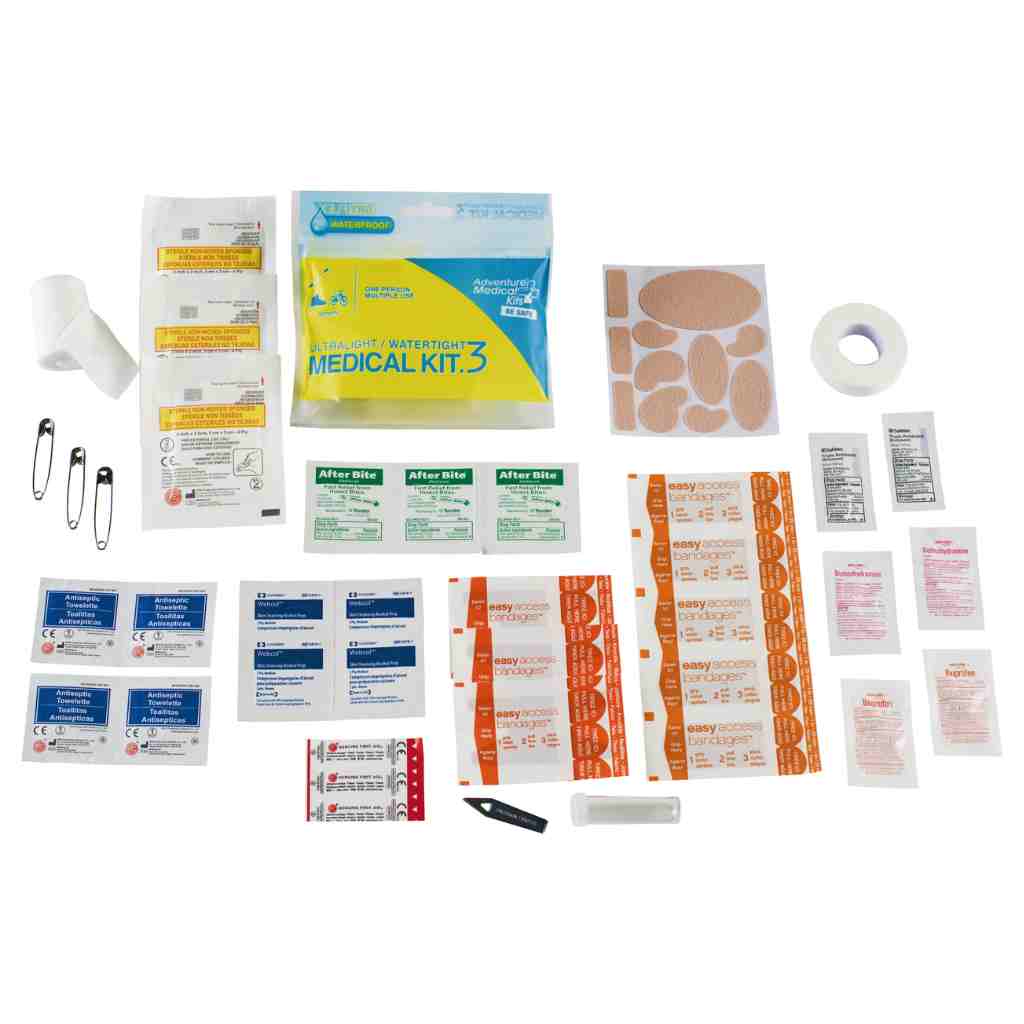
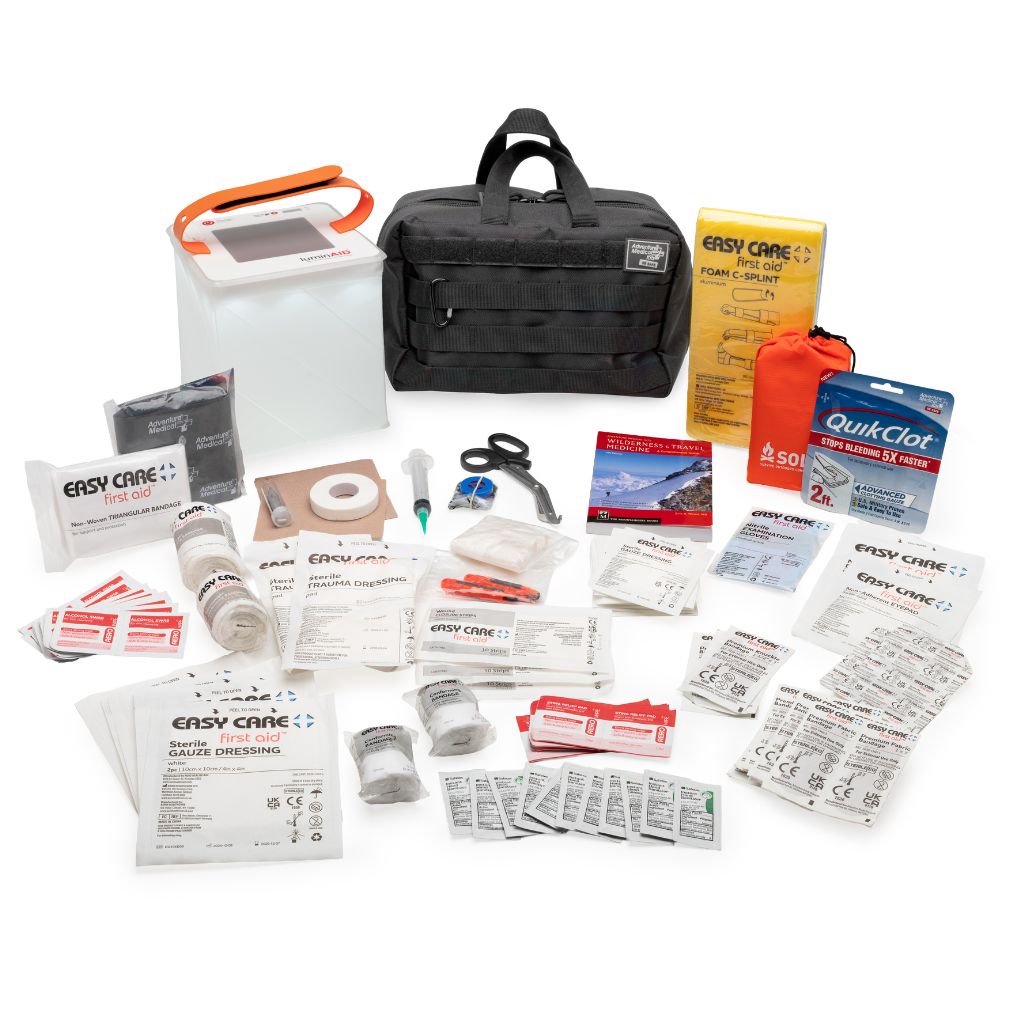
- What Is Usually Inside a Field Wound Closure Kit
- When a Wound Should and Should Not Be Closed in the Field
- Safe Step-by-Step Use in the Field and When to Seek Professional Care
- Choosing the Right Kit for Your Outdoor Activity
- Packing, Waterproofing, and Maintaining Your Kit Over Time
- Training, Legal Awareness, Evacuation Triggers, and Common Field Scenarios
A Trail-Side Moment That Brings This Topic to Life
The ridge is exposed, the air is cooling, and the wound keeps collecting tiny flecks of dirt every time the hiker tilts the head. A teammate reaches for closure strips, but the injury still hasn't been fully inspected, and the skin around the cut is damp with sweat and blood. That's the trap people often fall into, they see a gap and want to close it before they've learned what kind of gap it is.
Practical rule: If the wound still has moisture, debris, or active bleeding, closure is premature.
A wilderness-medicine instructor would slow the group down here. The first job is control, not cosmetically neat skin edges. Clean water, pressure, and a careful look at depth come before any adhesive strip, glue, or staple.
The other problem is location. A brow laceration looks straightforward until swelling starts, or until a hidden cut extends deeper than surface skin. A field closure can be the right move, but only after the wound has earned that decision through inspection and cleaning.
That's why this scene matters. The question isn't whether a closure product is in the pack. The question is whether this particular wound belongs in the field at all.
What a Wound Closure Kit Is and How It Differs from a General First Aid Kit
A wound closure kit is a focused set of supplies for bringing skin edges together after a wound has been cleaned and judged appropriate for closure. It's not a replacement for a general first aid kit, and it doesn't handle the larger decisions of bleeding control, blister care, splinting, medication, or evacuation planning. The closure kit sits inside the broader first aid system, not above it.
A simple way to think about it is tool belt versus toolbox. The tool belt holds the specific items used after the problem has been assessed, while the toolbox carries the gear for everything that comes before and after, irrigation, dressings, pressure, and transport. The closure tools are useless if the cut is dirty, gaping, contaminated, or still bleeding in a way that hasn't been controlled.
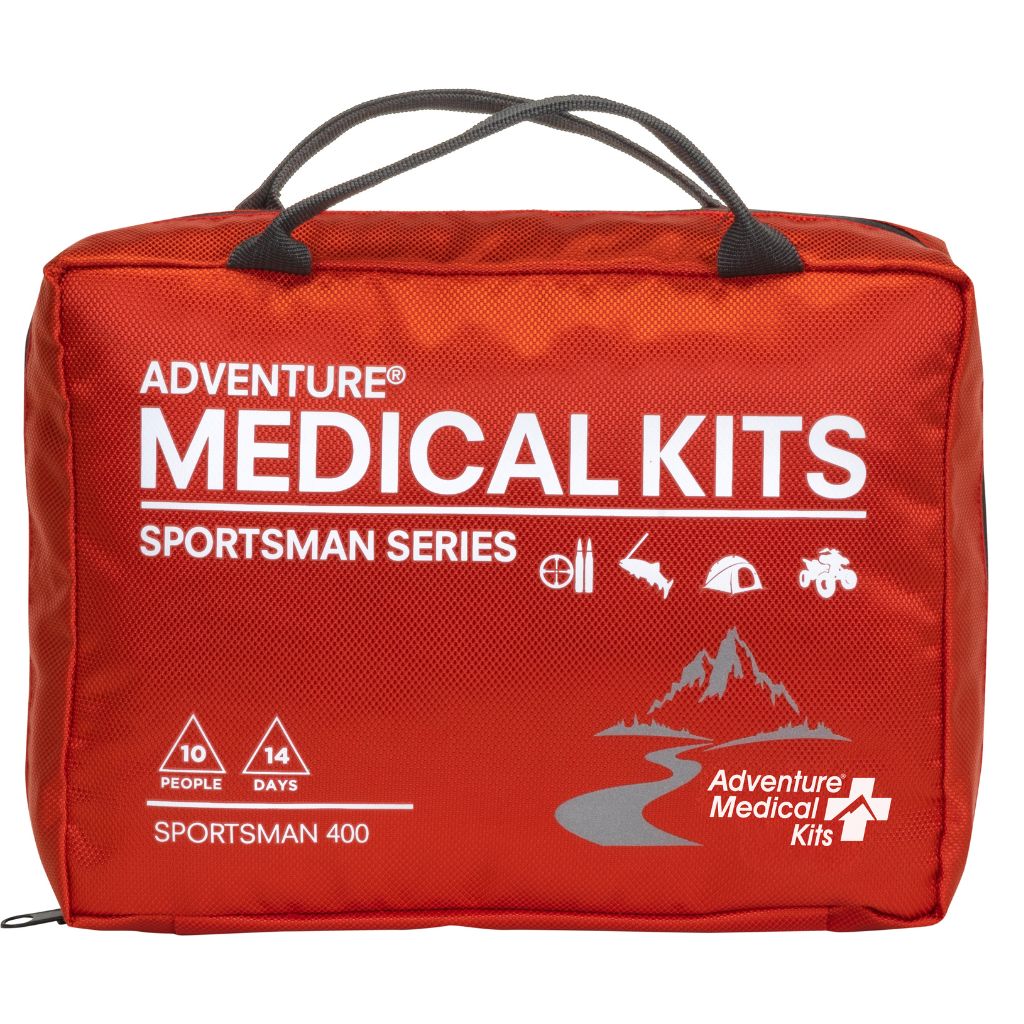
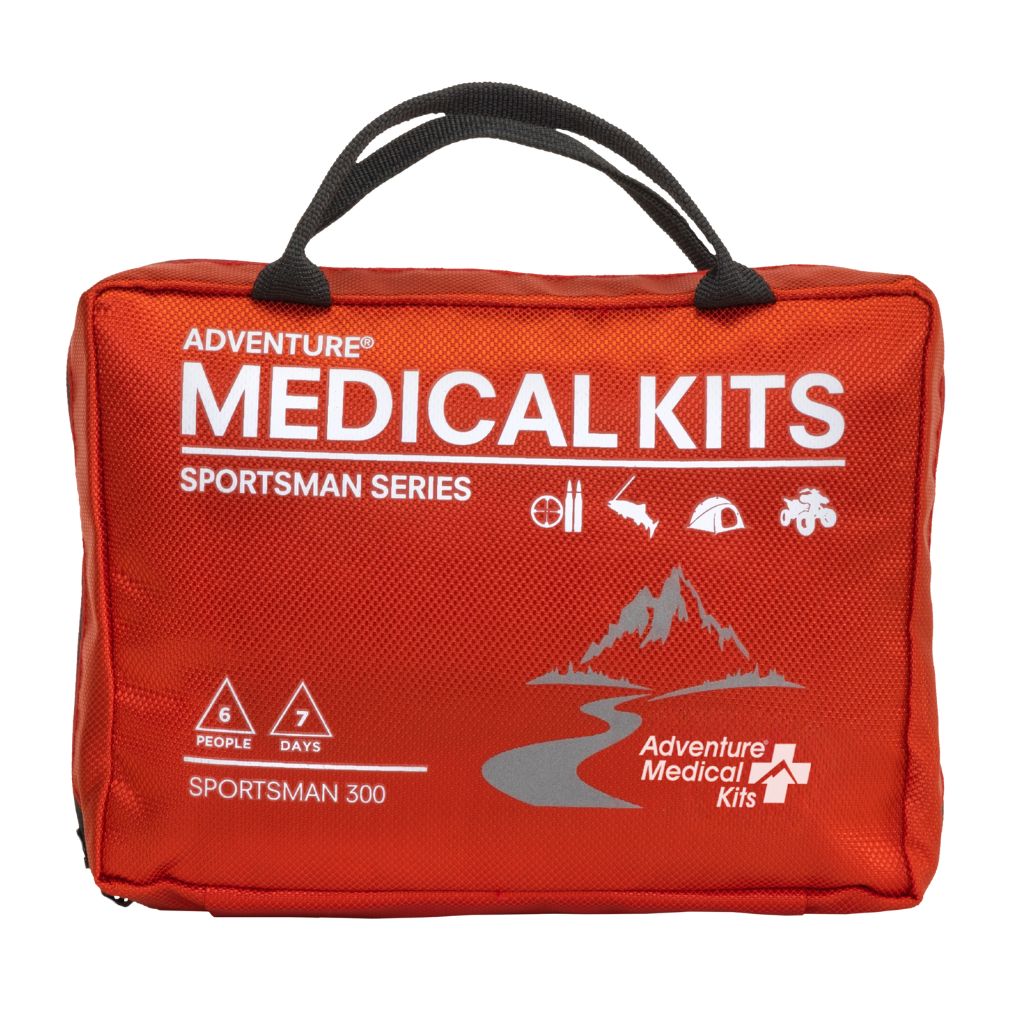
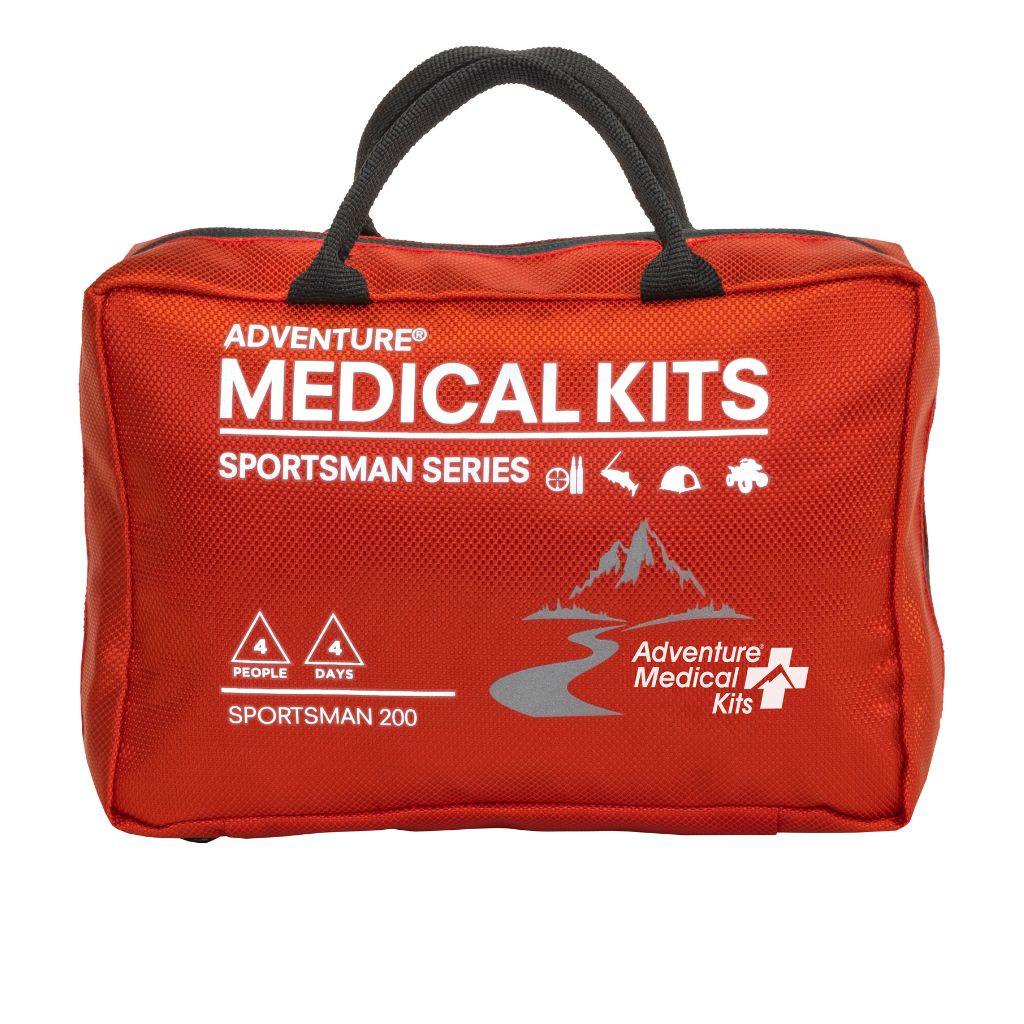
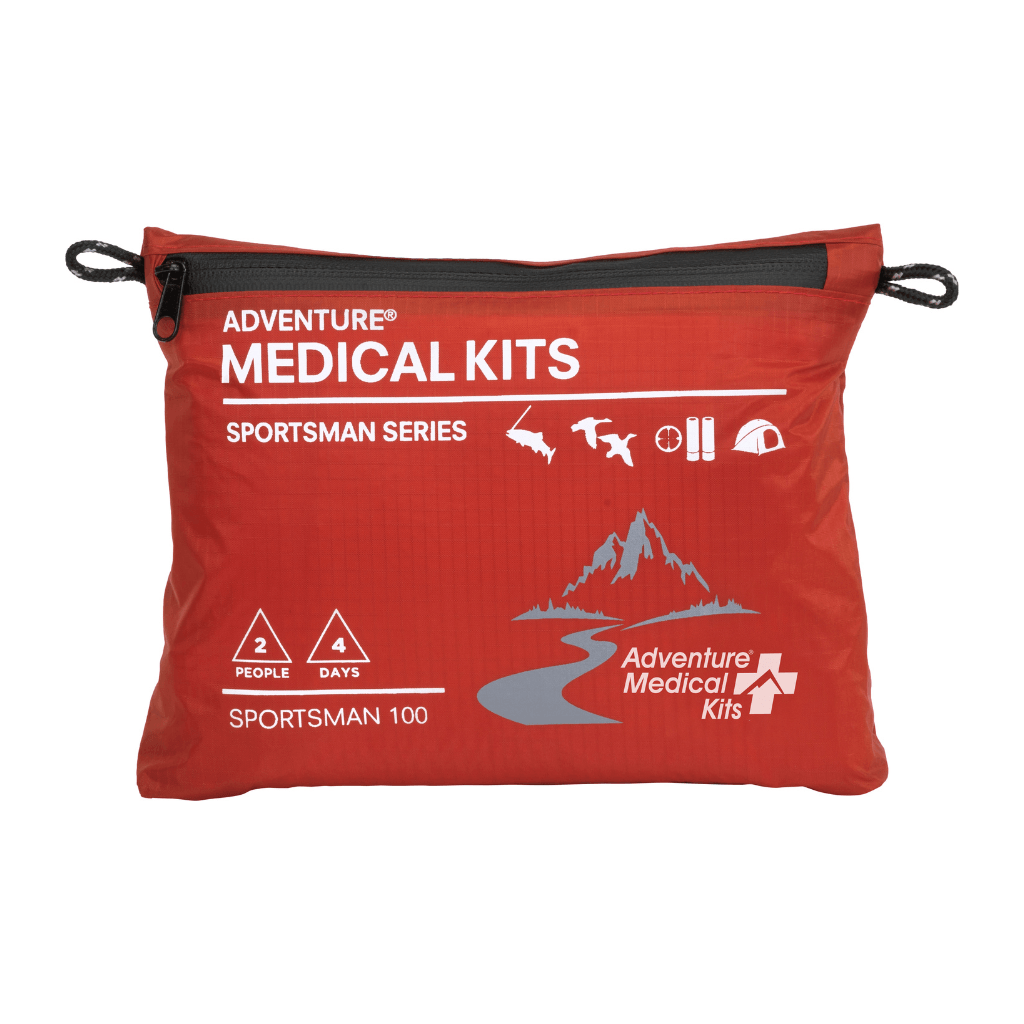
Adventure Medical Kits keeps that broader logic in view in its overview of medical kit types, which helps separate specialized packs from general first aid supplies (types of medical kits). That distinction matters on trail, because field skill isn't just owning the right strip or glue, it's knowing when not to use it.
What the kit does not do
A closure kit doesn't sterilize a wound. It doesn't replace irrigation, and it doesn't turn a bite, puncture, or crush injury into a simple cut. It also doesn't teach technique on its own, which is why the same supplies can go unused for years or be used badly in a stressful moment.
A closure kit is a finishing tool, not a rescue plan.
That framing keeps expectations honest. The right kit supports a decision already made through judgment, not impulse. Without that judgment, the kit is just a pouch of small parts.
What Is Usually Inside a Field Wound Closure Kit
The contents are usually a family of tools rather than one magic device. Each piece solves a narrow problem, and each one fails quickly outside its lane. That's the part most product pages skip, but it's the part that matters when rain, sweat, and motion are working against the wound.

The core closure tools
Adhesive strips and butterfly closures are the entry level. They work best on shallow, low-tension cuts with clean edges, where the skin can meet without force. Their weakness is obvious in the field, they don't hold well on wet skin, jagged edges, or wounds that keep pulling apart.
Tissue adhesive, usually an octyl or butyl cyanoacrylate formulation, suits straight, clean, hairless lacerations under low tension. It can be neat and fast, but it doesn't belong on joints, bite wounds, or areas that stay damp. If the wound edges don't sit together naturally, glue is the wrong answer.
Steri-Strips with benzoin tincture add grip when simple strips need more hold, especially where sweat or movement makes adhesion uncertain. Even then, the strip still only supports surface approximation, it doesn't replace deeper repair.
Staplers belong to trained users and to wound patterns where speed matters, often scalp, trunk, or larger extremity wounds. They're efficient, but efficiency isn't the same as appropriateness. A stapler is not a universal field fix.
Sutures and curved needles may appear in advanced kits, but most lay users shouldn't treat them as a casual add-on. They require real training, judgment, and a clean working environment.
The support items that make closure possible
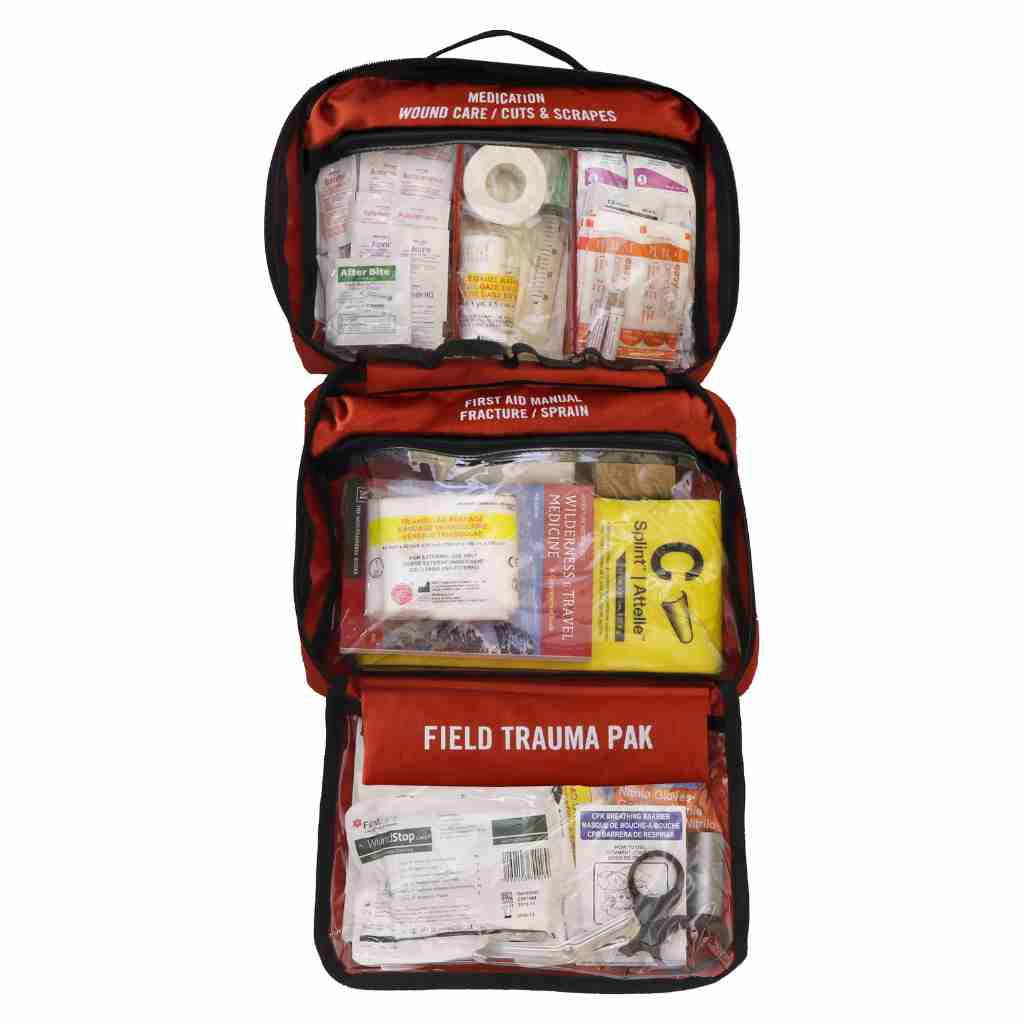
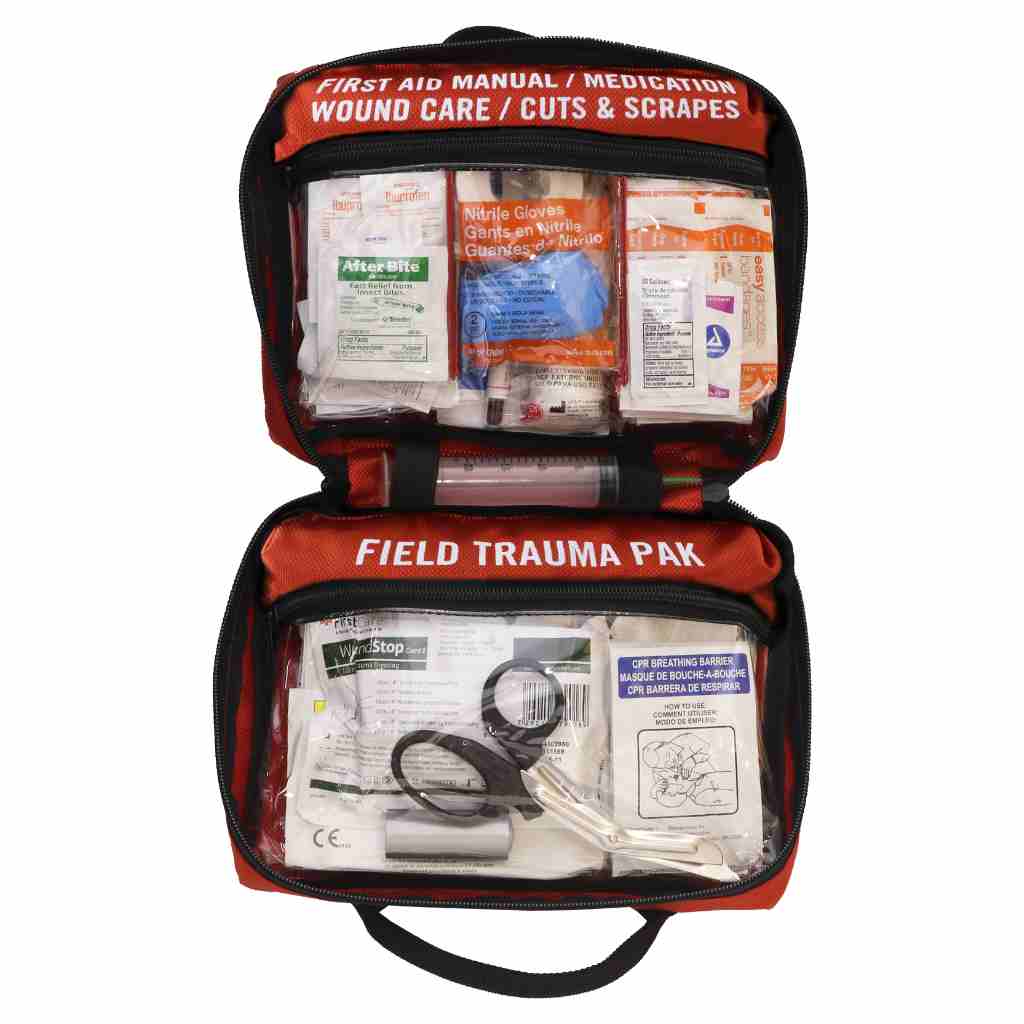
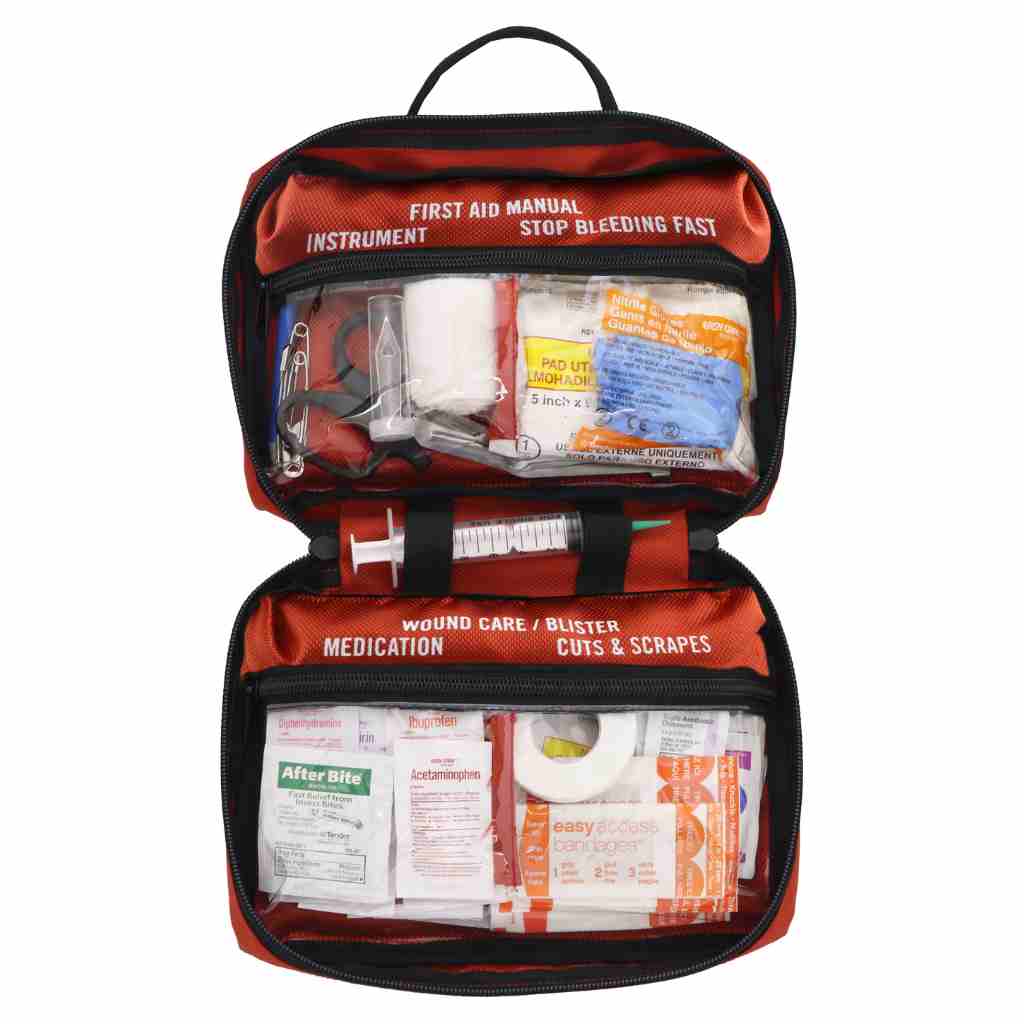
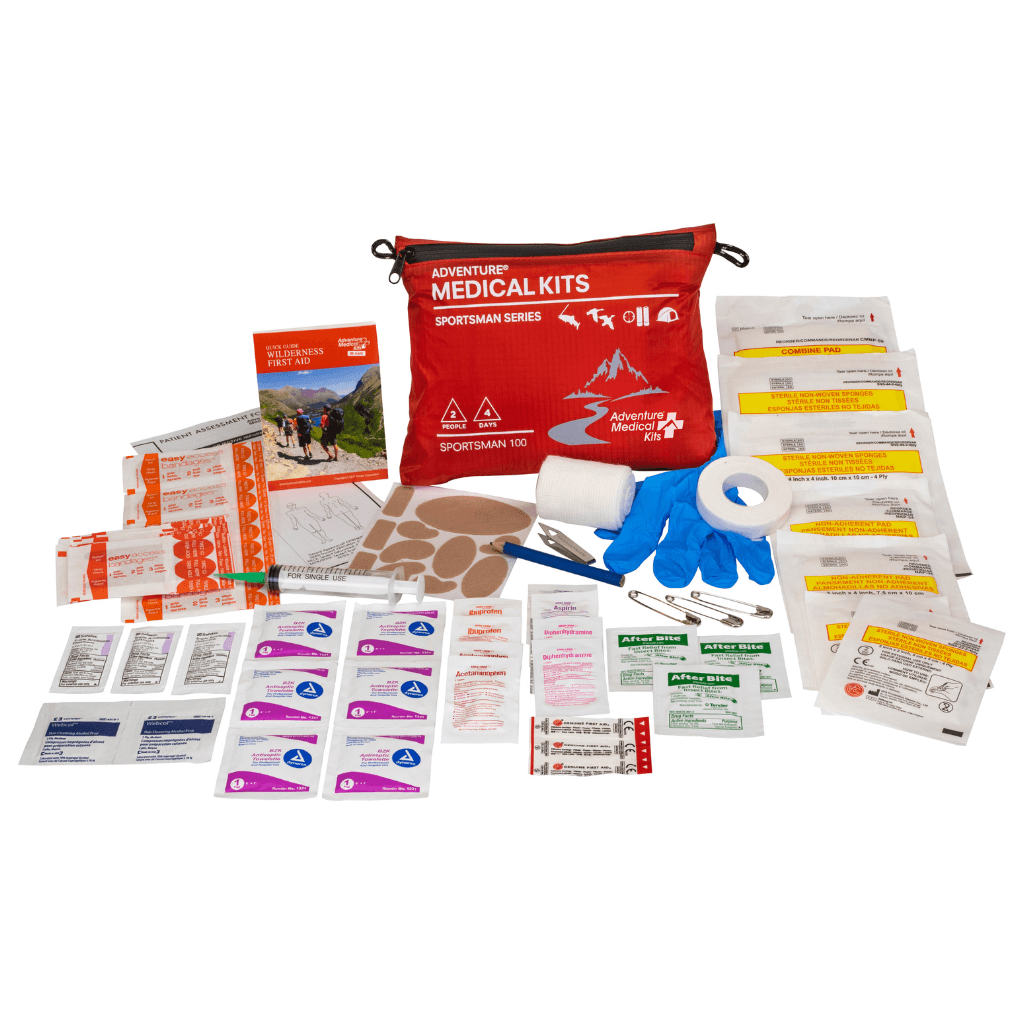
A closure kit also needs the basics that make the closing step safe. That means irrigation syringe, antiseptic solution, gloves, forceps, scissors, and a clean field drape. Without those items, the closure tools are being asked to do the job of wound preparation, which they can't do.

The important takeaway is simple. A wound closure kit is a system, not a pile of strips. If the supporting tools are missing, the closure tools are being asked to work blind.
When a Wound Should and Should Not Be Closed in the Field
The instinct to close every cut is understandable, but it's wrong more often than people think. Closure works best when the wound is fresh, clean, straight, and low tension. The evidence on field and clinical closure keeps returning to the same idea, tension and contamination matter more than convenience.
Good candidates for field closure
A wound is more likely to fit field closure when it is relatively small, clean, and recent, with skin edges that meet without being forced. Scalp, forearm, and shin injuries often fit this pattern better than joints or hands, provided the wound is superficial and doesn't expose deeper structures. The older teaching about a rigid “golden period” doesn't hold up cleanly, and the American Academy of Family Physicians notes there's no proven golden period, with clean noninfected wounds sometimes closed up to 18 hours after injury and head wounds up to 24 hours after injury (AAFP guidance).
That doesn't mean every older wound can be closed. It means age alone isn't the whole story. A fresh-looking wound in a dirty environment can be a worse candidate than an older one that has been cared for properly.
Wounds that should stay open
Bites, punctures, crush injuries, heavy contamination, established infection, and wounds with exposed tendon, nerve, or bone belong in the “leave open and evacuate” category. So do wounds over joints, deep gaping cuts, and any injury where the edges won't rest together without tension. Active bleeding has to be controlled before the closure question even starts.
A useful field rule is to think in terms of mechanical load. If the wound keeps pulling apart during normal movement, it's asking for a repair method that the field usually can't provide. Closure is a bridge to care, not proof that care is finished.
Clean, straight, and low tension is a candidate. Dirty, crushed, bitten, or gaping is not.
Safe Step-by-Step Use in the Field and When to Seek Professional Care
Field closure starts with the environment, not the wound. If the scene is unsafe, if the patient is unstable, or if another problem is taking priority, the closure kit stays in the pack. After that comes gloving, visual inspection, and a hard look for depth, foreign bodies, and signs that deeper structures are involved.

A defensible field sequence
- Scene safety and gloves. No one closes anything before the area is safe and hands are protected.
- Inspect the wound. Look for debris, gaping, depth, and anything that suggests tendon or nerve involvement.
- Irrigate thoroughly. Use clean potable water or sterile saline under pressure, and keep going until visible dirt is gone.
- Dry the skin around the wound. Adhesives fail fast on wet skin.
- Choose the method that matches the wound. Strips for low tension, glue for straight clean cuts, staples only when trained and appropriate.
- Protect the closure. Cover with a non-adherent dressing and secure it gently.
- Hand off clearly. Document what was seen, what was done, and what still needs clinical review.
A field closure should never be the final word. Any wound closed away from a clinic should be rechecked by a clinician within a short window, and any red-flag wound deserves immediate descent or evacuation regardless of how tidy it looks. The safest closure is often the one followed by a decisive handoff.
For infection-focused supplies and aftercare items that support the cleaning phase, Adventure Medical Kits keeps infection-prevention categories organized in one place (infection prevention supplies). That matters because clean closure starts long before the strip or glue touches the skin.
The sequence above is the field equivalent of a SOAP-style note, scene, assessment, treatment, disposition. It keeps the closure from becoming a distraction when the patient needs transport.
Choosing the Right Kit for Your Outdoor Activity
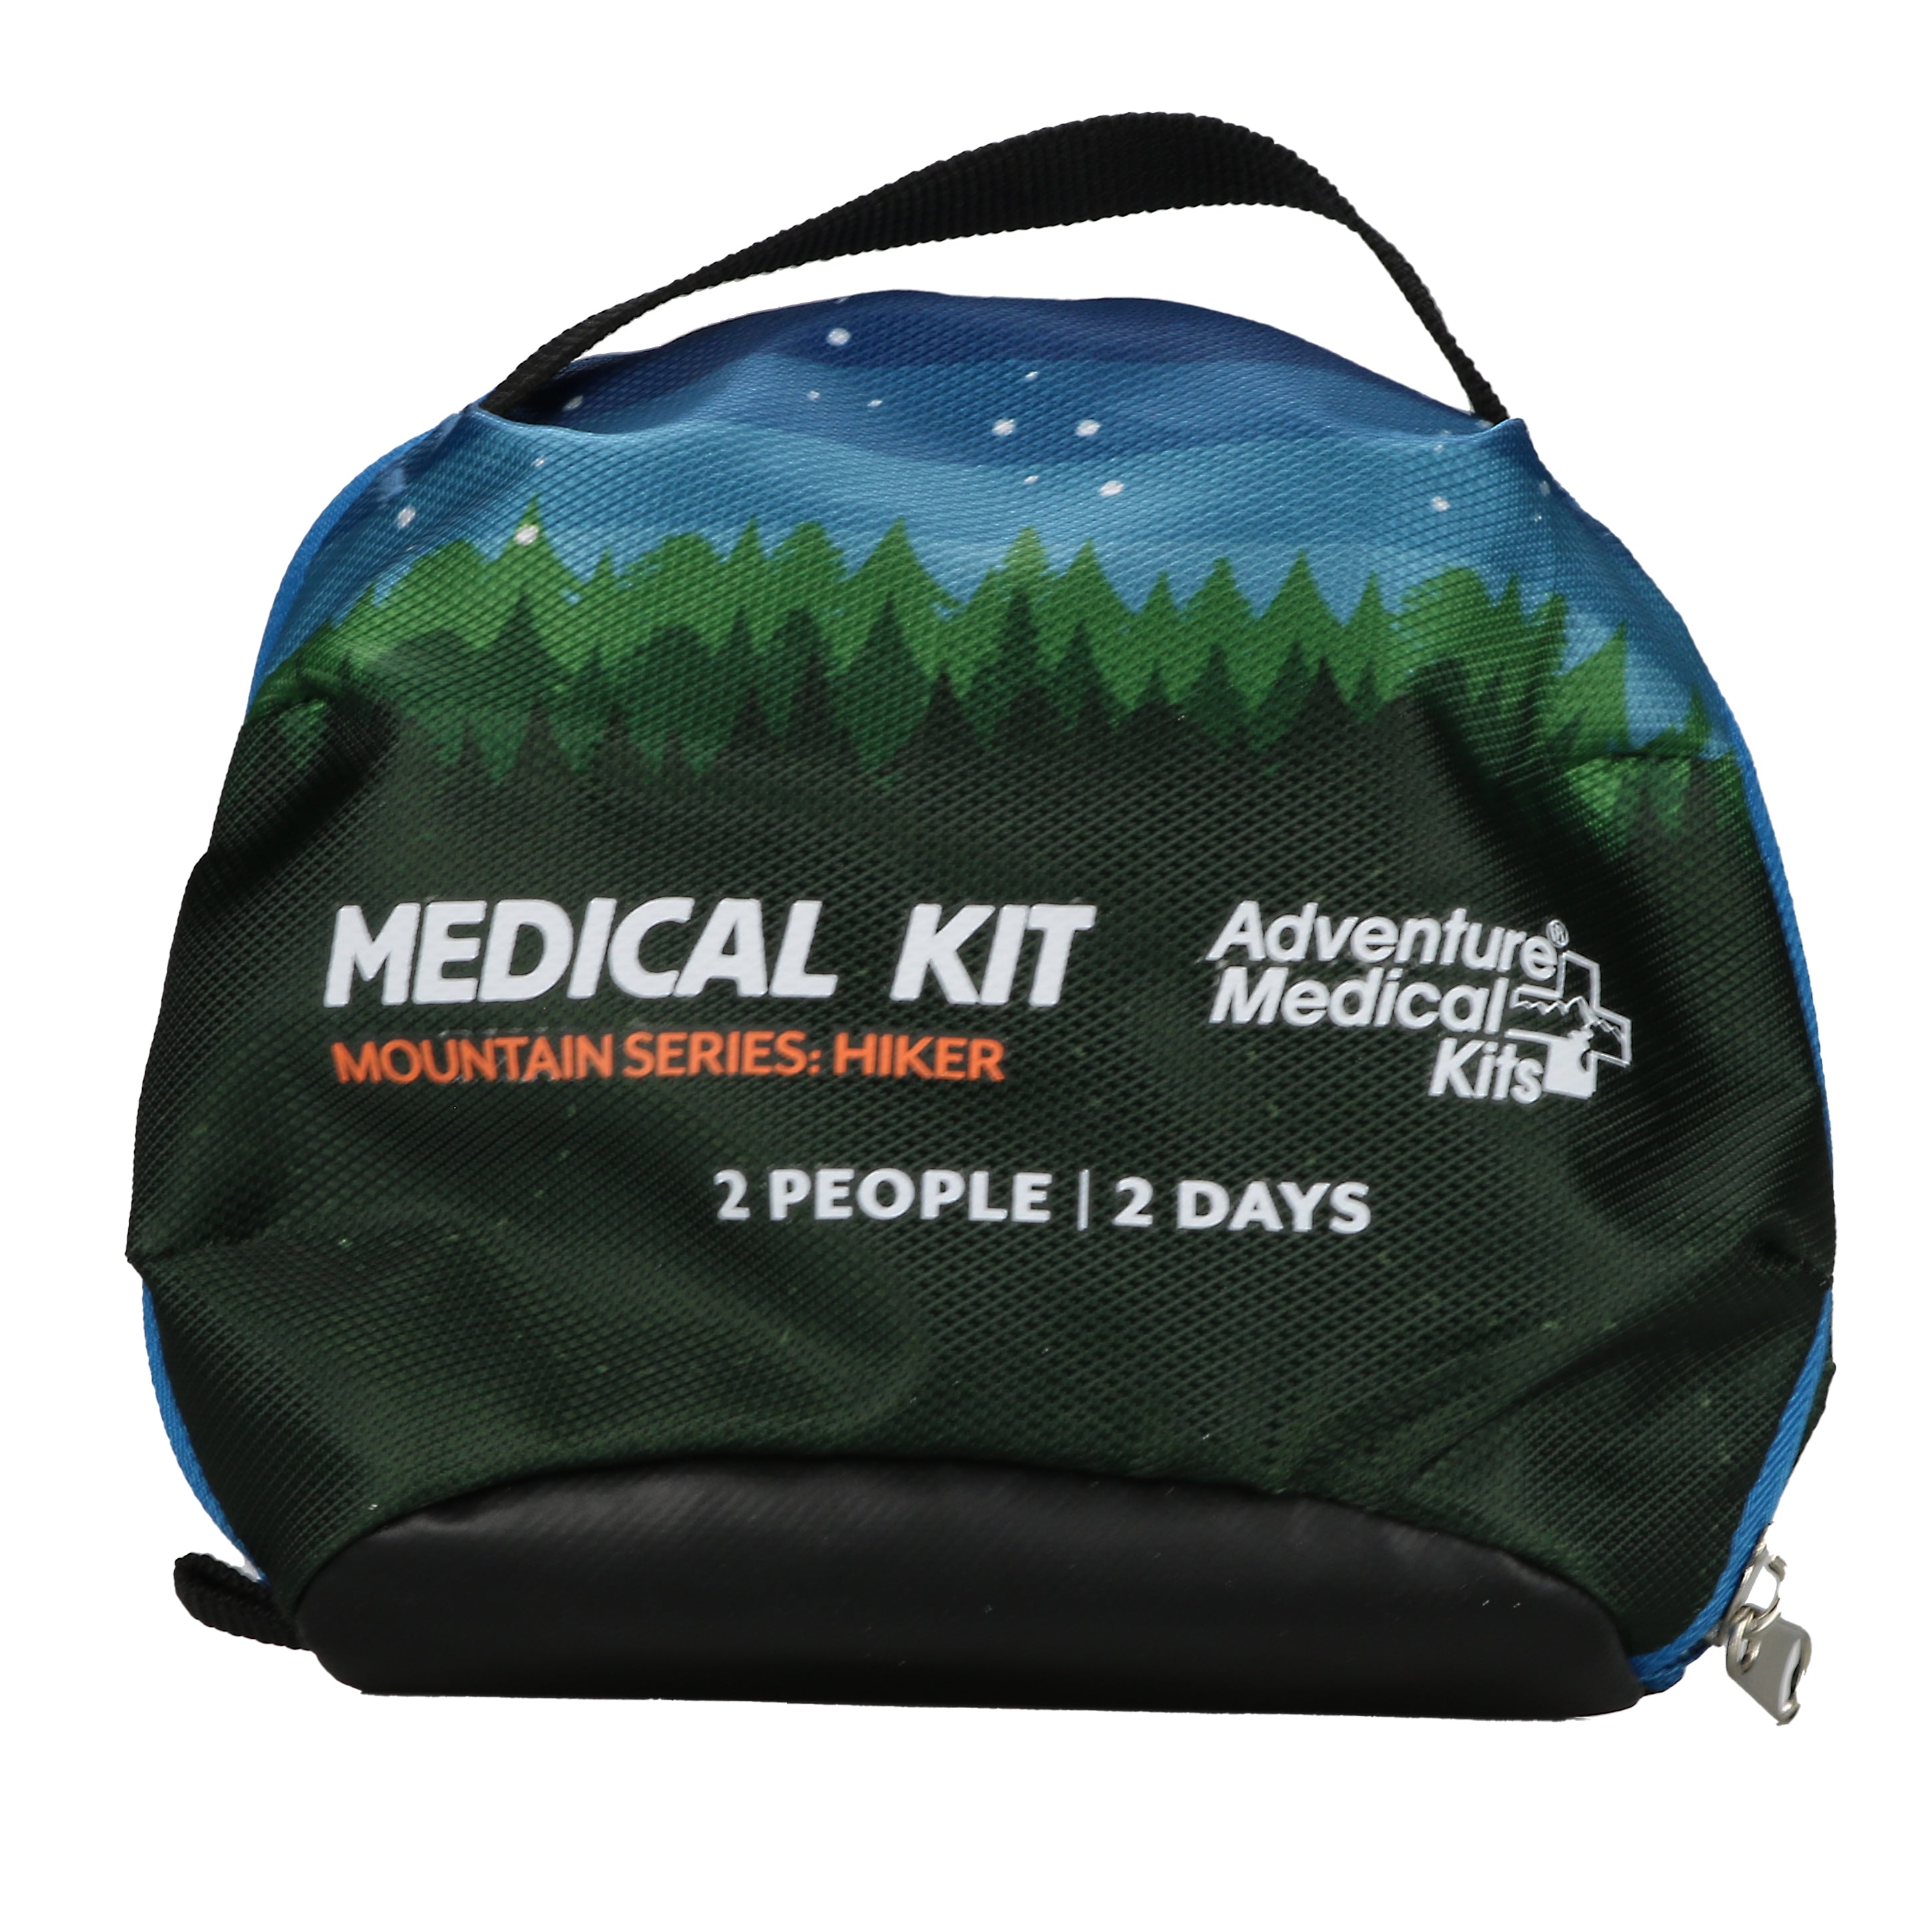
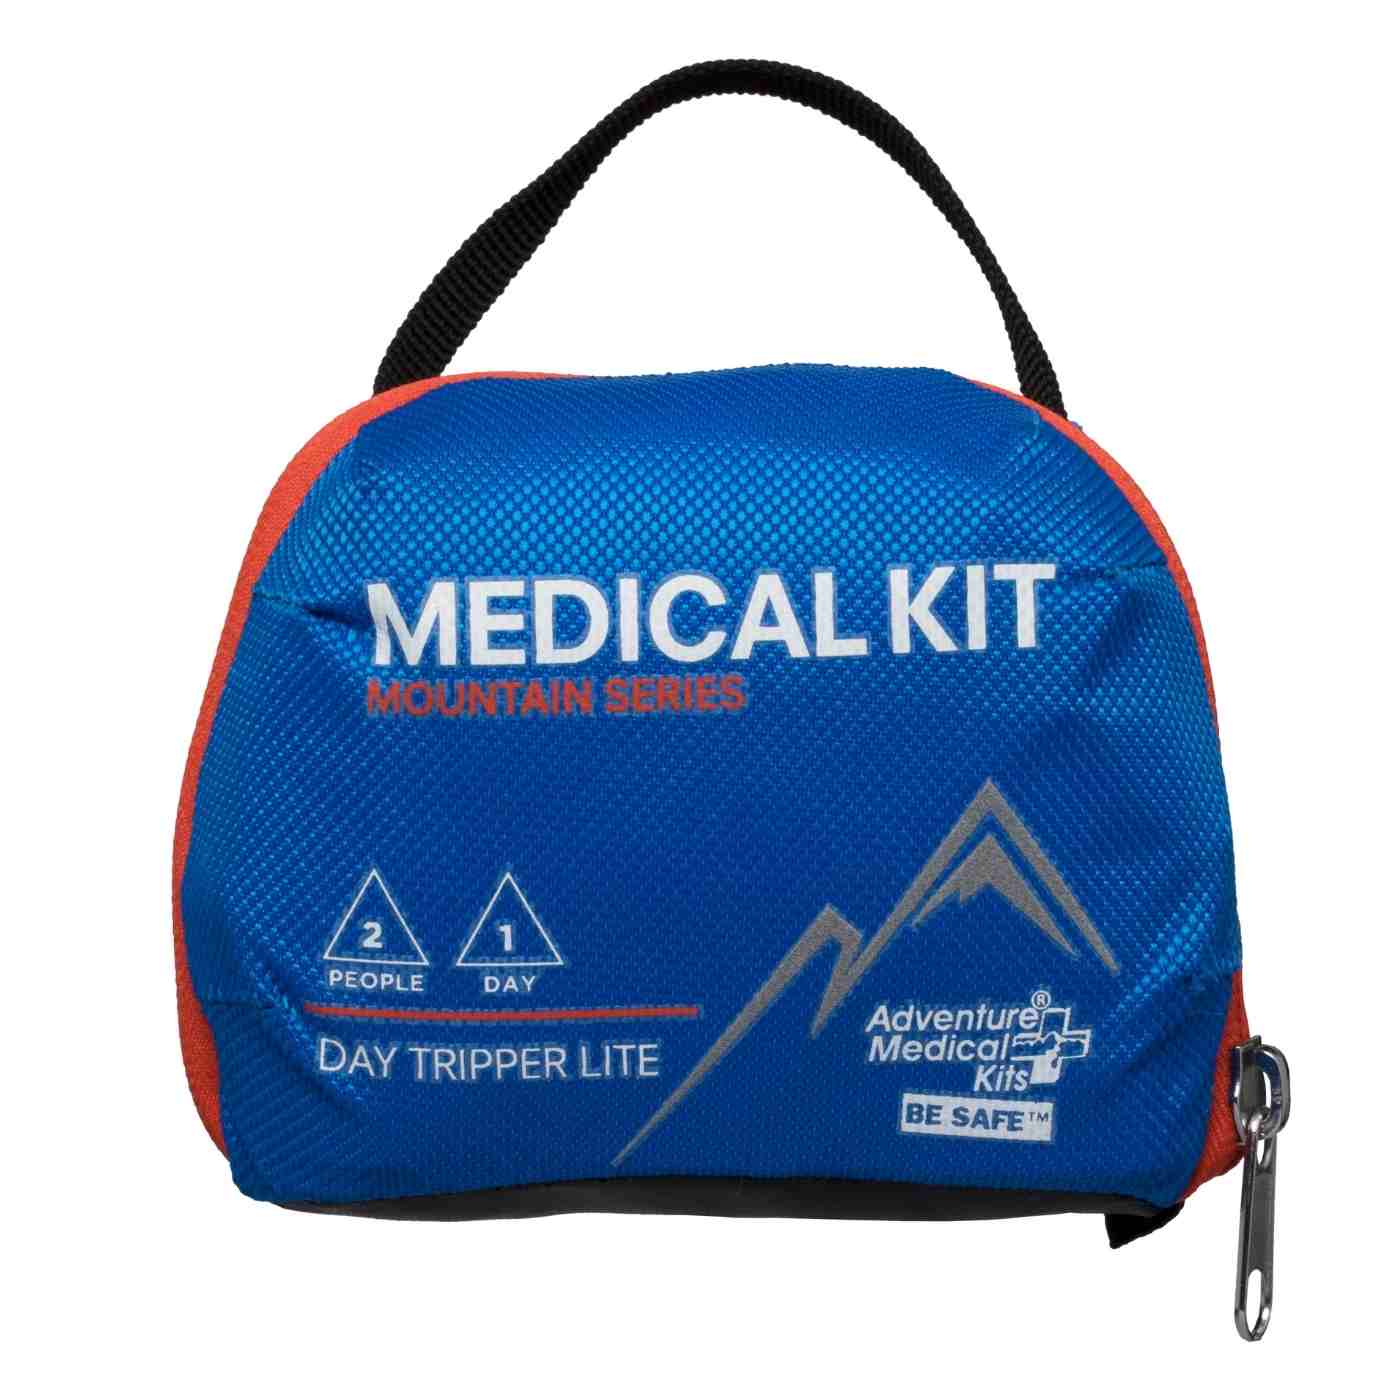
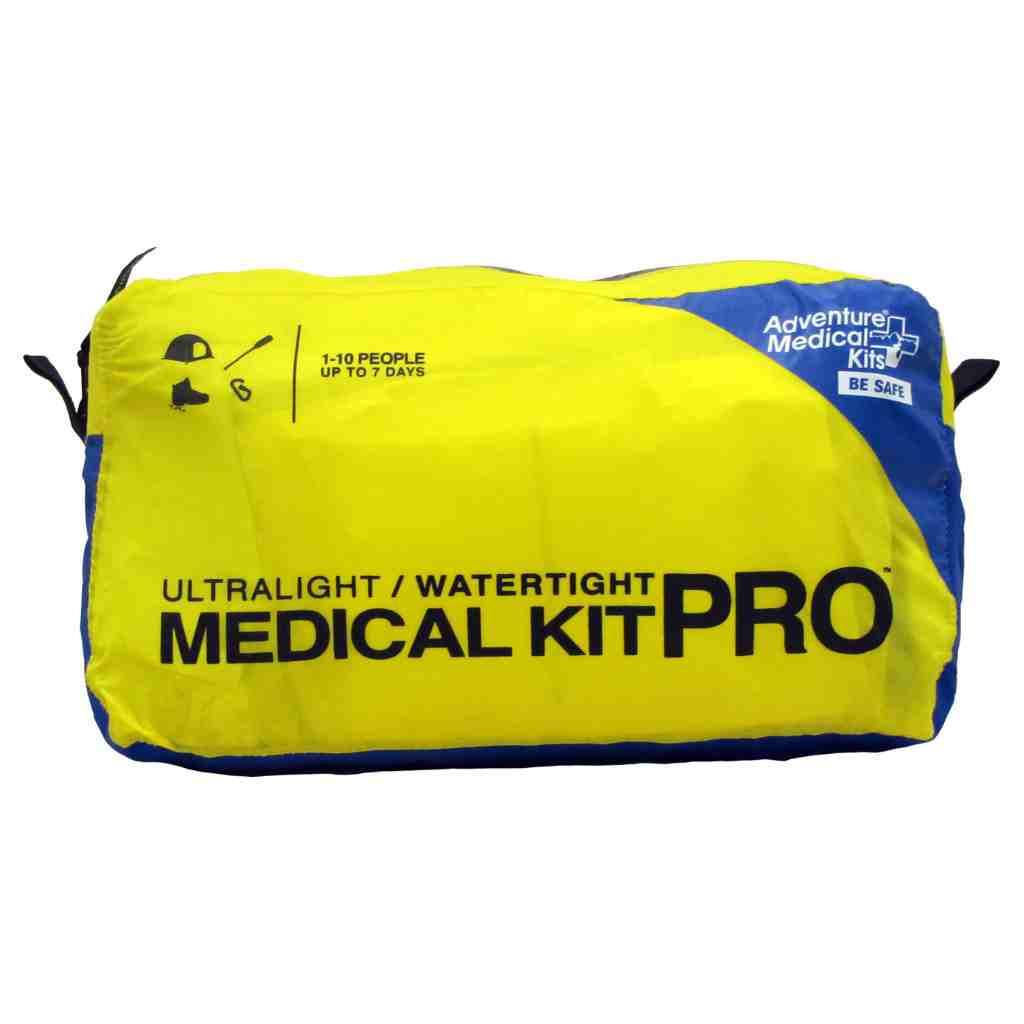
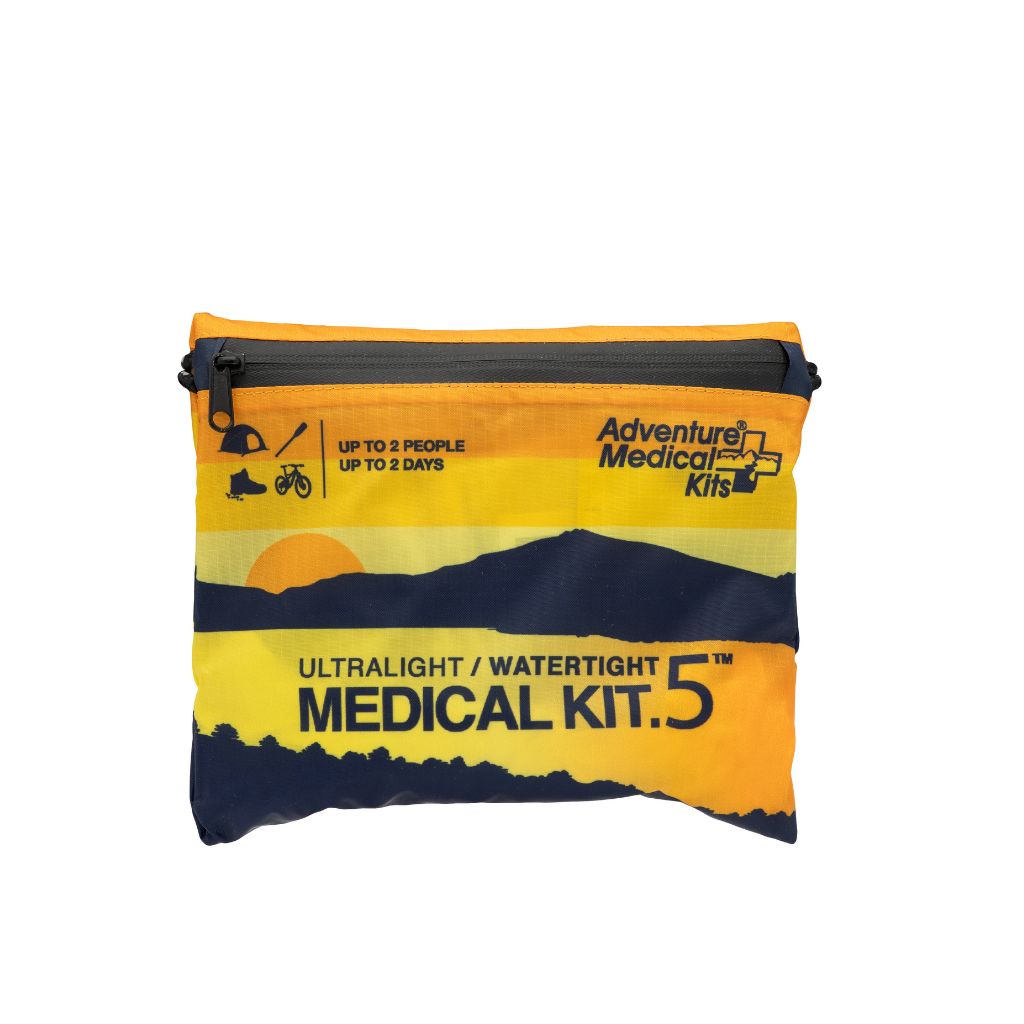
The right kit depends on distance from help, group size, weather, and the kind of injury profile the activity creates. A day hiker does not need the same closure setup as a paddler, hunter, or backcountry guide. A useful rule is to match the kit to the time it may take to reach definitive care, not to the fantasy that the kit can substitute for it.
| Activity | Kit Size & Case | Core Closure Components | Aftercare Additions | Rotation Cadence |
|---|---|---|---|---|
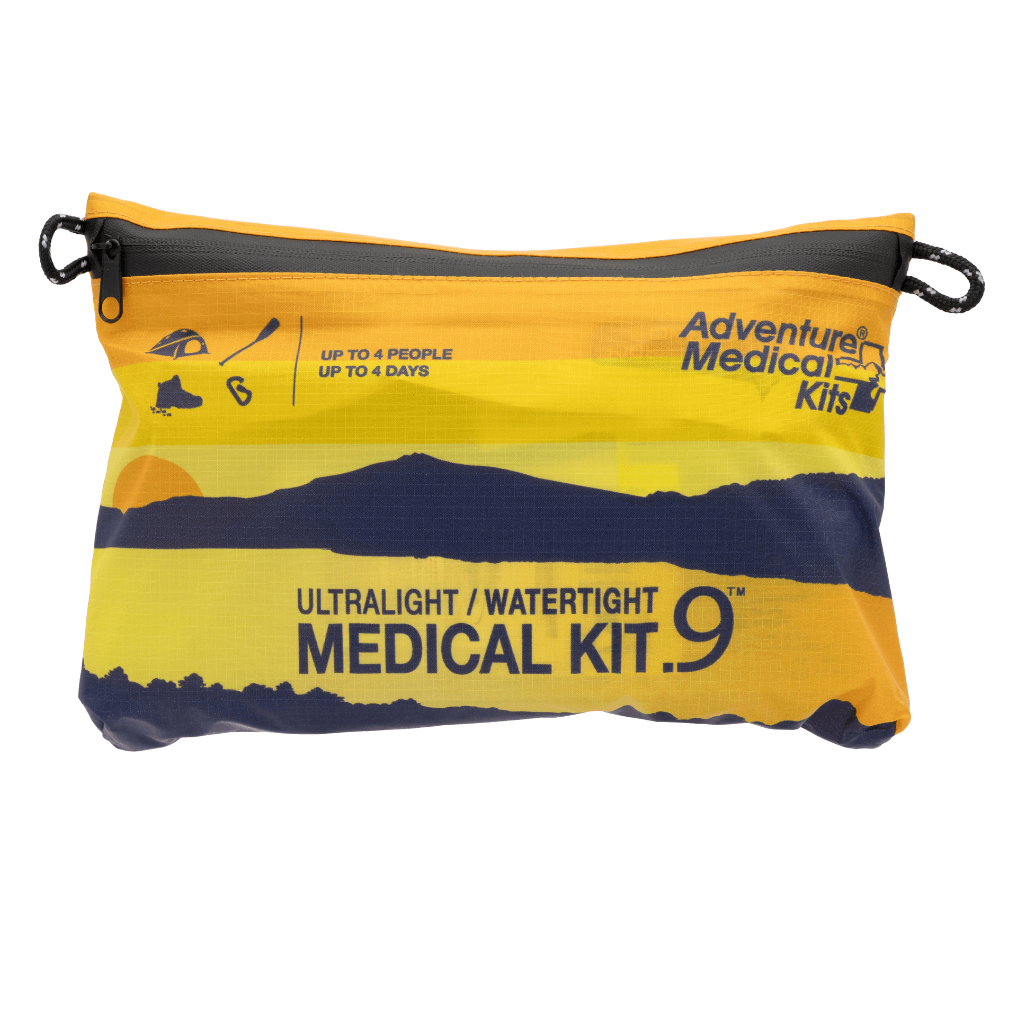
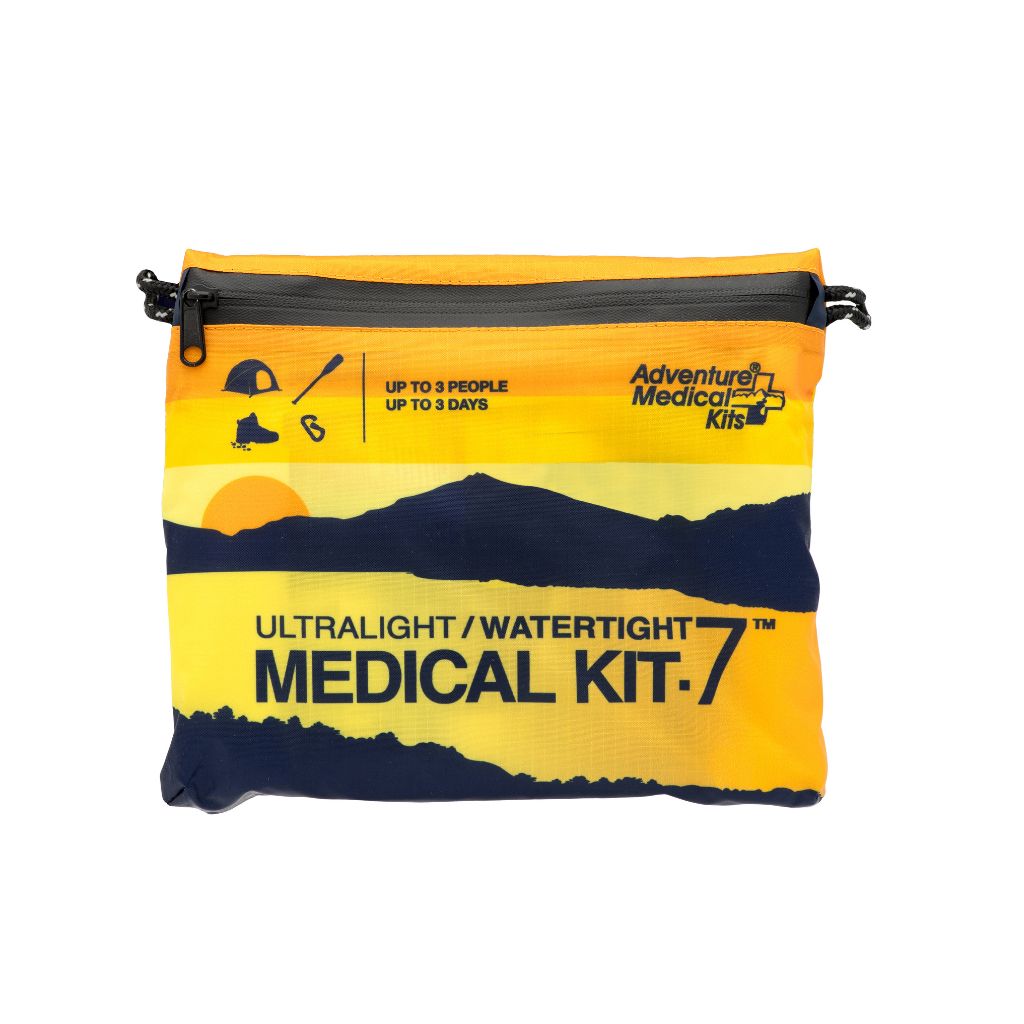
| Day hike | Featherweight pouch | Sterile strips, one tissue adhesive vial, three butterfly closures | Simple dressings and gloves | Check before every outing |
| Multi-day backcountry | Soft kit | Strips, tissue adhesive, irrigation syringe, stapler for trained users | Non-adherent dressings, gauze, wrap | Repack after each trip |
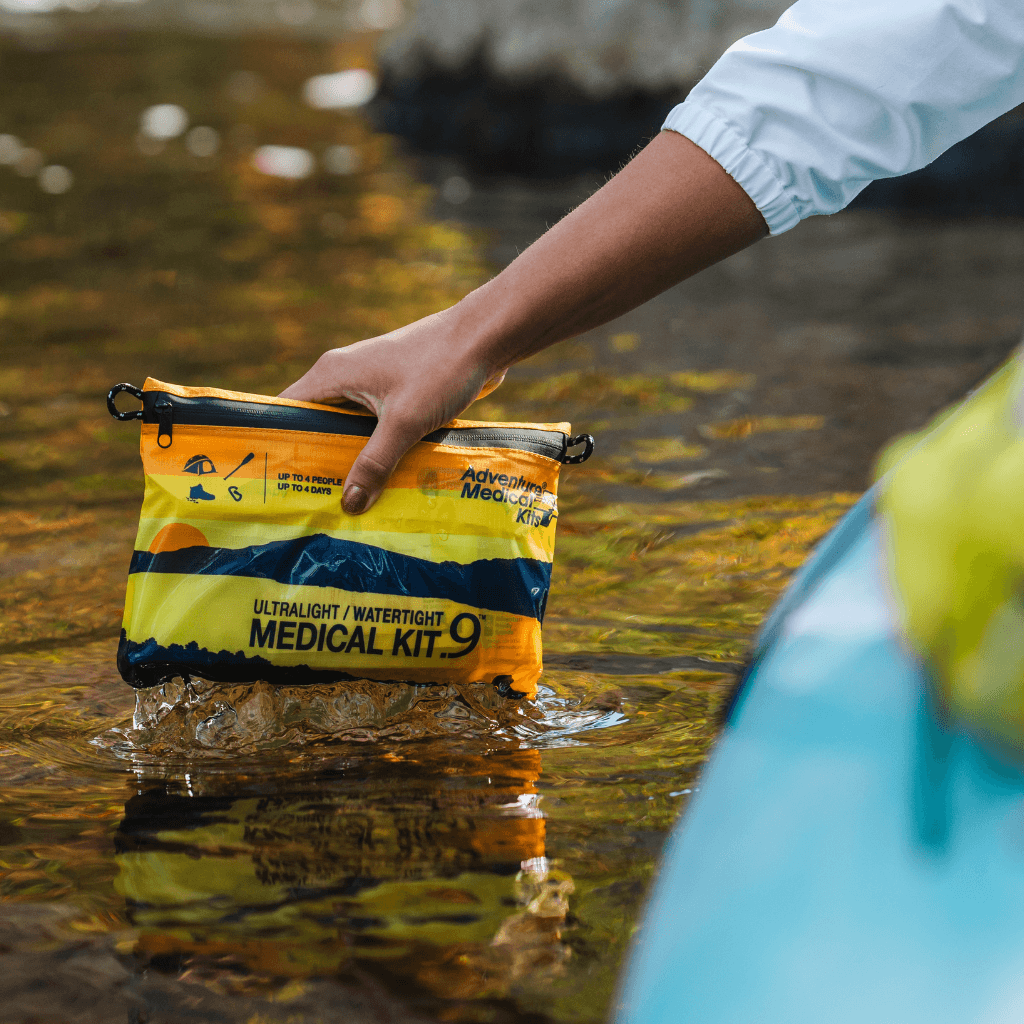
| Water trip | Waterproof hard case | Strips, adhesive, closure support items that tolerate moisture | Fresh-water rinse supplies, hemostatic gauze | Inspect before launch day |
| Hunting base camp | Larger kit with tough case | Skin stapler, strong adhesives, larger closure options | Dressings for contaminated wounds | Seasonal review |
| Family car kit | Organized pouch or box | Pediatric-sized strips, blunt-tip scissors, basic adhesive support | Instant cold packs, dressings | Rotate with vehicle readiness |
Adventure Medical Kits' hiking-first-aid guidance is a useful companion when building a small, activity-specific pack, especially for hikers who want to keep weight down without losing the basics (best hiking first aid kit). That same logic applies to closure gear, too, a little planning beats a lot of improvisation.
A closure kit should also reflect the group's skill level. A family car kit can carry closure supplies, but if nobody knows when to use them, the kit becomes decorative. Resupply and rotation are part of the purchase decision, not an afterthought.
Packing, Waterproofing, and Maintaining Your Kit Over Time
A closure kit works only if it stays dry, organized, and complete. The simplest method is a waterproof inner layer inside a clearly marked outer pouch, so anyone in the group can find it fast. That small habit prevents the classic field problem, the right item is somewhere in the pack, but nobody can reach it quickly.
Keep the system ready
A closure kit should be packed as a single ritual, not a random pile of supplies. The strips, adhesives, and any sterile items belong in a sealed inner sleeve, while the instruction card stays readable and easy to pull out. For wet environments, a silica gel packet and a hard-shell case help protect the contents from moisture and crushing.
Expiration checks matter because adhesives and antiseptic items don't stay trustworthy forever. Anything cloudy, dried out, or past its date should leave the kit before the next trip. After any use, restock immediately, because a half-empty kit creates a false sense of readiness.
A small inventory card inside the lid makes the kit easier to audit fast. Photographing the contents before departure gives a remote contact a way to describe the kit if it's lost or damaged, which is useful when travel plans get messy or a group splits up unexpectedly.
For broader trip planning, a resource like Cartograph Coffee's adventure planning guide can help tie gear checks to route decisions, weather windows, and resupply timing. That kind of planning makes medical prep more realistic, because the kit has to fit the trip, not the other way around.

The maintenance habit is the same every time, store it dry, mark it clearly, audit it regularly, restock it immediately. That rhythm keeps the kit from drifting out of readiness.
Training, Legal Awareness, Evacuation Triggers, and Common Field Scenarios
A closure kit doesn't create competence. Skills come from a hands-on wilderness first aid or Stop the Bleed course, plus practice on training strips or oranges until the motions feel familiar. That training matters because closure decisions carry responsibility, and good judgment beats a fancy kit every time.
Legal and practical basics
Local Good Samaritan protections vary by place, so travelers should know the rules where they're headed. Consent, clear documentation, and prompt handoff to professionals are part of the standard of care, even in the backcountry. The closure method should be recorded, along with what the wound looked like before anything was applied.
For groups who carry gear for work or extended trips, organization resources can help make that preparation feel less abstract. Nandog Pet Gear's military and first responder perk page is a useful example of how some brands structure readiness-focused support around field users (military and first responder perks), even though the medical decision-making still belongs with the person on scene.
Common scenarios and the decision to make
A knife slip at camp may be a clean, straight cut, or it may hide contamination from food, dirt, and motion. A gashed shin on a scree field often looks simple but can be hard to keep closed because the skin keeps moving. A torn scalp from a low branch may bleed heavily at first, then become a closure candidate if it's clean and shallow.
| Scenario | Closure in Field? | Evac Priority |
|---|---|---|
| Knife slip at camp | Maybe, only if clean and low tension | Moderate if depth is uncertain |
| Gashed shin on scree field | Often no, if tension or contamination is present | High if edges won't hold |
| Torn scalp from a low branch | Sometimes yes, if shallow and clean | High if bleeding won't stop |
| Bite, puncture, or crush injury | No | Immediate |
| Wound with suspected tendon or bone involvement | No | Immediate |
Training should end with a practical habit: clean, assess, decide, dress, and move toward definitive care. That keeps the closure kit in its proper role, one small part of a larger response.
Troubleshooting questions readers usually ask
What if the wound looks small but keeps reopening? Movement or tension usually means it shouldn't be closed in the field.
What if the cut stops bleeding after pressure? That helps, but it doesn't automatically make the wound a closure candidate.
What if the kit has staples but no training? Leave them for someone qualified or for a clinical setting.
A closure kit is a tool for prepared people, not a shortcut around assessment. In the field, that difference is everything.
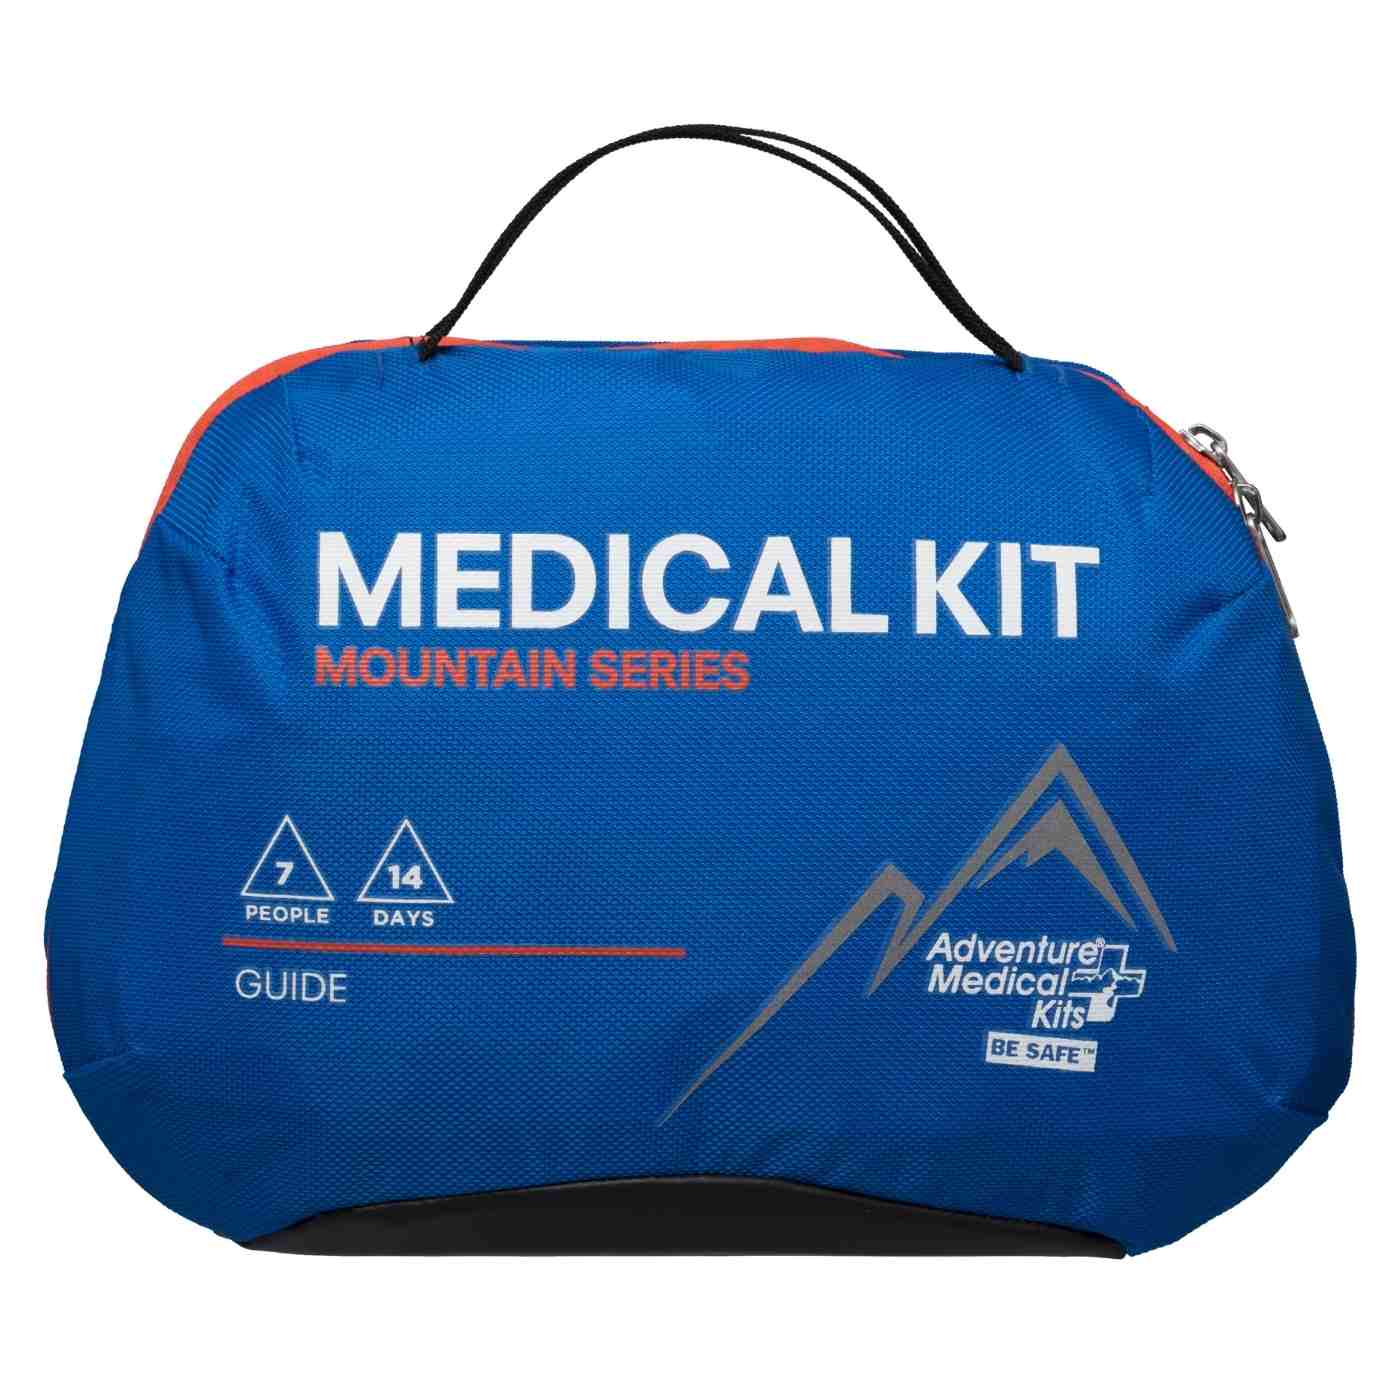
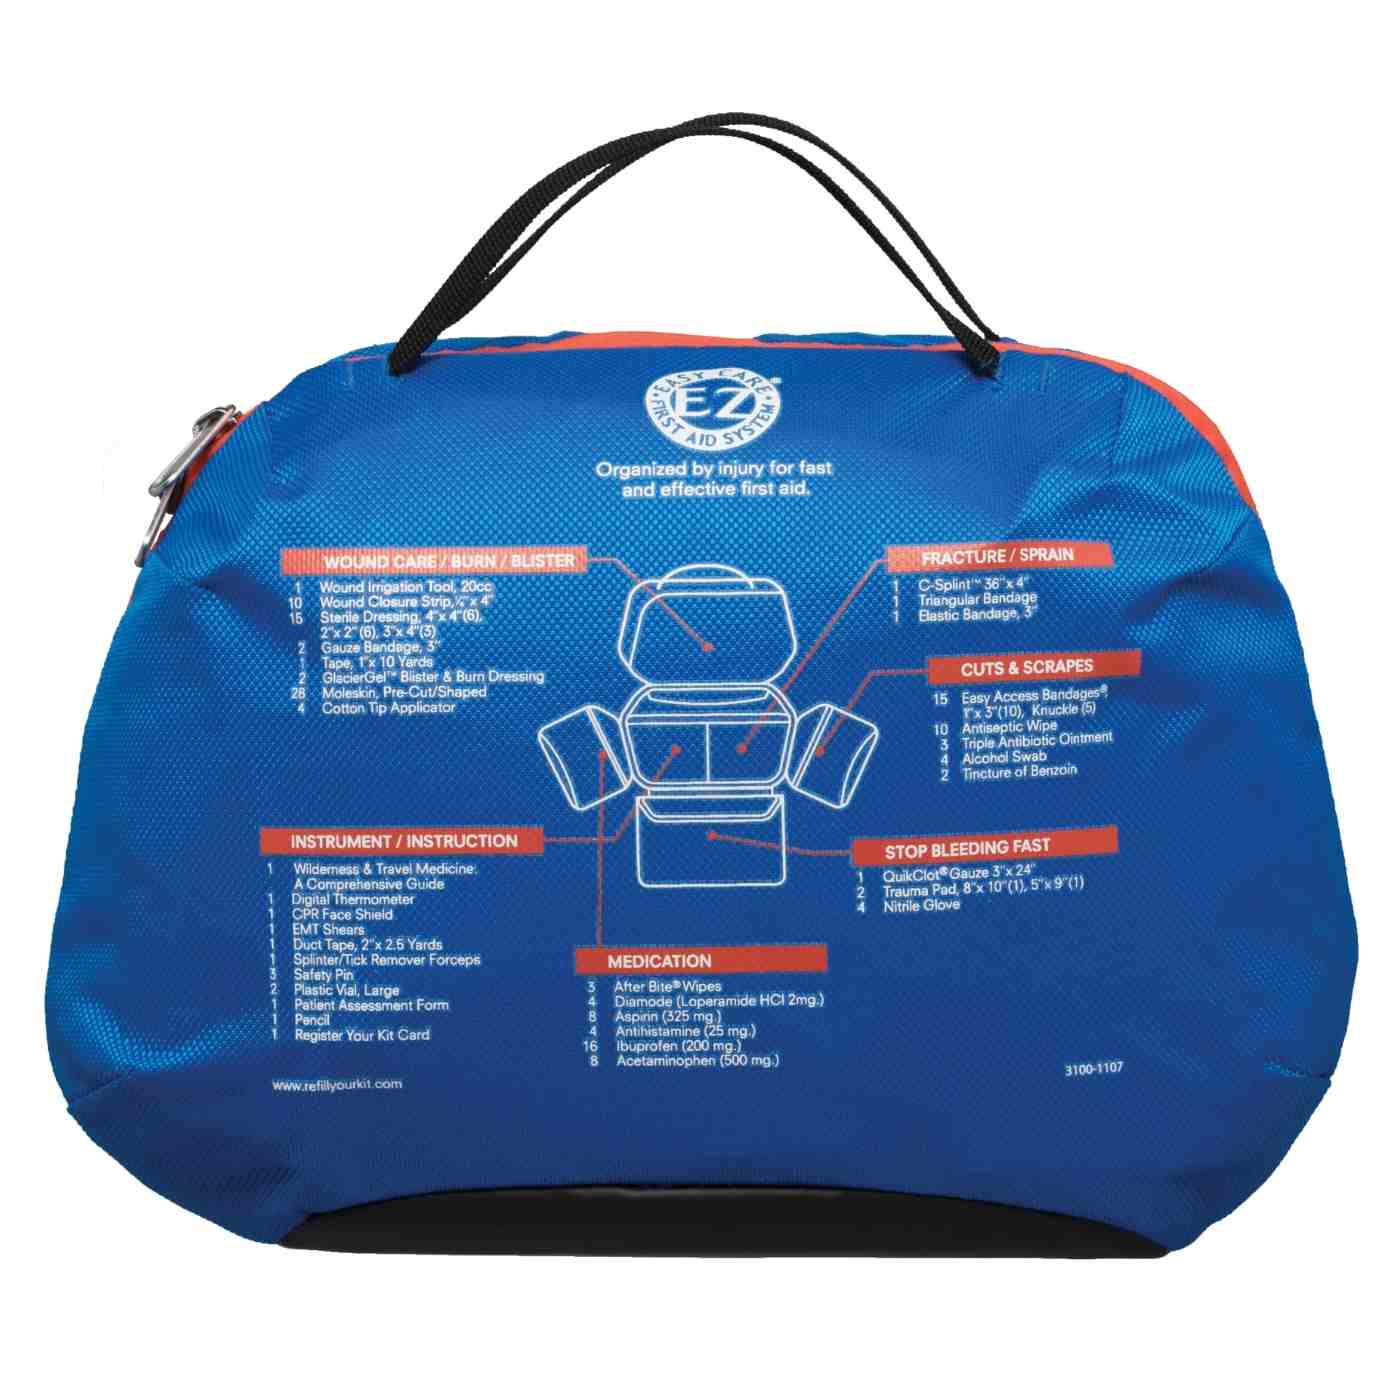
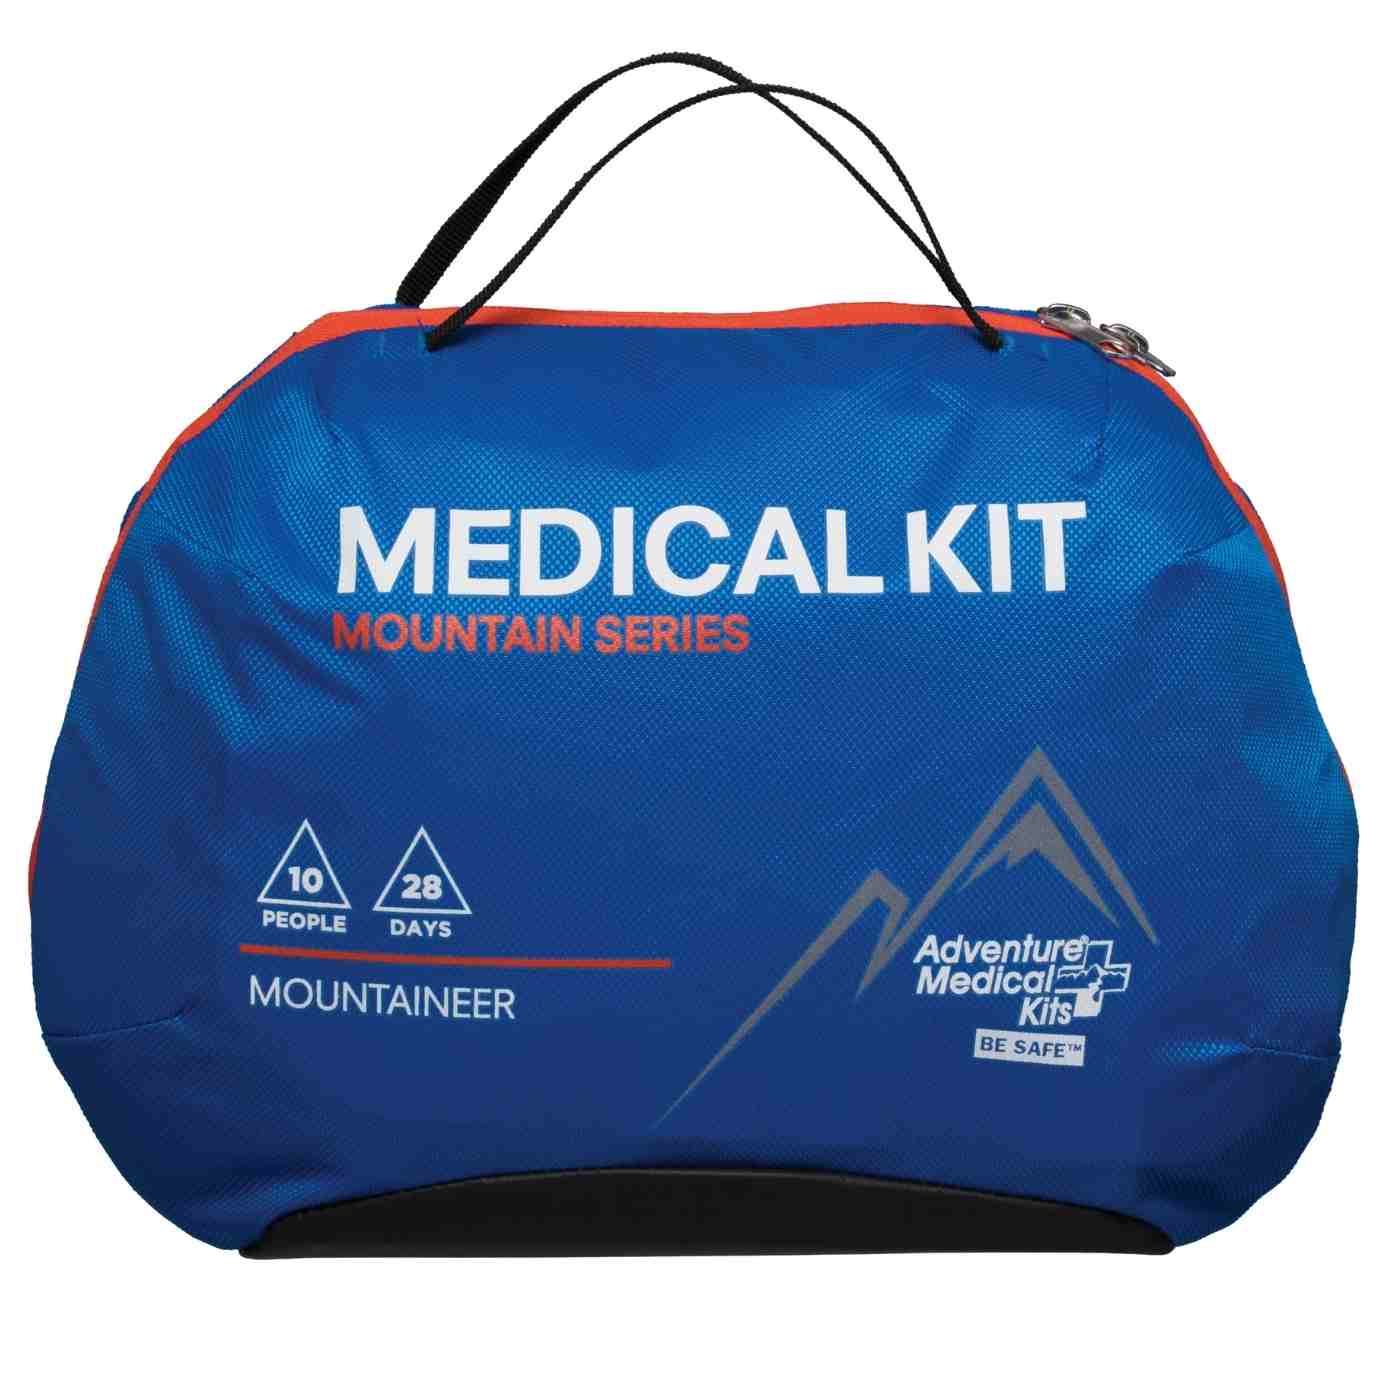
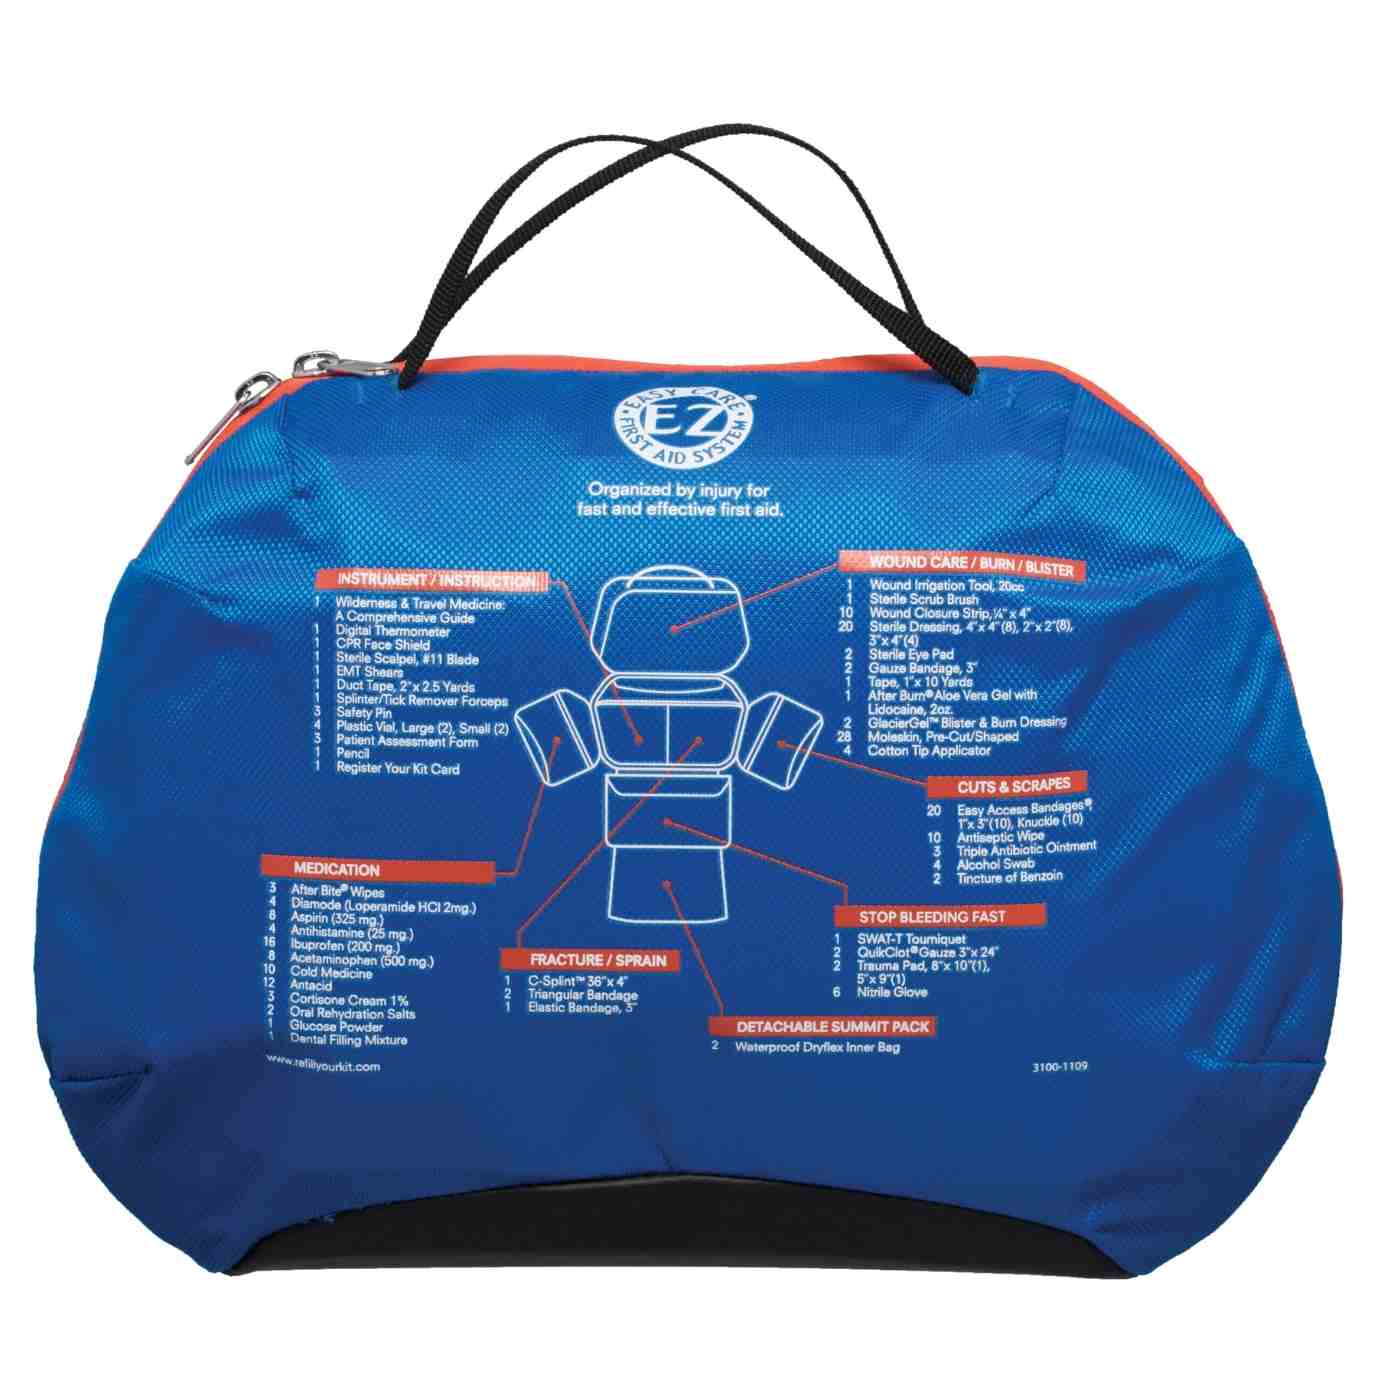
Adventure Medical Kits builds activity-specific medical kits, organized with labeled compartments, instructions, and waterproof packaging that fit trail use rather than home storage. For outdoor travel, the right pack keeps closure supplies in context with the rest of first aid, which is why hikers, paddlers, families, and field leaders should review their kit before the next trip and visit Adventure Medical Kits to choose a setup that matches the route, the group, and the distance from care.