

The first time a hiker tests a 6 inch elastic bandage with Velcro is usually after a bad step, a heavy pack, and a partner who's trying to keep the ankle from ballooning before the trail gets dark. In that moment, the wrap is doing a very simple job, holding tissue support in place, buying time, and making the injury manageable until the group can decide whether to keep moving or head out. It's also the moment when the wrong wrap, the wrong width, or the wrong tension turns a useful tool into a problem.
A 6 inch elastic bandage with Velcro sits in the middle ground between a quick field dressing and a more specialized support device. The elastic stretch creates adjustable compression, while hook-and-loop closure removes the annoyance of clips, knots, or repeated tying. That basic design has been around for decades, and the old patent trail shows exactly why it stuck around, a bandage that stretches, wraps, and stays put without much fuss. For people building a trail kit, the value is not novelty, it's control. For a practical primer on mobility support outside the backcountry, Life Primary Care mobility support is a useful place to compare how wrapping and support are used in ordinary care.
Practical rule: a Velcro wrap helps most when the user needs fast, repeatable adjustment, not when the injury needs rigid immobilization or a perfect medical fit.
Outdoor users often overthink the brand name and underthink the body part. The question is whether the wrap can be placed smoothly, checked often, and loosened immediately if the foot goes numb or cold. That's the line between a good field tool and a false sense of security.
Table of Contents
- Why a 6 Inch Velcro Bandage Belongs in a Trail Kit
- Is a 6 Inch Width the Right Size for You
- Wrapping Sprains and Strains Step by Step
- Adapting the Same Bandage for Wound Compression
- Field Checks, Overnight Use, and Knowing When to Stop Wrapping
- Packing and Replacing a 6 Inch Velcro Bandage in Your Kit
- Quick Reference and Wrap-Up Checklist
Why a 6 Inch Velcro Bandage Belongs in a Trail Kit
A partner slips on loose shale, grabs a trekking pole, and comes up limping. The ankle is puffy, but not obviously deformed, and the nearest trailhead is still a long walk away. In that moment, a 6 inch elastic bandage with Velcro earns its place because it can be applied quickly, tightened with control, and checked again without tearing the whole wrap apart.
The design logic is straightforward. Elastic stretch supplies compression, and the hook-and-loop closure keeps the wrap secured without clips or repeated tying. The patent history matters because it shows that this combination was built to make limb wrapping more controllable and more convenient than traditional tied bandages, not just easier to pack. The width is the part many users misunderstand. Six inches is not a pressure rating, it is a dimension, and dimension alone does not tell you whether the wrap will behave well on an ankle, thigh, torso, or forearm.
Field takeaway: a wrap that can be loosened in seconds is worth more than one that looks neat but can't be adjusted in a hurry.
For users comparing support options against general mobility guidance, a broad wrap can cover large areas more cleanly than a narrow roll, especially on larger limbs. The trade-off is bulk. On a smaller joint, that same width can wrinkle, bunch, and create uneven pressure, which is why width has to match anatomy, not just injury type. A useful product explainer on Velcro bandage wrap basics can help hikers connect the mechanism to the actual field use.
A good trail kit doesn't need every possible wrap. It needs the right one for the body area most likely to get hurt. For many groups, the 6-inch Velcro wrap is the “big coverage, quick adjustment” choice, and that's exactly why it belongs beside the rest of the first-aid gear.
Is a 6 Inch Width the Right Size for You
A trail injury exposes the choice fast. A wrap that is too narrow leaves gaps over swelling, while a wrap that is too wide can fold on itself and fight the joint.
Six inches fits broad areas where coverage matters more than precision, such as a thigh, torso, chest, or large lower leg. On an ankle, wrist, or forearm, that same width can feel bulky and harder to shape. Width is a decision, not a default.
Match width to anatomy, not to the label
A wider elastic bandage can distribute pressure over a larger surface, but that does not make it the cleanest choice for every limb. A 6-inch roll can handle swelling across a broad area, yet it can also wrinkle if the limb changes shape quickly or the wrap has to bend around tight curves. The practical problem is control: a wrap that bridges smoothly across a large area can feel awkward on a tight joint.
Overlap matters too. The American Red Cross recommends overlapping each turn by one-half of the wrap's width, so a 6-inch wrap overlaps by roughly 3 inches per turn. That gives steady coverage if the wrap stays smooth and fingers or toes remain visible for a circulation check. Before you commit to a wider wrap on an ankle, a closer look at Velcro bandage wrap basics helps explain how the closure behaves in the field. For athletes who are also working on long-term stability, strengthen ankles with Swift Running is a separate training resource, but the field rule stays the same, support the joint without burying it under bulk.
| Body Area | Best Practical Width | When 6 Inch Works Well | When to Pick Narrower |
|---|---|---|---|
| Thigh | 6 inch | Broad coverage and fewer gaps | Rarely needed |
| Torso or chest | 6 inch | Even contact over a large surface | If breathing or fit becomes restricted |
| Large lower leg | 6 inch | Swelling control over a broad area | If the wrap bunches near the ankle |
| Ankle | 3 to 4 inch | Only if the user needs broad coverage and can keep it smooth | Usually better for control |
| Wrist or forearm | 3 to 4 inch | Only for wide coverage on a larger arm | Usually easier to manage narrower rolls |
The simplest rule is direct. If the body part is large and fairly cylindrical, 6 inches can work well. If the joint is small, bony, or highly mobile, a narrower wrap is usually cleaner and easier to monitor for circulation problems.
Wrapping Sprains and Strains Step by Step
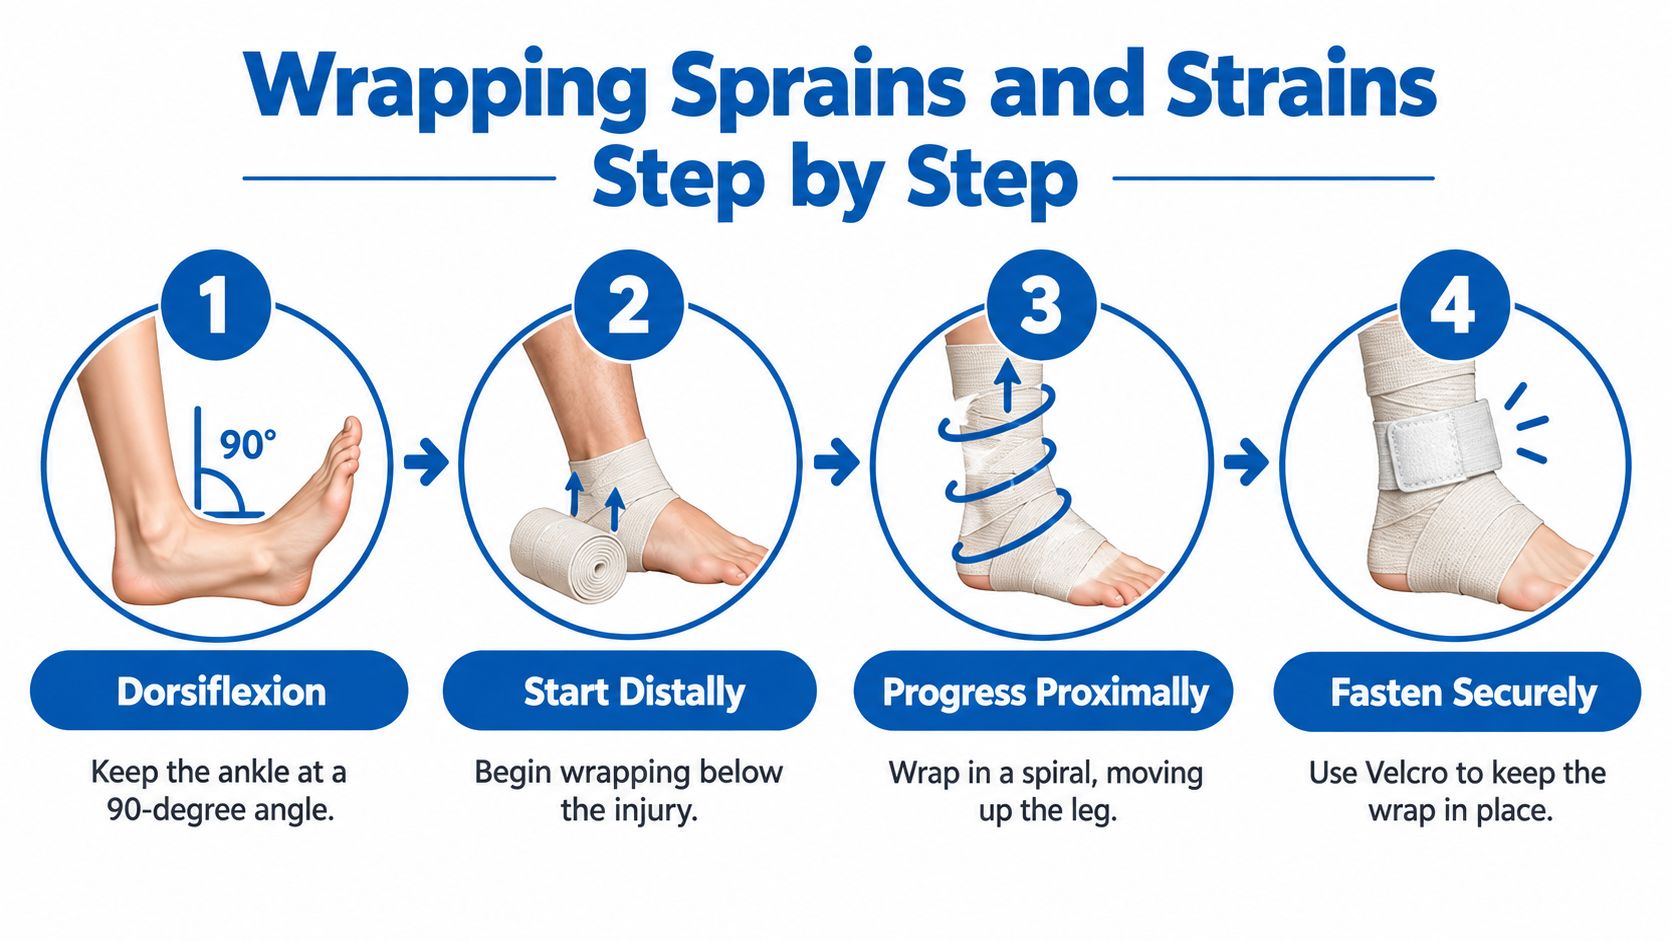
A proper ankle wrap starts before the first turn. The foot needs to sit at about 90 degrees, or dorsiflexion, so the wrap doesn't lock the ankle into a sloppy position and so swelling doesn't get trapped by poor mechanics. Start below the injury and move upward, because compression should be strongest distally and ease as the wrap moves toward the calf.
Build the wrap in controlled passes
Anchor the first turn without cranking on the fabric. Then overlap each new layer by about half the bandage width, which is roughly 3 inches on a 6-inch roll. That overlap gives consistent coverage and helps prevent gaps that let the wrap slide. A figure-eight around the heel and ankle is useful when stabilization matters, because a simple circular wrap can slip or feel tourniquet-tight if the user gets lazy with the angle.
Padding over bony prominences matters when the ankle is prominent or the foot is swollen. Smooth wrinkles before every new pass, because wrinkles concentrate pressure and can turn a support wrap into a pressure point. When the bandage reaches the end, secure it with the Velcro tabs instead of repeatedly tightening the whole wrap. The wrap should feel snug, not tight.
Check the toes after every few turns. If they go cold, pale, tingly, or more painful, the wrap is too tight and needs to come off or loosen immediately.
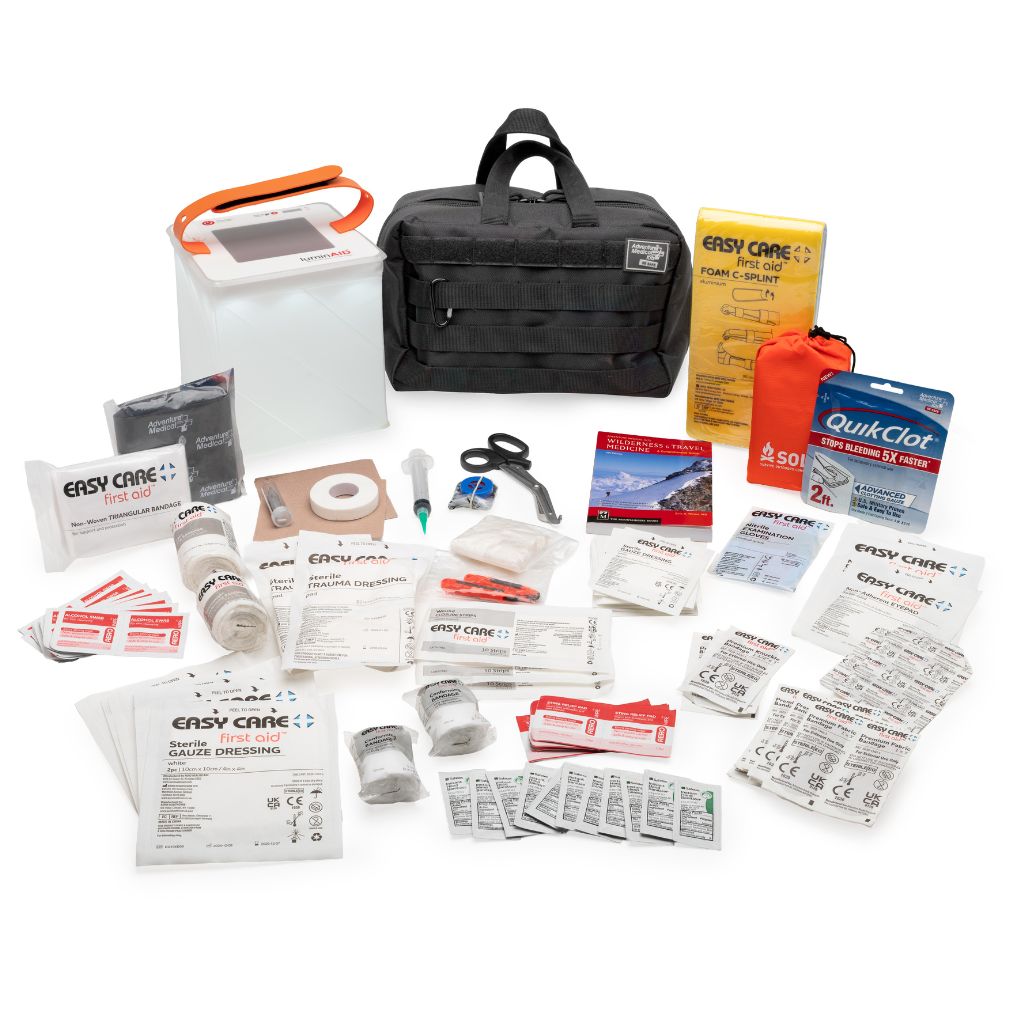
An ankle wrap can live next to more serious trauma supplies, but it doesn't replace them. A Tactical Medical Kit - Field Trauma with QuikClot is built for life-threatening injuries away from base camp, with supplies such as QuikClot Gauze, petrolatum dressings, a variety of bandages, medications, moleskin, and more. That's a different job from a sprain wrap, and the distinction matters.
For more background on ankle care, how to treat a sprained ankle covers the standard first-aid logic that belongs behind the wrap.
The common mistakes are predictable. Wrapping in the wrong direction, hiding the toes, using the width as if it were a pressure setting, and pulling tighter every time swelling increases. Those mistakes are why field checks have to stay part of the wrap, not an afterthought.
Adapting the Same Bandage for Wound Compression
A 6-inch wrap isn't only for joints. It can also help secure a pressure dressing when a wound is too broad or irregular for a smaller wrap to sit cleanly. That matters on the thigh, shoulder, or abdomen, where a narrow bandage can slip into folds or pinch at the edge of the dressing.
Build pressure the right way
Start with a thick pad of gauze or clean cloth directly over the wound. The goal is to create a dressing that distributes pressure over a wider area, not a thin stack that collapses under the first turn of elastic. Then wrap firmly enough to hold the pad in place, but not so tight that the bandage cuts off circulation or hides worsening bleeding.
A 6-inch width helps because it covers more surface and stays more stable over broad, uneven anatomy. If the dressing keeps shifting, a second elastic bandage is often safer than trying to force one wrap to do two jobs at once. That said, a compression wrap is still not a substitute for hemostatic gauze or a tourniquet when arterial bleeding is severe. Serious bleeding belongs in a trauma kit, not in wishful thinking.
If blood is soaking through a field dressing quickly, the answer is not “wrap harder.” The answer is to escalate the bleeding control plan.
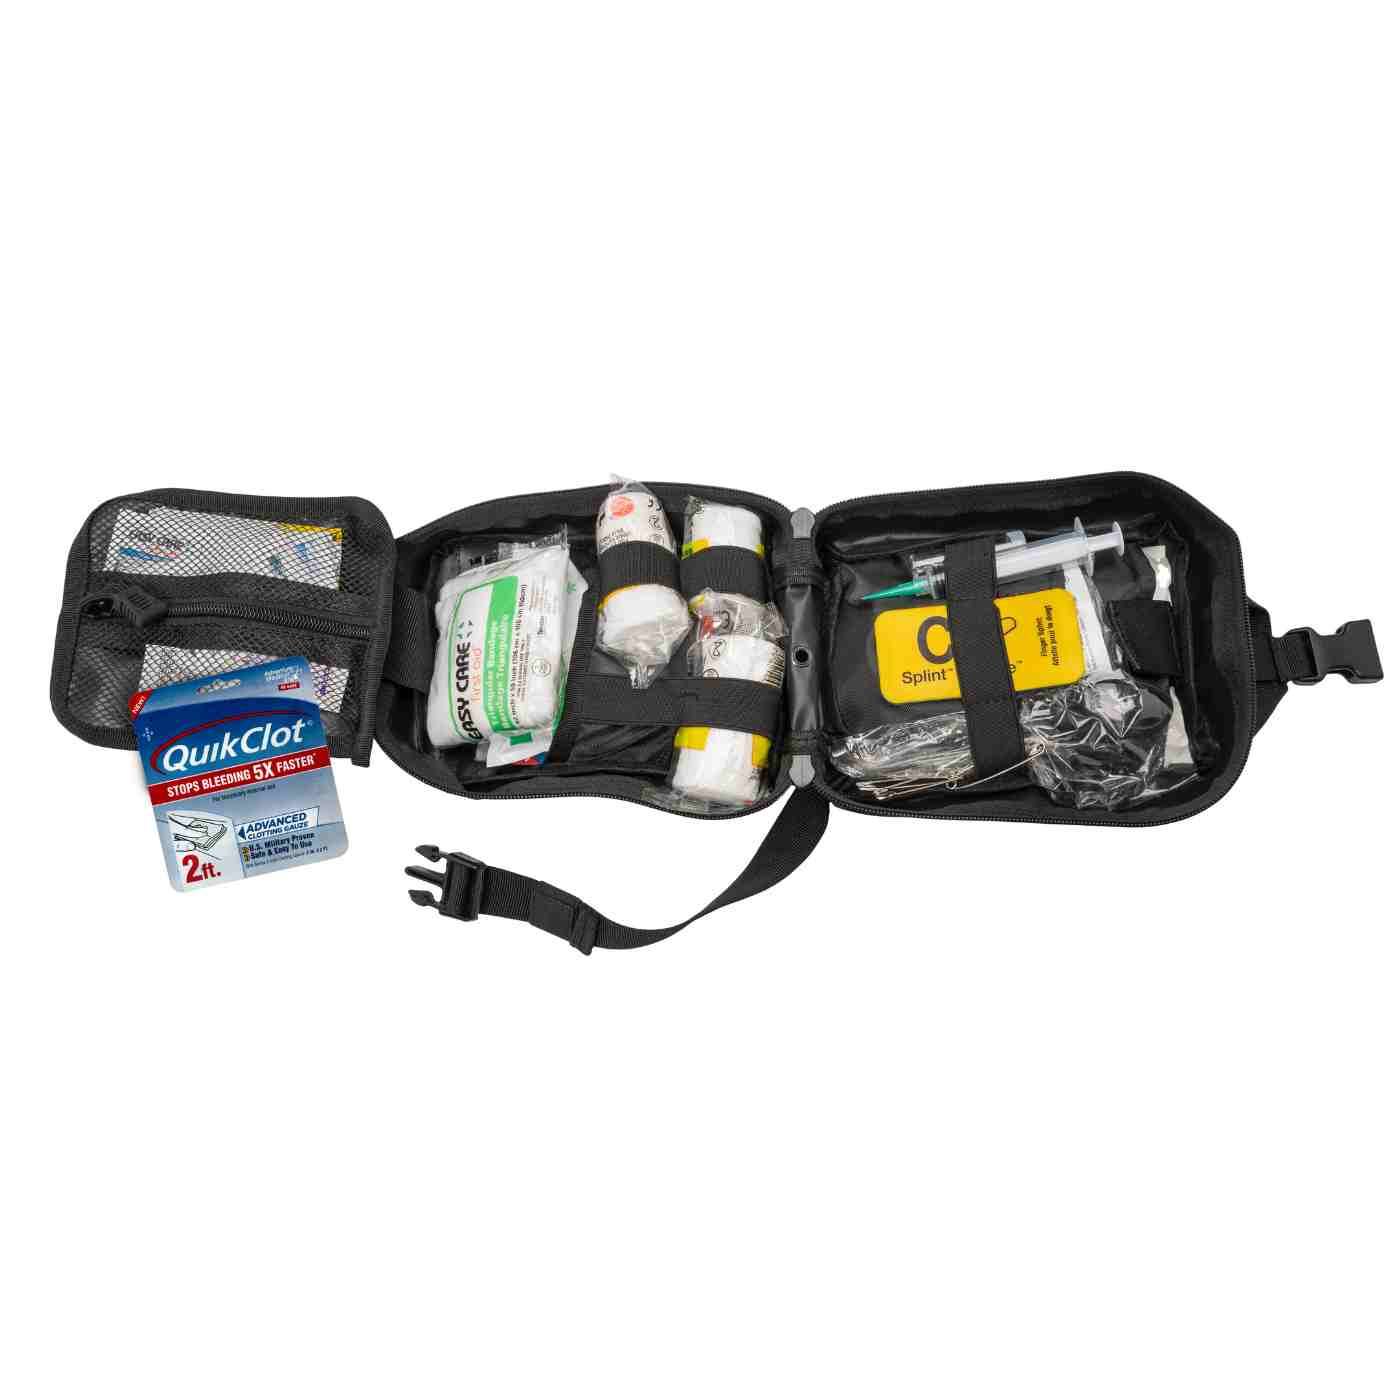
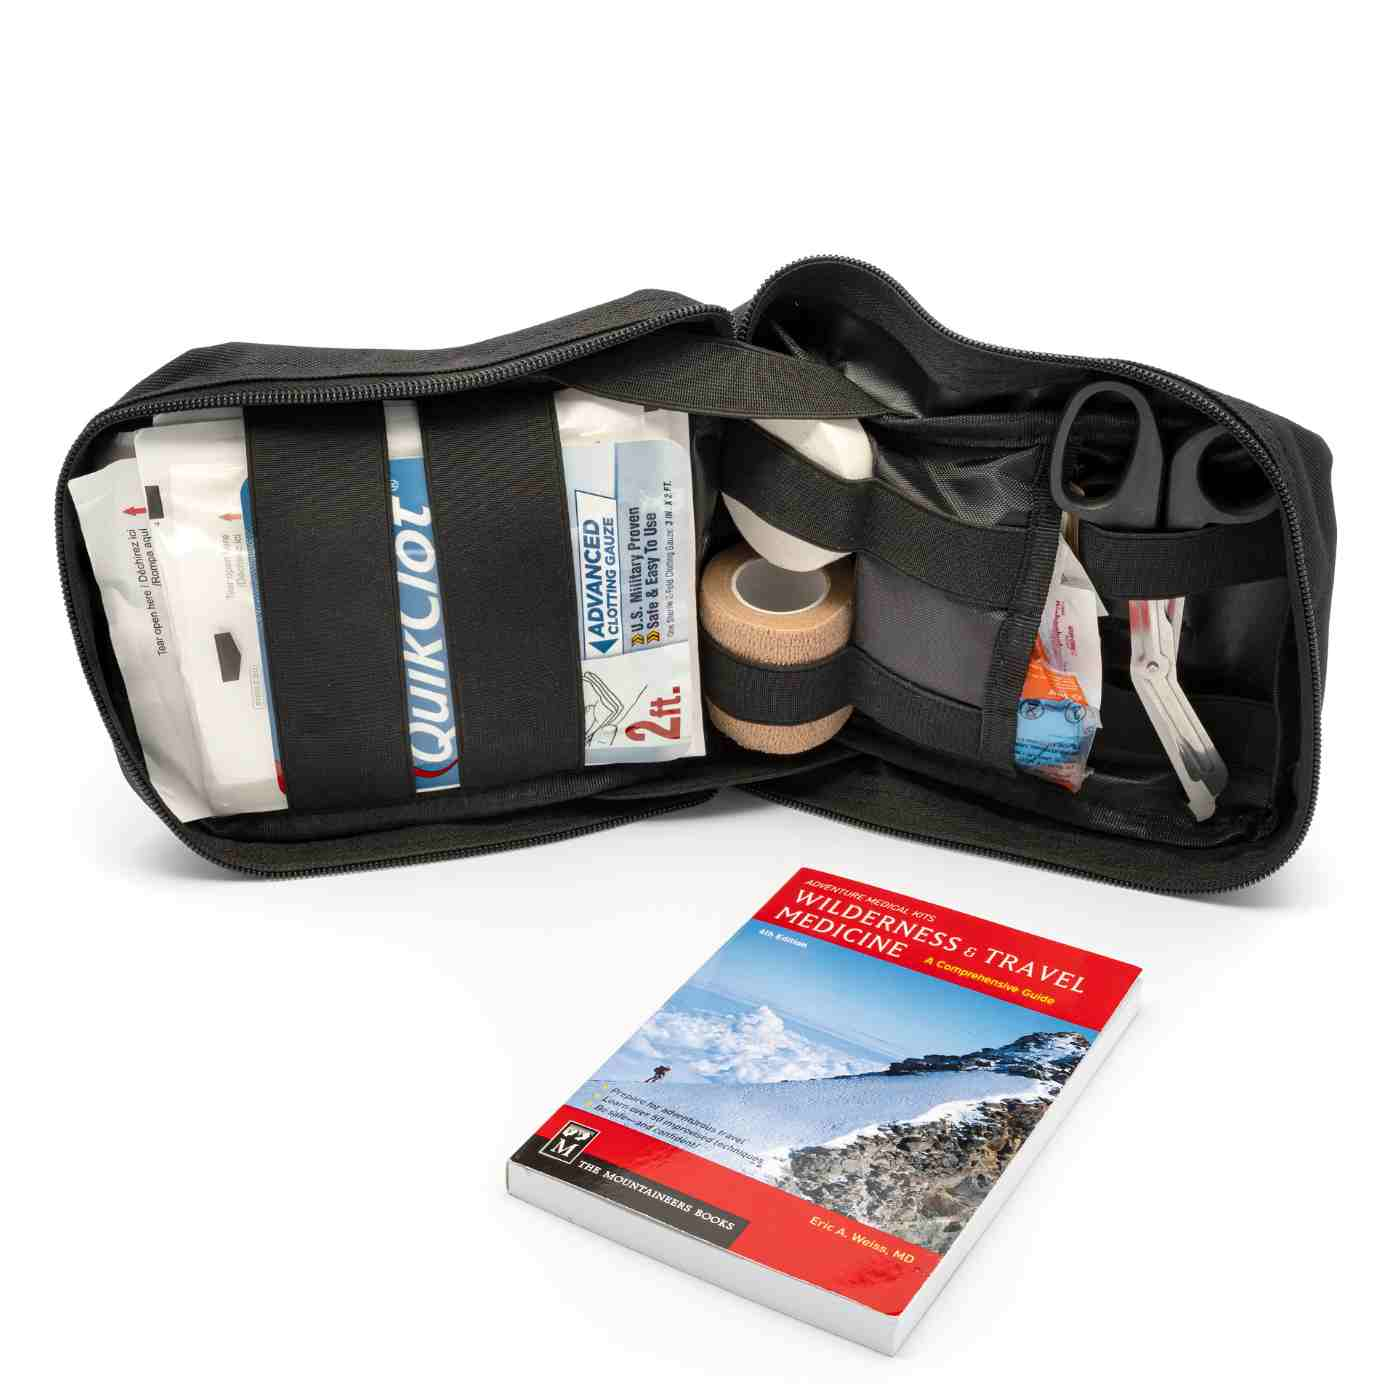
That's why an injury kit with proper trauma supplies earns its space beside a general-purpose wrap. The Trauma Pak First Aid Kit with QuikClot contains QuikClot Advanced Clotting Gauze, a conforming bandage, a trauma pad, additional gauze and bandages, and other critical first aid supplies in a compact, waterproof bag. It's a different class of response, and that difference matters when a wound stops being a wrap problem and becomes a bleeding problem.
A 6-inch wrap works best here when it is used as support for a dressing, not as the dressing itself. That distinction keeps the user focused on pressure, padding, and reassessment instead of pretending elastic alone can solve everything.
Field Checks, Overnight Use, and Knowing When to Stop Wrapping
Compression only helps when it stays within safe limits. The NHS PRICE approach, Protection, Rest, Ice, Compression, and Elevation, puts compression in its proper place during the first 2 to 3 days after a sprain, but it does not give the wrap a free pass to stay on indefinitely. The wrap should support swelling control and temporary stabilization, then get checked again after activity or any swelling change.
Recheck the body part, not just the fabric
After application, the farthest part from the heart should be visible so circulation can be watched. Recheck temperature, color, sensation, numbness, and tingling after the wrap goes on and again after hiking, sitting, or any obvious change in swelling. If toes or fingers become numb, cold, discolored, or more painful, loosen or remove the wrap and seek medical advice.
The overnight rule is simple. An elastic compression bandage should not ordinarily stay on while sleeping. Sussex Community NHS guidance says to remove it before sleep, and NHS 111 Wales also advises removing an elasticated ankle support at night. Continuous compression is not safe just because the closure is convenient.
Stop wrapping when the injury stops acting like a simple sprain
The wrap can't hide deformity, inability to bear weight, open injury, or neurovascular compromise. Those signs point beyond field bandaging and into medical assessment. The same is true when pain rises instead of settling, or swelling keeps building despite a properly applied wrap. A field wrap is a support tool, not a diagnostic test.
| Signal | What to Do |
|---|---|
| Toes or fingers become numb | Loosen or remove the wrap |
| Skin turns cold, pale, or blue | Remove the wrap and reassess circulation |
| Pain increases after wrapping | Stop and check tension immediately |
| Swelling worsens under the wrap | Loosen, elevate, and reassess |
| Deformity or inability to bear weight is present | Seek medical assessment |
The best field habit is boring and repetitive. Apply, check, move a little, check again, and never assume the first fit is still correct two hours later.
Packing and Replacing a 6 Inch Velcro Bandage in Your Kit
A wrap only matters if it is in the kit when an ankle gives way on the trail. That sounds obvious, but bulky gear gets left out when people are trying to save space, and a 6-inch roll is easy to underestimate because it compresses well in the hand. Fold it flat, keep the hook-and-loop surface clean, and store it where you can reach it without dumping the pack.
Kit placement should follow how fast the injury can happen
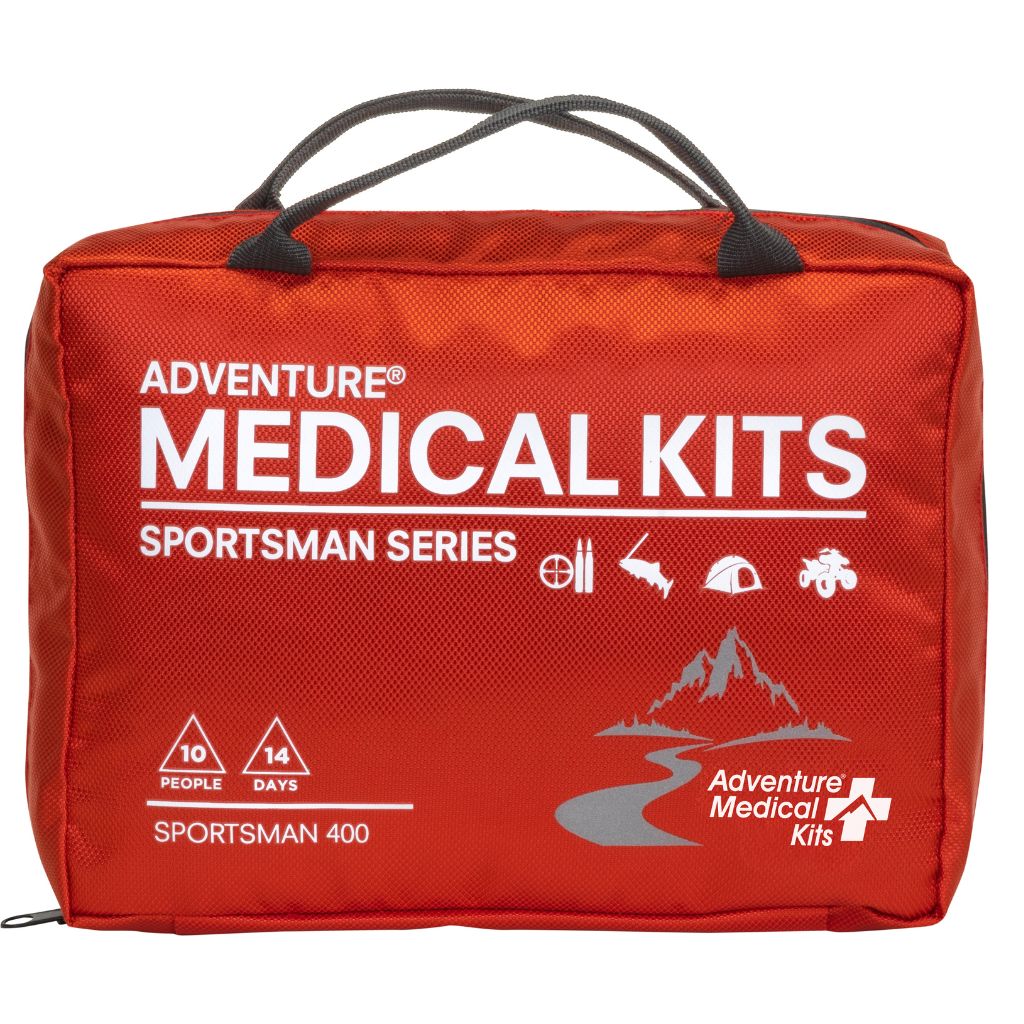
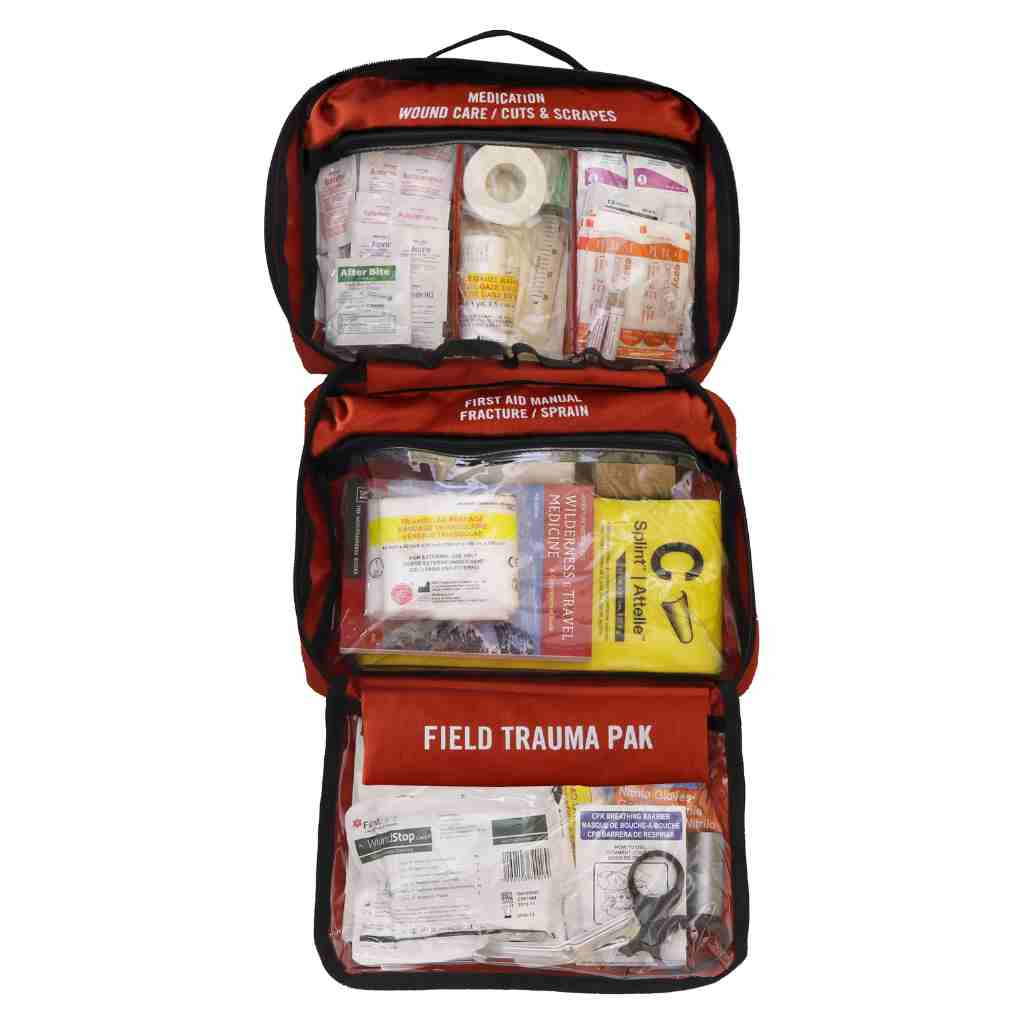
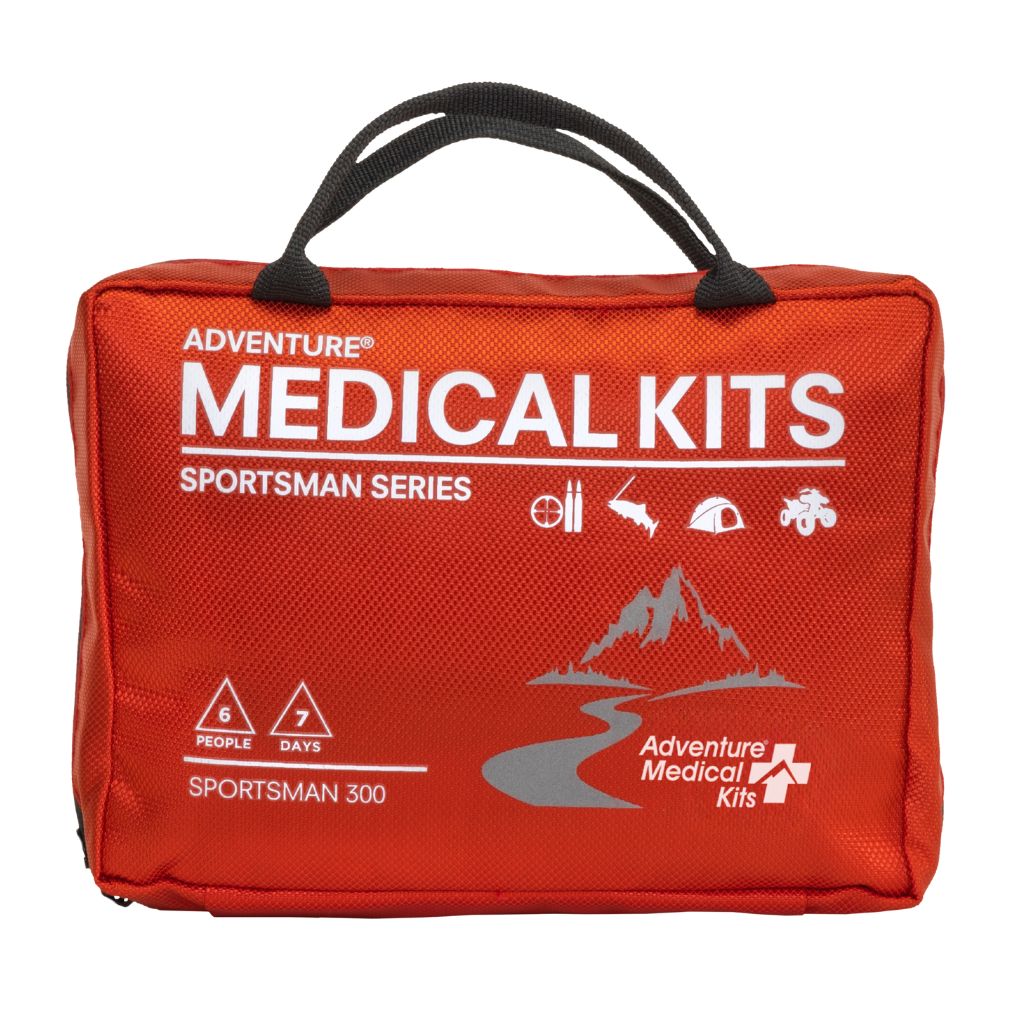
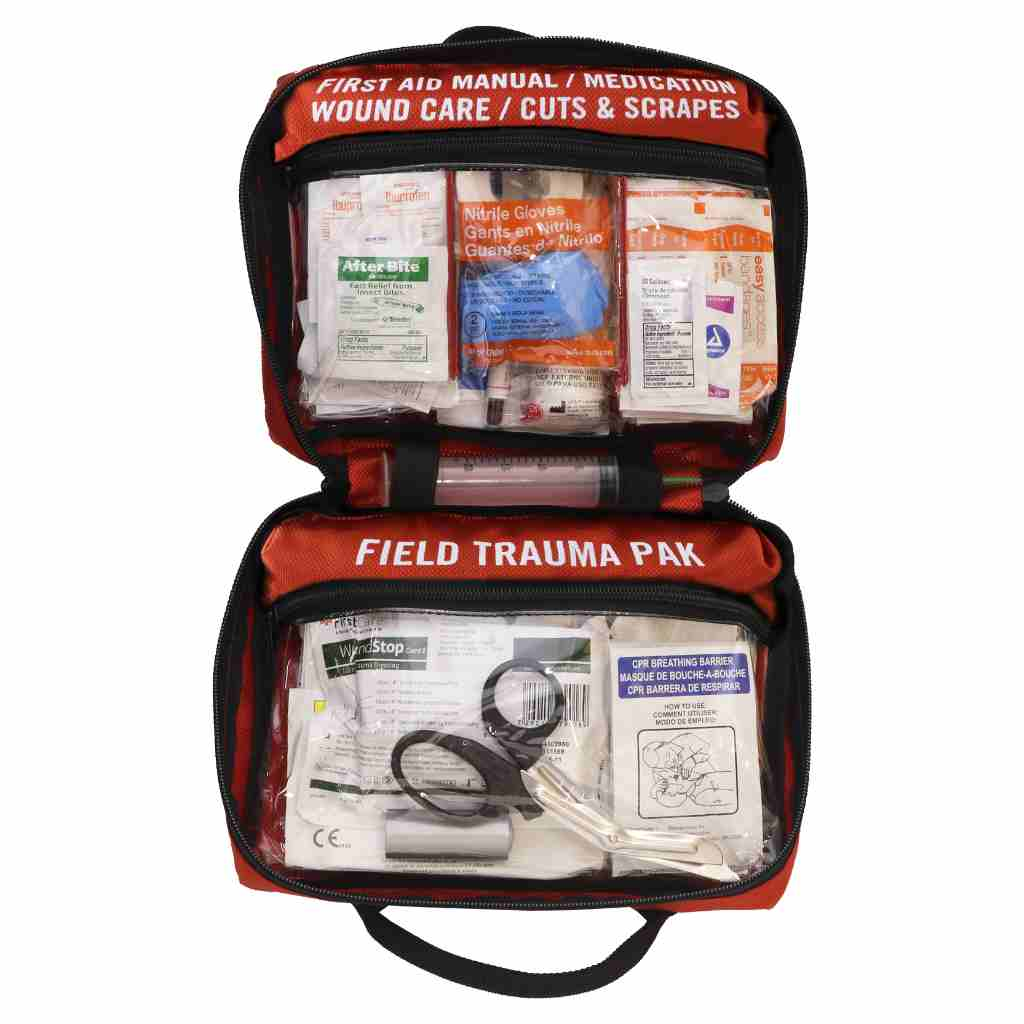
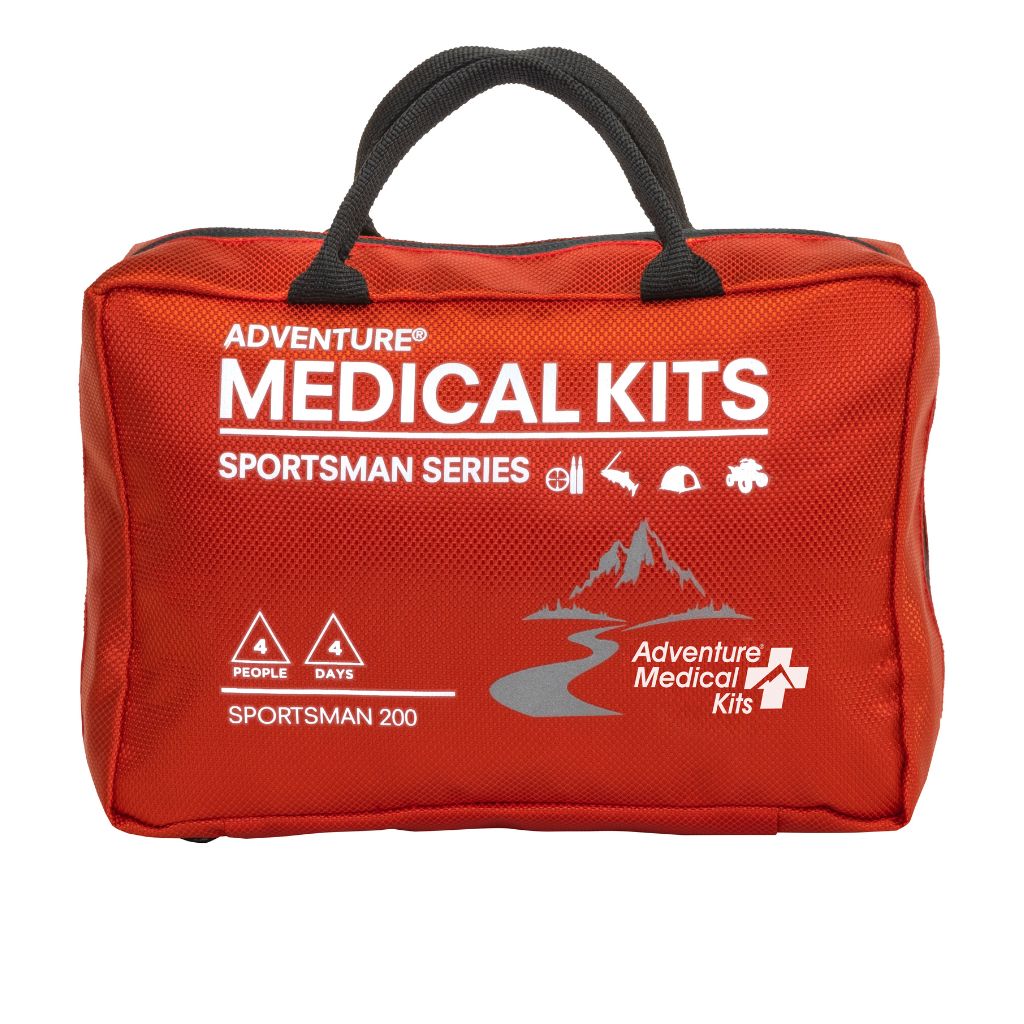
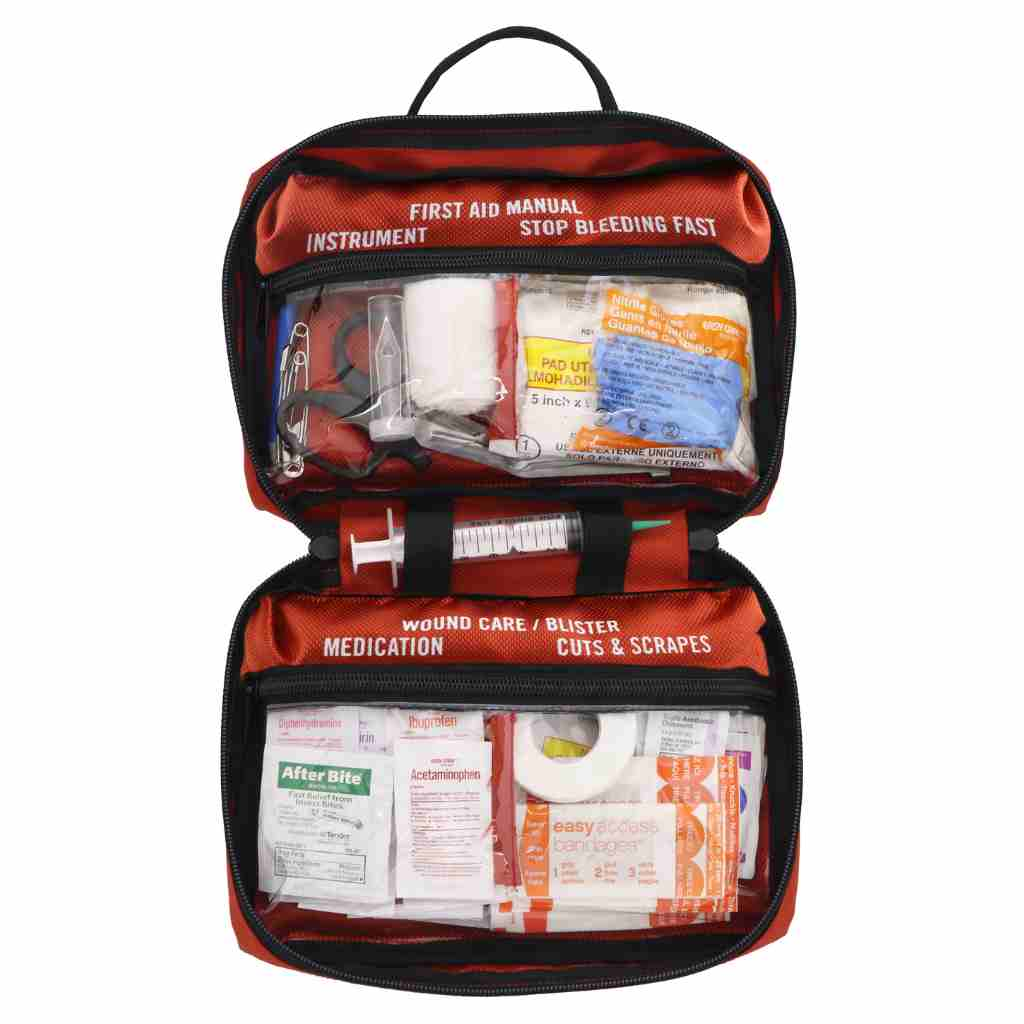
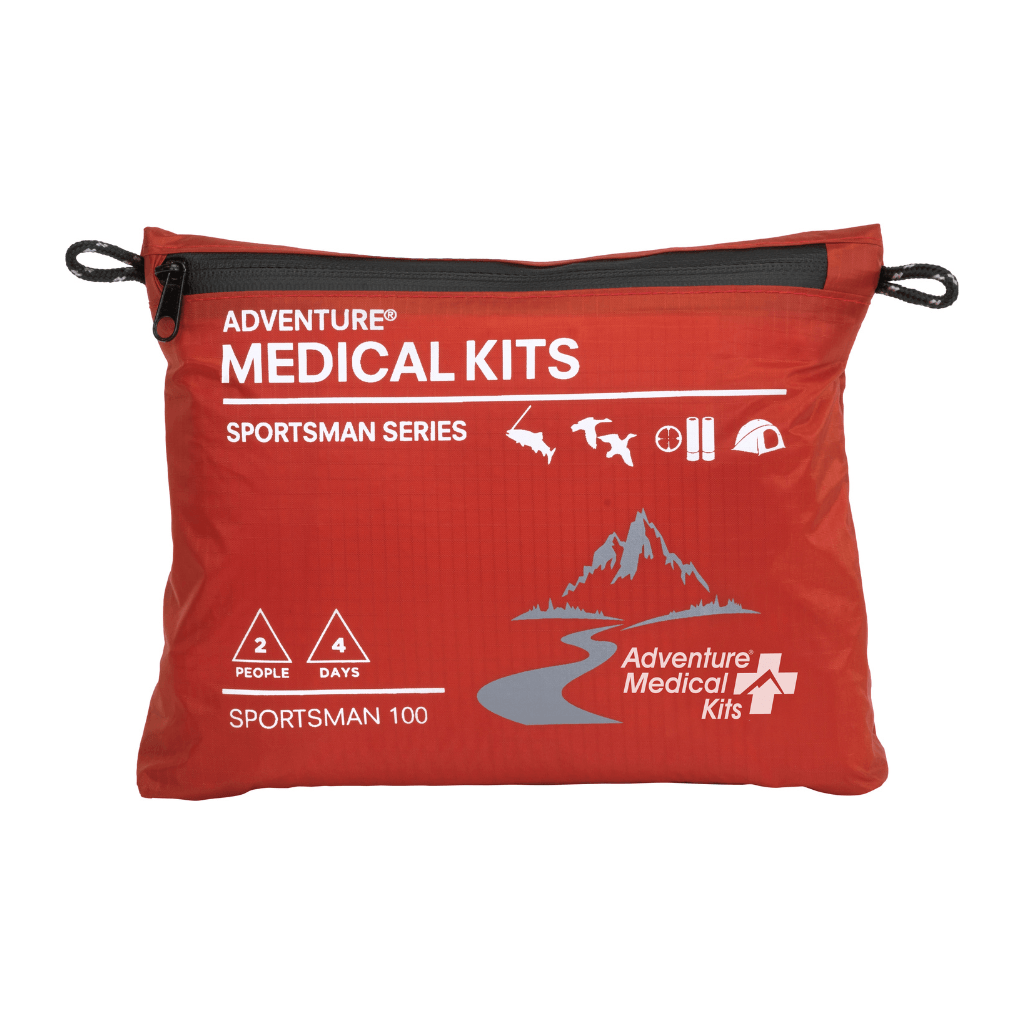
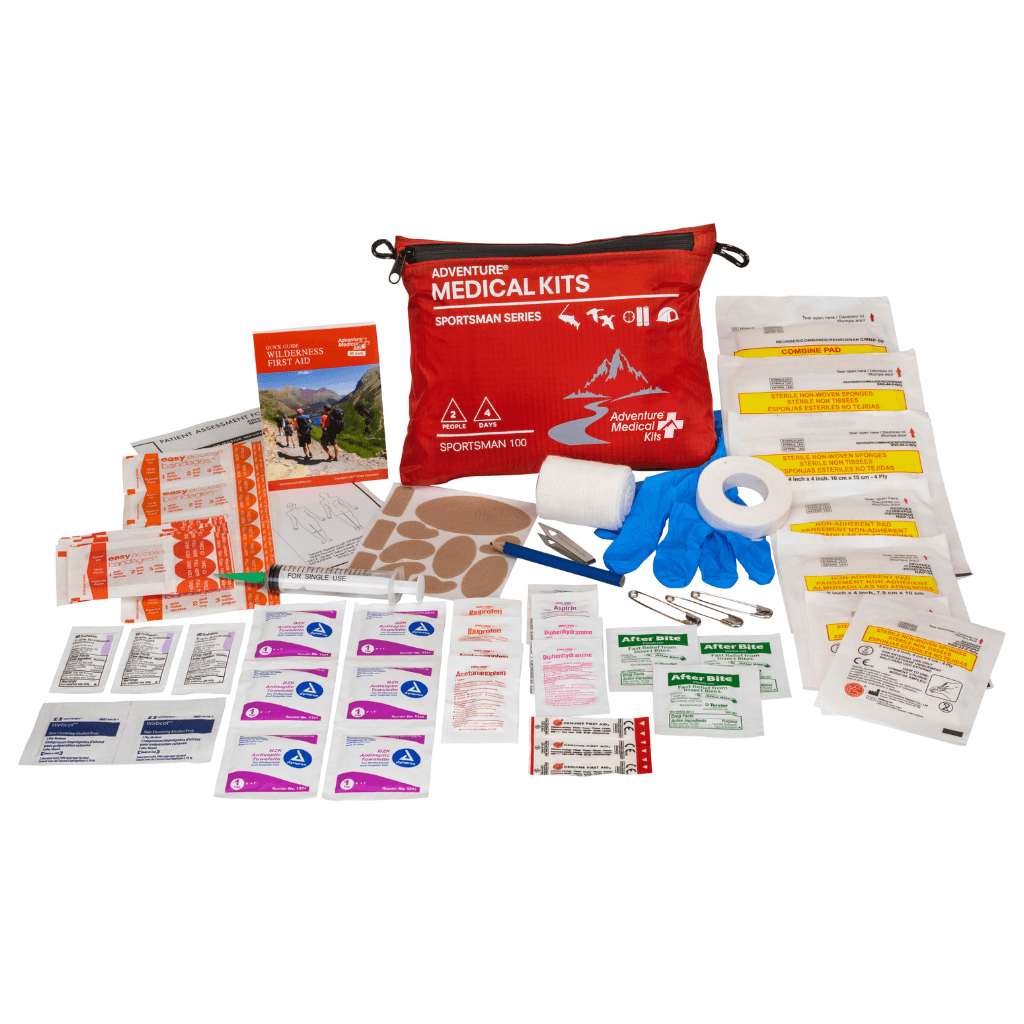
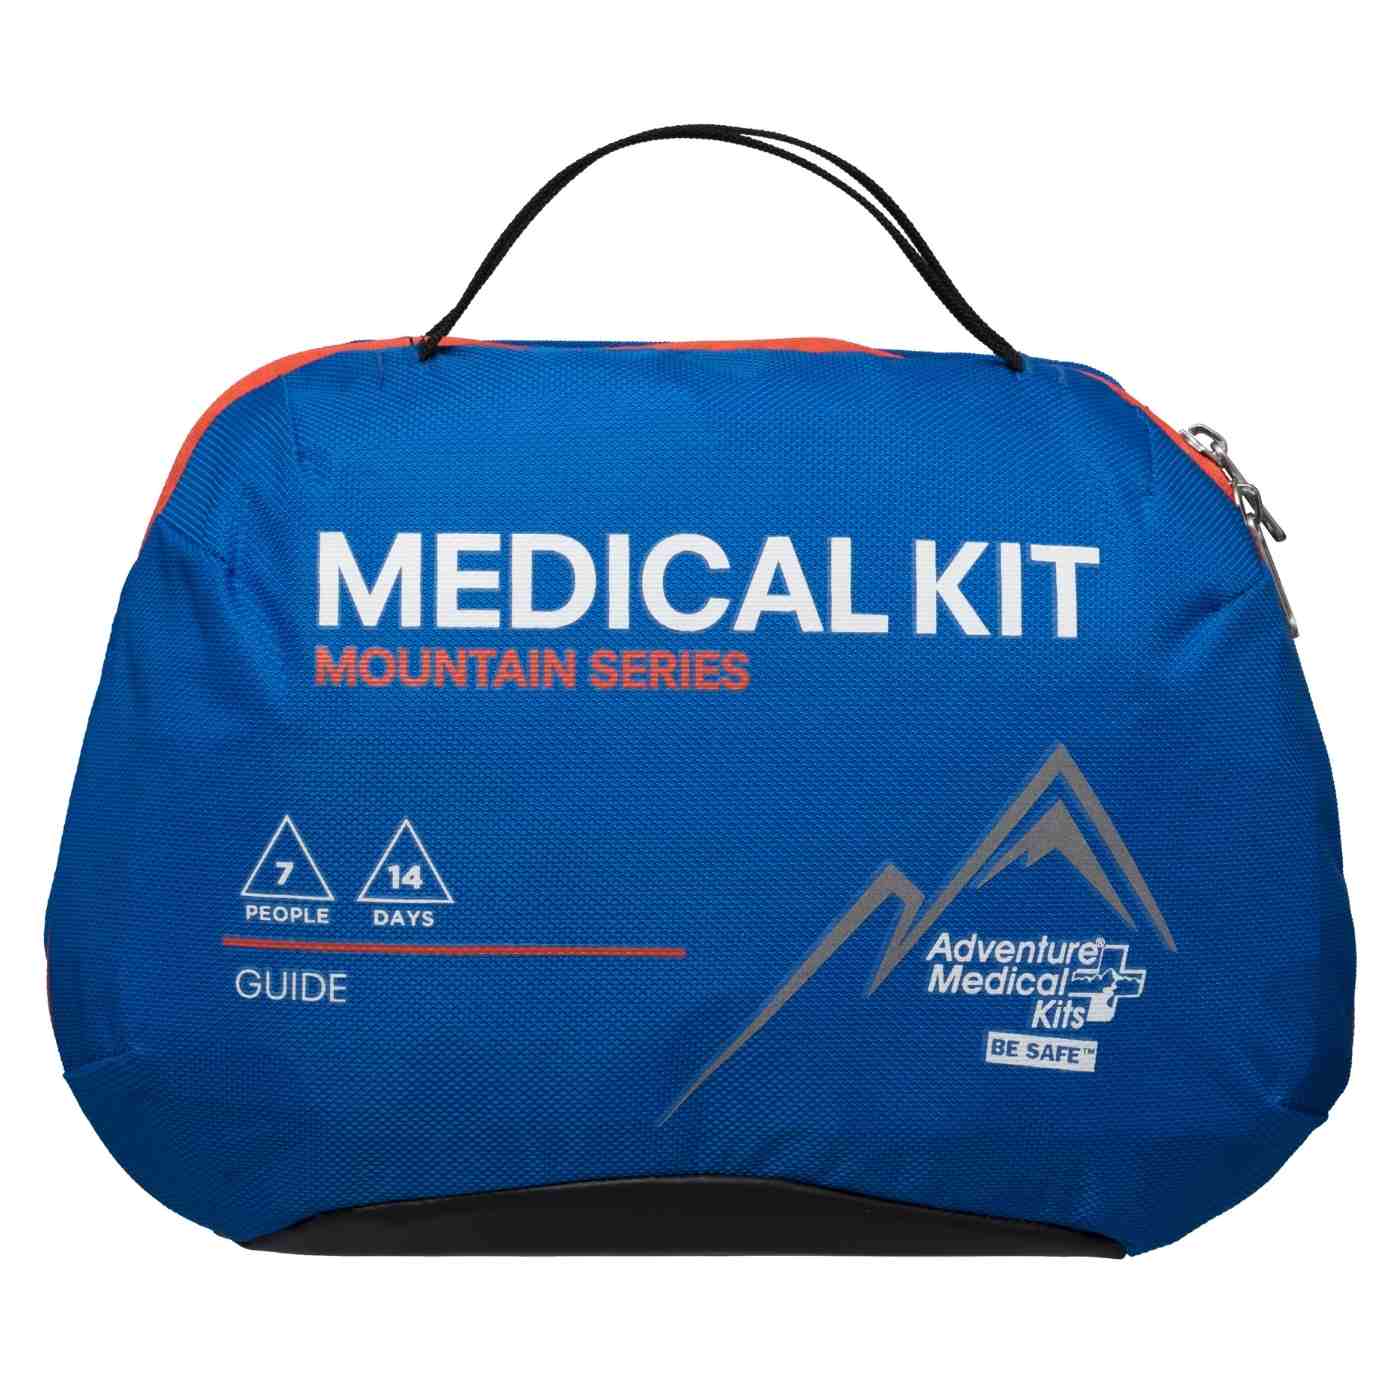
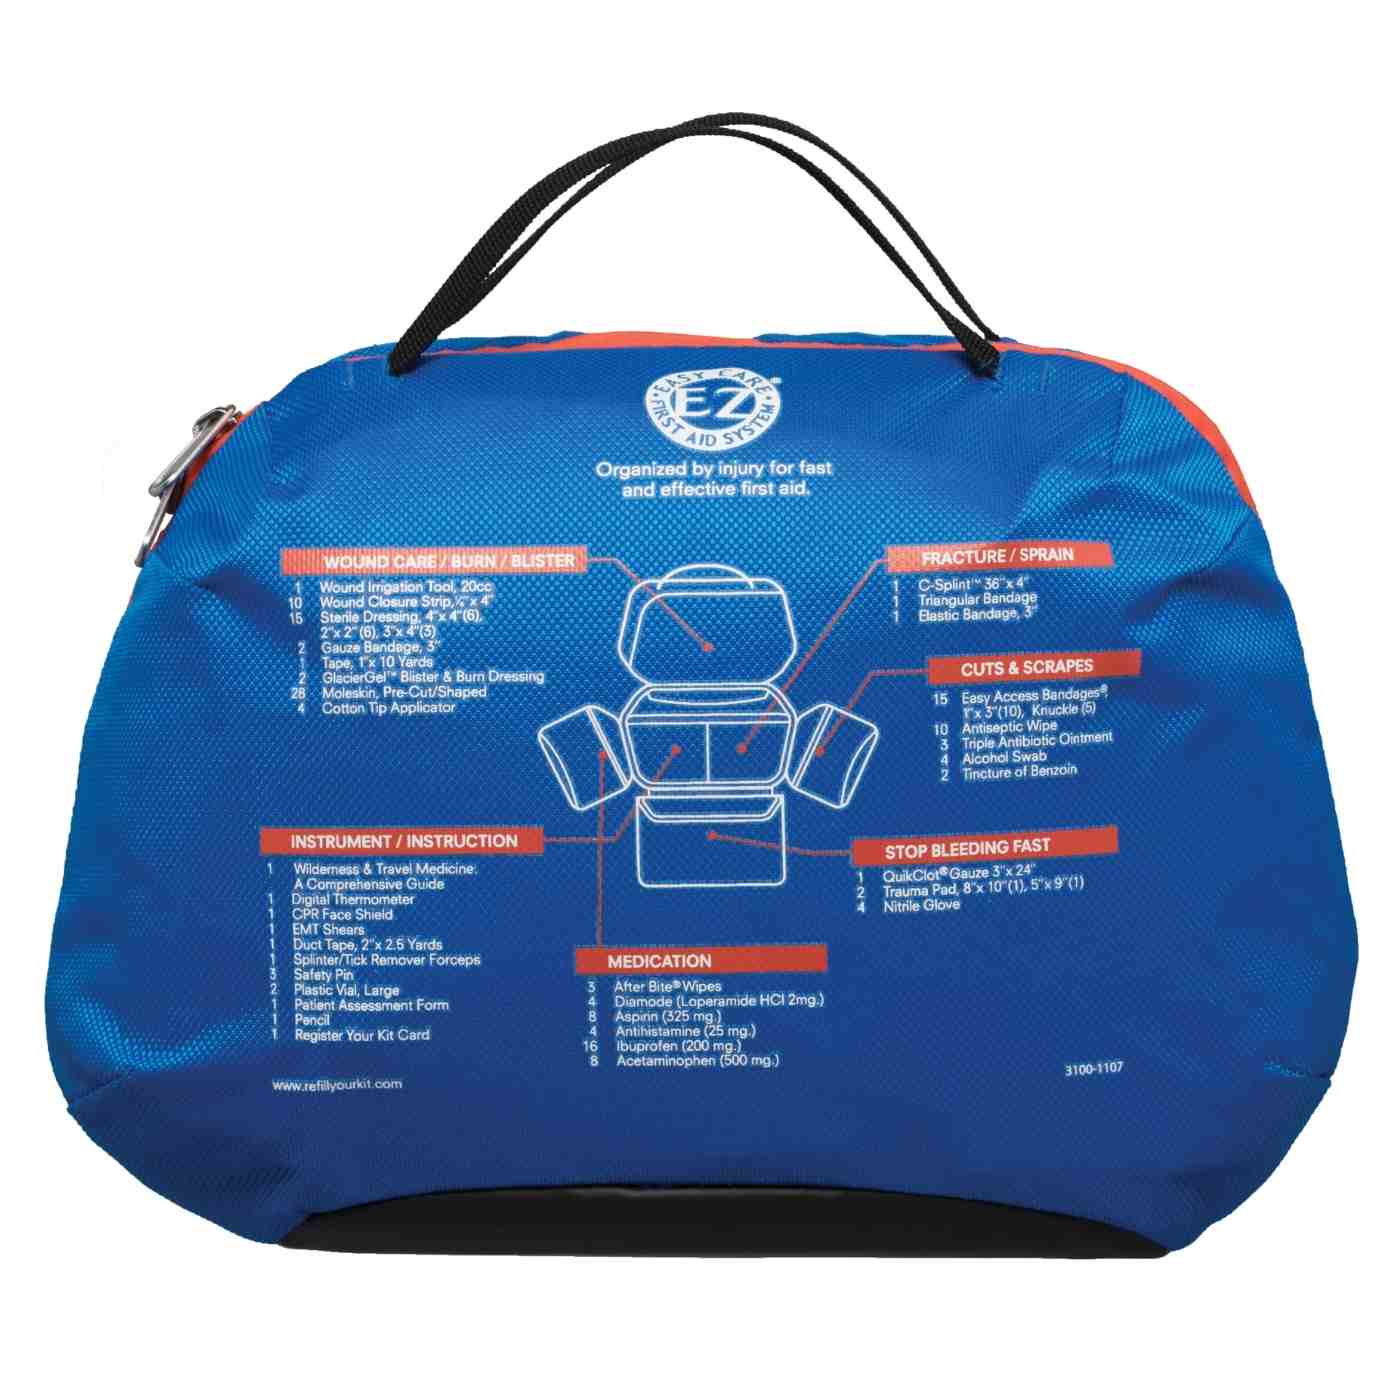
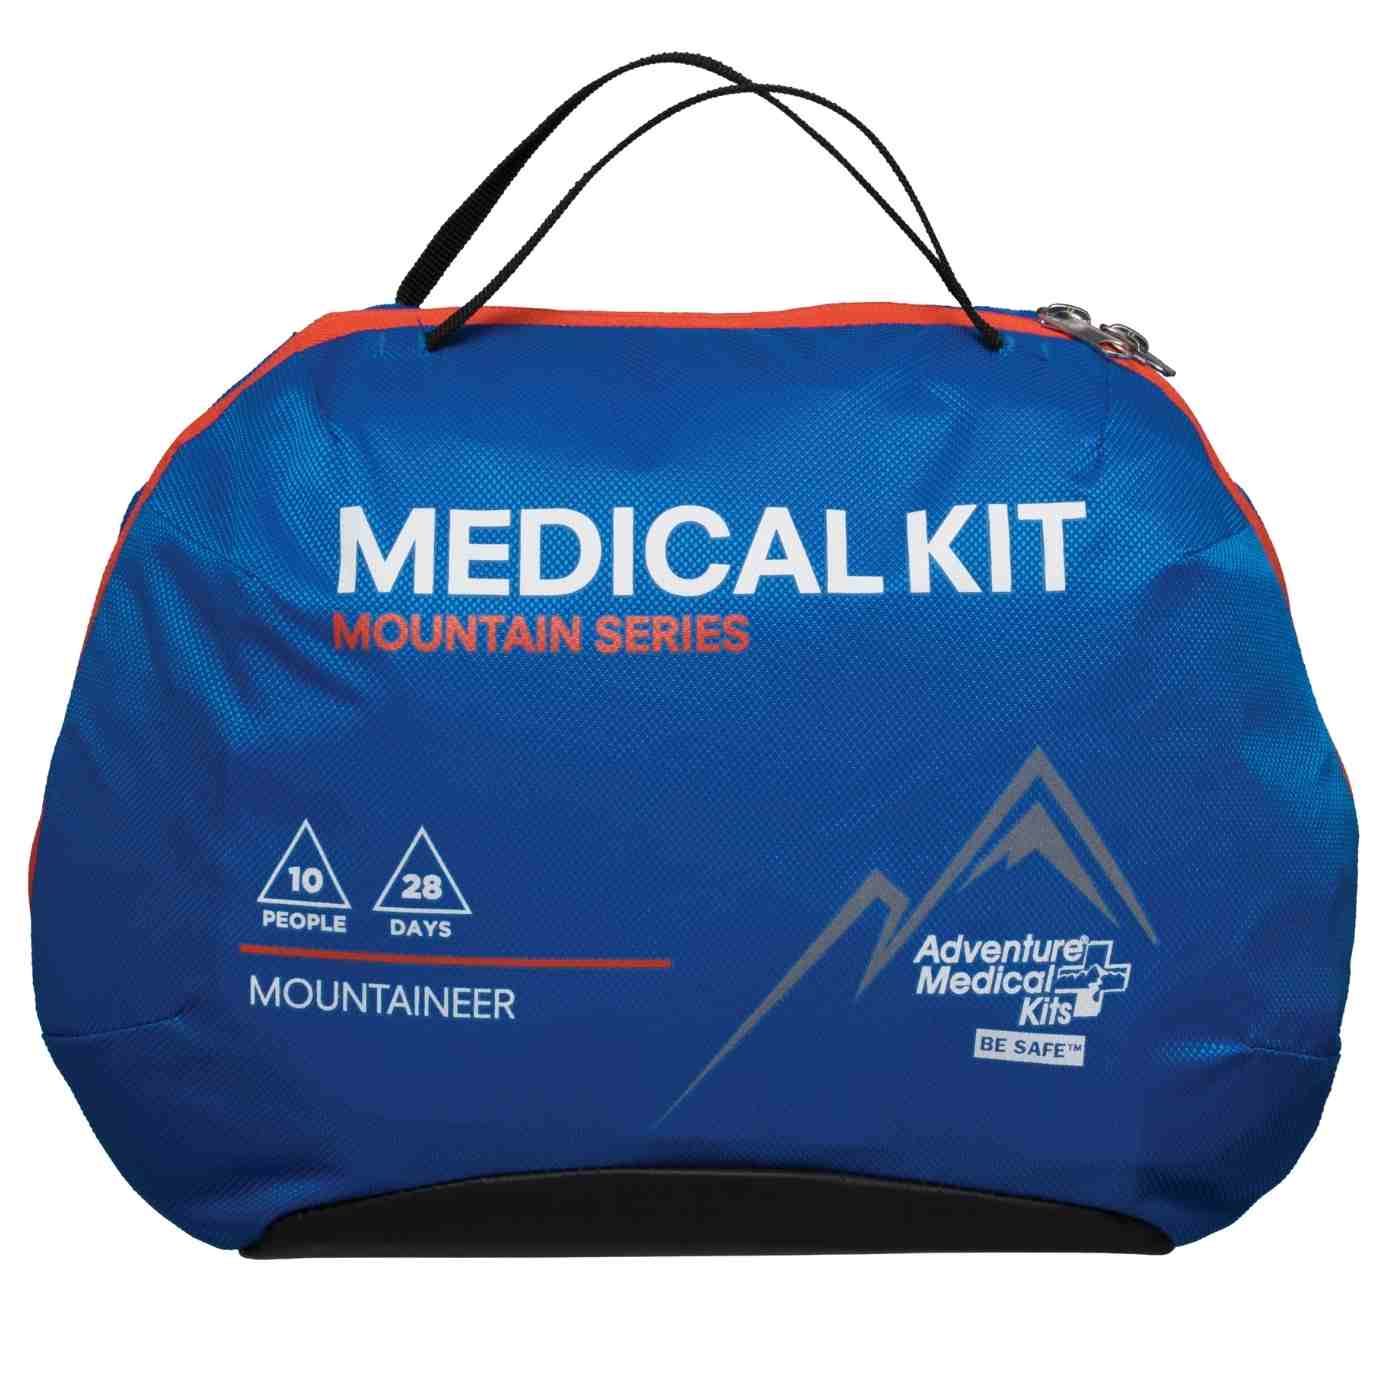
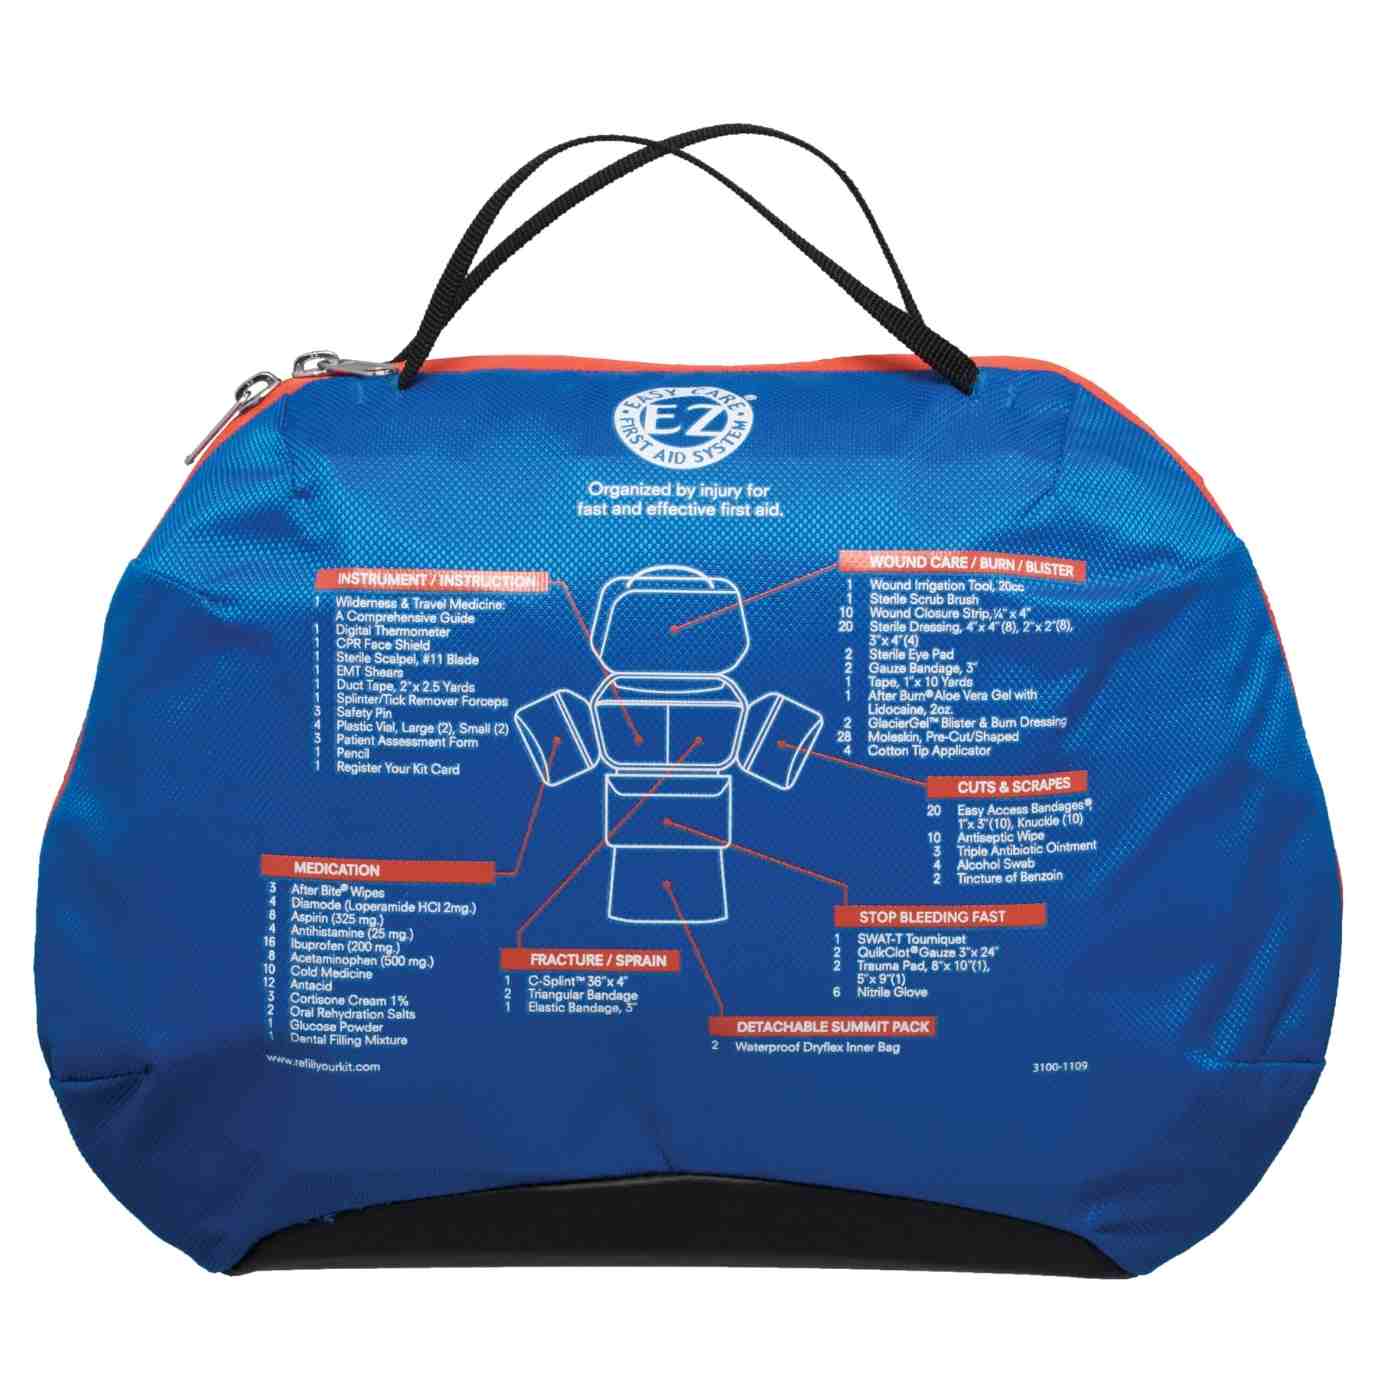
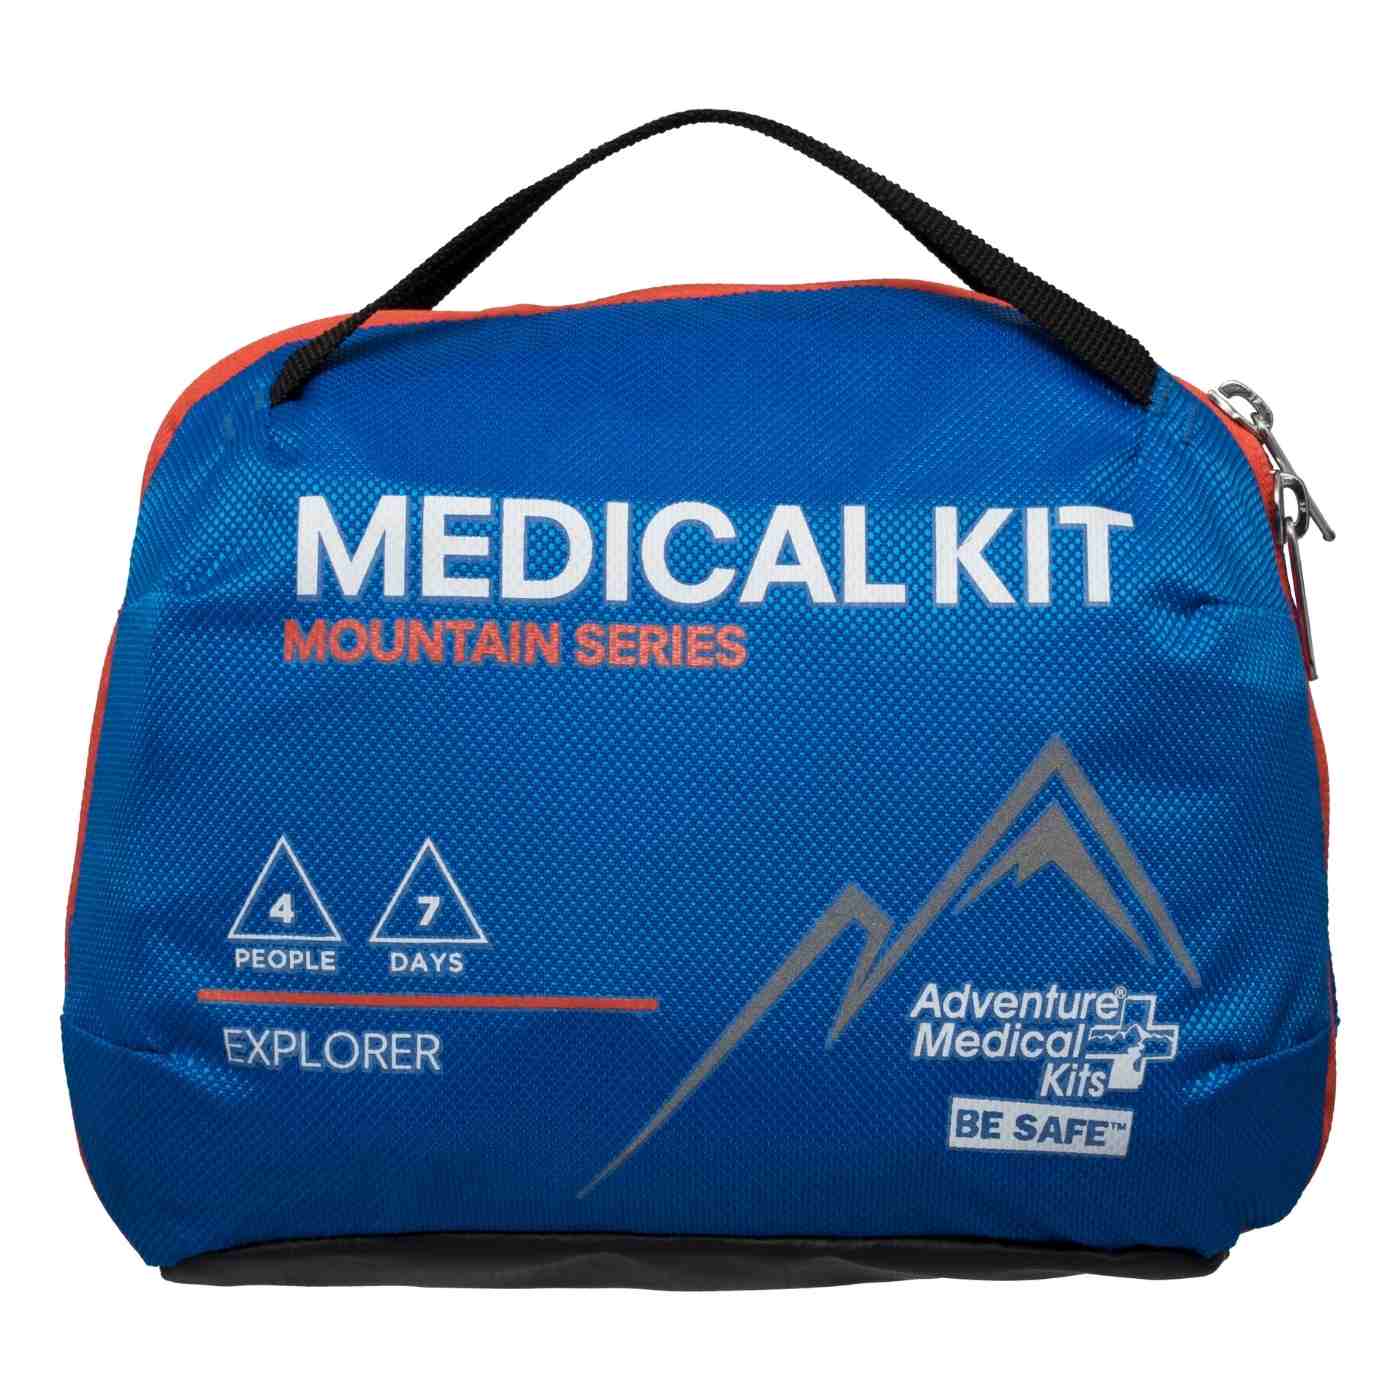
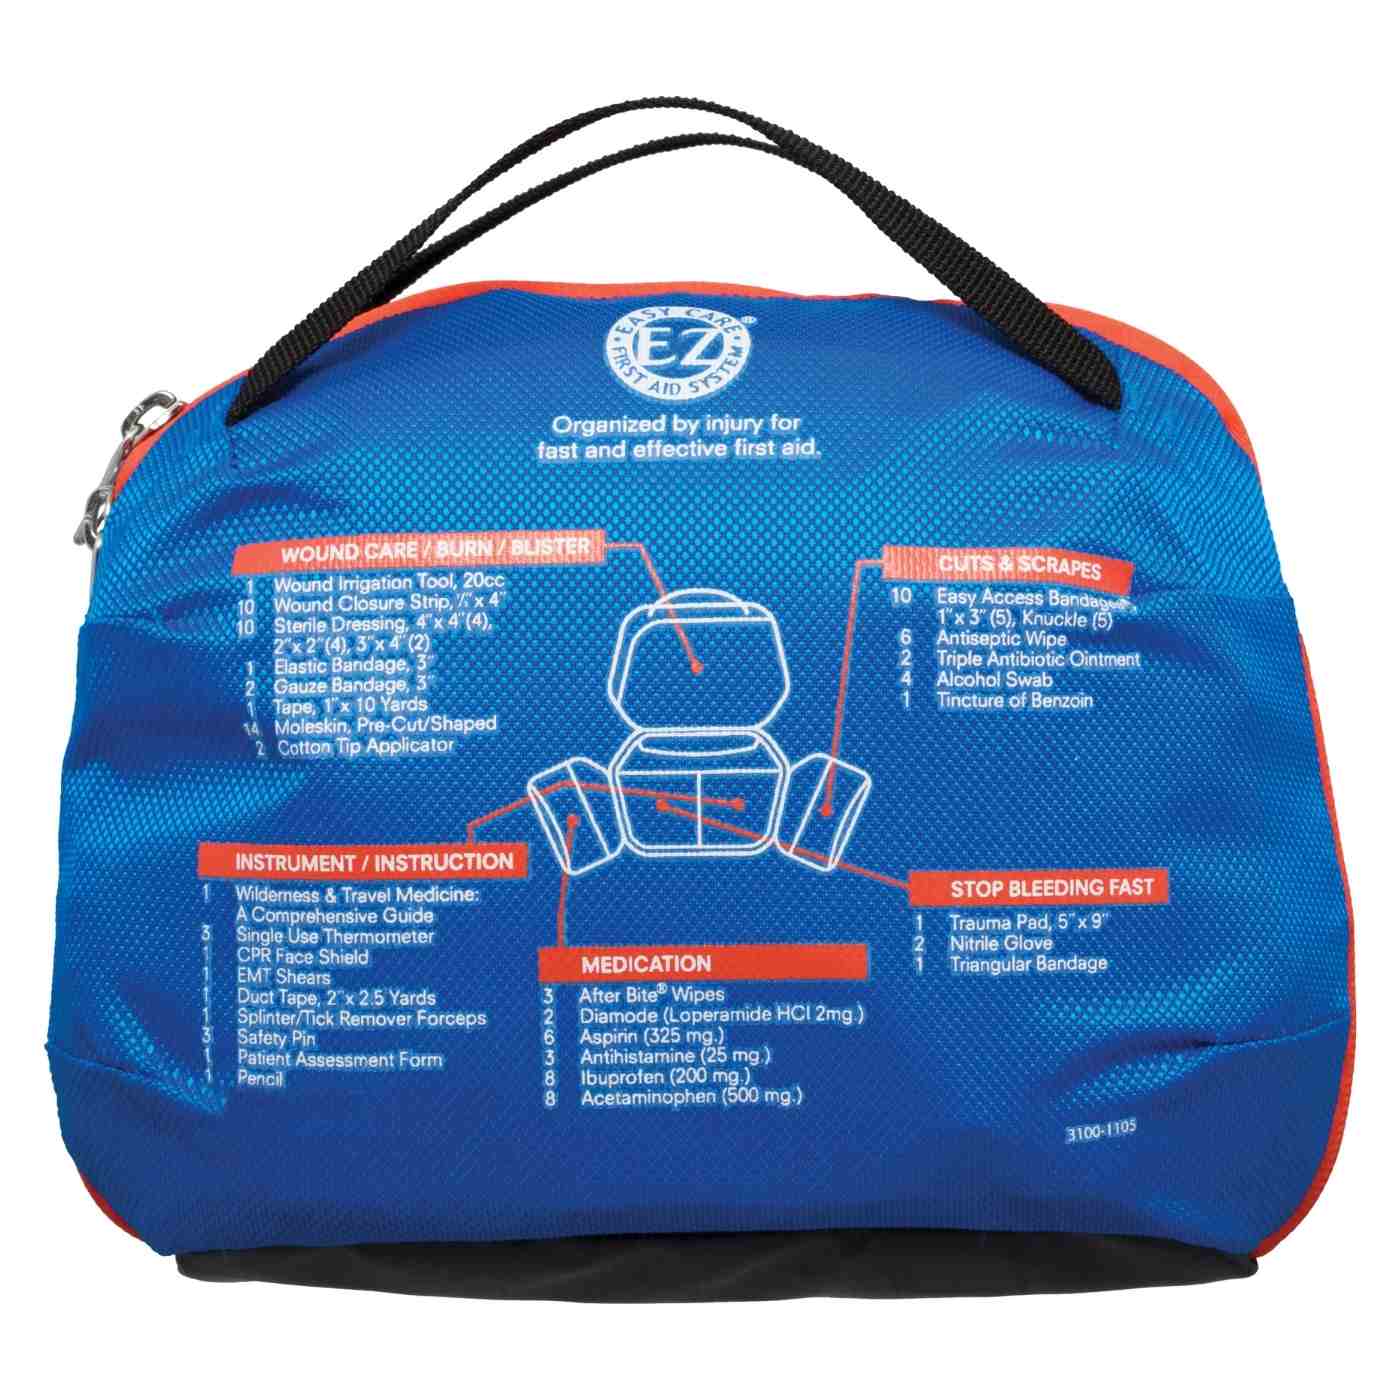
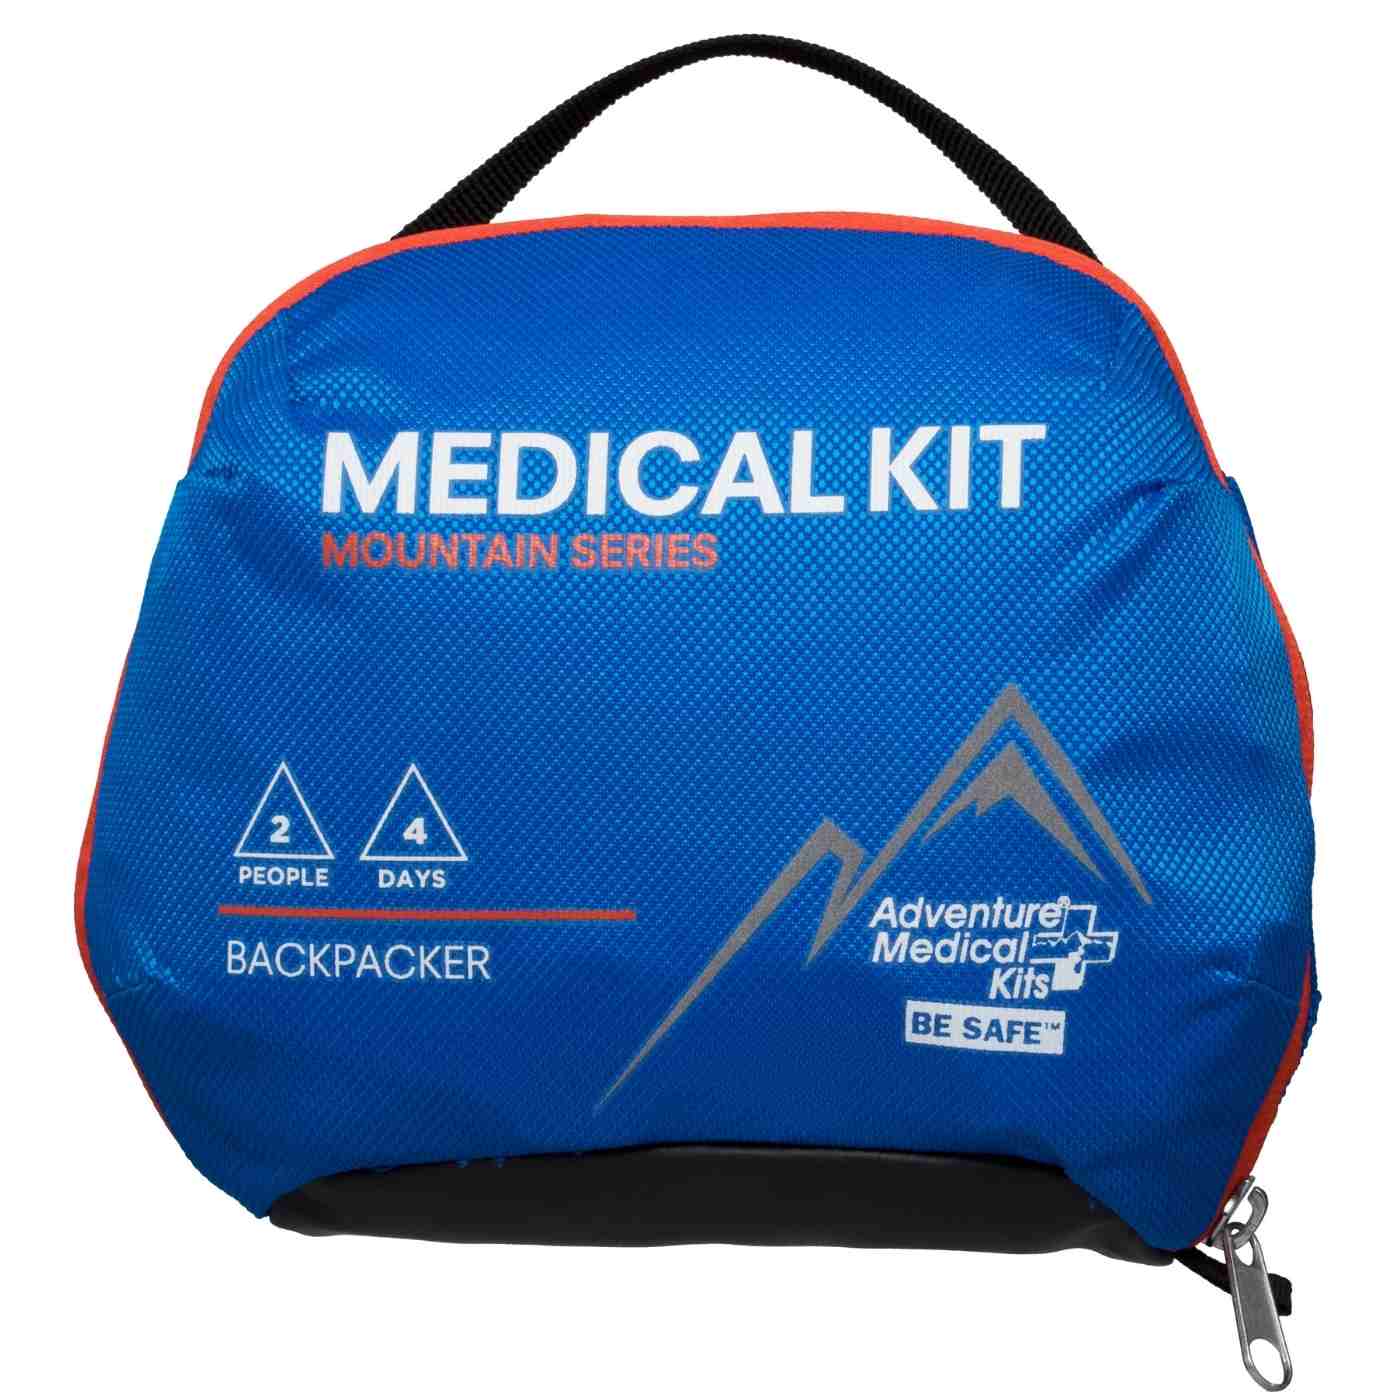
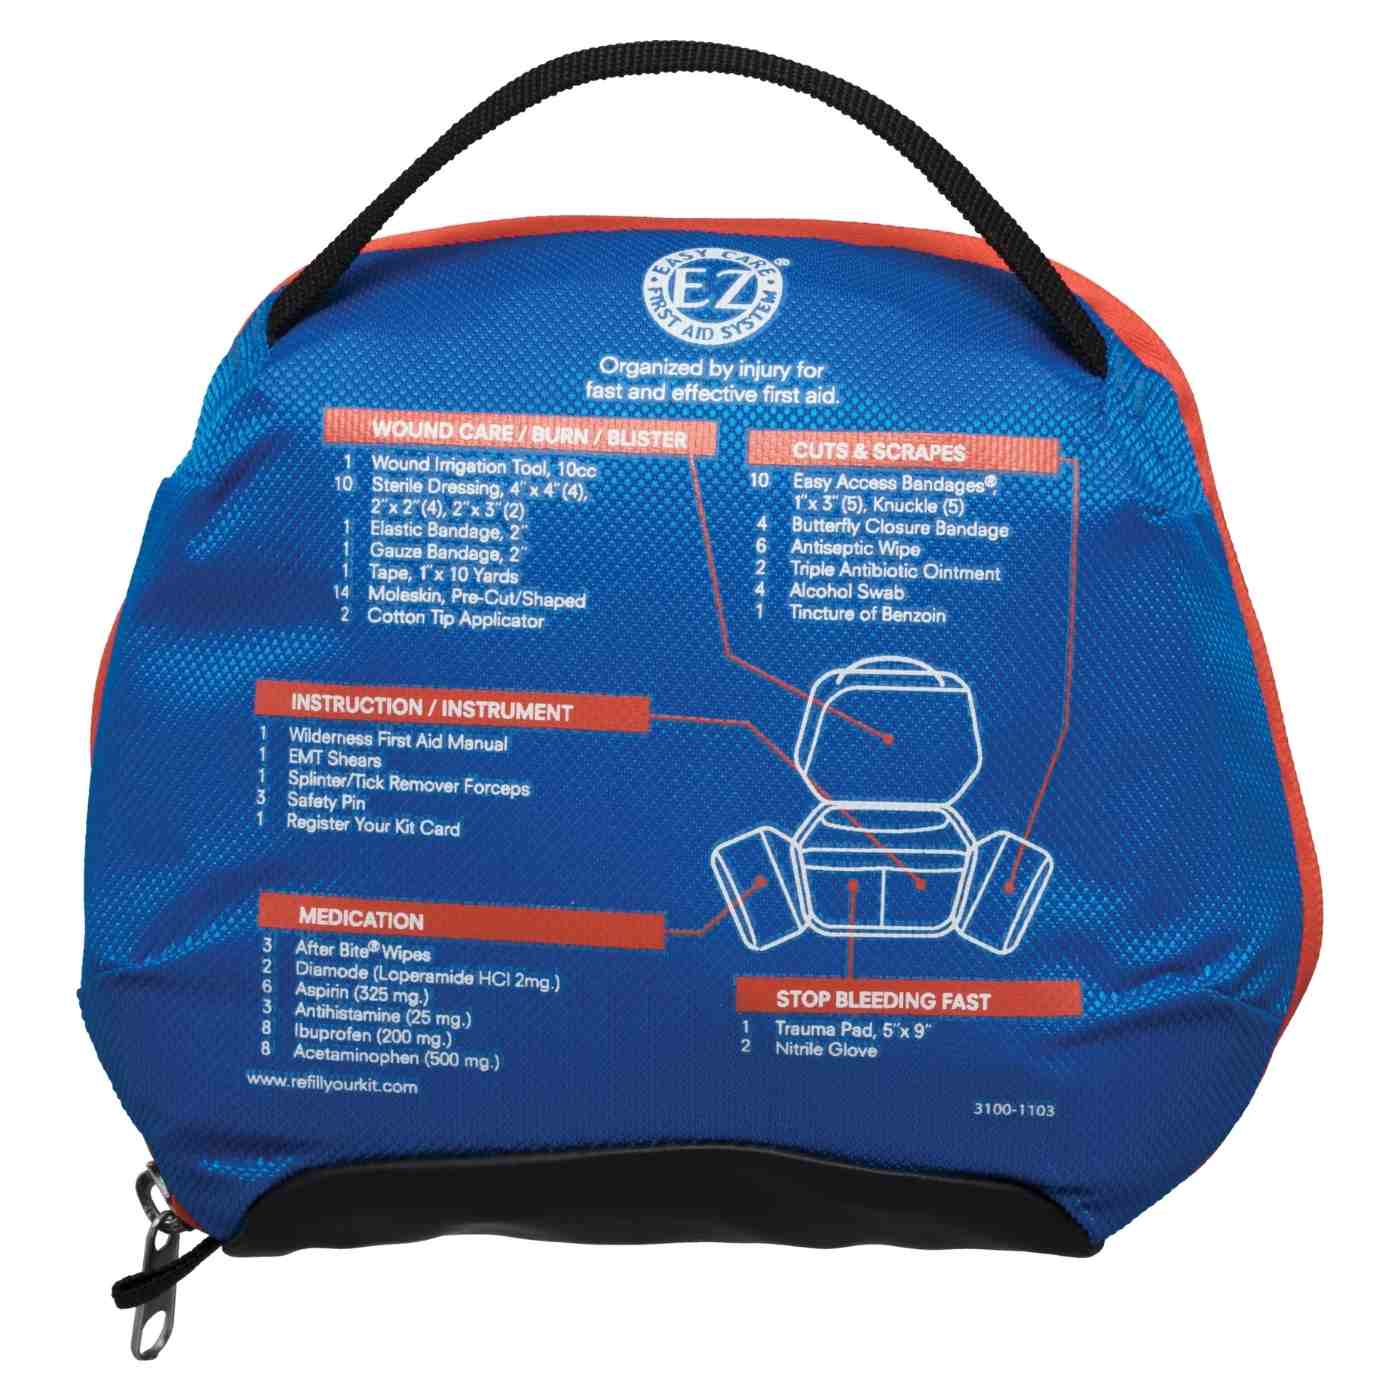
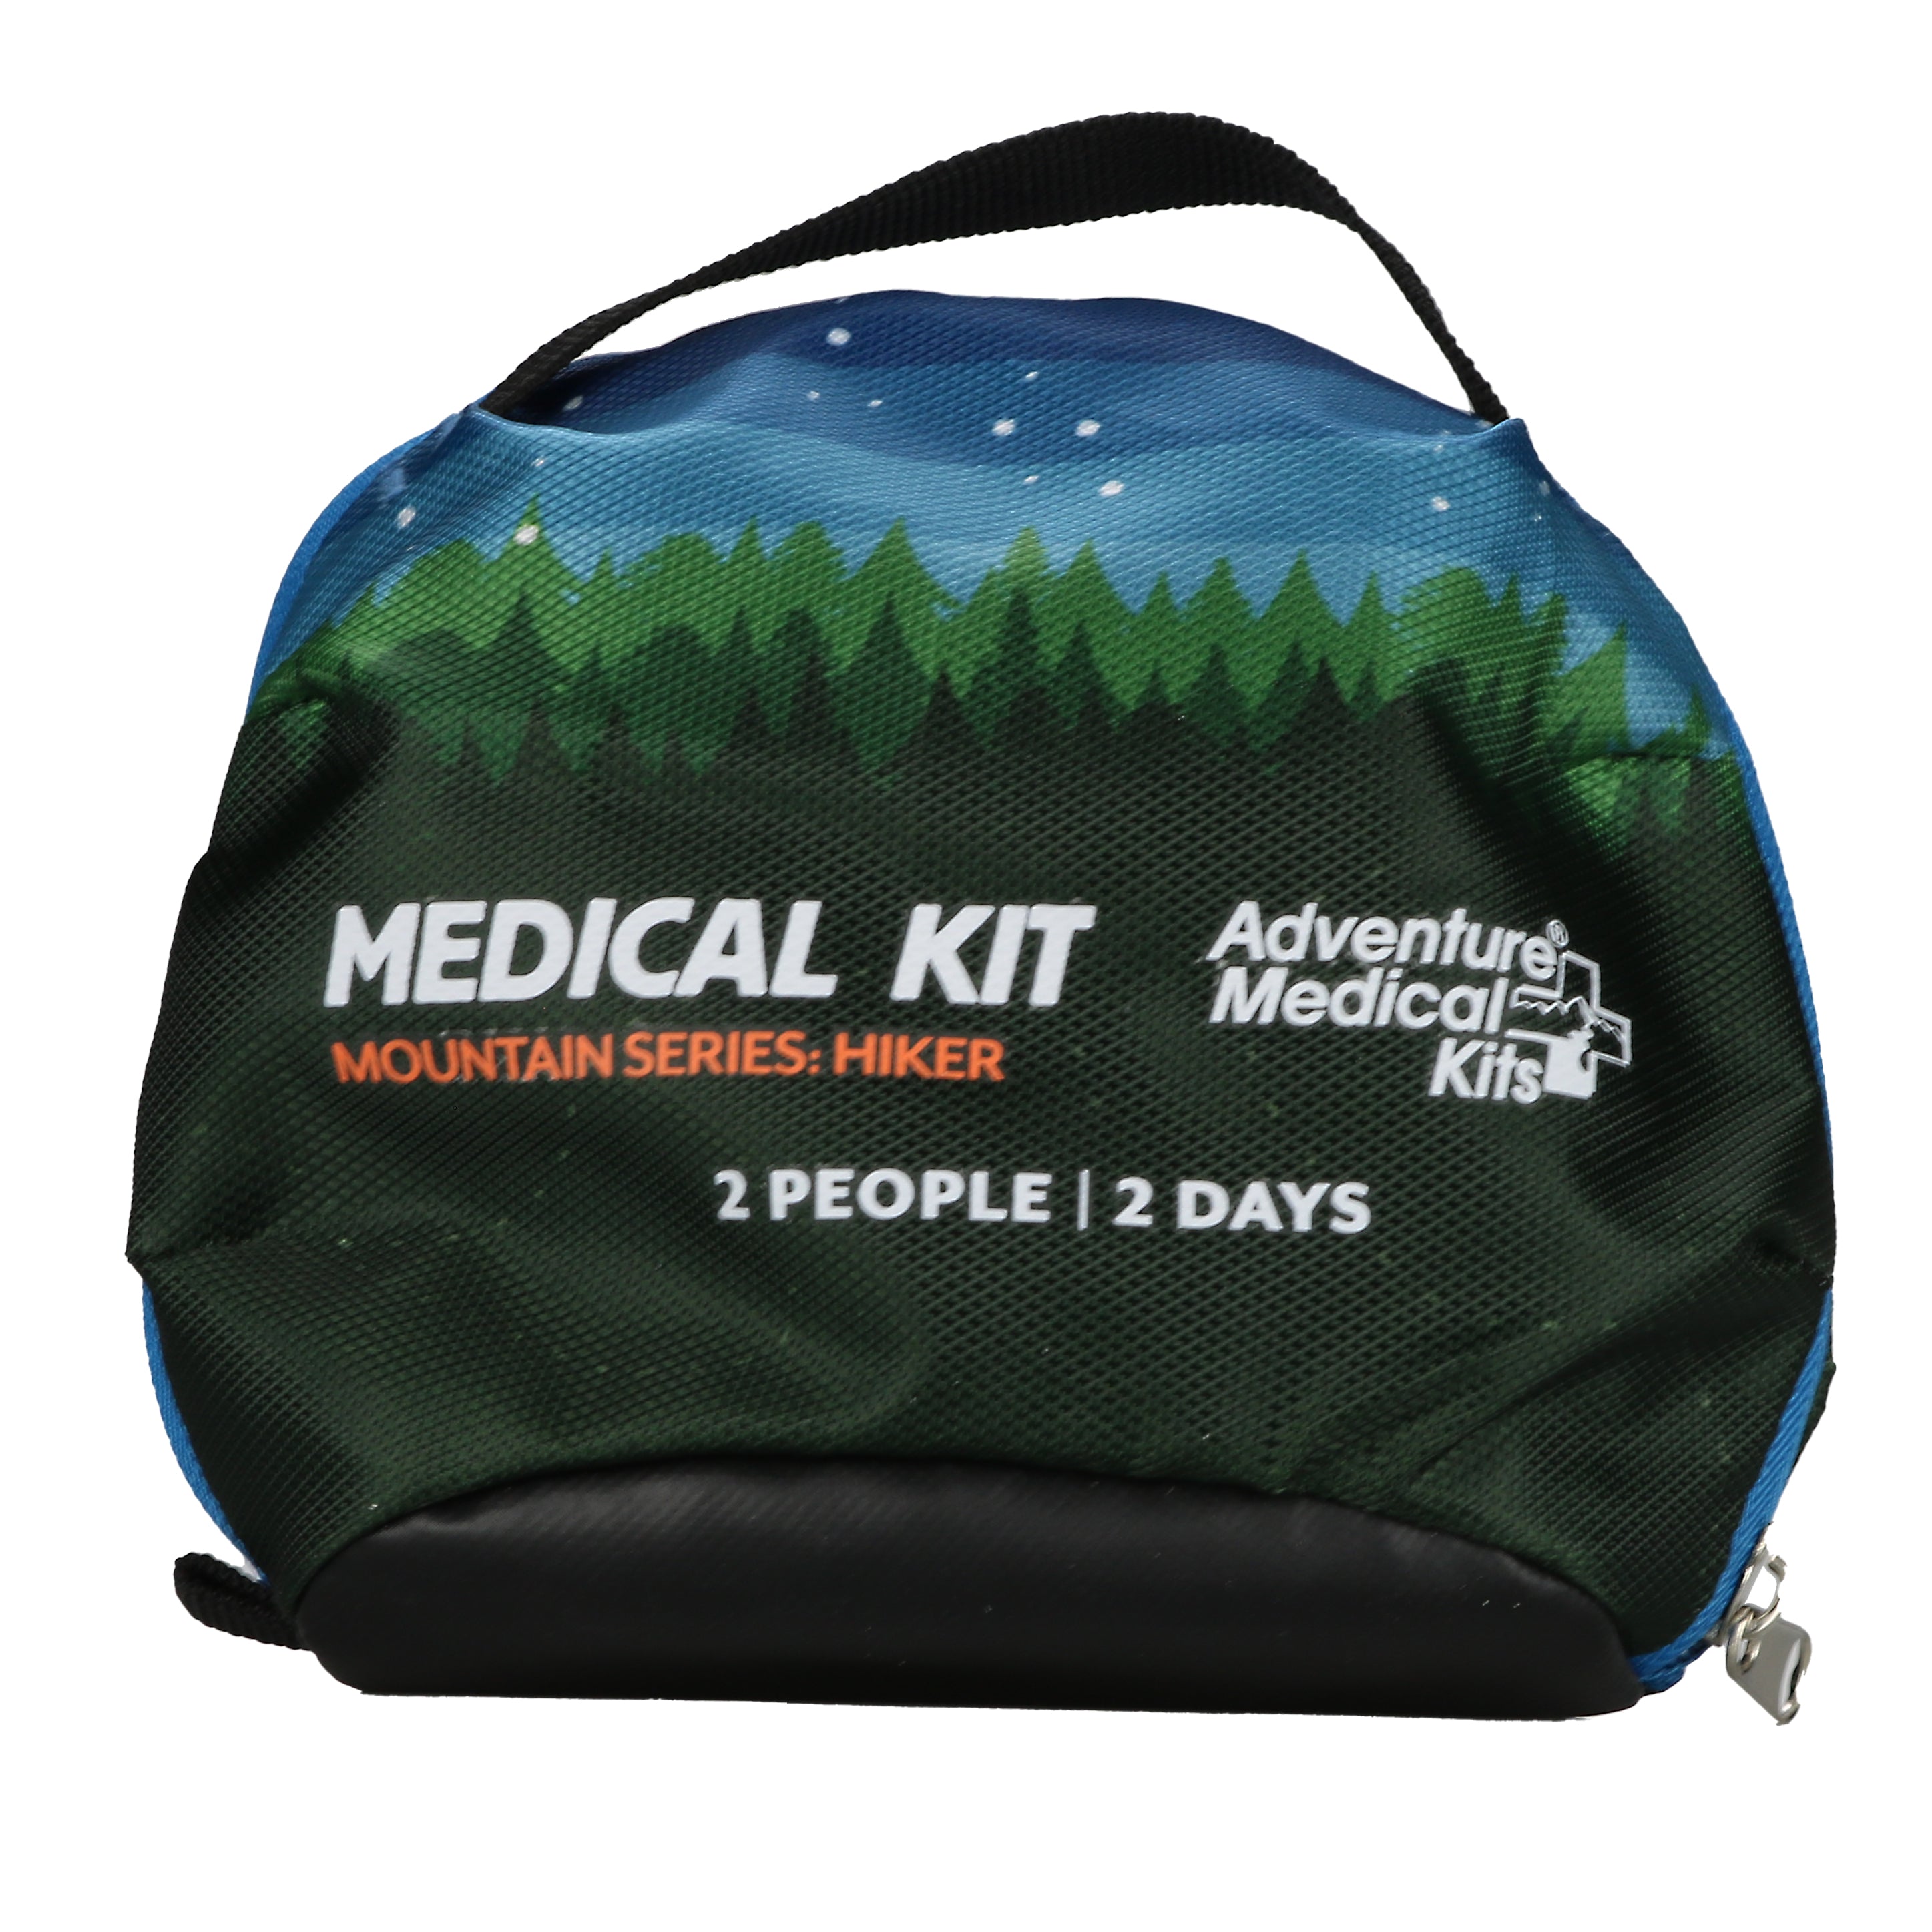
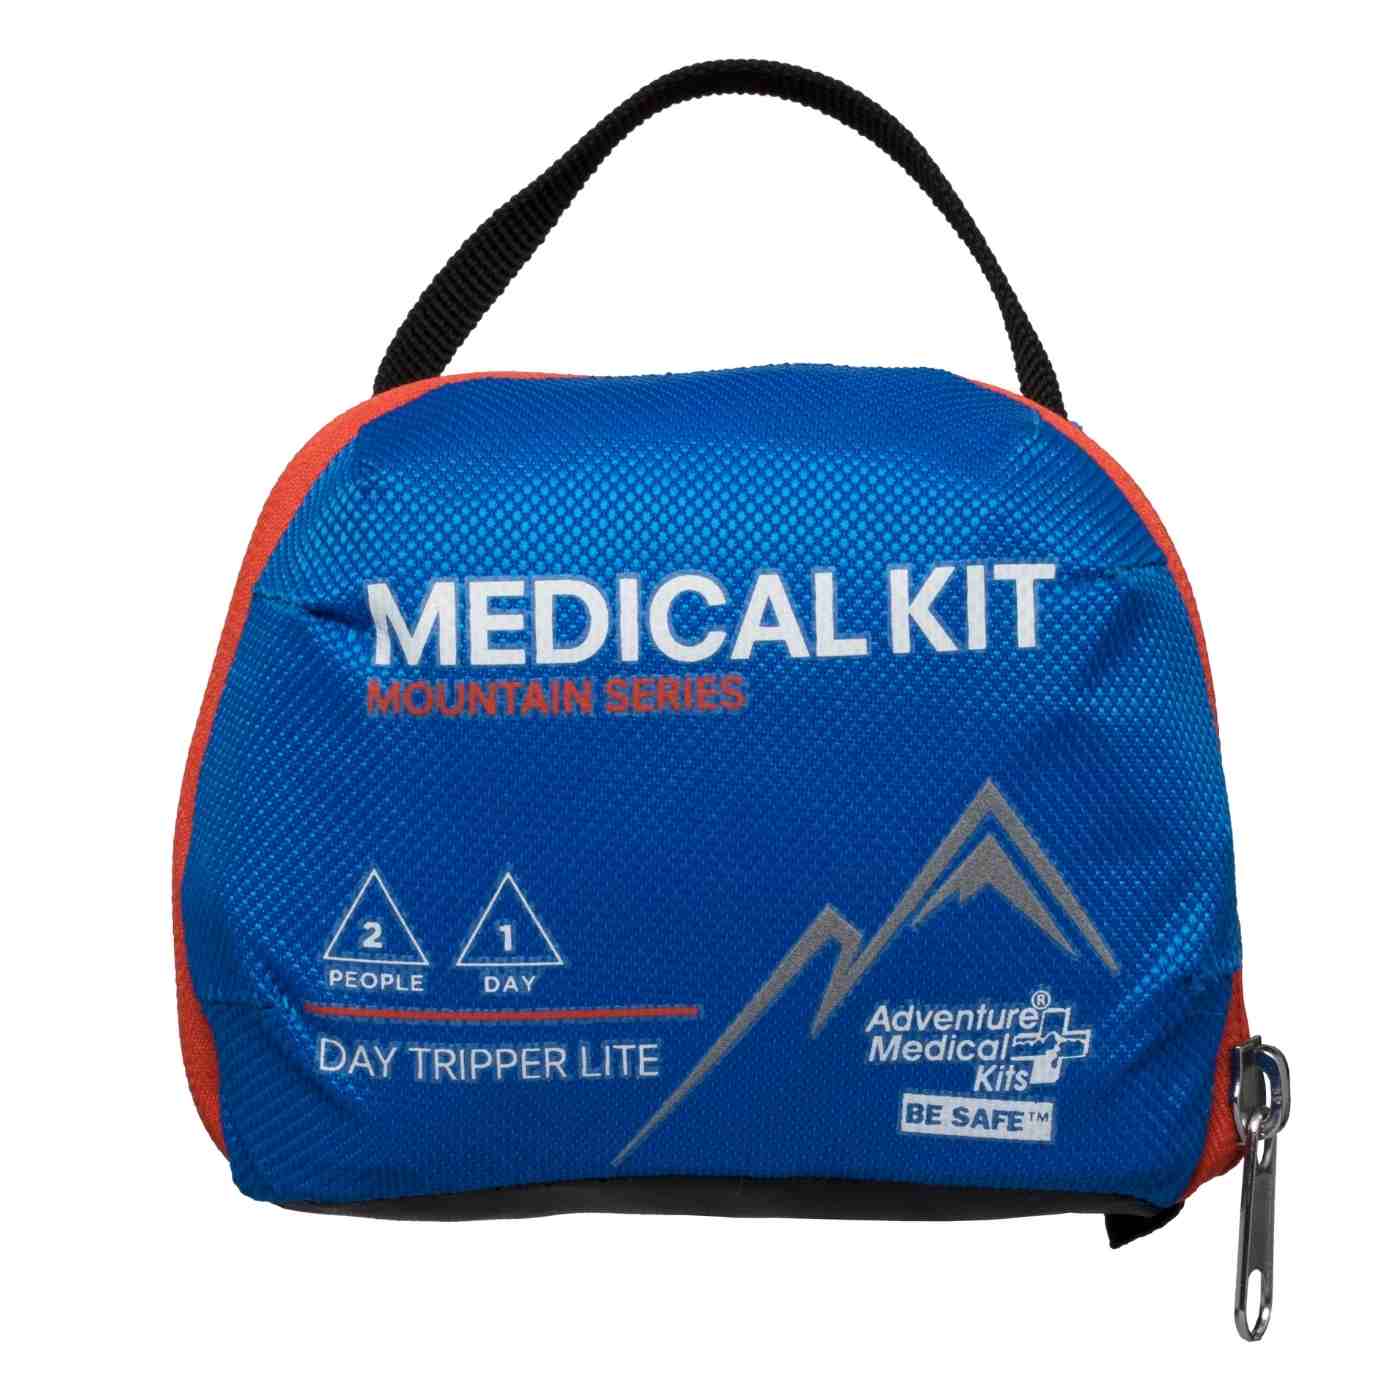
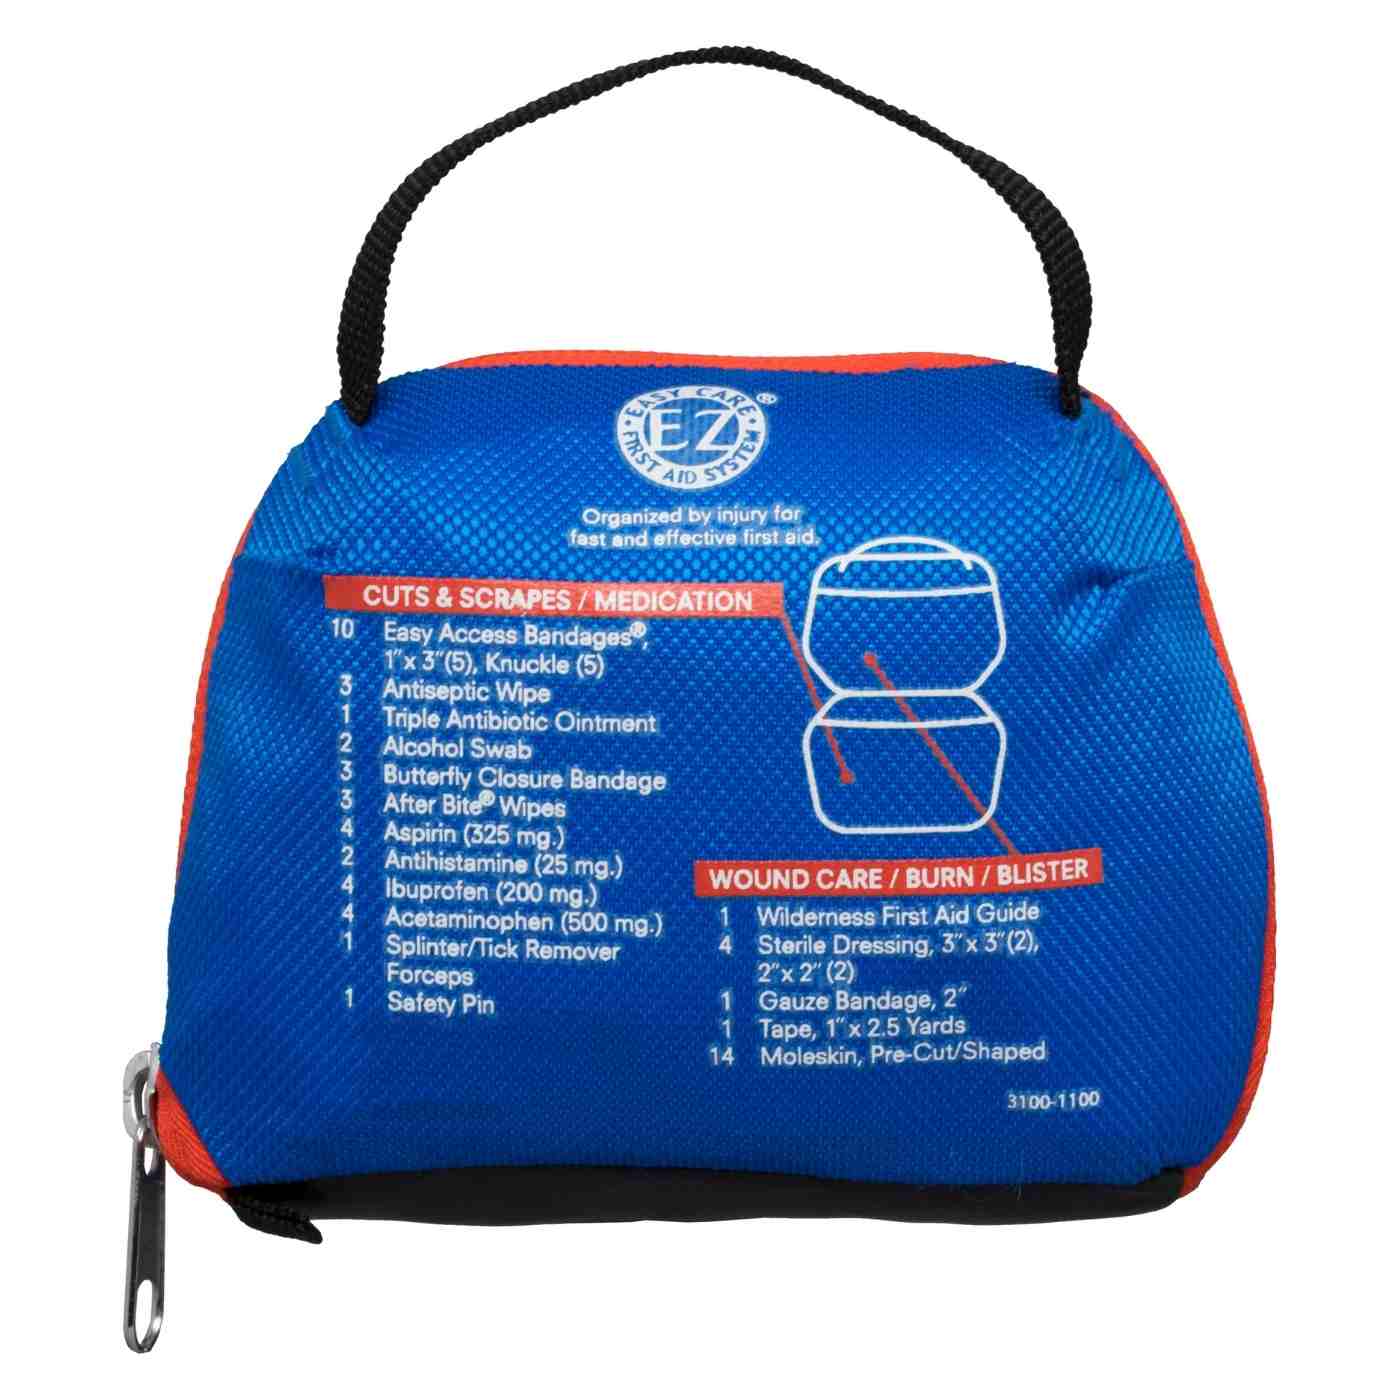
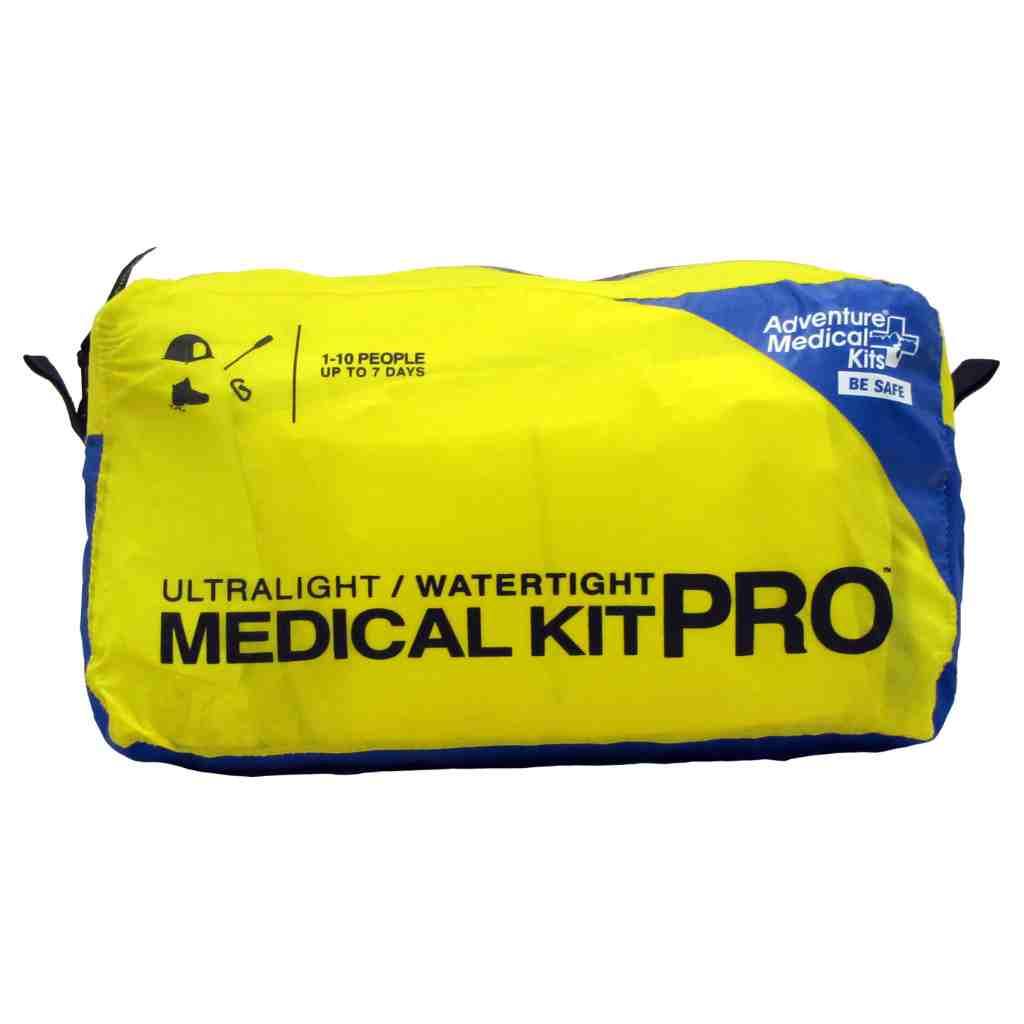
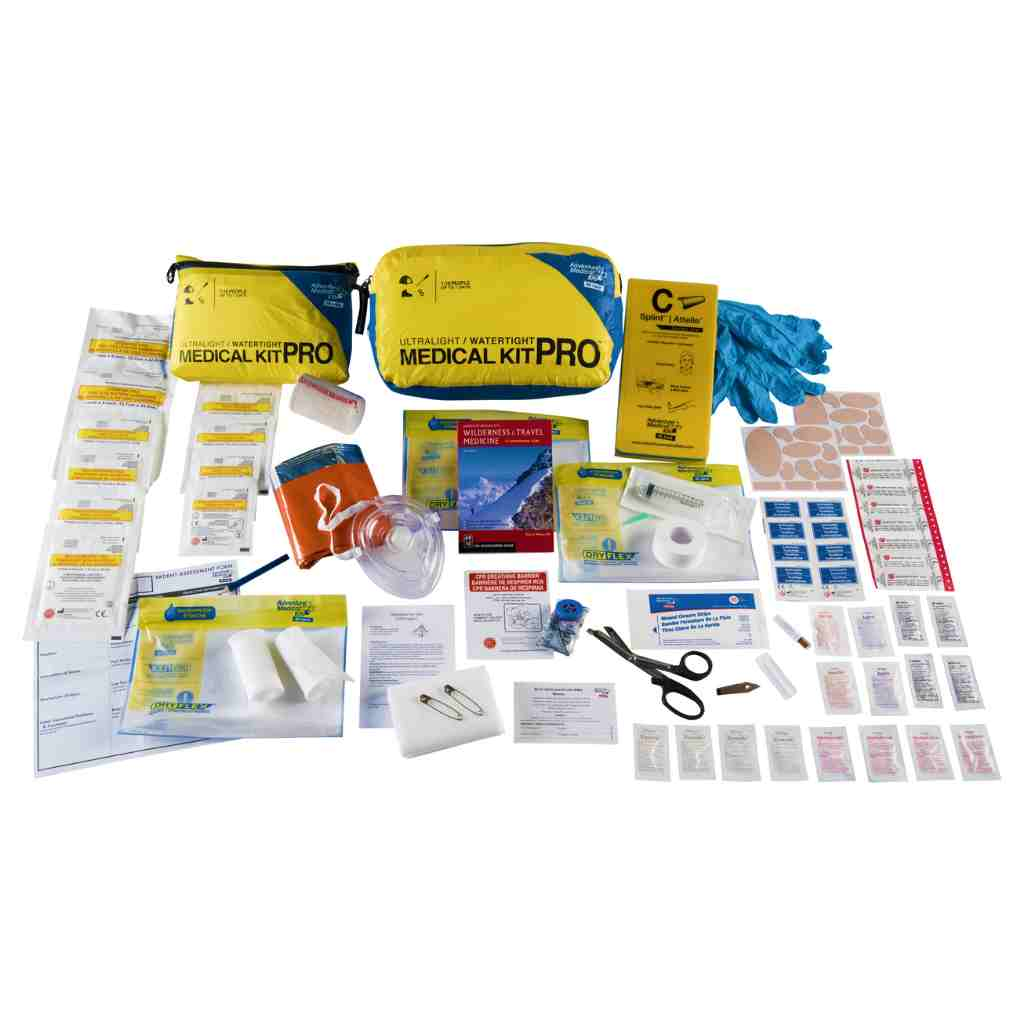
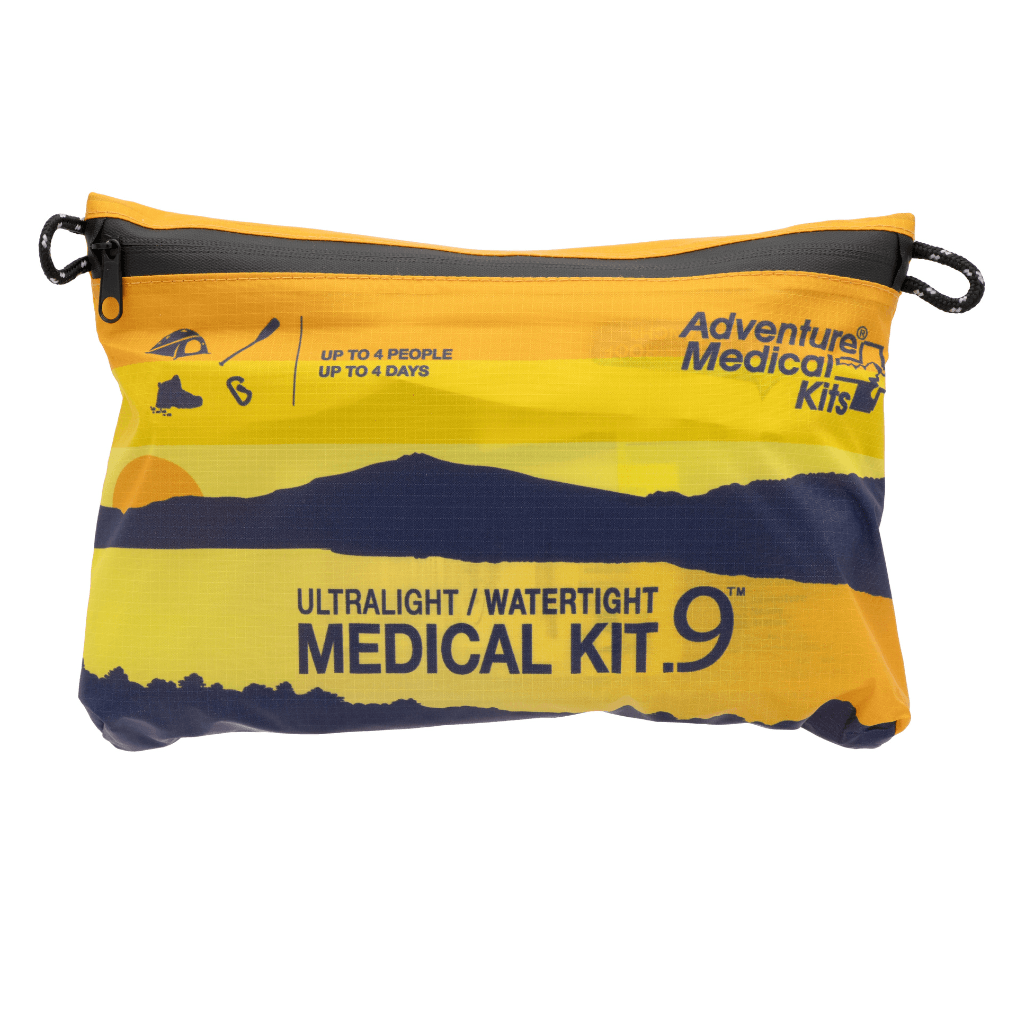
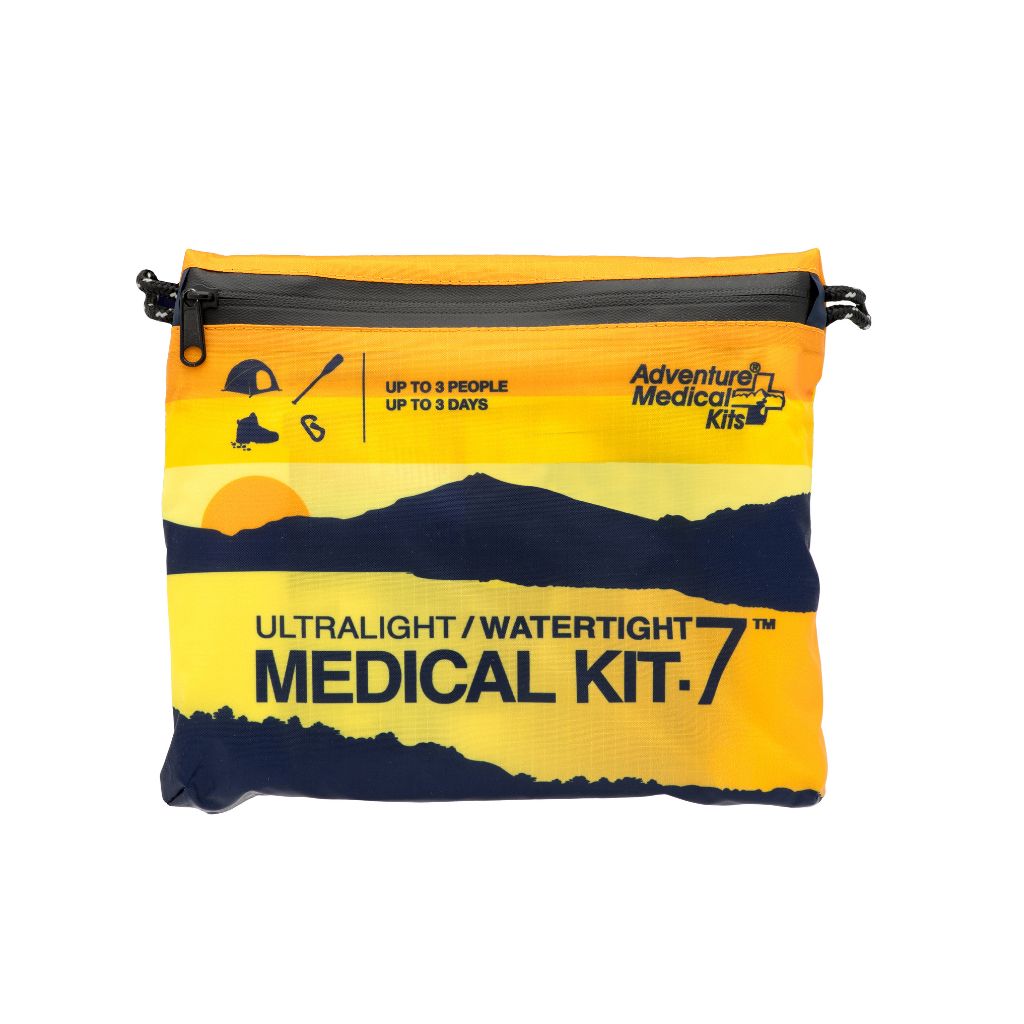
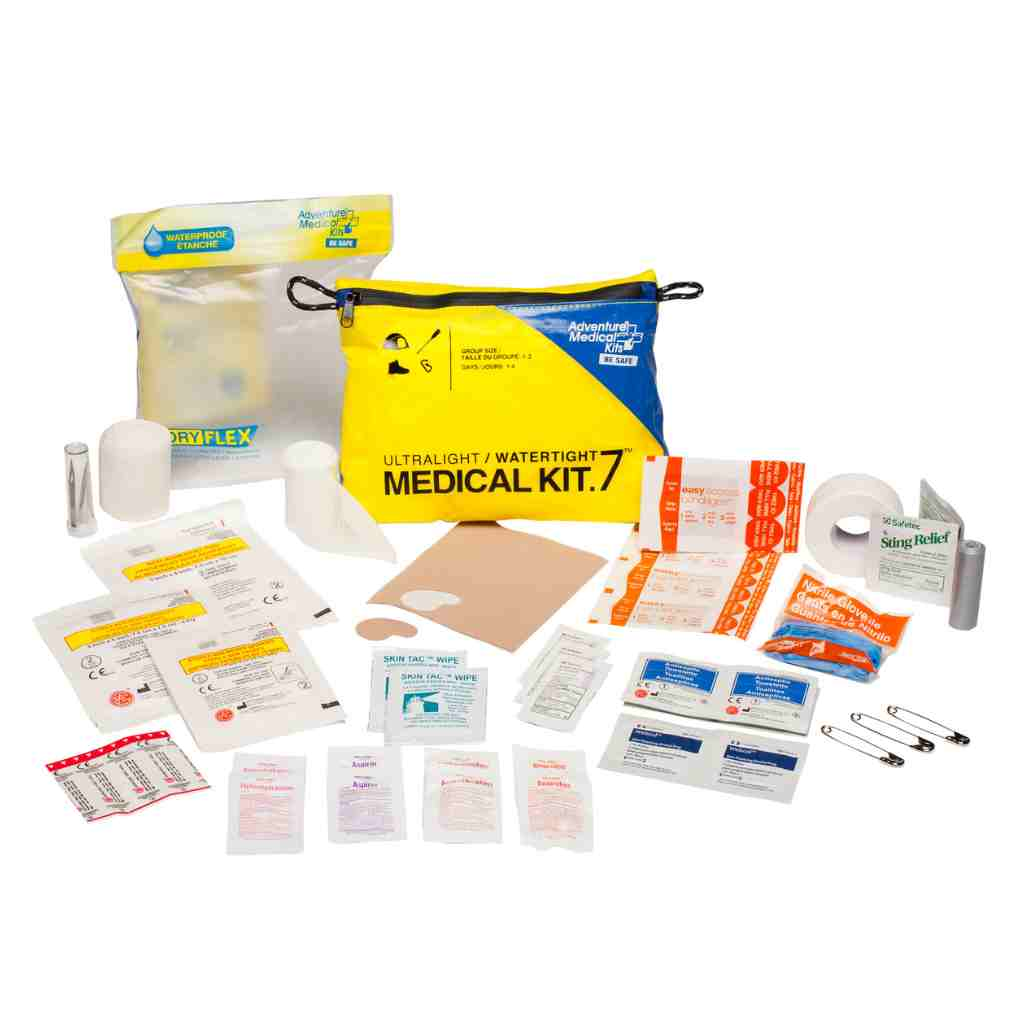
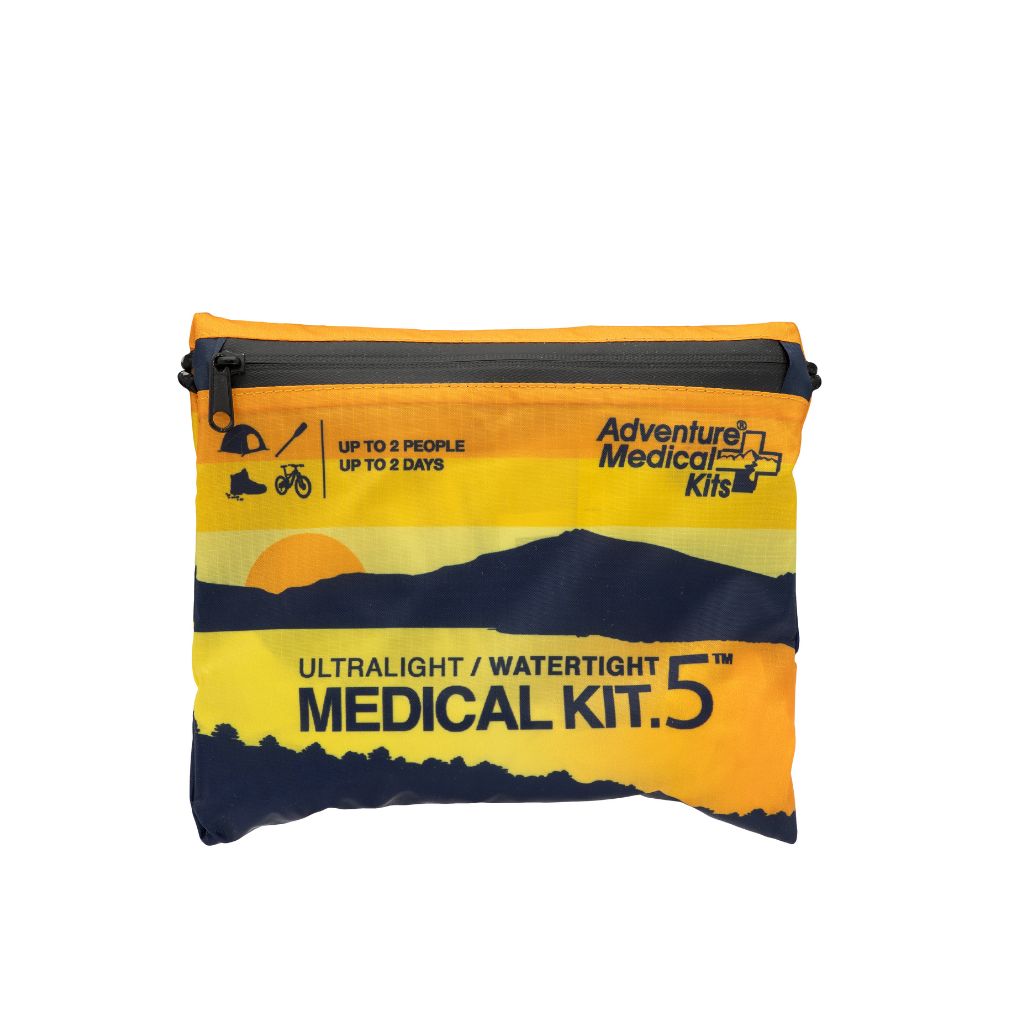
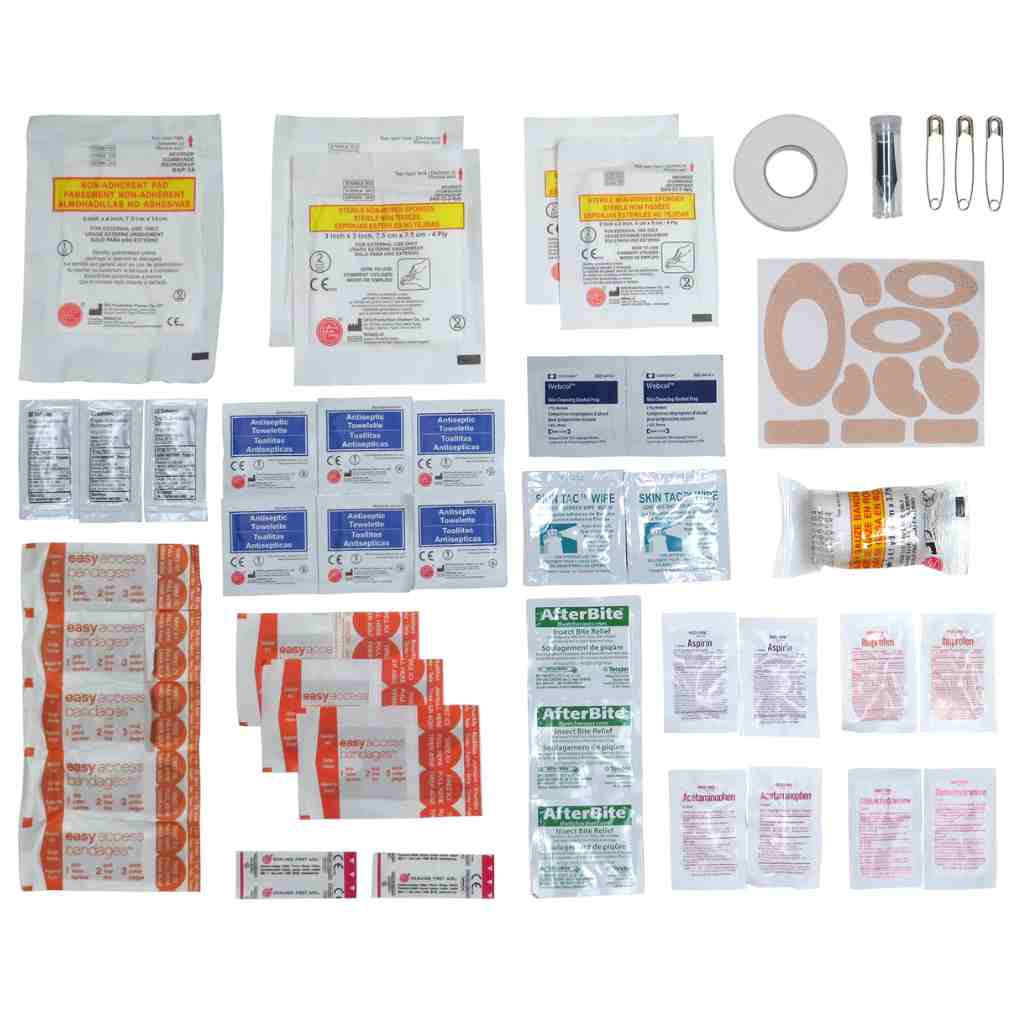
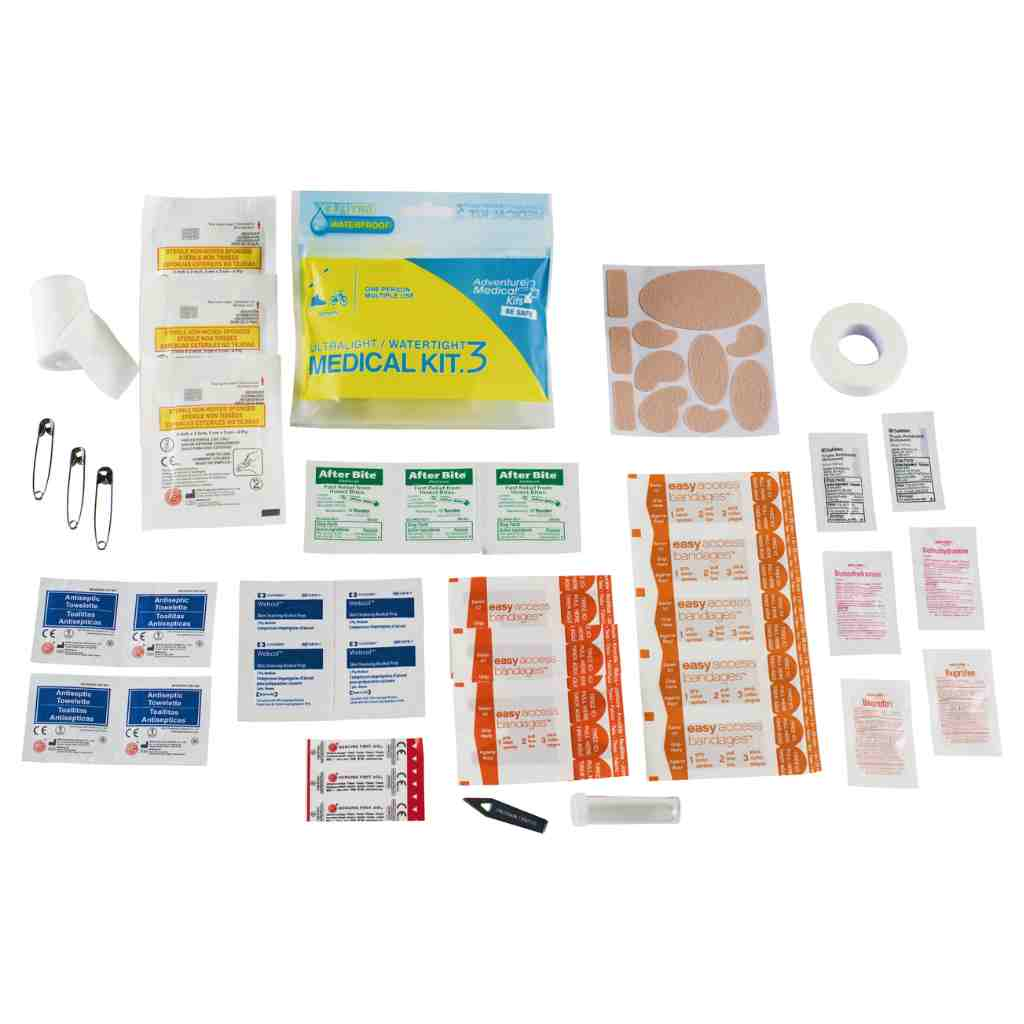
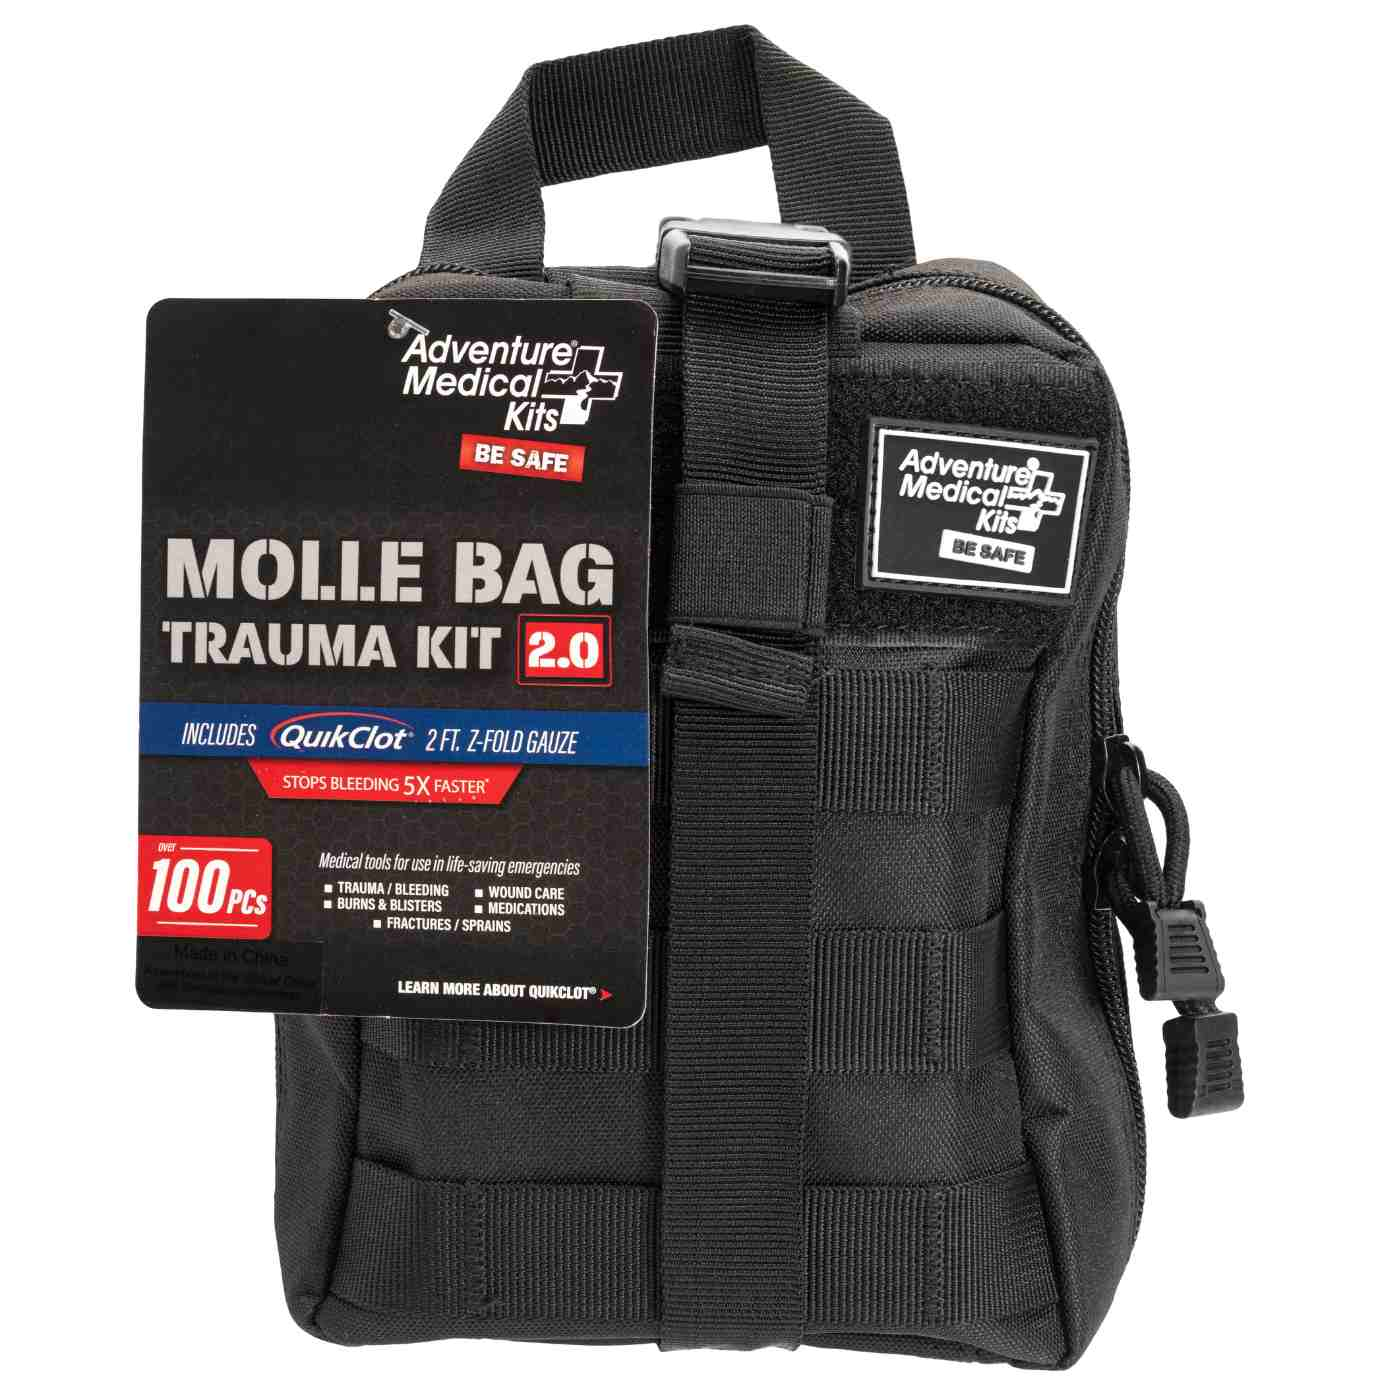
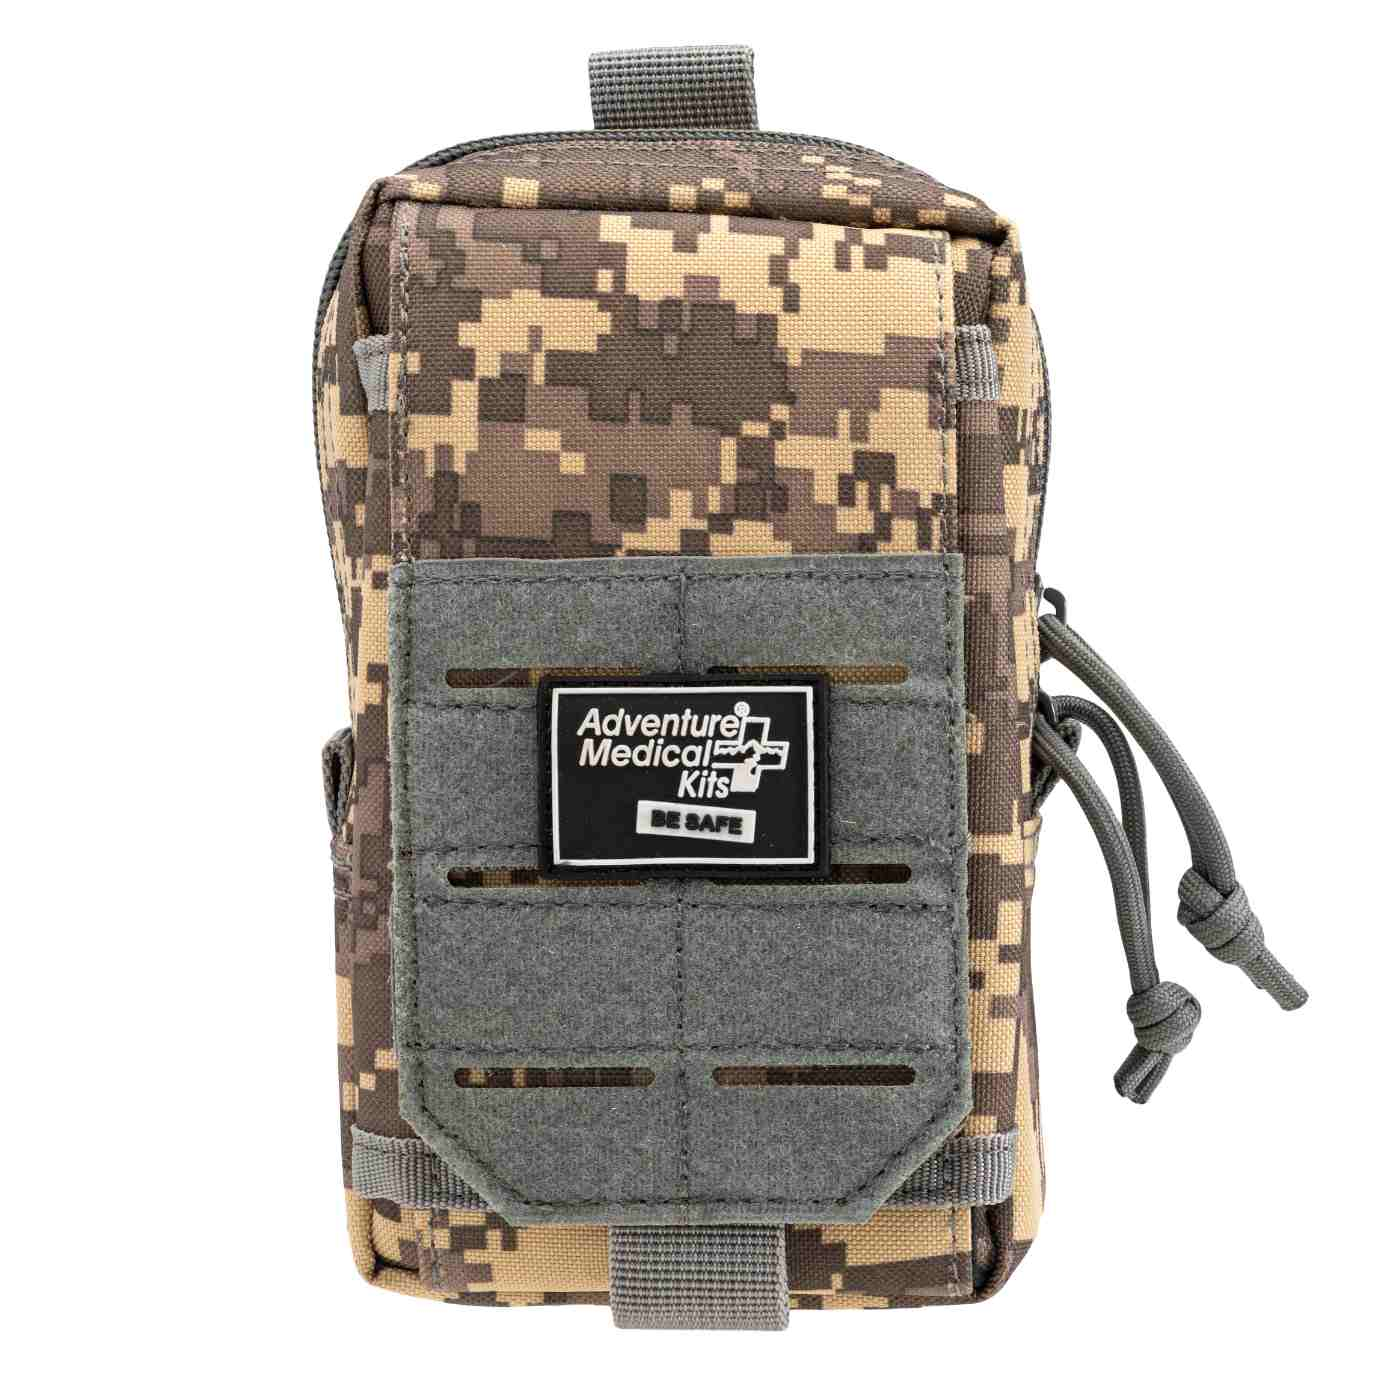
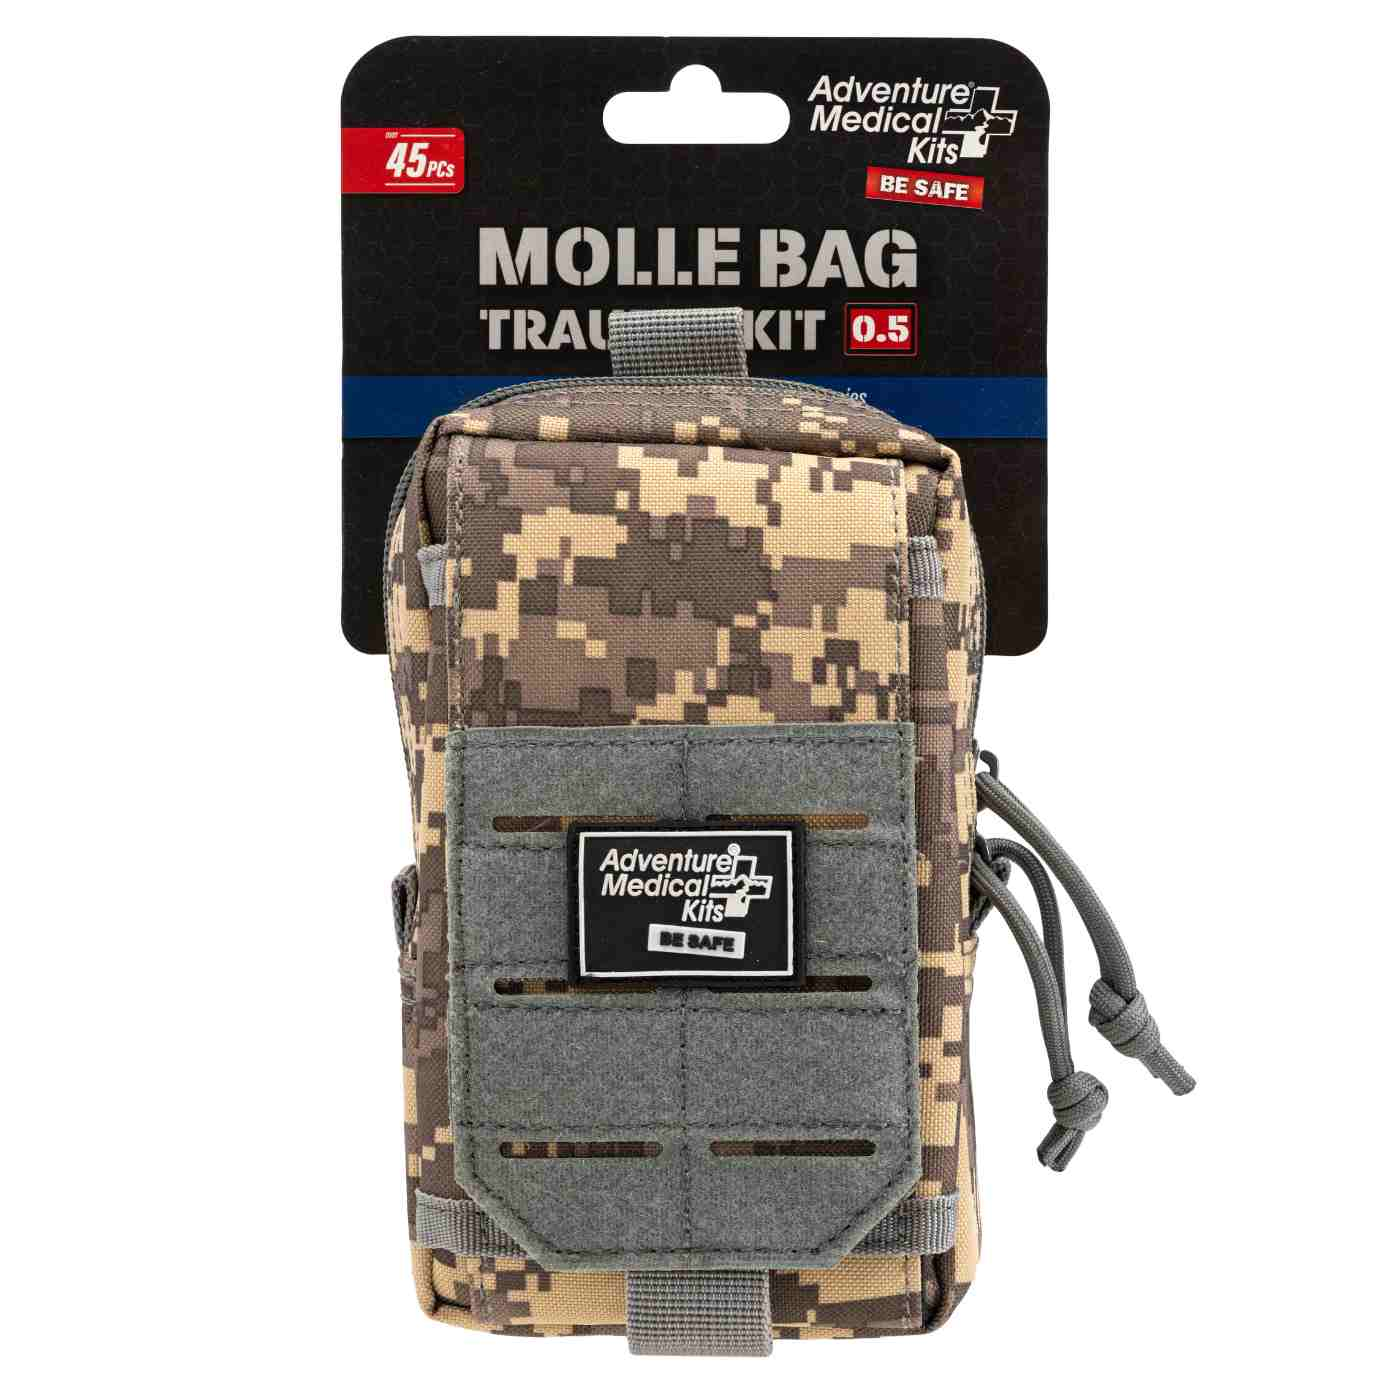
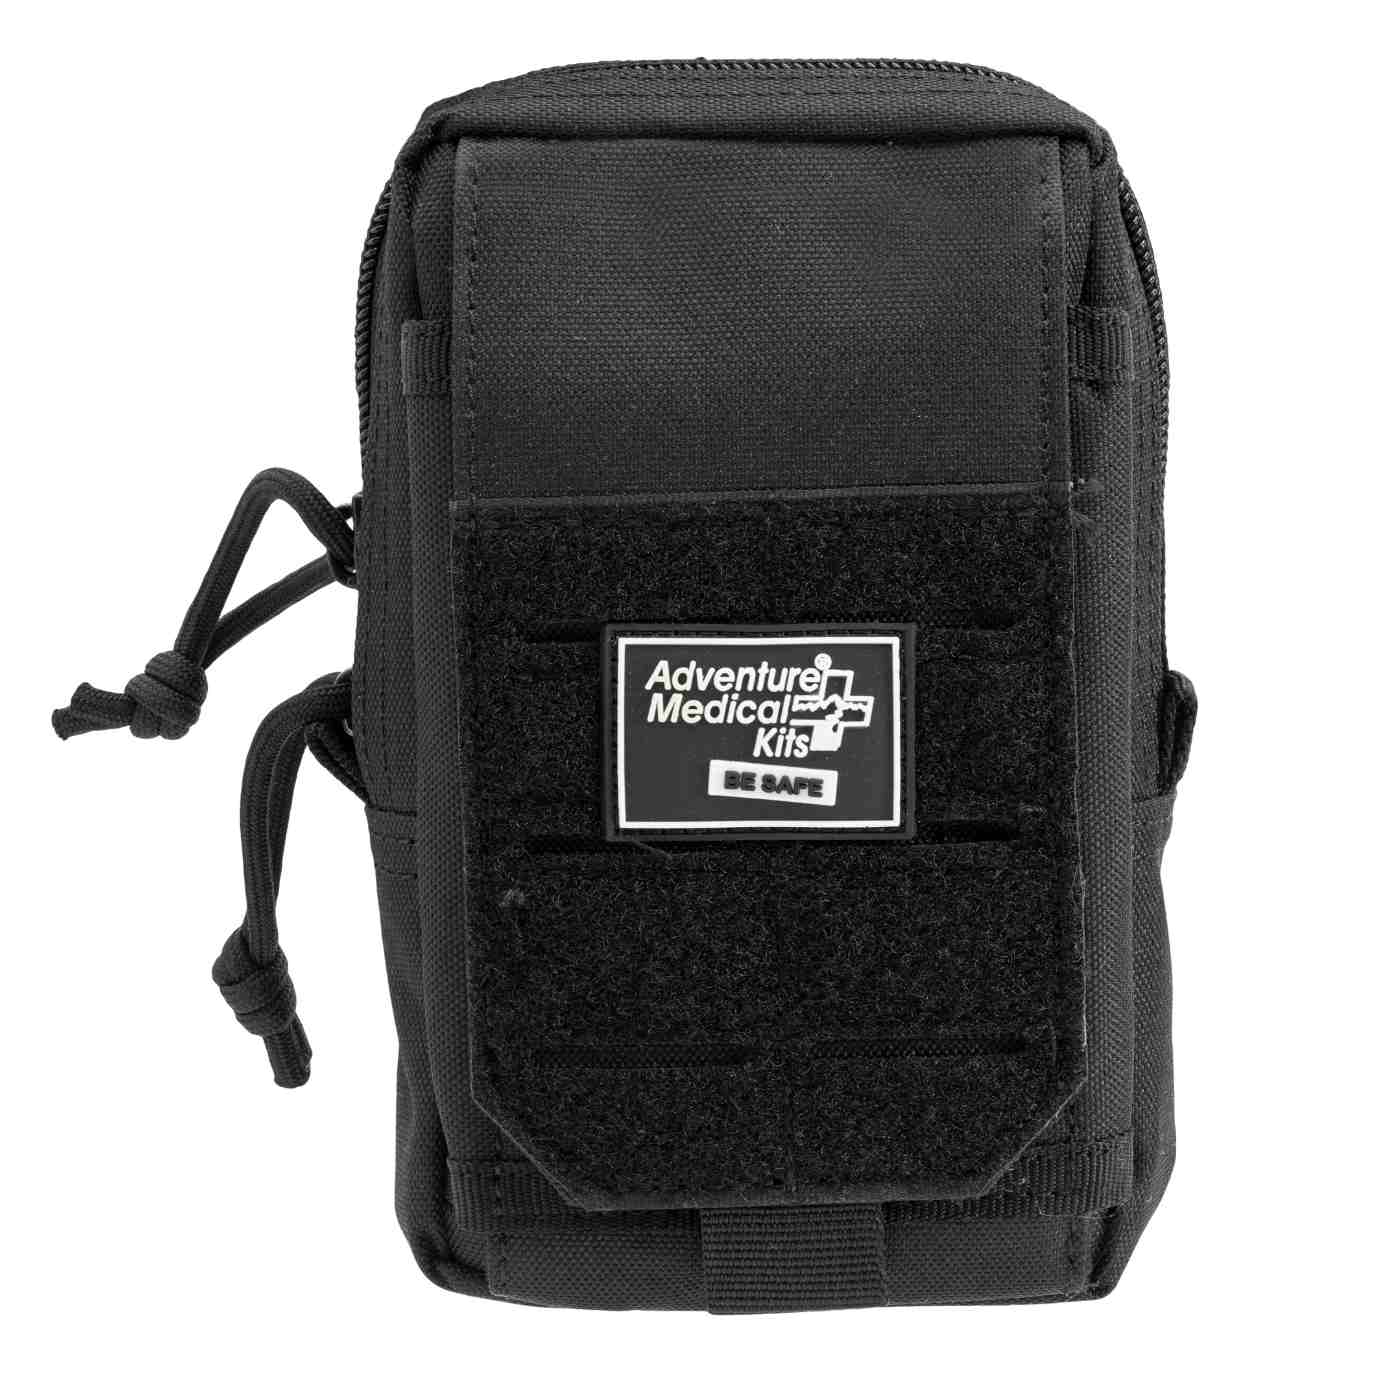
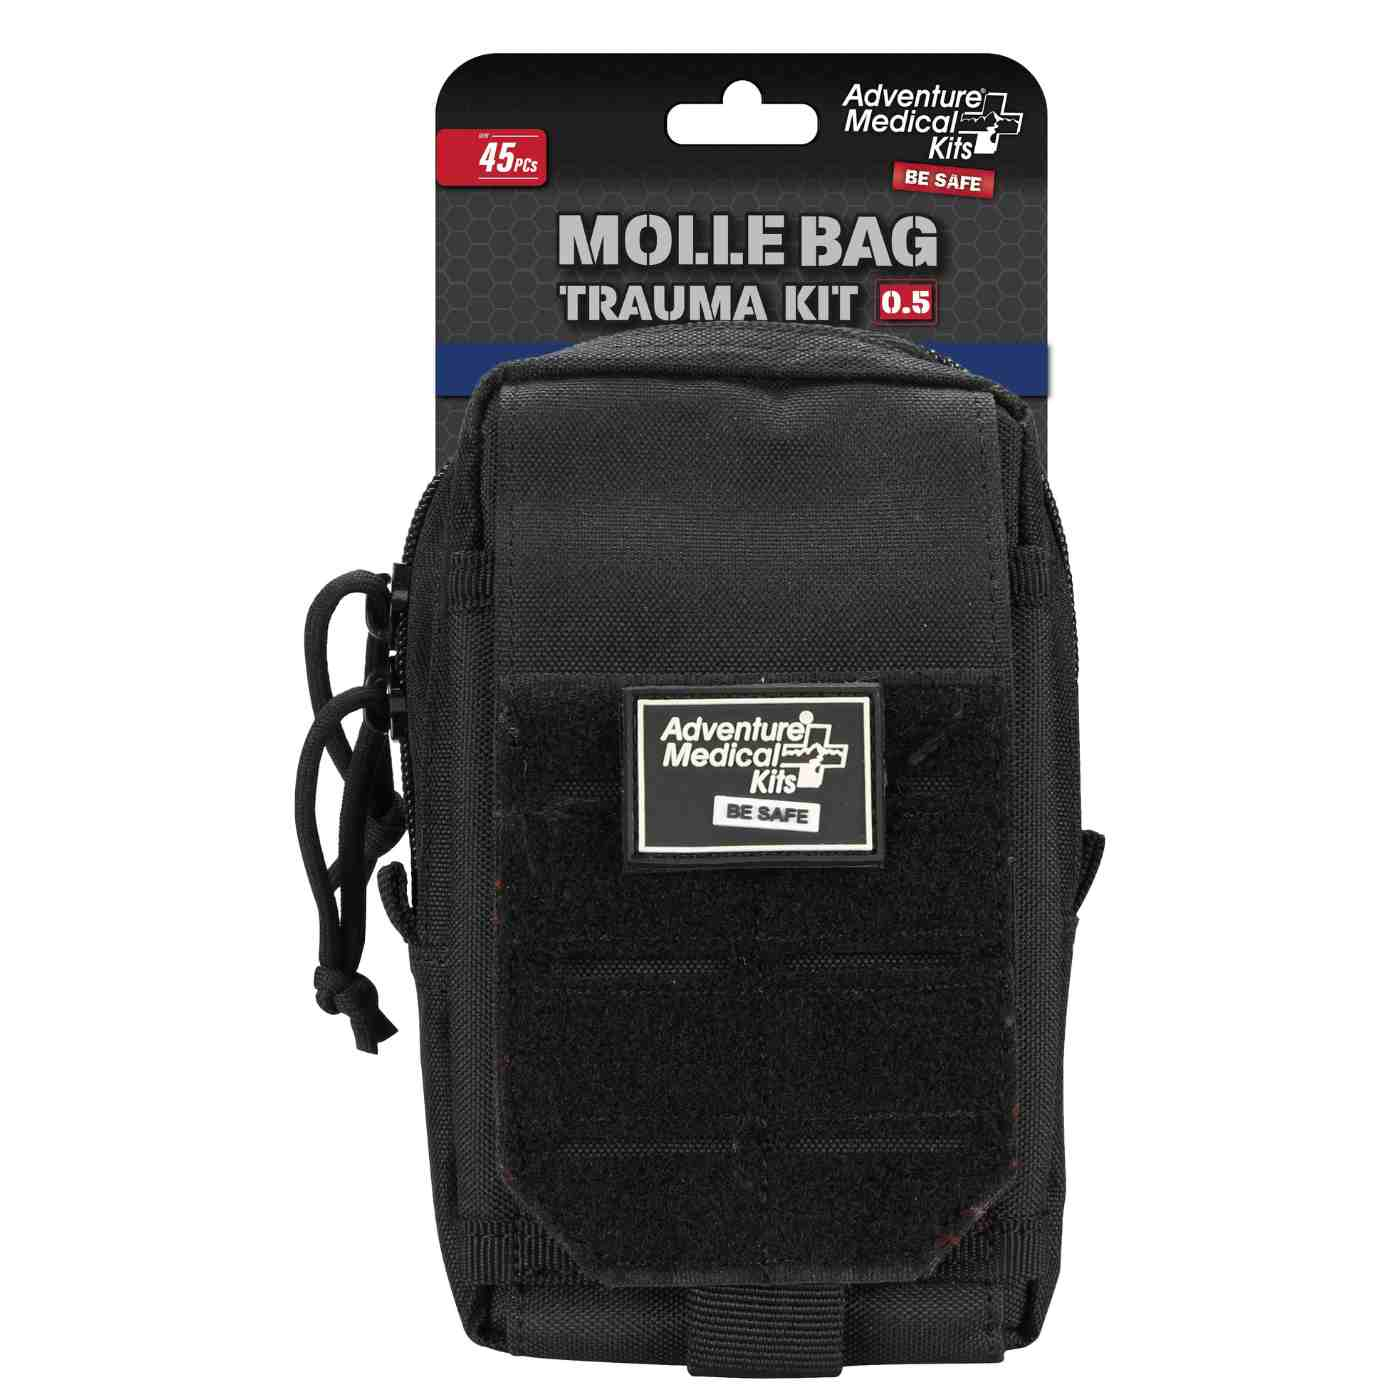
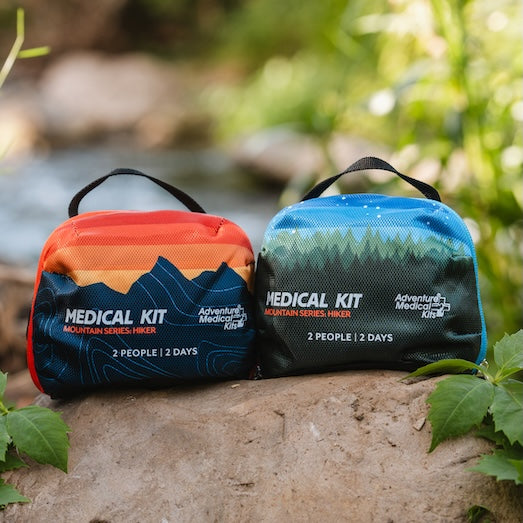
A day hiker may only need one wrap in a compact pocket. If you are starting from scratch, this guide to the best hiking first aid kit shows where a wrap fits in a full kit. A guide, hunter, or expedition leader often benefits from a second wrap because a pressure dressing can use up the first one faster than expected. Adventure Medical Kits organizes activity-specific kits with labeled compartments and clear supply lists, and its Mountain Series medical kits and MOLLE trauma kit series fit that style of setup well.
Inspect the roll before you trust it. If the elastic does not rebound well, the hook surface is clogged, or the edges are fraying, replace it. A worn wrap that no longer grips is extra weight.
A clean, dry wrap stored where it can be reached fast does more for you than a premium wrap buried under snacks, batteries, and spare gloves.
Trip type should shape the kit, too. A family car kit can carry more bulk than an ultralight pack. A winter day kit may need more room than a summer hike kit. Keep the bag lean and keep the right support where hands can find it under pressure.
Quick Reference and Wrap-Up Checklist
Elastic with Velcro is the wrap that supports repeated adjustment. Cohesive self-adherent wraps stick to themselves and conform well. Adhesive tape grips hard but is more single-use and less forgiving on skin. For a sprain, the Velcro wrap is the easiest to recheck; for quick conforming jobs, cohesive wrap is useful; for taping that must hold firmly, adhesive tape still has a place.
| Wrap Type | Best Use | Reusable? | Watch Out For |
|---|---|---|---|
| Elastic with Velcro | Adjustable compression, sprains, broad support | Yes | Over-tightening and poor circulation checks |
| Cohesive self-adherent | Conforming wraps, quick field retention | Often limited | Can loosen if applied badly |
| Adhesive tape | Firm fixation, specific taping jobs | No | Skin irritation, less forgiving removal |
Pre-trip check
- Confirm the width. Make sure the wrap matches the body area you expect to treat.
- Check the Velcro. It should grip cleanly, not slide apart.
- Inspect for fraying. Worn edges can reduce control and comfort.
- Pack a backup. One wrap can disappear fast in a pressure dressing.
- Practice one wrap before the trip. Field learning should not happen for the first time on trail.
For serious bleeding, pair wrapping skills with trauma supplies already built for that job, not with hope. For swelling, support, and temporary stabilization, a 6 inch elastic bandage with Velcro is a solid tool when it's applied correctly, checked often, and removed when the injury crosses the line.
If a trail kit needs a wrap that's easy to apply, easy to recheck, and honest about its limits, Adventure Medical Kits has field-ready options built around that reality. Their kits and trauma supplies are organized for fast access, and they make more sense when the injury is happening far from the trailhead. Visit Adventure Medical Kits to build a kit that matches the kind of trip you take.