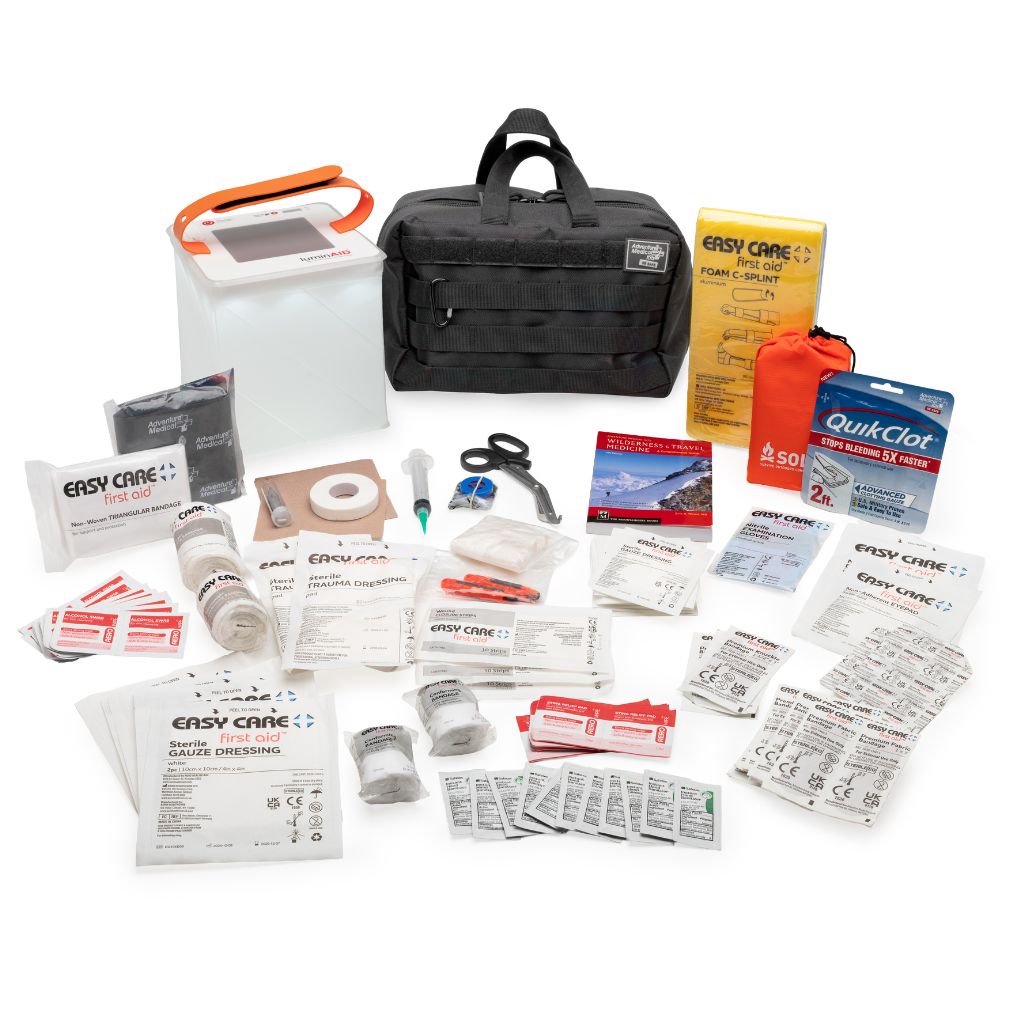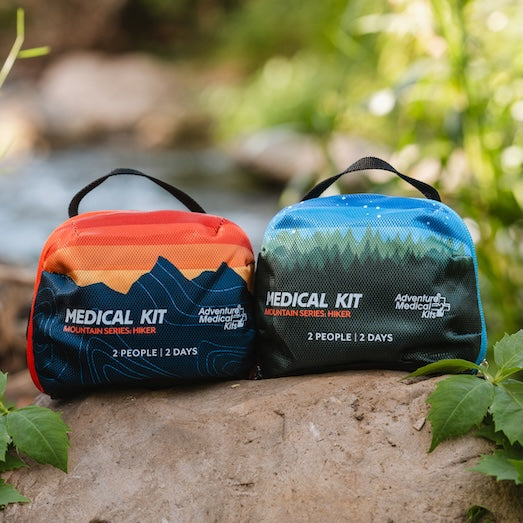


Foot blisters affect 29% to 95% of hikers, according to a review of blister prevalence in runners and hikers (Wilderness & Environmental Medicine systematic review). That range makes blister tape for feet a sensible item in a hiking kit, but field performance depends on more than the label. The practical question is whether a tape stays put through sweat, dirt, stream crossings, and hours of sock friction, then comes off without stripping skin.
Tape works as a targeted friction-control tool. It cannot correct poor footwear fit, wet socks, or missed hot spots. Choose it according to the foot's condition: intact skin, irritation, moisture, fragile skin, or an open blister. Application technique matters just as much as tape type.
Table of Contents
- Why Blister Tape Matters on the Trail
- Tape Types Hikers Actually Use and How They Compare
- How to Apply Blister Tape Before and During a Hike
- Field Troubleshooting When Tape Fails
- Putting Tape Into a Full Foot Care System
- The Adhesion Tradeoff and Safe Removal
Why Blister Tape Matters on the Trail
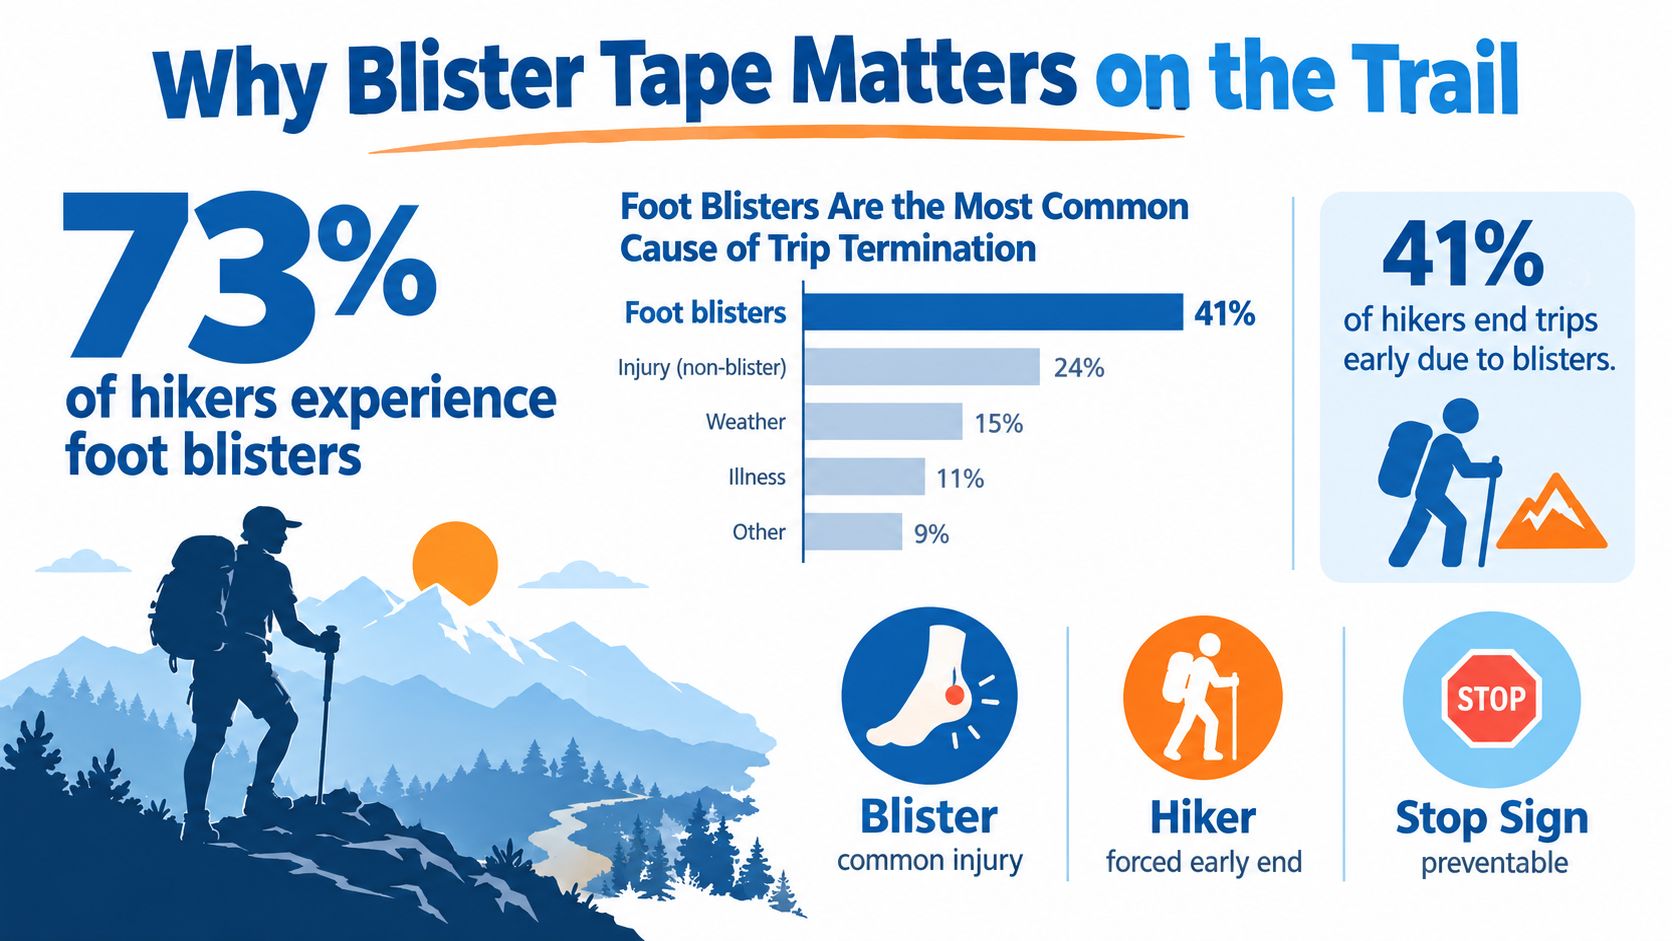
Foot blisters affect 54% to 86% of long-distance hikers and backpackers, according to the systematic review cited earlier. A blister on the heel, toe, or outside edge changes gait, encourages compensation, and can turn manageable irritation into a trip-ending problem. The field question is not which tape to buy. It is whether the tape matches the friction, moisture, and skin condition you will face.
Friction creates the injury
Heat is the warning sensation. Repeated friction, shear, pressure, and moisture cause the underlying damage. As a shoe or sock moves against the foot, skin layers separate and fluid collects between them. That is the blister.
Blister tape creates a smoother interface over a predictable trouble spot. A well-applied strip limits movement between foot, sock, and shoe, reducing the shear concentrated in the skin. It does not remove force inside the boot, and it cannot compensate for a slipping heel, wrinkled sock, or foot softened by prolonged dampness. It can, however, spread friction before the skin starts to separate.
The strongest field evidence for preventive taping comes from a randomized trial of 128 ultramarathon runners covering 155 miles over 7 days. Paper tape reduced blister incidence by 40%, with a number needed to treat of 1.31 (Clinical Journal of Sport Medicine trial). The study found that 50% of blisters occurred on the toes and 23% on the heel, while 80% appeared by the end of stage 2. That pattern supports taping known trouble spots before friction accumulates, rather than waiting for pain.
Practical rule: Tape known hot spots before the first painful miles, then address new warmth or rubbing immediately.
Tape is one layer of prevention
Paper tape has useful evidence behind it, but the trial involved trained endurance runners, medical staff, a single taped foot, and replacement during each stage. Those conditions do not guarantee that the same strip will survive a wet, self-supported backpacking trip. Sweat, dirt, stream crossings, and sock movement all test adhesion differently.
A practical hiking system combines tape with well-fitting footwear, smooth socks, dry skin, and regular checks. The American Hiking Society recommends treating hot spots early with athletic tape, liquid bandage, or a second-skin product (American Hiking Society blister fact sheet). For toe friction, this guide explains how to avoid running toe blisters, since toe movement and shoe pressure create similar problems across activities.
For a broader trail-care routine, consult the Adventure Medical Kits guide to preventing and treating hiking blisters. Tape belongs in the first line of defense, but it performs poorly on wet skin or under footwear that keeps sliding. Check the foot early, dry it when possible, and change the plan before a hot spot becomes an open blister.
Tape Types Hikers Actually Use and How They Compare
No single tape wins every trail situation. A breathable paper tape may be ideal for dry skin and preventive use, while a zinc-oxide athletic tape is more dependable when rain and repeated movement threaten the bond. Hydrocolloid dressings serve a different purpose, cushioning an established hot spot or intact blister rather than covering a large area quickly.
| Tape Type | Wet Adhesion | Breathability | Cushioning | Best For |
|---|---|---|---|---|
| Paper tape | Limited once saturated | High | Minimal | Preventive taping on clean, dry skin |
| Zinc-oxide athletic tape | Strong | Moderate to low | Minimal | High-friction areas and wet conditions |
| Hydrocolloid blister plaster | Good when edges seal | Low to moderate | High | Hot spots, painful intact blisters, local protection |
| Kinesiology tape | Moderate | Moderate | Minimal | Flexible coverage over contours and moving areas |
Paper tape
One-inch paper tape is inexpensive, light, and relatively gentle during removal. It's also the tape tested in the randomized prevention trial cited in the previous section. Its weakness appears after saturation. Sweat, rain, and stream water can loosen the edges, and a damp strip may wrinkle or migrate inside the sock.
Paper tape suits dry conditions, short applications, and hikers whose skin reacts badly to aggressive adhesives. It's a sensible preventive option over the heel or toe when the foot can be cleaned and dried properly.
Zinc-oxide athletic tape
Zinc-oxide tape holds more firmly under friction and wet conditions. The trade-off is rigidity. It can restrict natural movement if wrapped too tightly, and removal can pull at the epidermis, especially when the skin is macerated or already irritated.
This tape is useful as an outer reinforcement over a failing dressing, but it shouldn't become a tight circumferential band around a toe or forefoot. The goal is to stop shear, not compress the foot.
Hydrocolloid and kinesiology options
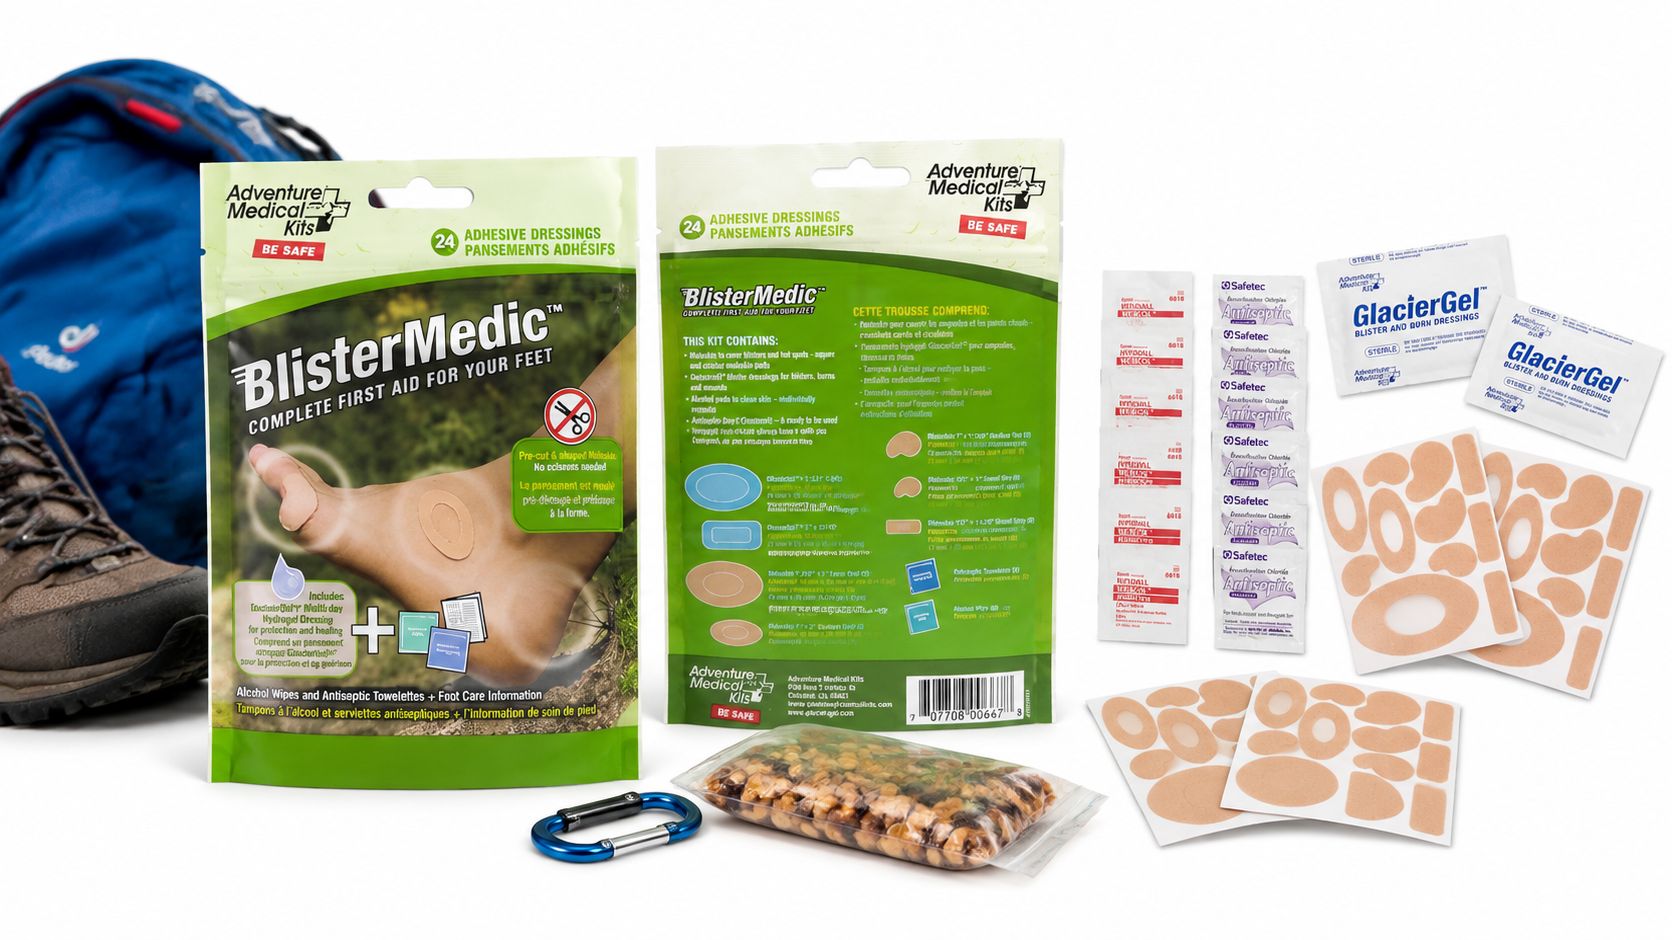
Hydrocolloid dressings create a moist, cushioning interface that can reduce pressure and shear over a painful blister. Comparative clinical studies reported instant and ongoing pain relief for sports-related foot blisters, and one trial found hydrocolloid dressings superior to regular plasters for preventing new blisters or hot spots under the covered area (comparative hydrocolloid blister study). The GlacierGel Blister and Burn Dressing is designed for relief and protection of blisters and burns, with antiseptic wipes included for cleaning open blisters.
Kinesiology tape is elastic and conforms well around the Achilles, toes, and curved areas of the foot. Its stretch can become a problem if applied under tension, and its moderate adhesion may not survive a soaking as reliably as zinc-oxide tape.
The Blister Medic Kit combines moleskin and GlacierGel, with alcohol pads for skin preparation and antiseptic towelettes for wound cleaning.
How to Apply Blister Tape Before and During a Hike
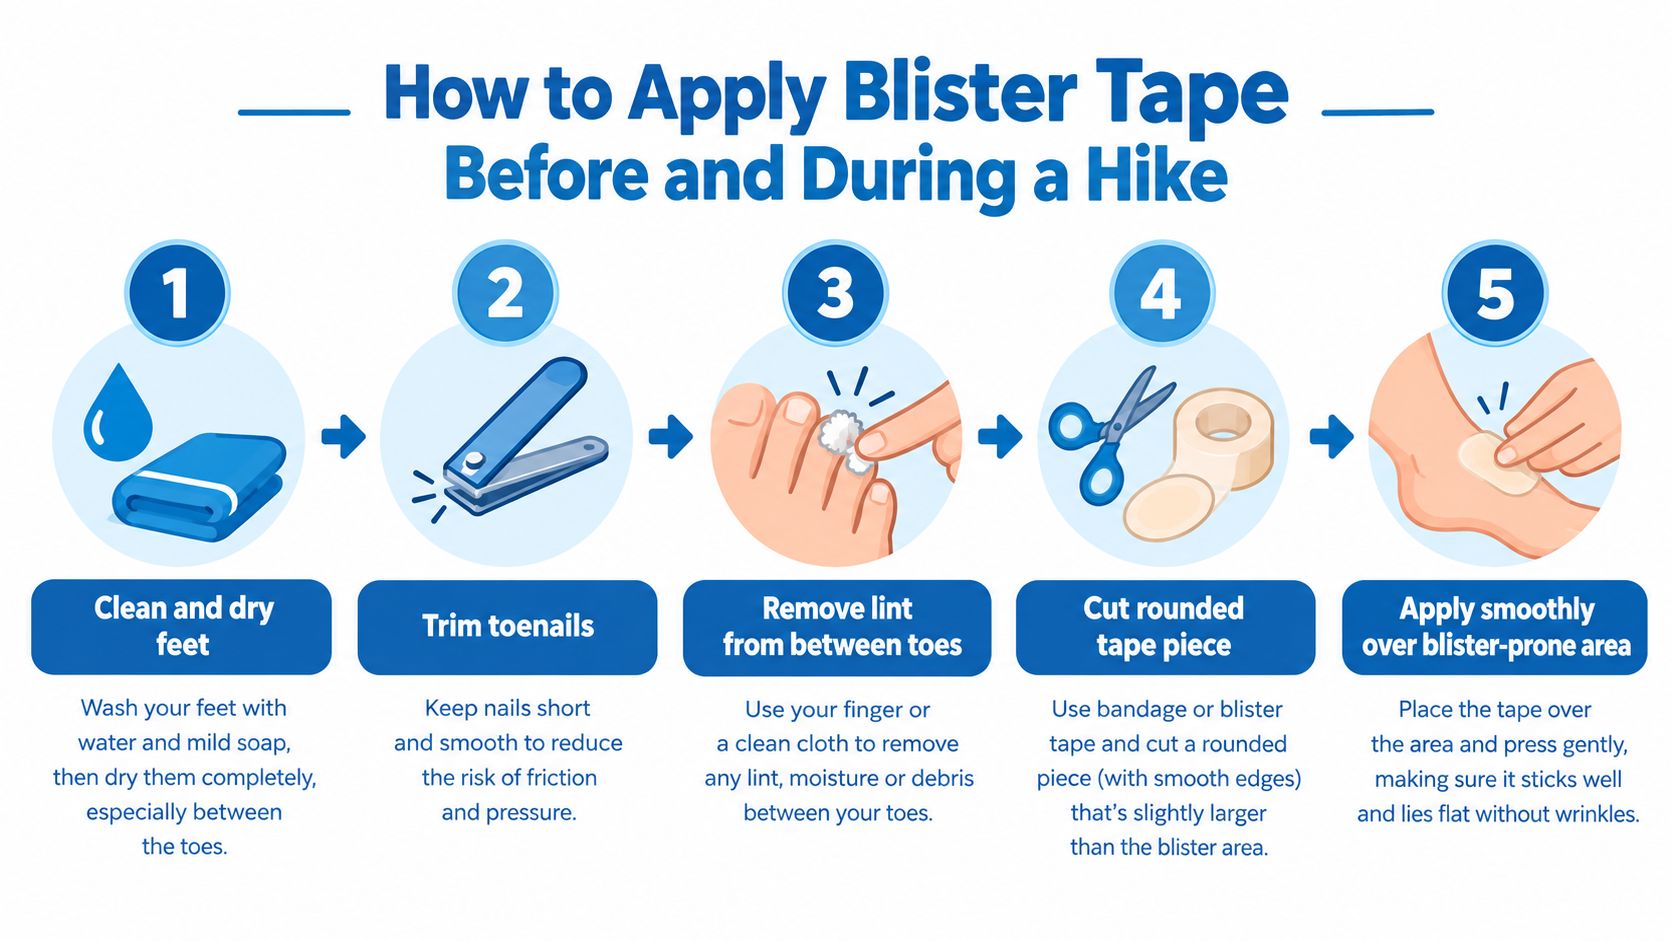
Good tape placement starts before the hiker feels pain. The surface must be clean, dry, and free from lotion, grit, sock lint, and loose skin. A smooth application matters more than a thick one because wrinkles create new pressure ridges inside the shoe.
A five-step application method
- Clean and dry the foot. Wash away sweat and dirt, then dry carefully, especially between the toes. Skip moisturizer immediately before taping because it interferes with adhesion.
- Prepare the skin and nails. Trim toenails so they won't press into neighboring toes or catch the sock. Remove lint from between toes, and check for redness, cracks, or broken skin.
- Cut the tape to match the area. Rounded corners resist edge lift better than square corners. The piece should cover the friction zone with enough margin for the surrounding skin, but it shouldn't create a bulky overlap inside the shoe.
- Apply without stretch. Place the tape over the hot spot with zero tension. Stretched tape can pull on the skin during movement and make removal more traumatic. Press from the center outward, smoothing the surface as the tape bonds.
- Seal the edges. Rub the perimeter firmly with a clean finger. If coverage requires multiple strips, place an anchor strip first, add bridge strips with modest overlap, and finish with a loose protective wrap that doesn't constrict circulation.
A hiker with an intact blister should generally protect it rather than remove the roof. The NHS advises covering blisters with a clean, dry non-stick dressing or a hydrocolloid dressing and warns against bursting an intact blister because the unbroken skin helps reduce infection risk (NHS blister guidance). A large, painful blister may require drainage by a trained professional. If field drainage is unavoidable, the area, hands, and instrument must be properly sterilized, and the blister roof should remain in place whenever possible.
Placement by trouble zone
- Posterior heel: Apply tape before the sock, keeping the upper edge below the point where the shoe collar folds.
- Lateral fifth metatarsal: Use a rounded patch that follows the outside contour without crossing into a pressure ridge.
- Achilles: Use flexible tape with no tension, and check that the boot collar isn't catching the upper edge.
- Between toes: Use a narrow strip only if it can remain flat and dry. Excess material here quickly bunches.
The following video demonstrates the basic application sequence and smoothing technique:
Field Troubleshooting When Tape Fails
On the third day of a wet traverse, a hiker may discover that both heel strips have begun peeling at the sock line after a stream crossing. The immediate temptation is to press the loose tape back down and keep walking. That usually traps grit under the lifted edge and turns the tape boundary into a fresh source of friction.
Diagnose the failure first
Three failure patterns appear repeatedly:
- Edge lift: Sweat, water, sock movement, or a fold has broken the seal at the perimeter.
- Shear beneath the tape: The tape remains attached, but the skin moves against the dressing, producing heat or tenderness.
- Maceration: The skin has stayed wet long enough to turn pale, soft, or wrinkled.
White pruning under or around the dressing is a strong warning that moisture needs to be addressed. Sock dye transfer can reveal prolonged wet contact, but the more important question is whether the skin underneath is damaged. A strip that feels wet while the skin remains dry may still be functioning. Peeling it off because the outer surface is damp can create an unnecessary replacement cycle.
Repair without making a new hot spot
Move off the trail, remove the shoe and sock, and inspect the area. Dry the surrounding skin with a clean bandana, allowing the foot to air briefly if conditions permit. Don't apply fresh tape over wet skin or dirty adhesive.
Trim only the loose, contaminated corner with clean scissors. Avoid cutting into firmly bonded tape, since a sharp new edge can rub more aggressively than the original. If a hydrocolloid dressing is intact but its edge is failing, a narrow strip of zinc-oxide athletic tape can reinforce the perimeter. The reinforcing strip should hold the border down without covering the entire foot or creating a constricting wrap.
A hot spot without a fluid-filled blister usually benefits from immediate friction reduction. An intact blister generally stays covered and intact. An open blister needs gentle cleaning, a non-stick protective dressing, and monitoring for worsening pain, spreading redness, warmth, or drainage that could indicate infection.
The right repair removes the source of friction. It doesn't simply add more layers over a wet, wrinkled dressing.
Putting Tape Into a Full Foot Care System
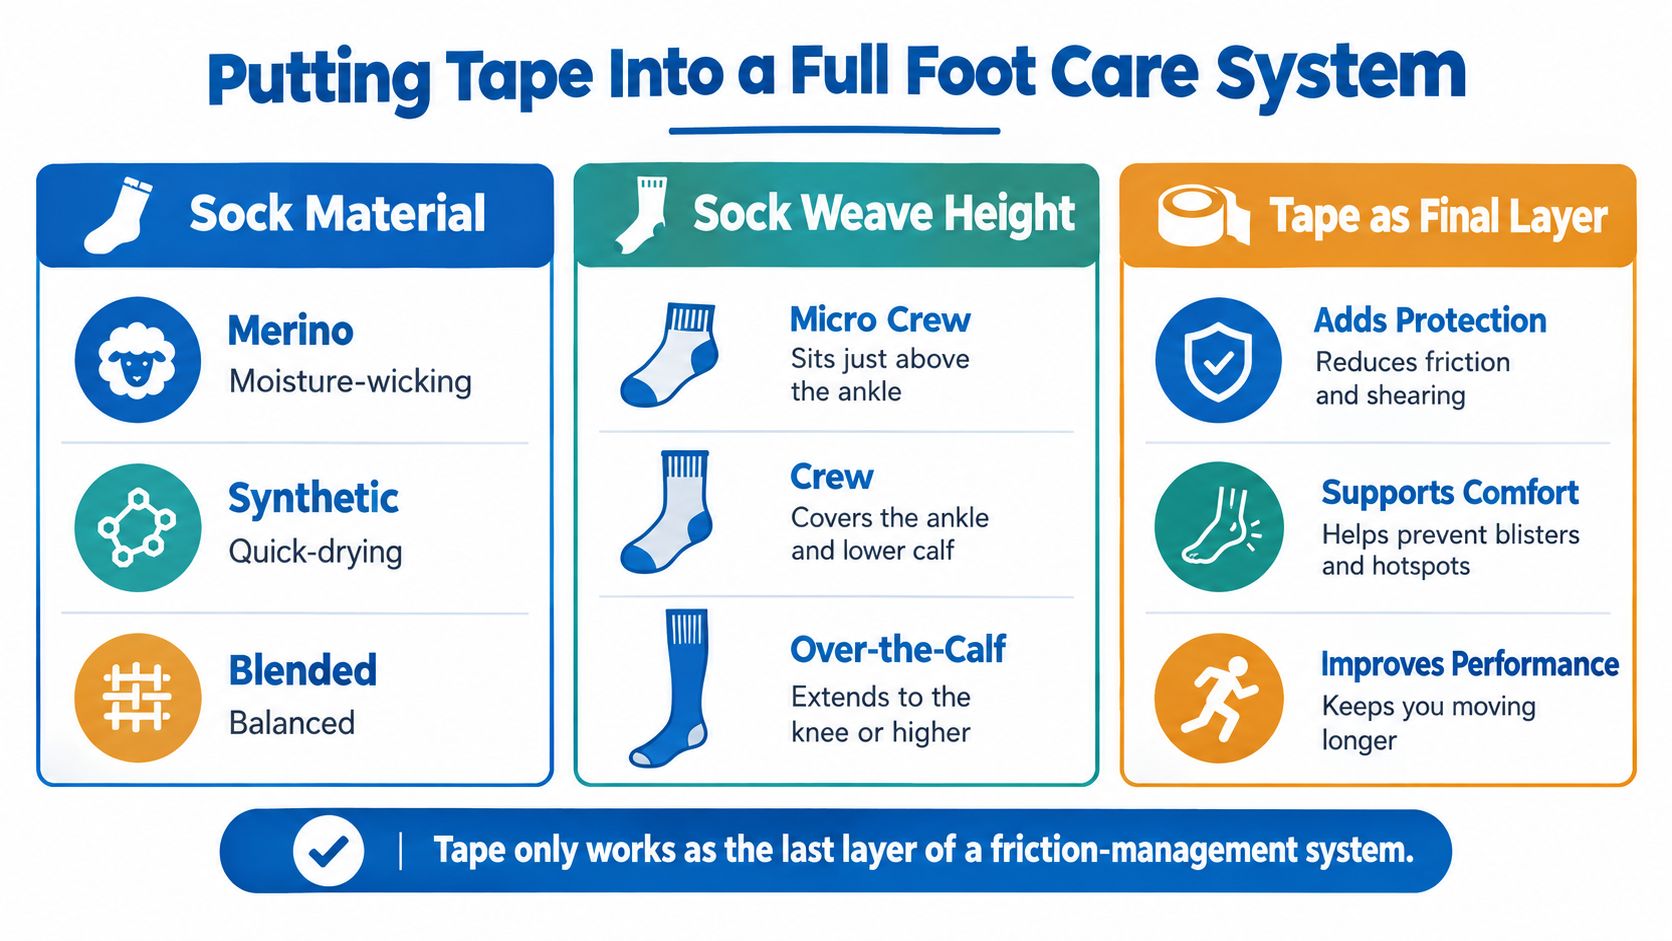
Tape performs best as the final layer of a system that controls movement before it reaches the skin. A sock that bunches, an insole that changes the available volume, or a boot that lifts at the heel can overload even a well-applied strip.
Build the system from the inside out
Sock material changes moisture behavior. Merino can help manage moisture and temperature, synthetic fibers often dry quickly, and blended fabrics balance characteristics. The best choice is the material that stays smooth against the foot and works with the hiker's sweat pattern.
Weave height changes pressure and coverage. A micro crew may reduce excess material around a low shoe, a crew sock may protect the ankle collar, and an over-the-calf sock may suit taller boots. The cuff should remain flat and should not create a tight band that becomes a new rubbing line.
Insole volume changes fit. A thicker footbed can reduce internal space, while a thinner one can allow more movement. Neither is automatically better. The correct setup holds the heel and midfoot while leaving the toes room to move without sliding forward on descents.
Test the complete setup
Break-in status matters because stiff footwear creates pressure points before materials soften and the foot adapts. Training walks should use the same boots, socks, insoles, and pack load planned for the trip. Mark every hot spot after each walk on a simple foot diagram, then tape those areas during the next test rather than waiting for the expedition.
A practical pre-trip routine looks like this:
- Inspect: Check for cracked skin, tender areas, nail edges, and redness.
- Map: Record where warmth or rubbing appears during training.
- Dry: Pack spare socks and protect the pair in use from unnecessary moisture.
- Adjust: Change lacing, insole volume, or footwear fit before adding more tape.
- Protect: Apply tape only to known high-friction areas, with clean and dry skin.
The peer-reviewed study Influence of skin hydration level on the occurrence of blisters on the foot during hiking linked higher skin hydration with blister occurrence (skin hydration and hiking blister study). That supports drying as a core intervention, not a cosmetic preference.
The decision rule is straightforward. Tape prophylactically when a hiker has a known problem area, a new footwear setup, wet terrain, or a long day ahead. Tape reactively when warmth, rubbing, or redness appears in an unfamiliar location. If a blister keeps returning despite taping, the footwear or sock system needs correction.
The Adhesion Tradeoff and Safe Removal
The stickiest tape isn't automatically the safest or most effective choice. Strong adhesion can keep a dressing in place through wet terrain, but it can also strip the epidermis when removed from sensitive, sunburned, macerated, or repeatedly taped skin. Neutral medical commentary notes that mildly adhesive paper tape may avoid tearing a blister if one develops, while zinc-oxide tape can stay in place under wet, high-friction conditions (Stanford Medicine commentary on paper tape).
The prevention trial tested paper tape, not every aggressive adhesive used by hikers. That distinction matters. Paper tape has measurable prevention evidence, while stronger tape may be the practical choice for durability in a particular wet environment, but its removal deserves more care.
Remove tape without taking skin with it
Warm the adhesive with body heat and peel slowly, keeping the strip parallel to the skin rather than pulling upward. If resistance is high, pause and work gradually instead of tearing through the bond. Water and patience should come before oil or adhesive remover, particularly near an open blister.
After removal, inspect the skin before reapplying anything. Redness that follows the tape border, shiny stripped skin, or new tenderness means the skin needs protection and recovery, not a stronger adhesive. Hikers comparing wool sock systems can also compare wool sock options as part of reducing moisture and movement before relying on more aggressive tape.
| Trip Length | Recommended Tape | Adhesion Strength | Removal Setting | Skin Risk |
|---|---|---|---|---|
| Single outing | Paper tape or hydrocolloid for a known hot spot | Mild to moderate | Clean hands and time available | Lower with gentle removal |
| Multi-day dry route | Paper tape for prevention, hydrocolloid for local treatment | Mild to good | Camp-based inspection | Moderate if left wrinkled |
| Wet or high-friction route | Zinc-oxide reinforcement over a secure dressing | Strong | Planned removal at camp | Higher on fragile or wet skin |
| Repeated taping | Gentler paper tape or a protected hydrocolloid border | Mild to moderate | Warm, slow removal | Increased if adhesive is repeatedly stripped |
For skin that reacts easily, the Adventure Medical Kits resource on bandages for sensitive skin provides relevant guidance on choosing gentler coverage.
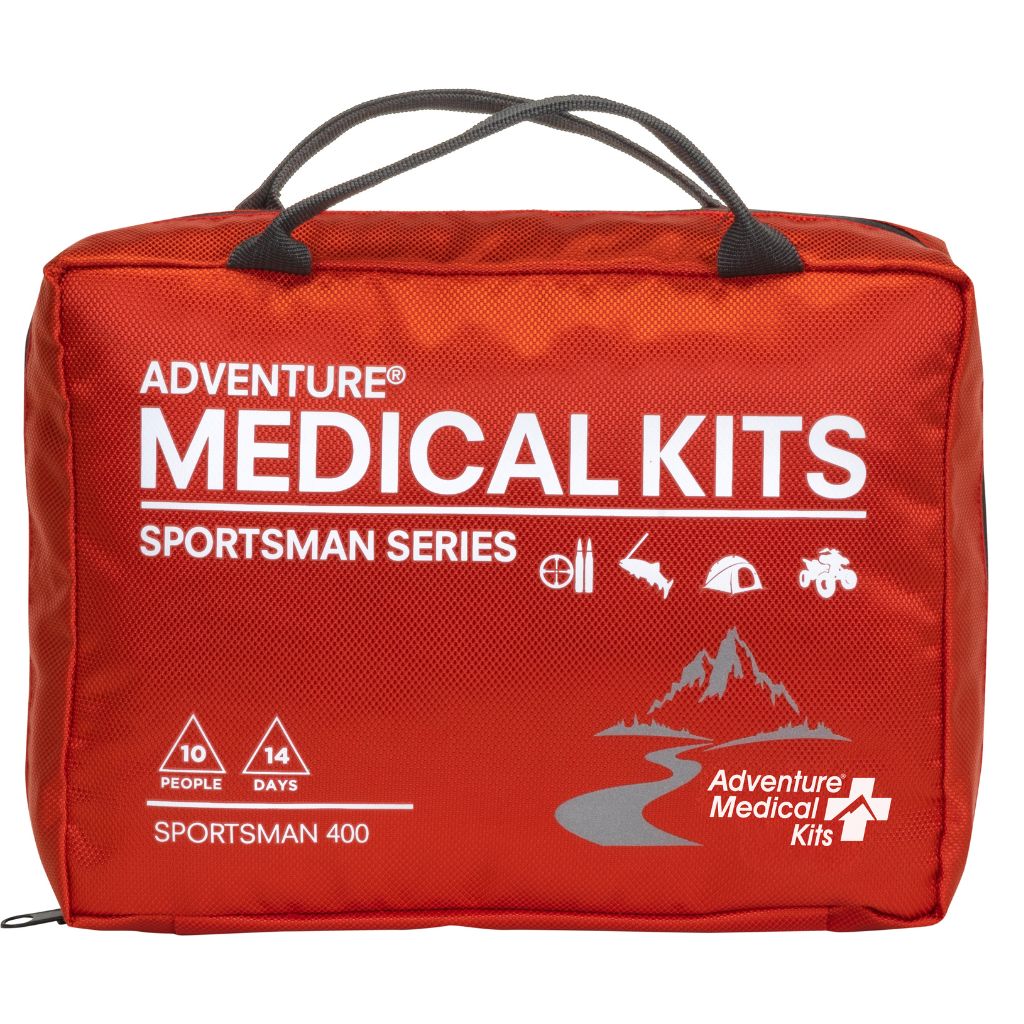
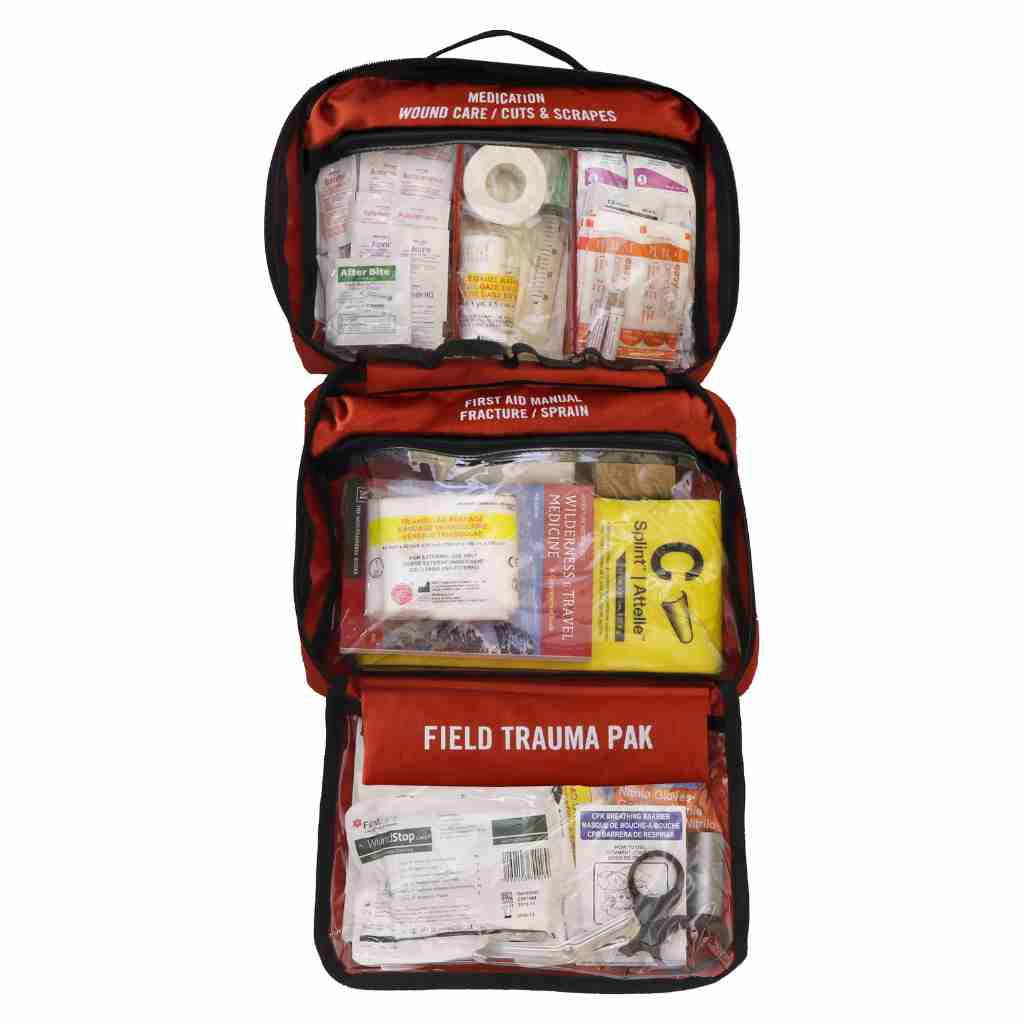
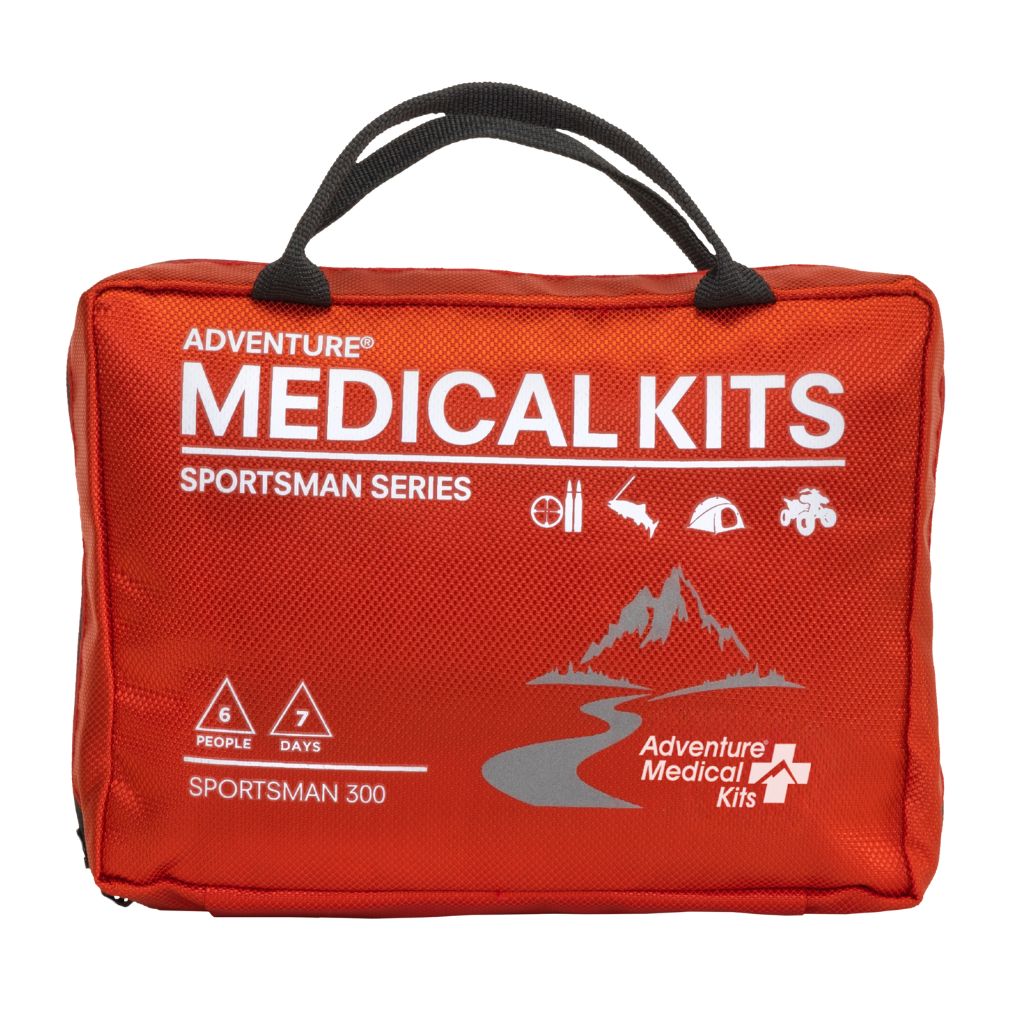
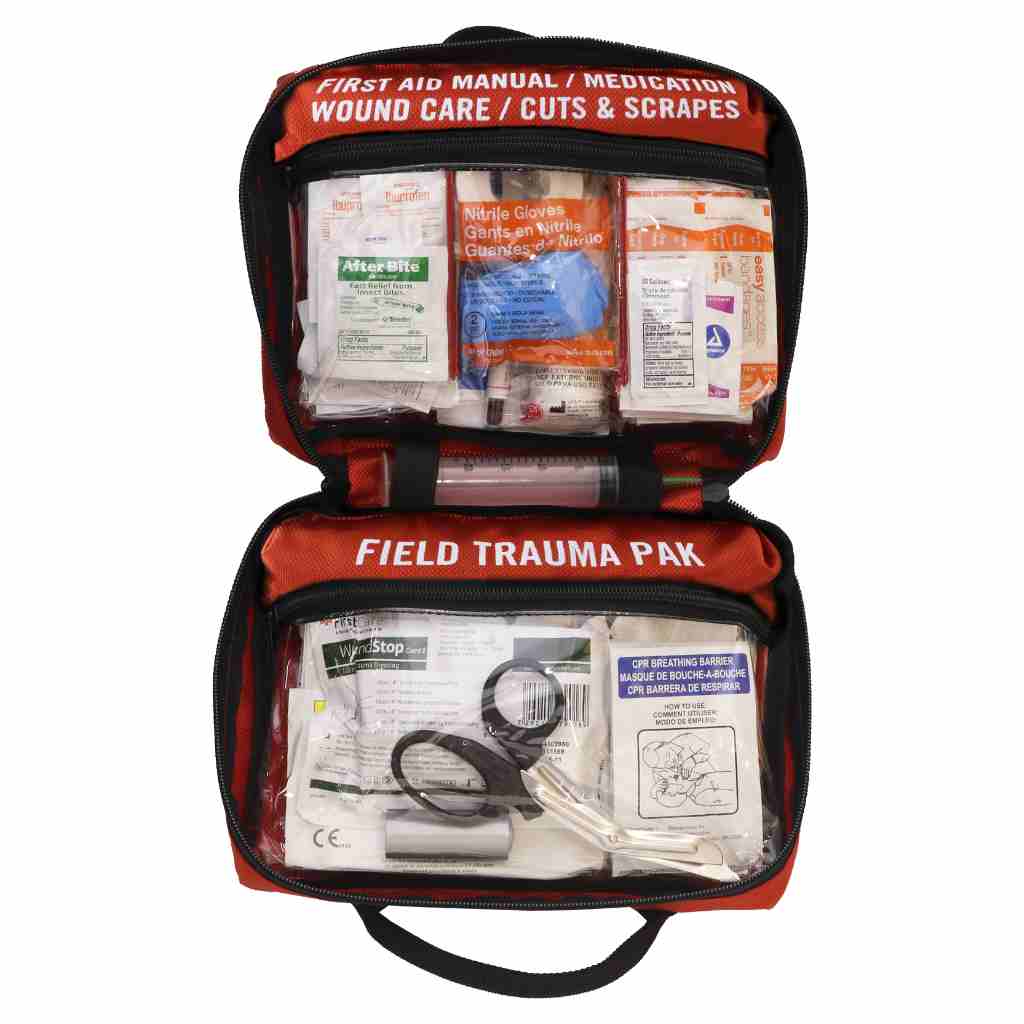
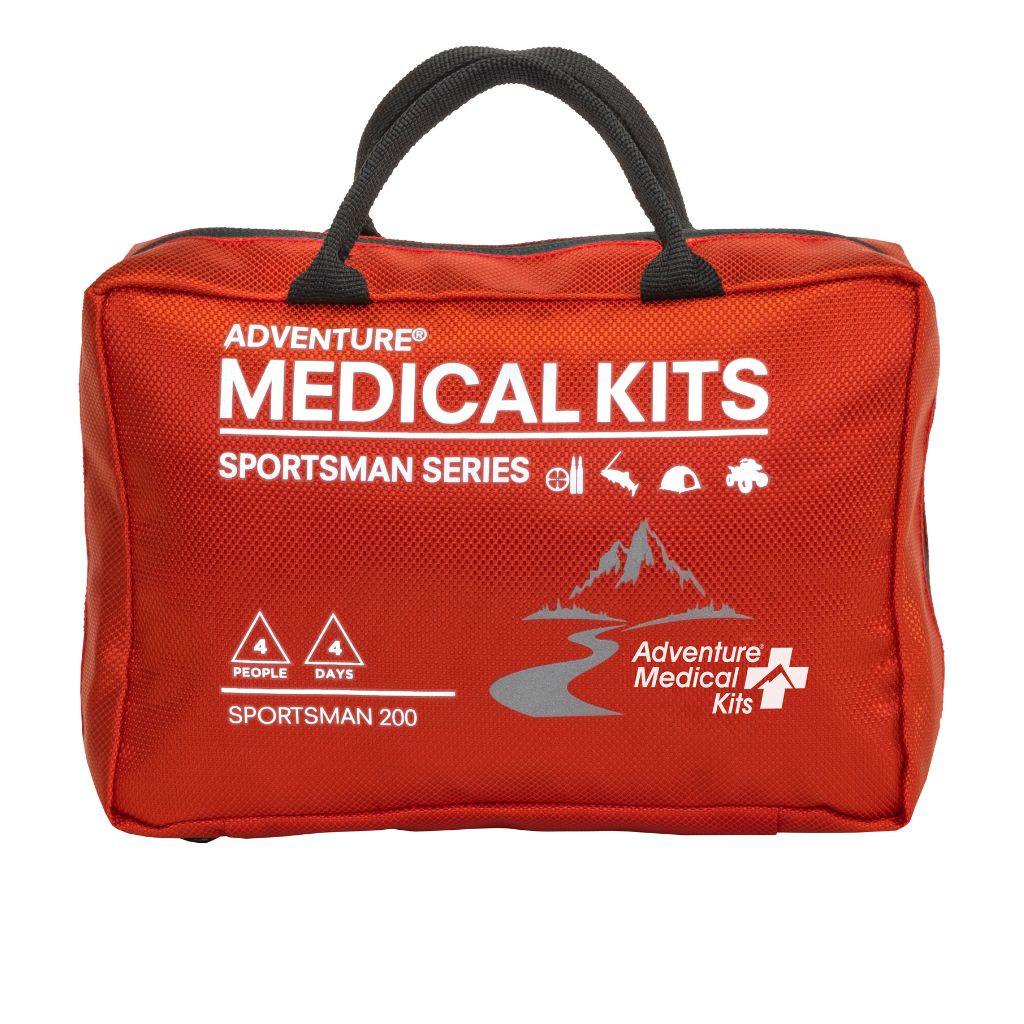
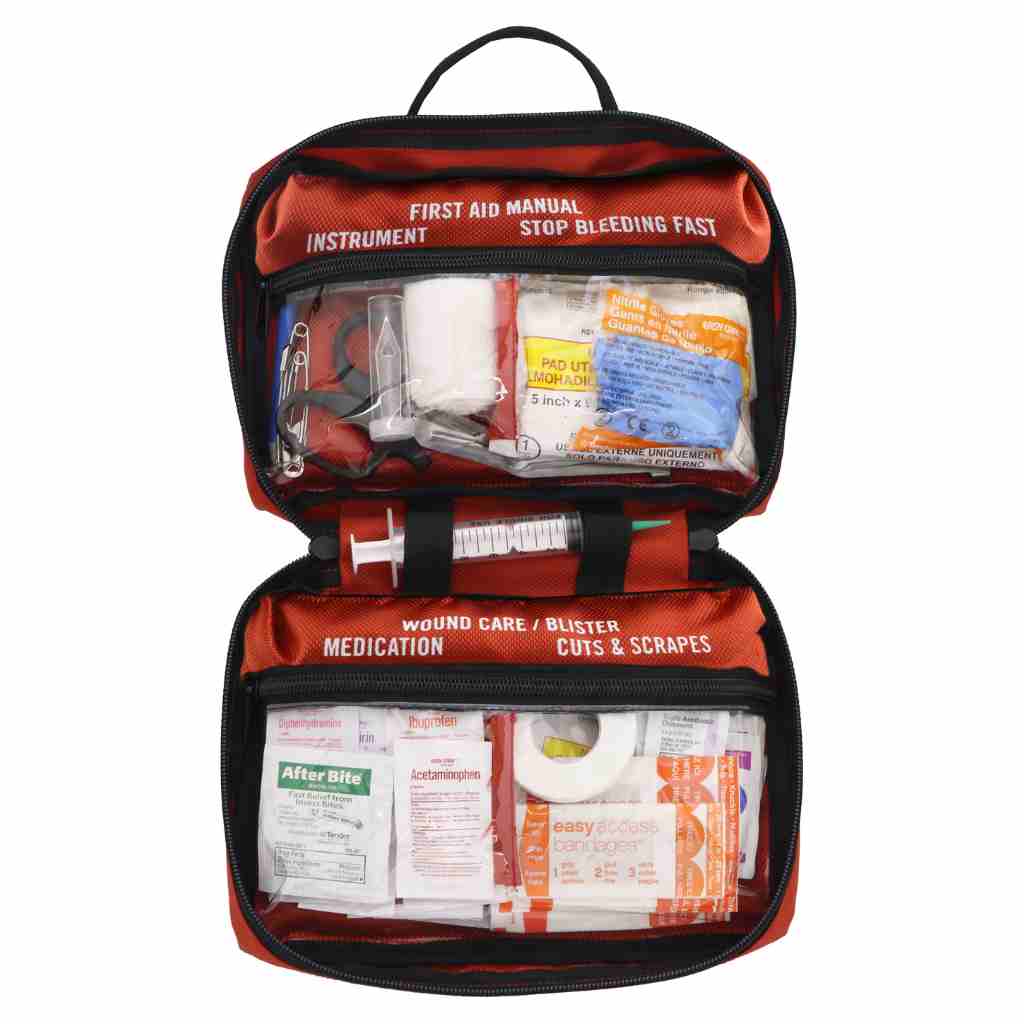
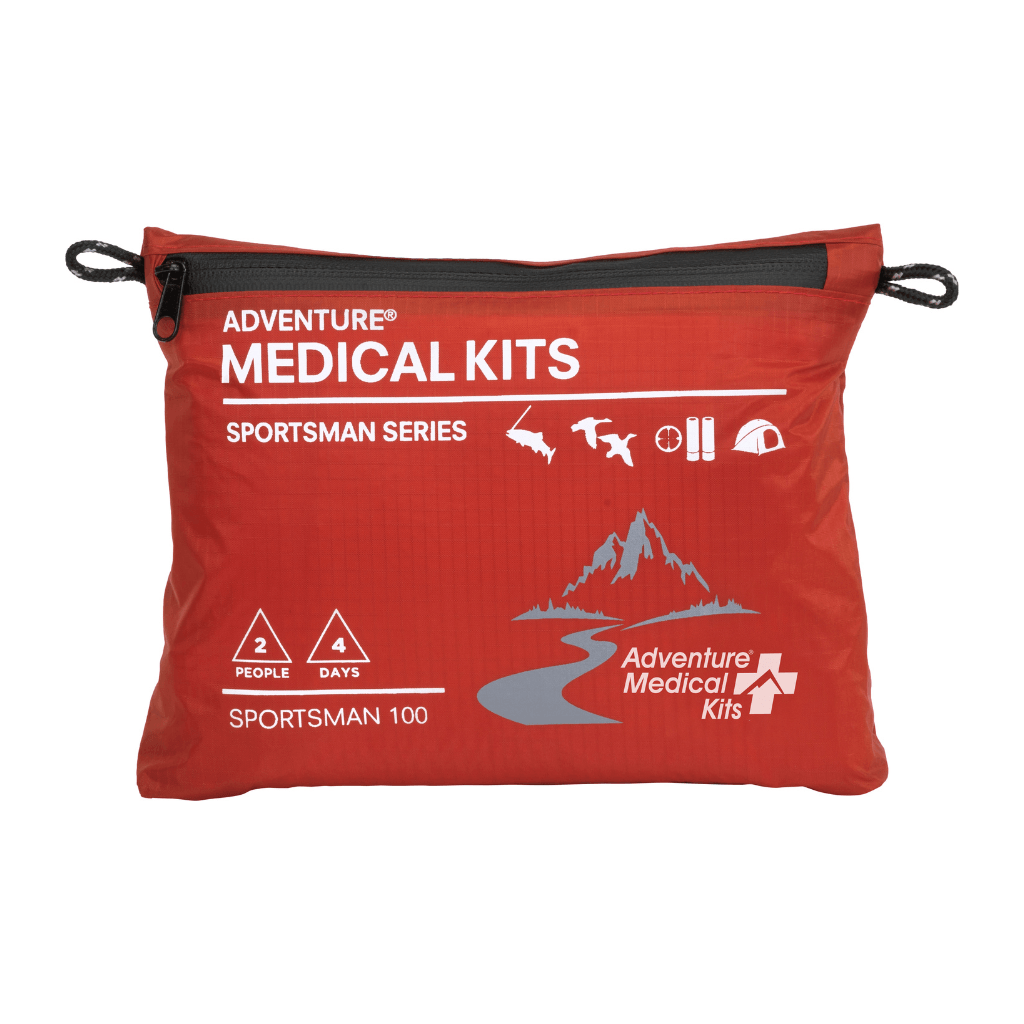
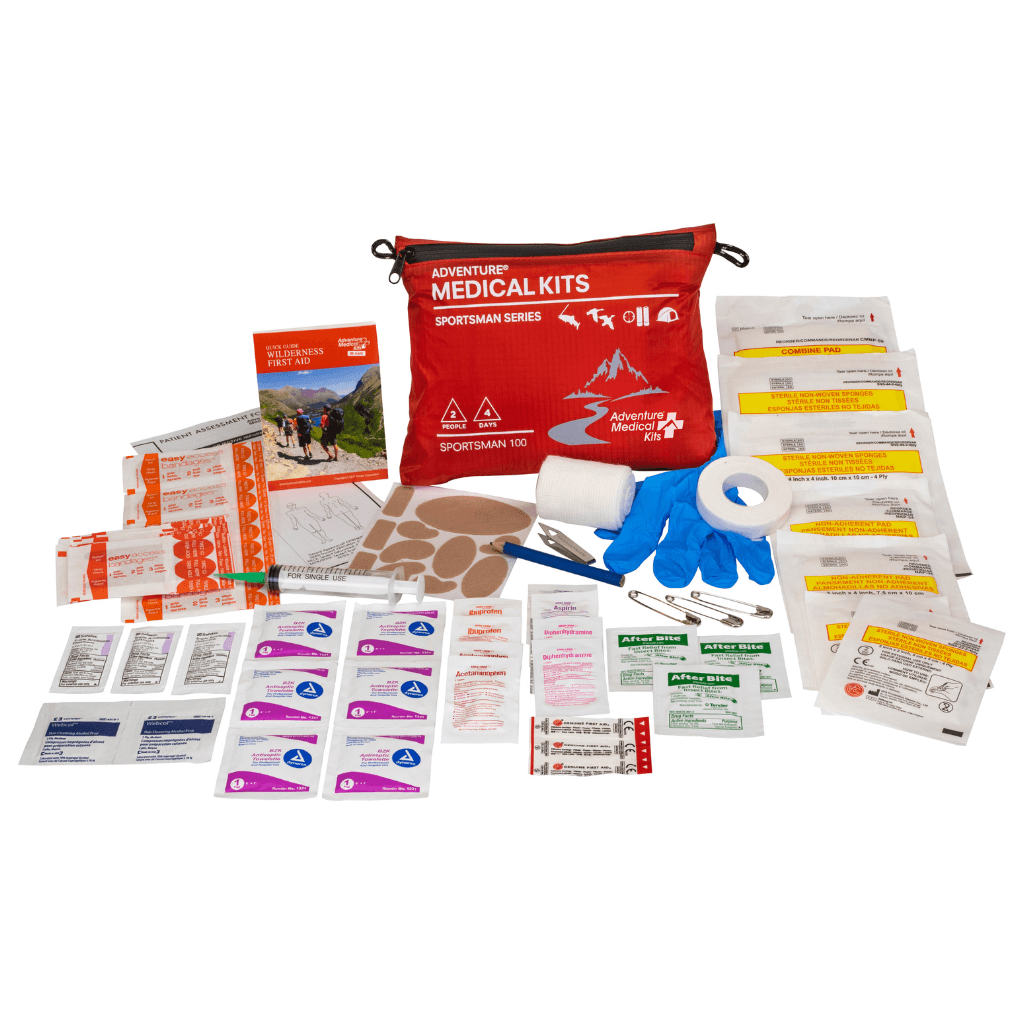
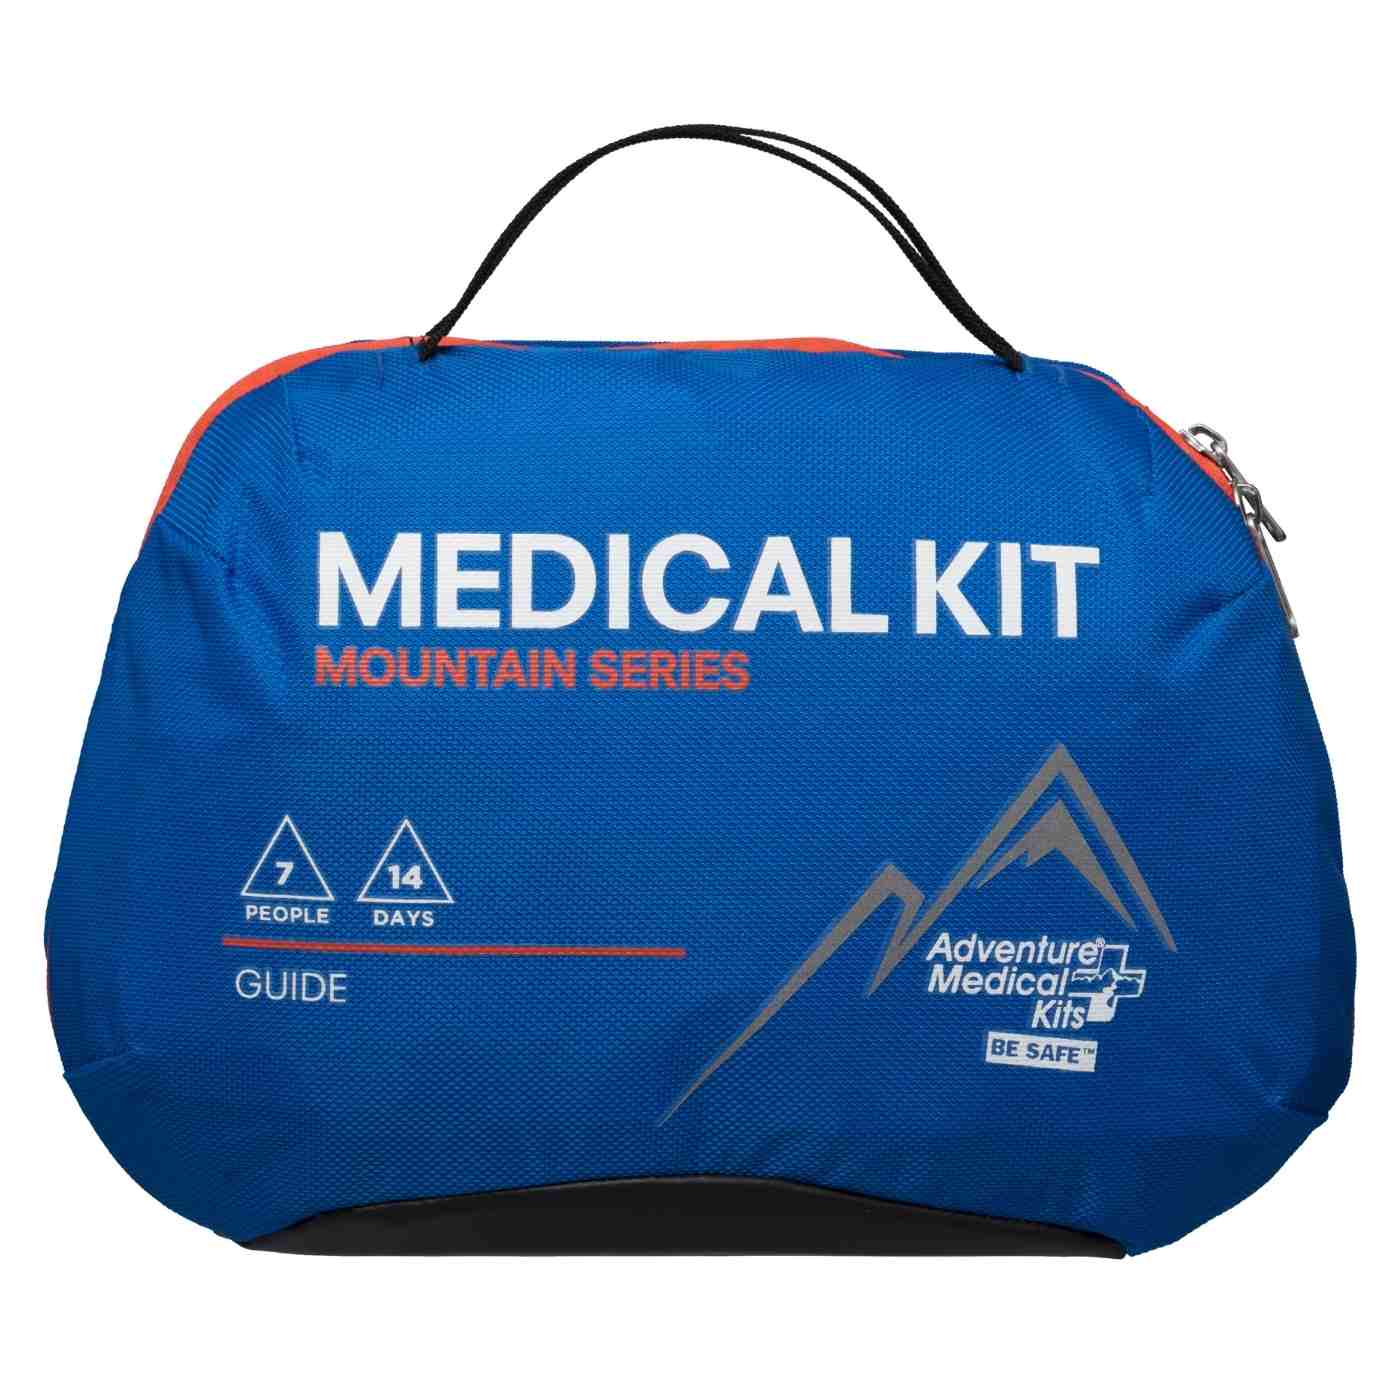
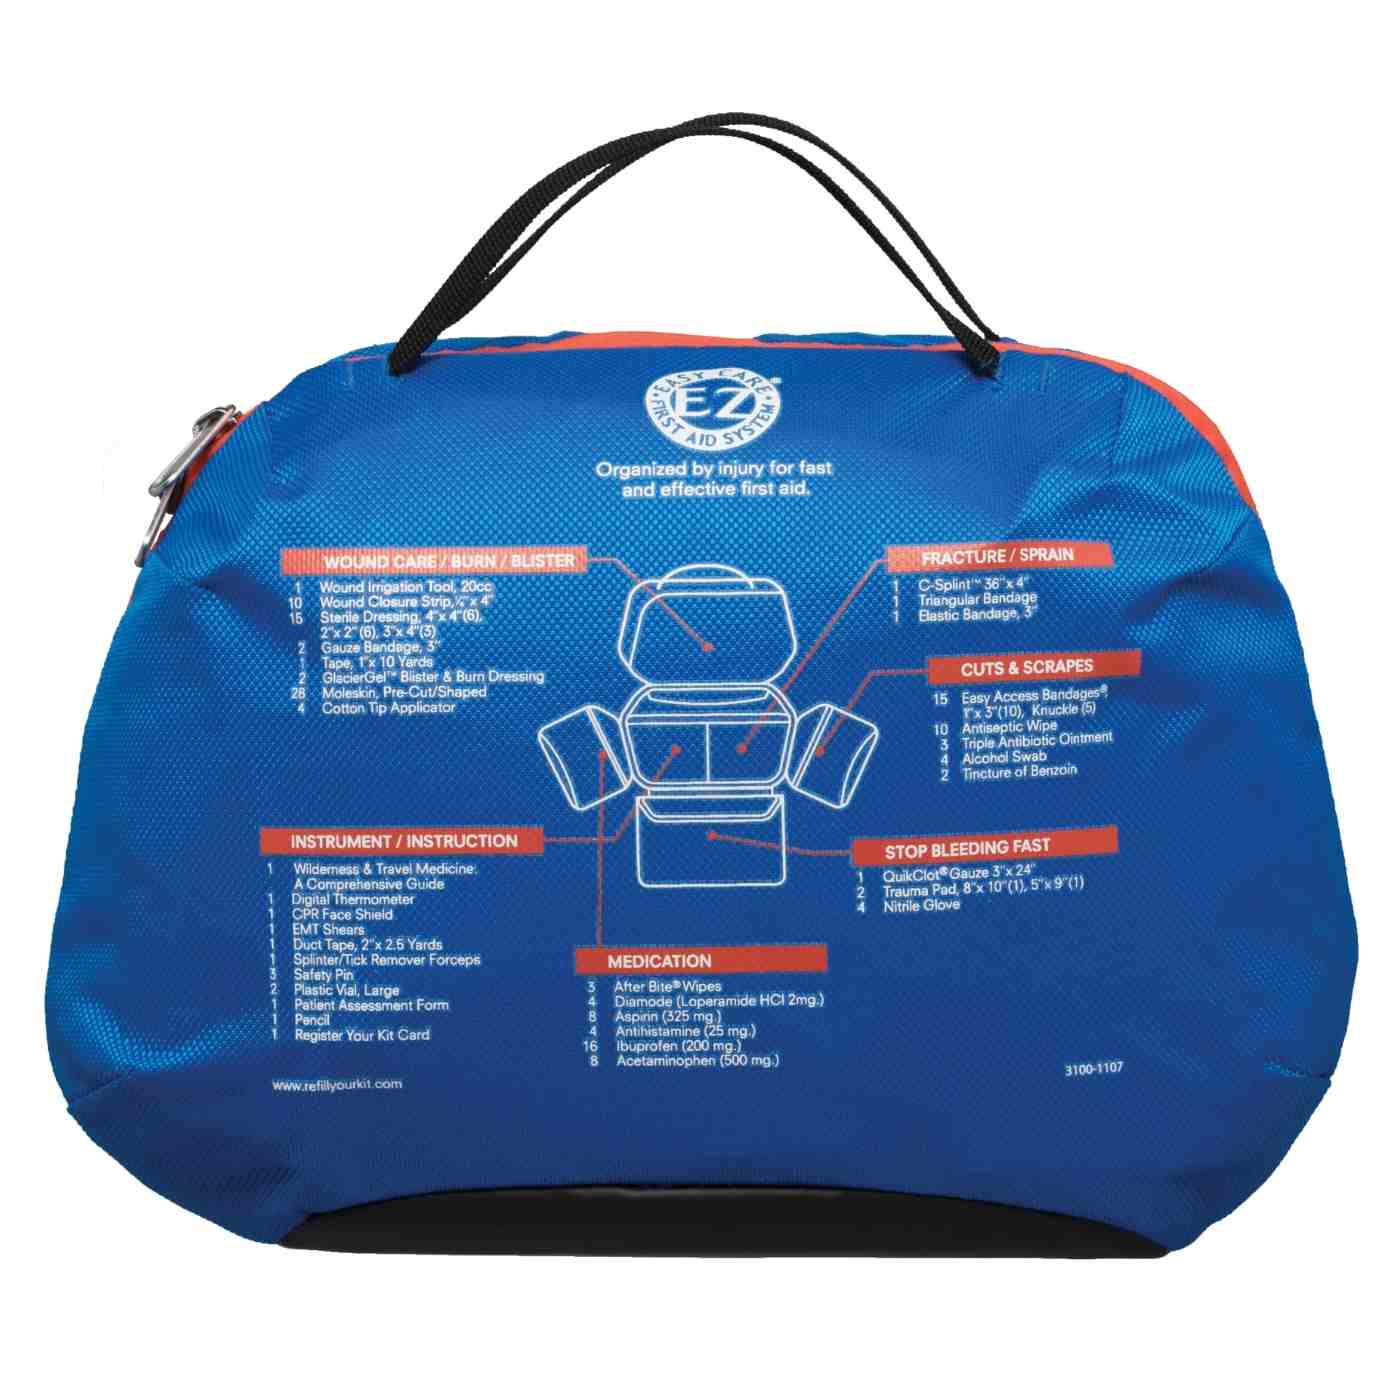
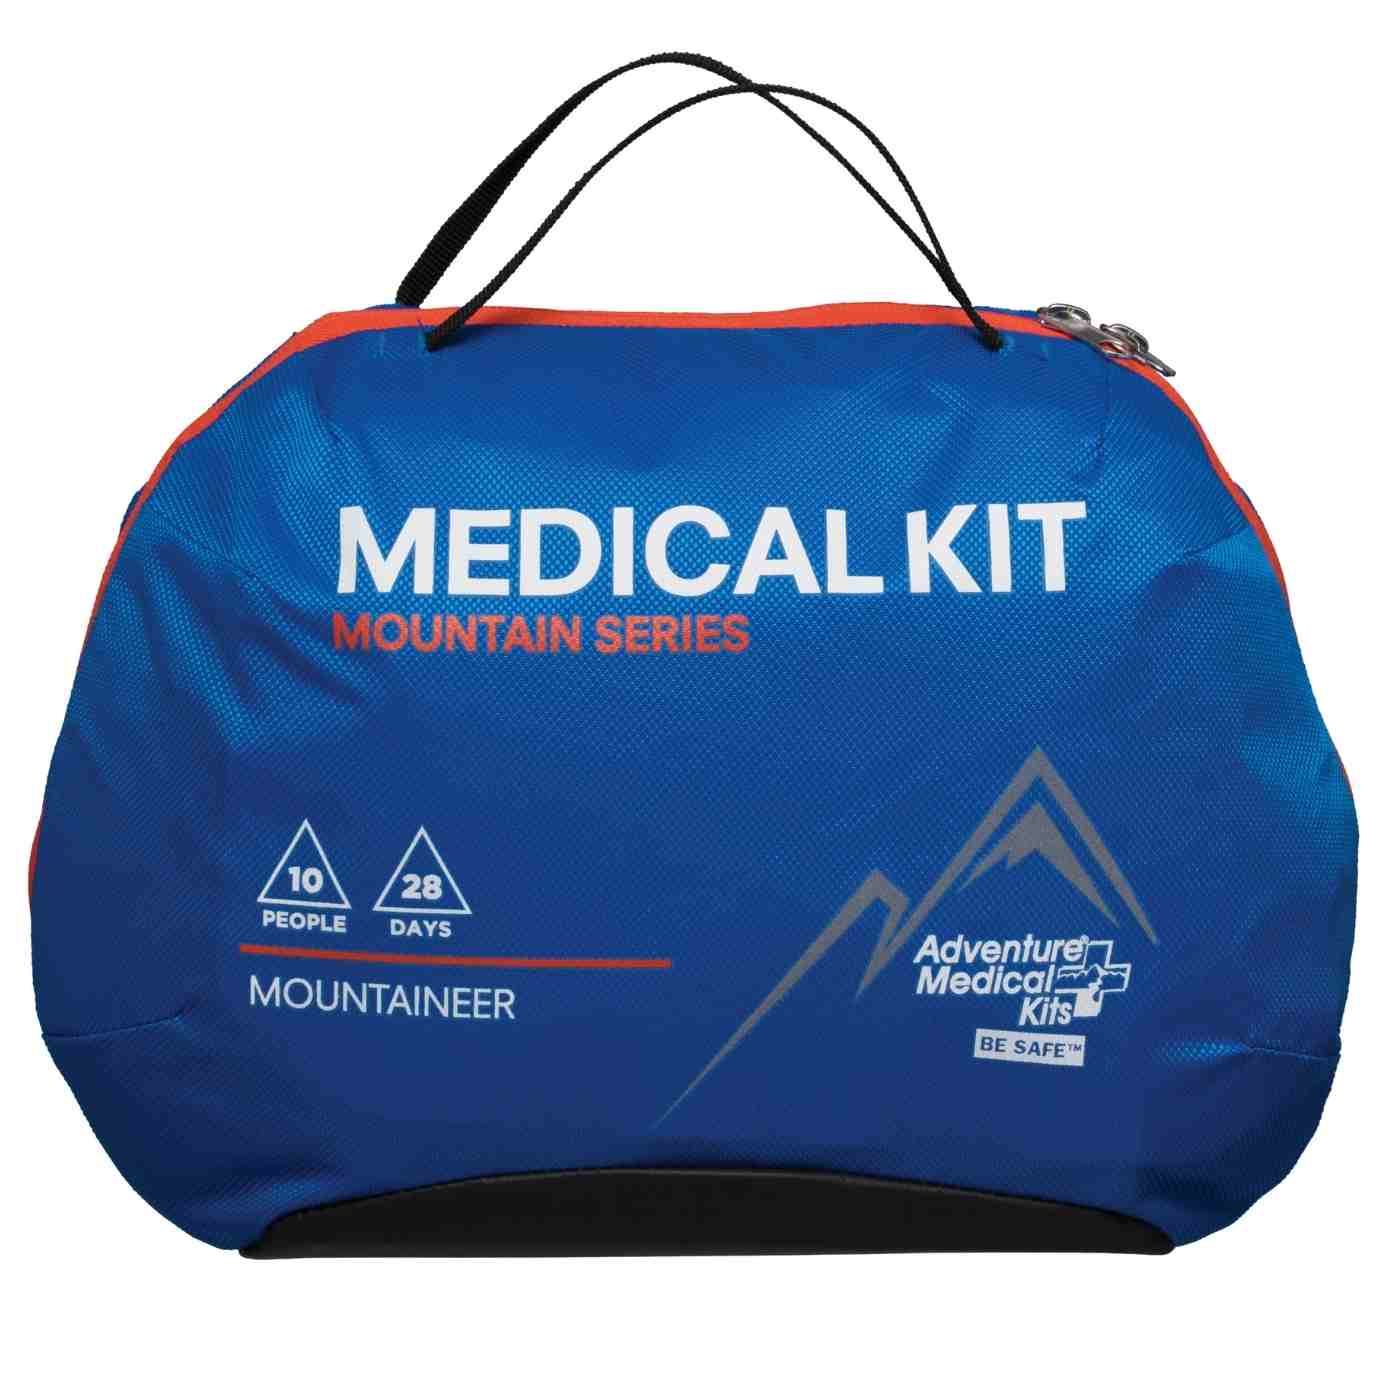
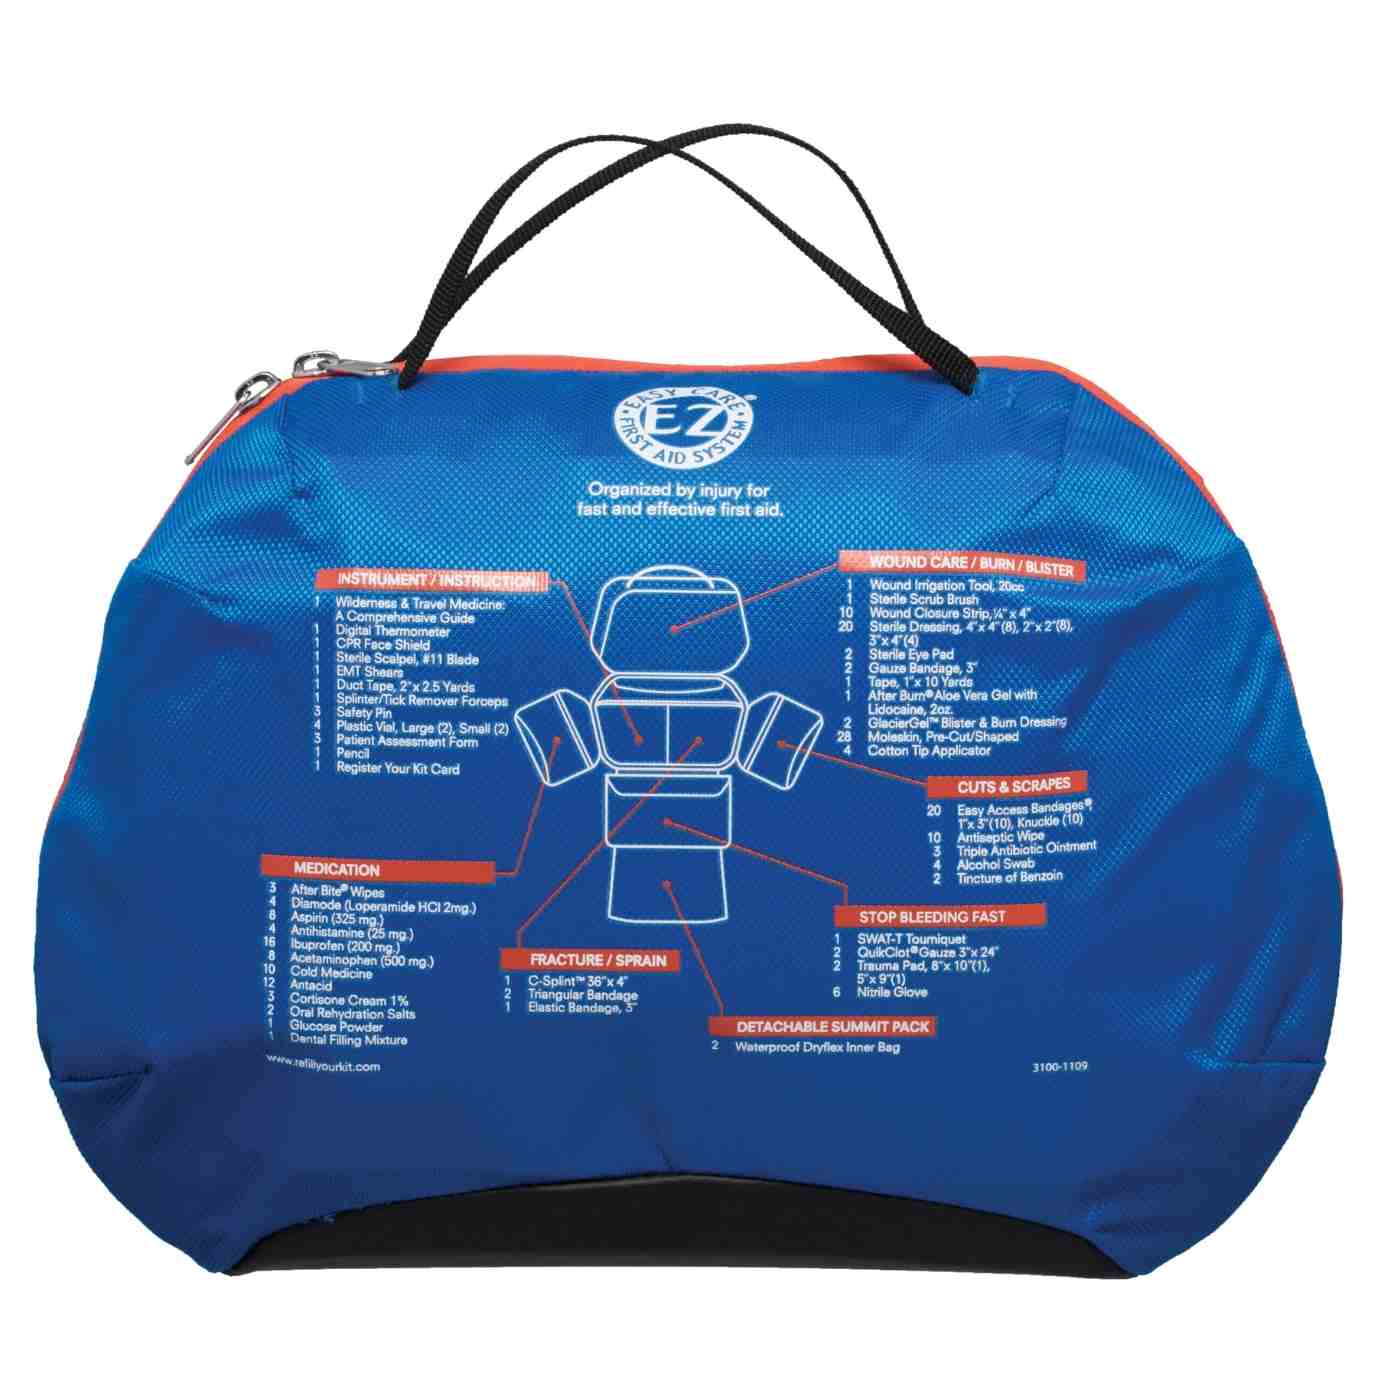
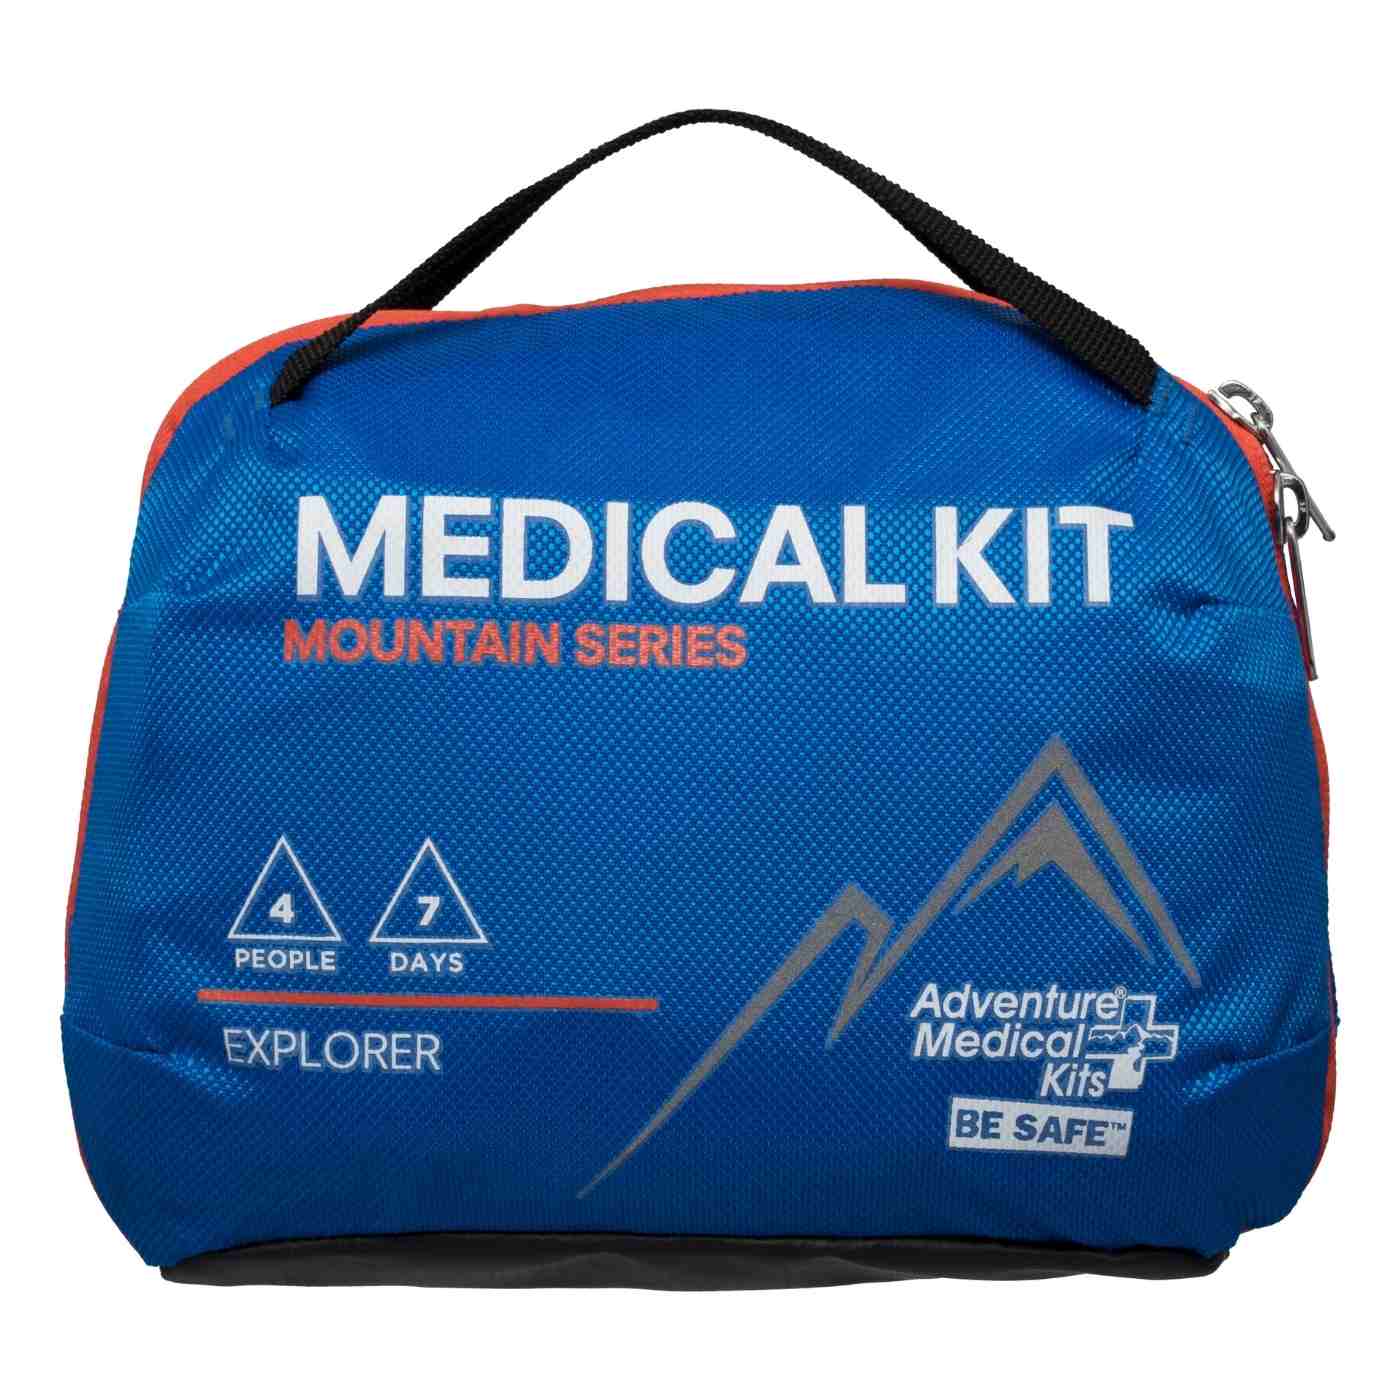
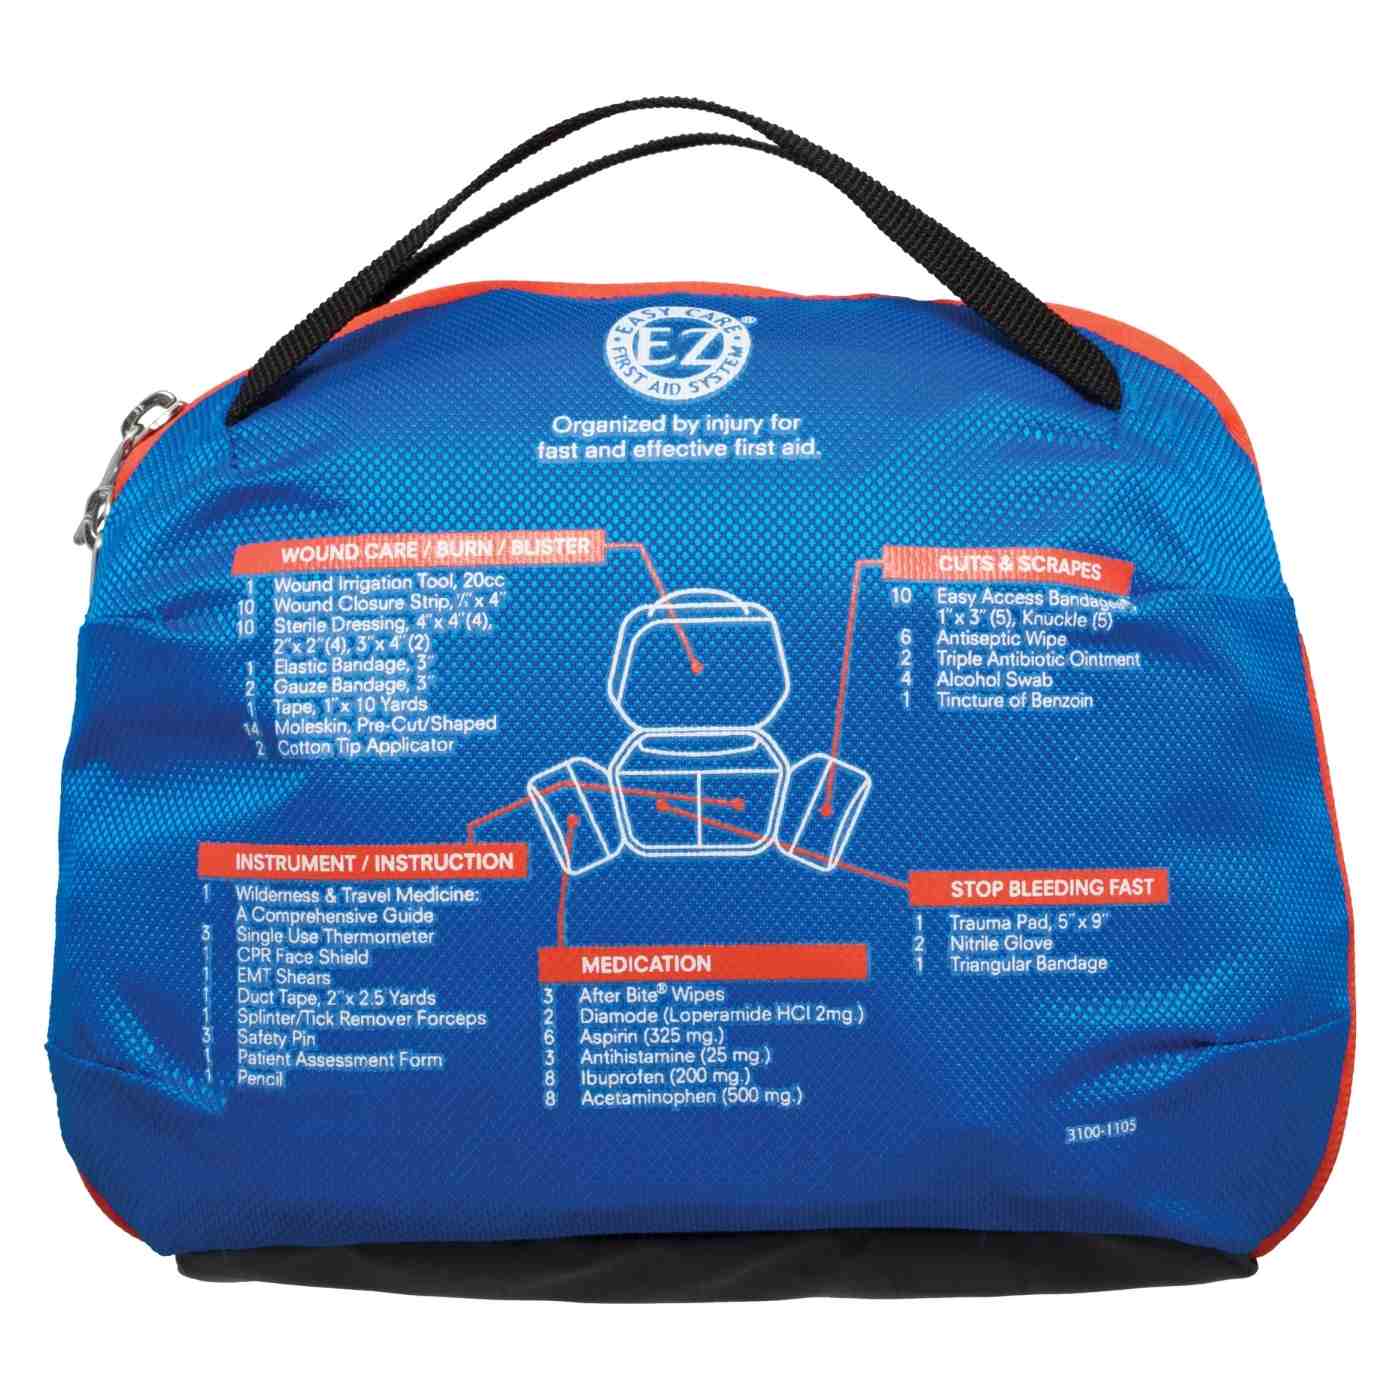
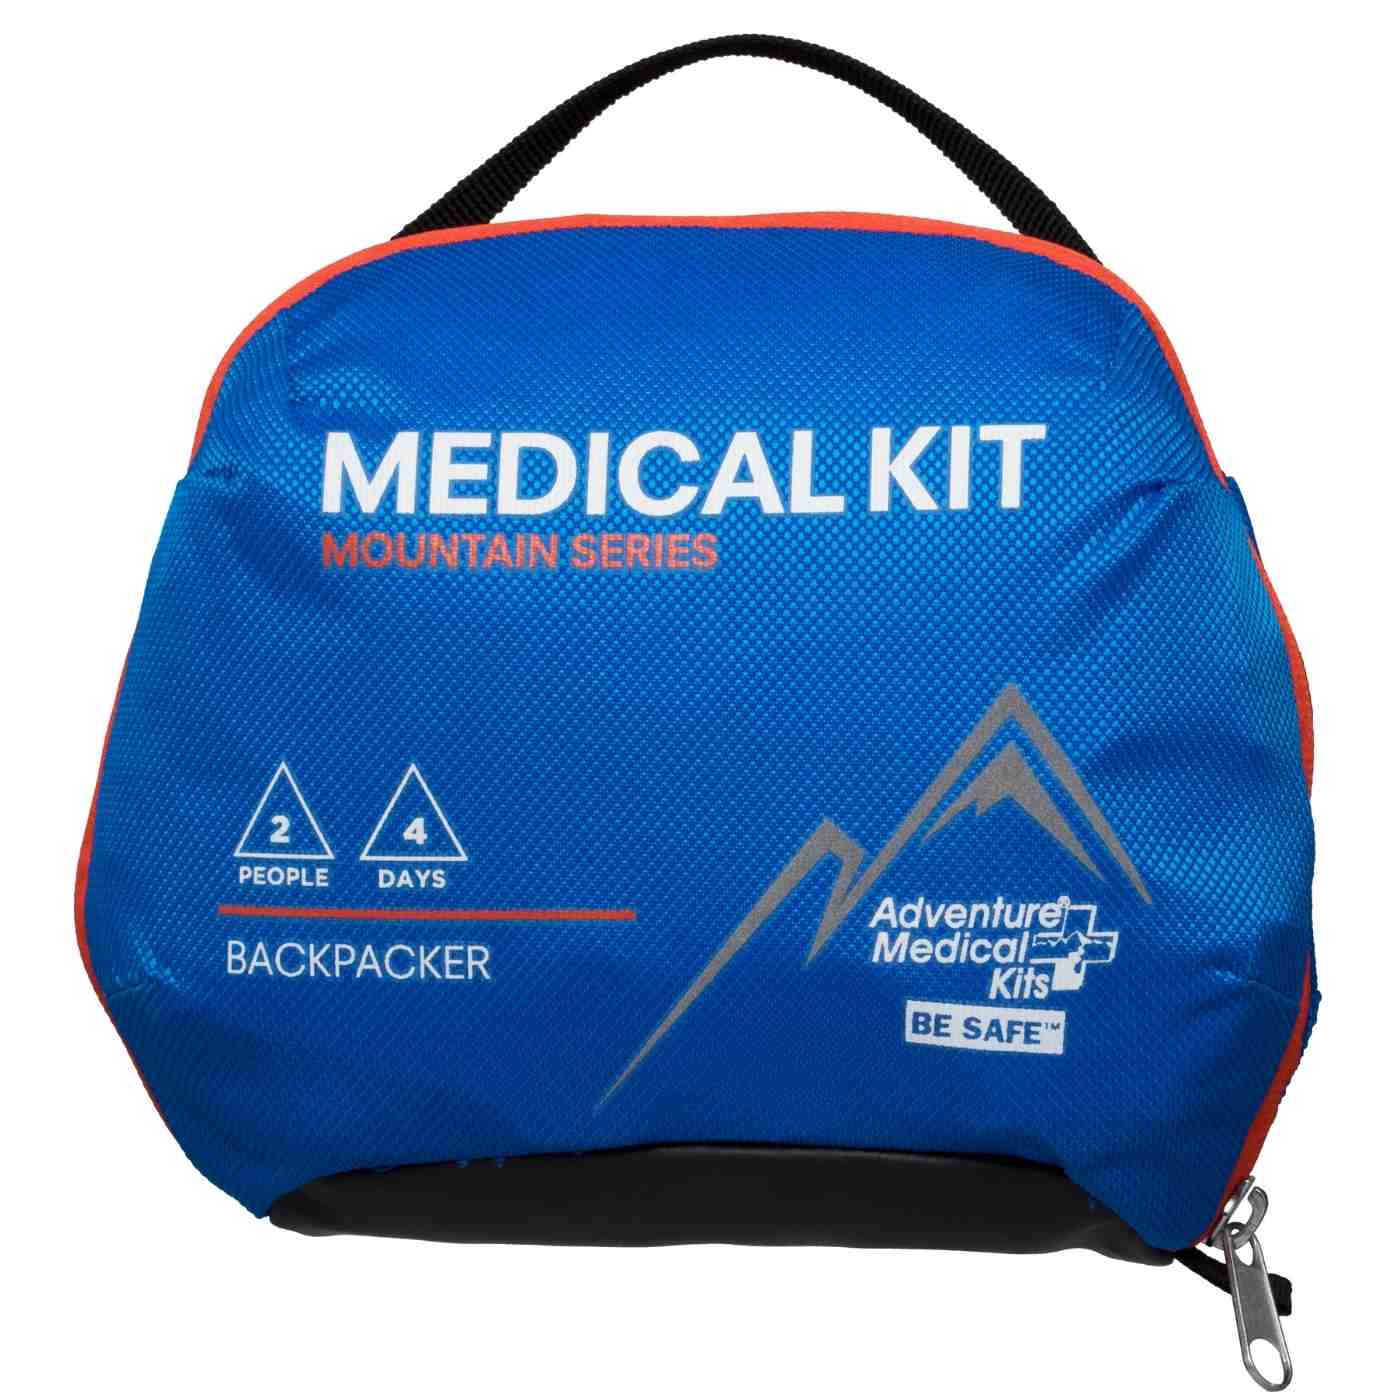
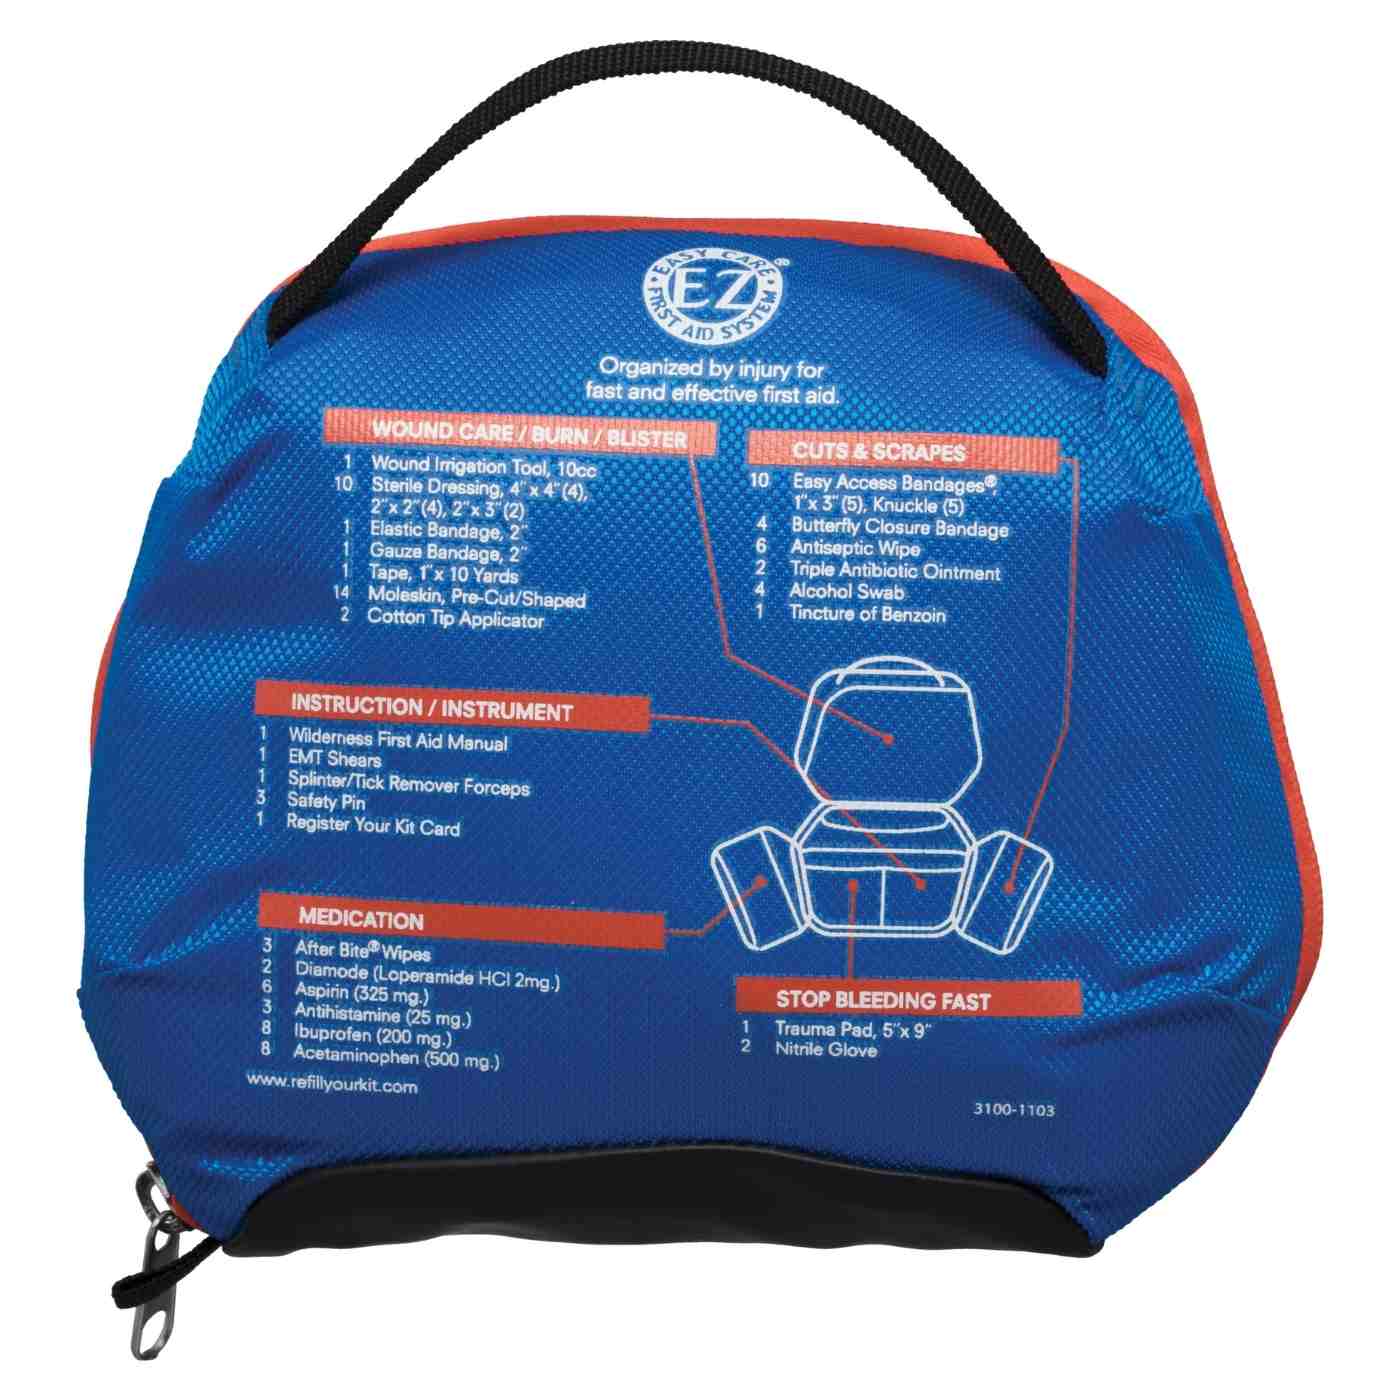
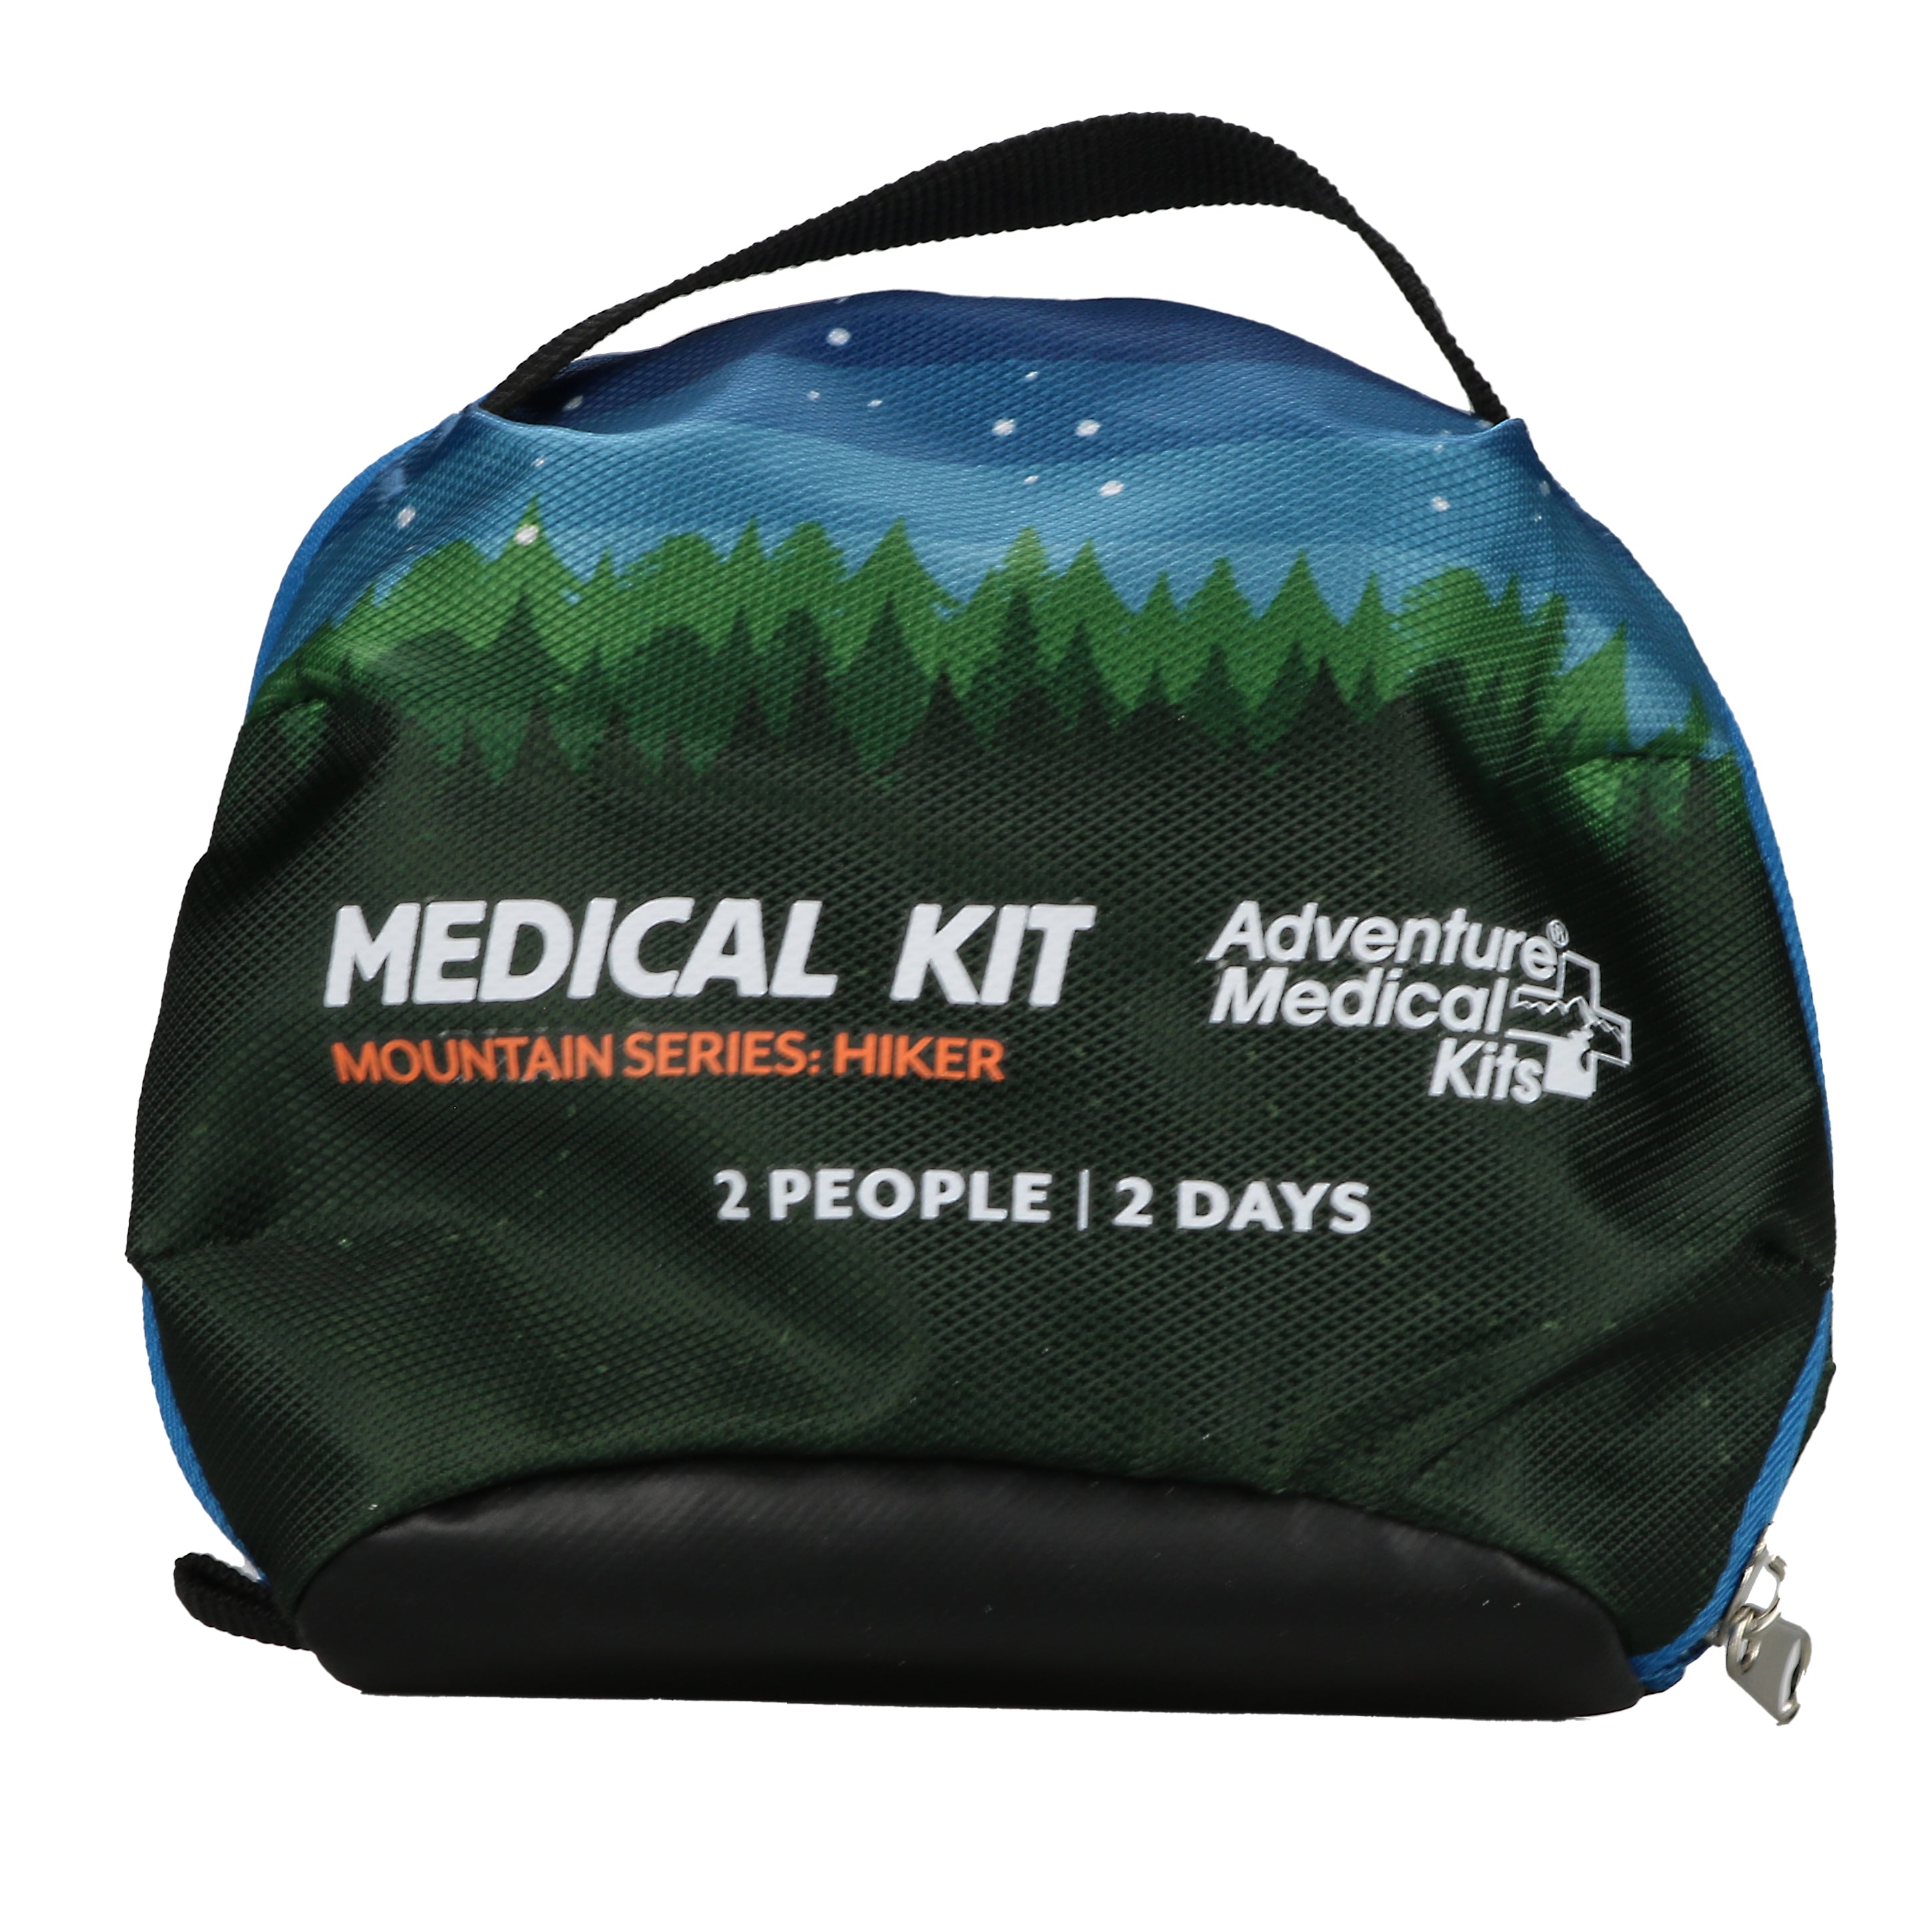
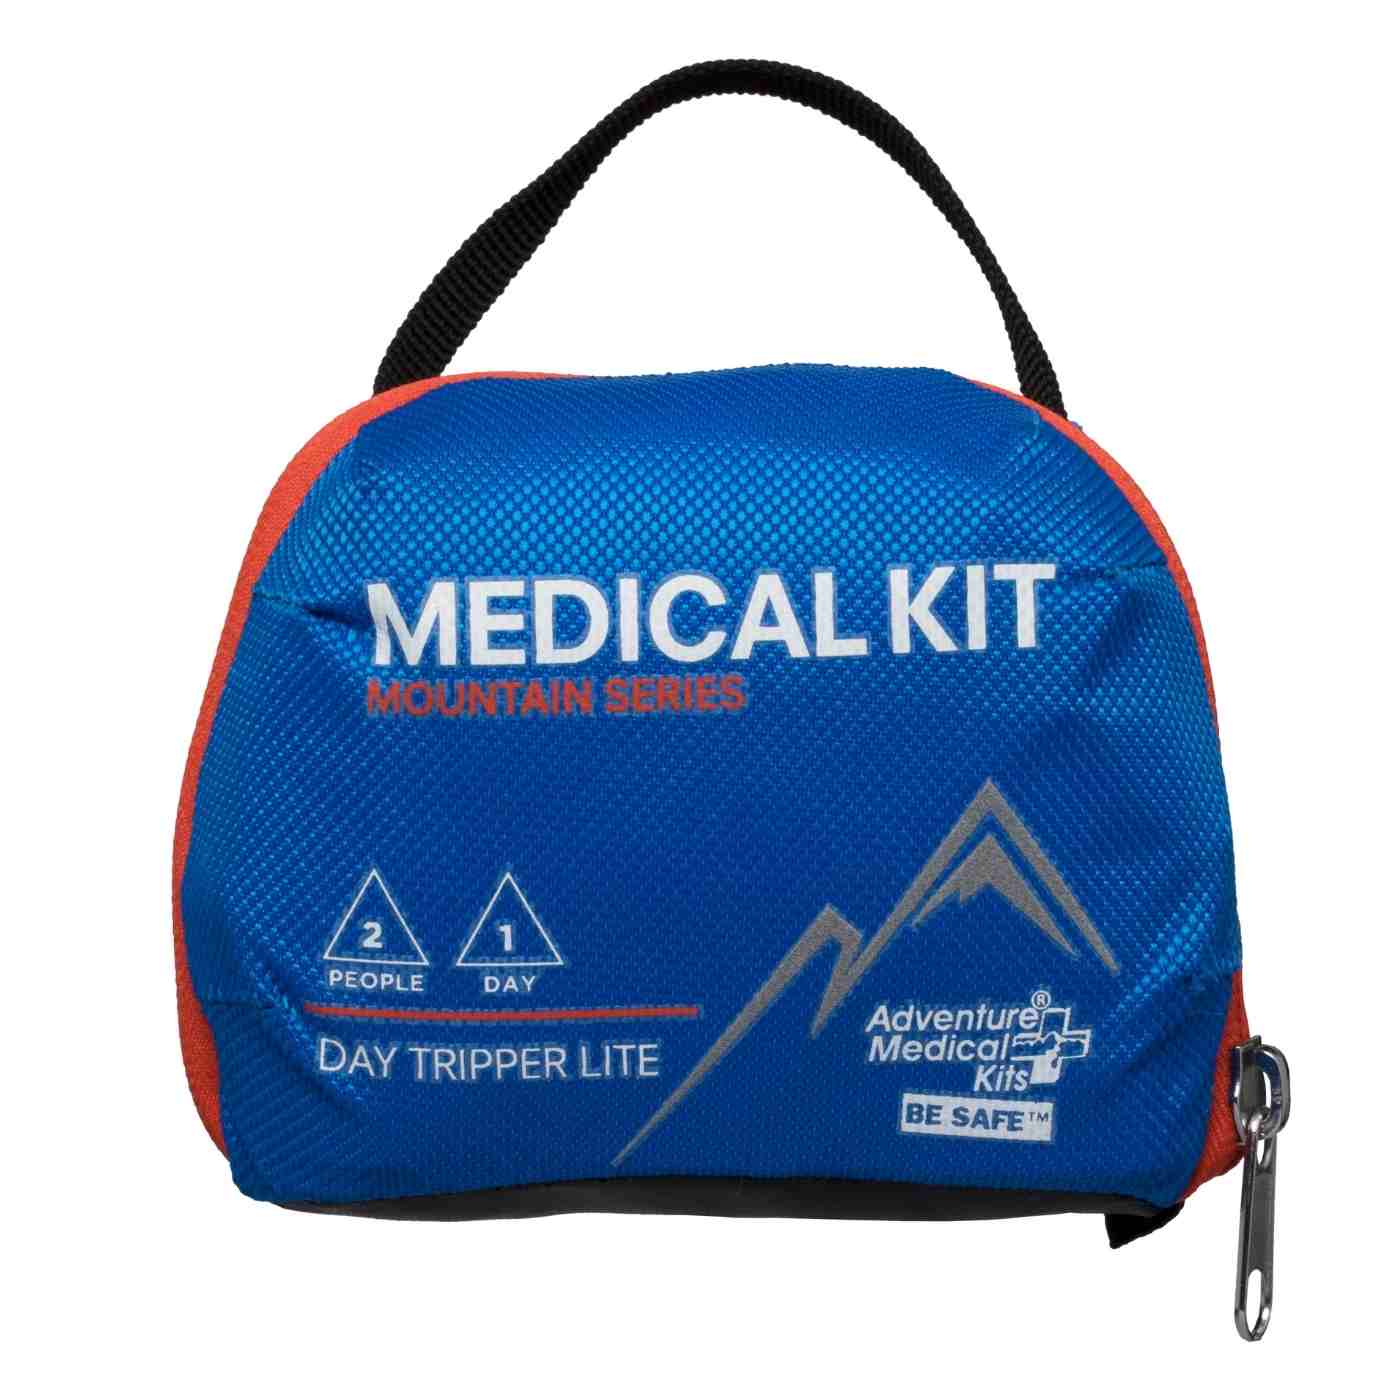
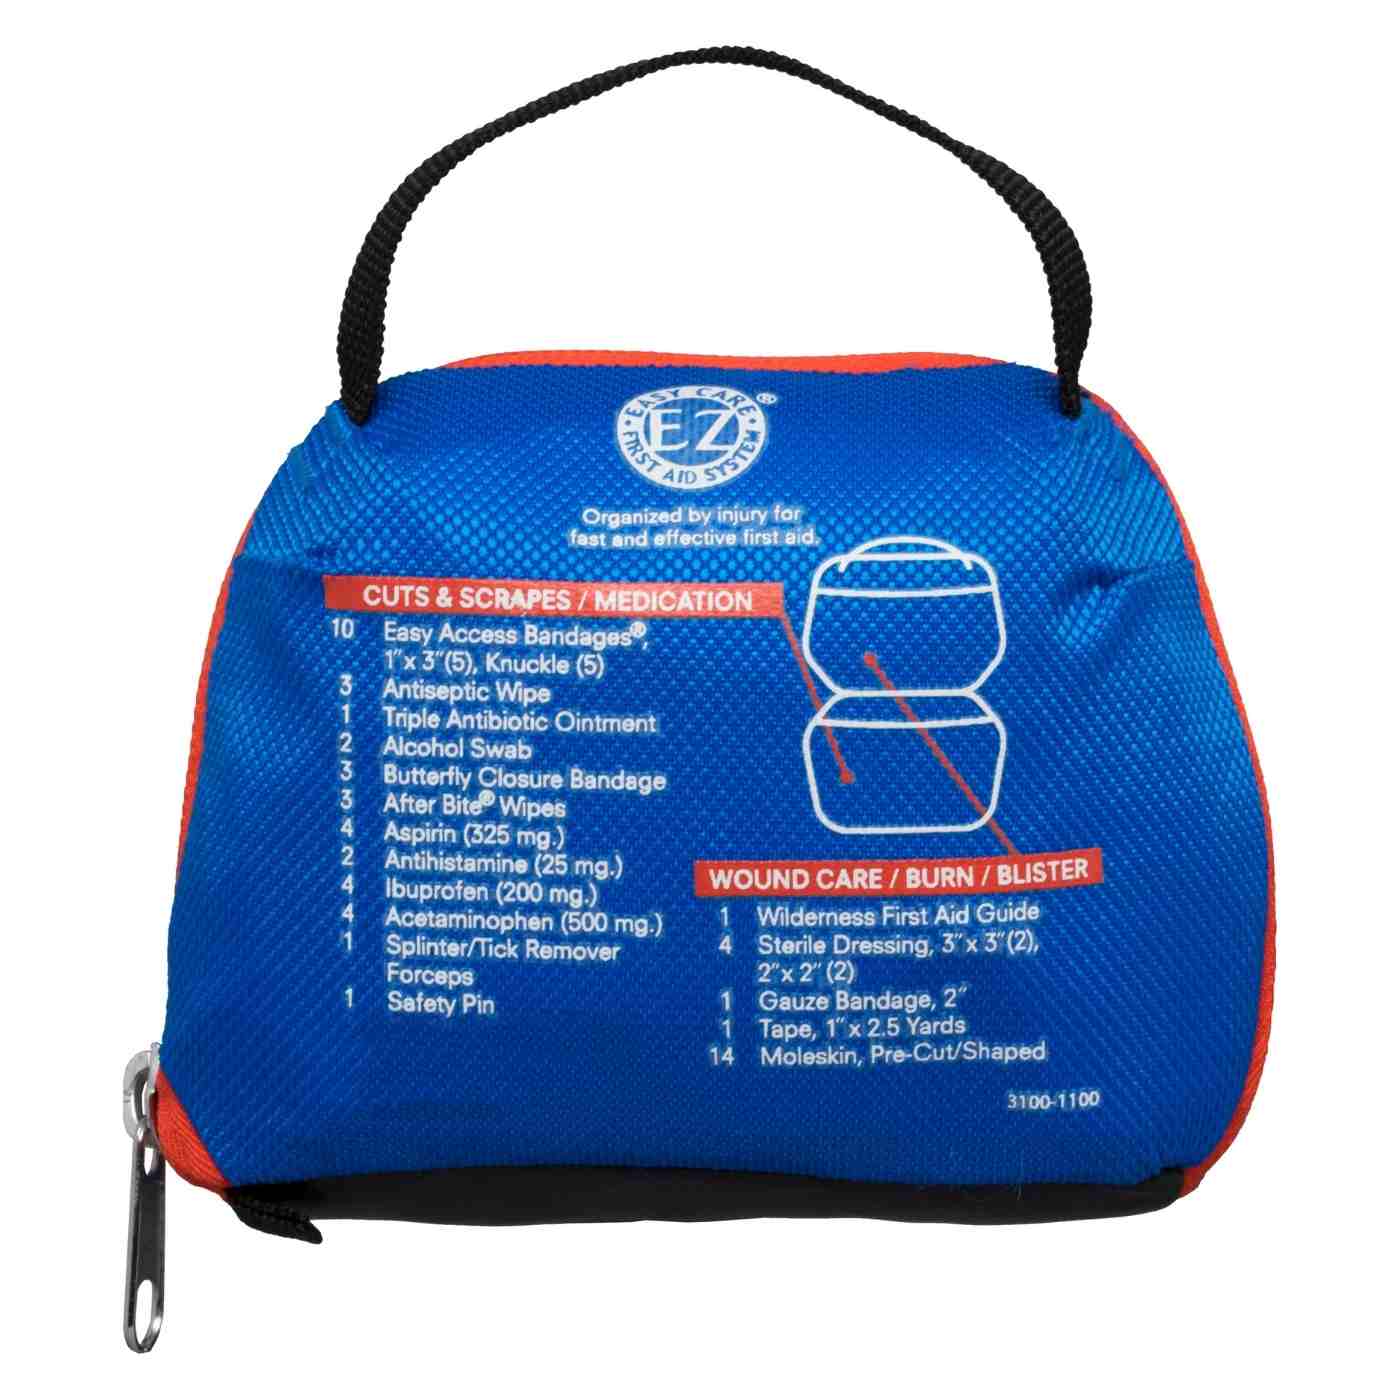
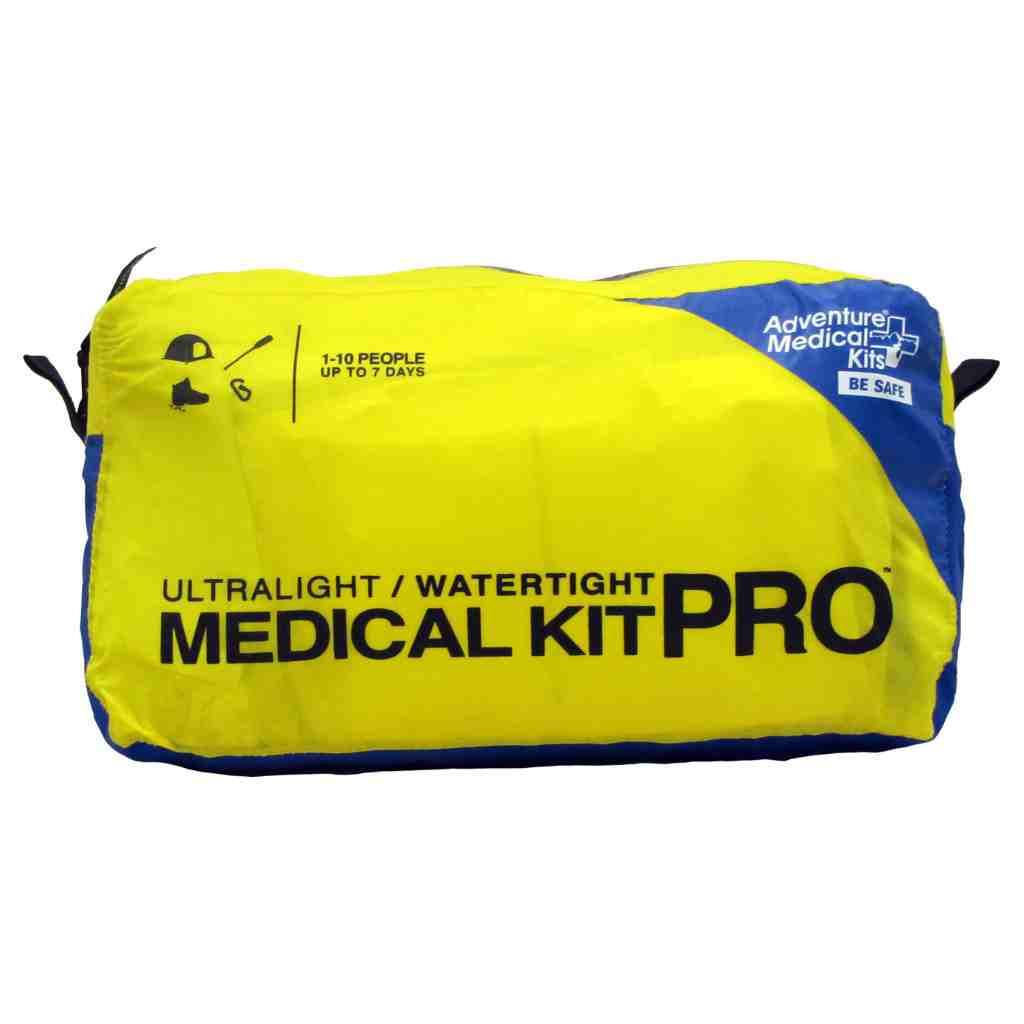
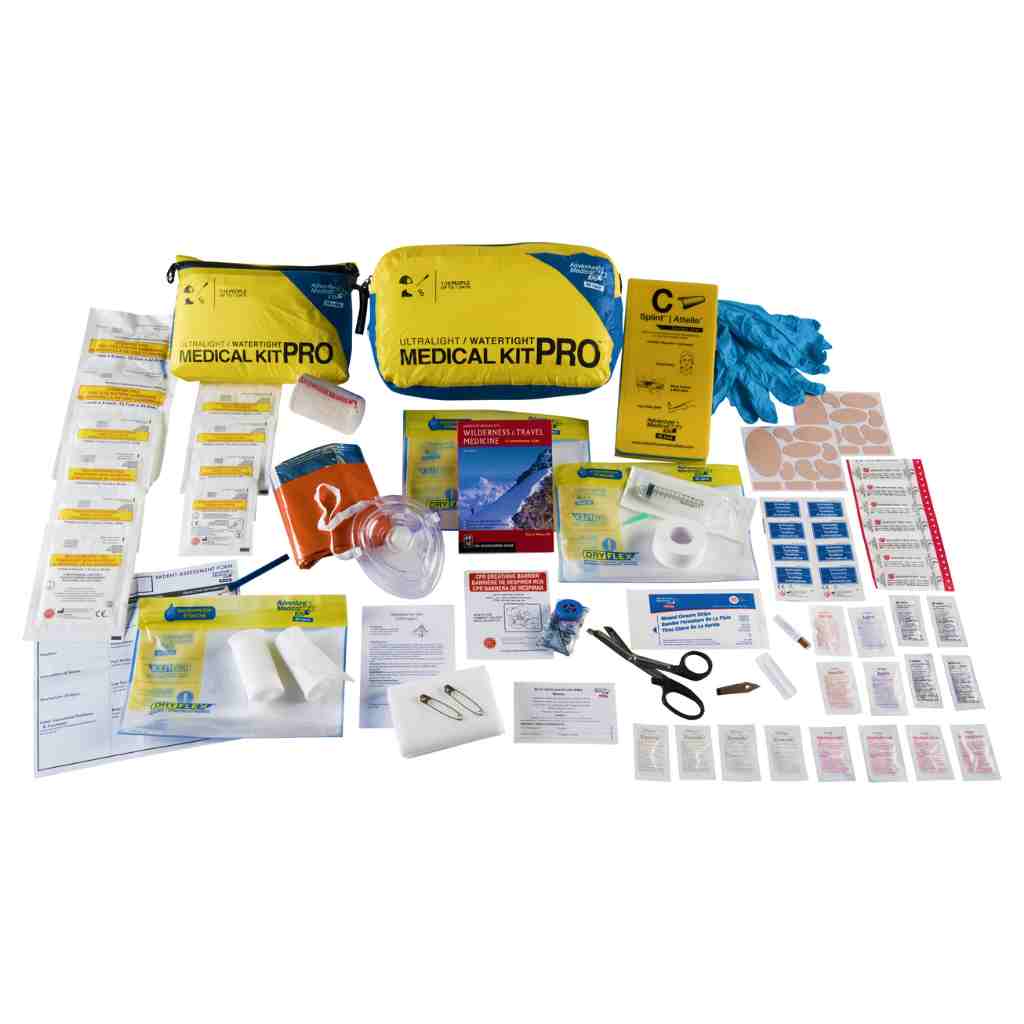
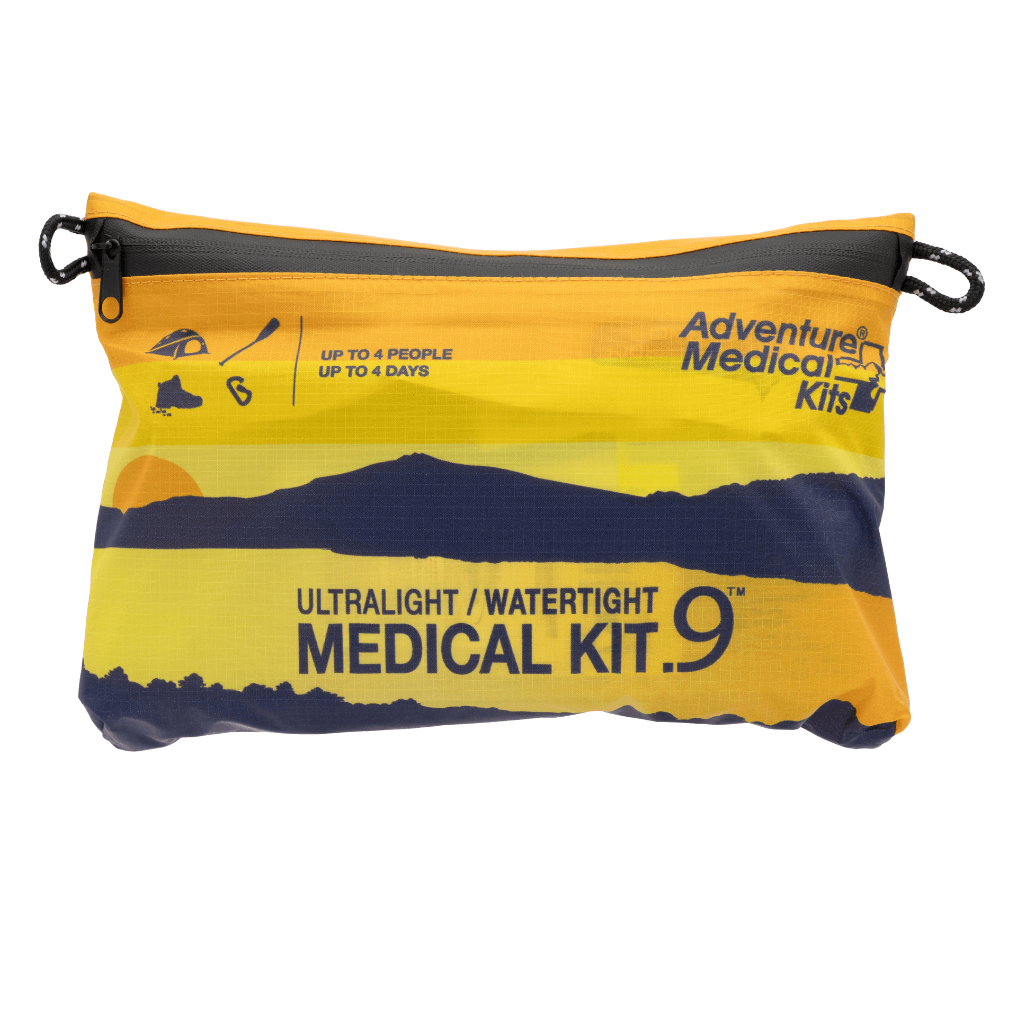
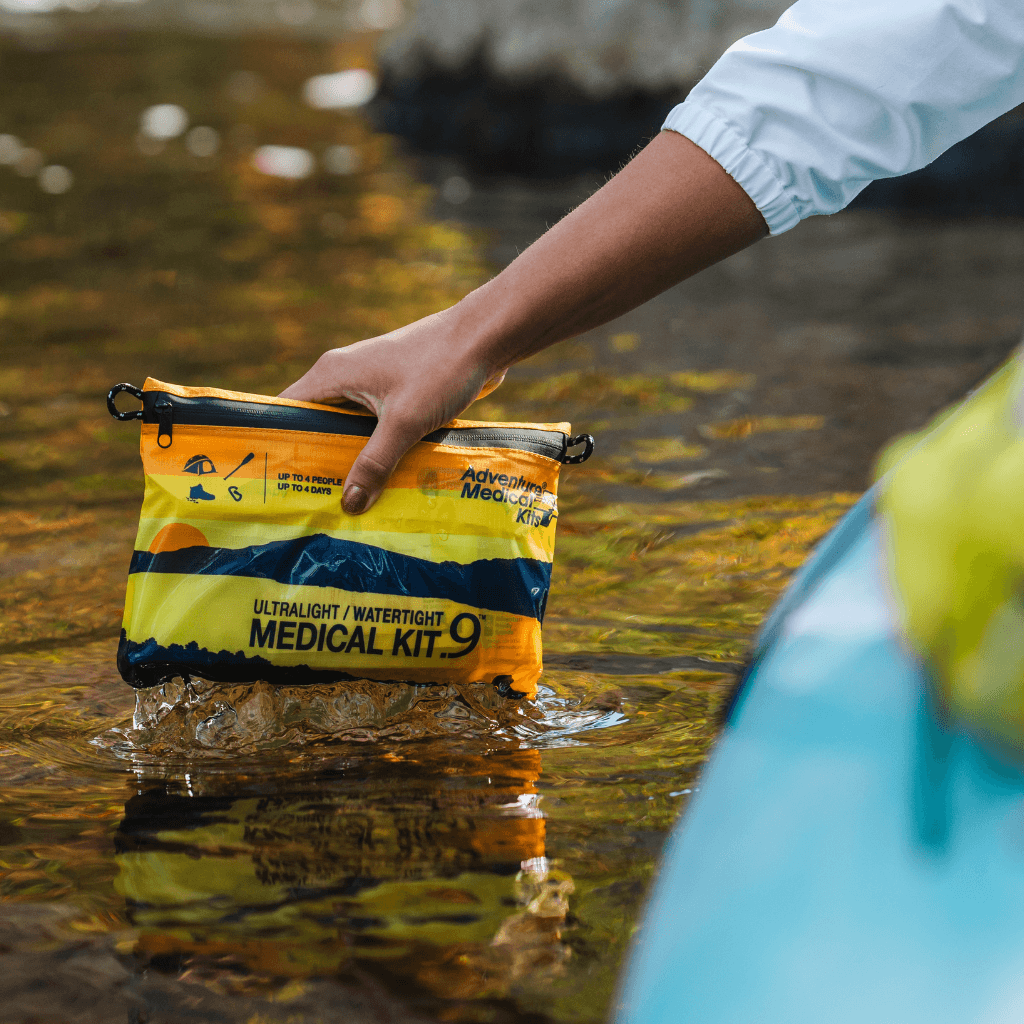
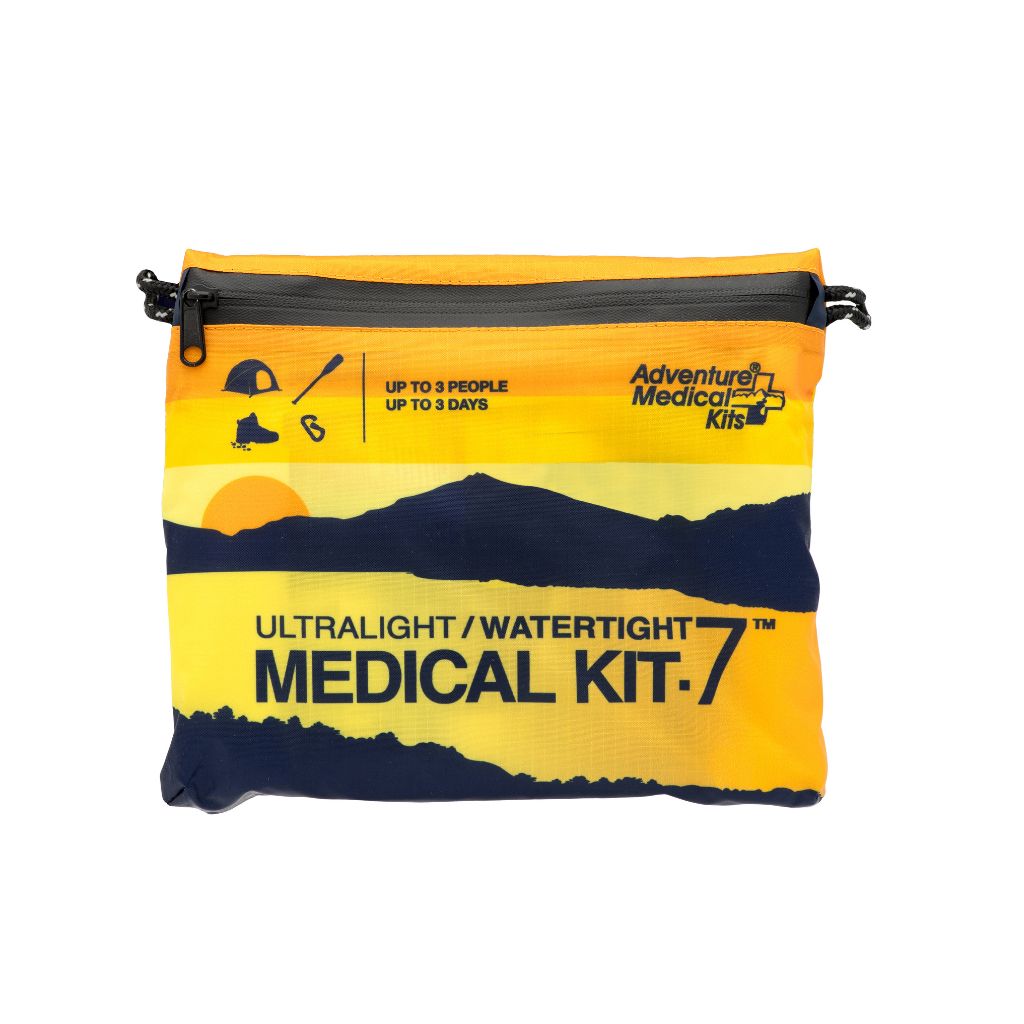
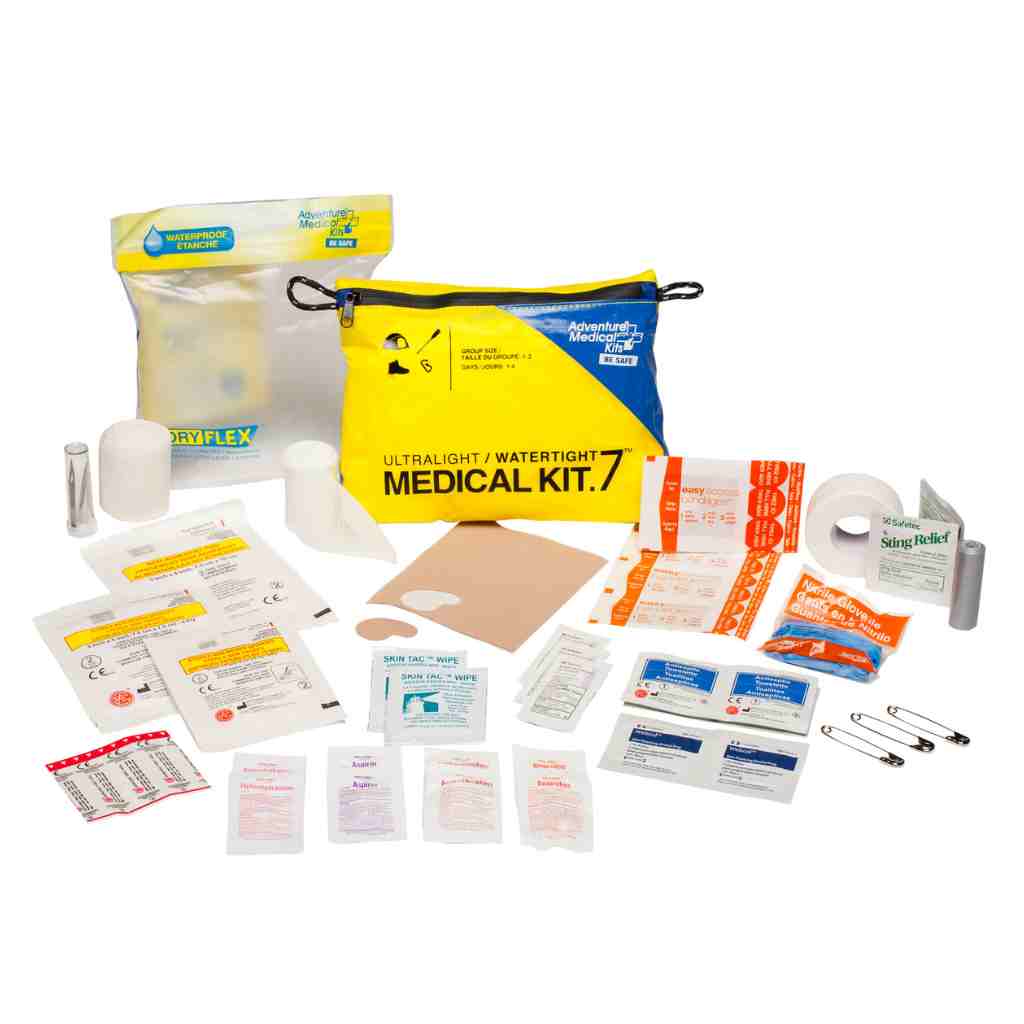
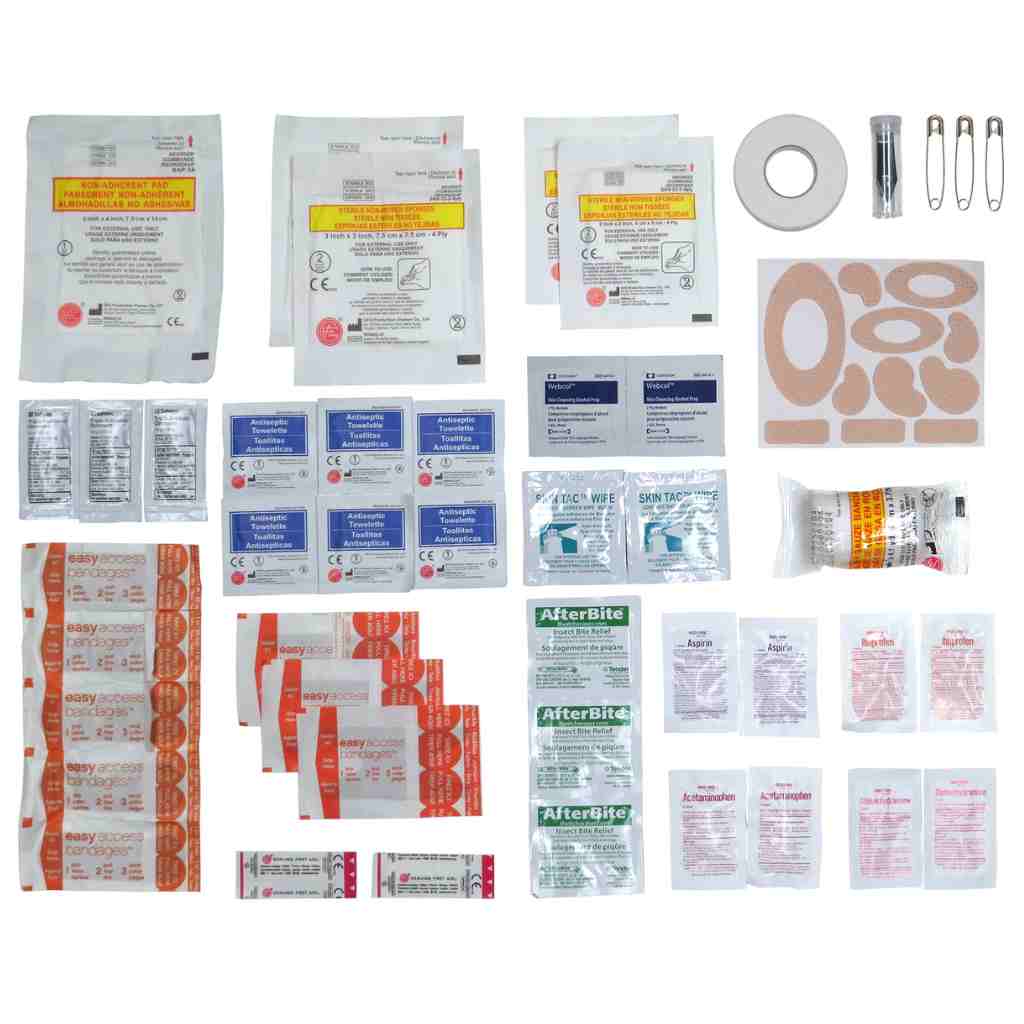
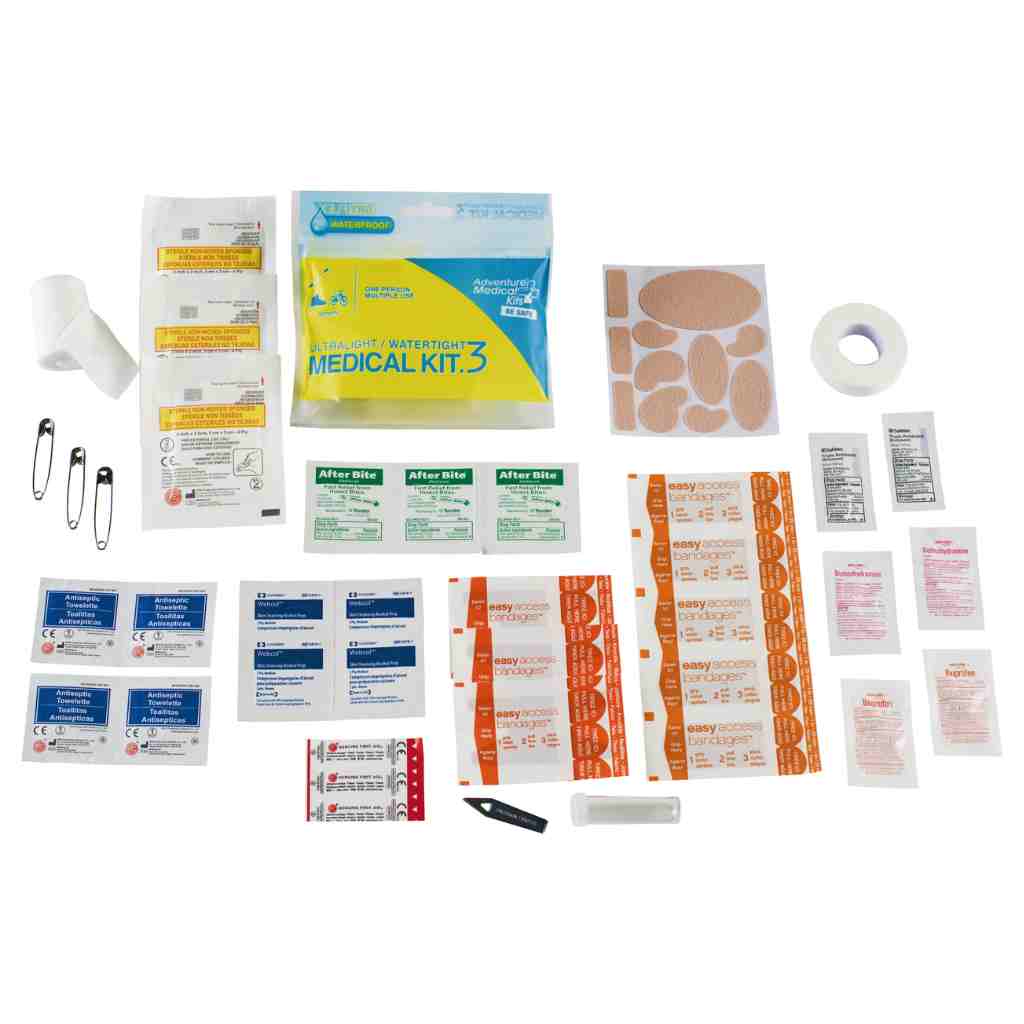
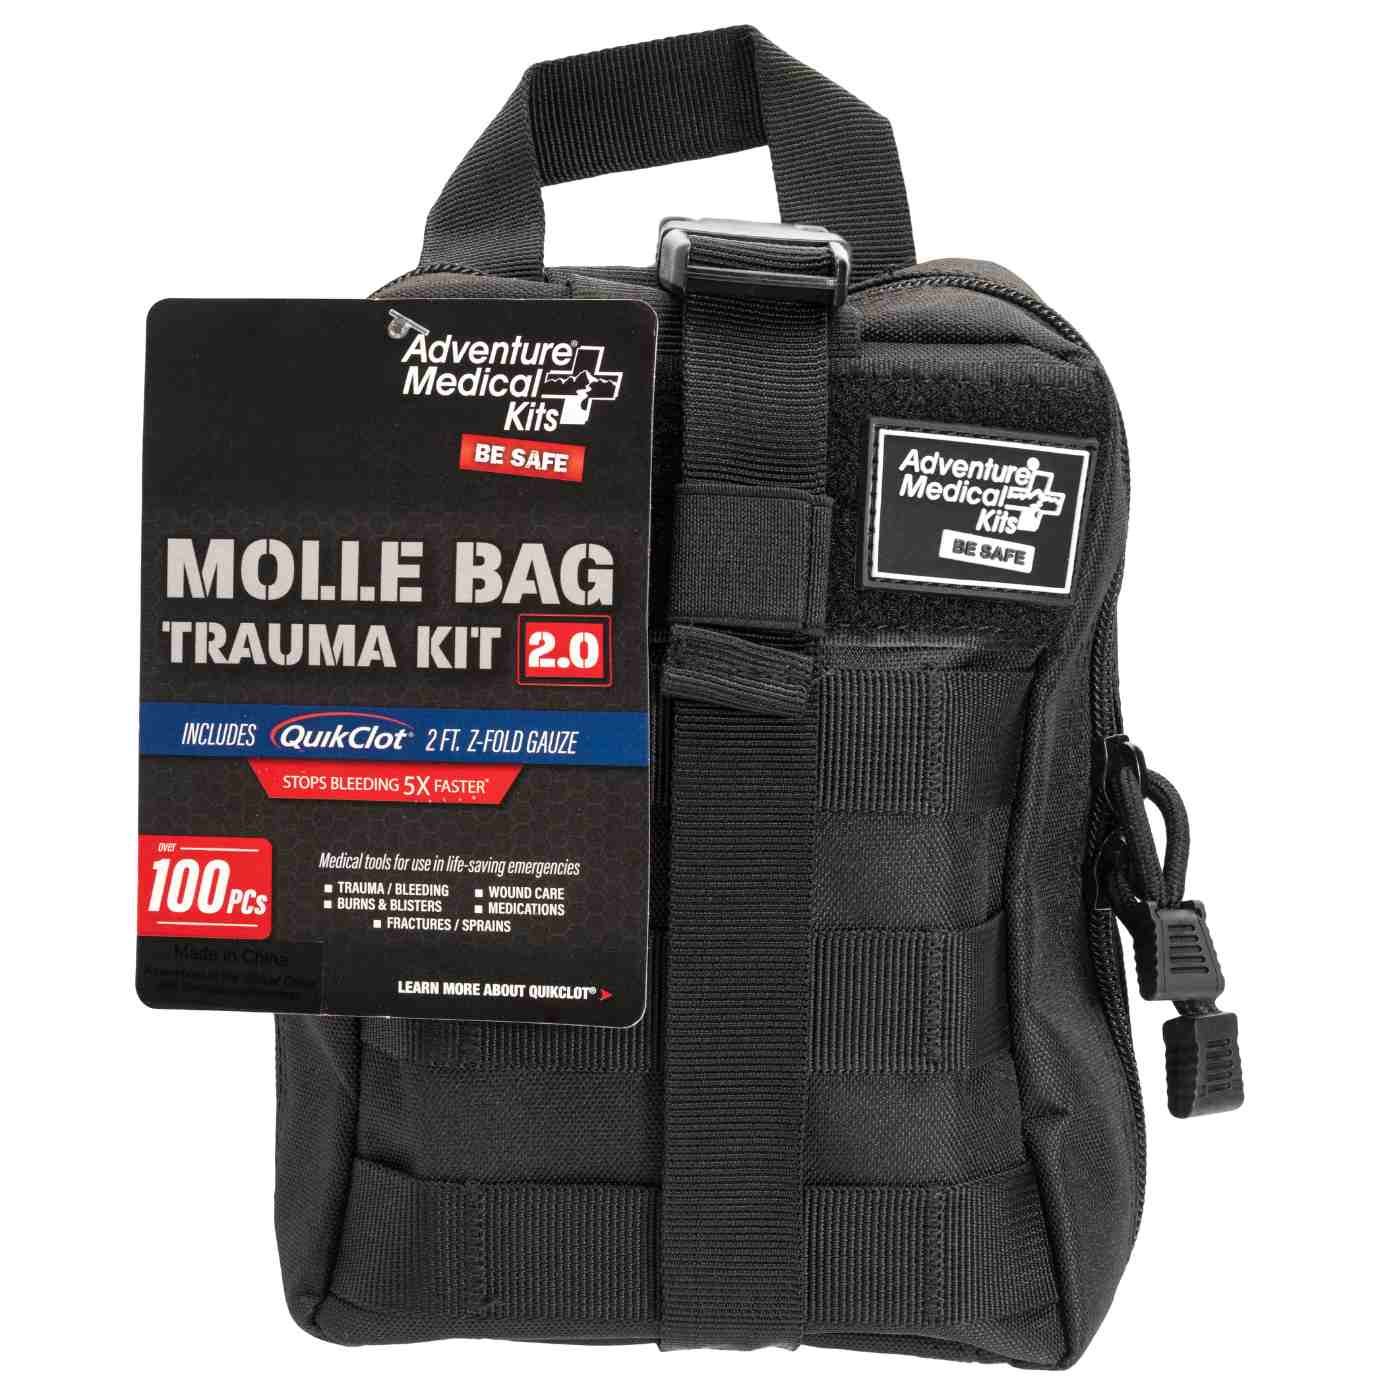
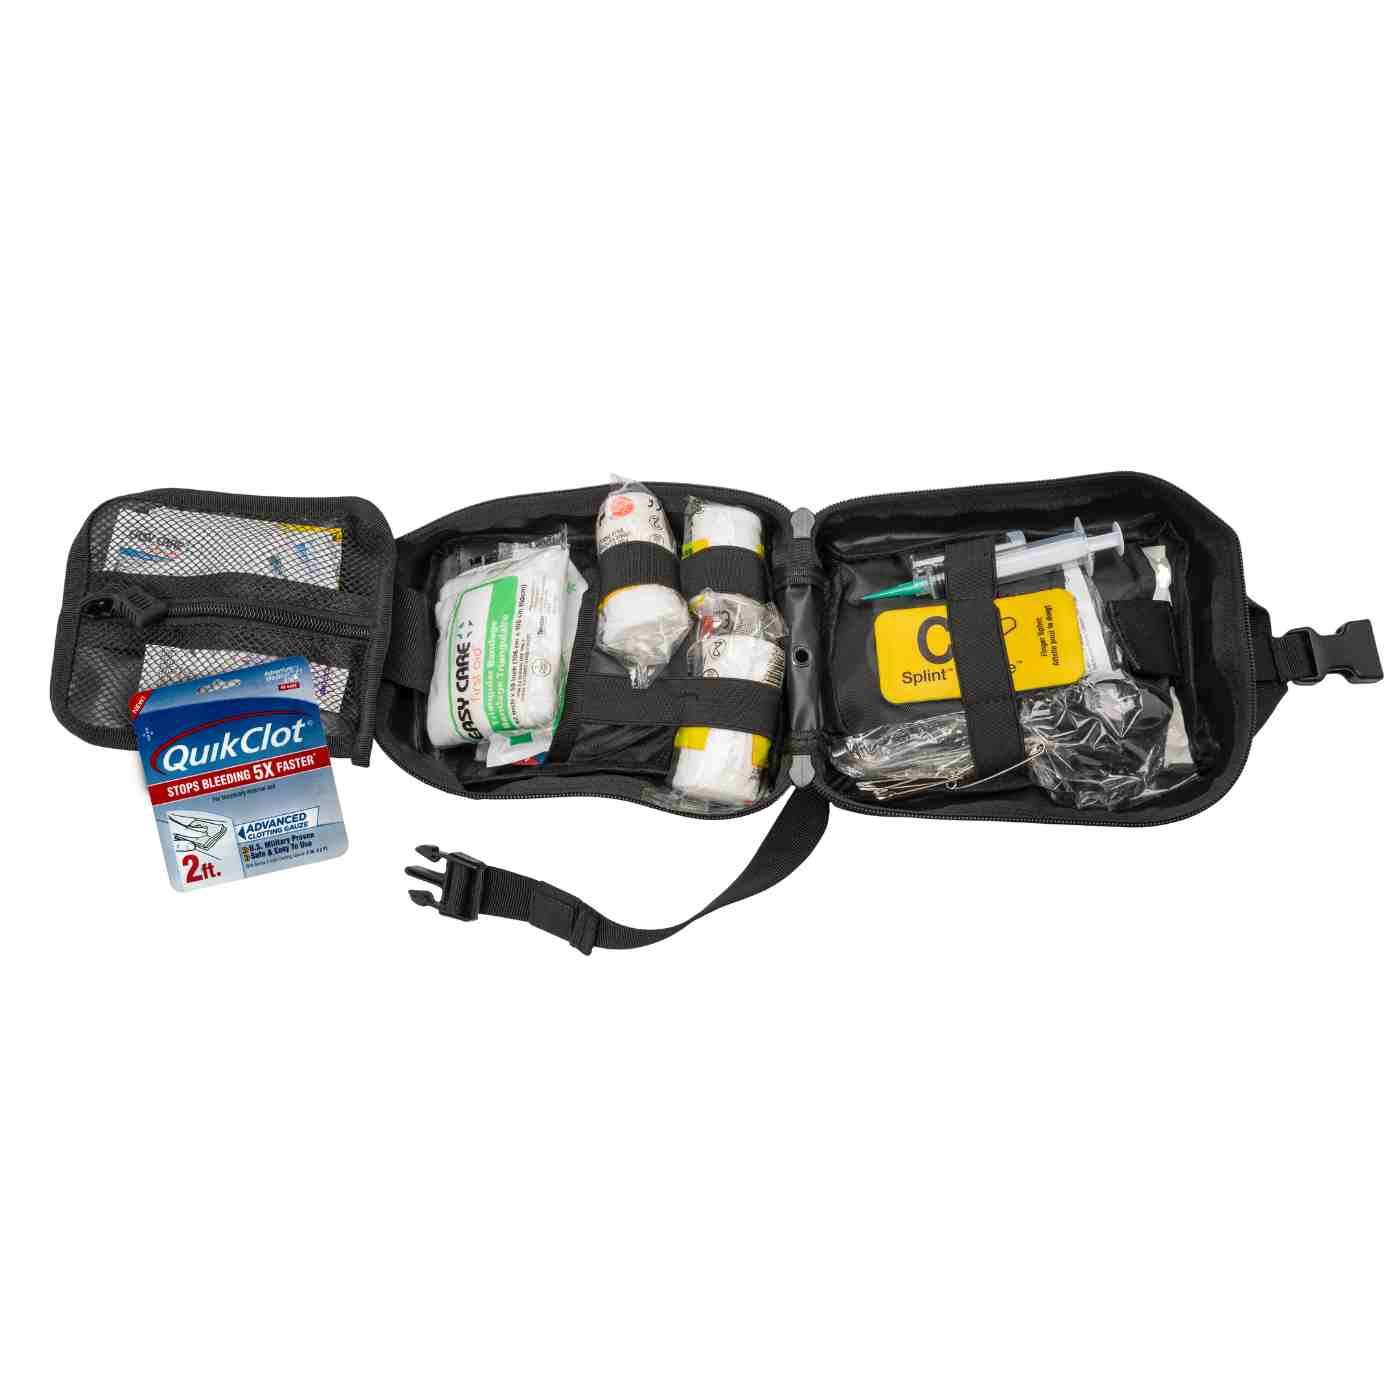
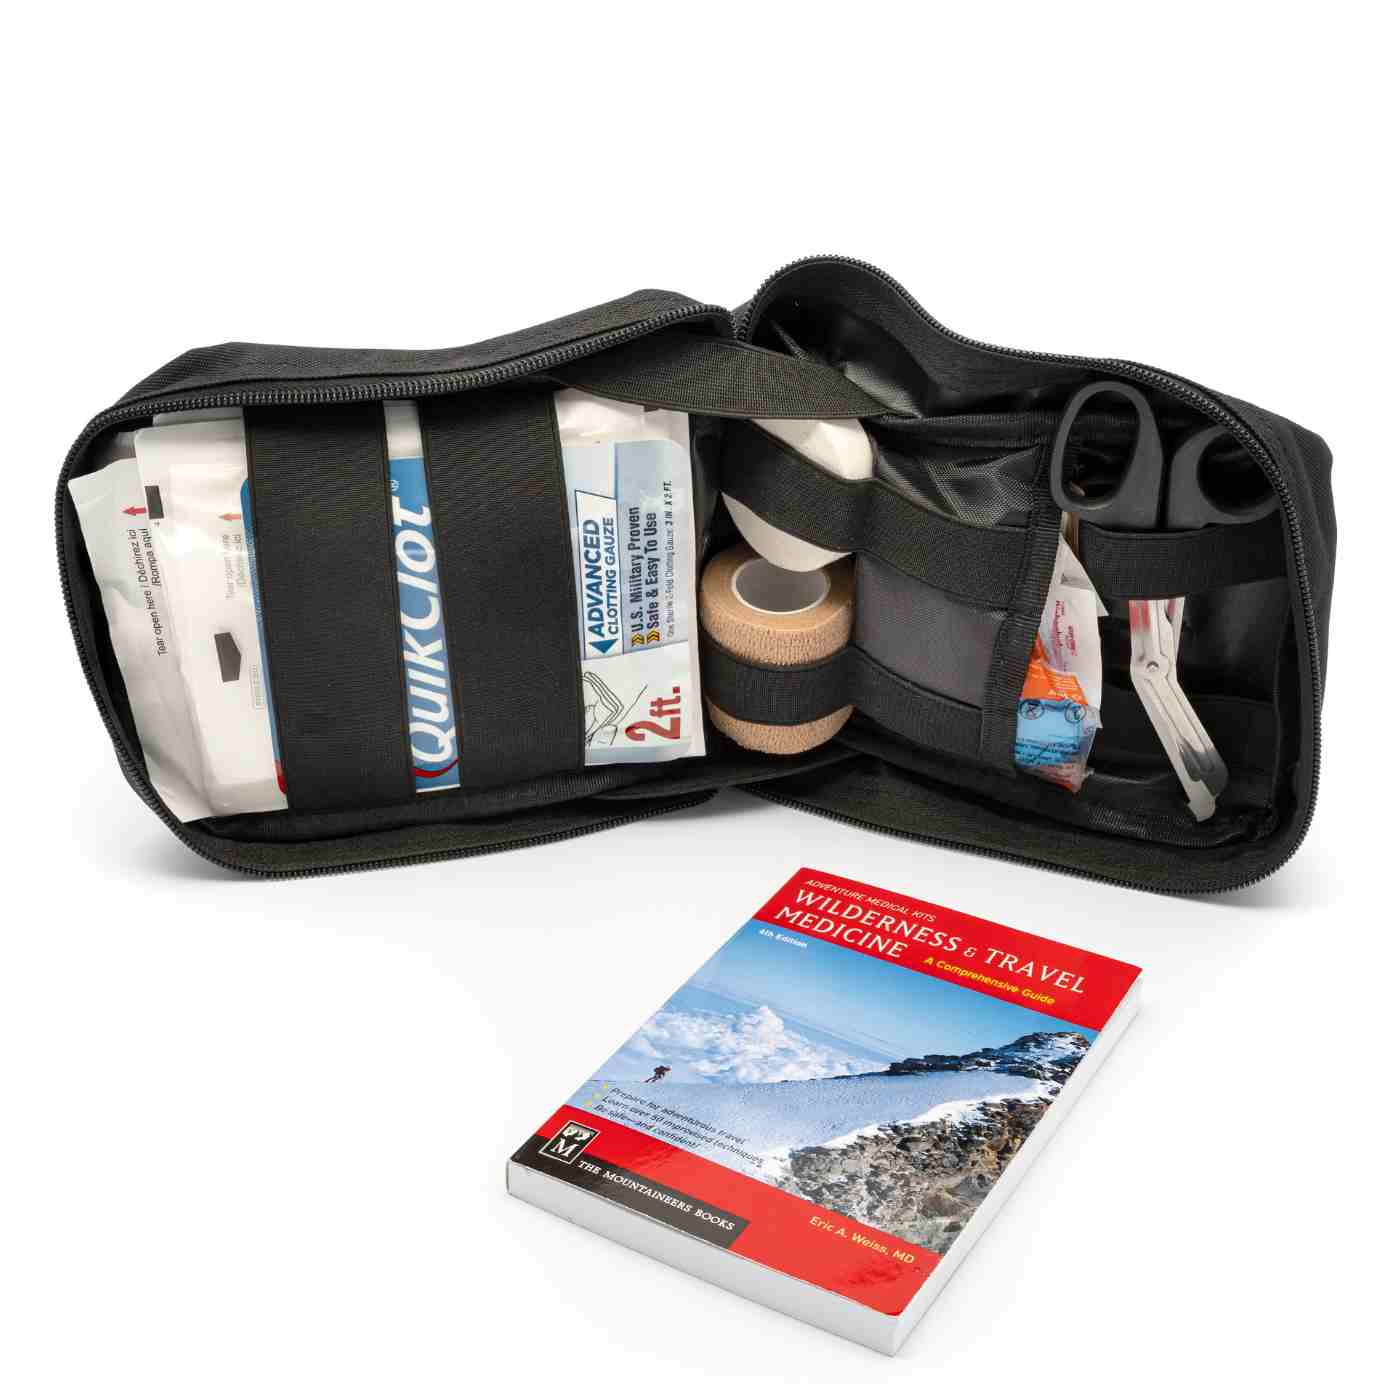
Adventure Medical Kits offers activity-specific, lightweight medical kits with organized compartments, accessible supply lists, and medical instructions for common trail injuries, including blister care. Visit Adventure Medical Kits to review the Mountain Series and MOLLE series collections, then choose a packable kit that keeps foot-care supplies protected and ready for the next hike.