

A hiker steps off a wet rock, the foot twists, and the knee suddenly looks wrong. The leg may be bent at an unnatural angle, the person can't stand, and the group is still hours from a road. In that moment, knowing how to treat a dislocated knee means more than knowing how to splint it. The priority is protecting circulation, preventing further movement, and arranging urgent evacuation without turning a serious injury into a worse one.
A true knee dislocation is an emergency because the bones can injure the popliteal artery and nearby nerves. The joint may even slide back into place before rescuers arrive, while the vascular danger remains. Backcountry care can't replace reduction, imaging, vascular assessment, or surgery, but careful field decisions can preserve the information and circulation that hospital teams need.
Table of Contents
- Recognizing a Knee Dislocation on the Trail
- Immediate Stabilization and What Not to Do
- Monitoring Circulation and Nerve Function in the Field
- Making Evacuation and Transport Decisions
- Building a First Aid Kit for Serious Knee Injuries
- What Happens After Evacuation and Recovery Expectations
Recognizing a Knee Dislocation on the Trail
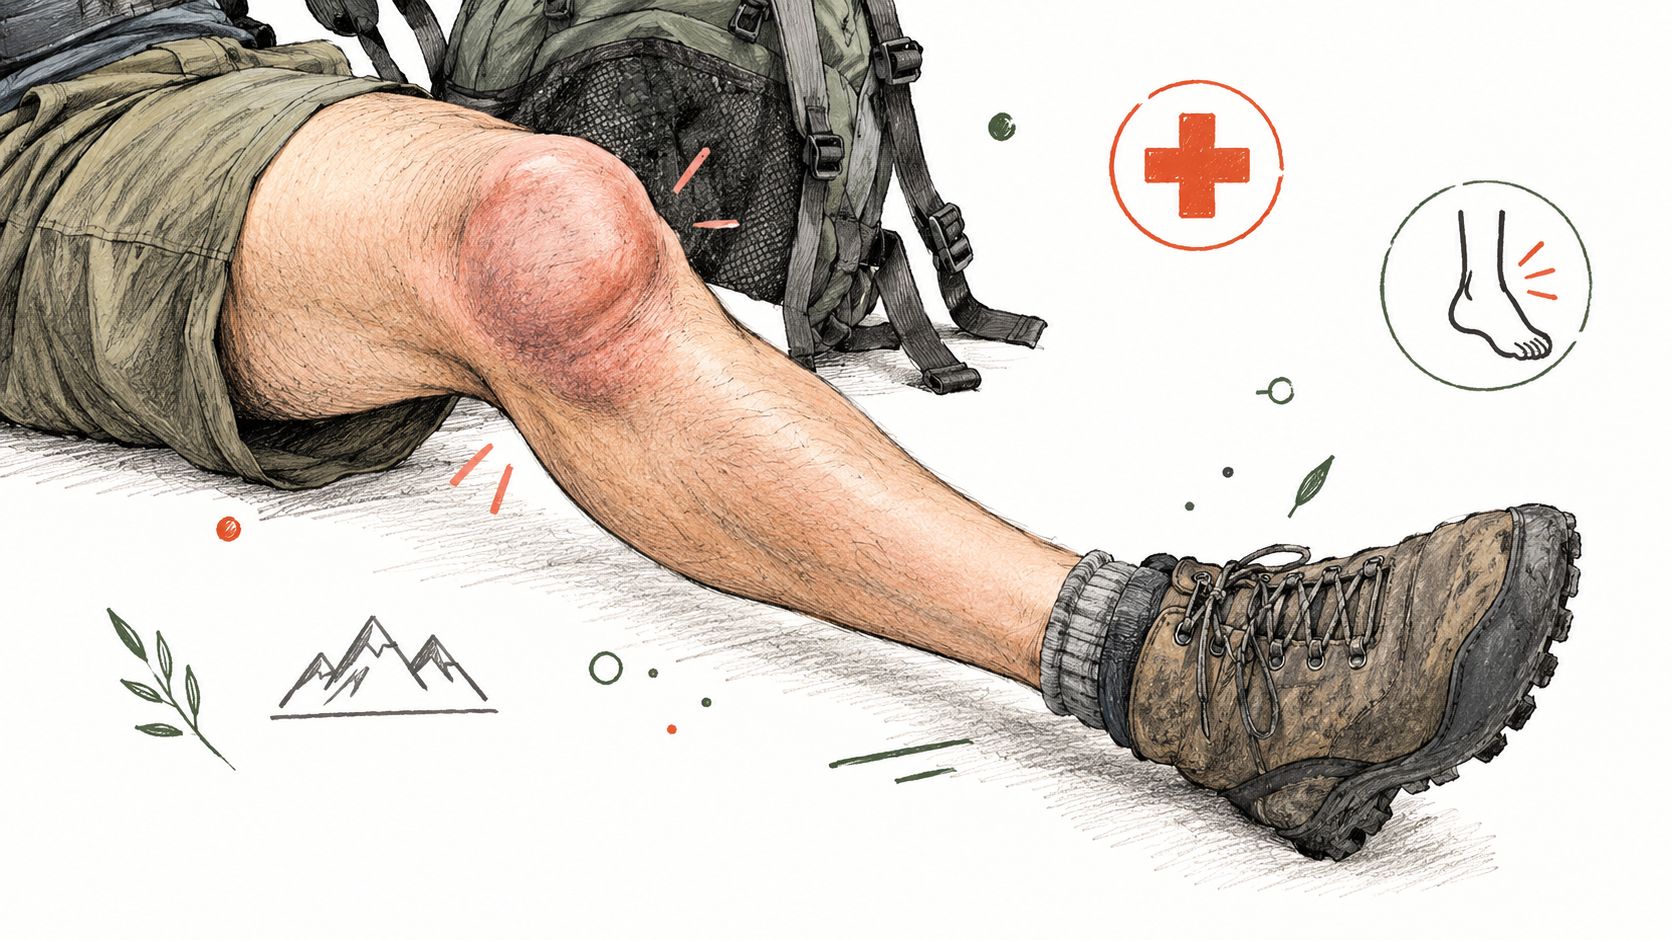
A hiker plants a boot on a steep descent, pivots, and falls sideways. The knee looks displaced, the lower leg points abnormally, and the patient cannot bear weight. Treat this as a suspected tibiofemoral knee dislocation, even if swelling is limited or the joint appears to realign during the fall.
This injury is uncommon, yet its vascular consequences can be severe. A major review of 862 patients found 18% sustained a vascular injury. Of those vascular injuries, 80% underwent repair, and 12% of repaired cases ended in amputation, according to this review of knee-dislocation vascular injuries. A newer U.S. epidemiology study identified 99,688 knee dislocations and 1,066 vascular injuries, or 1.1%, from 2010 through 2022. The lower overall rate does not make a suspected injury safe to dismiss.
Separating a dislocation from common knee injuries
A sprain can cause pain and swelling without visible displacement. A meniscus injury may lock or catch the knee, but it usually does not create gross deformity. A patellar dislocation shifts the kneecap at the front of the joint. In a tibiofemoral dislocation, the tibia and femur lose their normal relationship. Field responders do not need to name the exact anatomy. They do need to identify the warning signs:
- Visible deformity: The knee or lower leg has an abnormal contour or angle.
- Immediate functional loss: The patient cannot safely stand or move the leg.
- High-energy or twisting mechanism: A fall, vehicle impact, forceful rotation, or major hyperextension increases concern.
- Neurovascular symptoms: The foot is pale, blue, cool, numb, weak, or has a newly diminished pulse.
- Spontaneous reduction: The knee looked displaced but now appears straighter. The vascular risk can remain.
About 50% self-reduce before evaluation or are misdiagnosed, according to StatPearls' knee dislocation review. The same review estimates that knee dislocations account for only 0.001% to 0.013% of orthopedic injuries, so hikers and inexperienced responders may not recognize them promptly.
A swollen knee after a minor stumble may be a sprain. A visibly displaced joint requires a different response. Do not attempt to put the knee back in place unless you have specific clinical training and an appropriate emergency protocol. Keep the limb still, assess the foot, document changes, and activate evacuation. Serial circulation checks matter because a knee that looks straighter may still have a threatened blood supply.
After emergency evaluation has ruled out dislocation, a clinician-led resource such as chiropractic care for knee pain may help with later musculoskeletal symptoms. It does not replace urgent assessment. For comparison, hikers can review guidance on treating a sprained ankle, but that routine does not apply to a visibly deformed knee.
Immediate Stabilization and What Not to Do
The first minutes should reduce motion, not attempt a dramatic correction. Don't pop, pull, straighten, or rotate the knee. An untrained reduction can worsen damage to the artery, vein, nerves, ligaments, or skin. It can also create a false sense of improvement if the joint looks better while circulation deteriorates.
The safest sequence is deliberate:
- Stop movement and call for help. Assign one person to contact emergency services or a rescue coordinator while another stays with the patient. Give the location, mechanism, visible deformity, circulation findings, weather, daylight, and the group's evacuation limitations.
- Leave the knee in the position found. Don't force the leg straight and don't bend it to fit a preferred splint shape. Support the limb where it rests.
- Check the foot before immobilizing. Note pulse, color, warmth, sensation, and toe movement. Record the time and compare the injured side with the uninjured side.
- Build a broad, stable support. Use a rigid splint, trekking poles, padded pack components, or other sturdy materials. Support above and below the knee, pad gaps, and secure the leg without pressing directly on the deformity.
- Recheck after every adjustment. A bandage or splint that feels secure can still compromise blood flow. If the foot becomes colder, paler, bluer, numb, or weaker, loosen the securing material and report the change immediately.
- Treat the patient, not just the joint. Keep the person warm, calm, and protected from rain or wind. Avoid food and drink because urgent procedures may follow, and follow trained protocols for any pain medication the patient already carries.
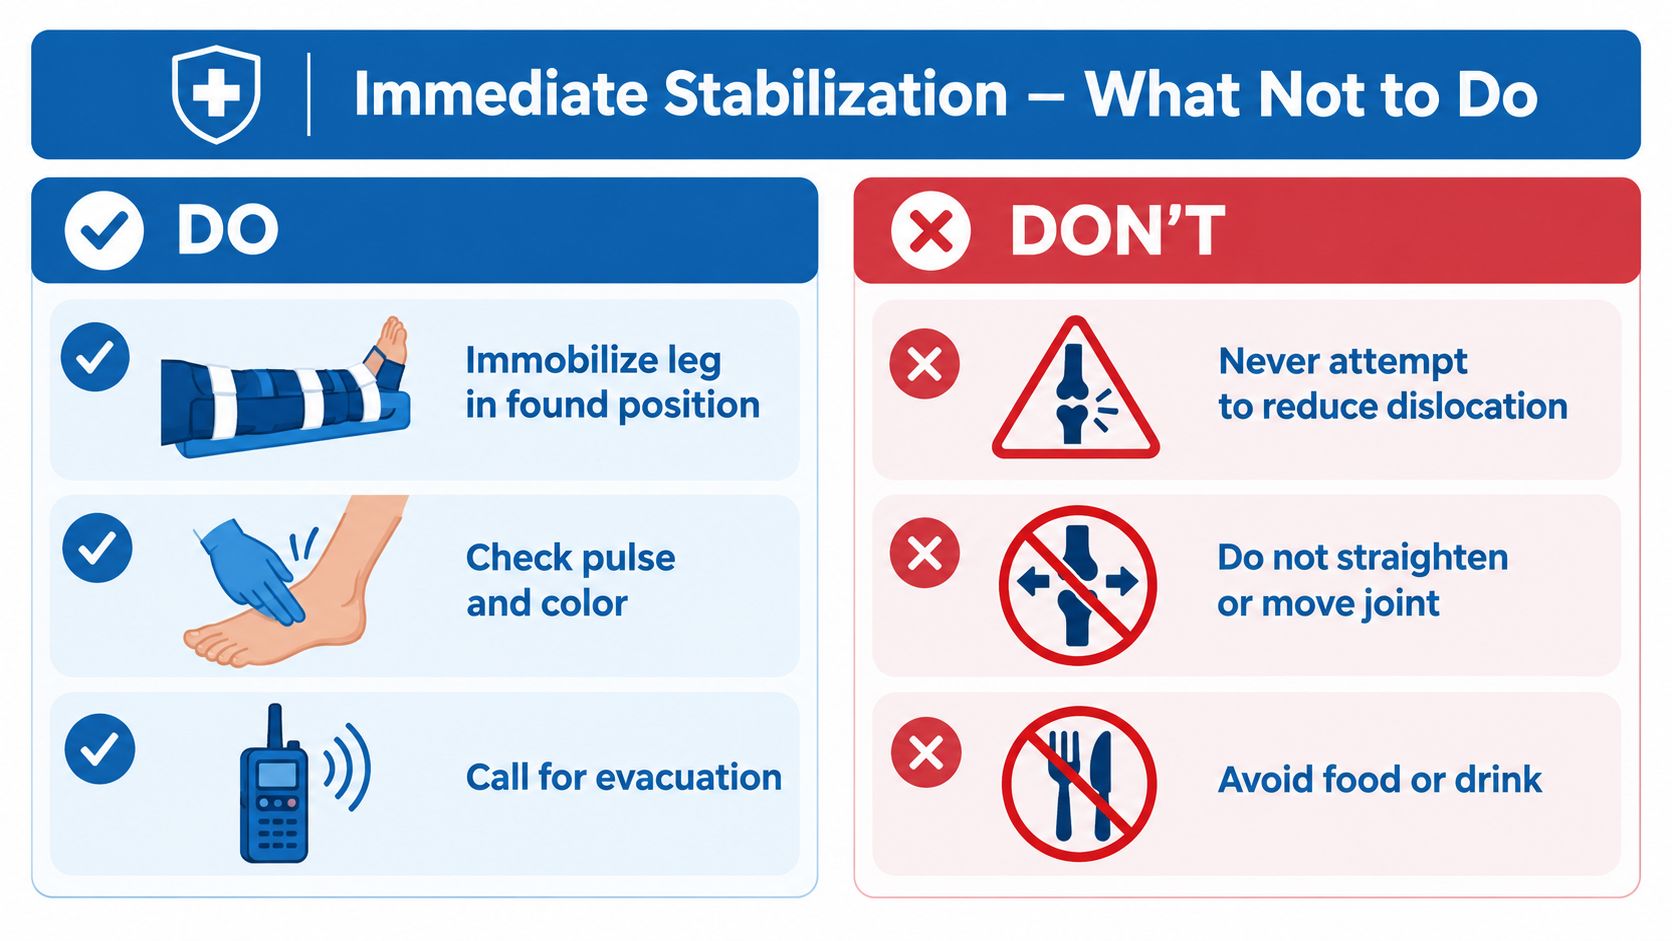
Splinting is a compromise in the field
Hospital reduction protocols commonly describe two-person longitudinal traction, with one clinician stabilizing the distal femur while the other applies traction and reverses the deforming force. Posterolateral dislocations are a notable exception because closed reduction may be impossible and open reduction may be required (Emergency Care BC clinical summary). Those details belong to trained medical teams, not improvised wilderness care.
A field splint should prevent the knee from moving during carries and evacuation. It shouldn't be used to force the joint into a textbook position. Some remote-care protocols discuss splinting at 20 to 30 degrees of flexion or in full extension, but recommendations vary, so the found position and circulation findings should guide a non-clinician's approach (2025 review of remote and low-resource care).
Practical rule: A comfortable, well-padded splint that preserves circulation is safer than a rigid correction attempted by someone without reduction training.
A companion dog can also become injured during the scramble. The Adventure Dog Medical Kit, Trail Dog is a portable kit weighing 12 ounces, with supplies for wounds, cuts, ticks, and sprains plus a Pet First Aid Handbook. It supports the dog's injuries, but it doesn't replace human evacuation care or alter the knee protocol.
Monitoring Circulation and Nerve Function in the Field
A foot that looks normal once can deteriorate during a long evacuation. The artery may kink, swelling may increase, or a splint may become too tight as the knee shifts. Assign one person to repeat the examination in the same order and record each result. Memory is unreliable under stress.
A repeatable foot examination
Compare the injured foot with the uninjured foot. First feel for the dorsalis pedis pulse on top of the foot. If possible, also check the posterior tibial pulse behind the inner ankle. A weak or absent pulse on the injured side, especially when it differs from the other foot, requires urgent communication with rescuers and medical services.
Then check:
- Color: Look for a pale, gray, or blue foot compared with the uninjured side.
- Temperature: Use the back of your hand to compare warmth.
- Capillary refill: Press a toenail or nearby skin briefly, release, and compare how quickly color returns.
- Sensation: Touch the toes lightly and ask whether contact feels equal on both sides.
- Movement: Ask the patient to wiggle the toes. Record weakness or any new inability to move them.
- Pain pattern: Record increasing pain, particularly pain that seems excessive or changes after splinting.
The infographic below shows a consistent five-part sequence for a field team.
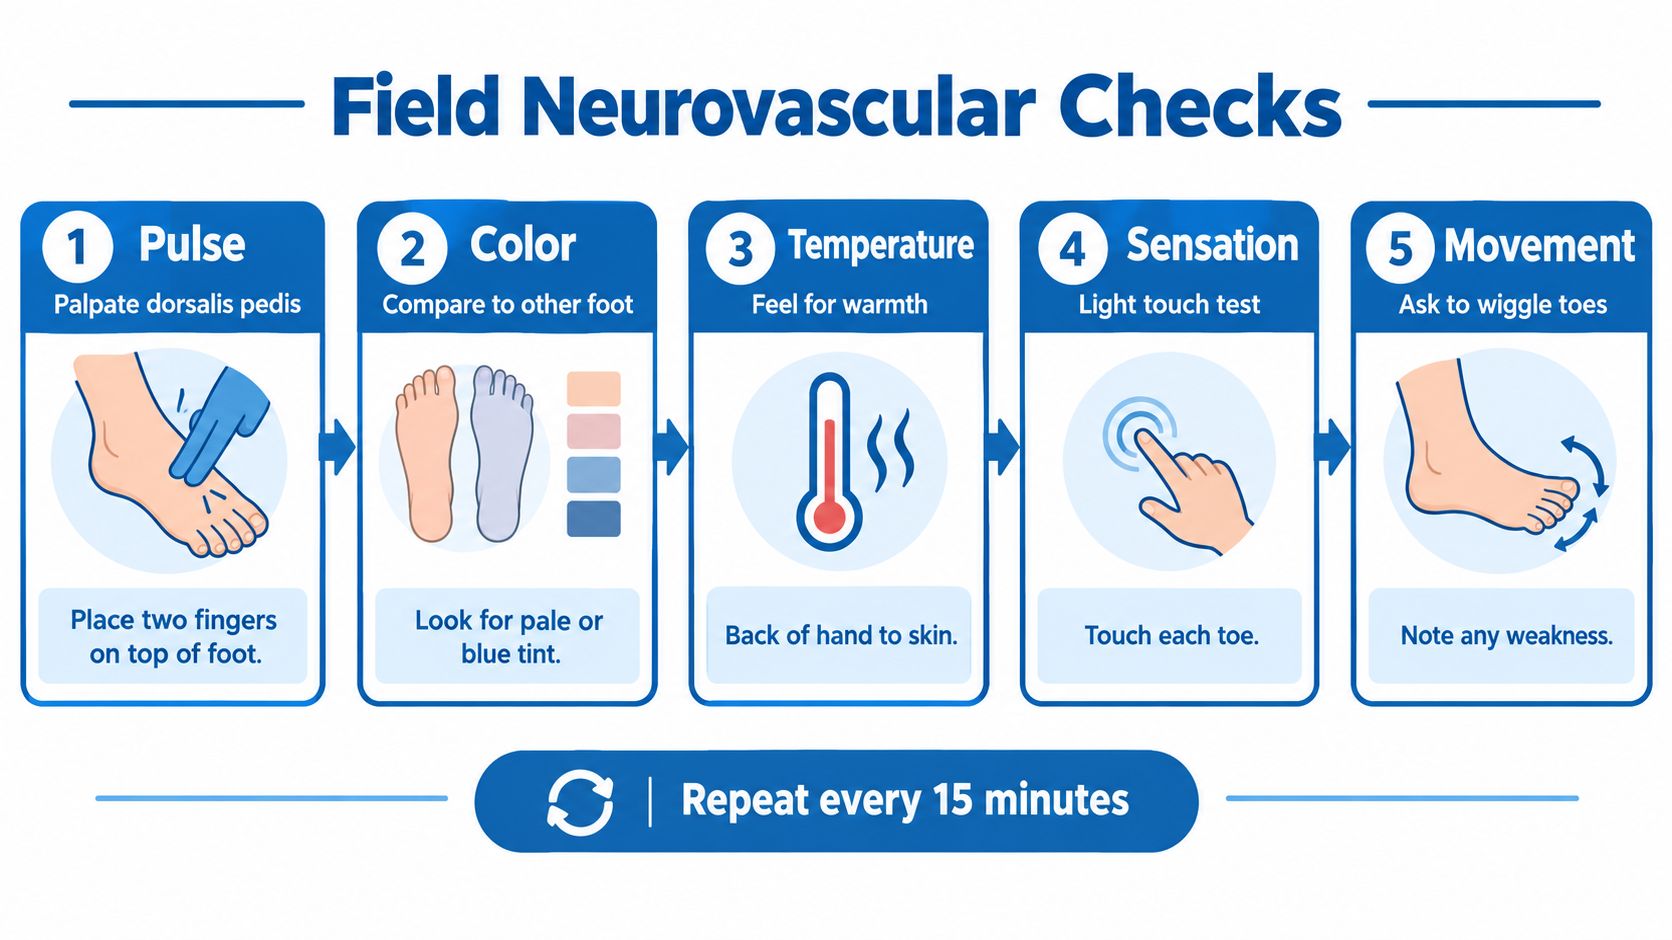
Repeat the examination at regular intervals while waiting and during evacuation. Repeat it immediately after repositioning, splinting, or transferring the patient. The supplied field visual specifies every 15 minutes, a practical interval for a high-risk injury when enough people are available. Record the time, pulse description, color, temperature, sensation, toe movement, pain trend, and any splint adjustment.
Understanding the hospital benchmark
The ankle-brachial index, or ABI, compares ankle and arm blood pressure. A non-clinician generally cannot measure it in the wilderness, but knowing the hospital benchmark helps the group give rescuers useful information. Modern algorithms use 0.9 as a key screening cutoff. With pulses present in both feet and an ABI of at least 0.9, hospital teams may observe the patient with serial vascular checks for about 48 hours. An ABI below 0.9, abnormal pulses, or an uncertain examination leads to recommendations for immediate CT angiography and vascular-surgery consultation (knee-dislocation vascular assessment review).
The field team cannot calculate that threshold without suitable blood-pressure equipment and training. It can still report the trend that matters: whether the foot stays warm and normally colored, whether pulses remain present, and whether sensation, movement, or pain is changing.
Making Evacuation and Transport Decisions
A suspected knee dislocation shouldn't be managed as a routine carry-out. Even a patient whose foot initially looks normal needs urgent medical evaluation because the injury can involve structures that aren't visible from the trail. The evacuation decision should weigh circulation, access to care, communication, terrain, weather, daylight, and the group's ability to maintain continuous monitoring.
Escalate immediately when circulation changes
Activate emergency services and request the fastest appropriate transport when the foot has no detectable pulse, becomes pale or blue, turns cold, develops new numbness, or loses toe movement. Severe or rapidly increasing pain also deserves escalation, particularly when it follows splinting or a change in position. These signs can indicate threatened blood flow or nerve compromise, not just discomfort.
The following framework is intentionally conservative:
- Urgent evacuation: Absent or worsening pulse, abnormal color, coldness, new numbness, weakness, severe pain, or an uncertain examination.
- Prompt evacuation with continuous observation: A present pulse and stable foot findings, but a clear deformity, major mechanism, inability to walk, or a long distance to definitive care.
- No self-directed delay: A spontaneous realignment doesn't turn the injury into a routine sprain. The patient still needs emergency assessment.
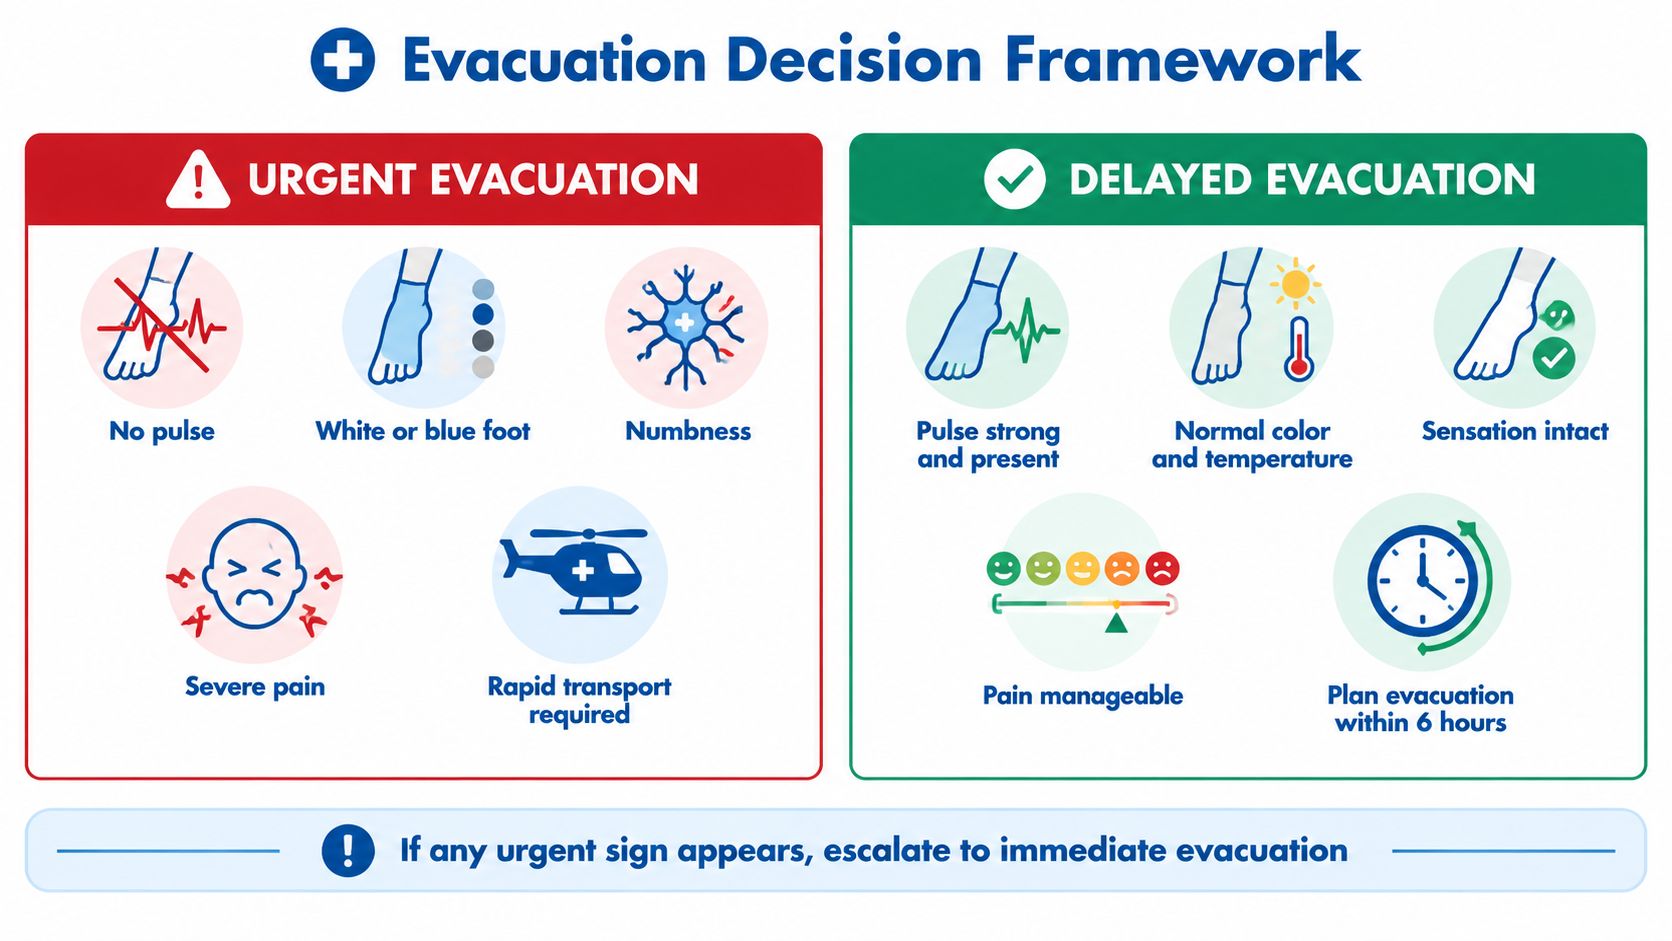
Match the response to the terrain
A short, stable route to a vehicle may allow a trained group to support a carefully splinted patient while waiting for responders. A remote location, difficult terrain, fading light, severe weather, or weak group capacity argues for early rescue activation rather than exhausting the team on a long improvised carry.
Dispatchers need actionable details:
- Location: Coordinates, trail name, nearest junction, elevation if known, and a clear landing or access description.
- Mechanism: Fall, twist, impact, or other force, plus the approximate time.
- Appearance: Whether the knee remains deformed or appears to have reduced.
- Foot findings: Pulse presence, color, warmth, sensation, toe movement, and any changes over time.
- Patient status: Pain, alertness, breathing, temperature exposure, and ability to cooperate.
- Resources: Group size, shelter, splinting materials, communication method, and hazards.
A rescue team can make better transport decisions when it receives a time-stamped neurovascular record instead of “the knee is swollen.” The group should continue checks while waiting and after each movement. Guidance on formal preparation is available through wilderness first aid training near you, especially for groups that regularly travel beyond rapid road access.
Building a First Aid Kit for Serious Knee Injuries
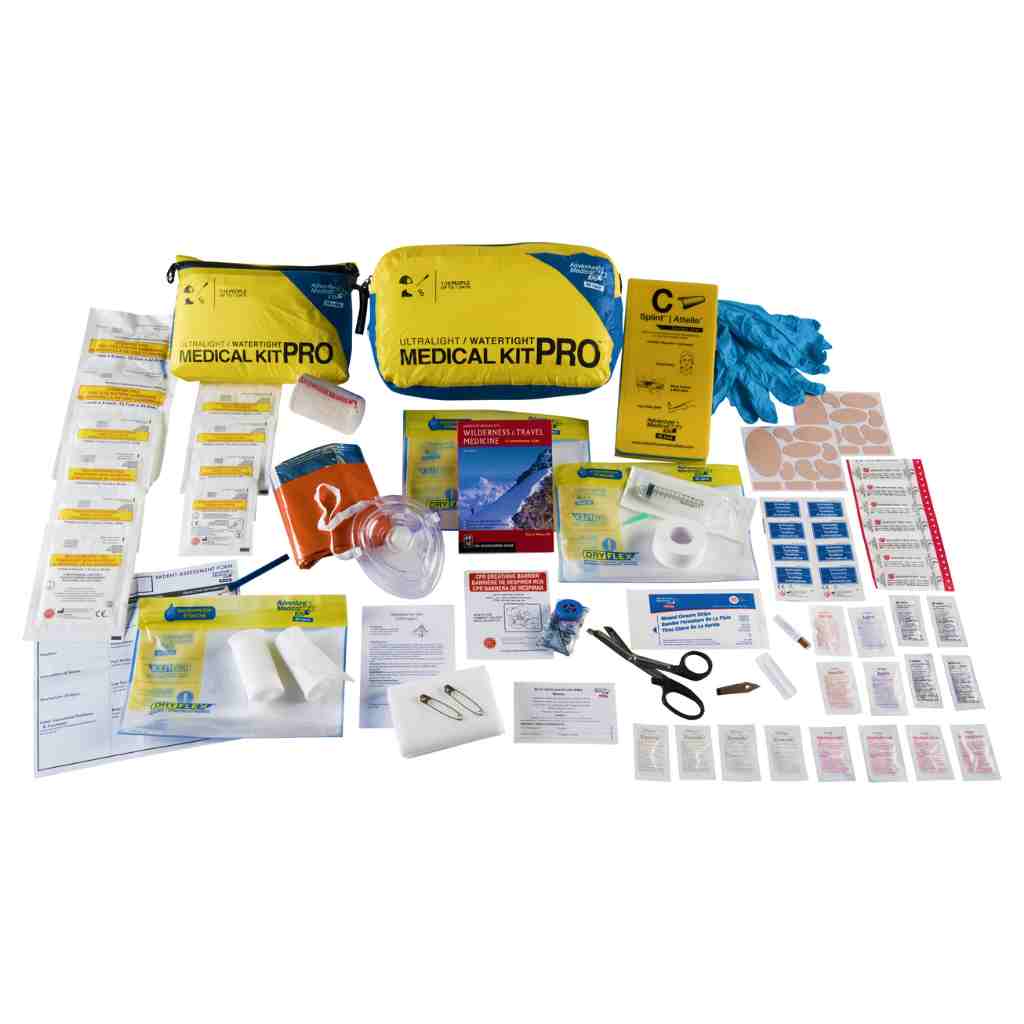
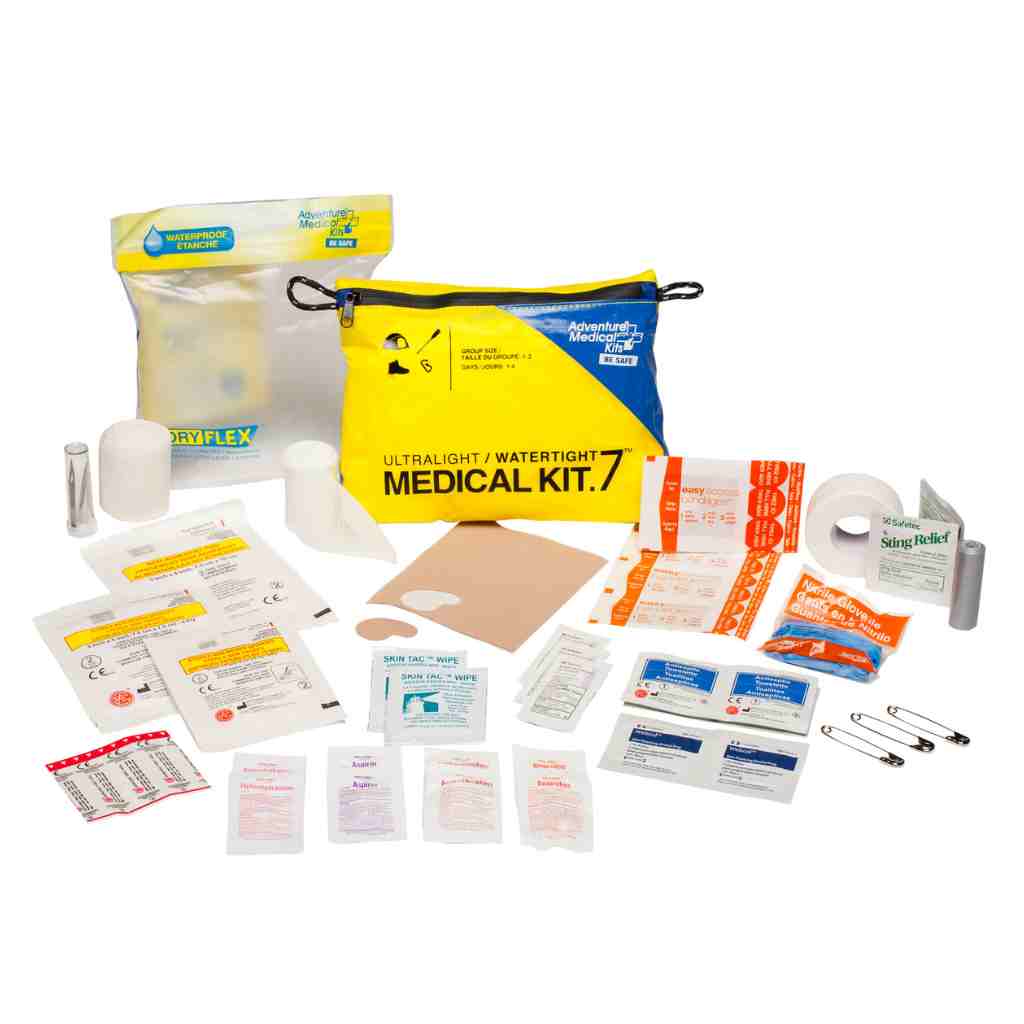
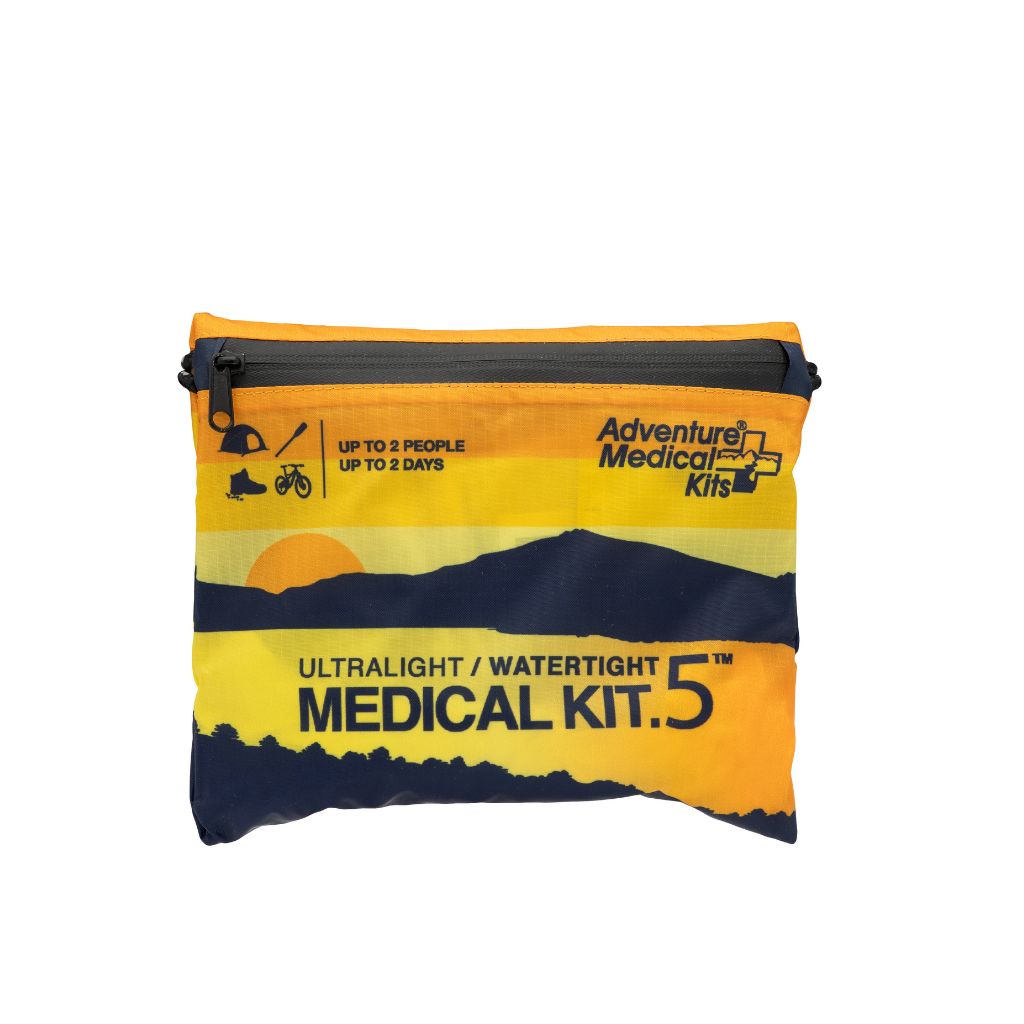
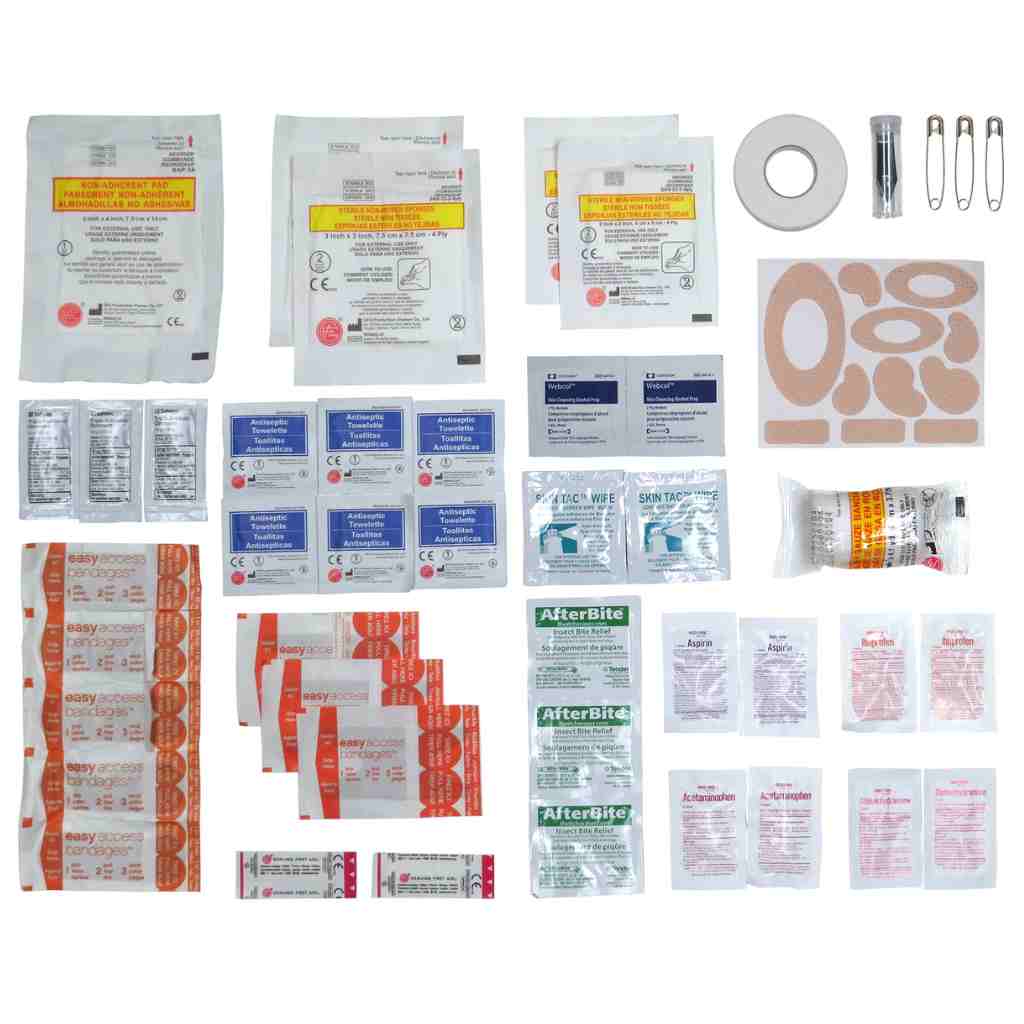
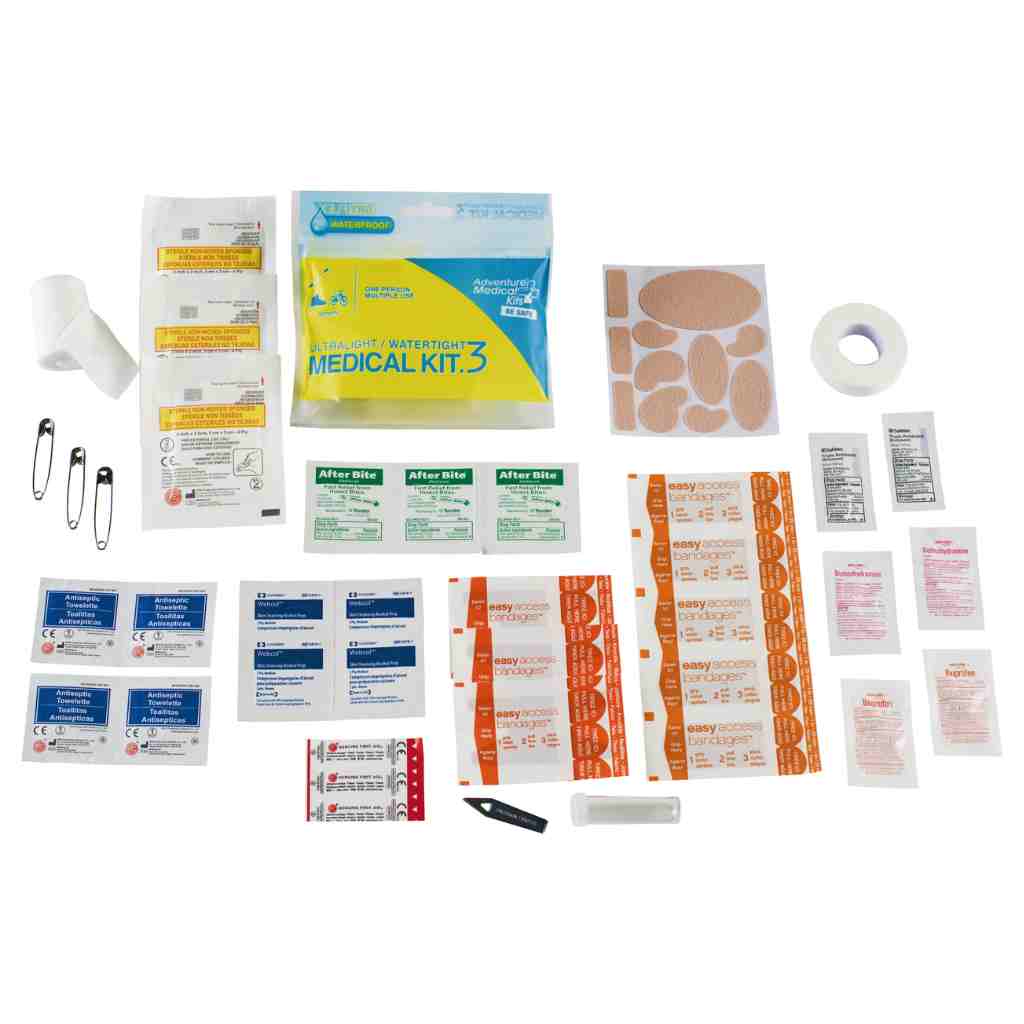
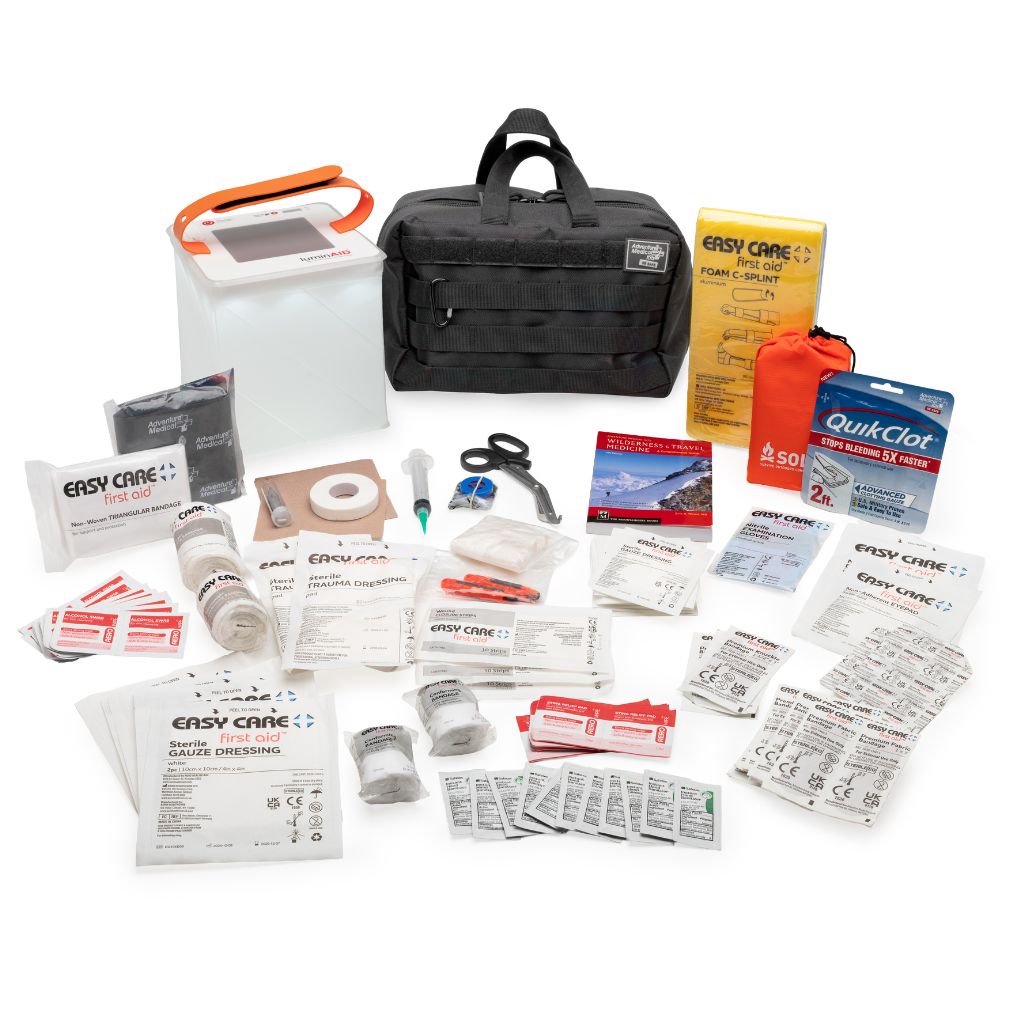
Many hiking kits are assembled around blisters, small cuts, and ordinary ankle sprains. A suspected knee dislocation exposes the gap in that approach: the group needs equipment that can immobilize a large joint, maintain access to the foot, protect the patient from exposure, and support documentation during evacuation.
Compare the kit to the actual task
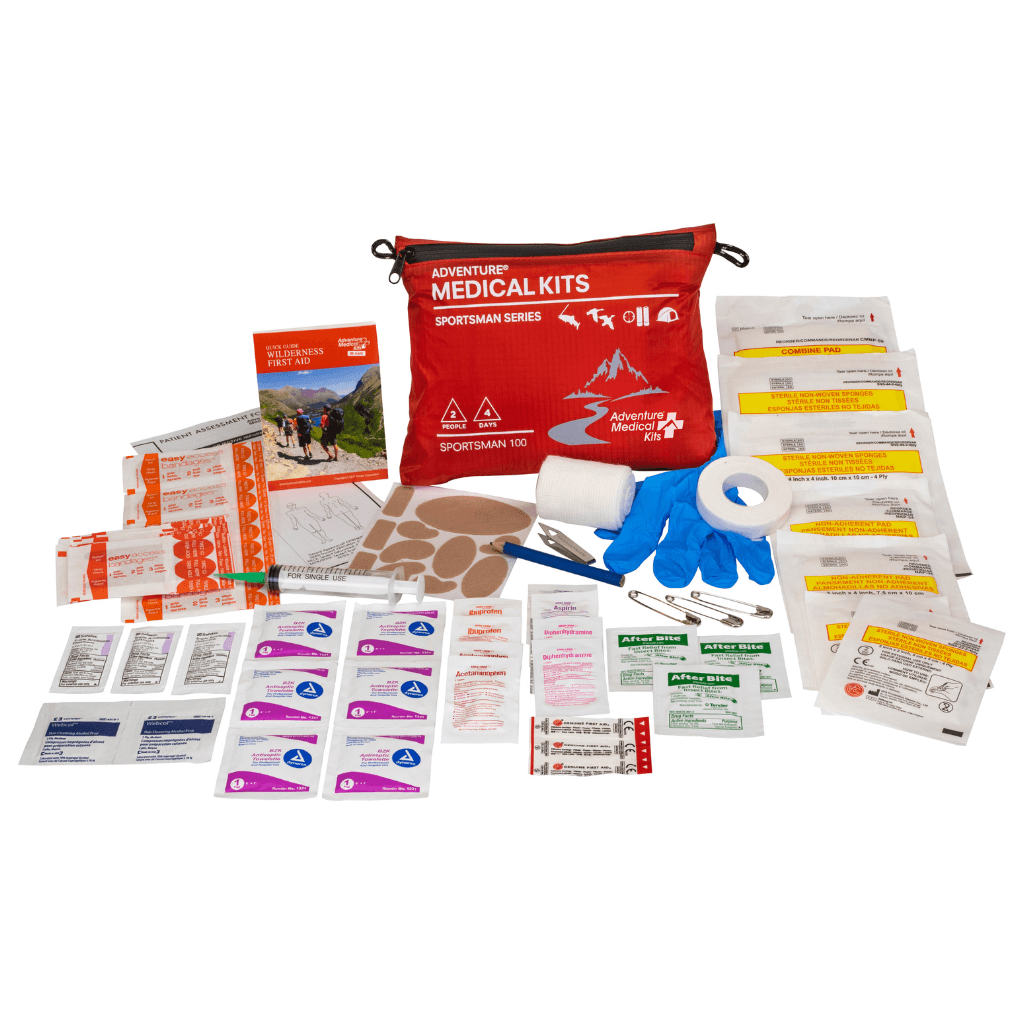
An elastic wrap may control a dressing or provide light support, but it can't reliably immobilize a deformed knee. A small adhesive bandage won't help with a carry. A compact pain-relief packet may address discomfort, but it doesn't solve circulation monitoring or splint construction.
| Supply | Purpose in Knee Dislocation Care |
|---|---|
| Rigid or moldable splint | Supports the leg in the position found and limits movement |
| Padding material | Protects pressure points and fills gaps around the limb |
| Elastic bandages | Secures padding and splinting materials when applied without restricting circulation |
| Triangular bandages | Helps secure the leg and create improvised supports |
| Waterproof tape | Reinforces splints and keeps dressings or padding in place |
| Gloves | Supports safer patient care and wound handling |
| Pen and waterproof notes | Records times, circulation findings, medication, and changes |
| Emergency shelter or insulation | Reduces heat loss while the patient waits |
| Communication device | Allows rescue activation and updates |
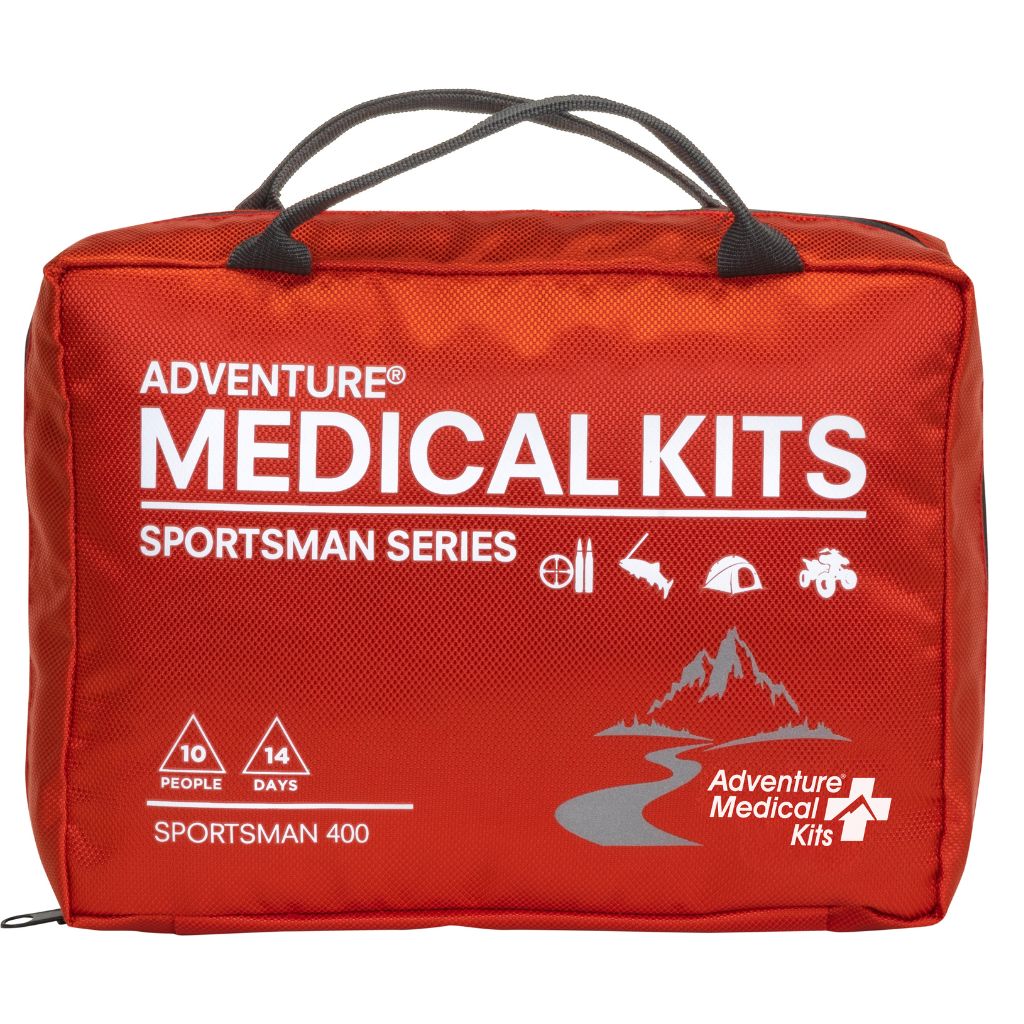
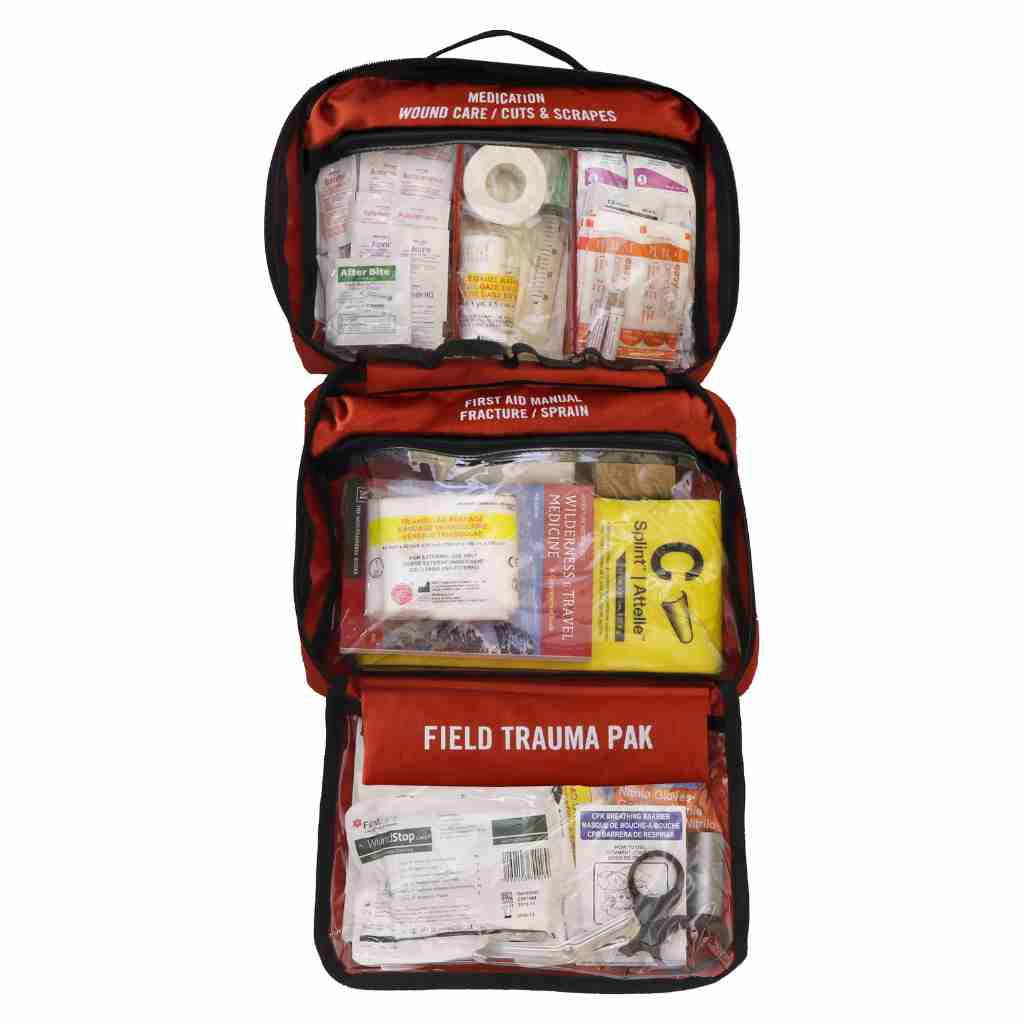
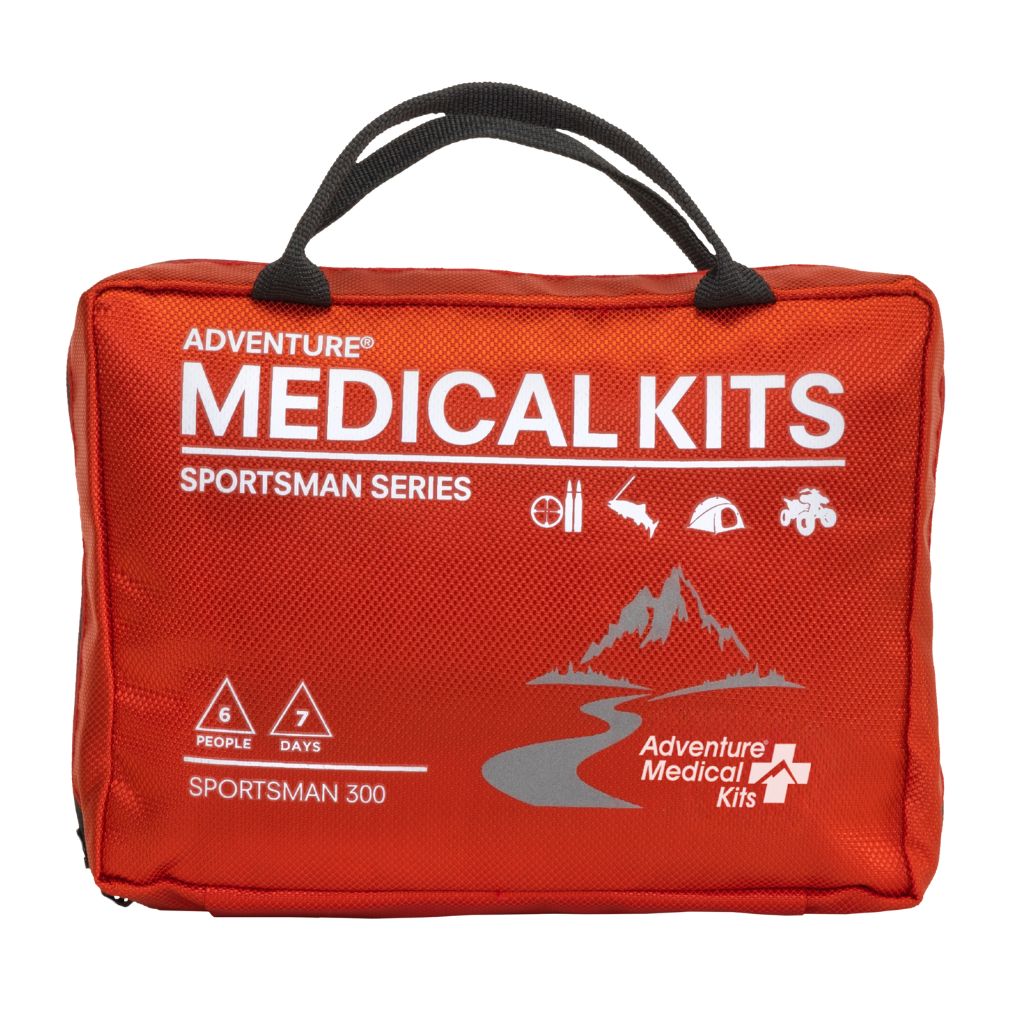
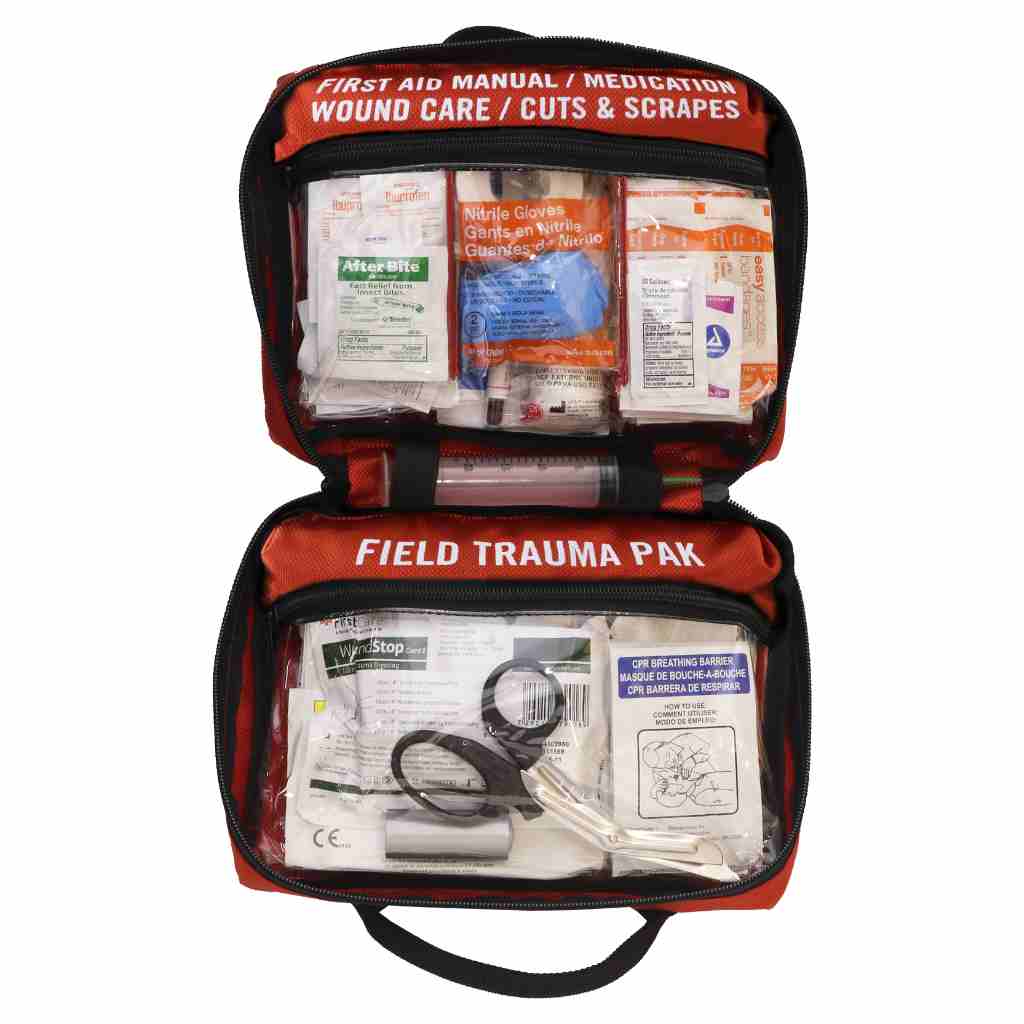
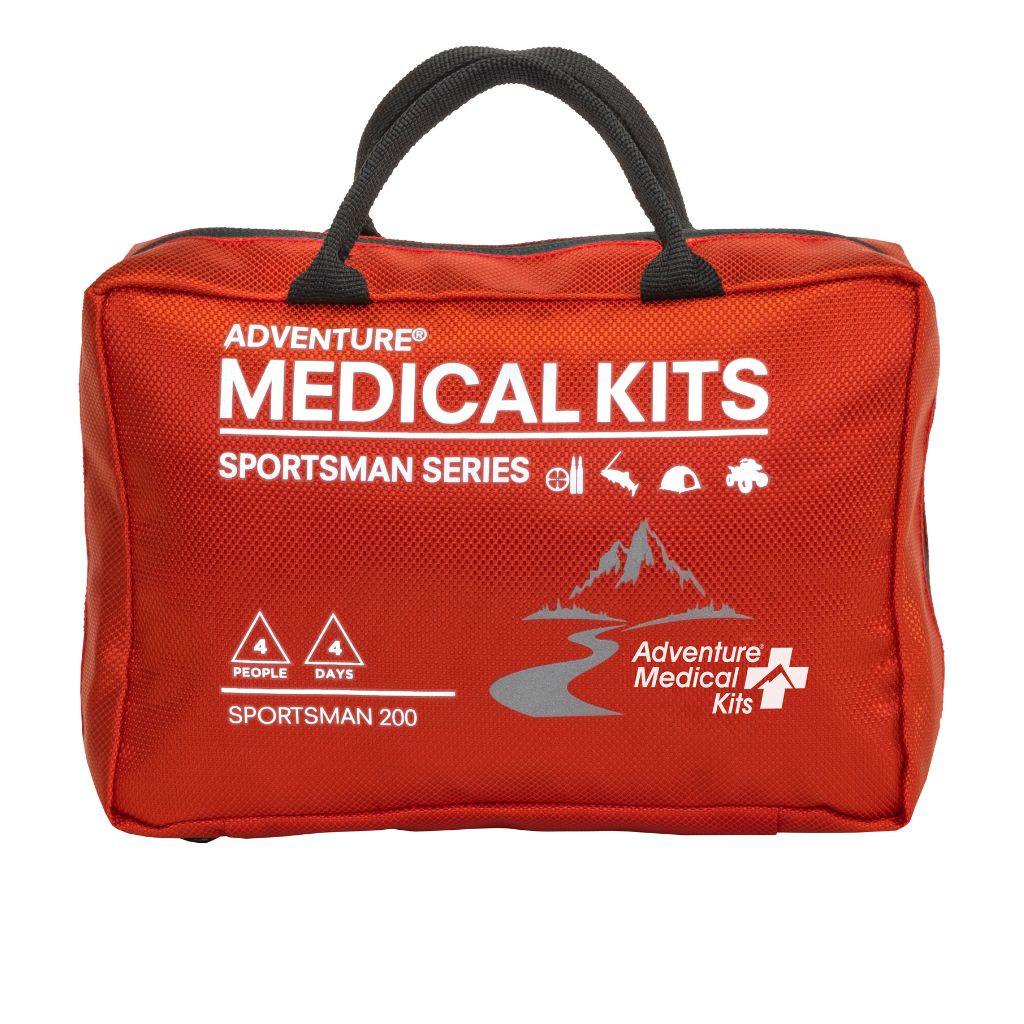
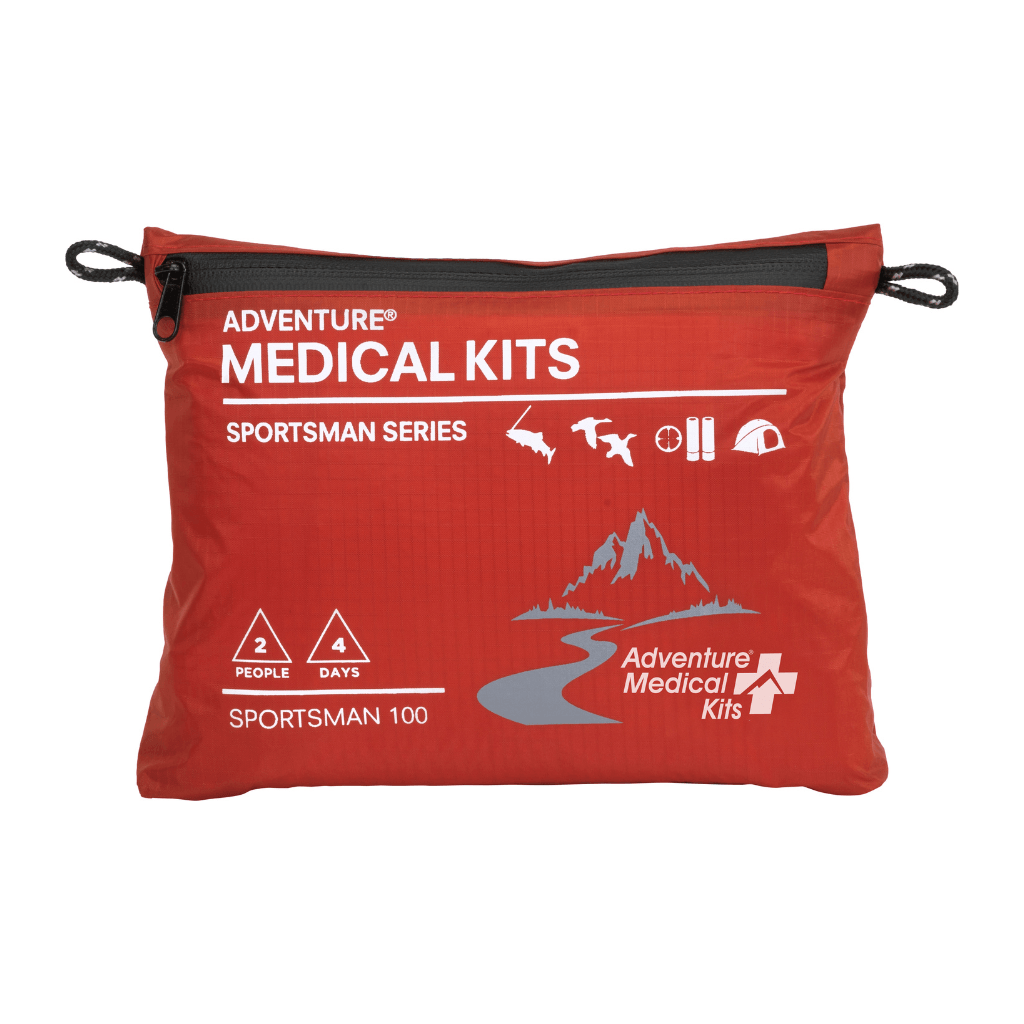
The best hiking first aid kit guidance can help a group compare capacity and organization against route demands. The right kit isn't necessarily the largest one. It needs supplies that can be reached quickly and carried consistently.
Organization matters under pressure
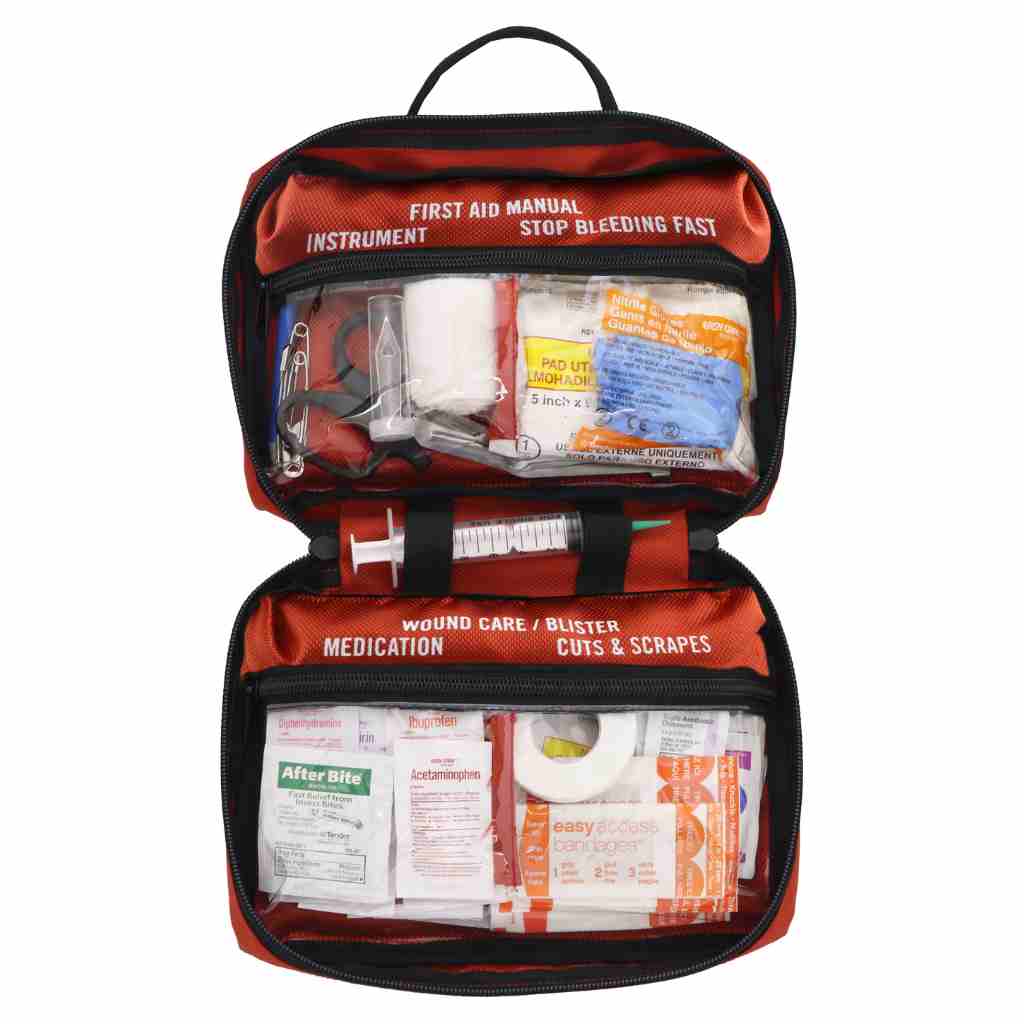
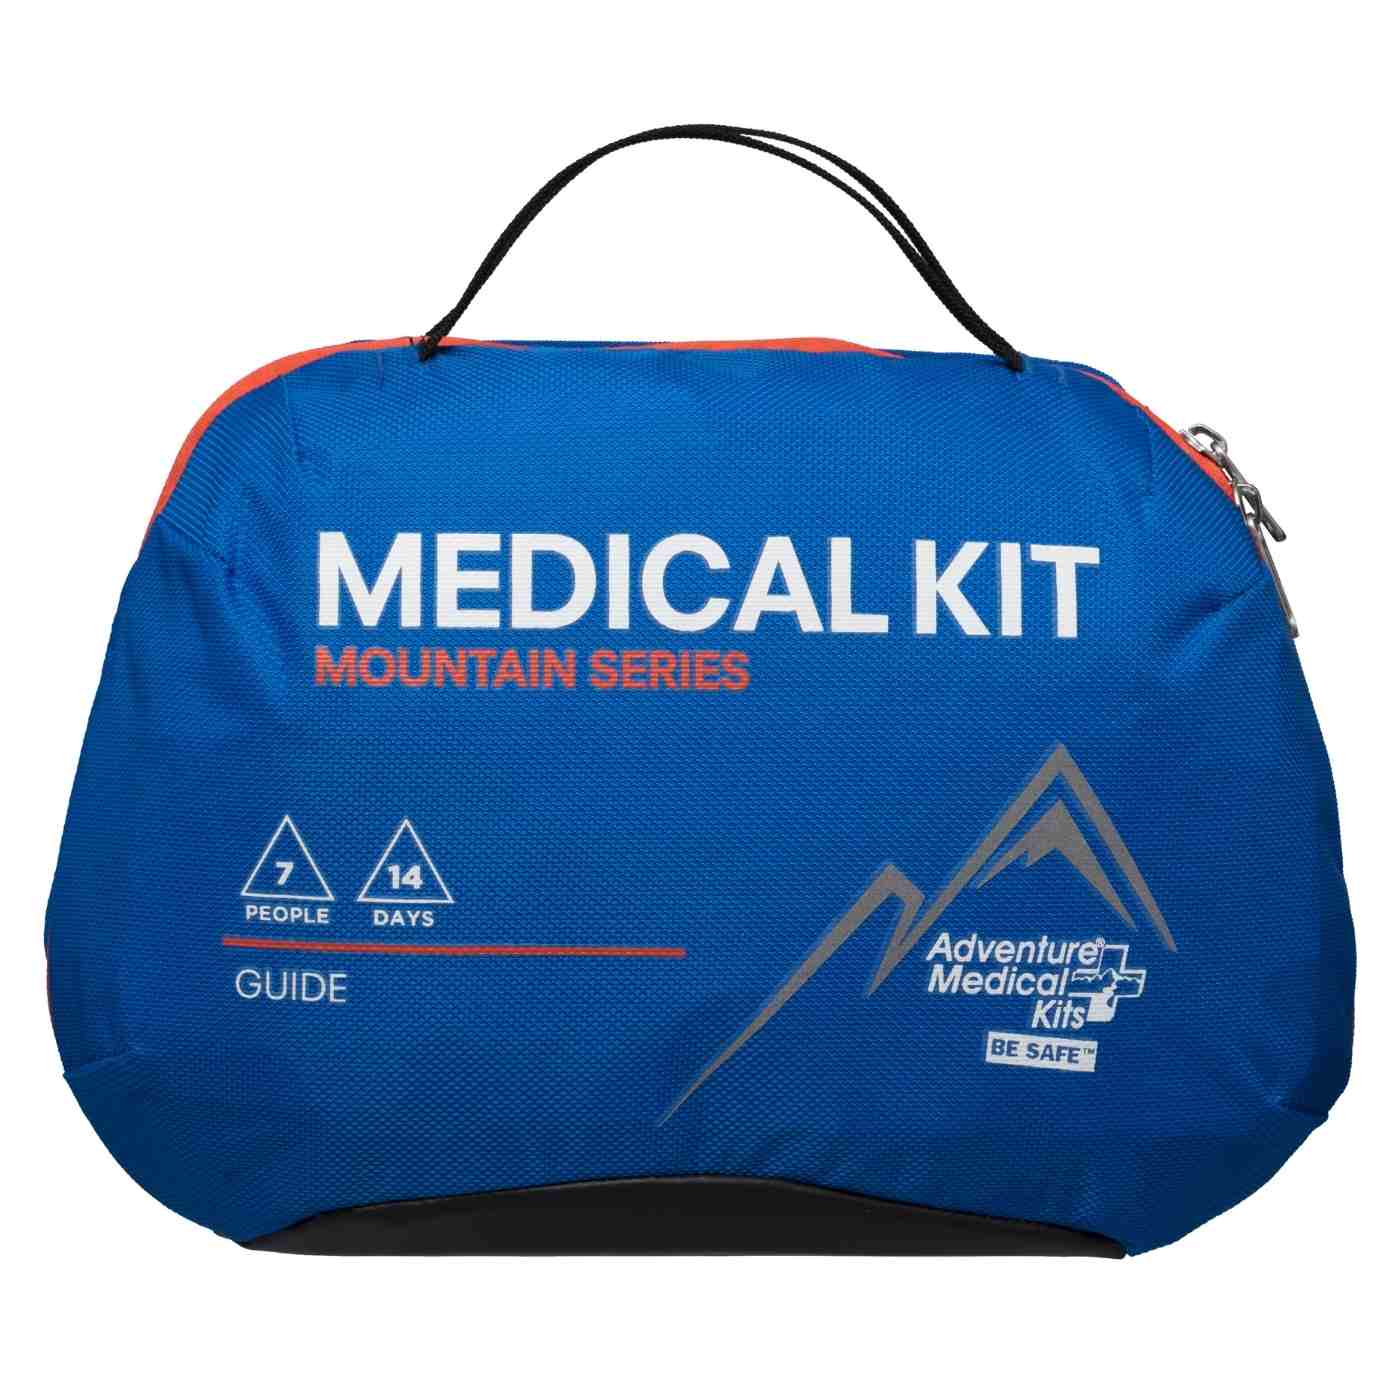
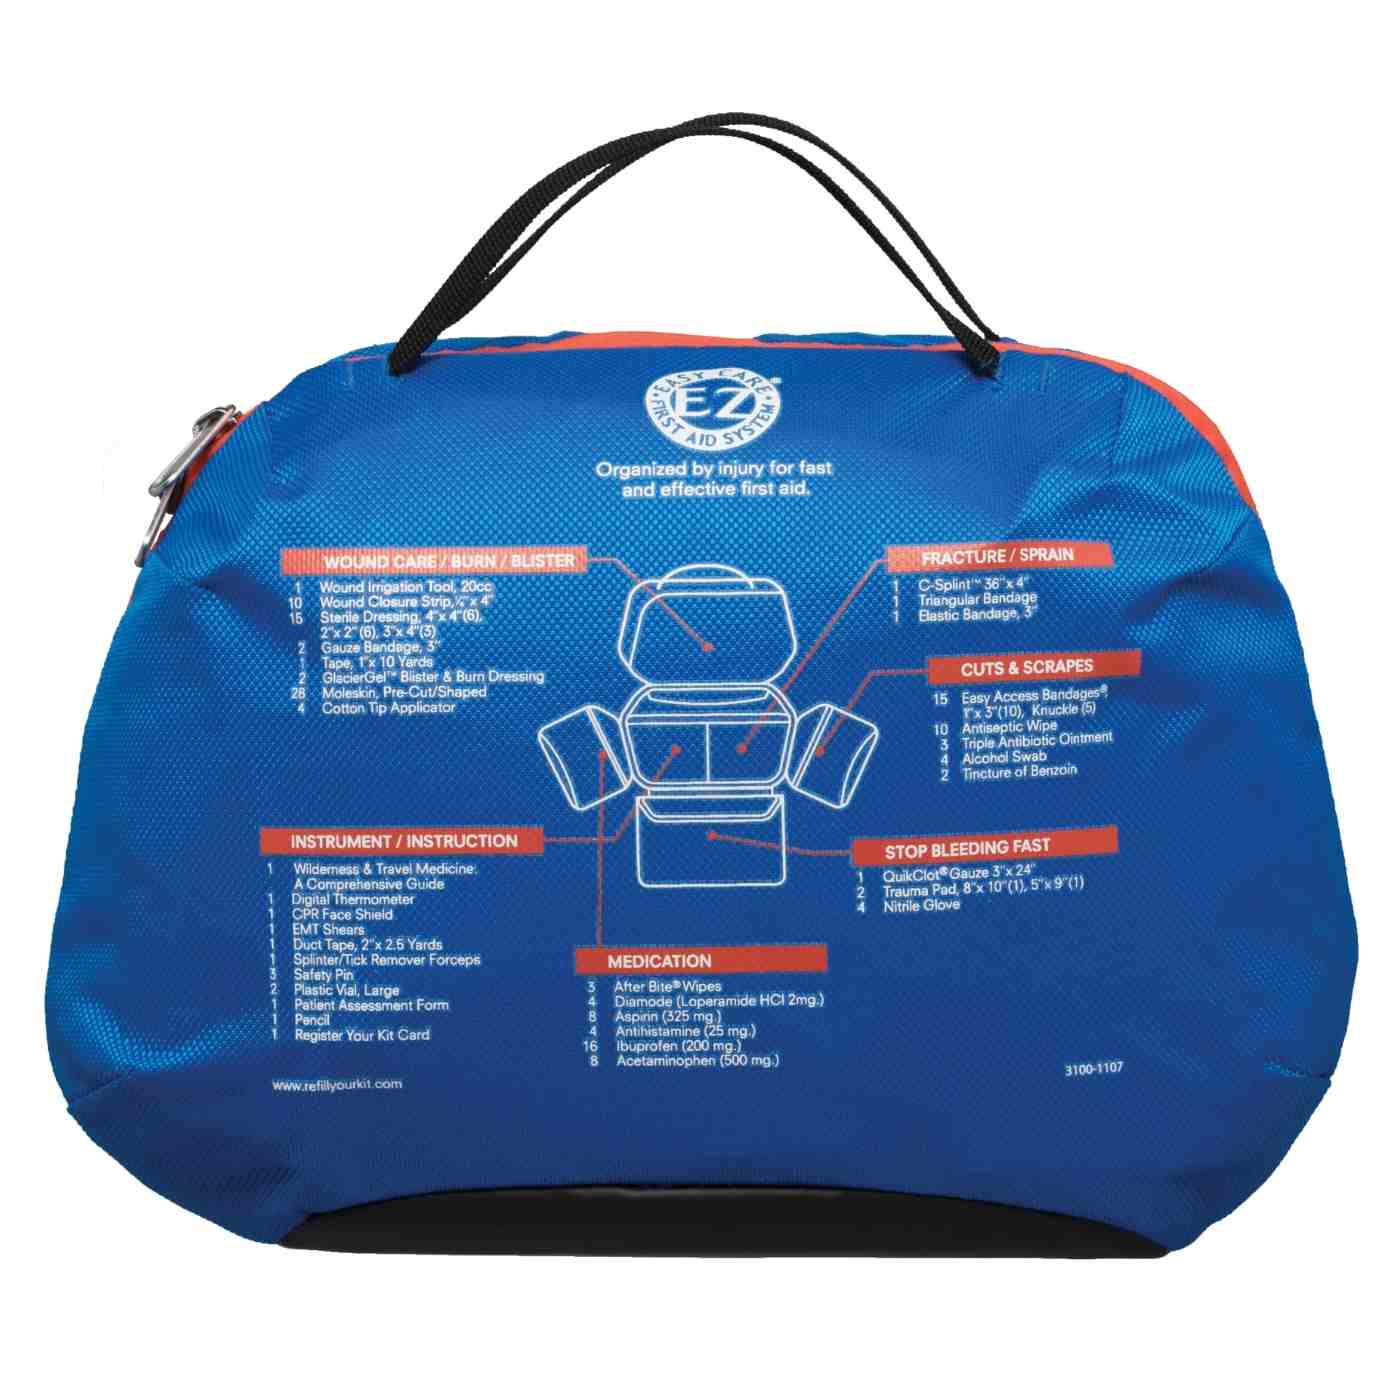
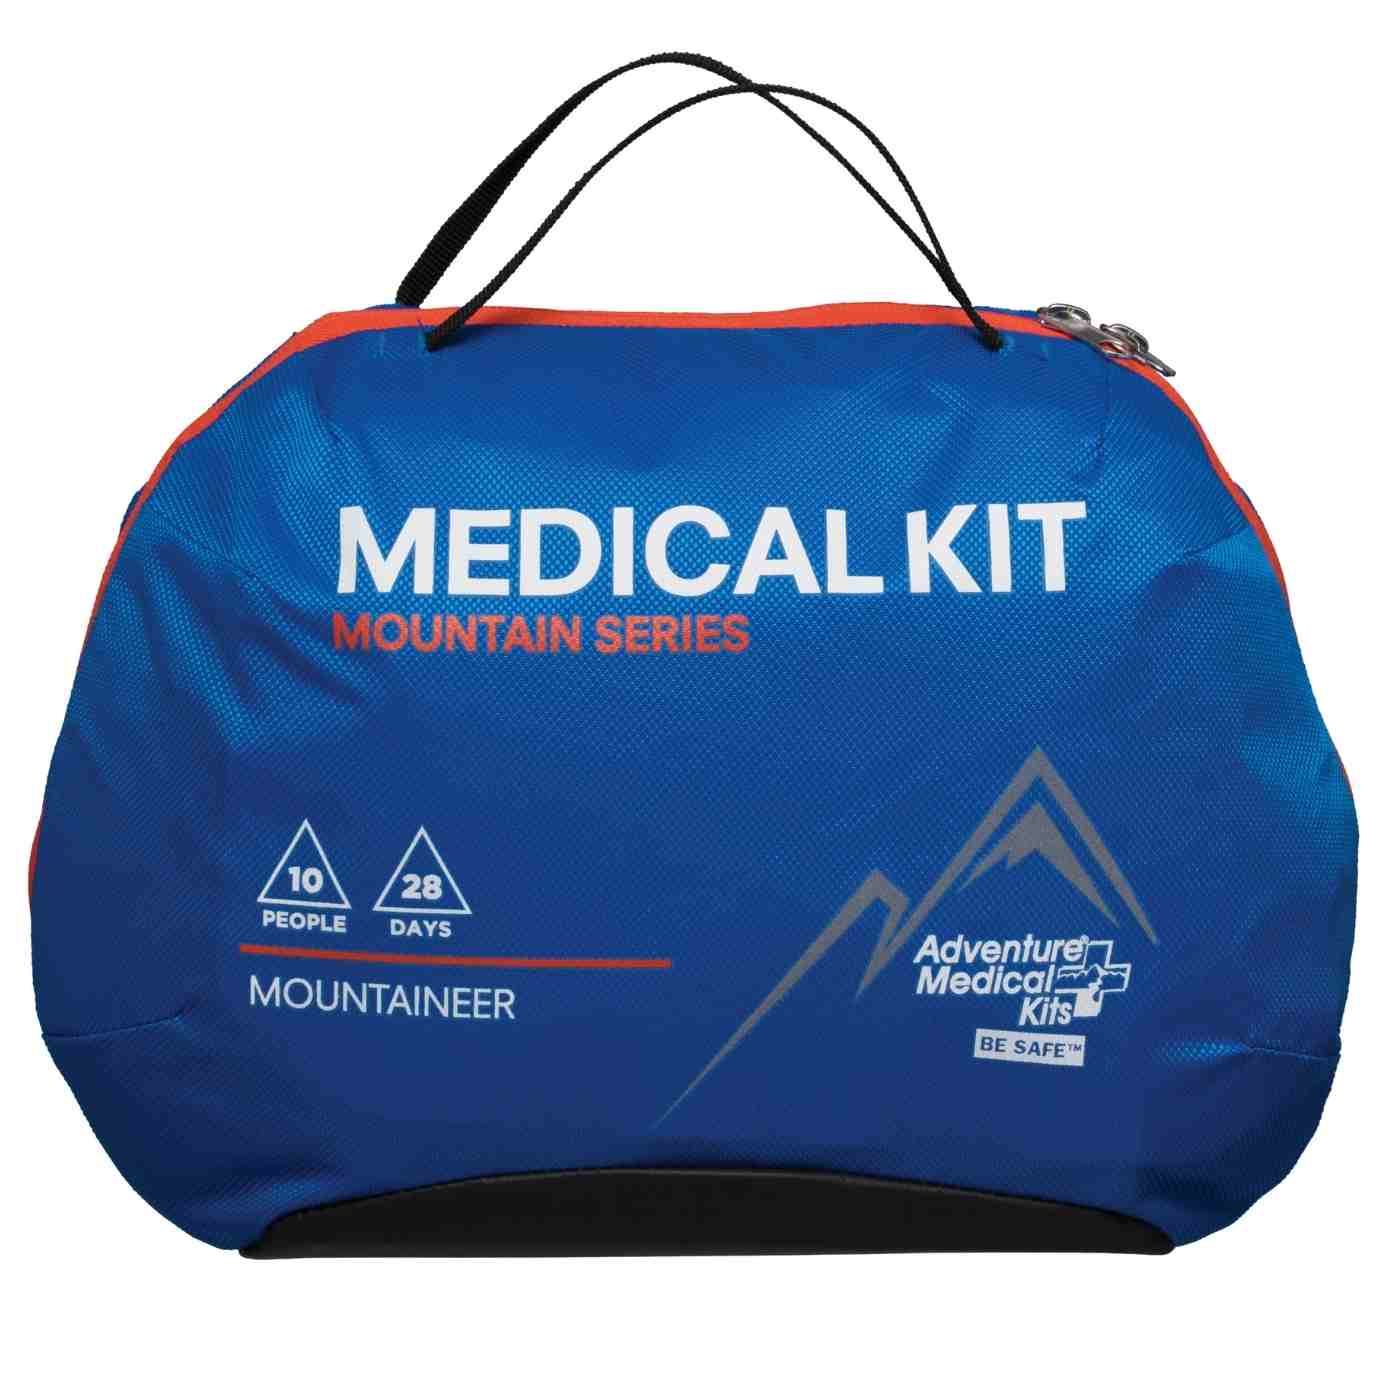
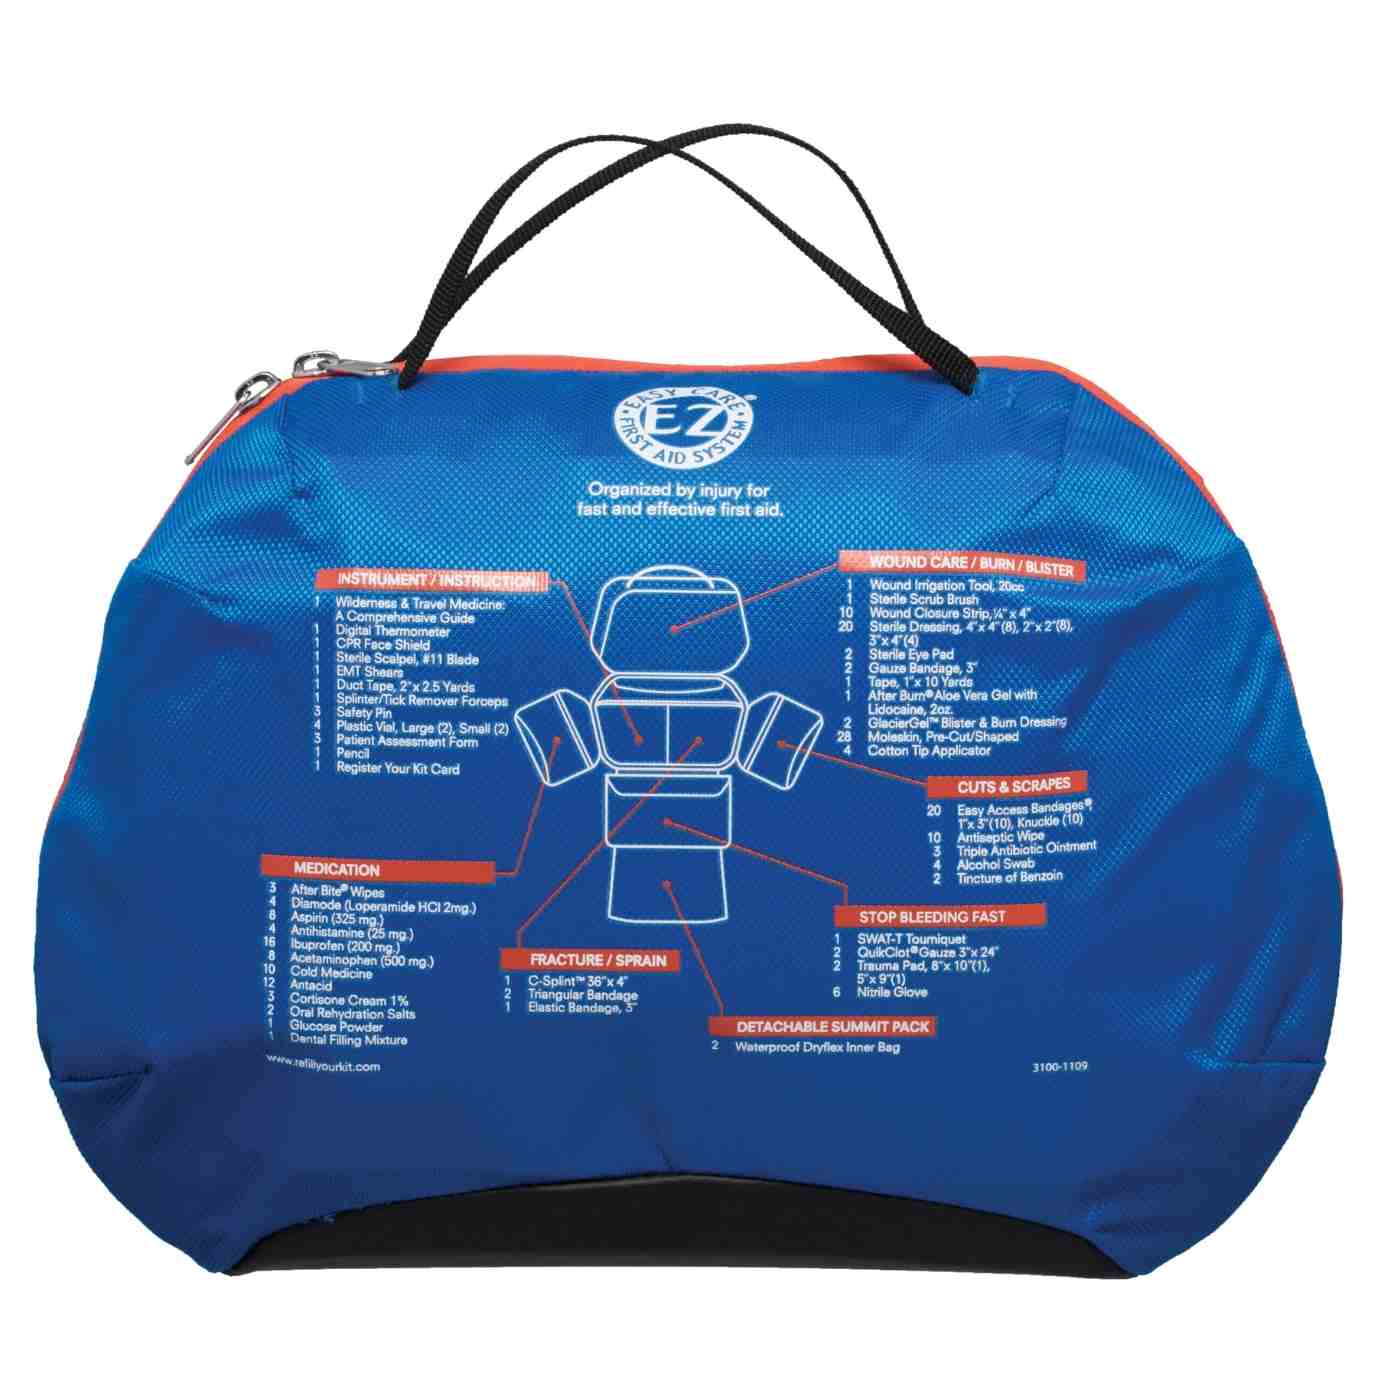
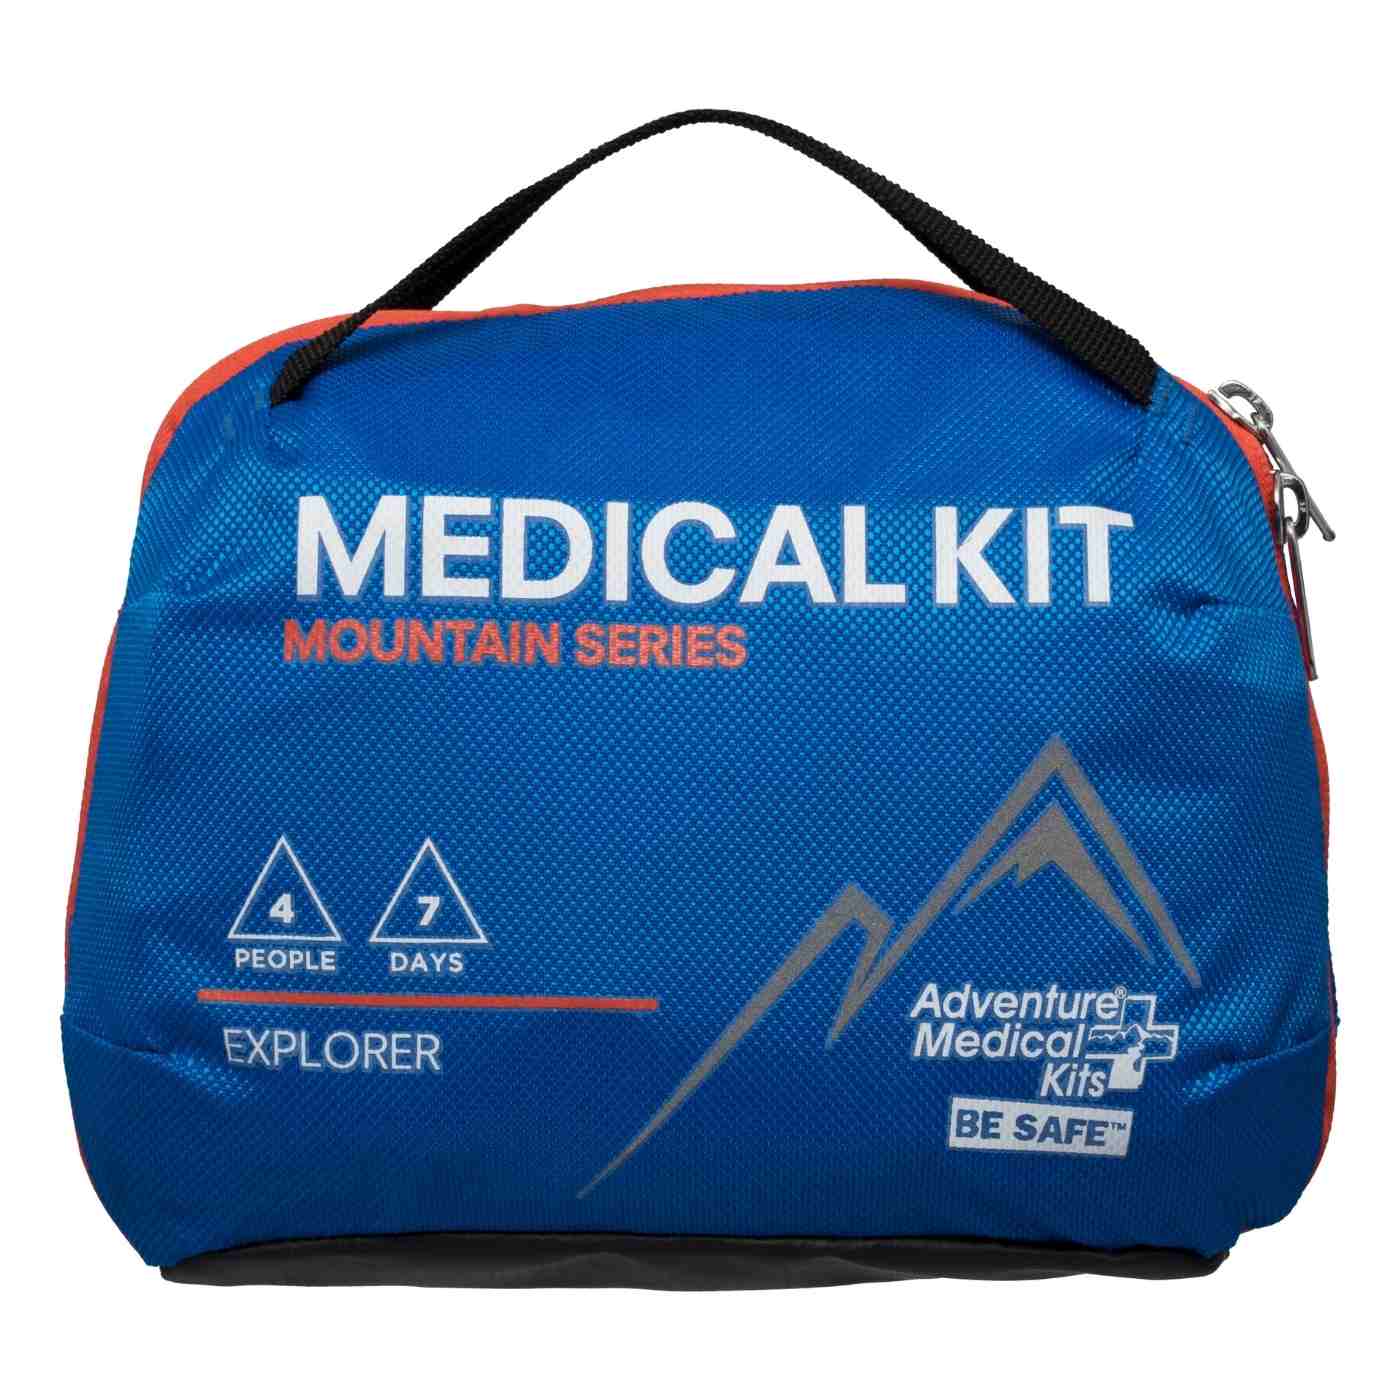
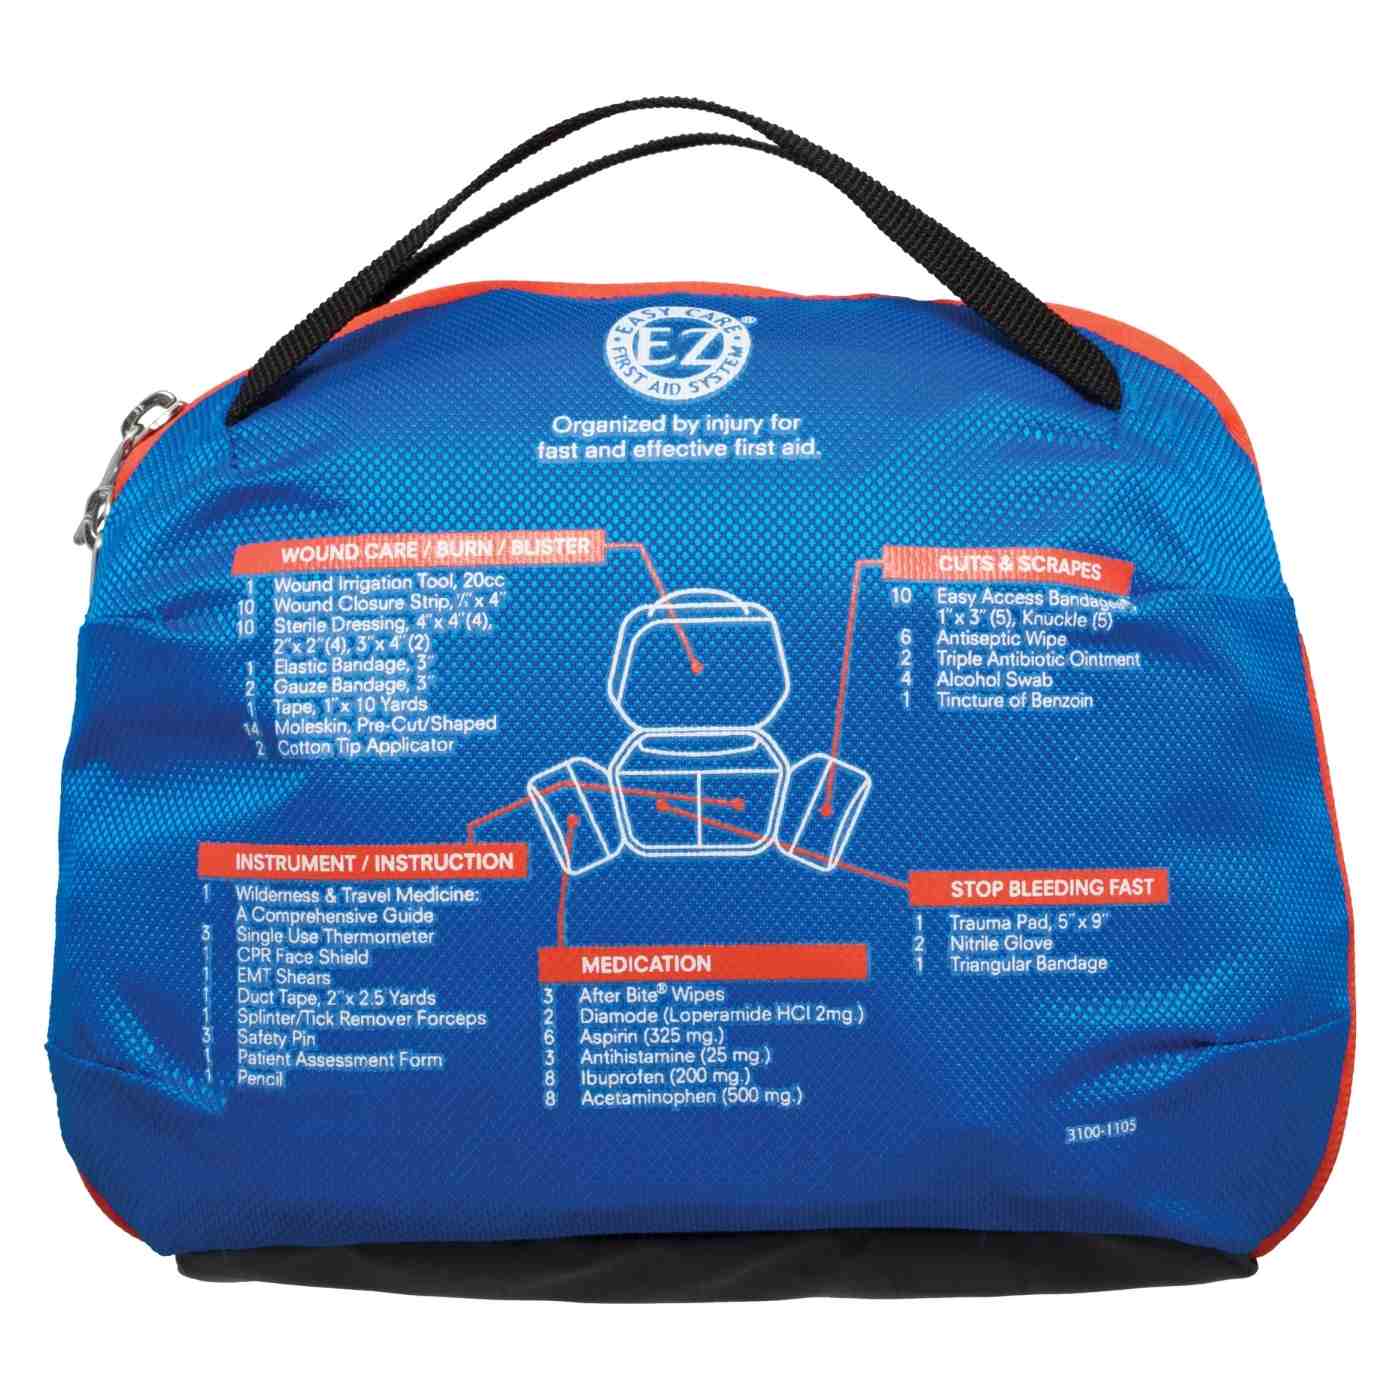
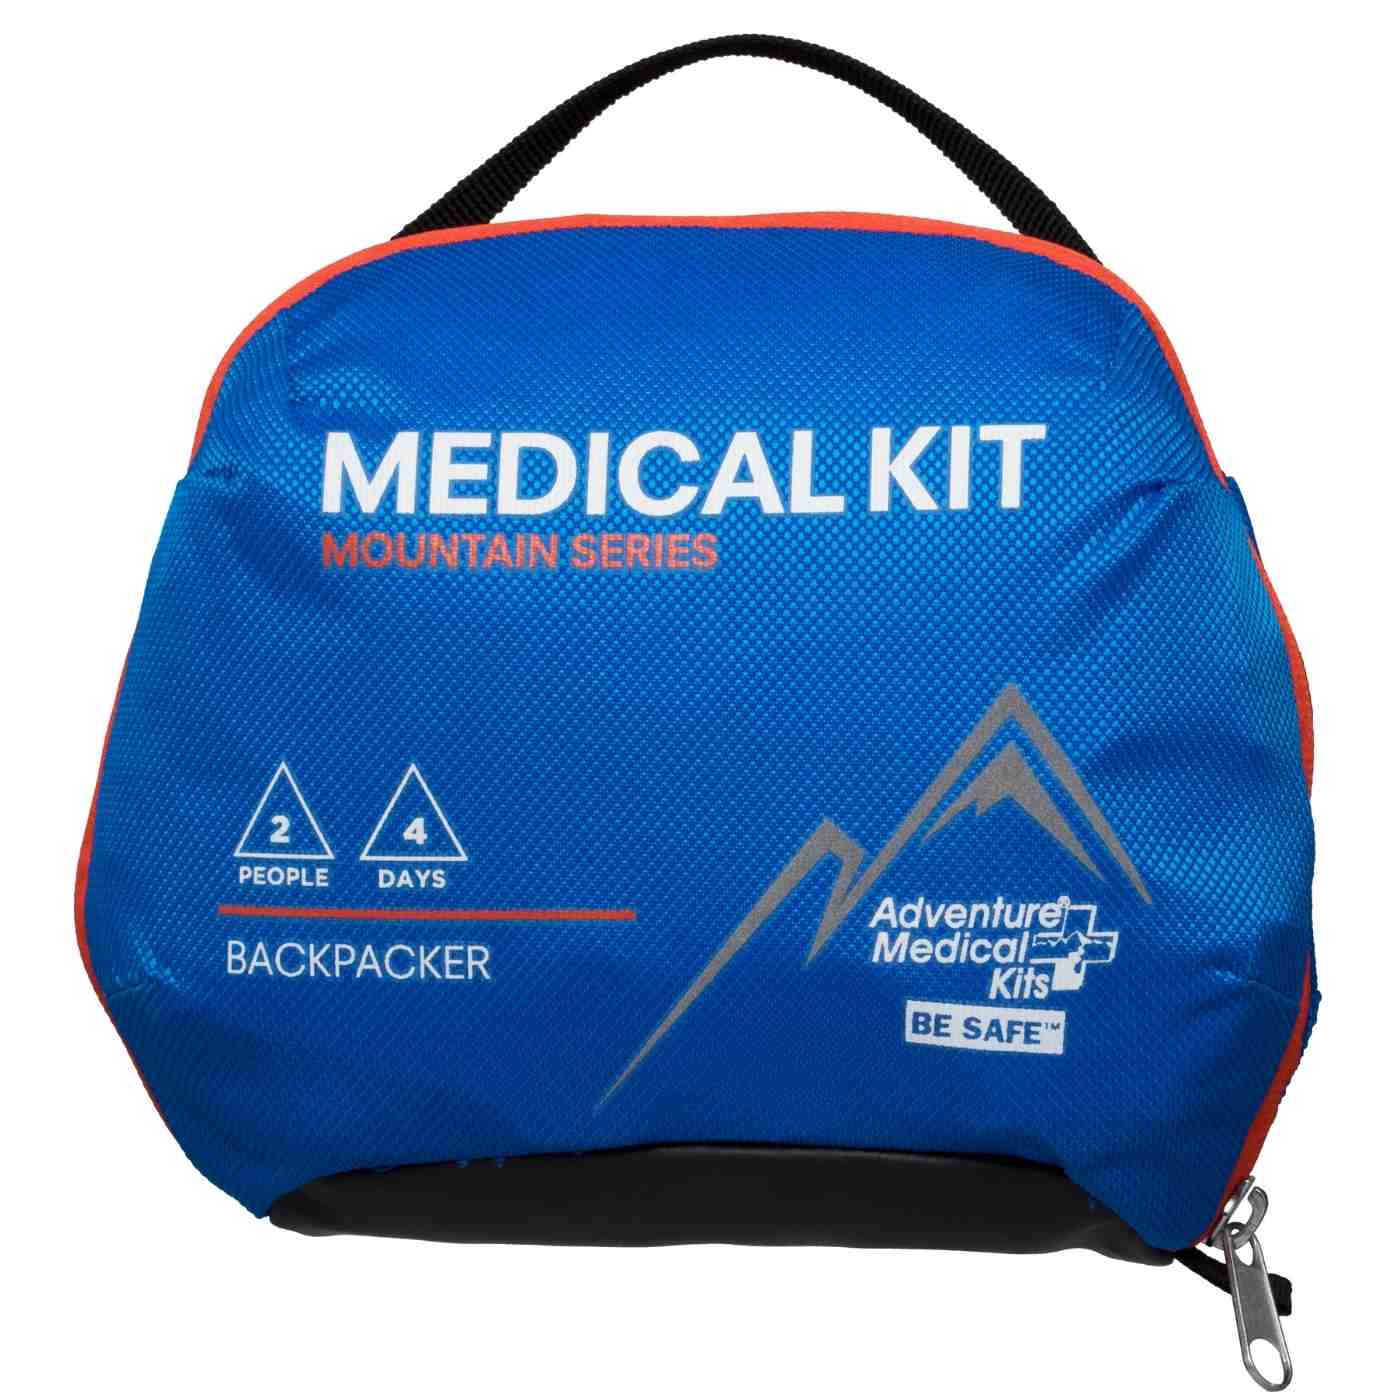
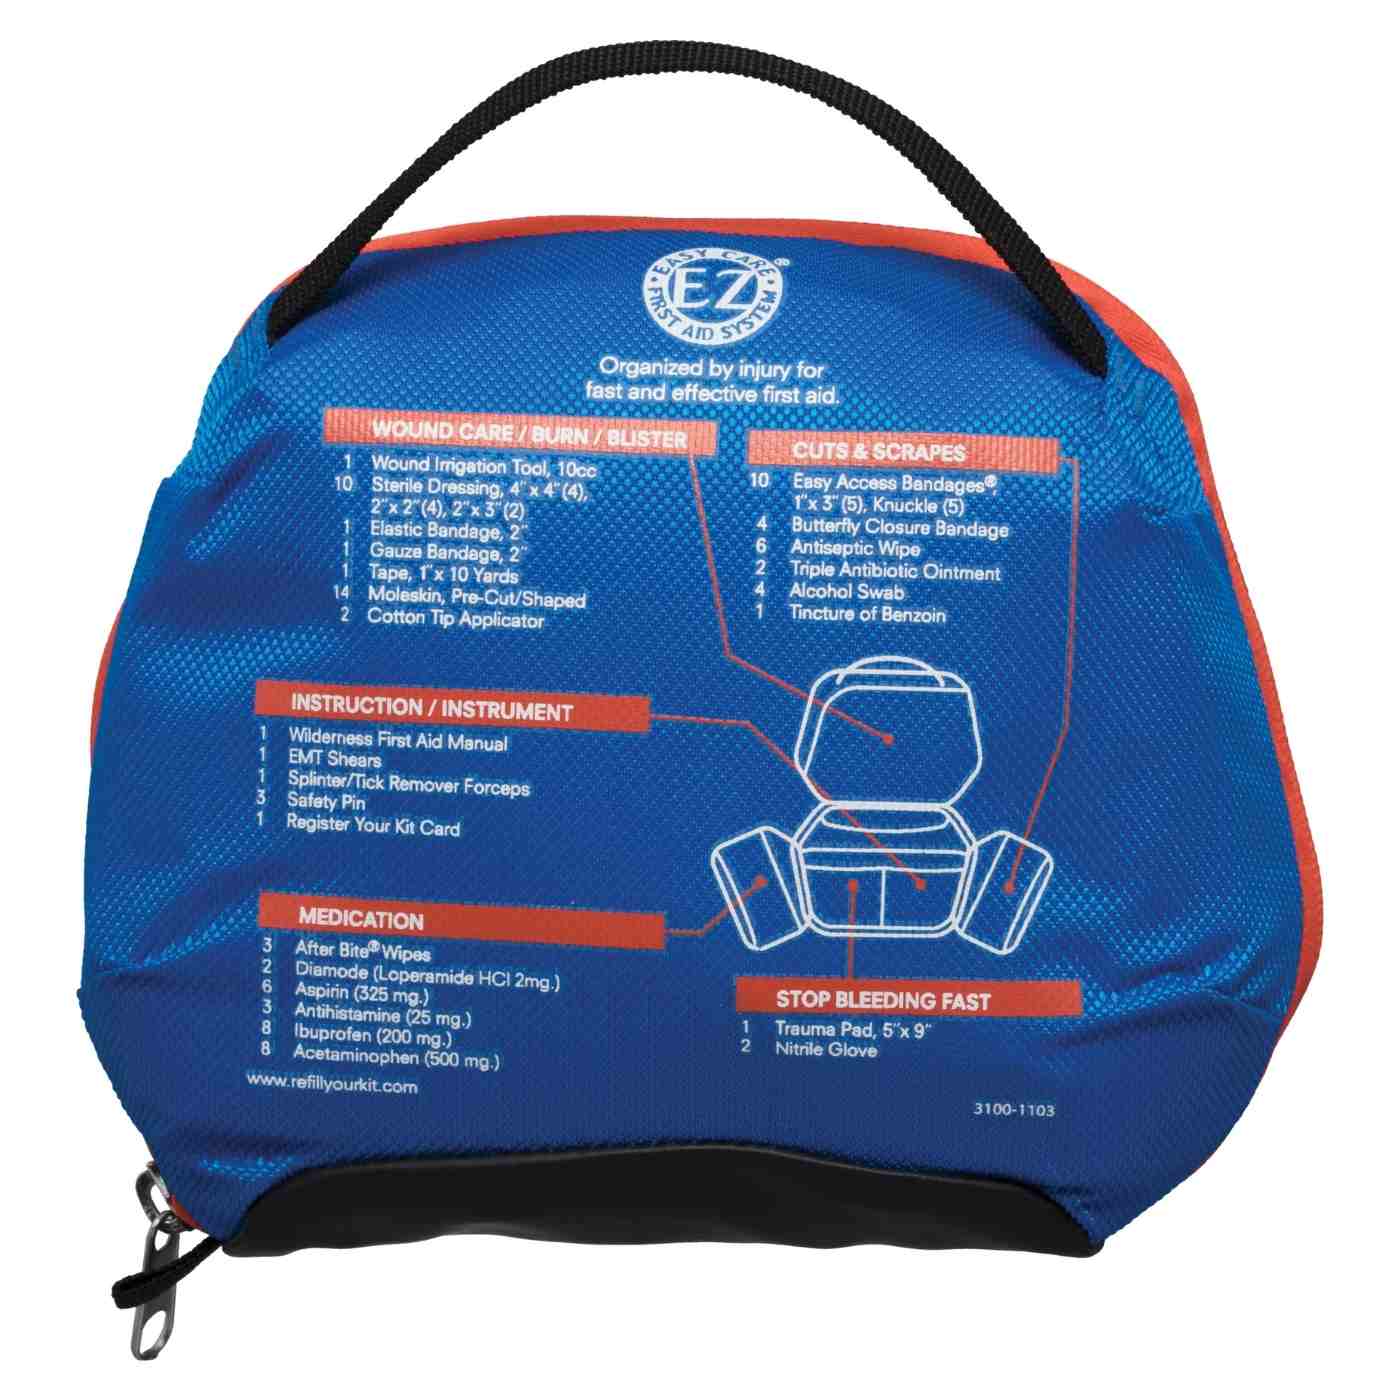
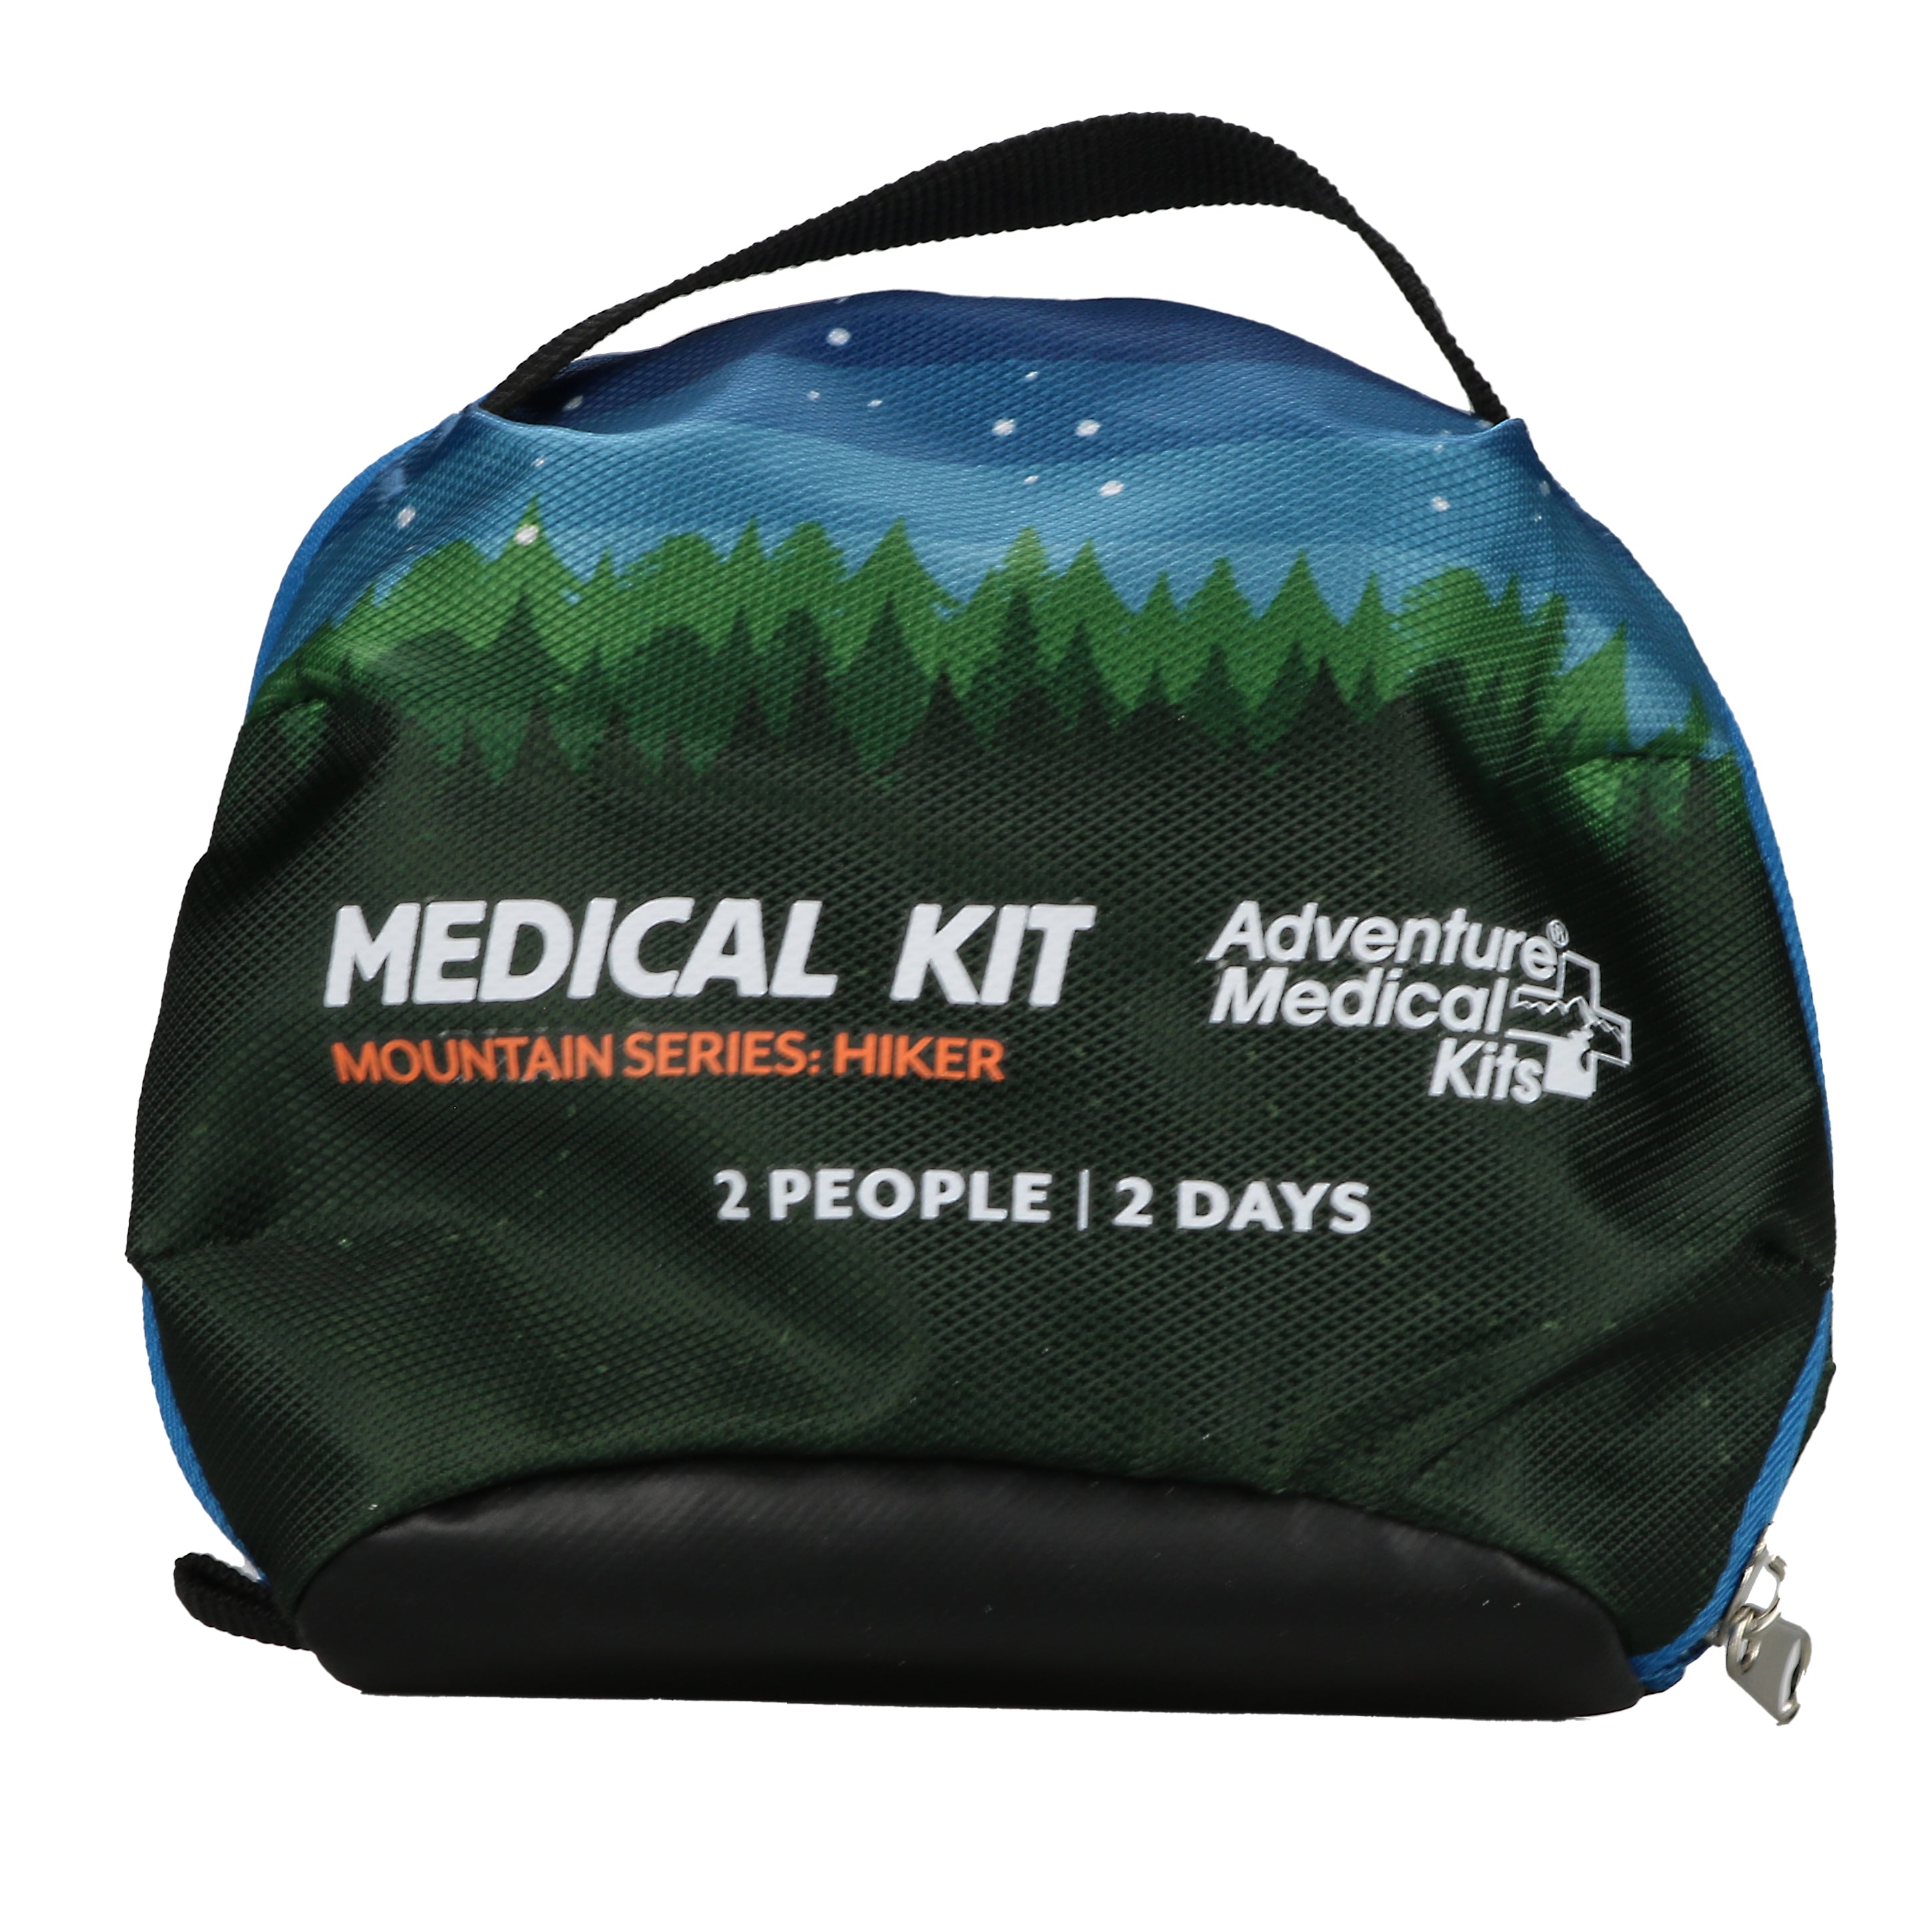
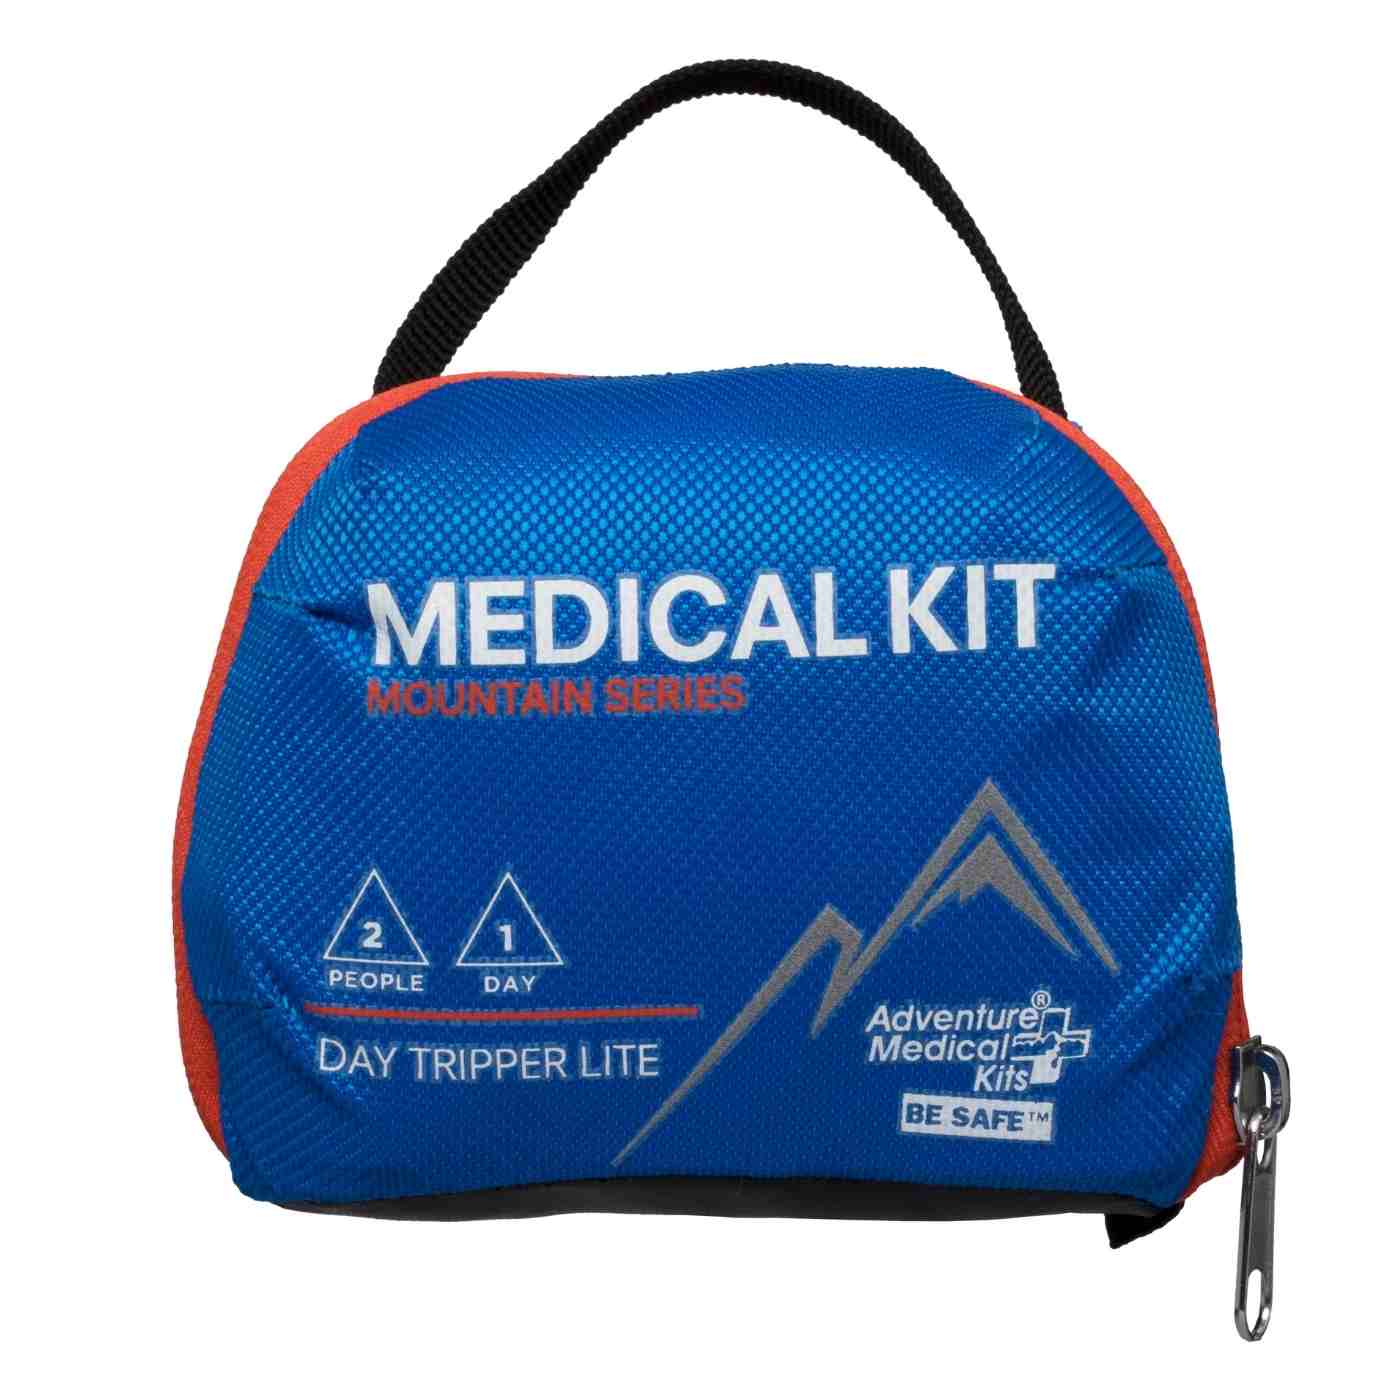
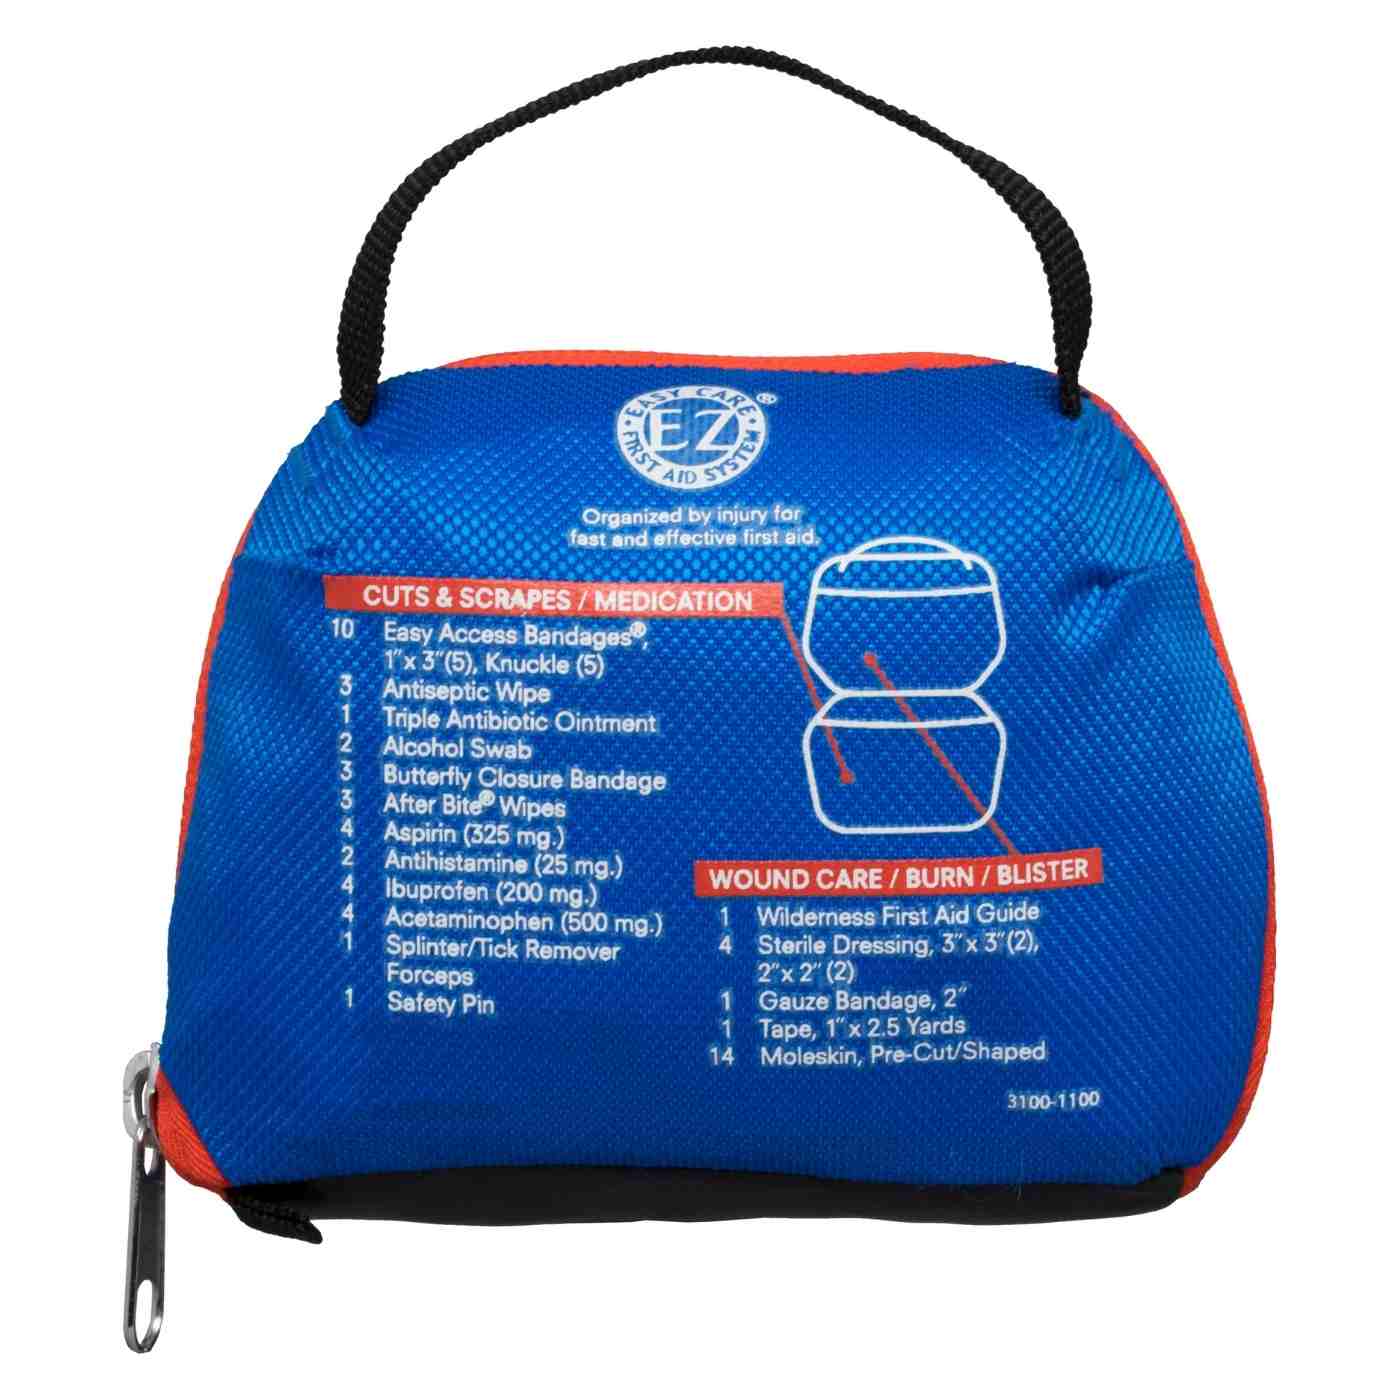
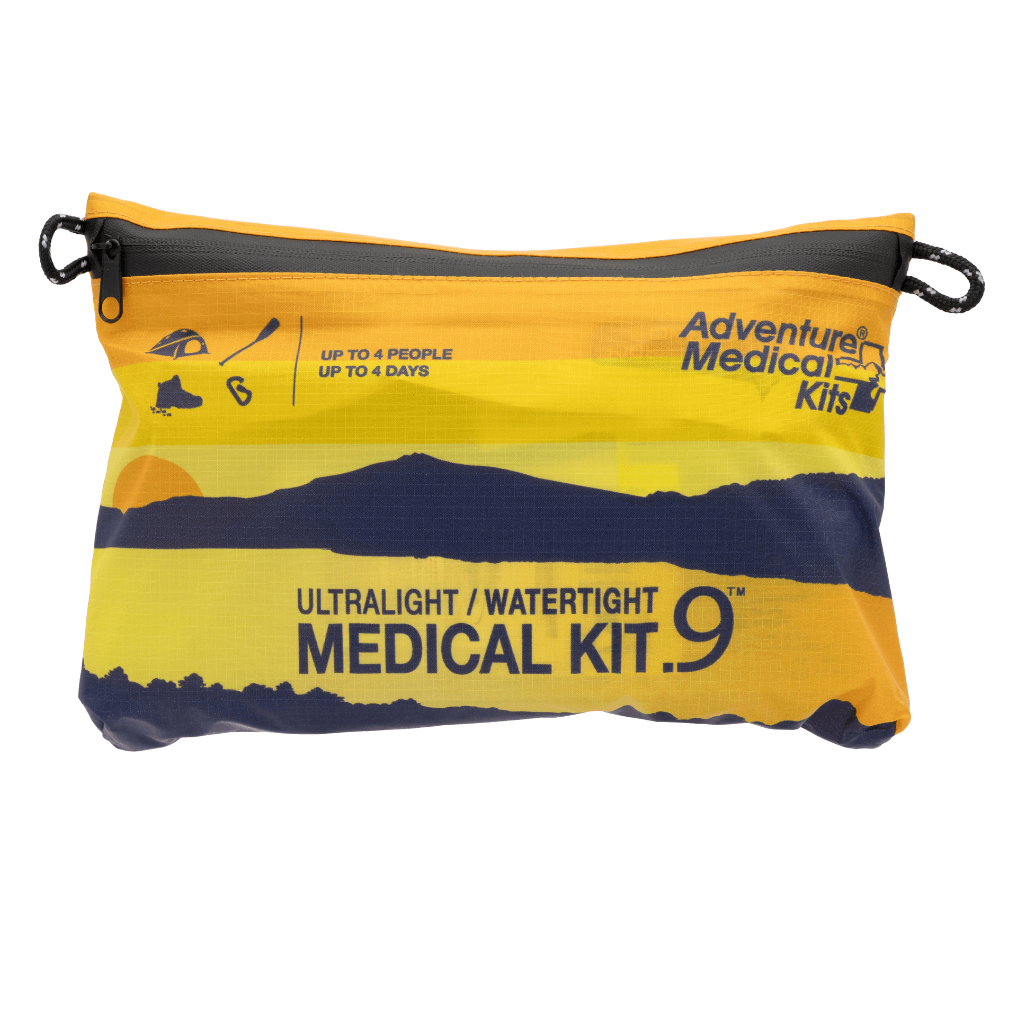
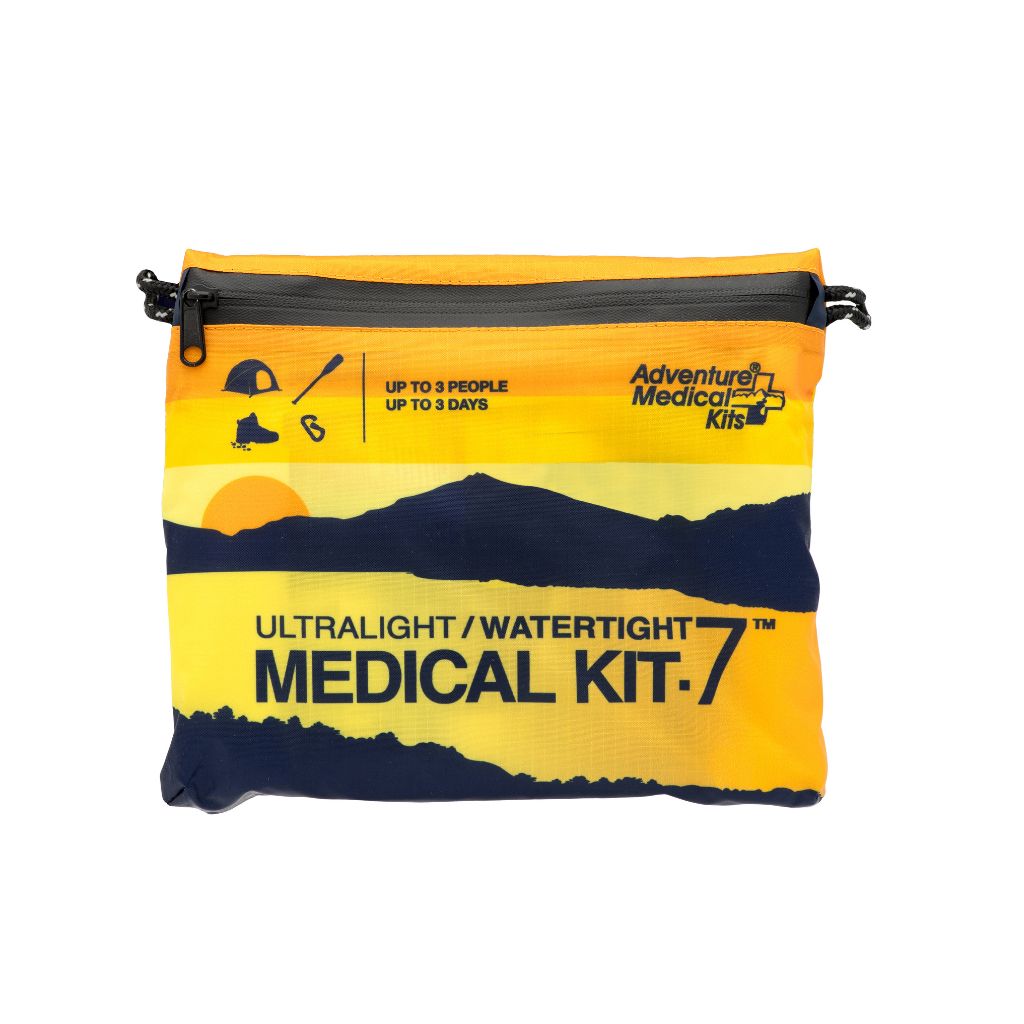
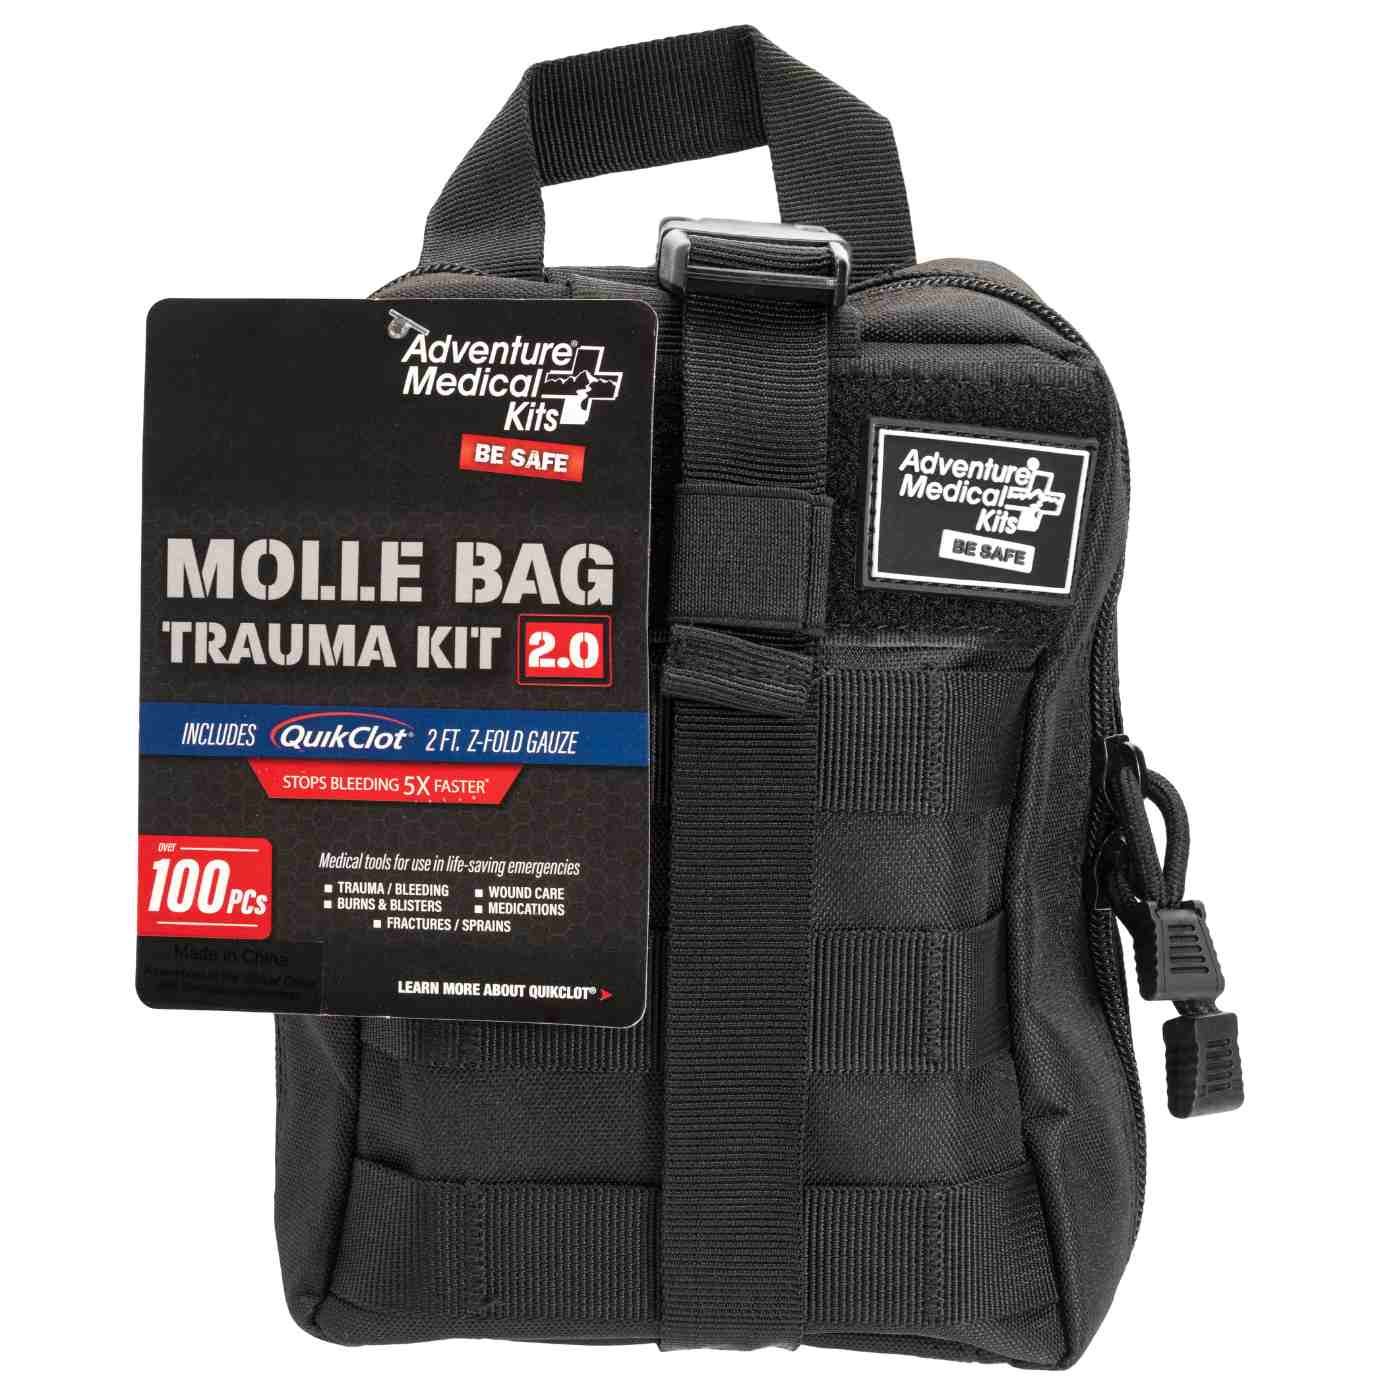
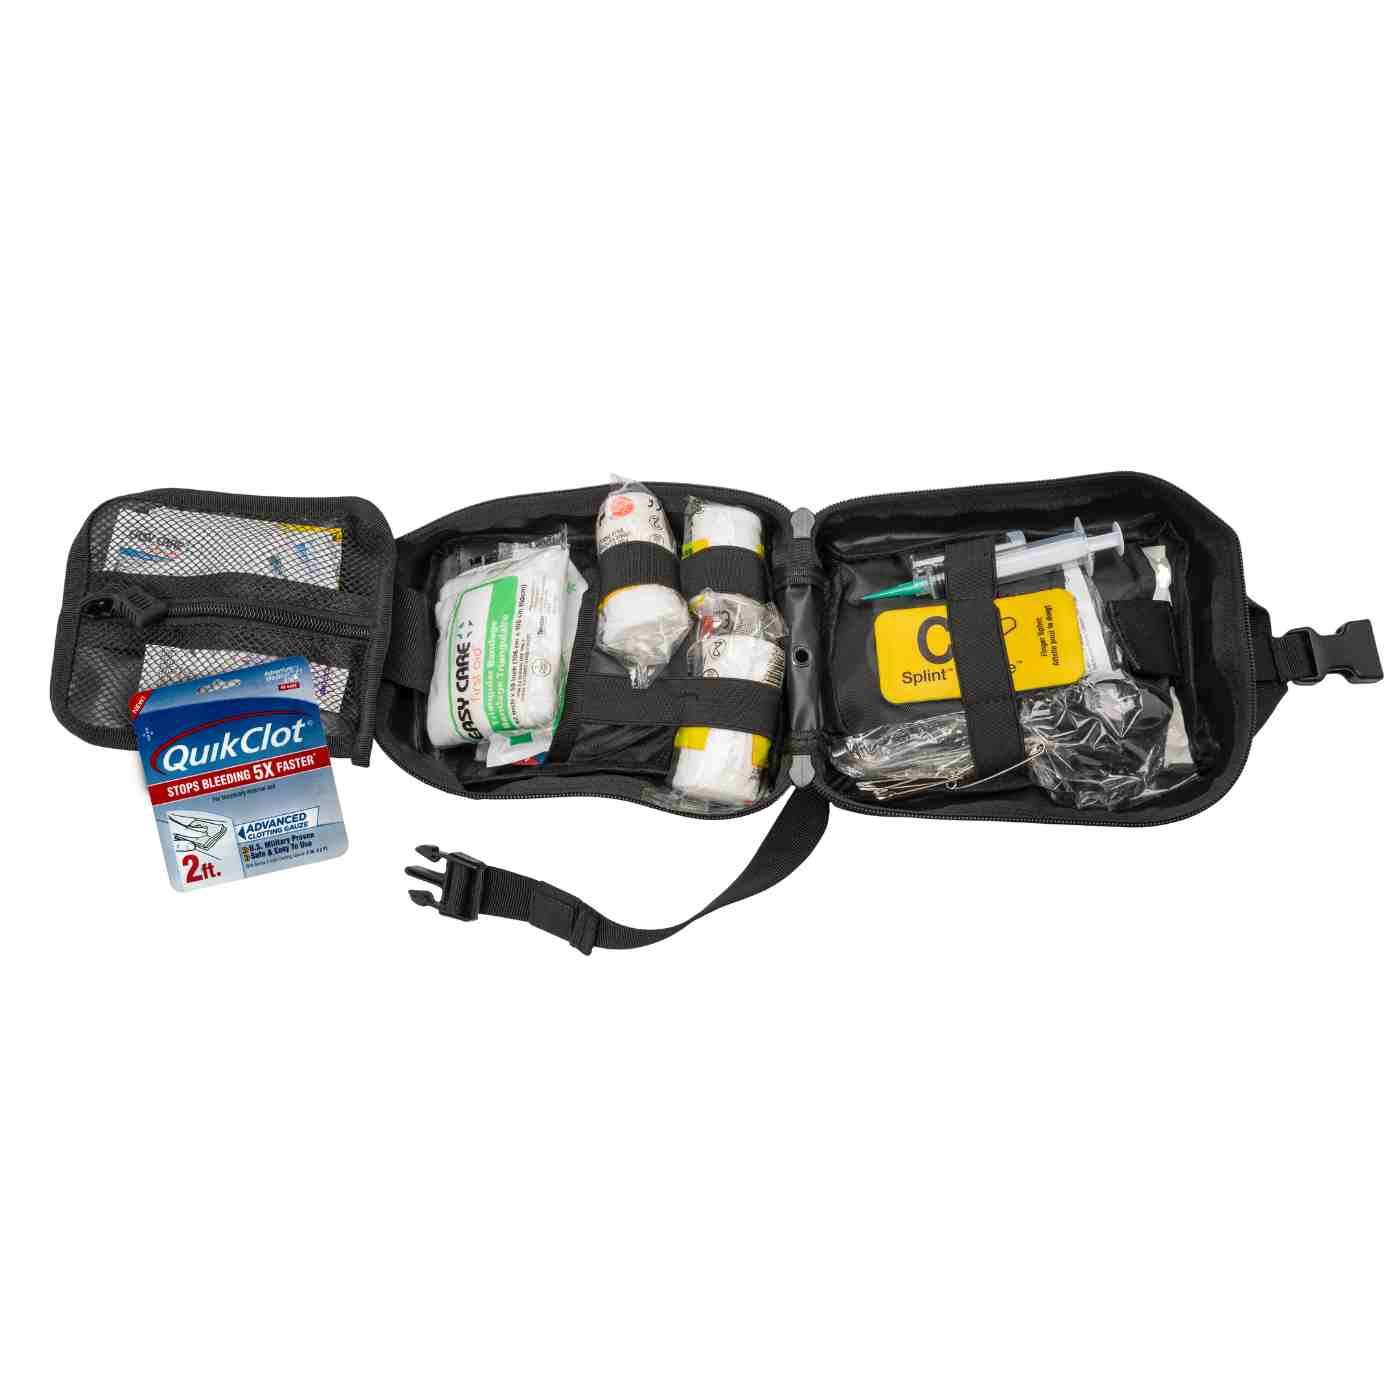
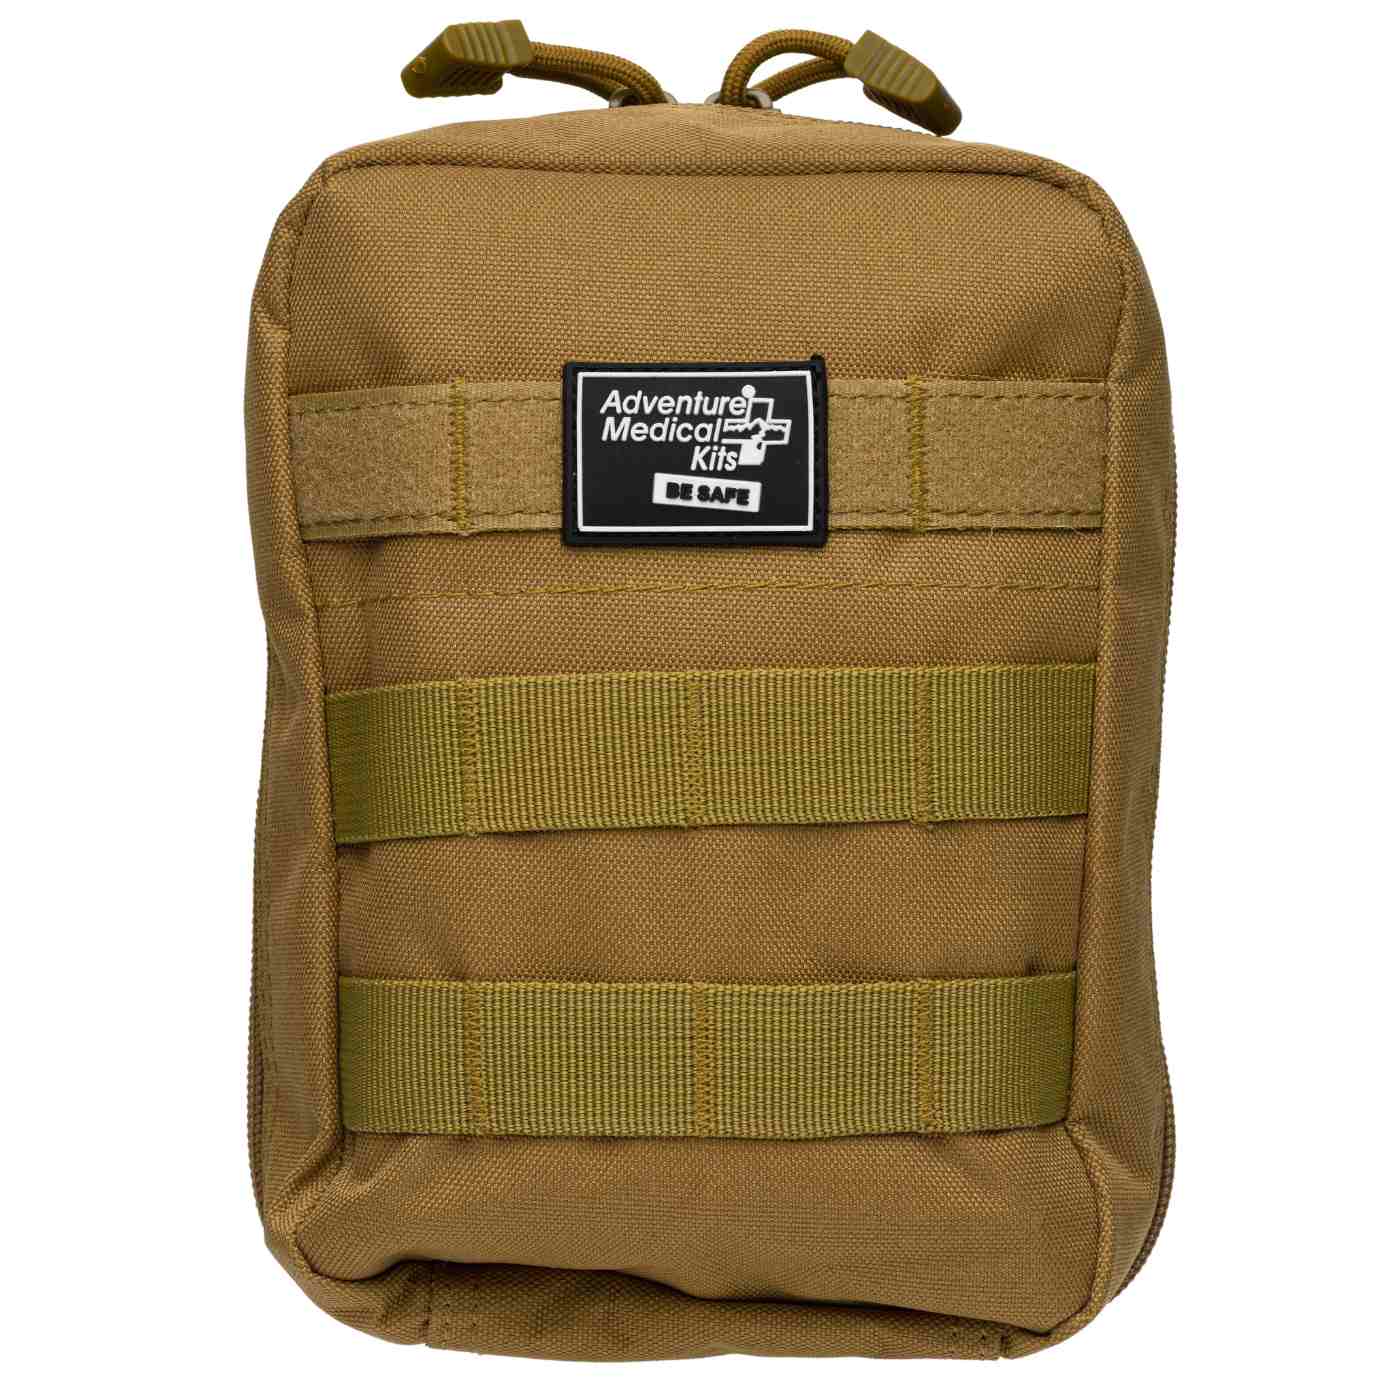
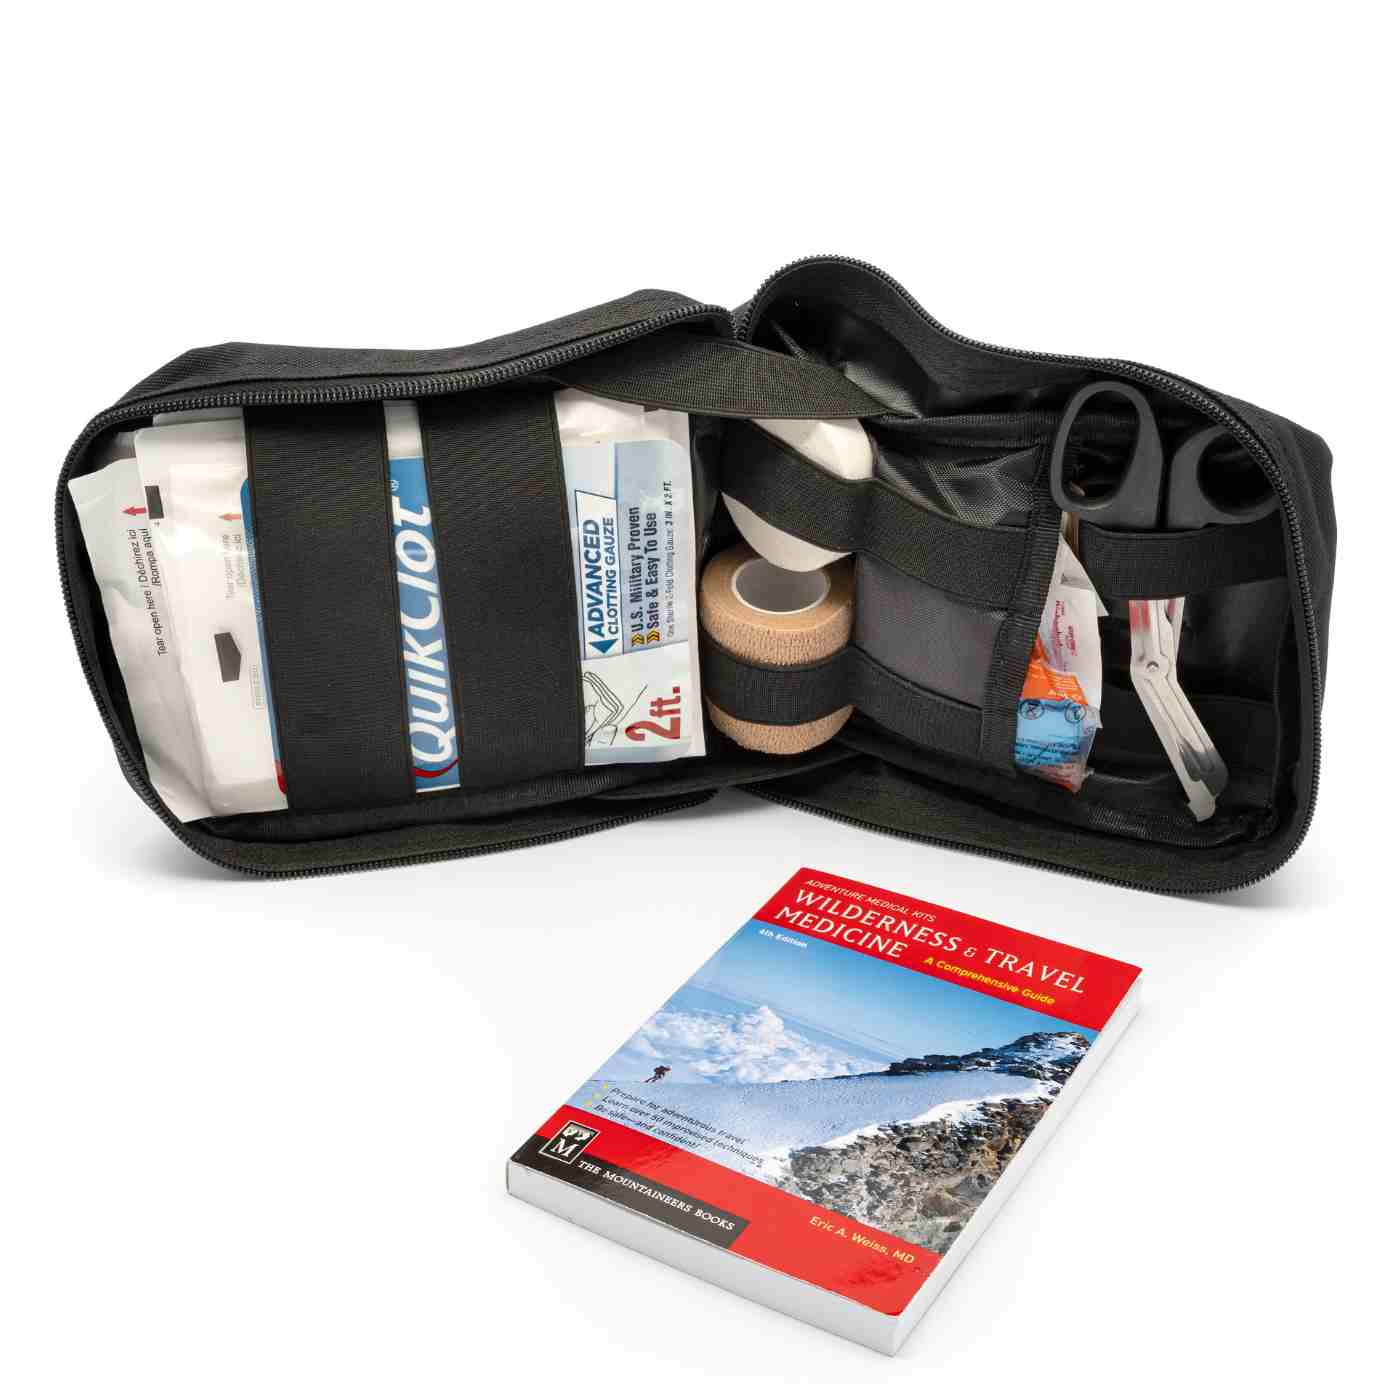
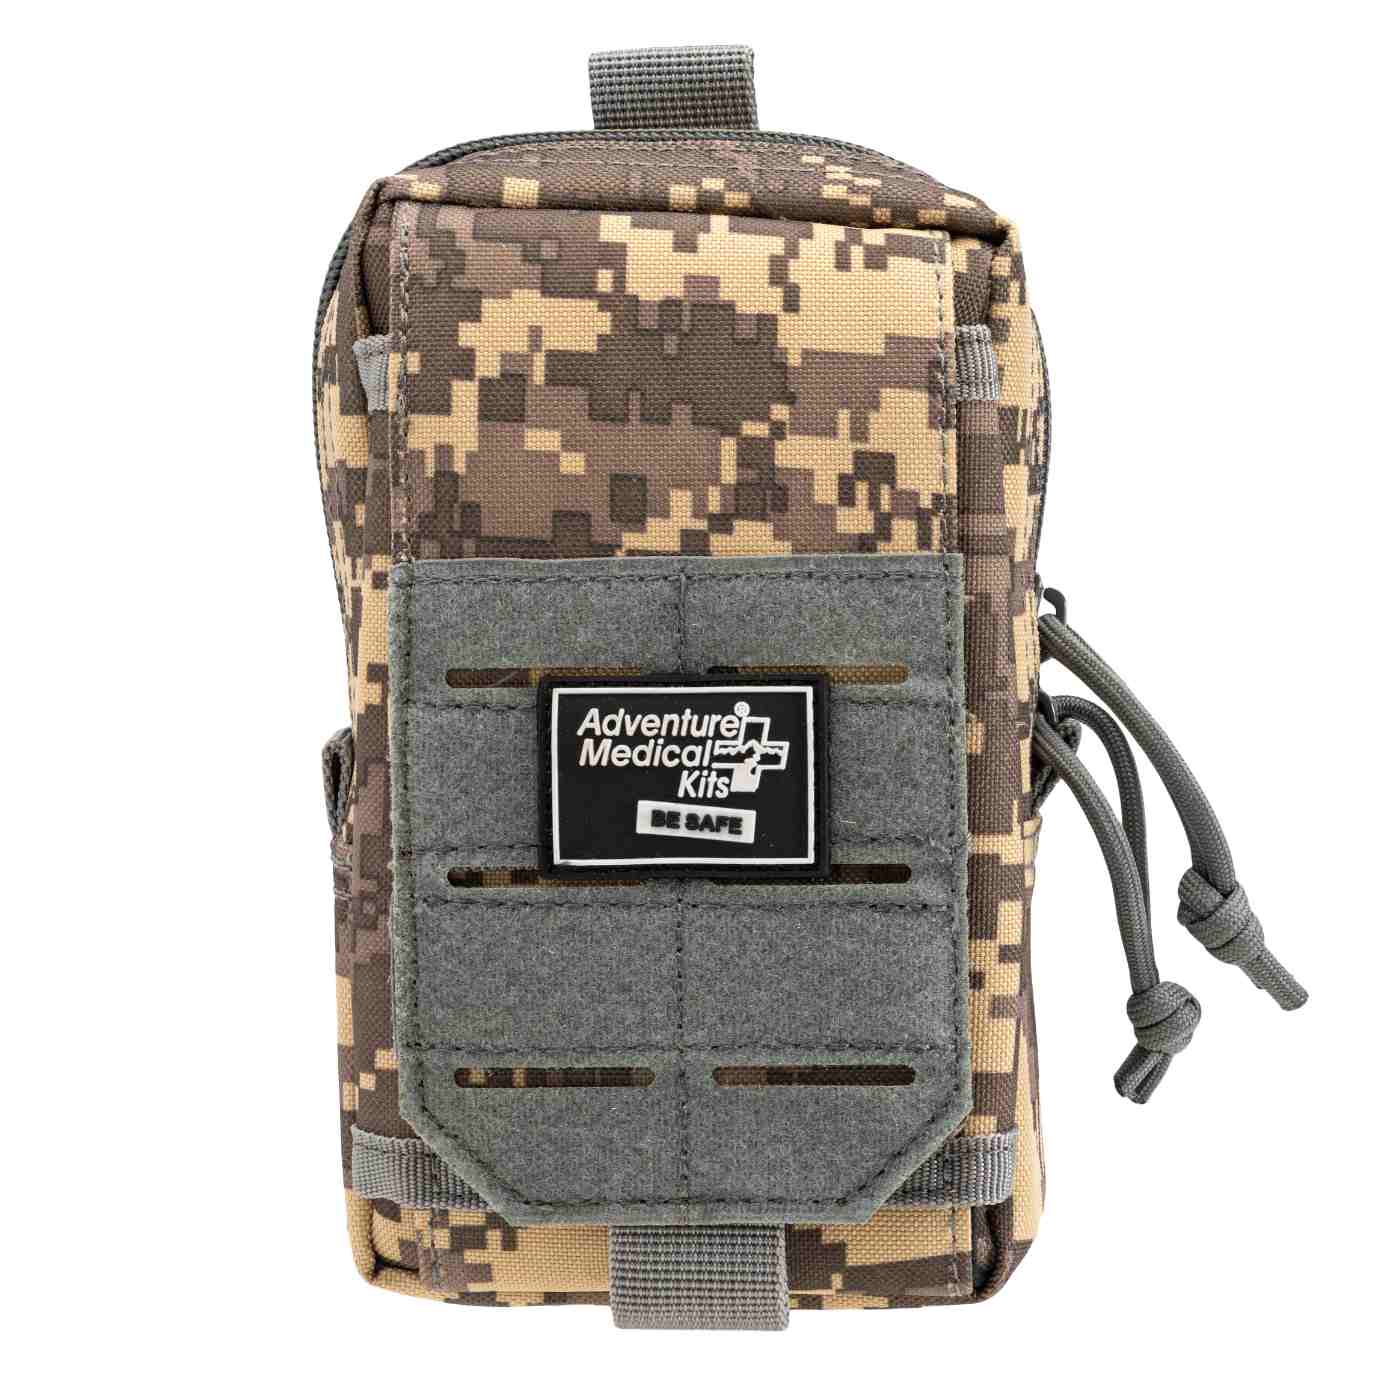
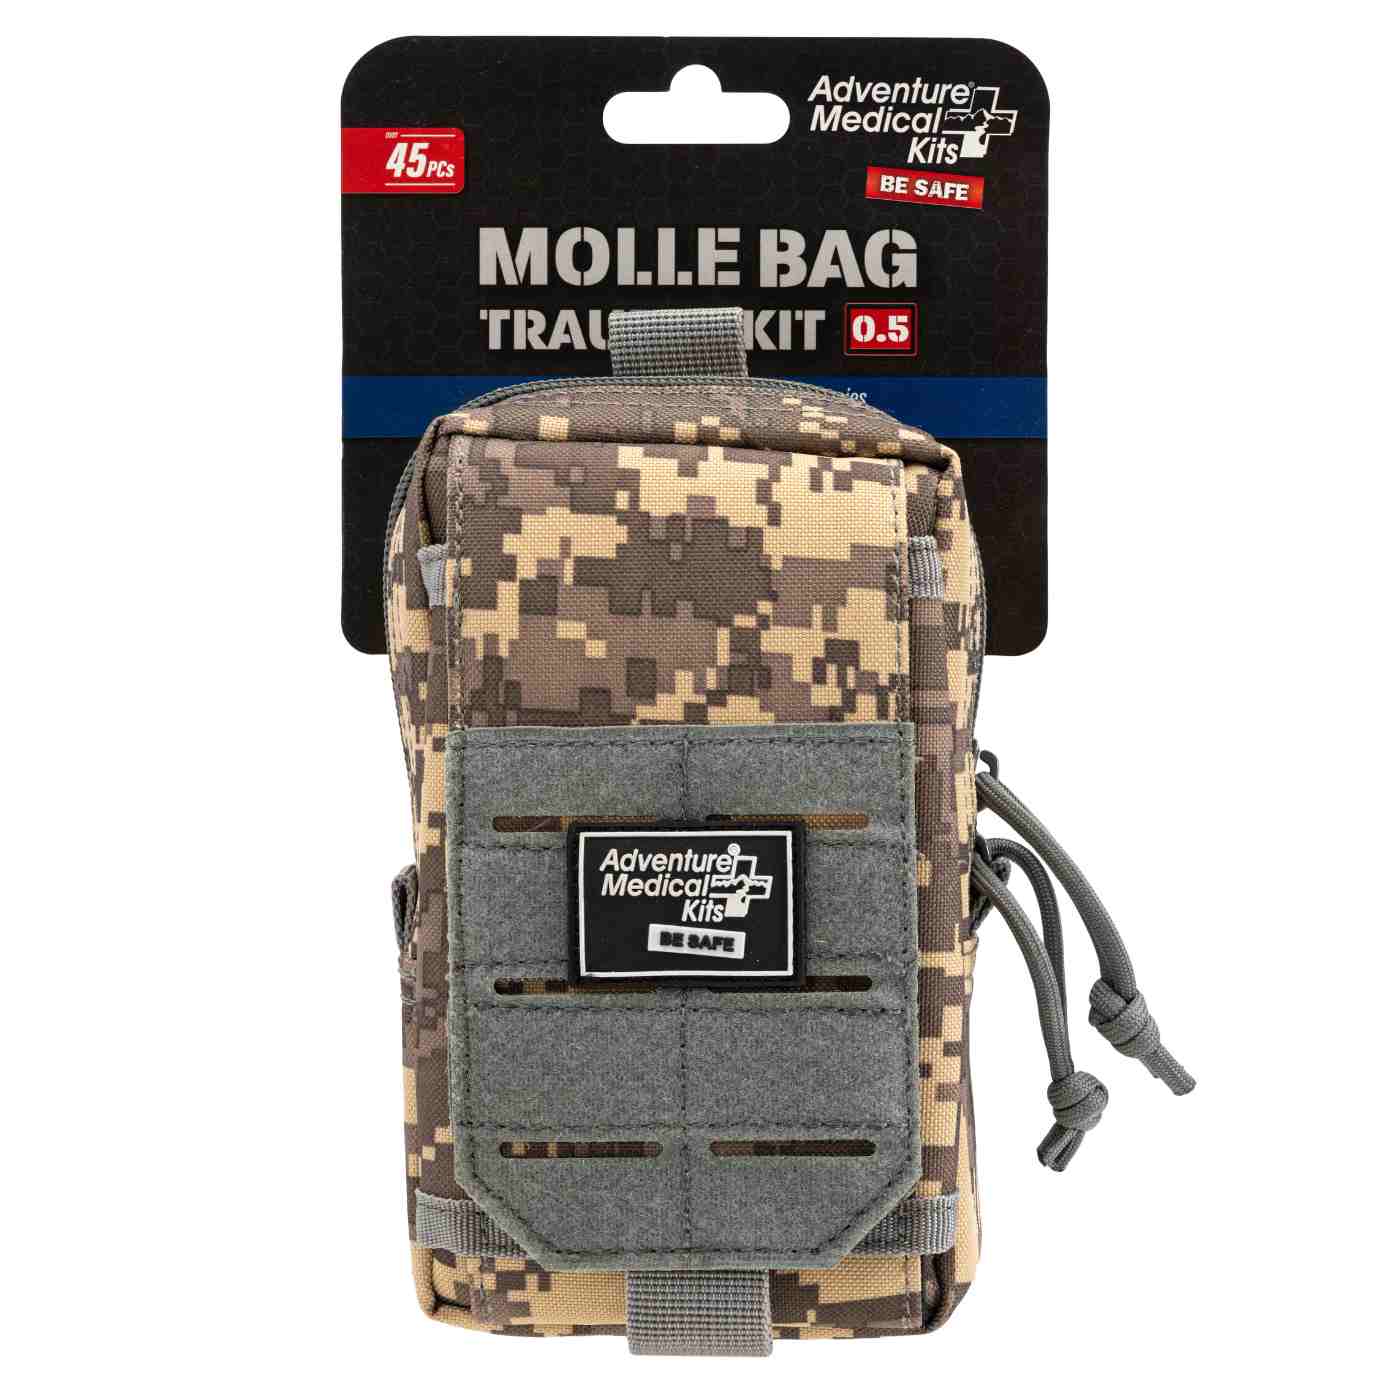
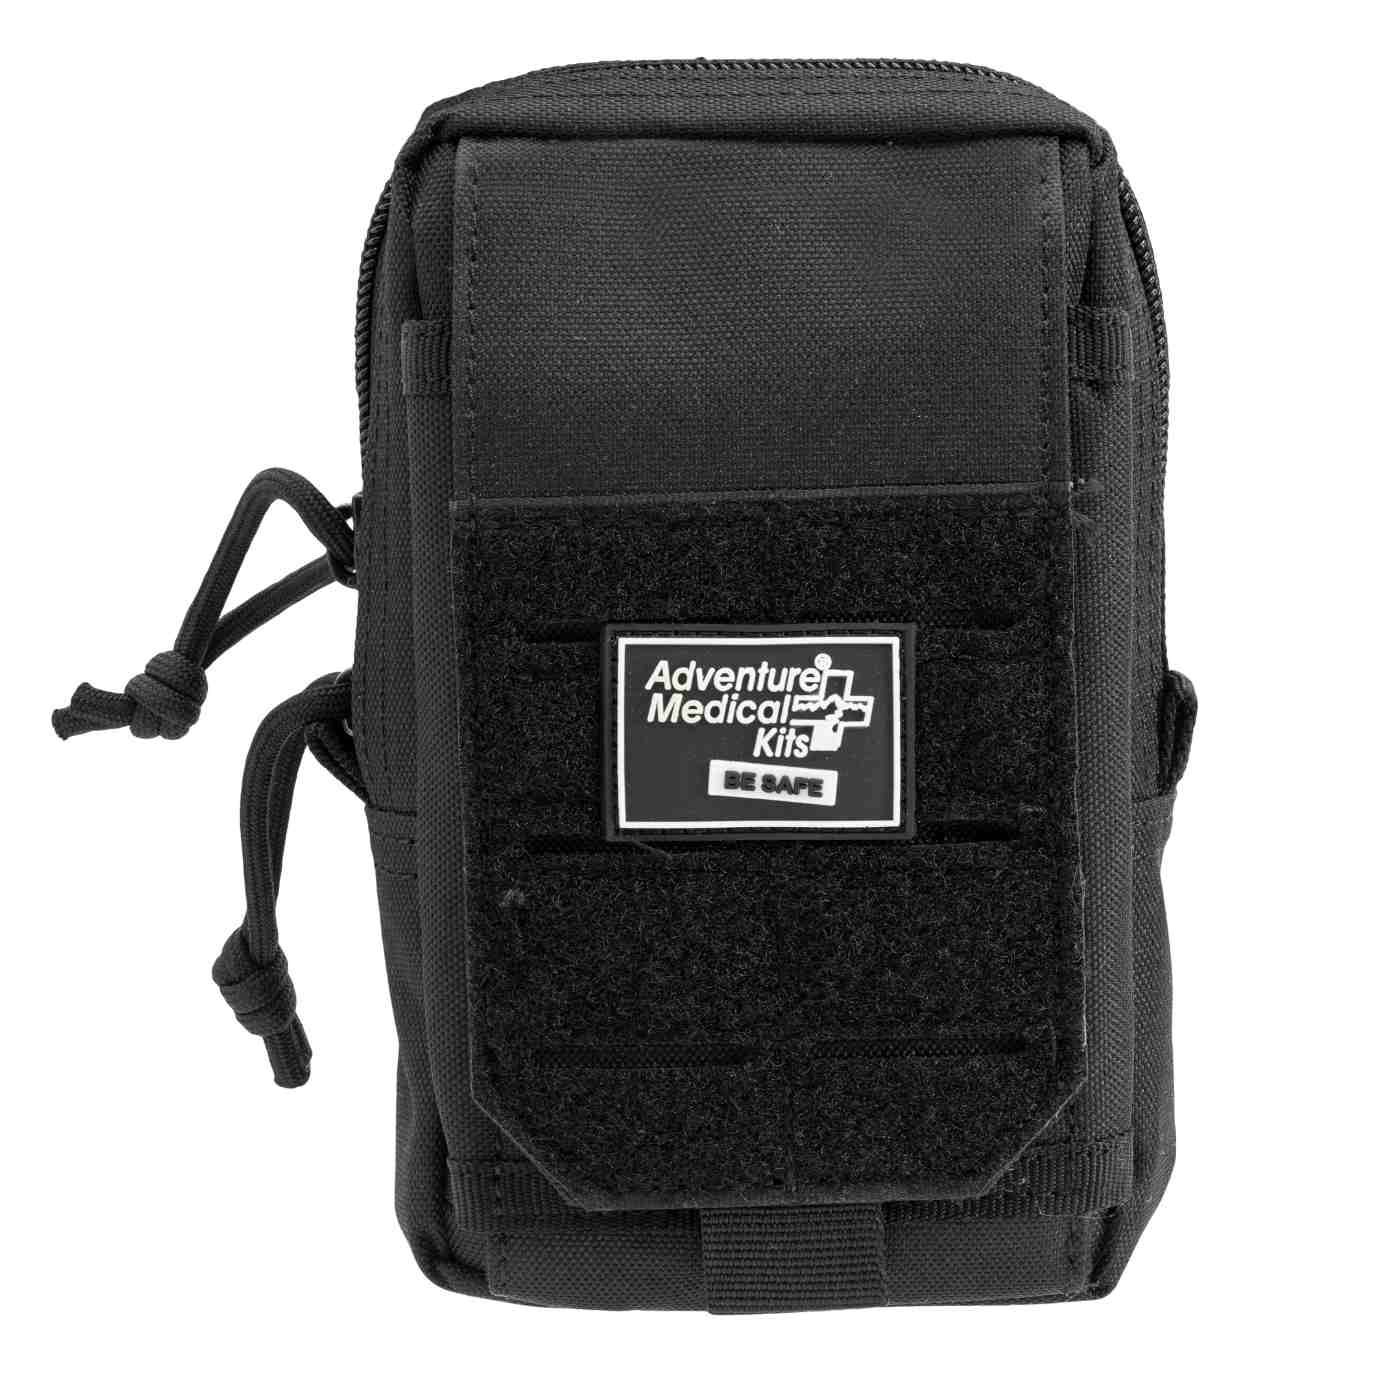
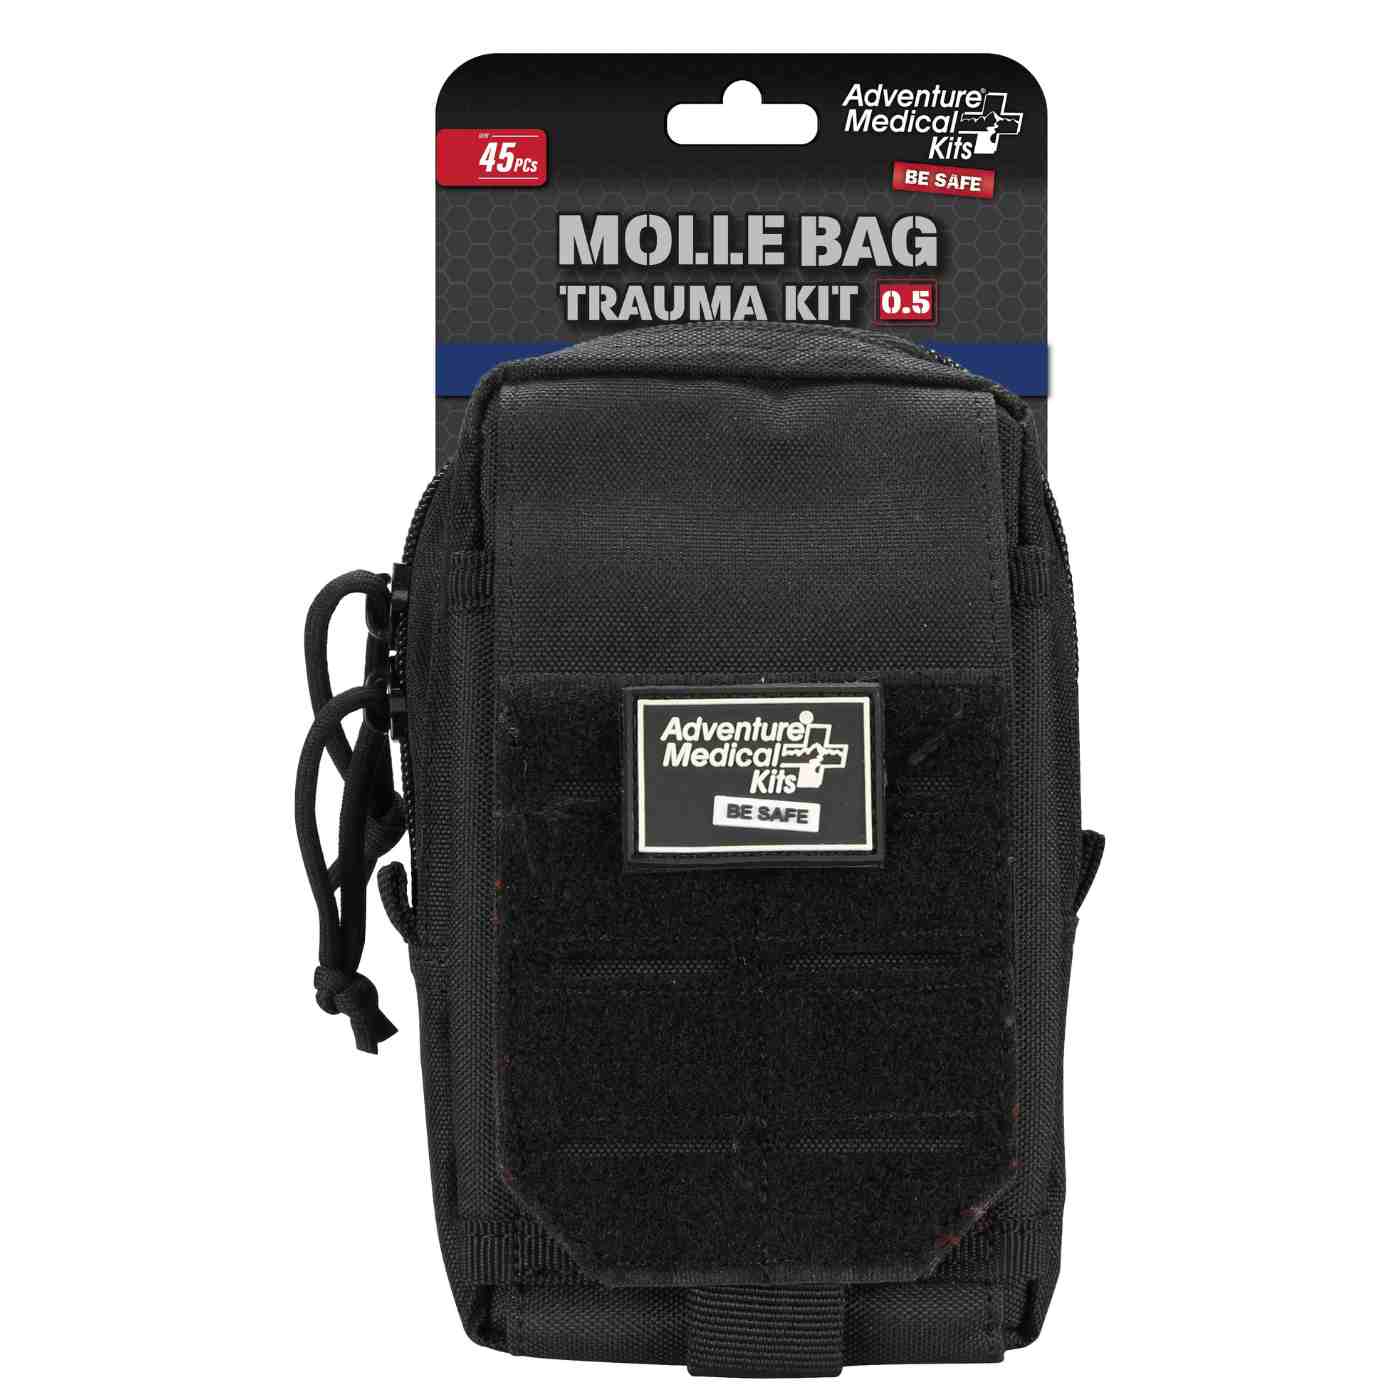
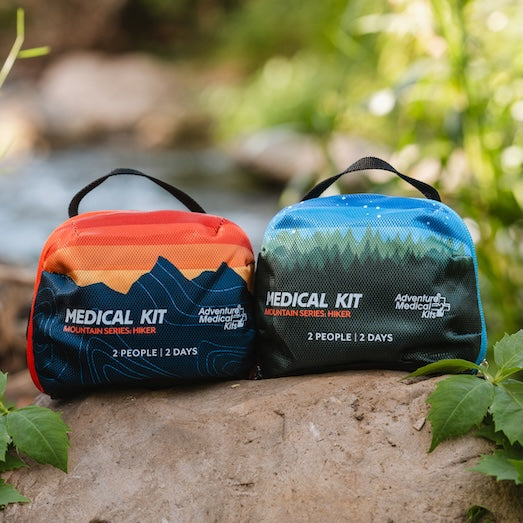
The Mountain Series and MOLLE series are the flagship collections for activity-specific backcountry medical organization. Their kits use labeled compartments in many configurations, and a supply list is accessible on the back of the kit. Those features can reduce searching when one person is checking the foot, another is contacting rescue, and a third is building support.
A field-ready option such as the MOLLE Bag Trauma Kit 1.0 attaches to gear with integrated buttoned straps and includes supplies for small through life-threatening wounds, including a 2-foot QuikClot dressing. It is trauma-oriented, so a group should still verify that its selected kit contains the splinting, padding, tape, and shelter components needed for a serious joint injury.
Lighting also matters when circulation checks continue after dark. A compact light from Luci Outdoor can support hands-free foot examinations and documentation, while a long evacuation may require communication equipment suited to the route. In bear country, Counter Assault bear spray addresses a separate environmental hazard during an extended stop. Neither product treats the knee, but both illustrate the broader field principle: equipment should support the patient and the safety of the rescuers.
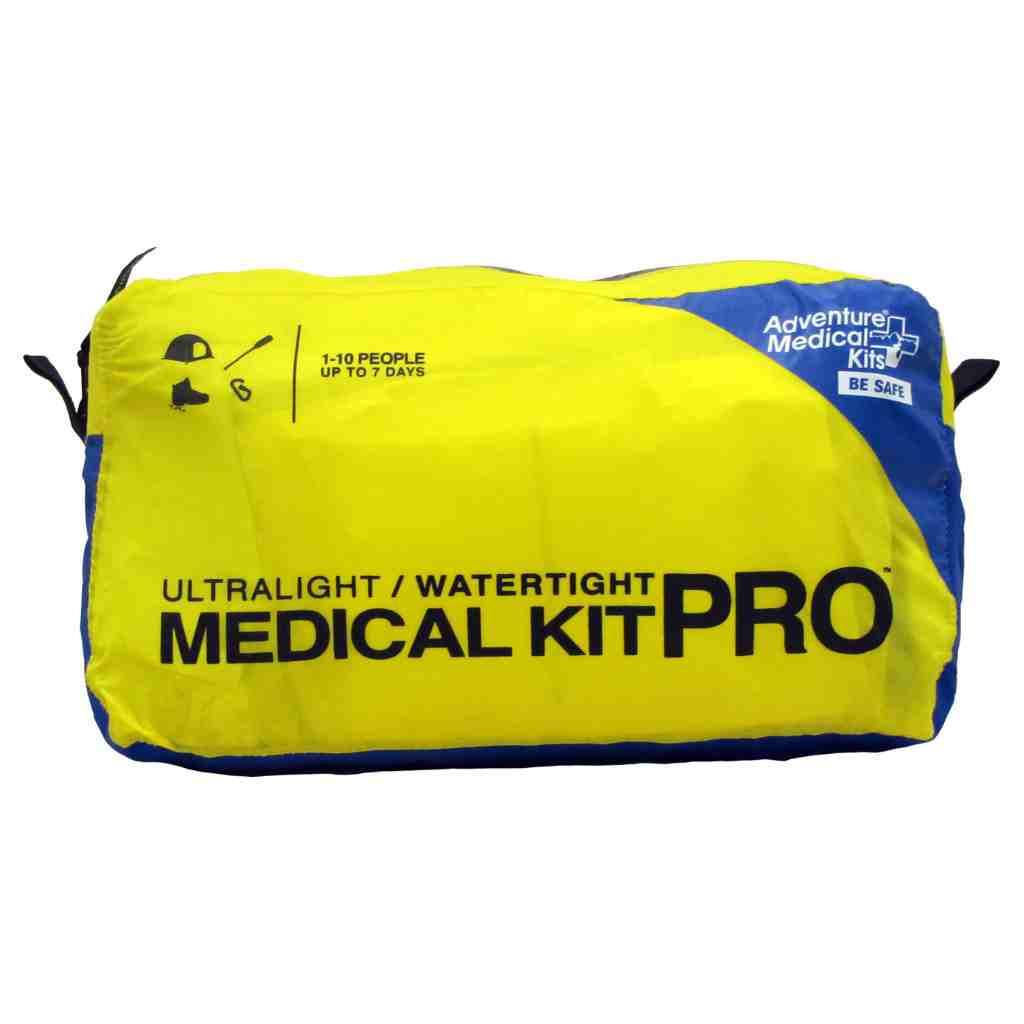
Adventure Medical Kits products are designed to be lightweight and packable, with waterproof storage used for most kits, printed medical instructions in most kits, and activity-specific supplies. First aid kits and supplies are also identified as FSA/HSA eligible at checkout. Those features are useful only if the group carries the kit on the trail, knows where the splinting materials are, and practices opening and using them before an emergency.
What Happens After Evacuation and Recovery Expectations
At the emergency department, your field record becomes part of the clinical picture. Document the injury mechanism, the knee's appearance, whether it reduced, each foot examination, and every splint adjustment. A timeline helps the receiving team identify a stable examination or a change that developed during evacuation.
Hospital protocols generally address reduction, repeated nerve and circulation checks, imaging, and vascular testing when indicated. Abnormal pulses, a low ABI, or an uncertain examination can prompt CT angiography and vascular-surgery involvement (clinical knee-dislocation algorithm). Popliteal artery injury is a particular concern with posterior dislocations. Field monitoring cannot rule it out, so preserve and hand over the serial findings rather than treating one normal check as clearance.
Recovery is injury-specific
A dislocated knee may damage several ligaments, cartilage, bone, nerves, or blood vessels. Some patients need vascular repair or ligament reconstruction. Others need bracing, protected movement, and supervised rehabilitation. The damaged structures and chosen treatment determine recovery, so avoid promising a specific return to hiking.
Rehabilitation commonly targets safe motion, strength, balance, and confidence after the acute phase. A clinician can determine whether non-surgical knee therapy fits the injury after fractures, vascular damage, and instability have been assessed. After discharge, worsening swelling or pain, a colder foot, color change, numbness, or new weakness requires urgent medical contact, not a routine wait.
The handover should include the monitoring log. It links trail observations with hospital decisions and may show a deterioration that a single arrival assessment misses.
Adventure Medical Kits offers activity-specific Mountain Series and MOLLE series kits with organized compartments, portable supplies, and medical instructions for outdoor emergencies. Before a remote trip, visit Adventure Medical Kits, confirm that the group can support and monitor a serious leg injury, and rehearse the evacuation plan before reaching the trailhead.