

A splinter usually arrives as a minor annoyance. A hiker brushes a rough shelter rail, feels a sharp sting in a fingertip, and keeps moving. By the next day, the finger may be throbbing, swollen, and difficult to use, with the nearest clinic far beyond the trailhead.
The problem often isn't the splinter alone. Dirty hands, poor light, sweat-softened skin, and improvised tools turn a simple extraction into a broken fragment or a contaminated wound. The reliable approach is a two-tool decision: use clean tweezers first when an end is visible, and reserve a sterilized needle for the limited job of exposing an end that sits just below the surface. Guidance from St. John Ambulance on splinter removal and MedlinePlus first-aid instructions follows that same pattern.
Table of Contents
- Why Splinters Are a Real Trail Problem
- Choosing the Right Tweezers for Outdoor Use
- Prepping Hands Tools and Skin Before You Start
- The Core Splinter Removal Technique
- Handling Splinters That Are Not Fully Exposed
- Aftercare on the Trail and at Home
- Trail Checklist and When to Seek Medical Care
Why Splinters Are a Real Trail Problem
A splinter on a trail has a way of becoming more important as the miles pass. A person kneeling beside a backcountry shelter may notice a wooden fragment in the palm, wipe it against a shirt, and carry on. If the fragment breaks under the skin or dirt enters the opening, the resulting soreness can affect trekking poles, cooking, climbing, and every task that requires a firm grip.
Outdoor conditions make careful removal harder. Hands collect soil, sap, sunscreen, and sweat. Damp skin can make a fine fragment harder to see, while dawn, dusk, and shaded campsites reduce visibility. Wood and plant material can also irritate tissue, especially when a piece remains lodged beneath the surface. The practical danger comes from repeated handling without a clear plan, not from the tiny size of the injury.
Common improvisations create their own problems. Fingernails crush the surrounding skin, sewing needles may be dirty or blunt, and multitool pliers can lack the precision needed for a hair-thin sliver. Squeezing or twisting may drive the fragment deeper or leave a broken piece behind, which is why medical guidance consistently favors a gentle, angle-matched pull when the end can be grasped, as described by University of Florida Health's splinter-removal guidance.
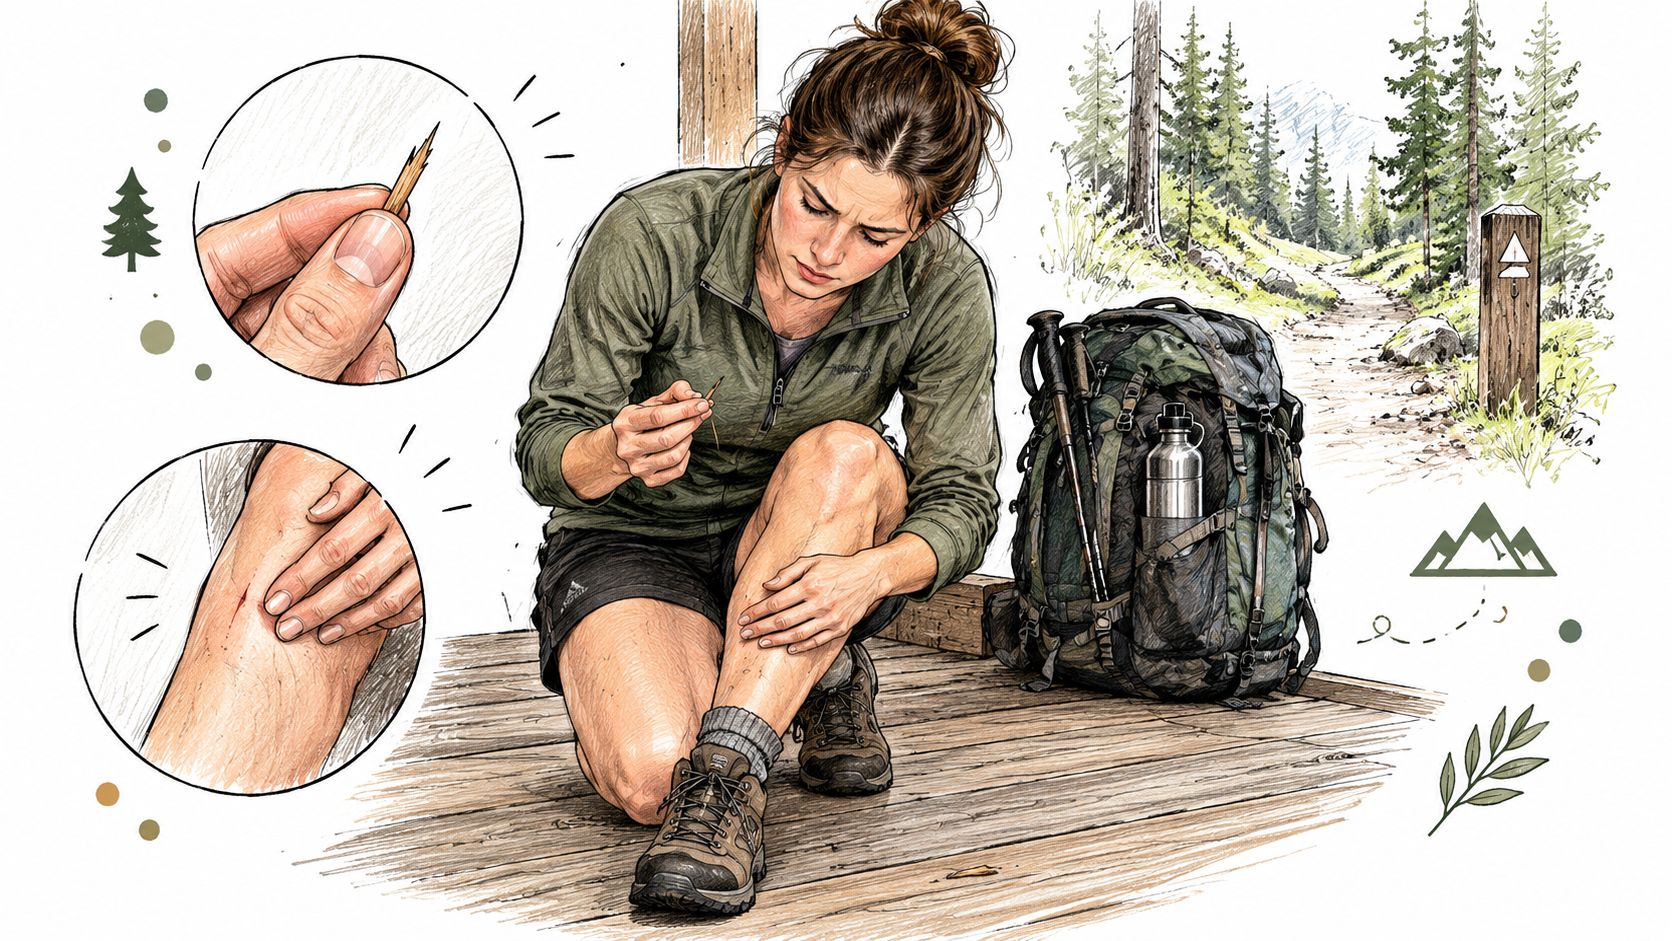
Field rule: Tweezers are the first-line tool for a visible splinter. A needle is a backup for exposing an end, not a substitute for controlled extraction.
A clean pair of fine tweezers, a small needle, alcohol wipes, light, and a dressing solve most uncomplicated situations. The important details are choosing a tweezer tip that can see and grip the fragment, preparing the skin and tools before the first pull, and recognizing when continued digging is more dangerous than the splinter.
Choosing the Right Tweezers for Outdoor Use
The best outdoor tweezers aren't the sharpest pair available. They need to close evenly, hold a slippery fragment, stay visible at the working end, and survive being dropped on rock. Tip alignment matters more than appearance. If the tips meet on one side but leave a gap on the other, a fine splinter may slide away or snap.
| Tweezer Style | Best For | Grip Strength | Visibility | Trail Suitability |
|---|---|---|---|---|
| Slant-tip | General grooming and larger exposed fragments | Moderate | Good | Useful backup, but broad jaws can crush fine wood |
| Pointed-tip | Hair-thin splinters, cactus spines, and small fragments | Precise, lighter force | Excellent | Strong primary choice when handled carefully |
| Flat or wide-tip | Larger thorns with a broad exposed section | Firm on large objects | Limited | Less suitable when the tip must remain visible |
| Surgical or splinter-specific | Fine, accessible fragments | Precise and controlled | Excellent | Best dedicated option when pack space allows |
Slant-tip tweezers are common in multitools and can work well for a large, clearly exposed splinter. Their wider jaws can also push against the skin or crush a narrow sliver. Pointed tweezers, sometimes sold as surgical tweezers, reach close to the skin edge and let the user see the exact point of contact, but they shouldn't be forced against hard resistance because fine tips can bend.
Flat tips suit a substantial thorn that can be held without obscuring the wound. For routine splinter removal, however, they often hide the working end. Surgical-style stainless tweezers with aligned fine points provide the most controlled grip, while stainless steel generally handles wet packs better than untreated materials. Titanium can reduce carried weight, and plastic pairs may be convenient as a disposable backup, but they can break or flex when a fragment resists.
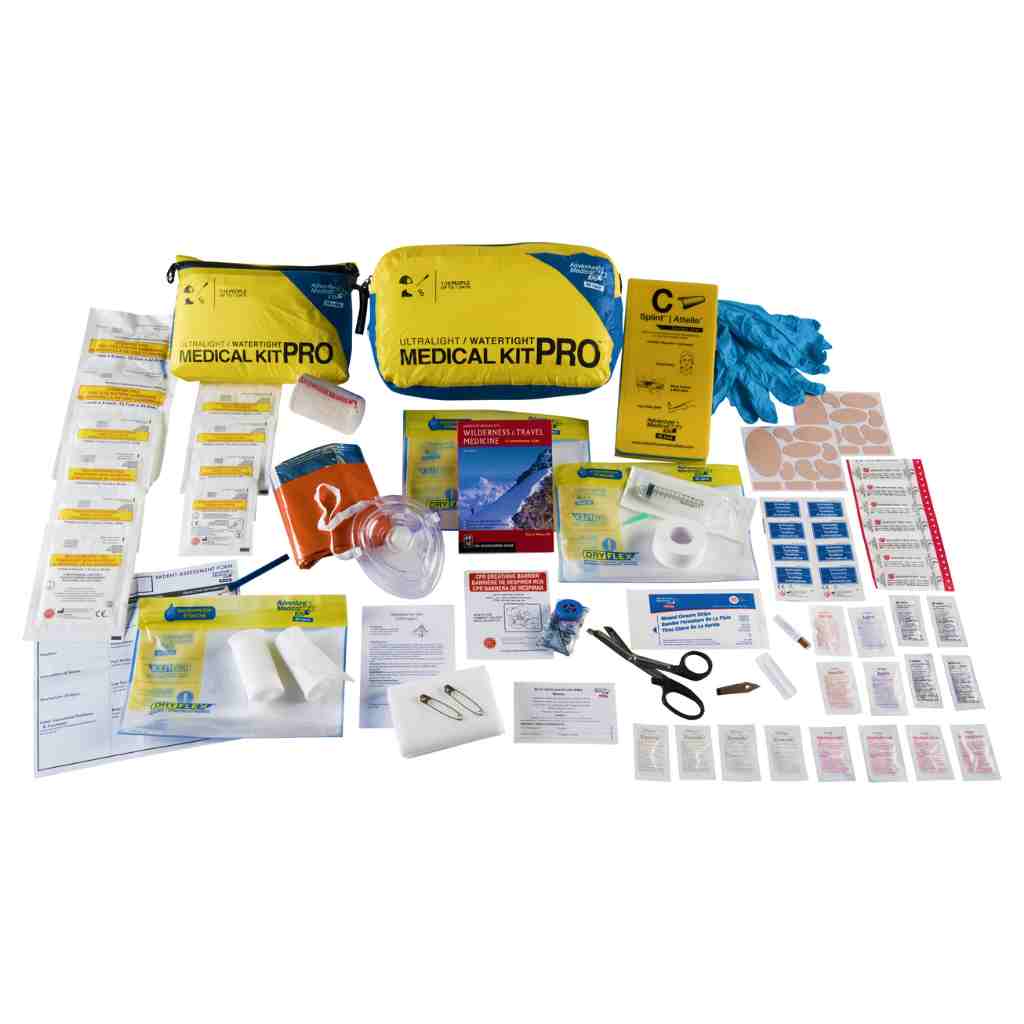
A practical kit can carry a fine-point primary pair and a sturdier slant-tip backup. A sealed disposable pair may also be useful when a clean extraction is needed near a joint or when shared equipment has been exposed to trail grime. The ultralight first-aid kit guide for backpacking offers a broader way to think about tool selection, weight, and access in a compact pack.
Prepping Hands Tools and Skin Before You Start
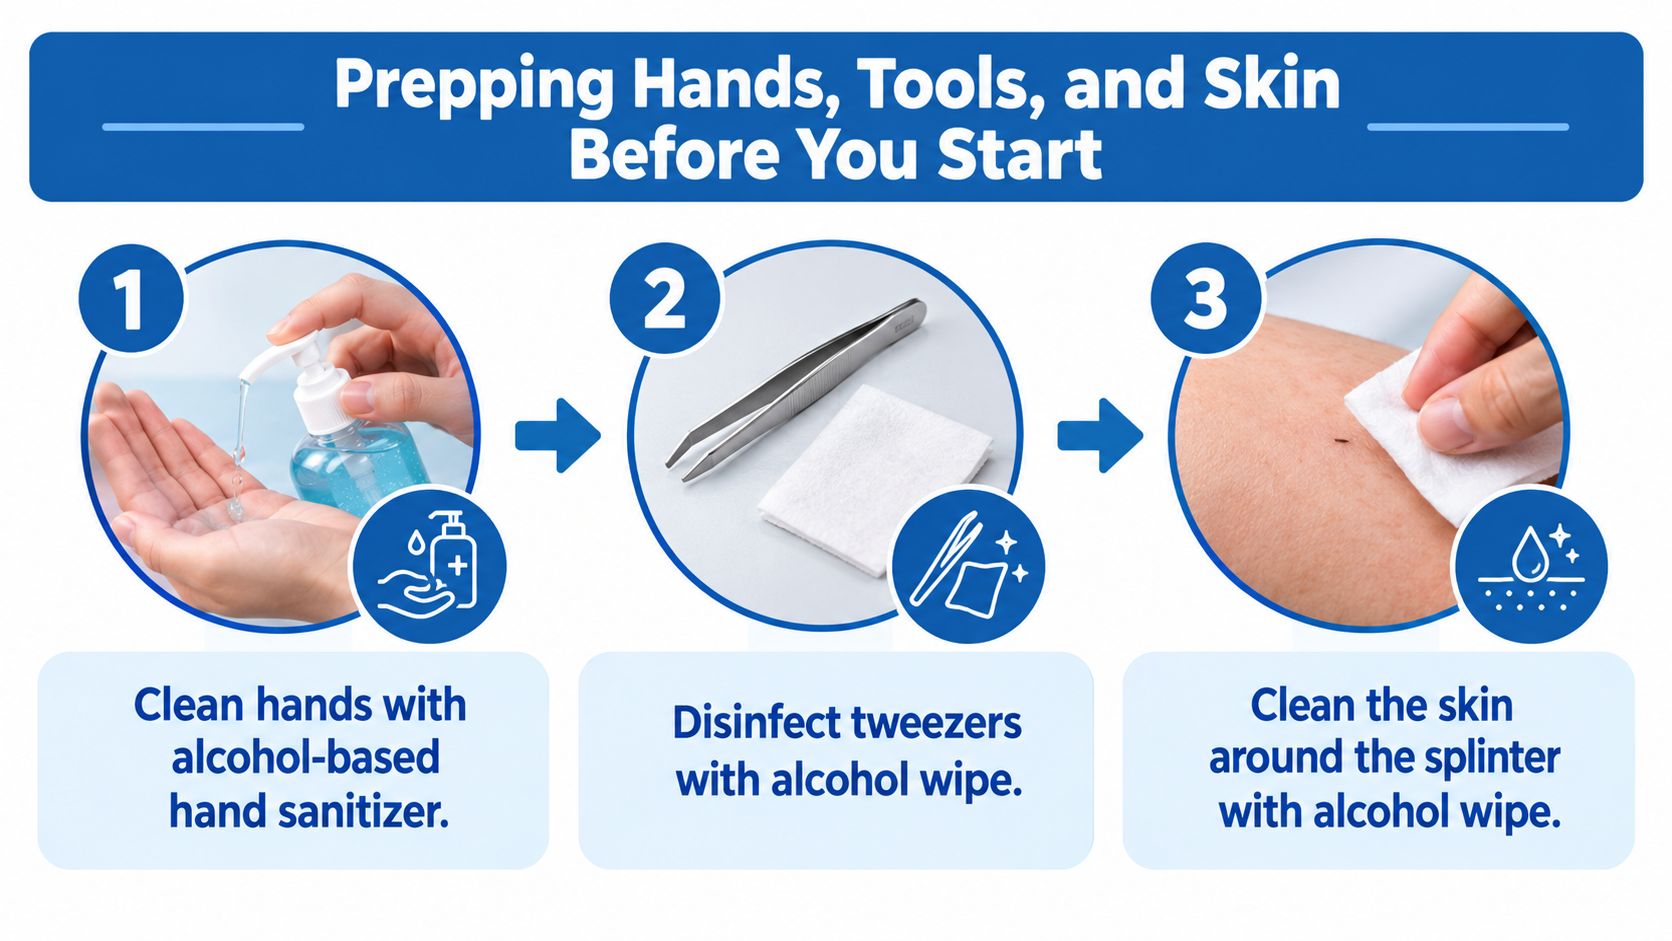
Preparation prevents the most avoidable failures. Before touching the splinter, the hiker should create a clean working area, improve visibility, and make sure the tool that enters the wound is cleaner than the surrounding gear.
Start with hands and skin
Clean hands with soap and water when available. If a sink isn't nearby, alcohol-based hand sanitizer can cover the fingertips, palms, and areas beneath the nails. Bottled water and biodegradable soap are useful alternatives when sanitizer has run out. The aim is to keep new contamination away from the opening in the skin. For broader context on selecting and using wipes around people and equipment, see this guide to disinfectant wipes in facilities from WipesBlog.com.
Wash the skin around the splinter with soap and water or wipe it with an alcohol pad. Remove loose grit first, rather than rubbing trail dirt across the puncture. Then seat the injured hand on a stable surface, use a headlamp or phone light, and angle the light across the fragment so the tip casts a small shadow.
Clean the tools
Wipe the tweezer tips with rubbing alcohol and let them dry. A backup needle should receive the same treatment. A lighter flame may serve as a field alternative for metal, but the needle must cool completely before it approaches skin. Heat doesn't replace careful handling, and a hot tool can add a burn to a small puncture.
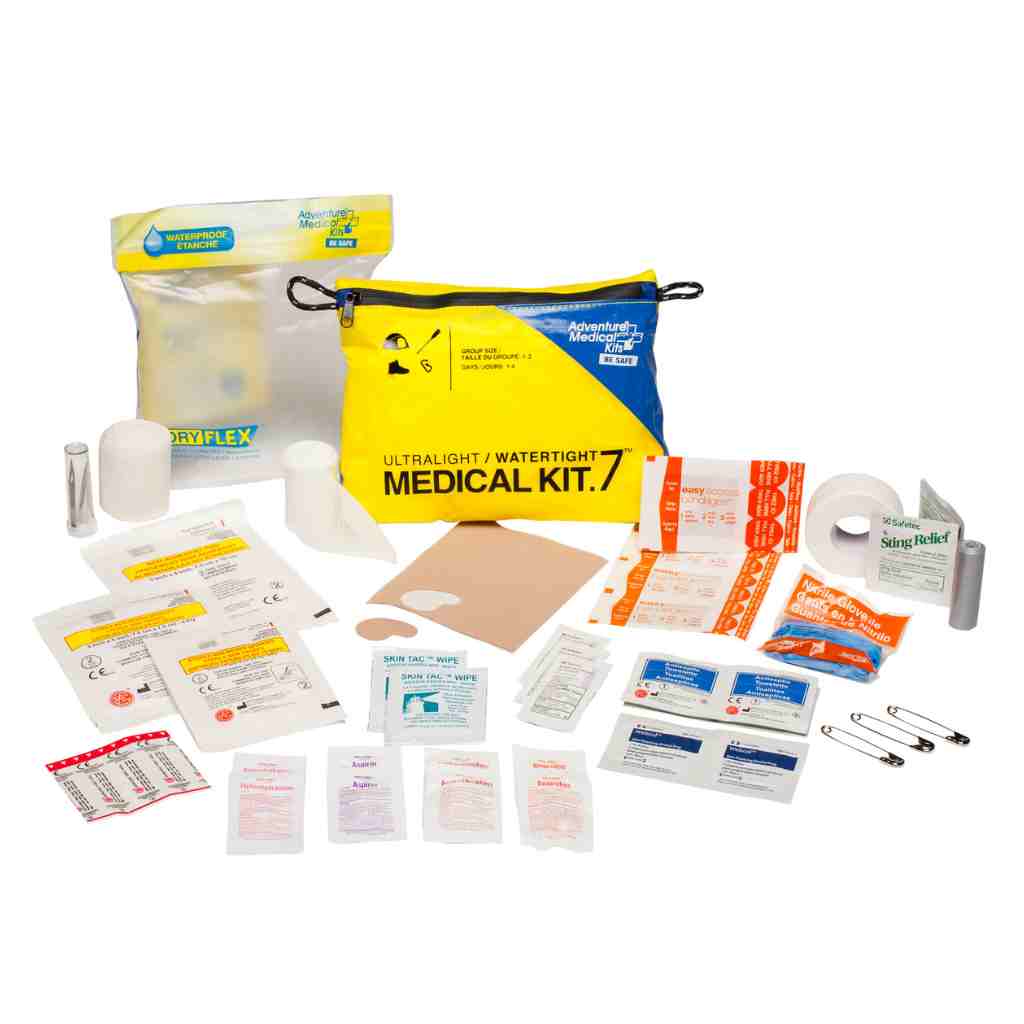
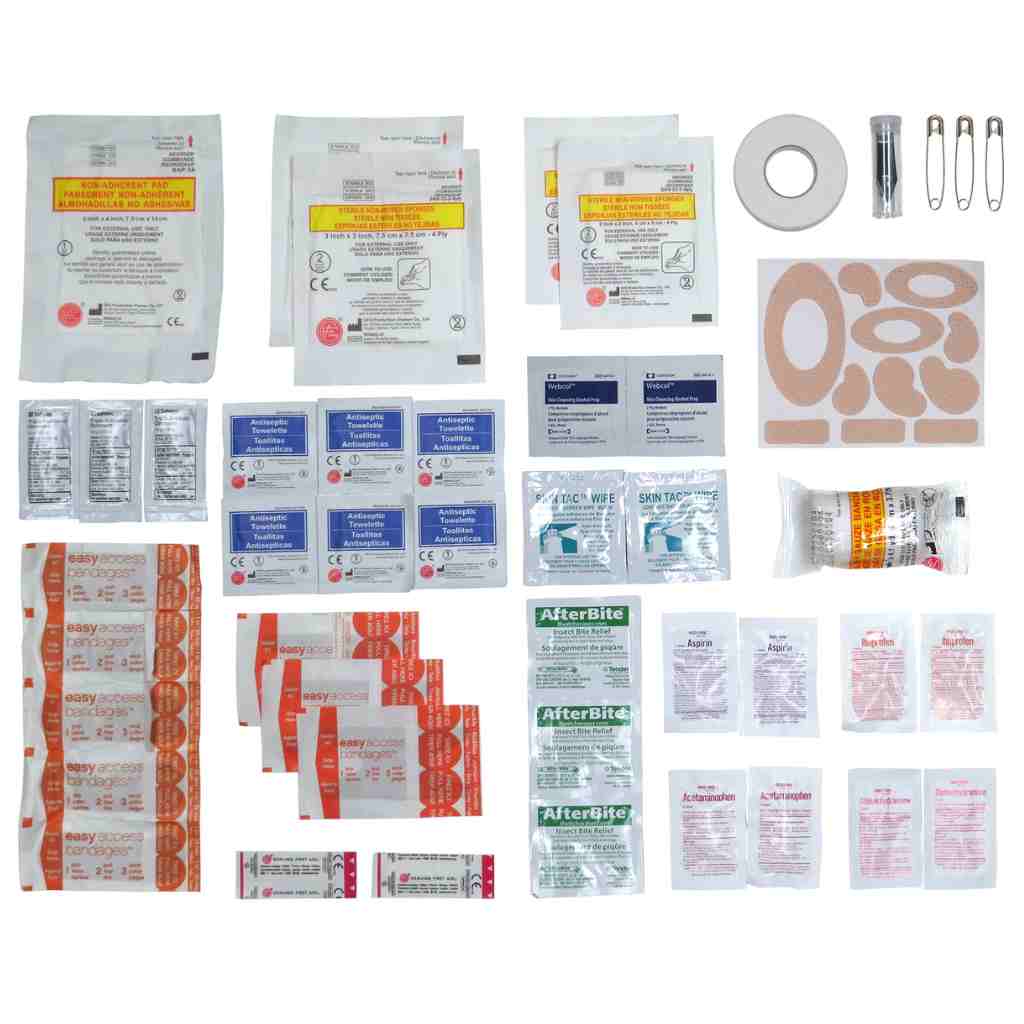
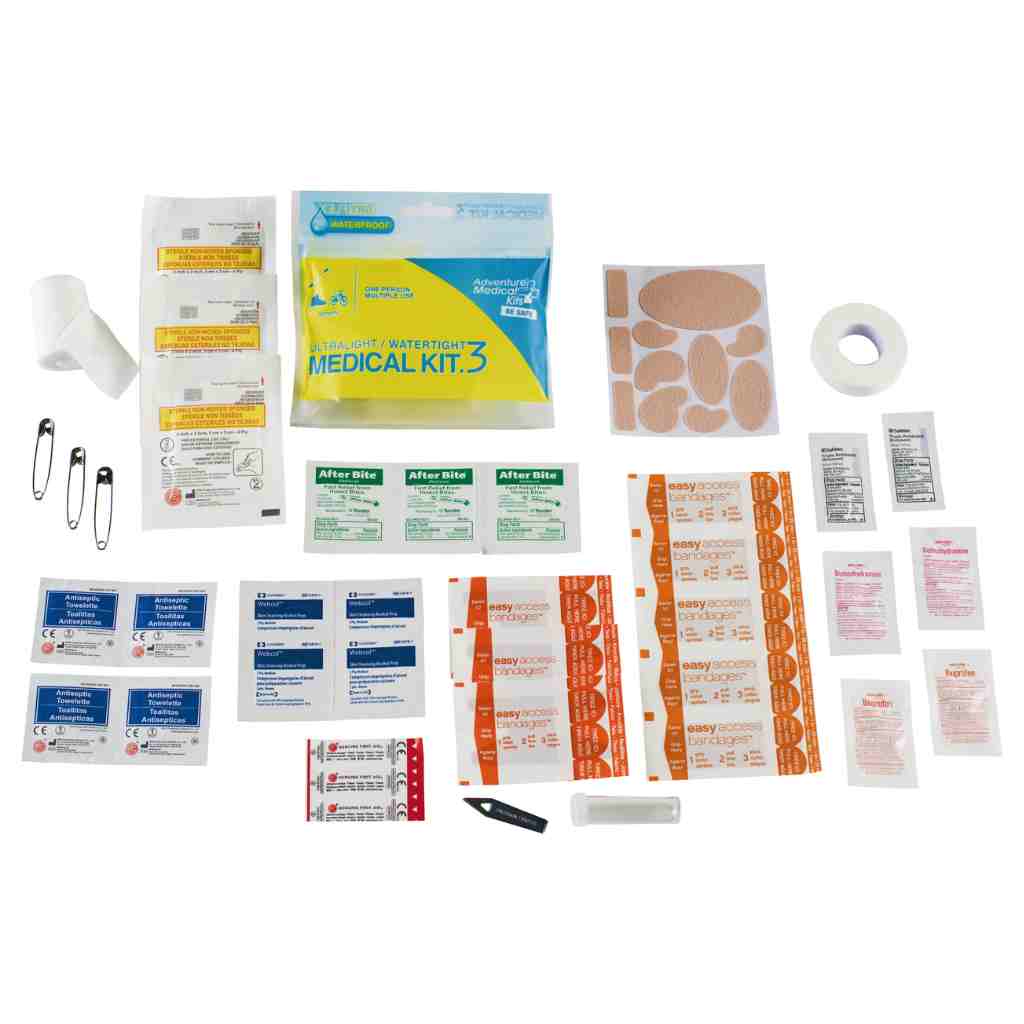
Lay the cleaned tweezers on a fresh cloth instead of placing them on a log, rock, or pack floor. A compact item such as the Blister Medic Kit includes alcohol pads for skin preparation and antiseptic towelettes for wound cleaning, alongside its moleskin and GlacierGel components.
The Core Splinter Removal Technique
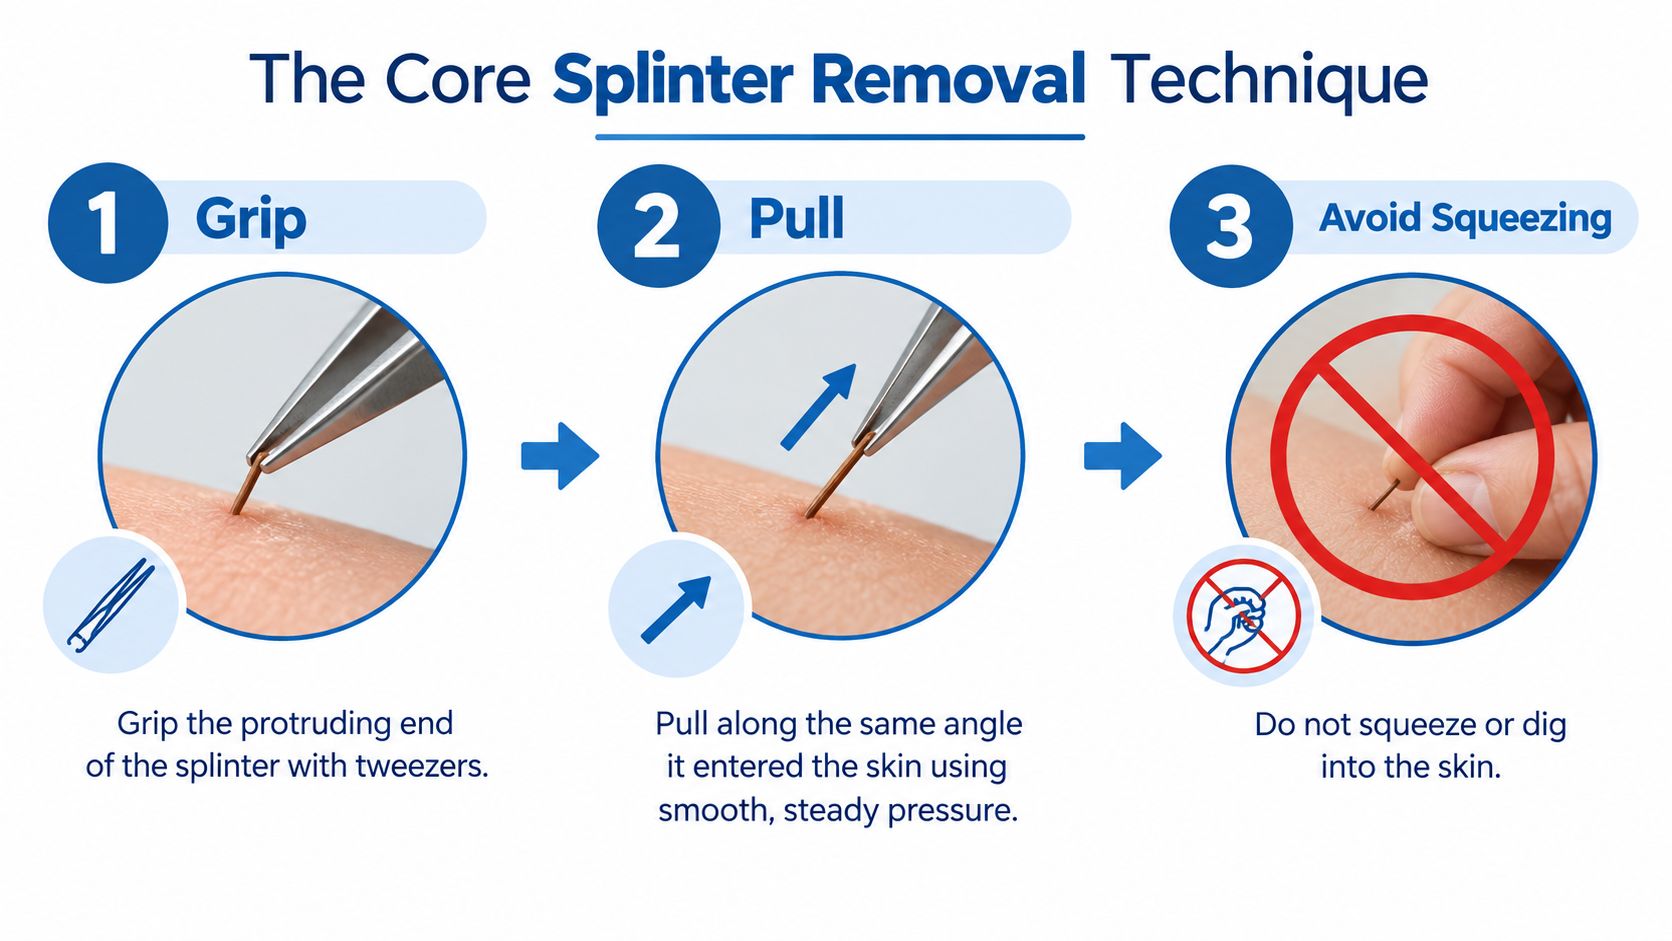
For a visible splinter, the sequence is simple, but precision matters more than force. The tweezer tips should contact the exposed end, not the skin on either side. A firm grip on the fragment allows the hand to pull without crushing the entry wound.
Make the first pull count
Hold the tweezers close to the tip. Pull slowly and steadily in the same direction and angle that the splinter entered the skin, following the existing track. A splinter that entered diagonally should leave diagonally. A straight outward pull along that line is controlled; a sideways yank changes the force against the wood and makes breakage more likely. Mayo Clinic's first-aid guidance also emphasizes exposing a usable end and then switching to tweezers rather than digging with the tool.
Don't squeeze the skin around the fragment. Don't twist the tweezers like a corkscrew, clamp down on the tissue, or scrape repeatedly at the opening. Those motions can crush the splinter, enlarge the wound, or push the remaining section farther below the surface.
Control comes from stability, not pressure. Rest the hand holding the tweezers against stable skin nearby, a knee, or a pack, and let the light do the revealing.
A visible, accessible splinter should come free with a calm, continuous motion. If pain suddenly spikes, resistance increases, or the fragment disappears between the tips, stop. A broken splinter isn't a signal to dig harder. Reclean the area, inspect it under better light, and decide whether a small amount of skin needs to be lifted to expose the end or whether medical care is safer.
The difference between correct and incorrect motion is easy to remember:
- Correct: Grip the exposed end and draw the fragment outward along its entry angle.
- Incorrect: Pull sideways across the entry track.
- Incorrect: Roll or twist the tweezers while pulling.
- Incorrect: Squeeze the surrounding skin to force the fragment upward.
The visual sequence below reinforces the order without replacing careful judgment.
A short demonstration can also help new hikers recognize the difference between extracting the fragment and excavating the wound.
Handling Splinters That Are Not Fully Exposed
Tweezers work when the fragment has an end that the tips can grasp. If no end is visible, forcing the tweezers into the skin usually creates pressure without improving the grip. The next step, when the fragment is shallow and its path is clear, is limited exposure with a sterilized needle.
Clean a fine needle with rubbing alcohol and let it dry. Under strong light and magnification, place the needle at the likely end of the splinter and gently lift only the thin layer of skin covering the tip. The needle's job is to uncover a usable end. Once the wood or plant material appears, set the needle aside and return to tweezers for the actual pull, as outlined in SkinSight's splinter first-aid guidance.
The skin may reveal a hard line beneath the surface, but pressure through the skin isn't a reliable map of the fragment's full depth. If a shallow opening doesn't expose the end, if the path can't be identified, or if more cutting seems necessary, stop. A needle should never become a probe that repeatedly searches through tissue.
Stop and arrange medical care when
- The location is sensitive: Splinters under a fingernail or toenail, near the eye, or near the genital area need professional judgment.
- The object is deep or unsuitable: Deep fragments, glass, metal, and pieces that can't be located after breakage shouldn't be chased with trail tools.
- The wound is complicated: Heavy bleeding or suspected tendon, nerve, or joint involvement changes the situation.
- The fragment won't come free: A calm attempt that leaves a piece behind is a reason to seek care, not to increase force.
A compact trail kit should pair a fine tweezer with a small, protected needle and alcohol wipes. That combination covers the two-tool decision without resorting to a dirty sewing needle, knife point, or multitool blade.
Aftercare on the Trail and at Home
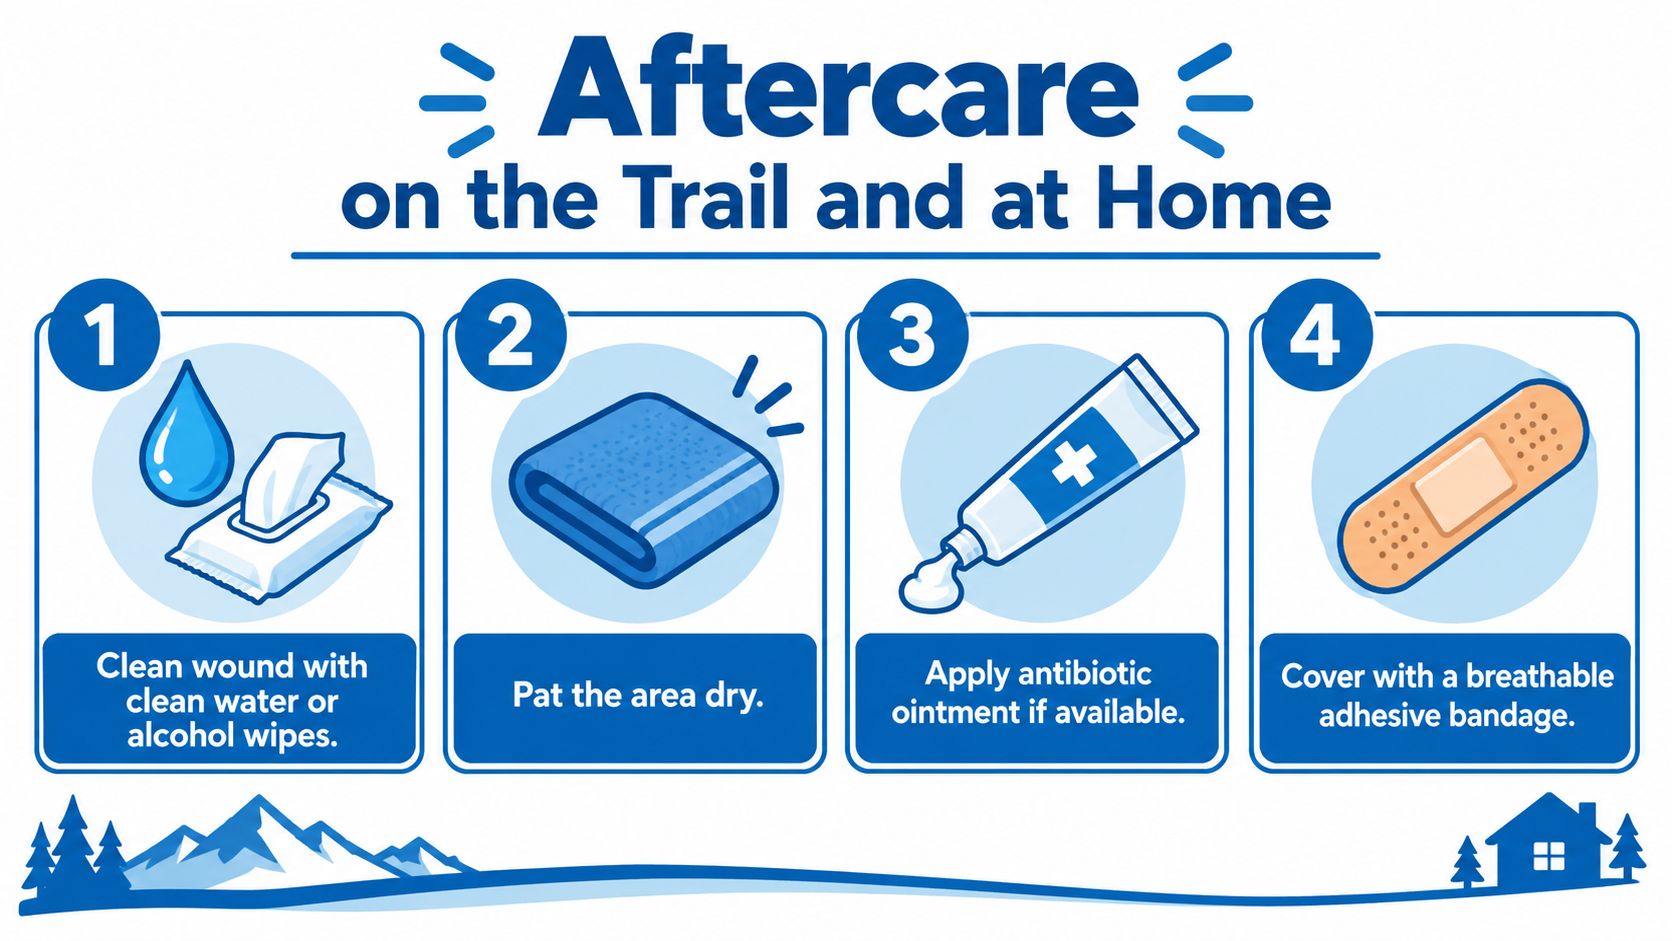
Removal ends the pressure, not the care. Once the splinter is out, inspect the fragment to make sure it appears intact, then clean the wound with clean water or an alcohol wipe. Pat the area dry with a clean material rather than rubbing it, which can irritate the small opening.
Apply antibiotic ointment if it's available, then cover the spot with a breathable adhesive bandage. A dressing protects the wound from pack straps, soil, and repeated contact with clothing. Once back home, replace the dressing after a day, and keep the area clean and dry for the following 48 hours.
Watch the wound, not just the pain
A little tenderness can remain after extraction. The concerning pattern is worsening rather than gradual settling. Hikers should monitor for:
- Increasing redness or swelling around the puncture
- Warmth, throbbing pain, or pus
- Red streaking moving away from the wound
- Fever or a general feeling of illness
Any of these signs within 24 to 48 hours warrants getting to a clinic. Cleveland Clinic's splinter-removal guidance likewise advises cleaning the tool, pulling in the entry direction, and seeking care when removal or healing becomes complicated.
Tetanus status deserves direct attention. A dirty splinter from soil, barnacles, or old wood in someone whose last tetanus booster was more than five years ago warrants a prompt booster once that person reaches medical care. The appropriate decision depends on vaccination history and the wound, so a clinician or public-health professional should make the final call.
For lingering soreness, an over-the-counter pain reliever may help when the person can safely take it according to the product label. Most clean, uncomplicated trail splinters settle without drama when the fragment is removed intact and the wound stays protected.
For pack planning, the guidance on triple antibiotic cream and first-aid use can help hikers decide what belongs in a small wound-care module.
Trail Checklist and When to Seek Medical Care
A useful splinter routine has to work with cold fingers, a tired hiker, and limited light. The sequence below is short enough to remember without turning a minor injury into a camp project:
- Assess the fragment: Decide whether an end is visible, whether the location is uncomplicated, and whether the material is wood, plant matter, glass, or metal.
- Clean hands and skin: Use soap and water or sanitizer for hands, then clean the area around the puncture.
- Prepare the tool: Disinfect the tweezer tips with rubbing alcohol and let them dry.
- Extract only what can be gripped: Hold the exposed end and pull slowly along the angle of entry.
- Escalate carefully: If the end is just below the surface, use a sterilized needle only to expose it, then switch back to tweezers.
- Clean and cover: Rinse or wipe the wound, pat it dry, apply ointment if available, and use a breathable bandage.
- Monitor healing: Look for worsening redness, warmth, swelling, pus, red streaks, or fever over the next 24 to 48 hours.
Know when tweezers aren't enough
Arrange medical care for a fragment deeper than a quarter inch, a splinter under a nail, or an object near a joint or the face. Seek help for spreading redness, warmth, pus, red streaks, contaminated material such as rusty metal or animal contact, an uncertain tetanus history, or a fragment that remains after two calm attempts. Heavy bleeding, suspected tendon involvement, and a broken piece that can't be found also exceed sensible trail care.
A broader backpacking essentials list for 2026 can help place tweezers, alcohol wipes, dressings, and lighting alongside the rest of a trip's safety equipment. For a focused comparison of kit contents, see the best hiking first-aid kit guide.
A good pair of tweezers solves most visible splinters quickly, but knowing the boundary of self-care protects the trip. The goal isn't to win a contest against a fragment. It's to remove what can be removed cleanly, protect the wound, and get professional help before a minor injury becomes a reason to leave the trail.
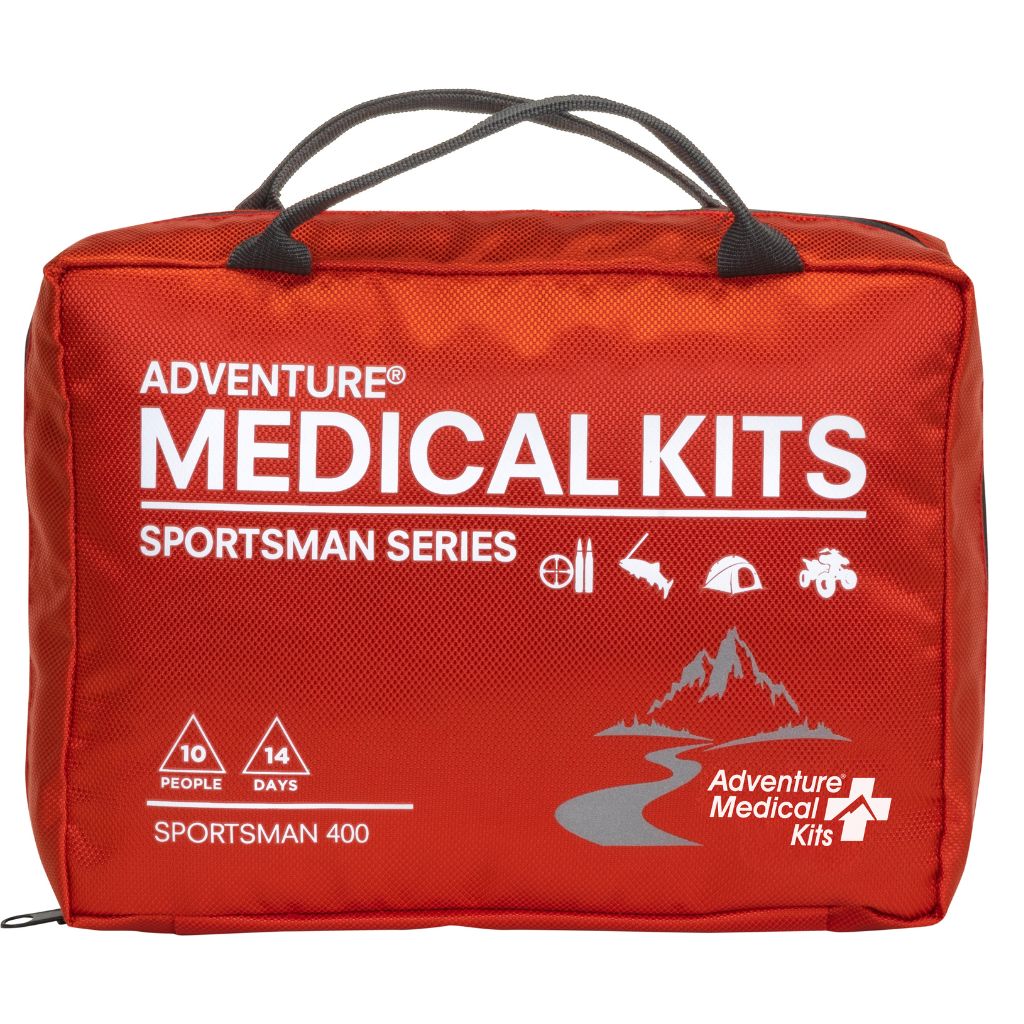
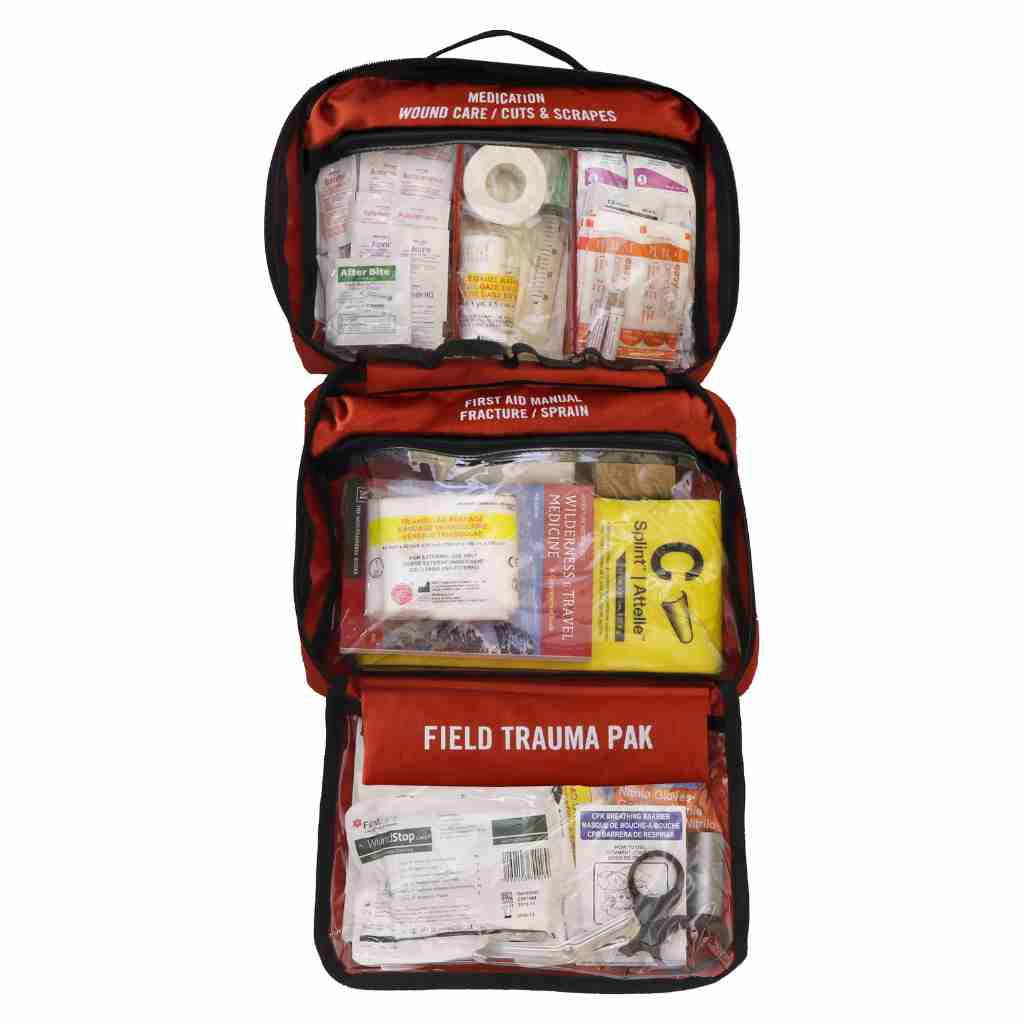
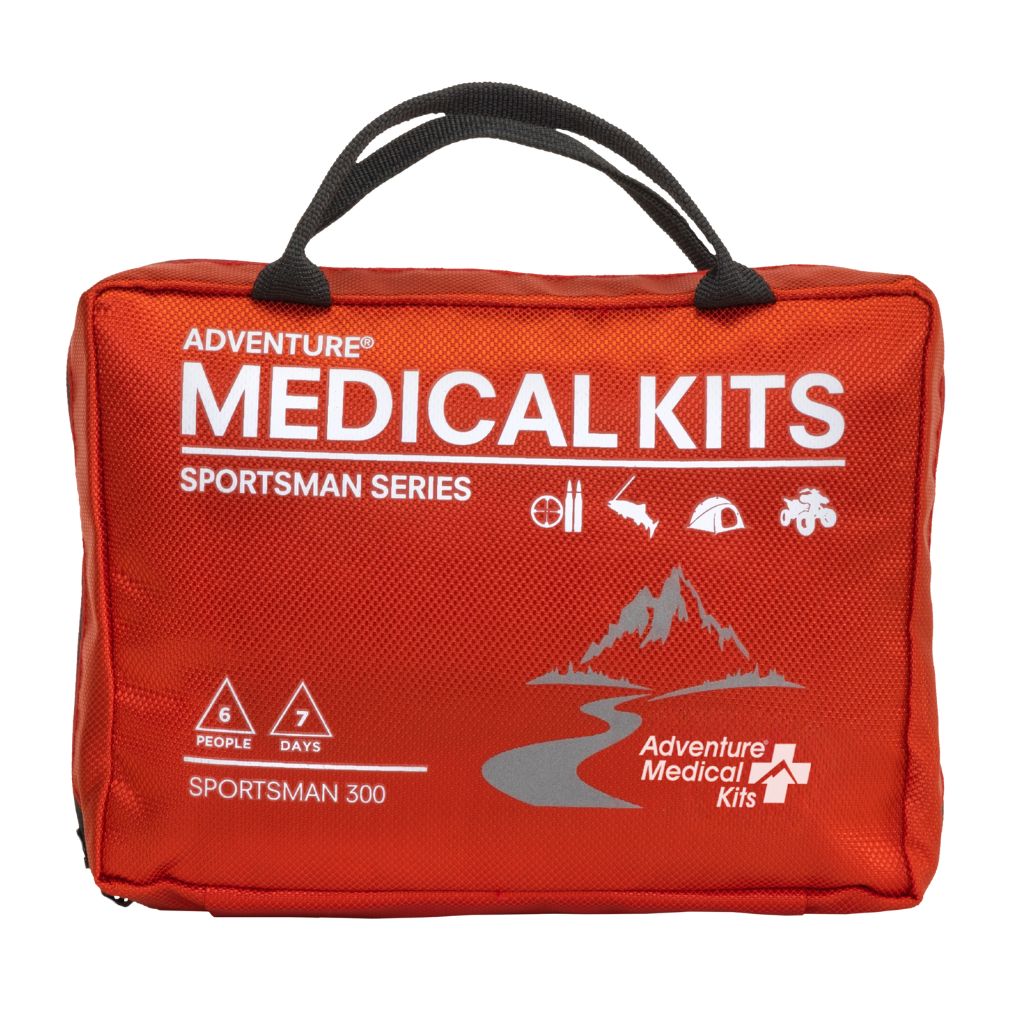
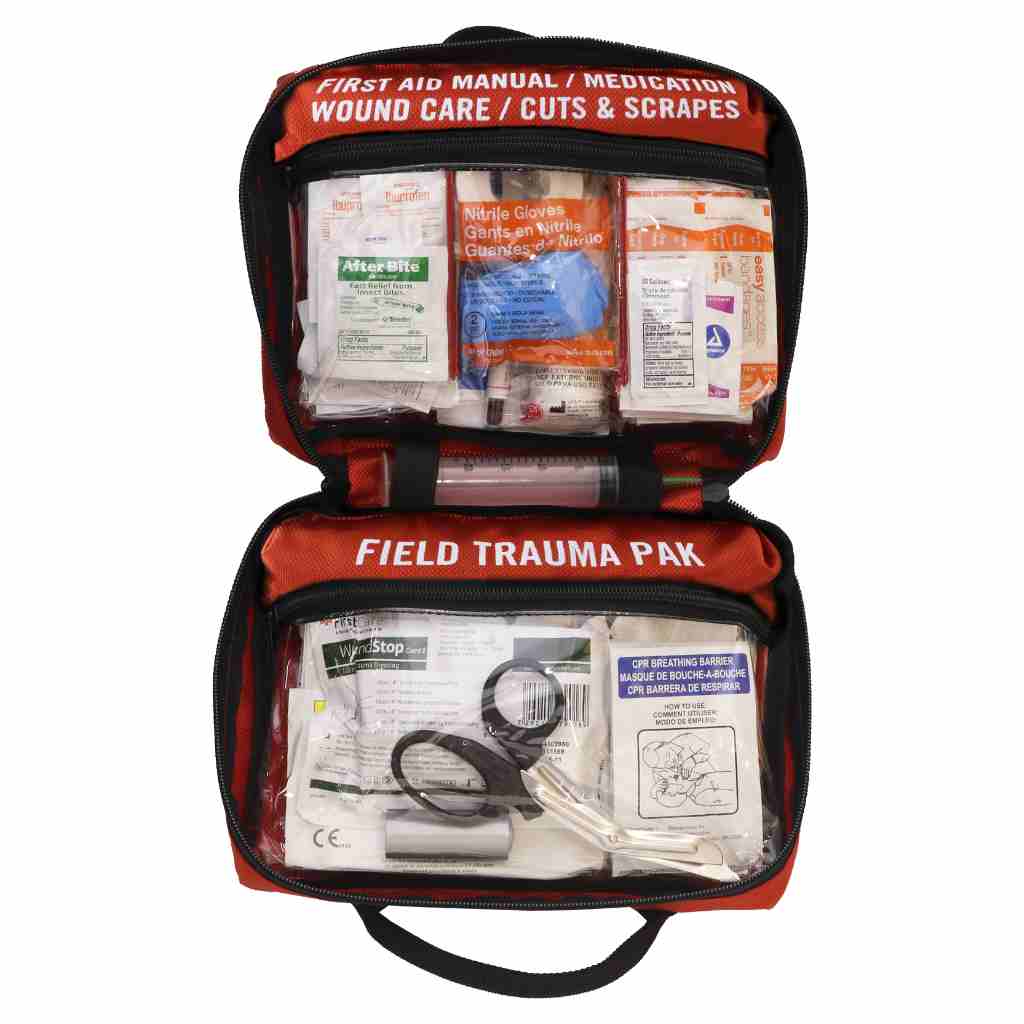
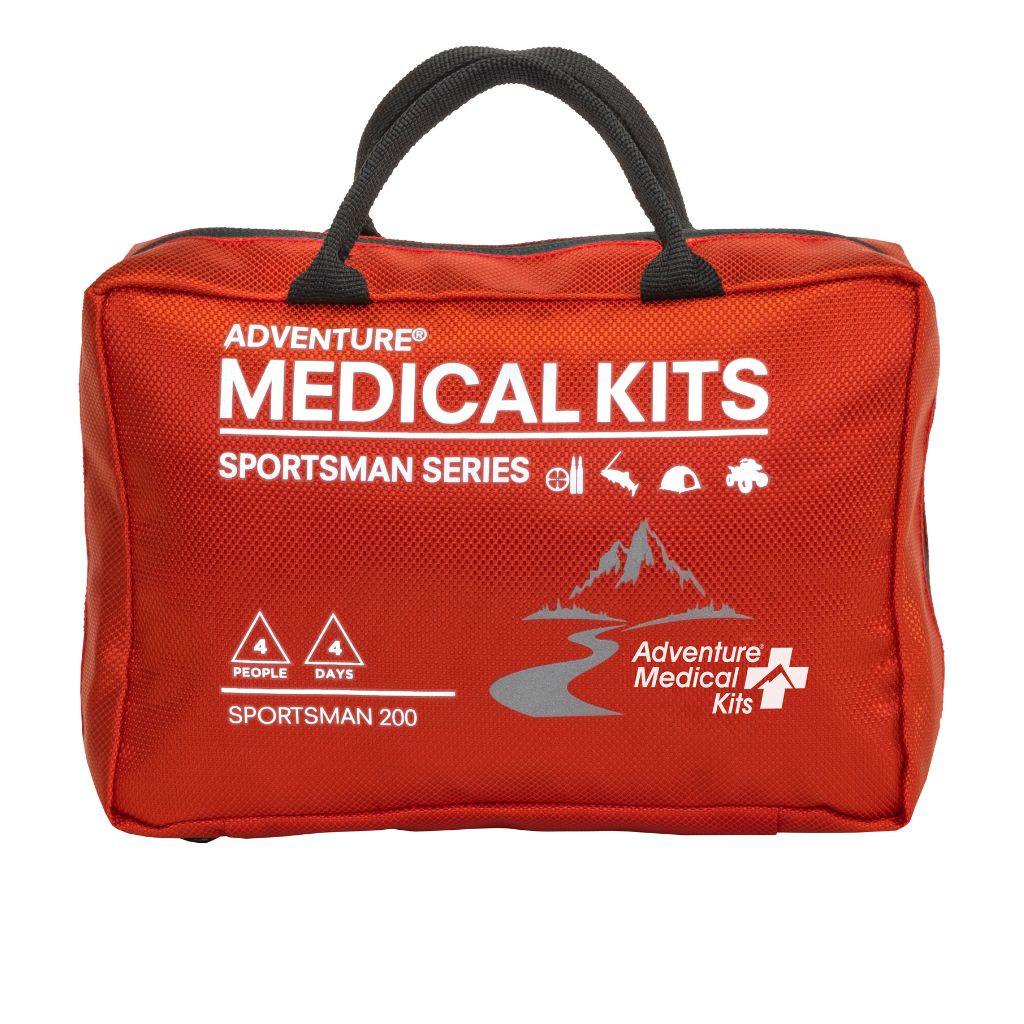
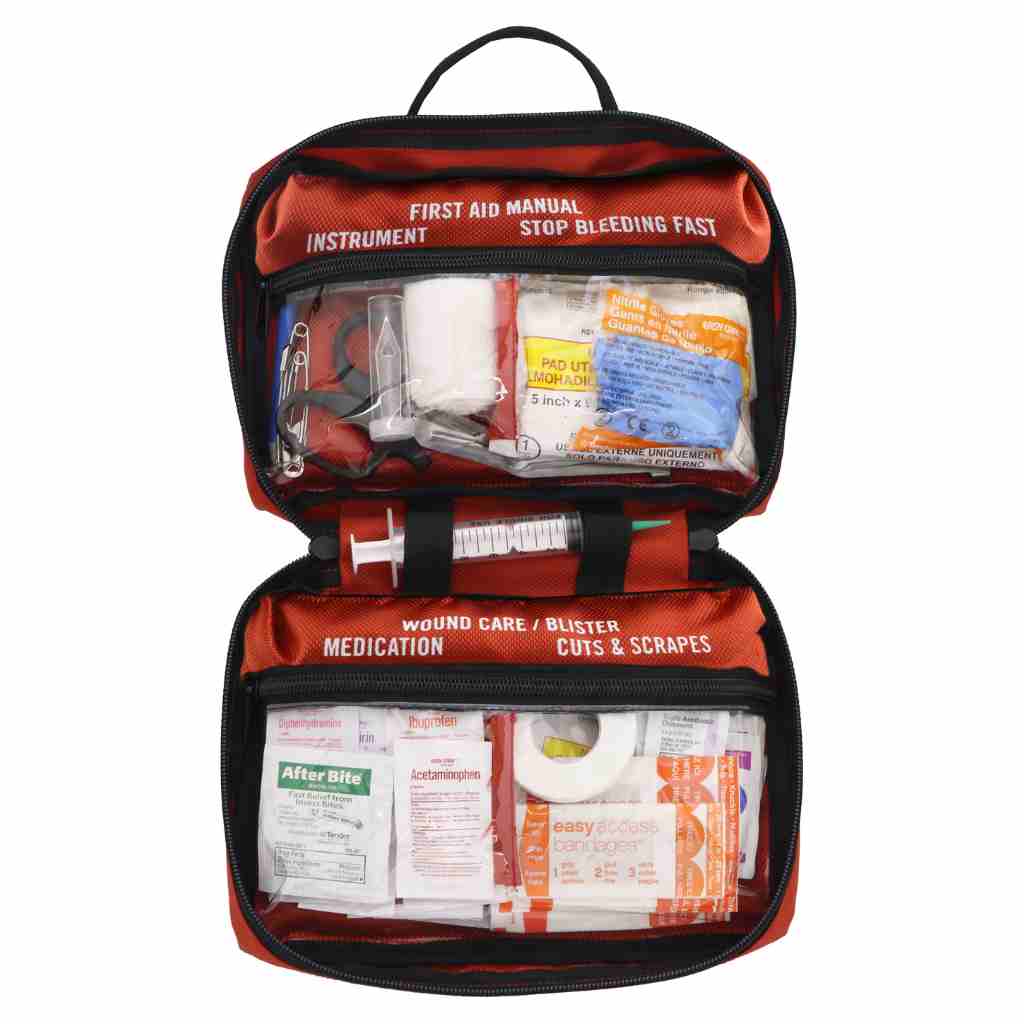
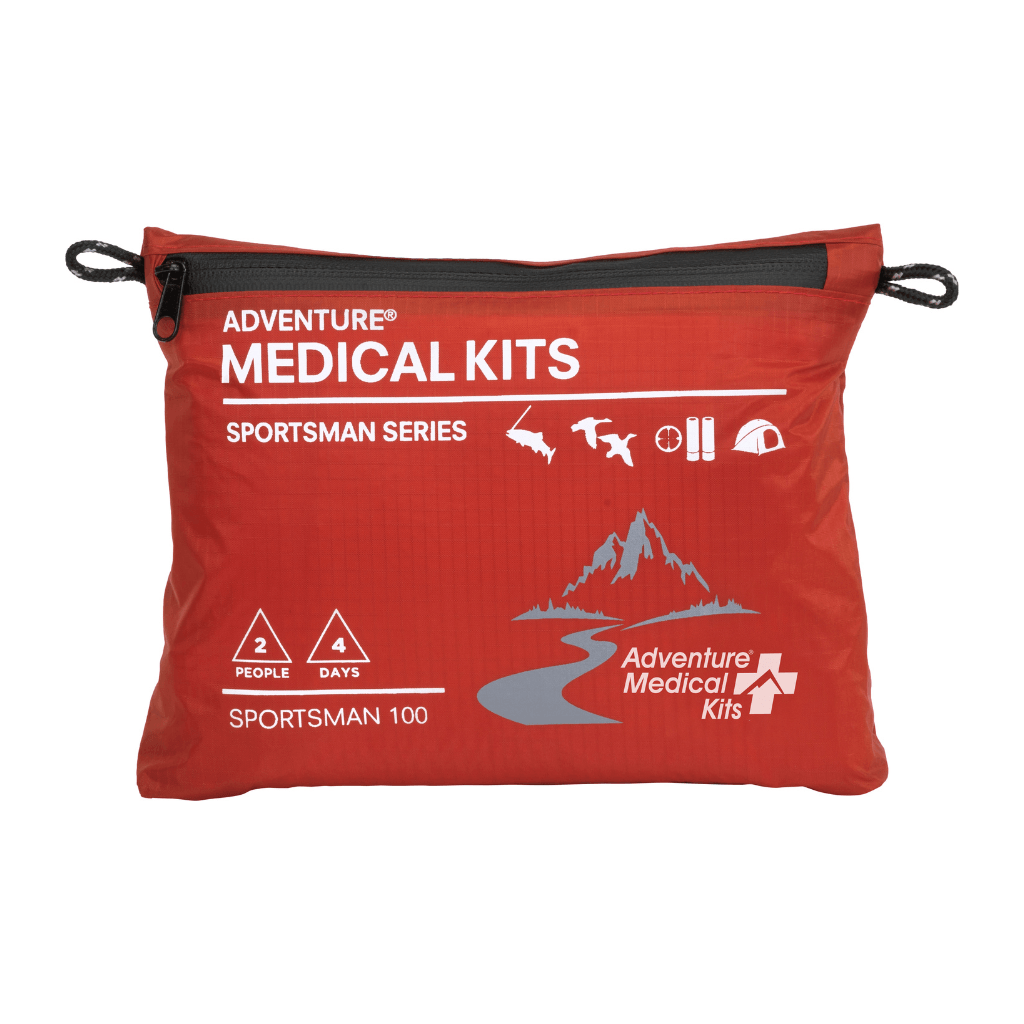
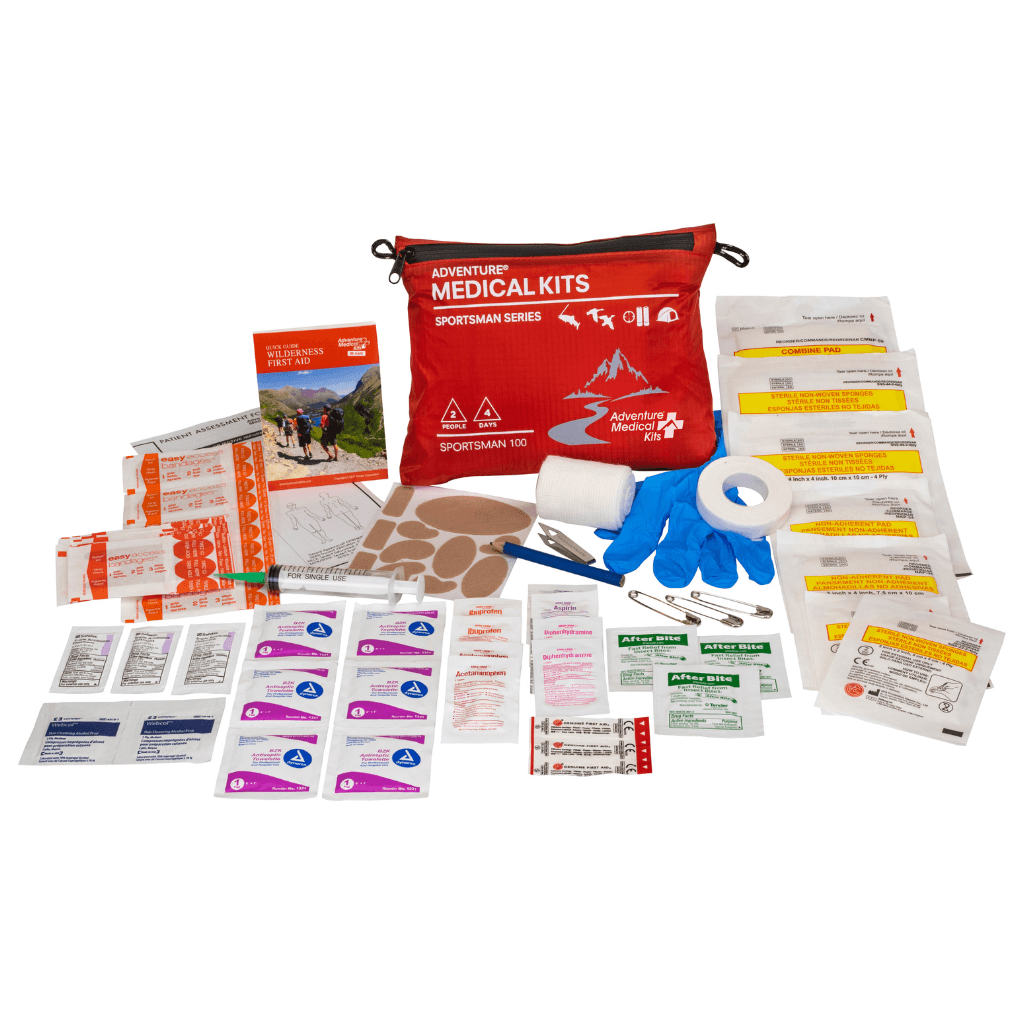
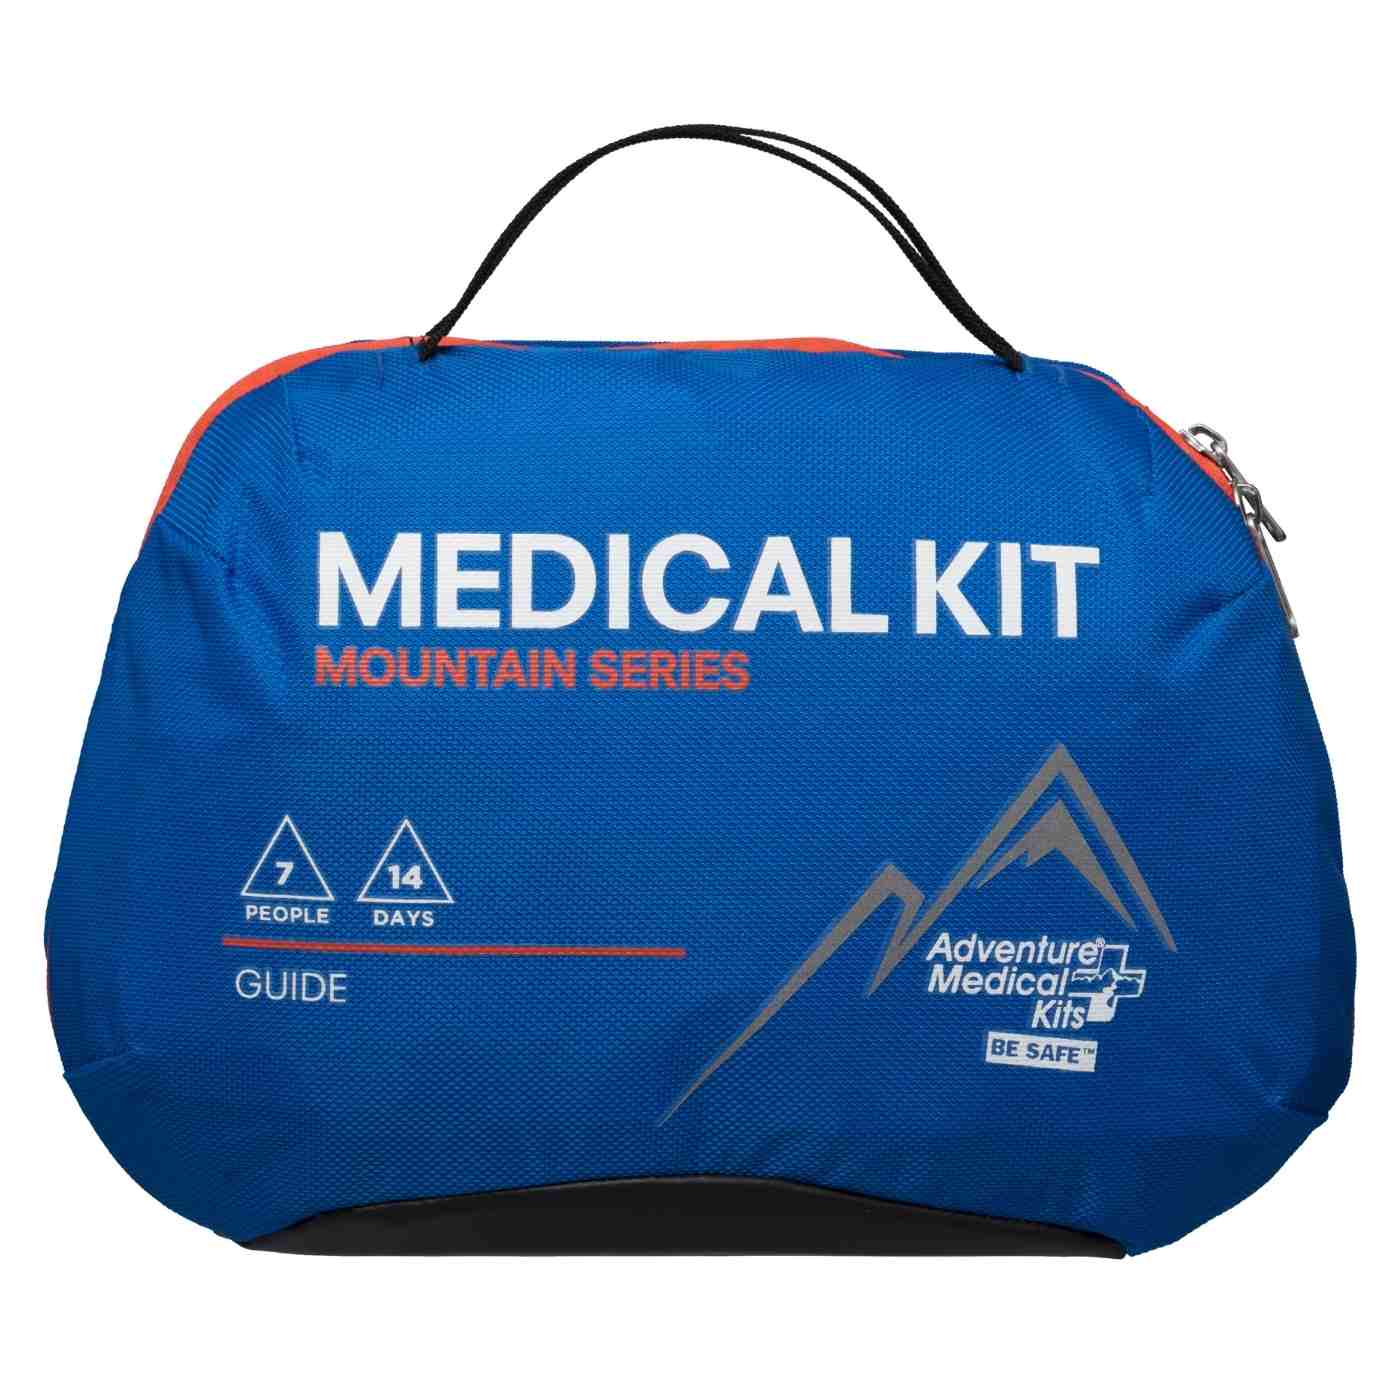
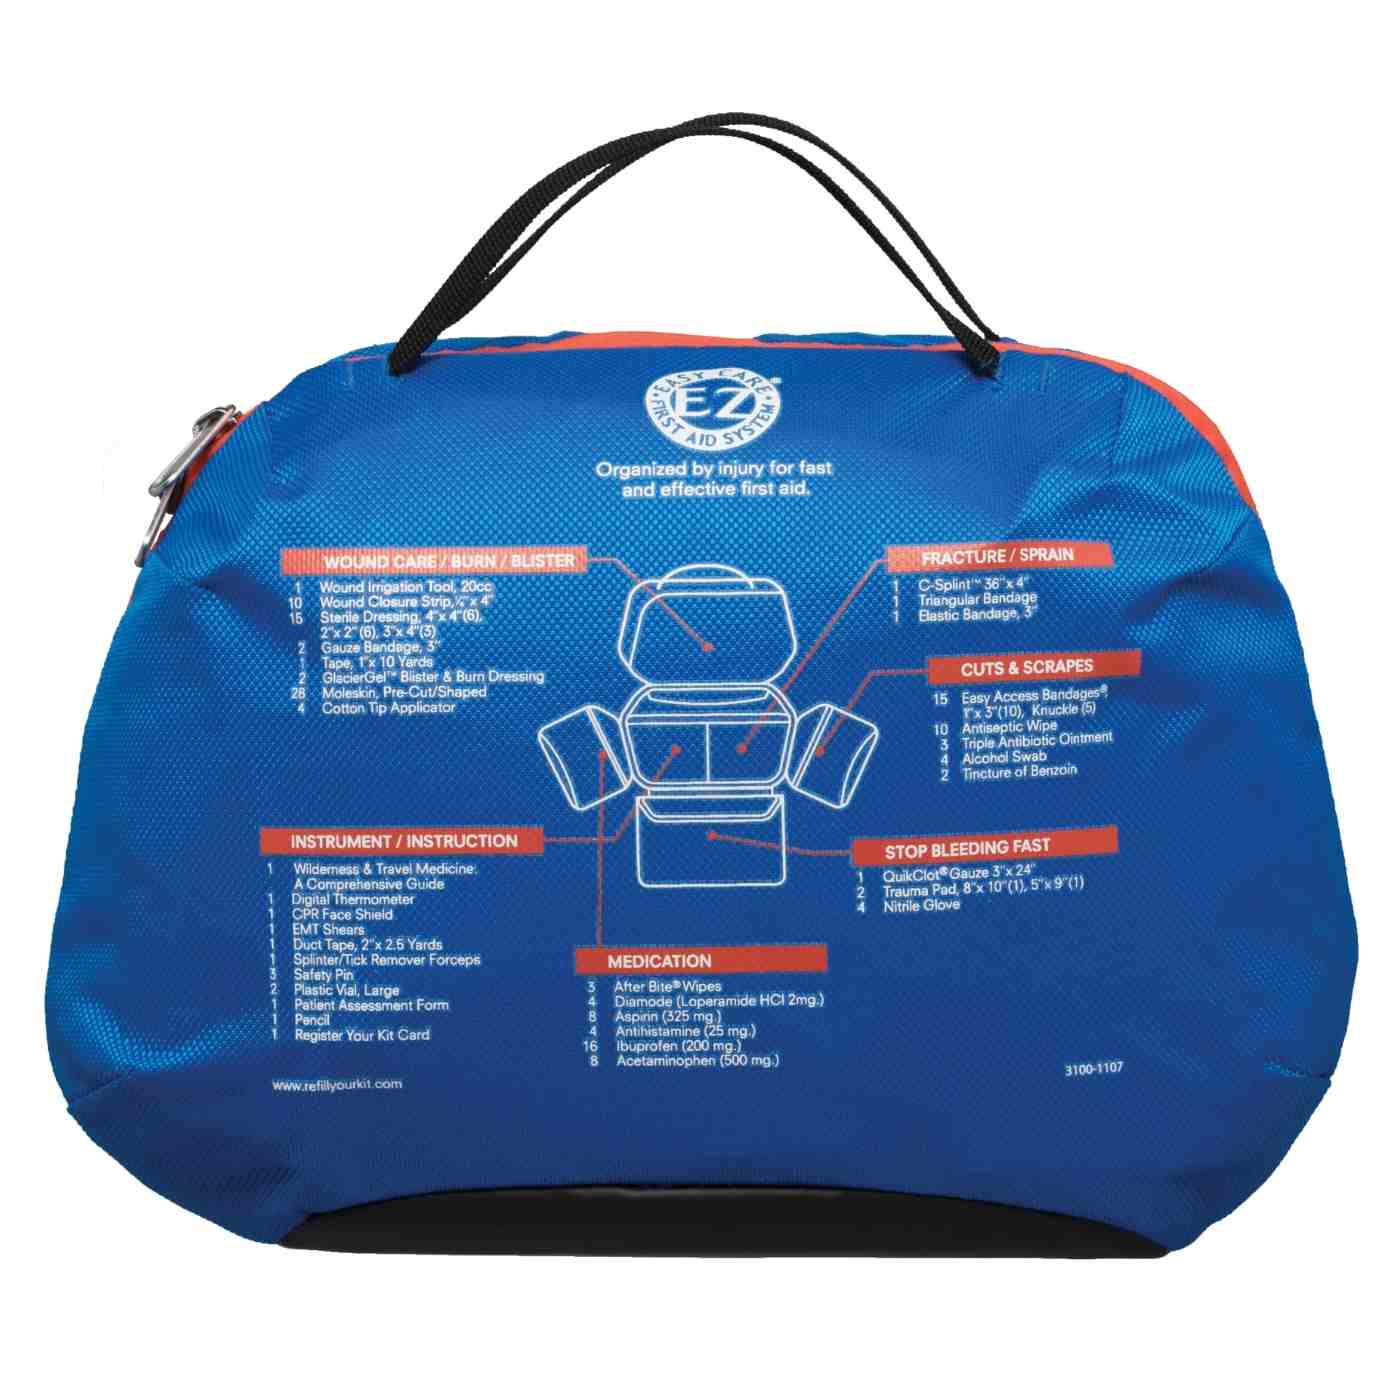
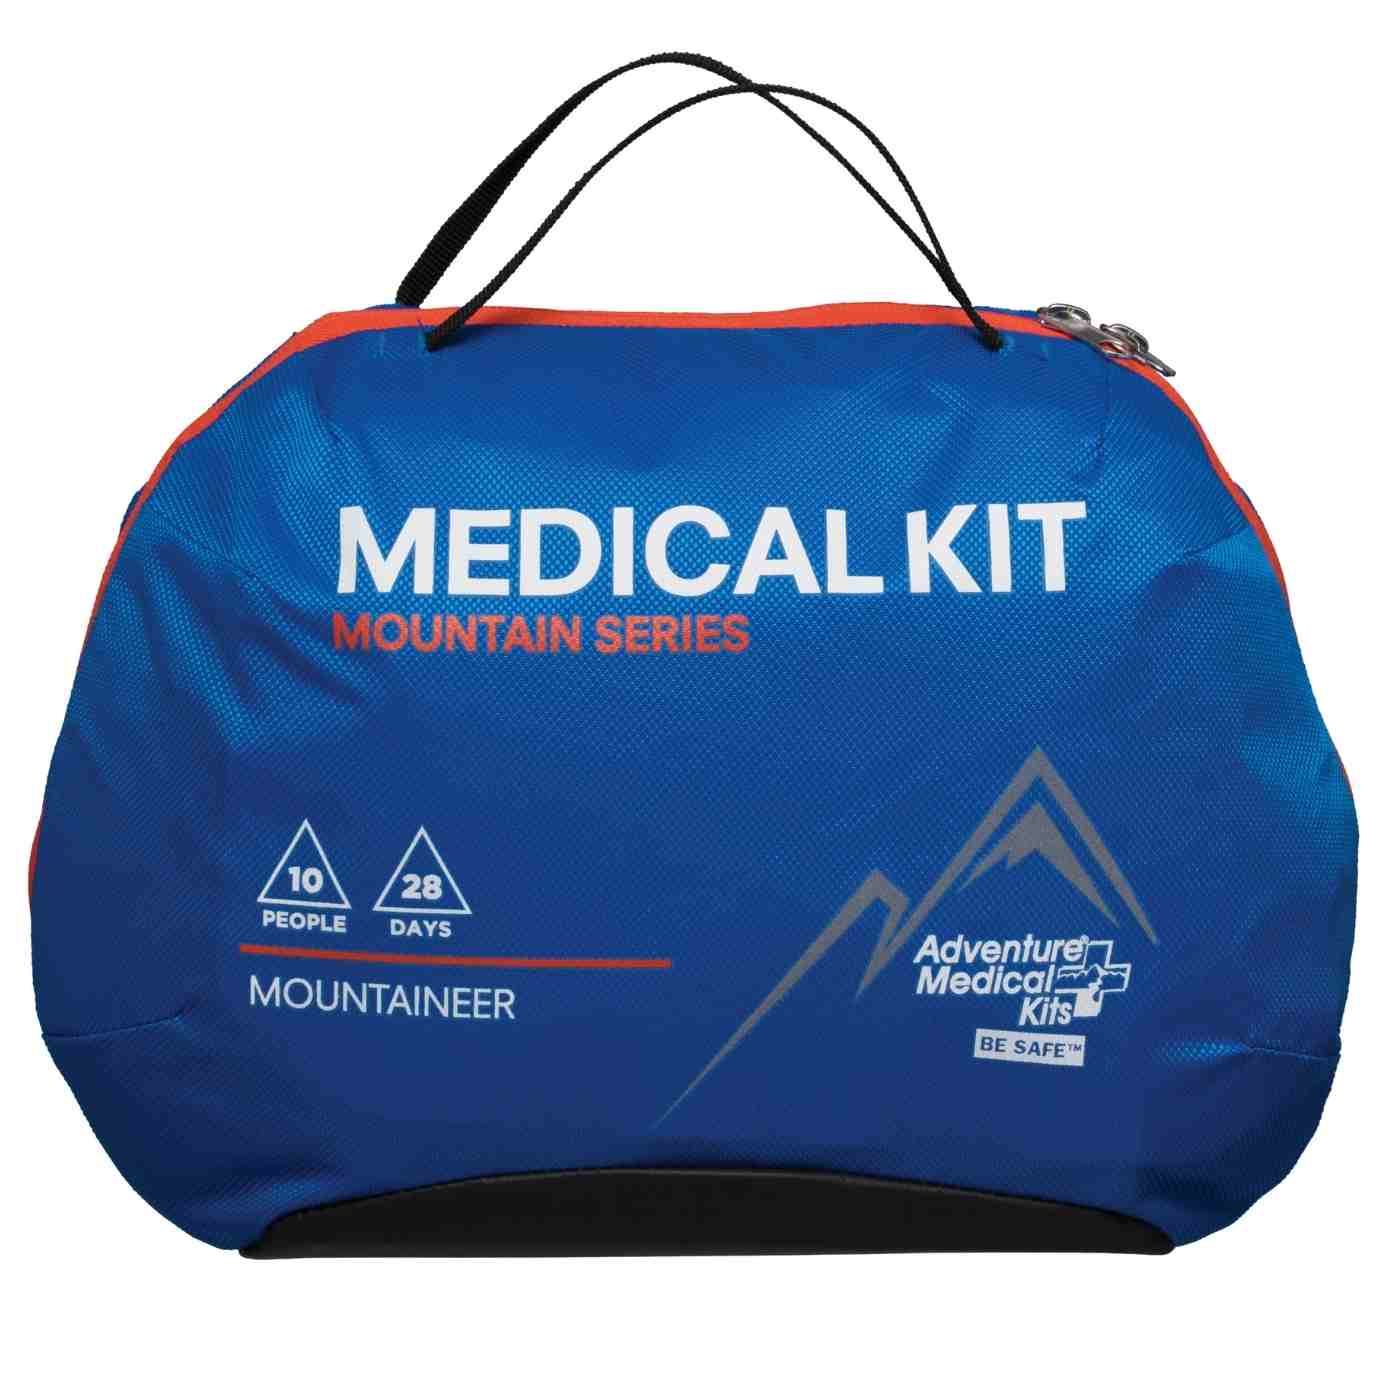
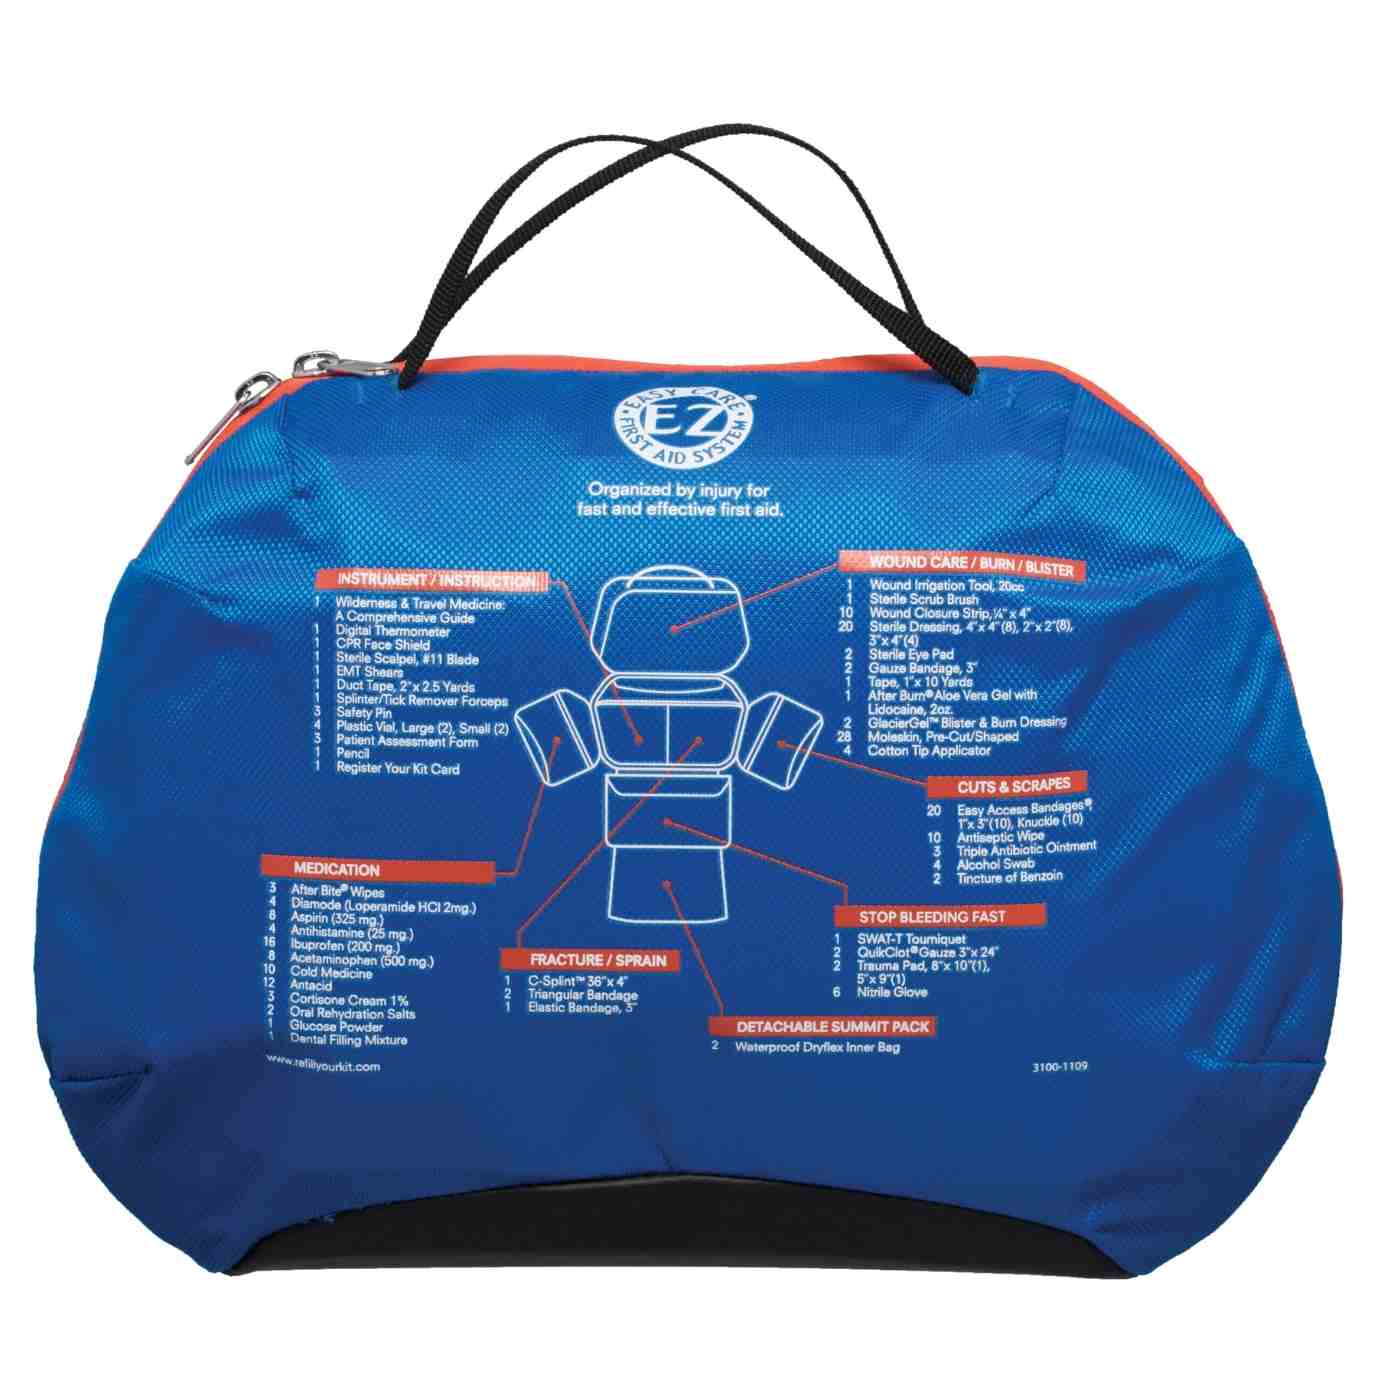
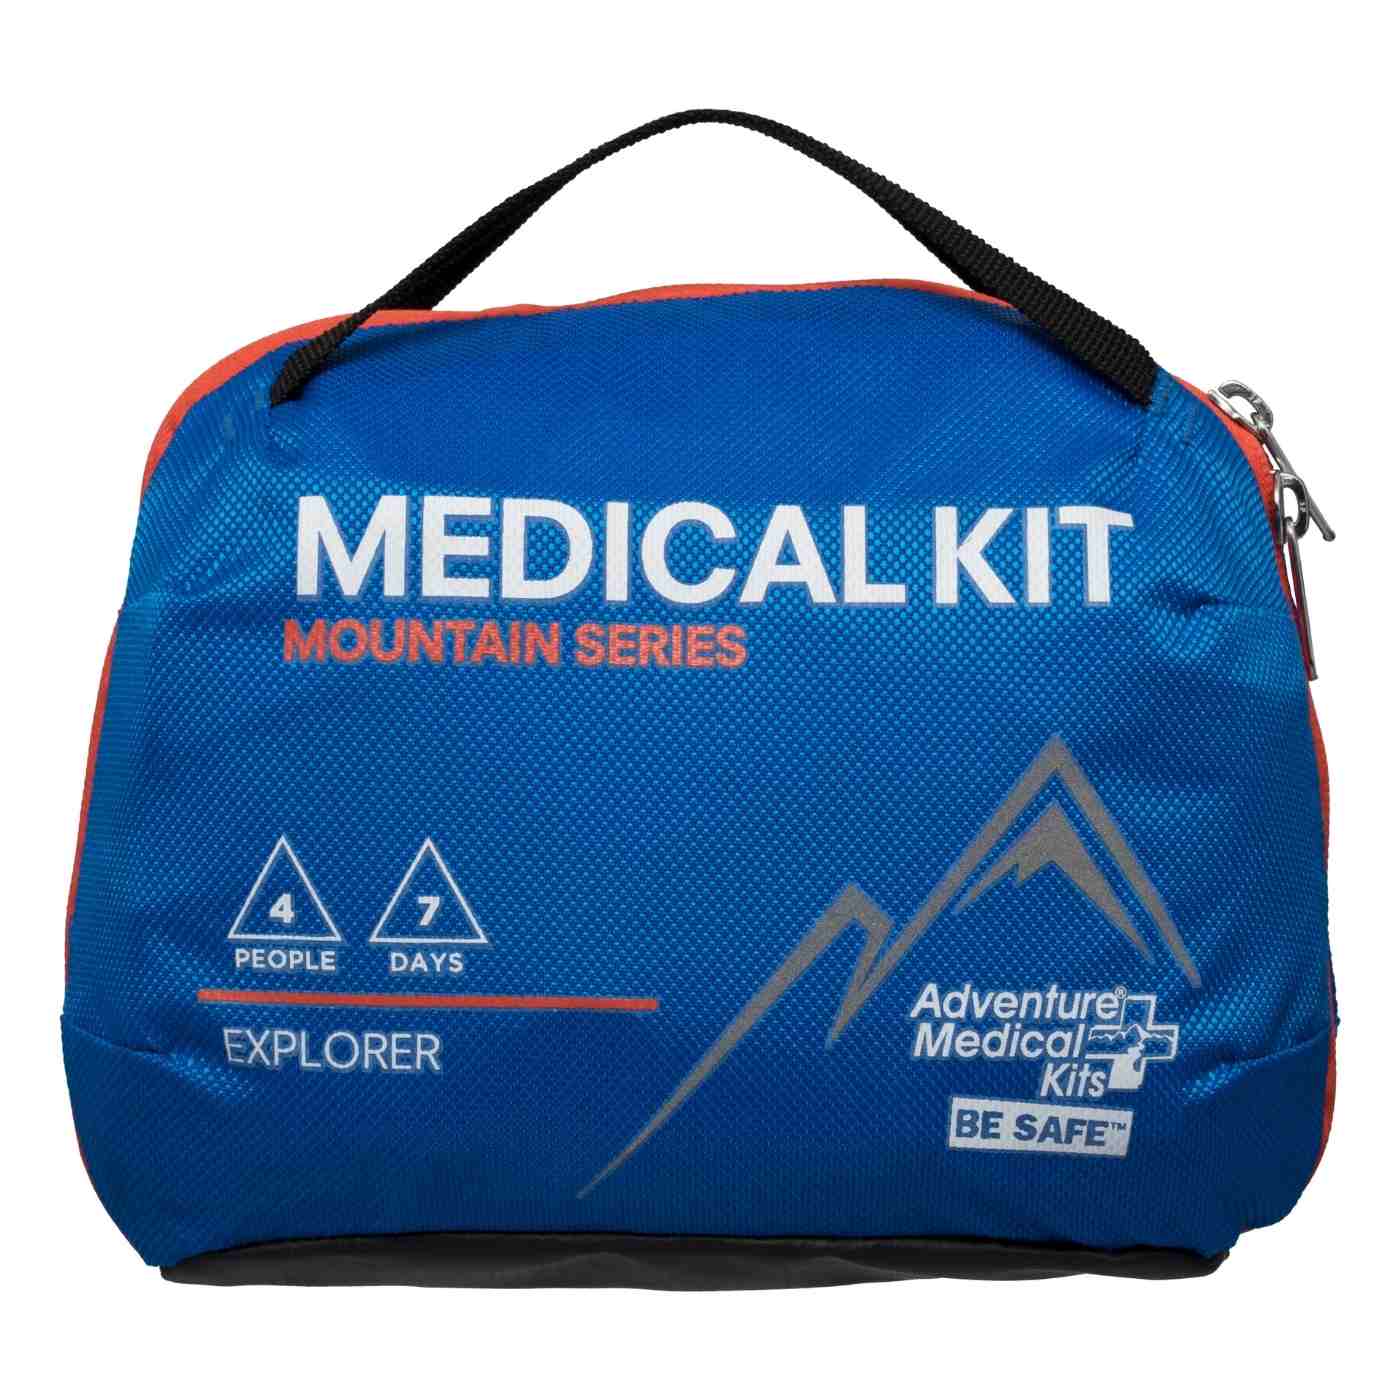
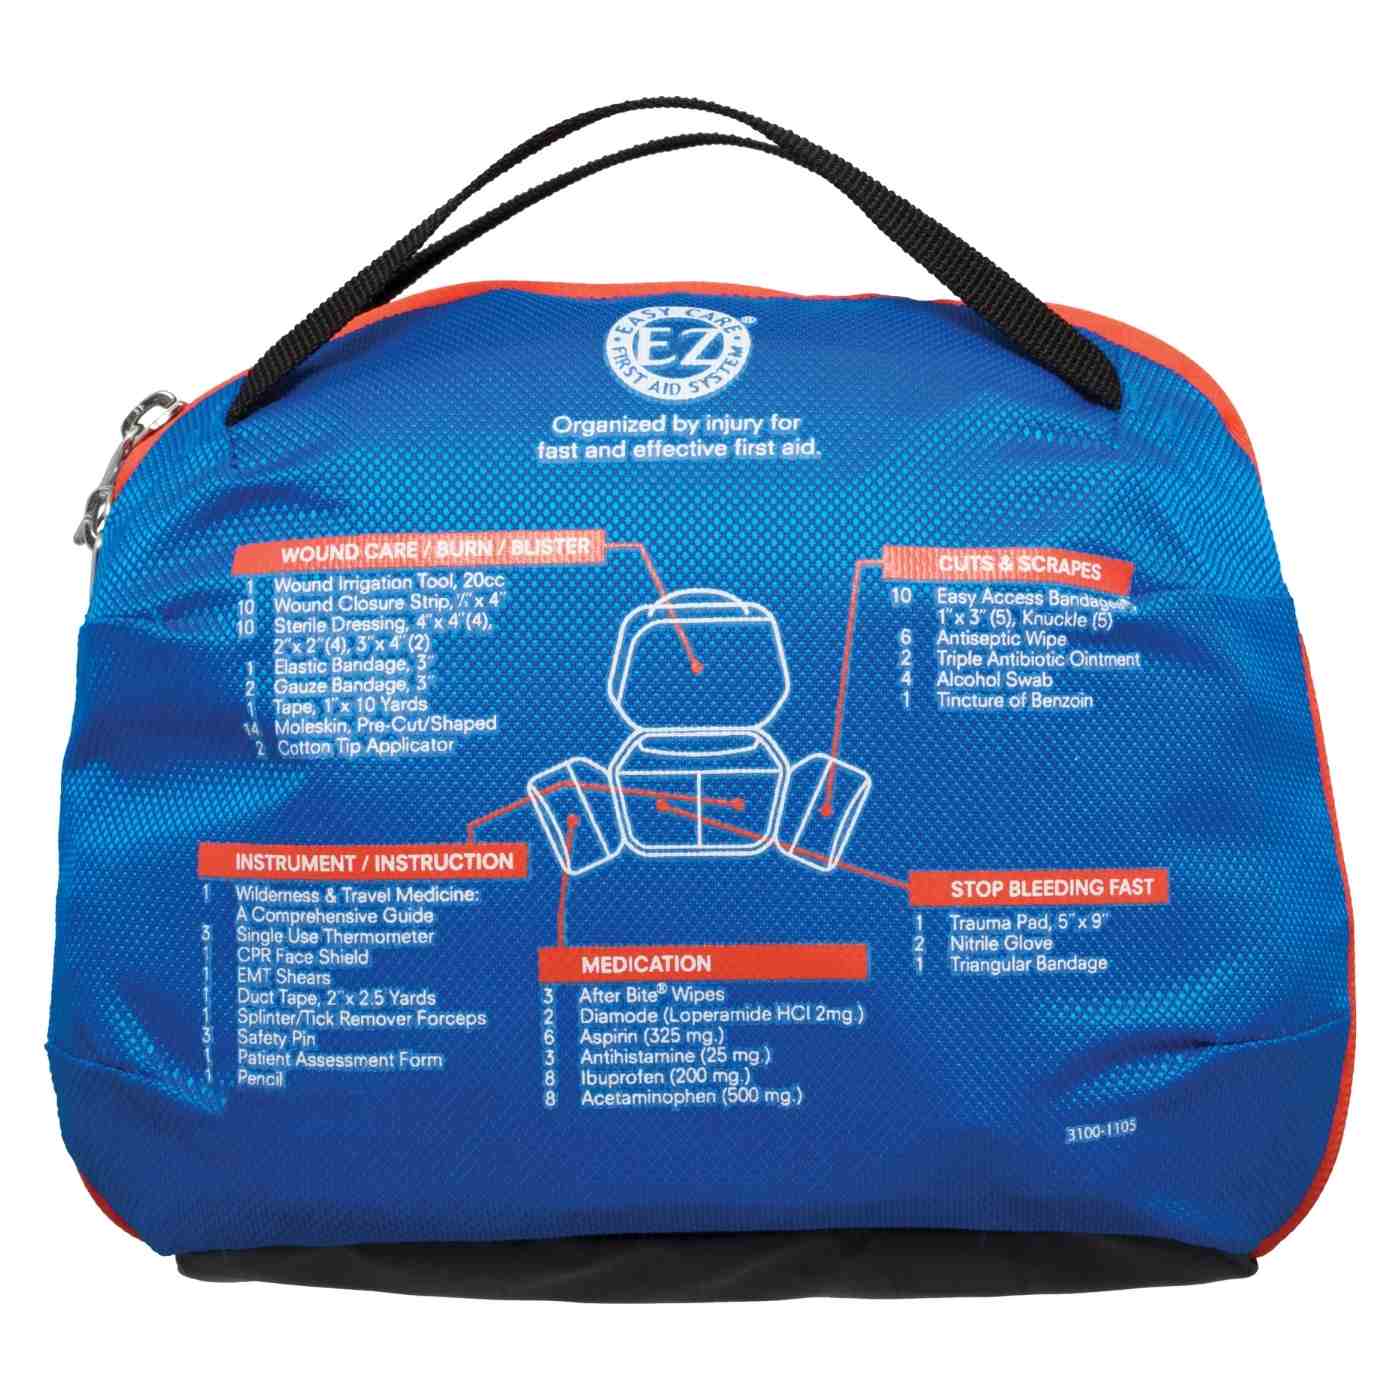
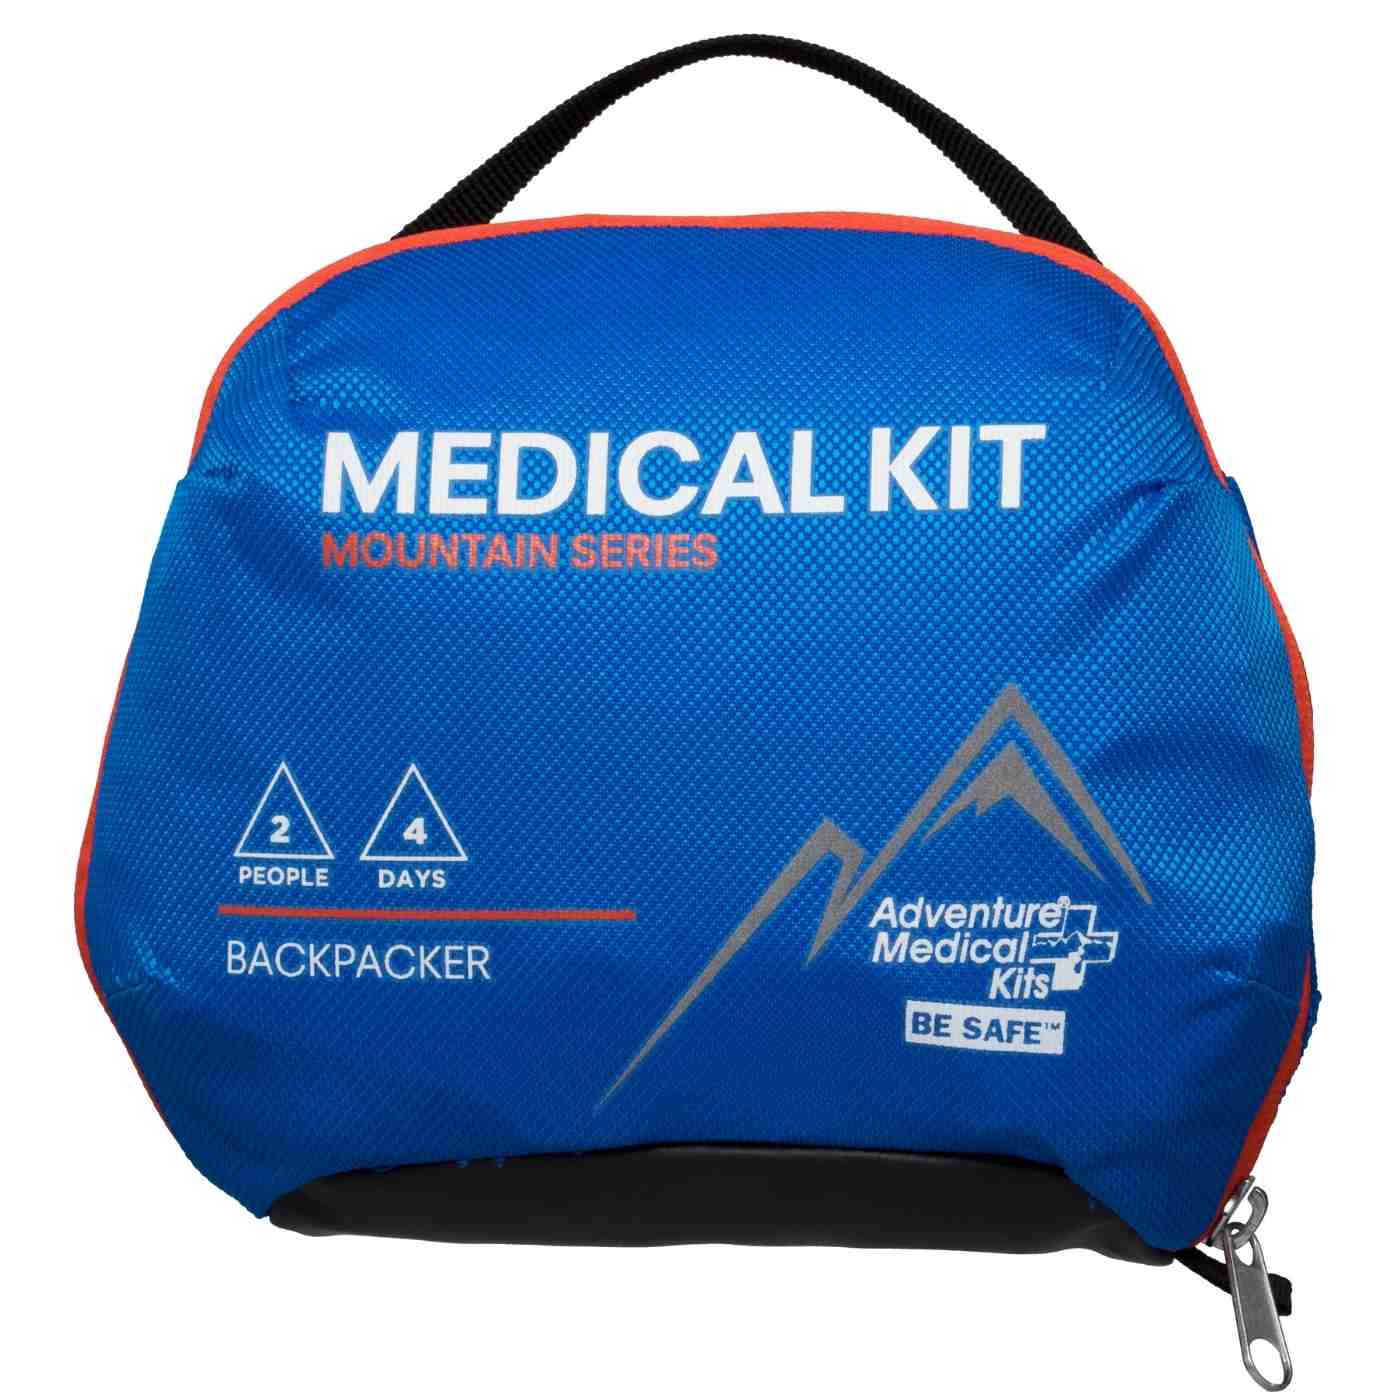
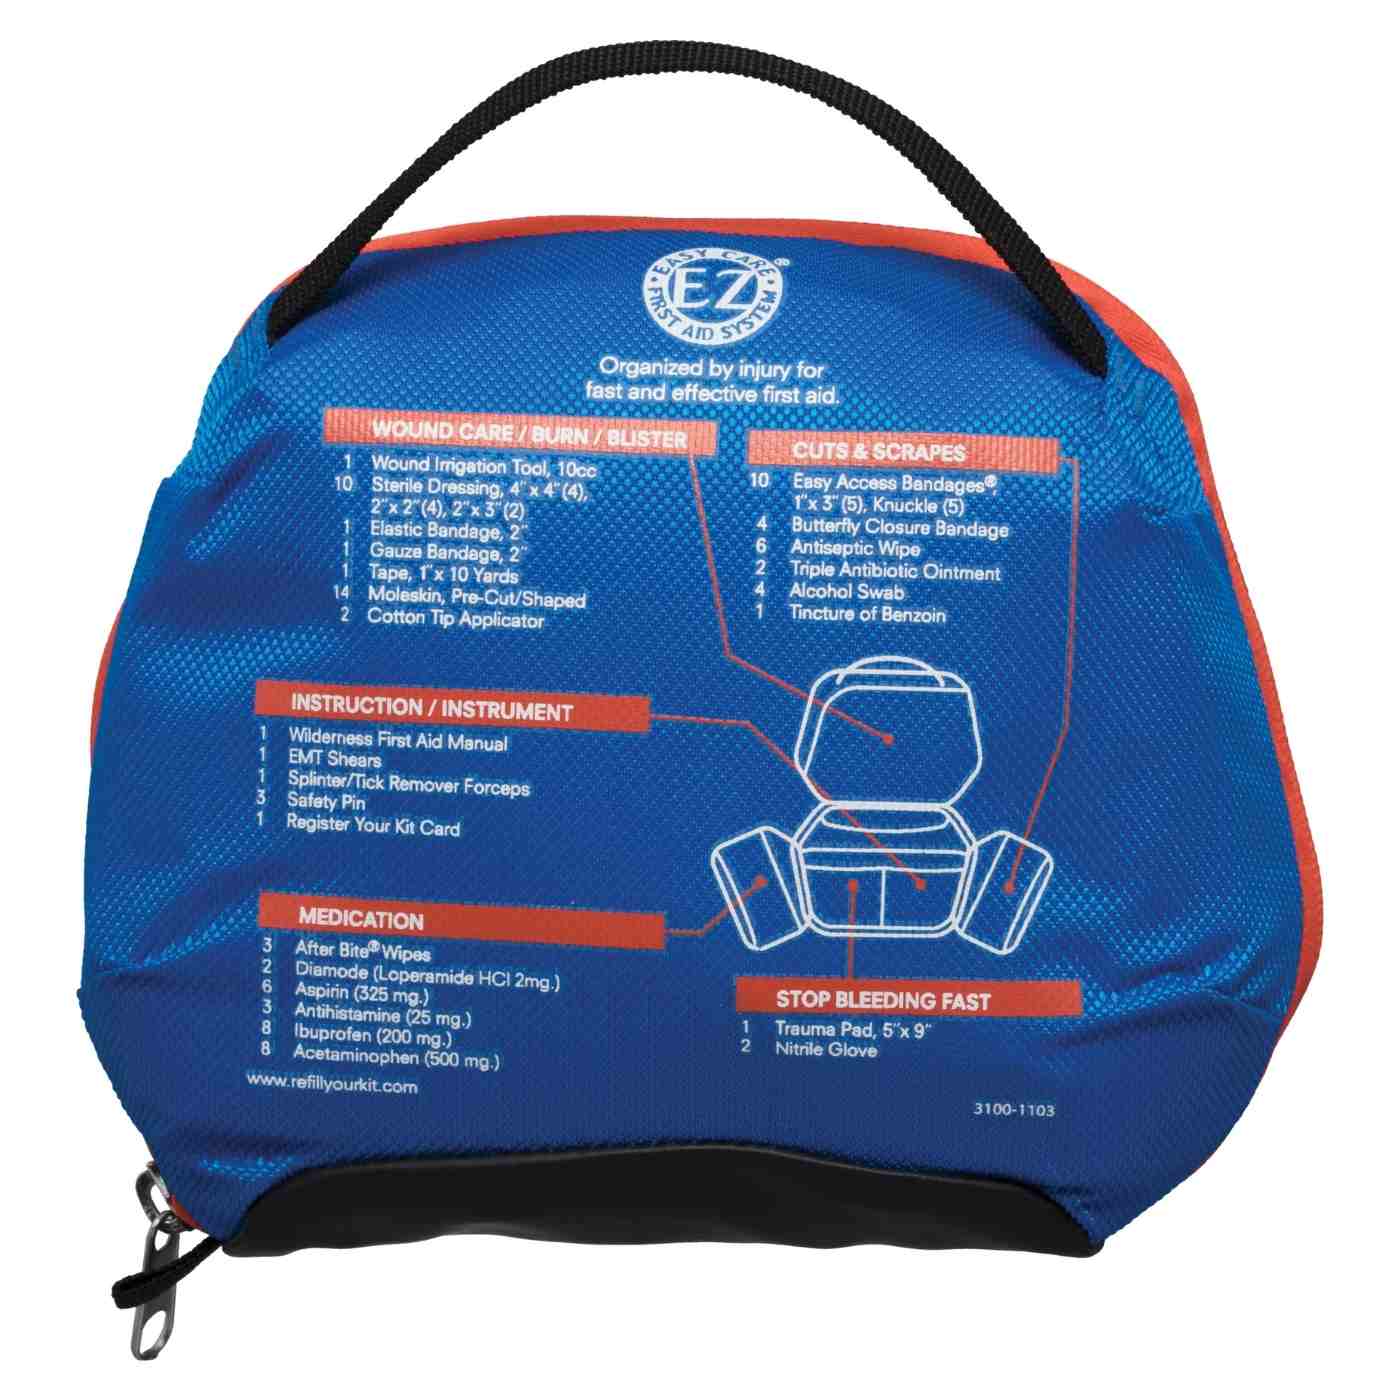
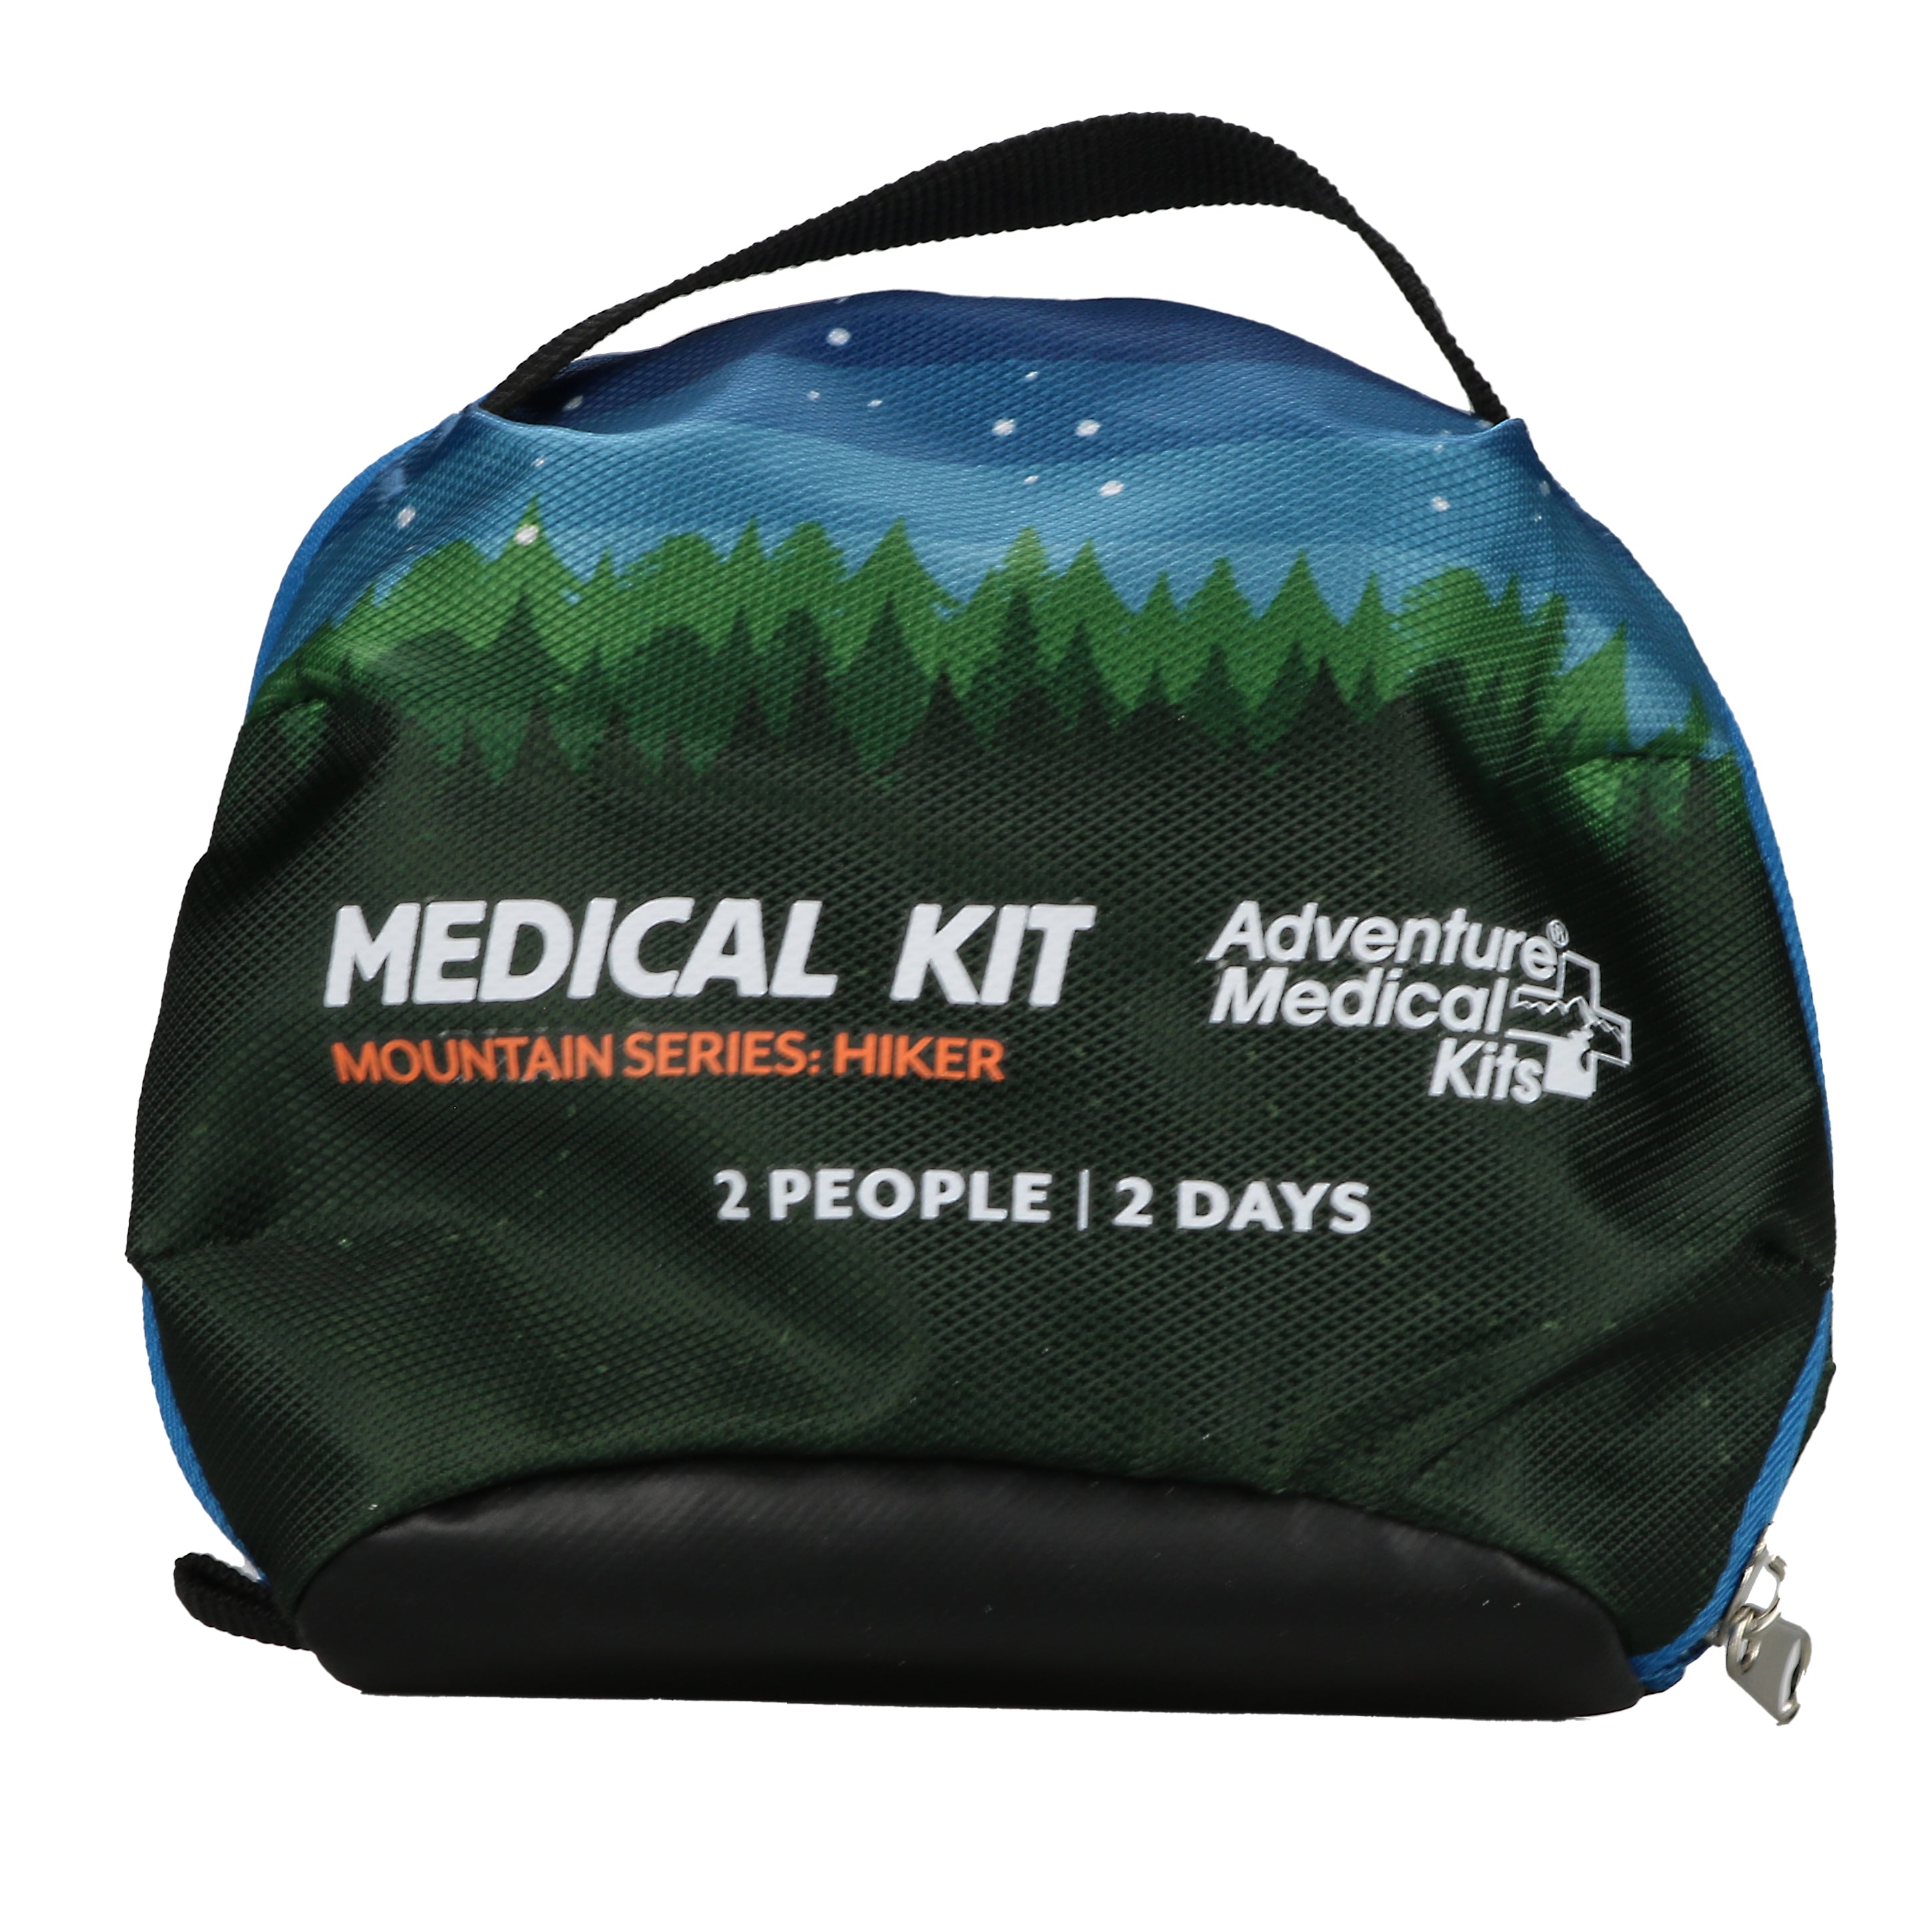
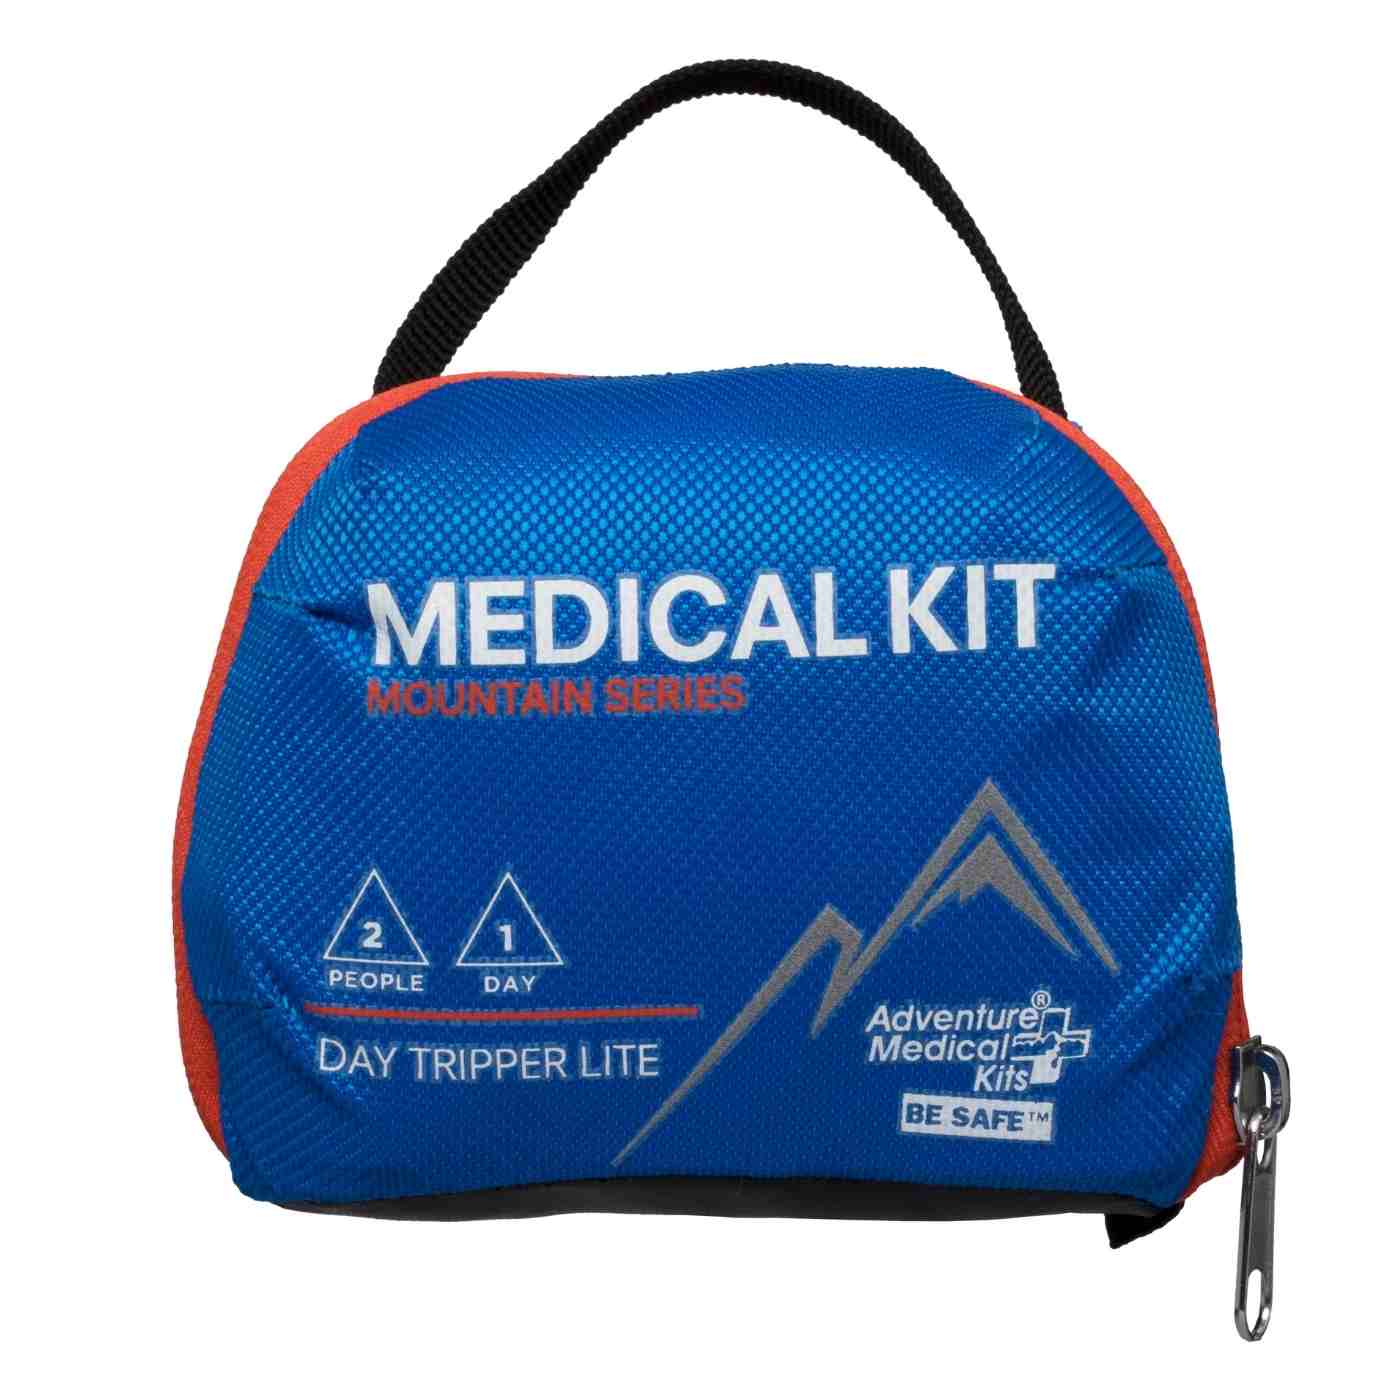
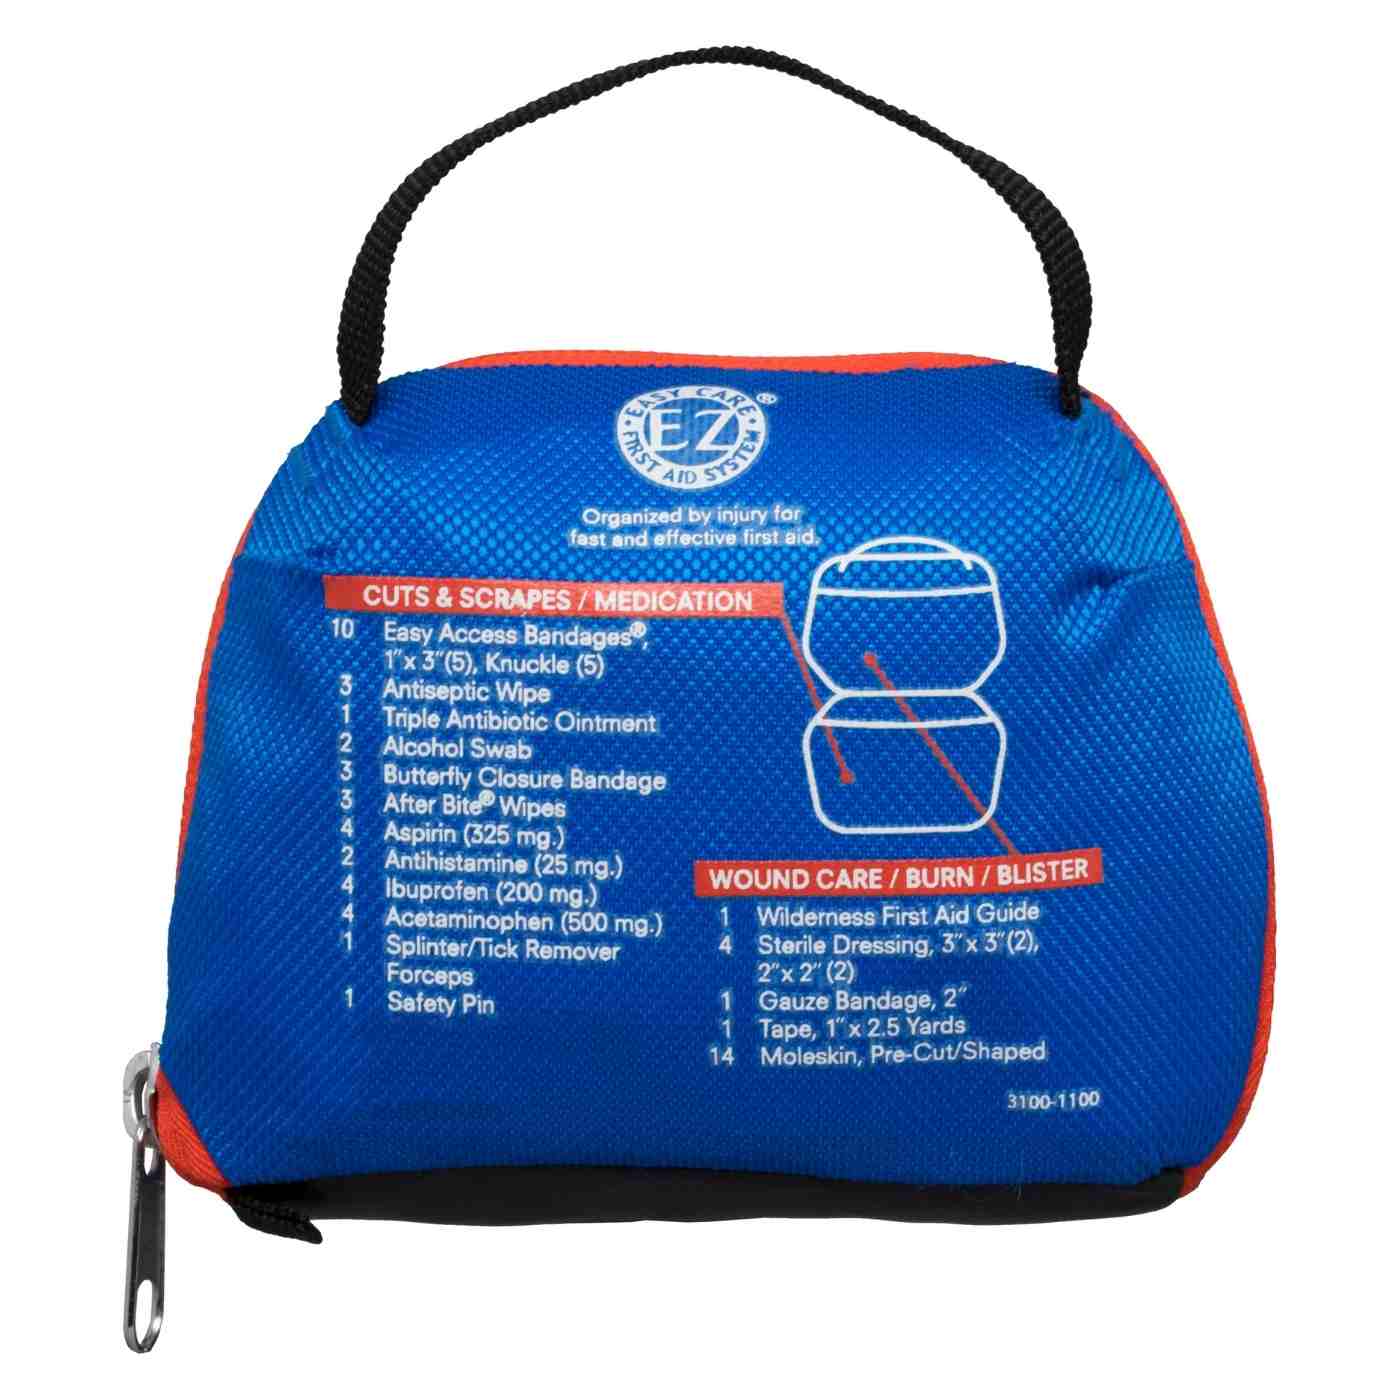
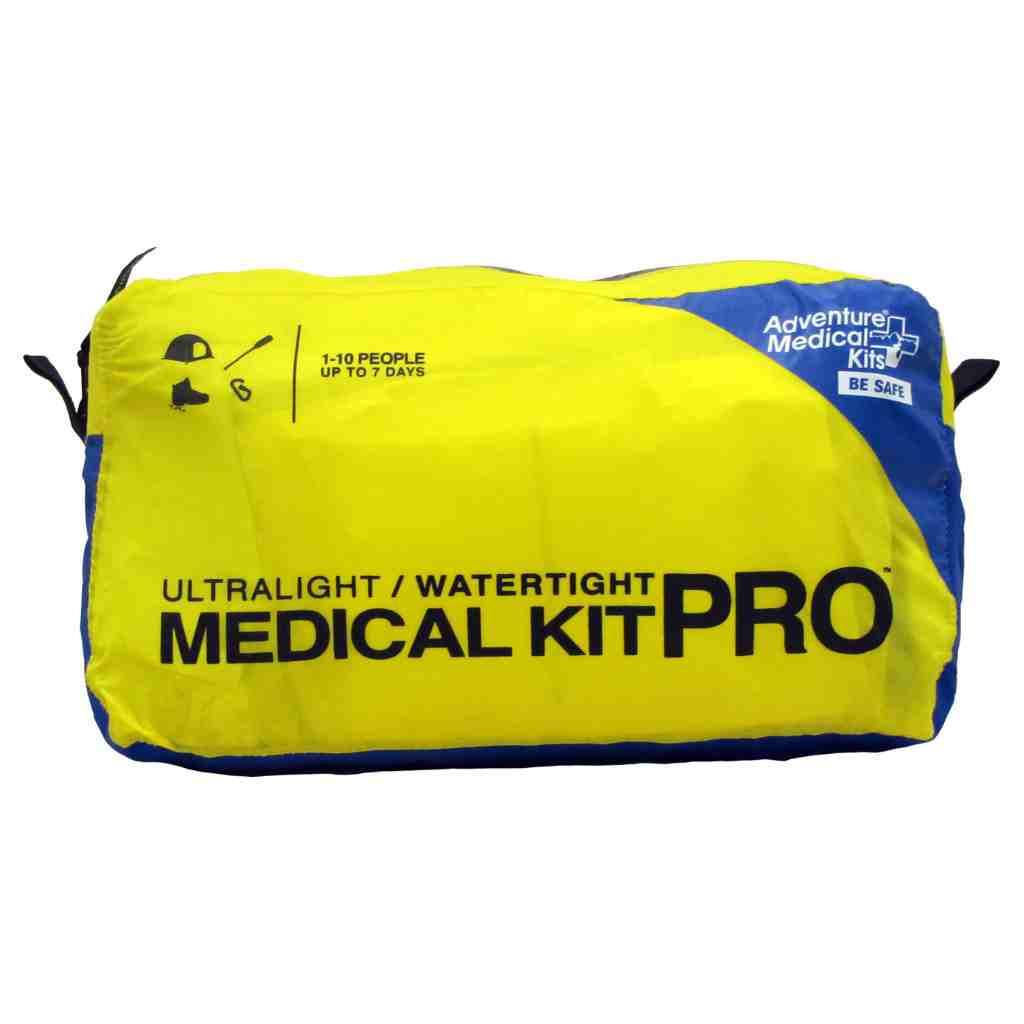
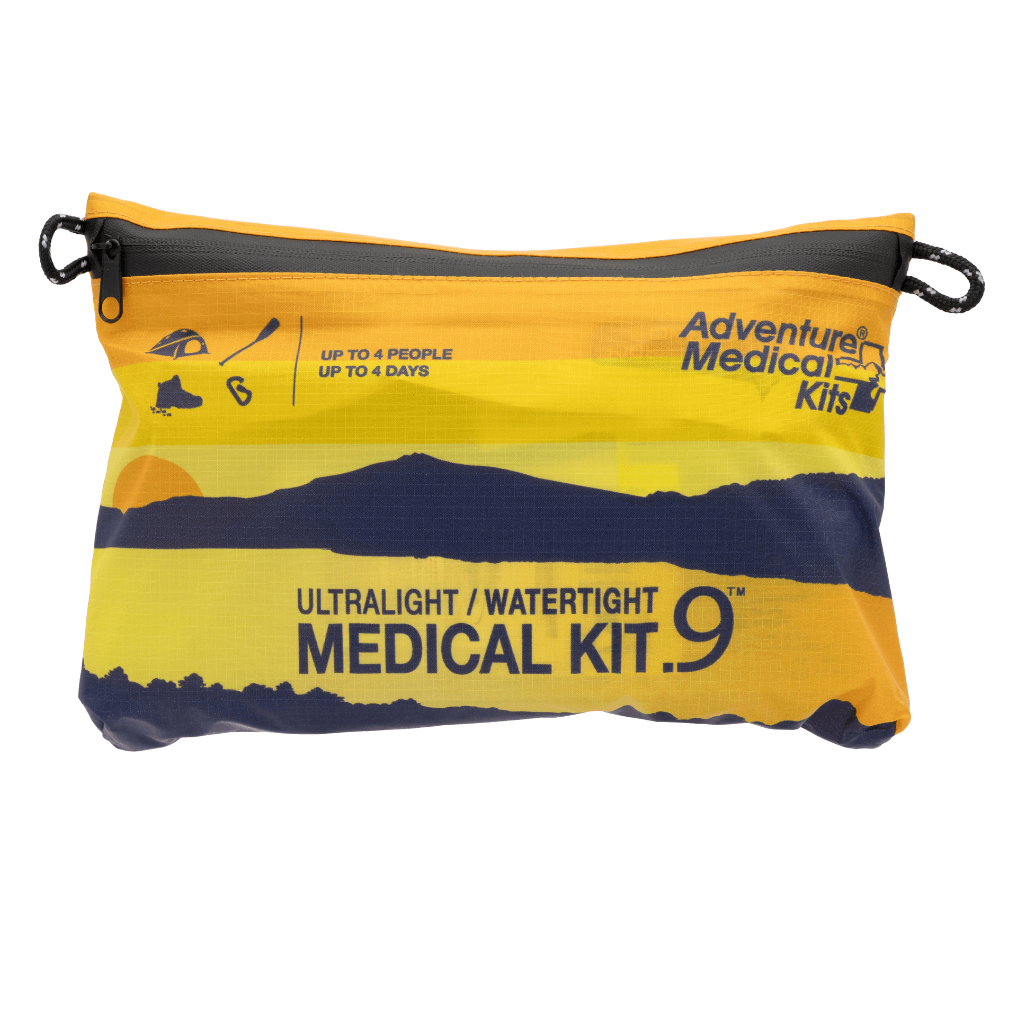
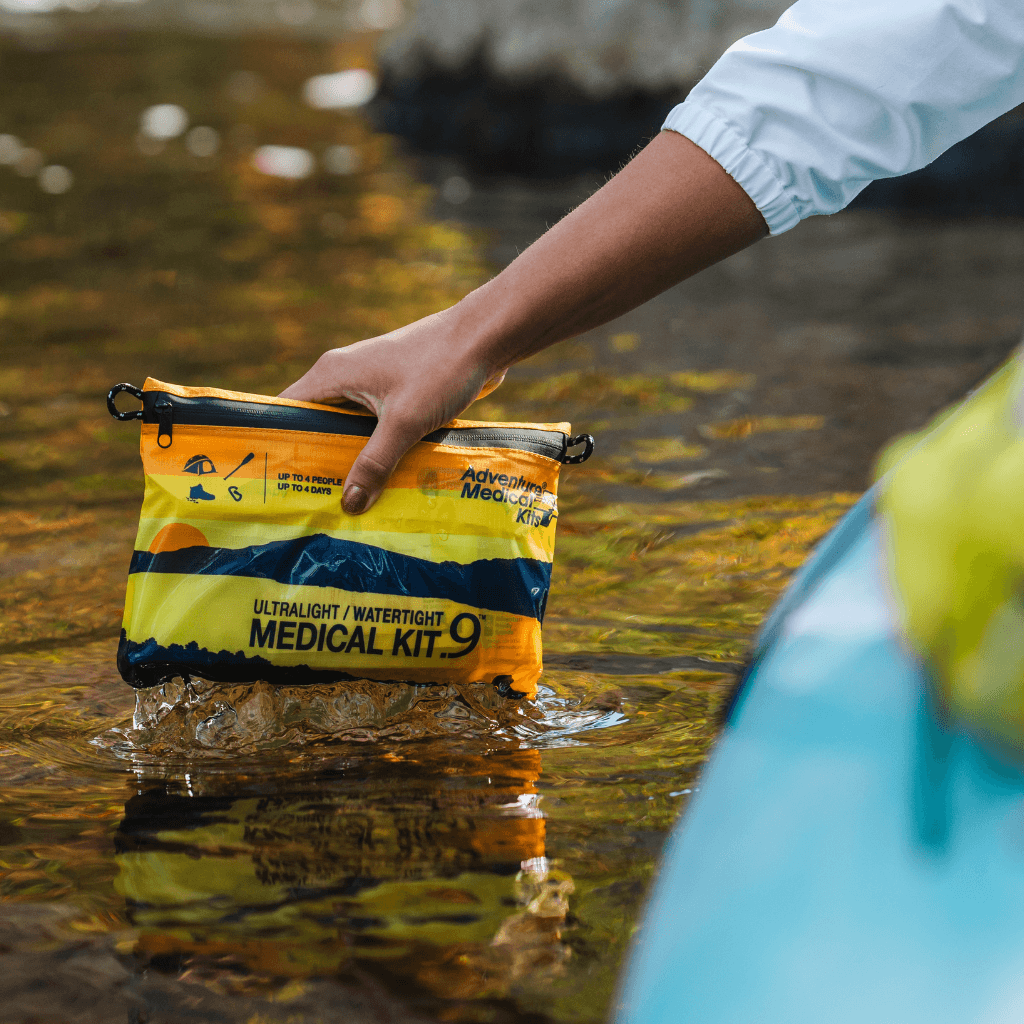
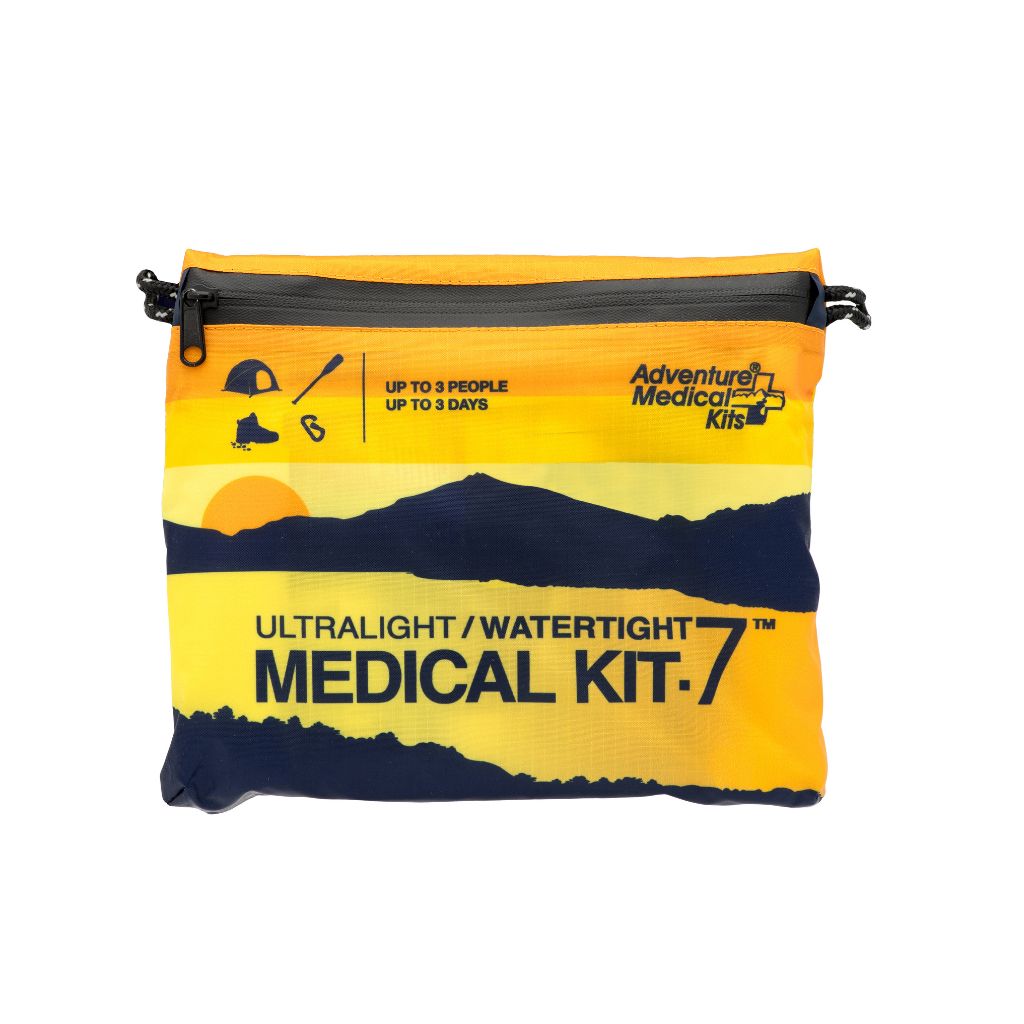
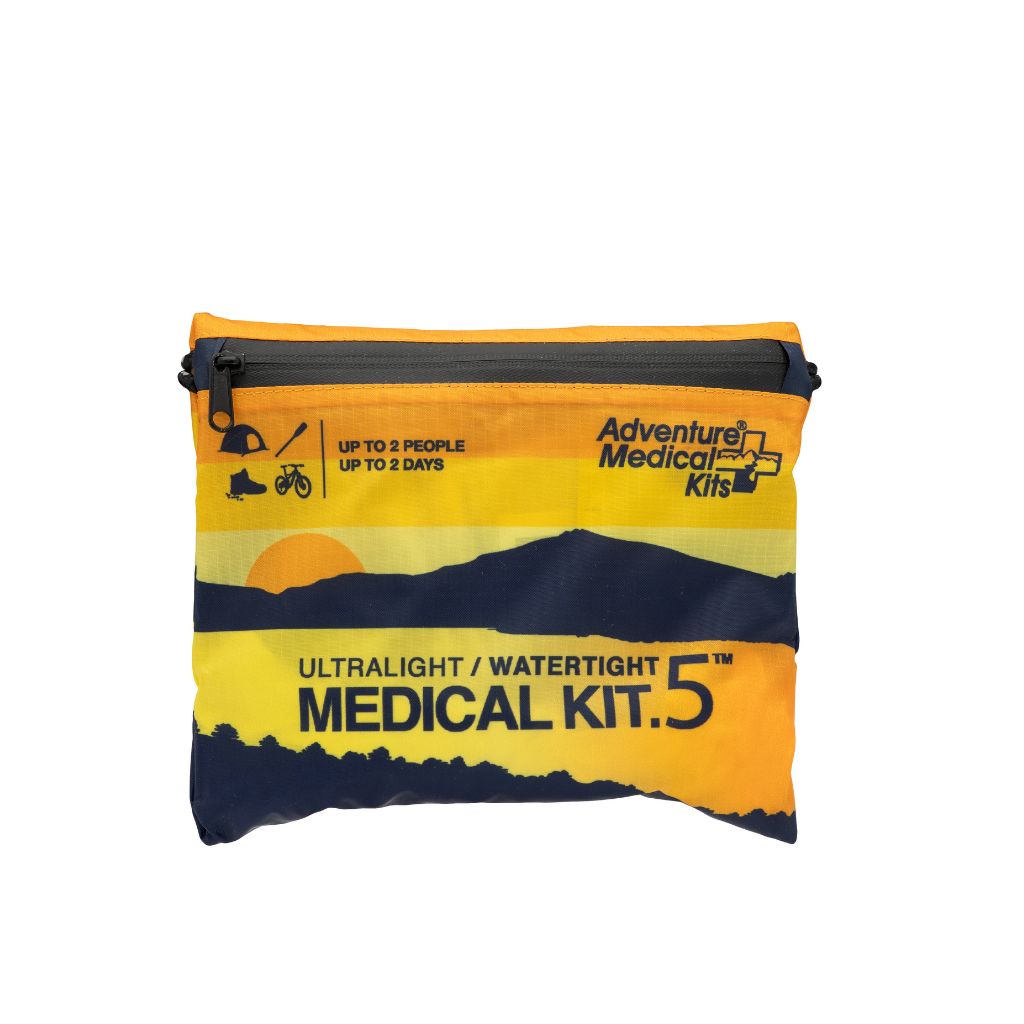
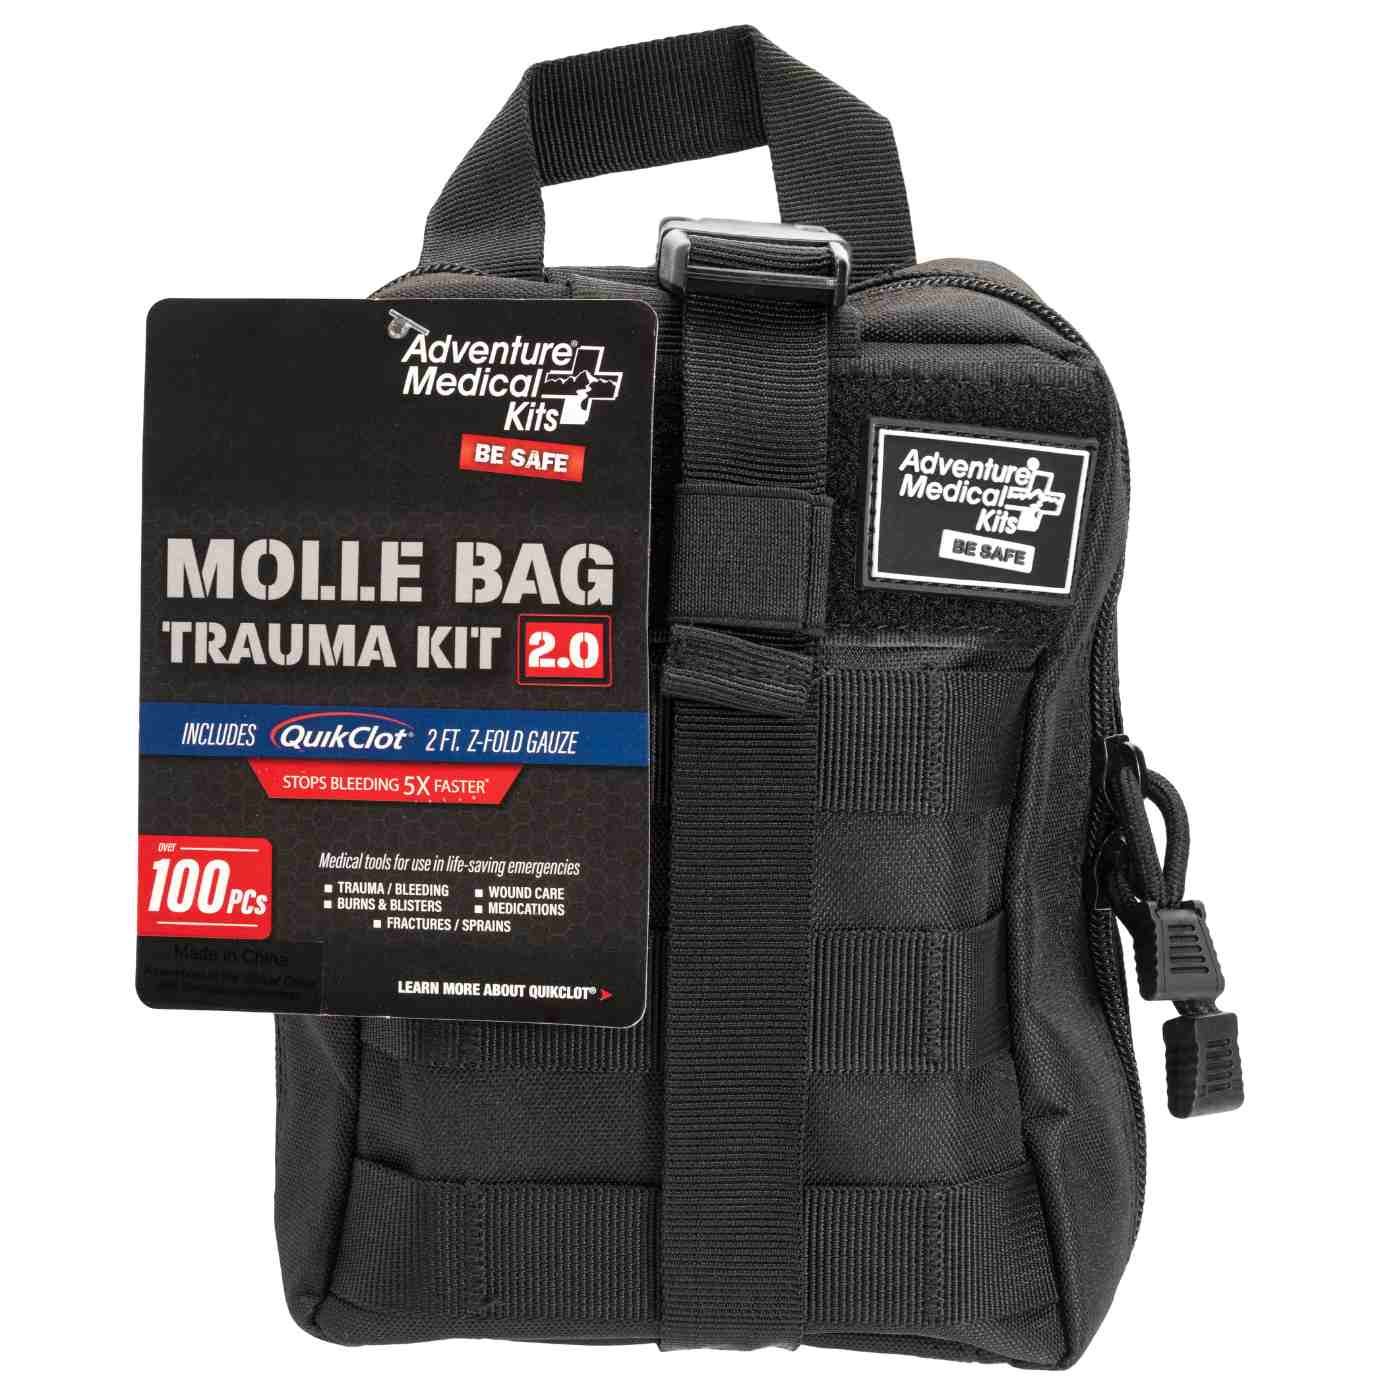
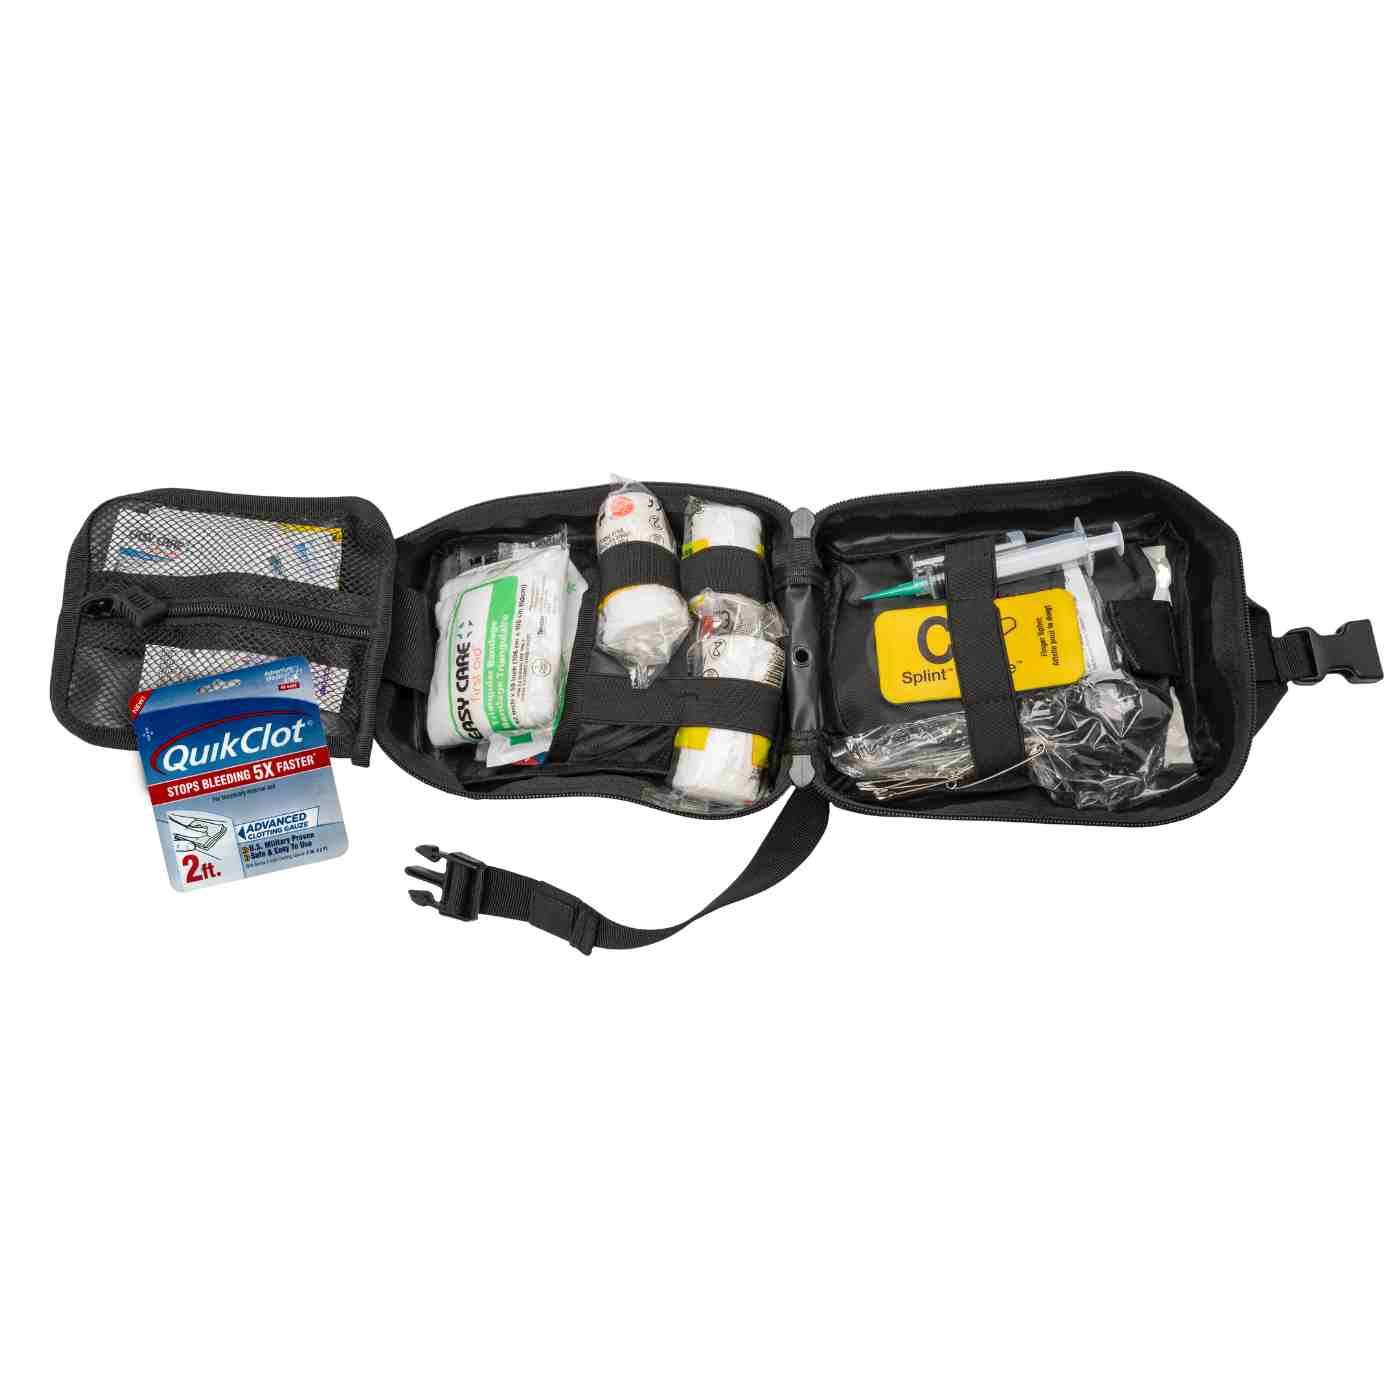
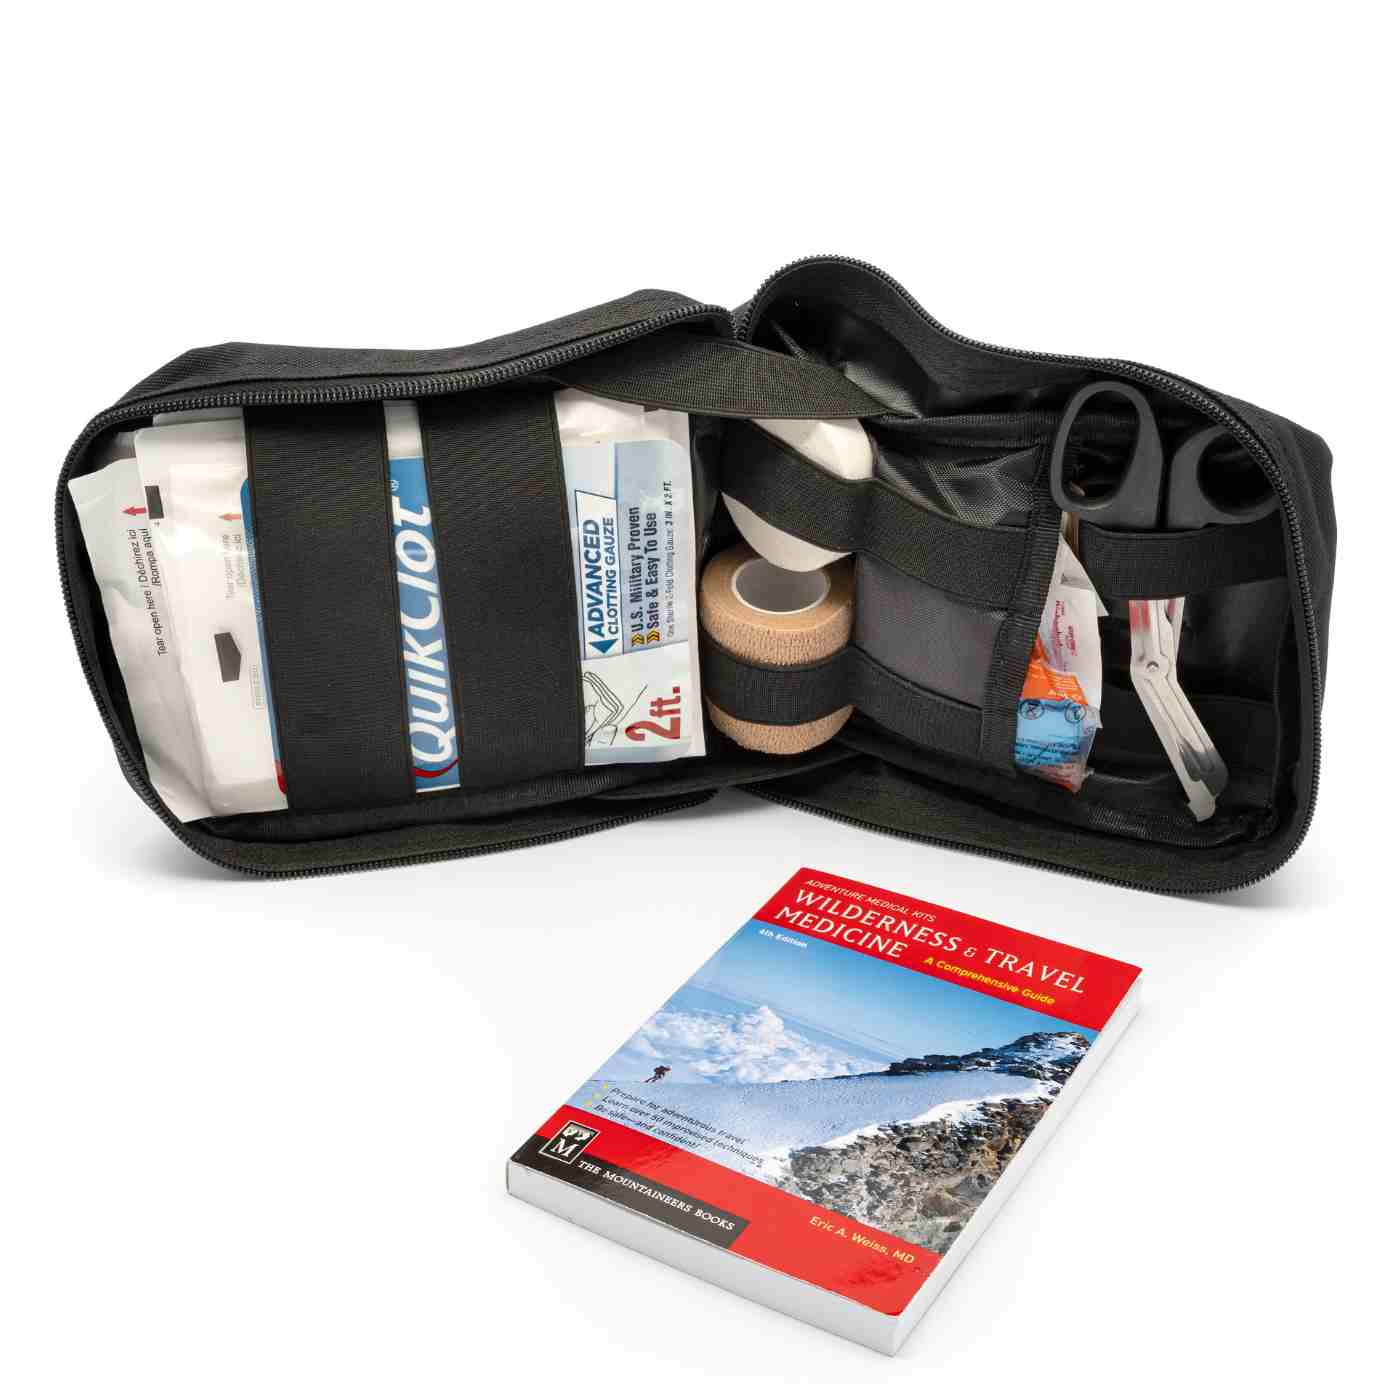
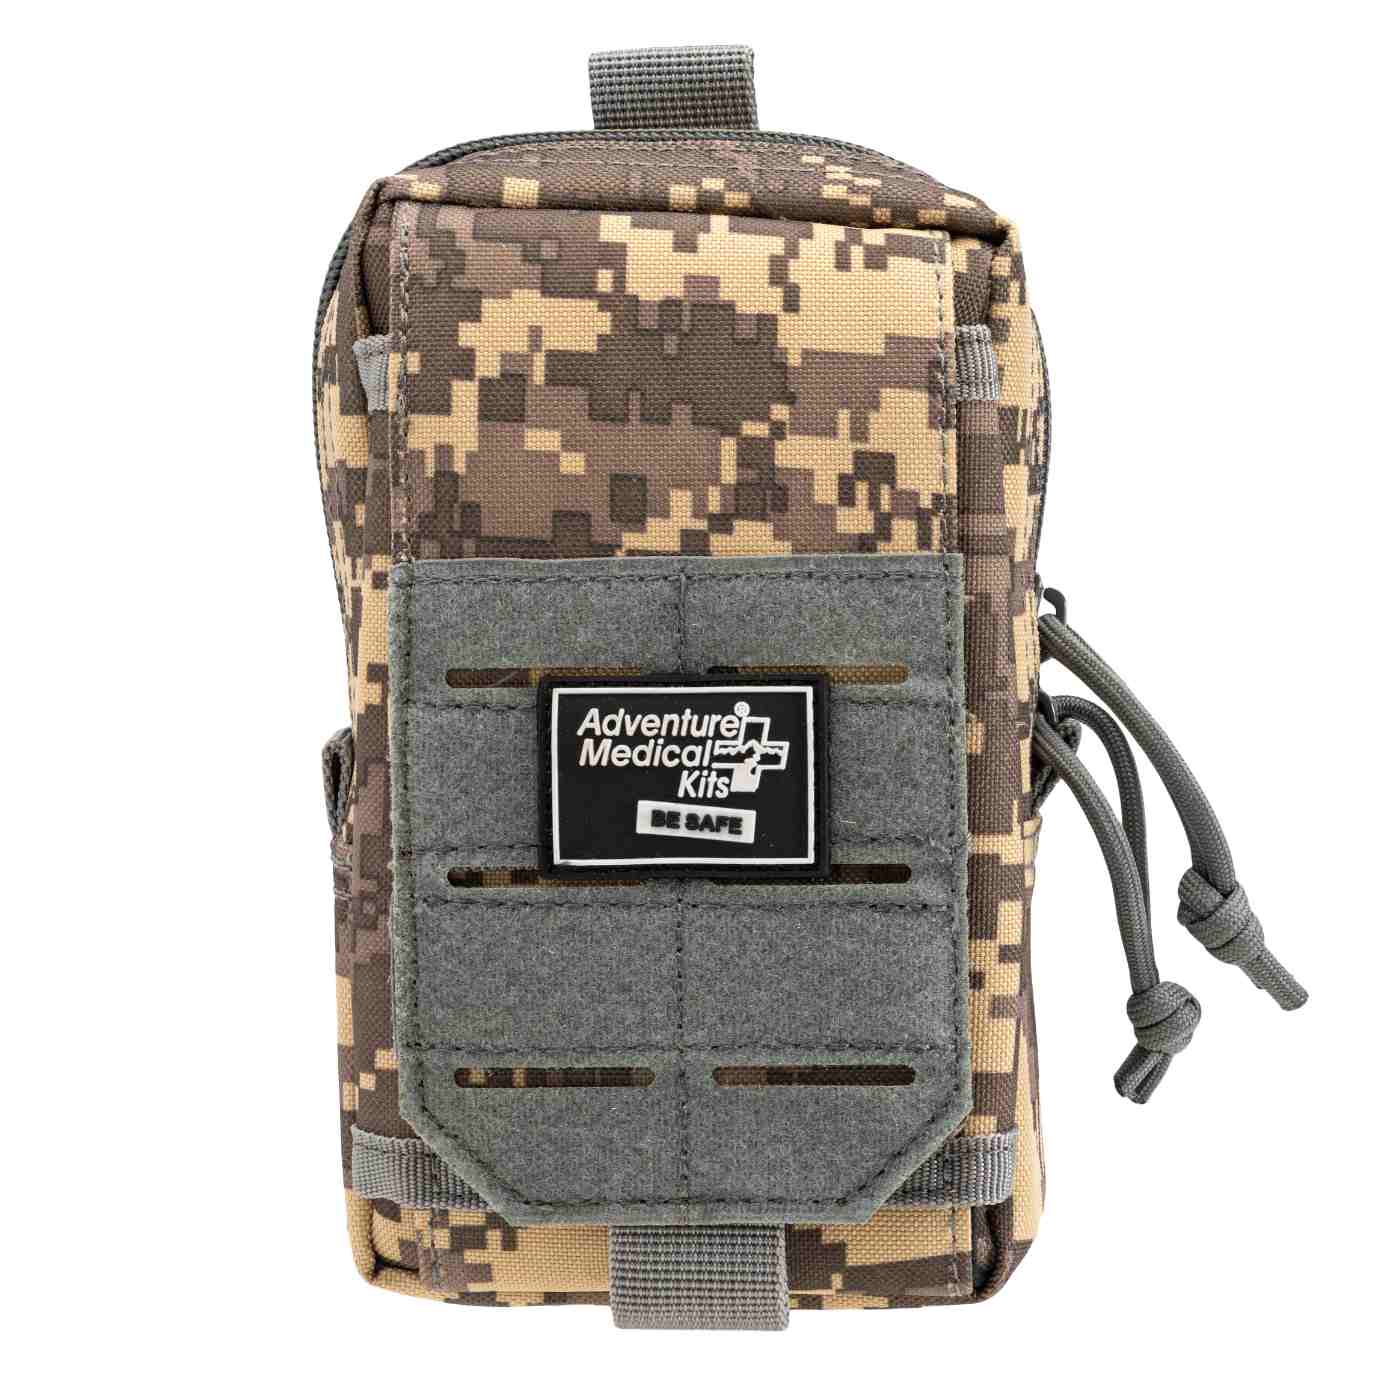
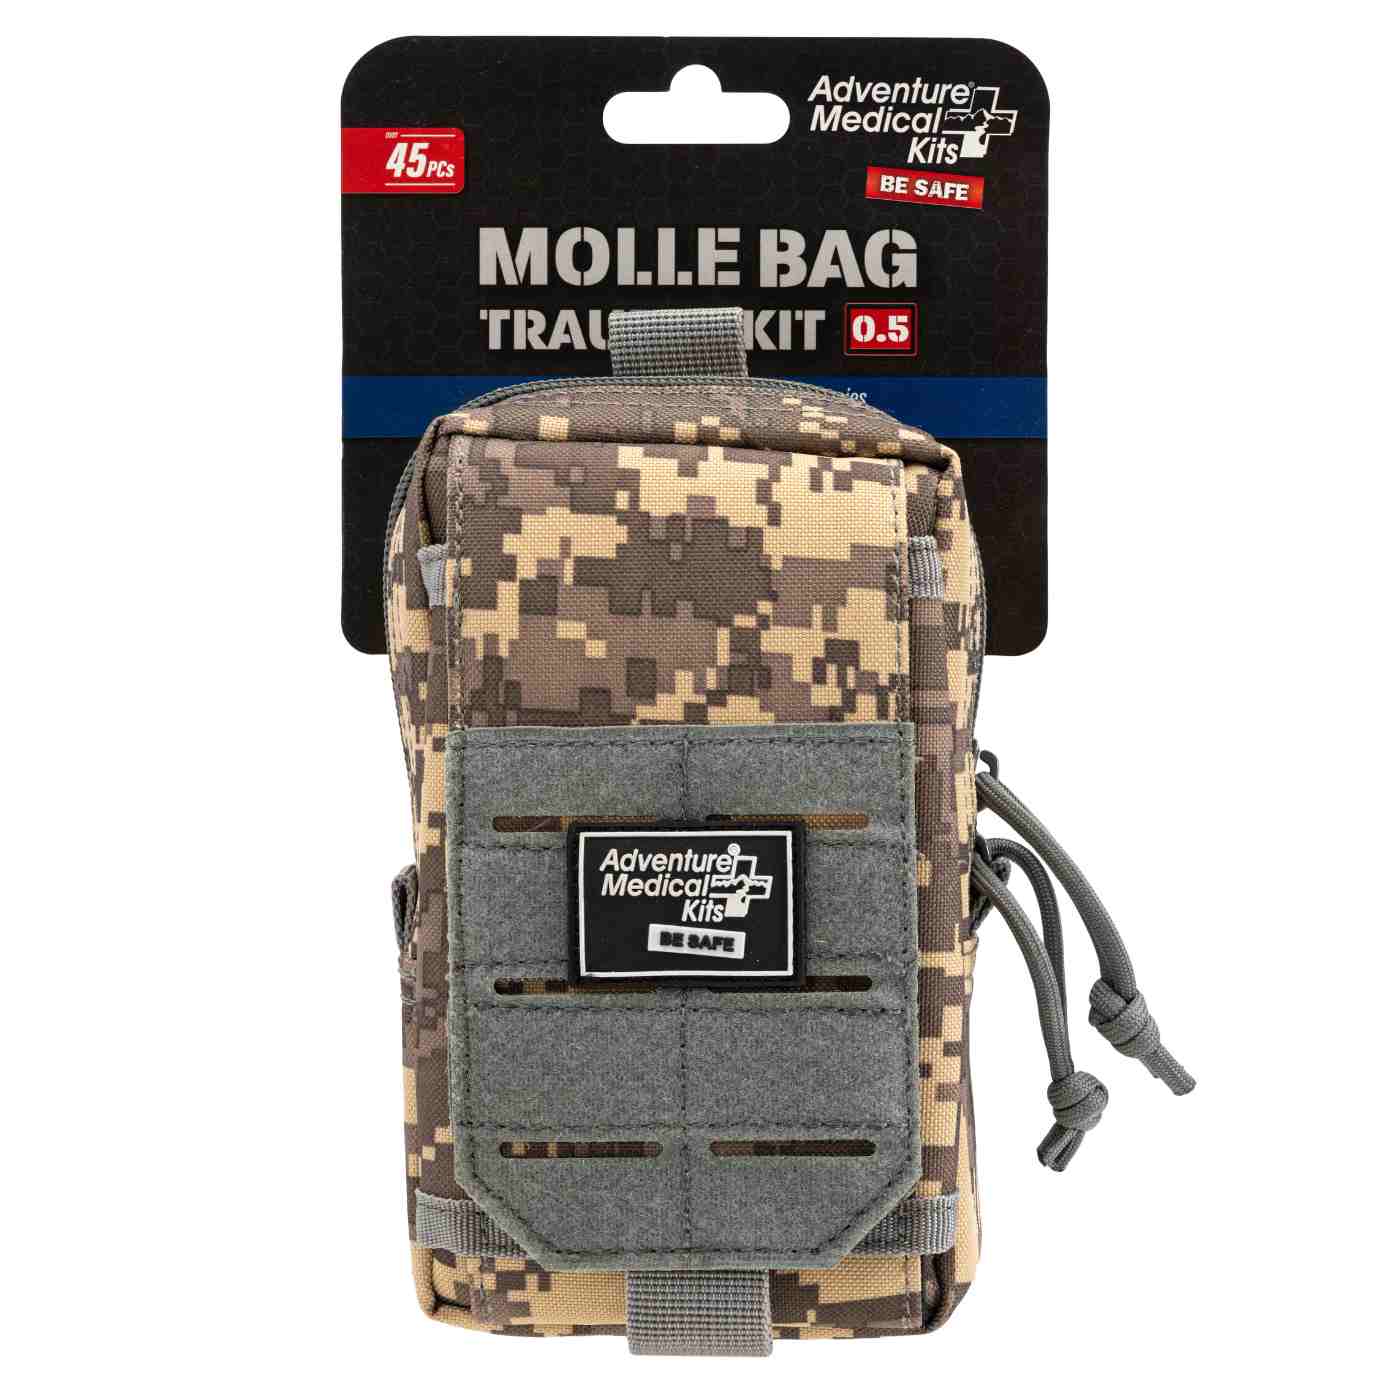
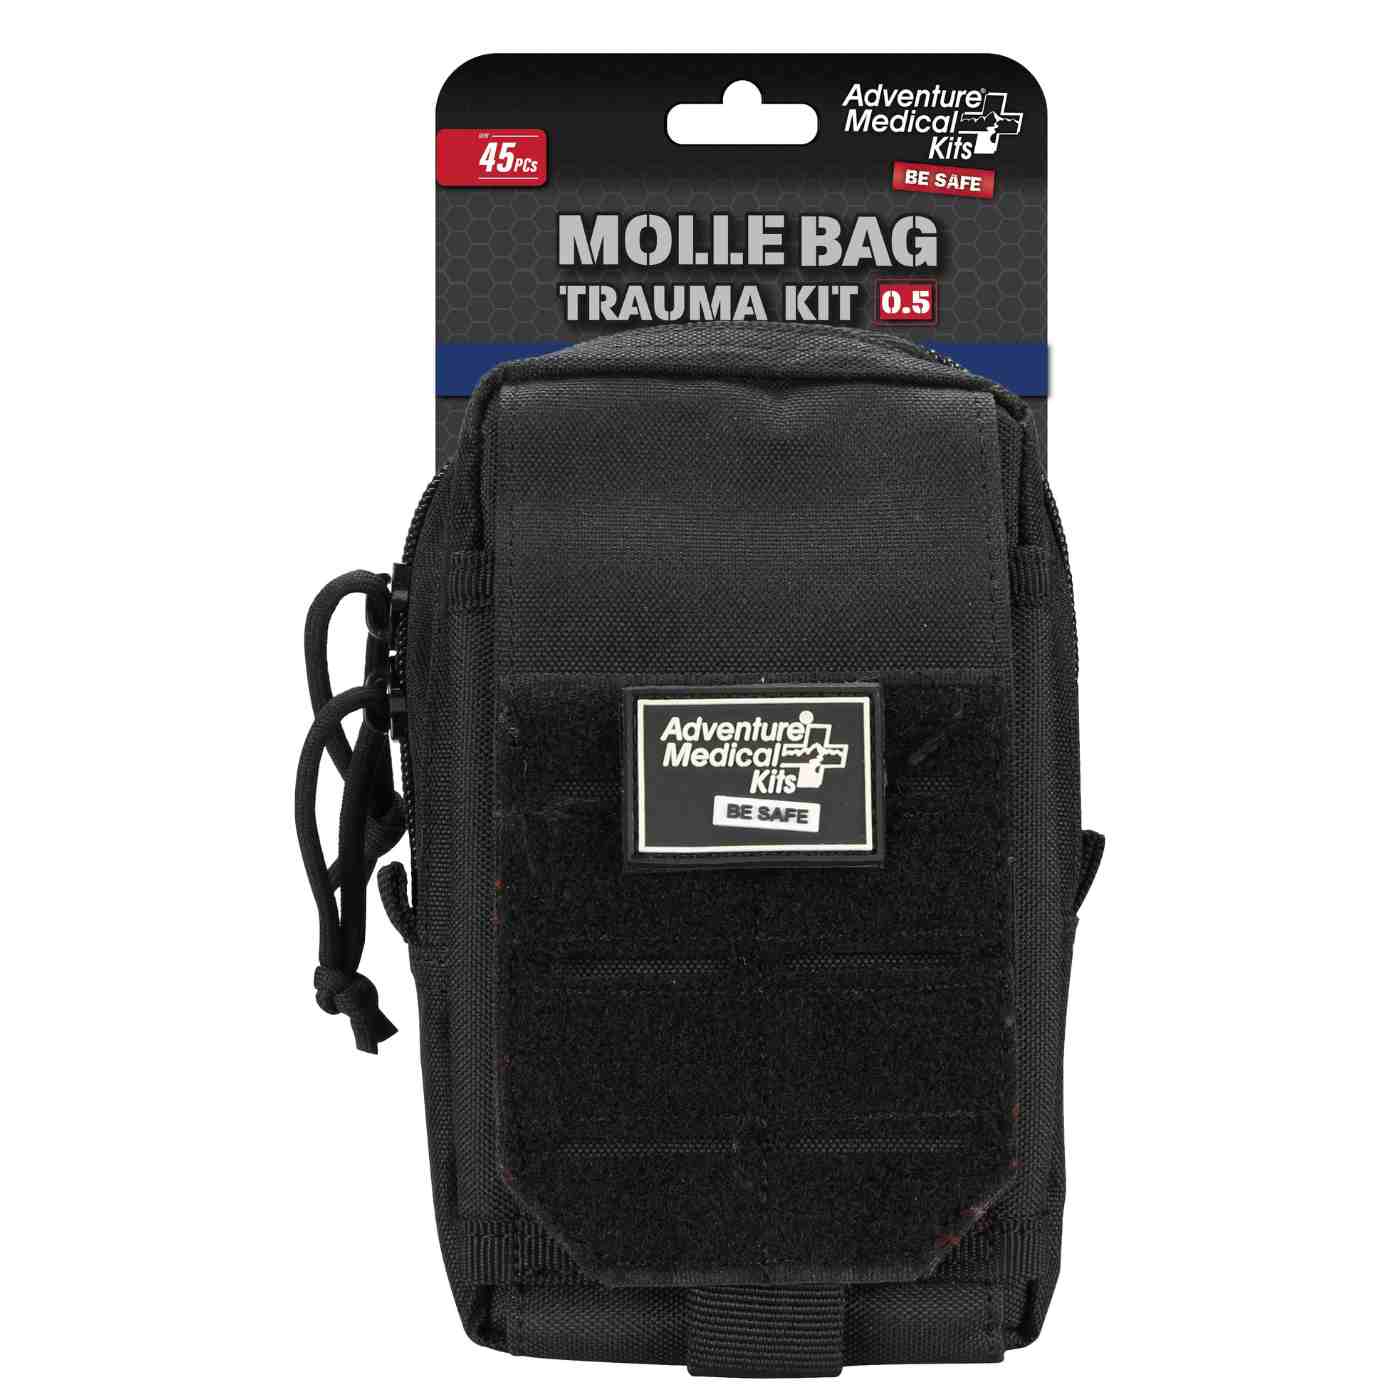
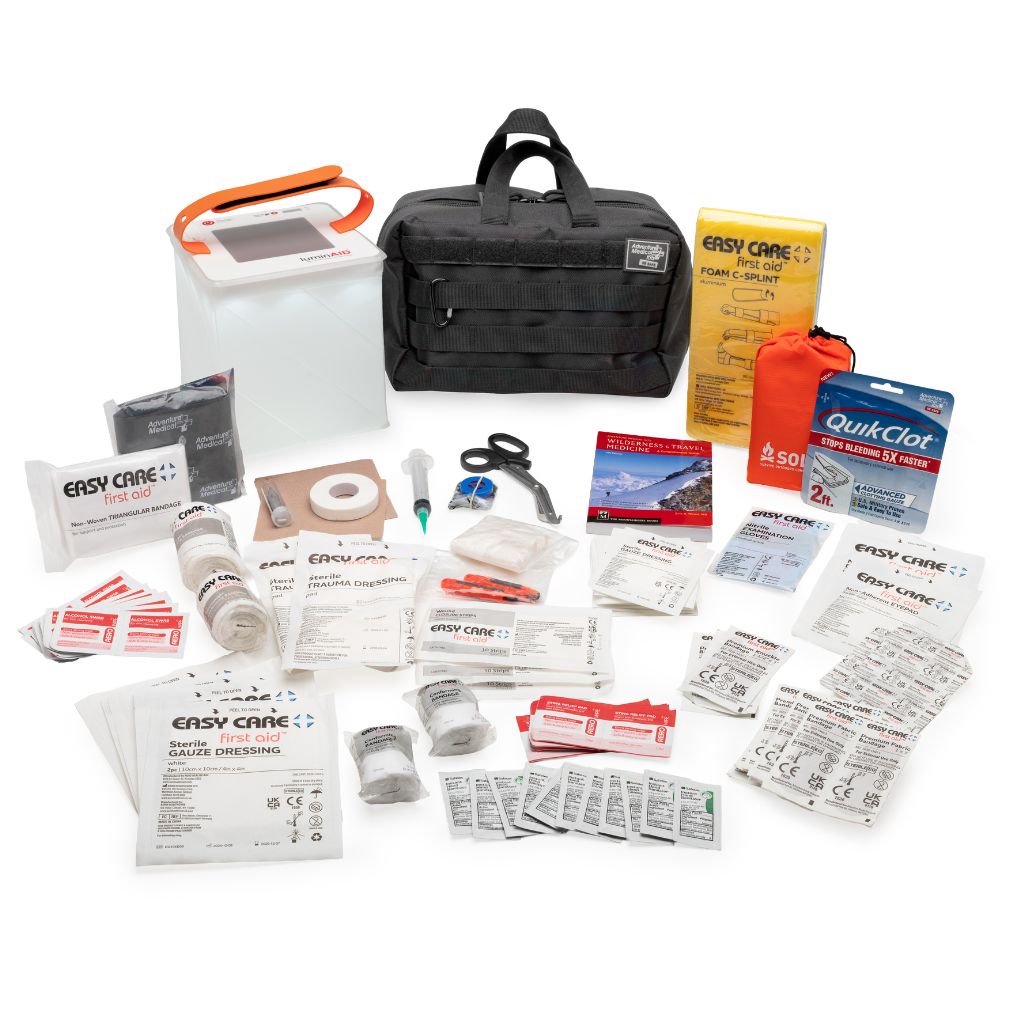
Adventure Medical Kits offers activity-specific first-aid kits with organized, labelled compartments, medical instructions, and lightweight, packable supplies for outdoor use. Visit Adventure Medical Kits to choose a trail-ready kit that keeps tweezers, wound-care materials, and other essentials accessible when a splinter or larger injury interrupts the day.